Recently, I looked at SilverStone’s VT02 – a subtle Mini-STX case along the lines of the ASRock DeskMini styling. Aftermarket cases for the M-STX form factor aren’t exactly common, but SilverStone does have two compatible models in the range – today’s review is of the VT01, the cheaper sibling to the VT02.
Inspired by the SilverStone TJ07 – an iconic (albeit huge) case of years gone, the VT01 is an ultra small case for the SFF generation. Built entirely from SECC steel, the VT01 isn’t exactly a pure descendant of the TJ07, but it does offer great value and a different take on the uSFF market segment from the little black boxes we are used to seeing.
Let’s take a deeper look!
The Specs
| Model | SST-VT01S |
| Materials | 0.8mm SECC |
| Motherboard | Mini-STX |
| Drive Bays | 2.5″ x 1 (thickness≦9.5mm) internal |
| Front IO | USB 3.0 (Type-A) x 1 USB 3.0 (Type-C) x 1 Audio x 1 MIC x 1 |
| CPU Cooler Limitation | 34mm |
| Weight | 582g |
| Dimensions | 155mm (W) x 65mm (H) x 152mm (D), 1.53 Litres |
| Features | Supports VESA Wall mount (MIS-D, 75) DIN rail mounting ready |
| Price at Time of Writing | US$32.99 at NewEgg.com, US$32.99 on Amazon.com |
The Unboxing
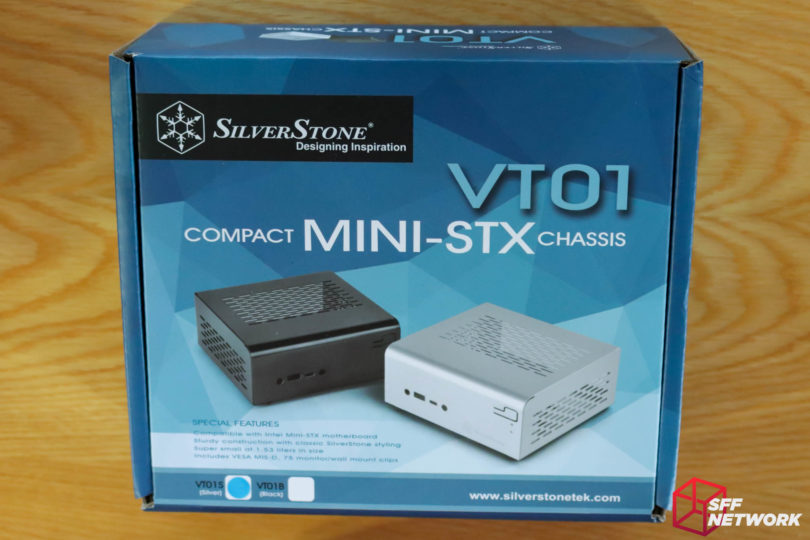
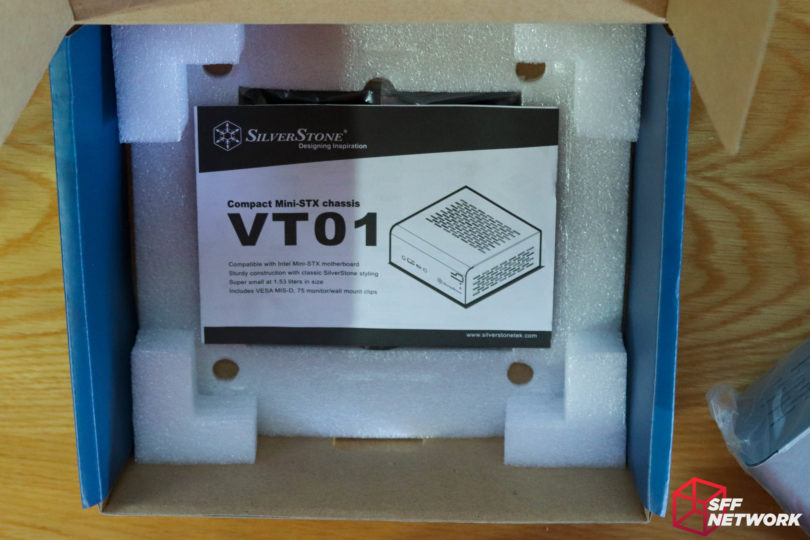
In a similar vein to the VT02’s packaging, the VT01 comes in a stylish blue box with images of both options on the front – the silver that I will be looking at today, and the black version, VT01S and VT01B, respectively.
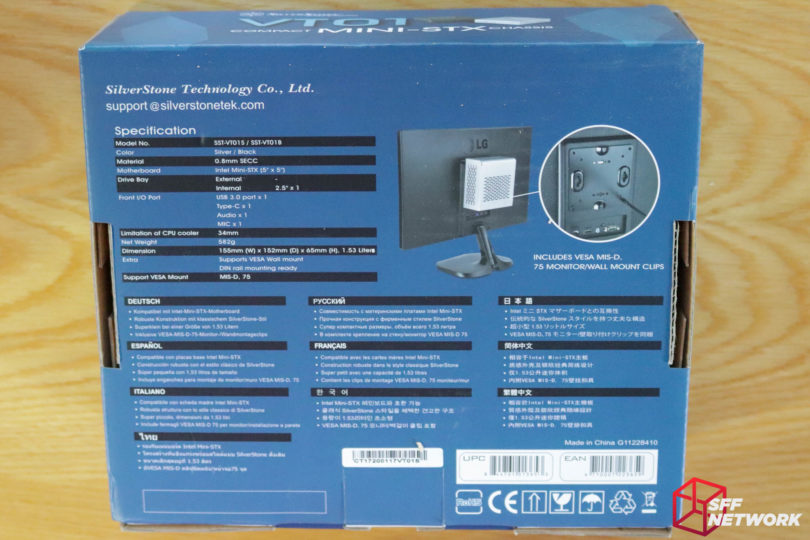
The usual spec list resides on the rear of the box – most of which is reproduced above in the spec table.
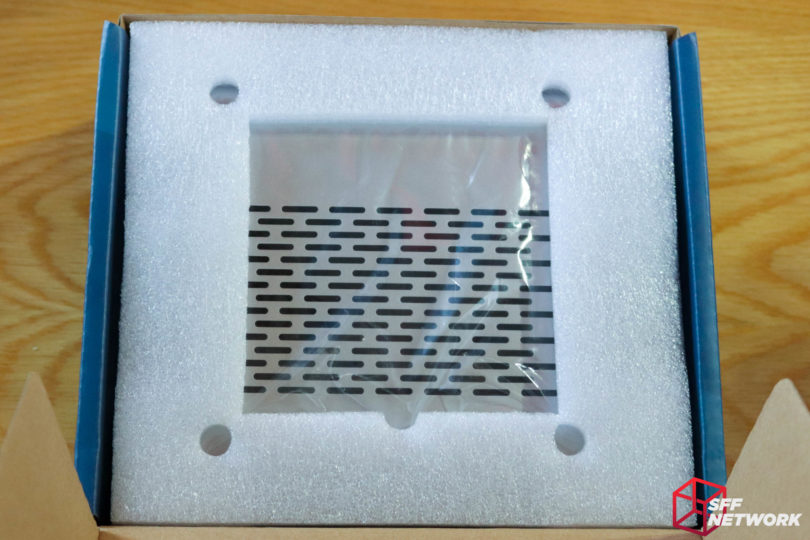
Opening the box, the case is revealed, albeit protected with some (difficult to recycle.. ugh) closed cell foam.
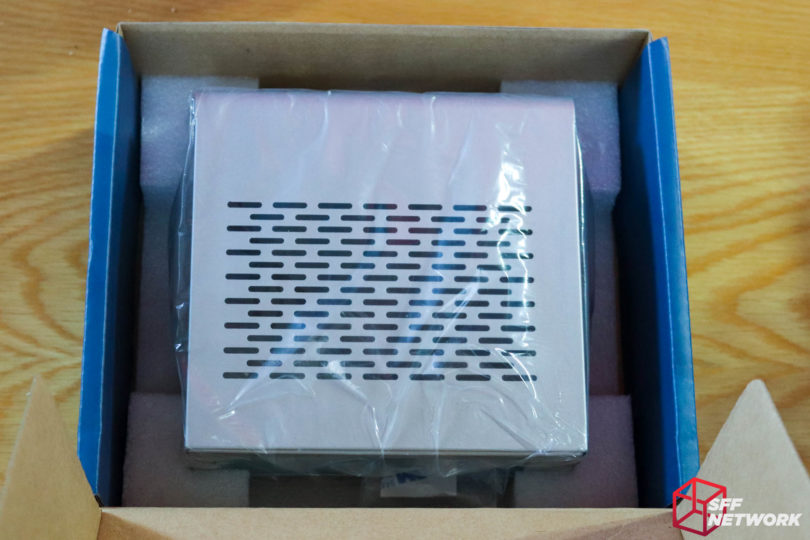
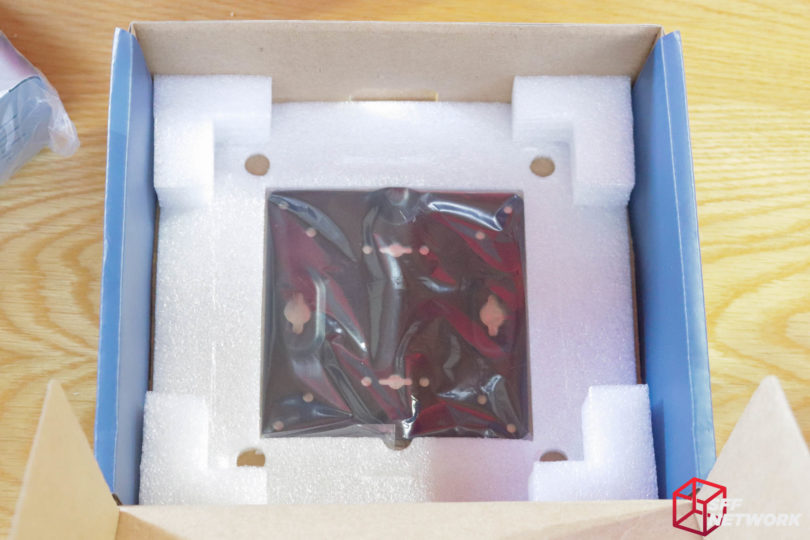
Removing this layer, the VT01 is revealed in full.
Under the chassis, an instruction manual, …
… and the VESA mount.
The VT01
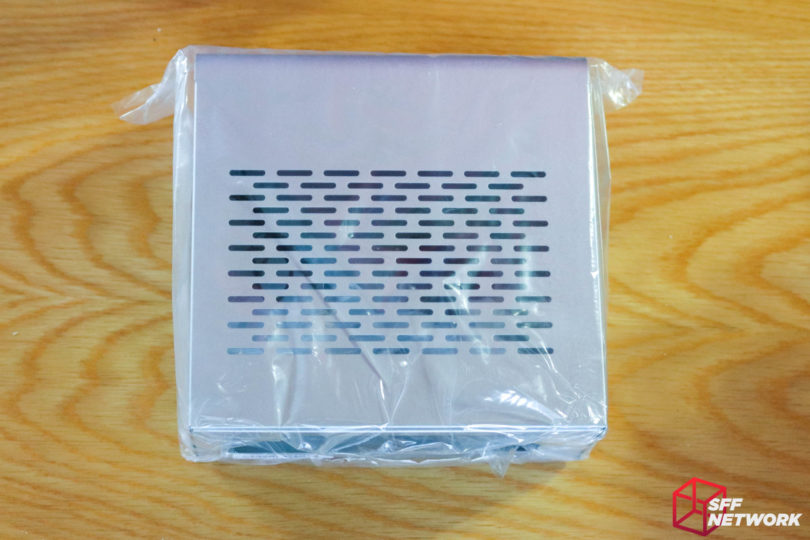
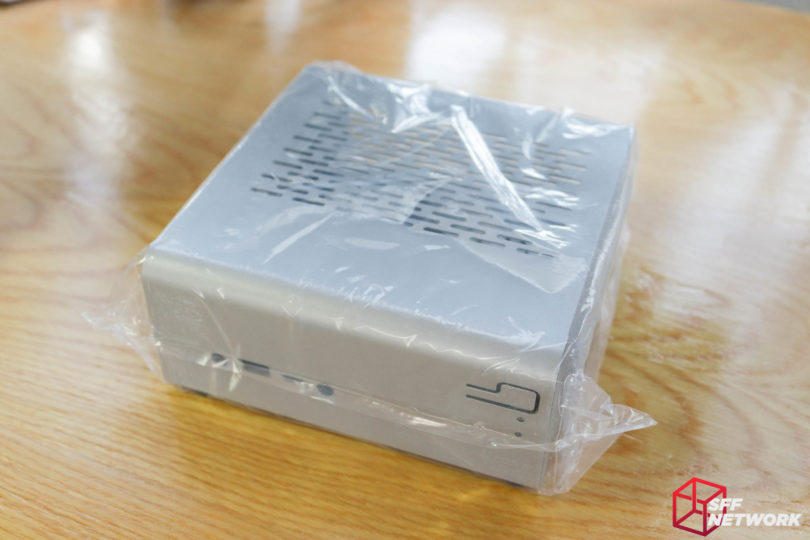
Protected by a plastic bag (more recyclable than the foam, thankfully), the VT01 arrived unscathed.
Let’s take off this last layer of protection and take a more in-depth look.
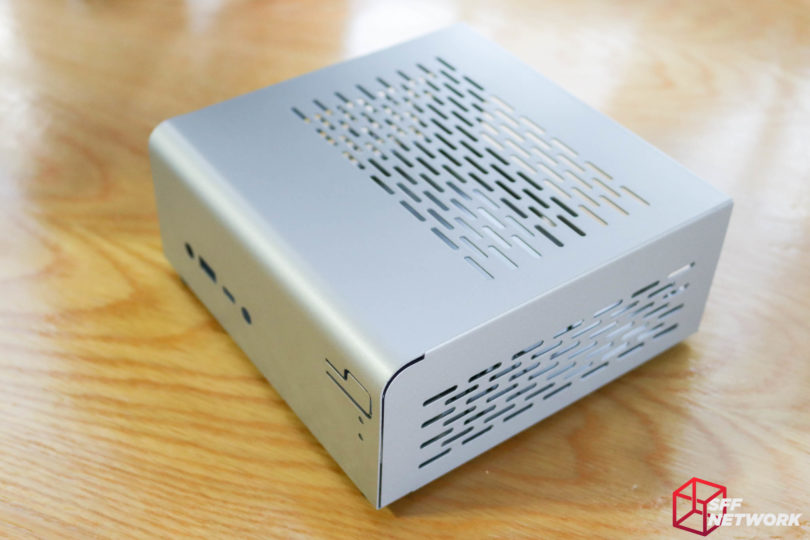
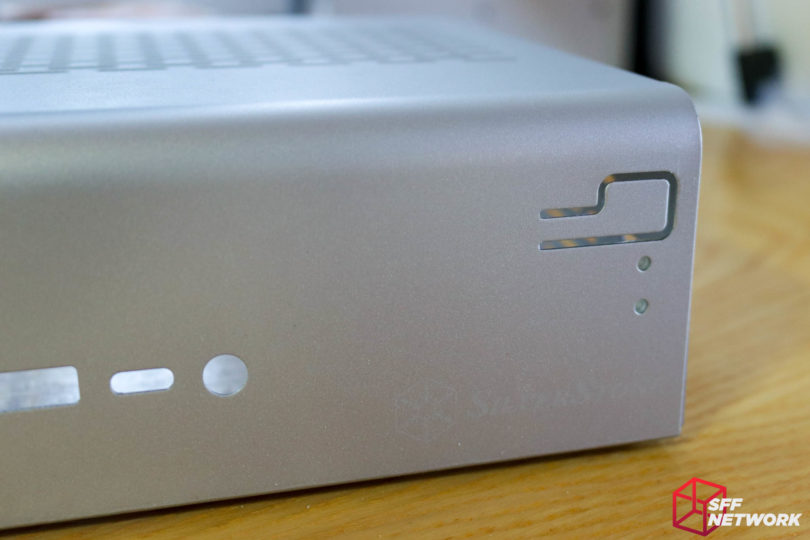
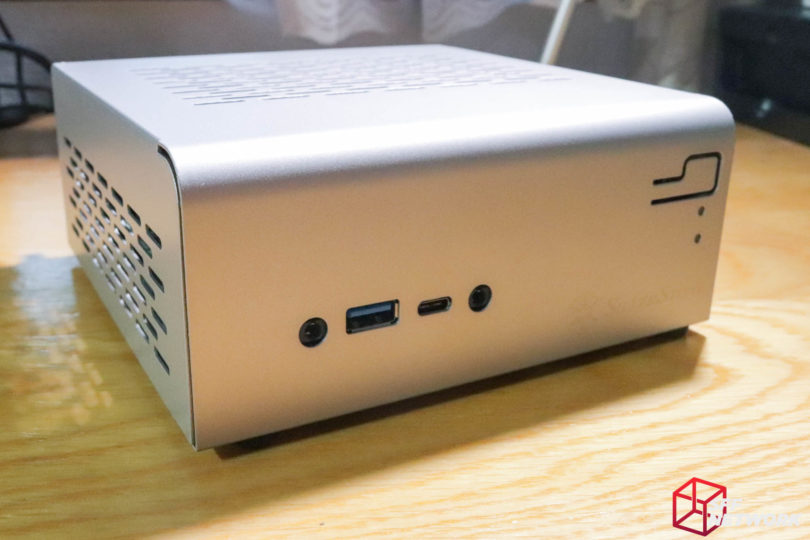
The curved front fascia of the VT01 is the main design element of the VT01. Utilising a single sheet of SECC steel, the forming of this shape wasn’t without compromise – namely the front edge gaps enabling the curve, and the somewhat cheap looking cutout power button.
The silver powdercoating on the case resembles aluminium quite well, with only the weight of the chassis giving away the true material. Whilst some may argue that steel is a lesser material for such a chassis, it does come with two benefits; strength and low cost. Coming in at US$33 on both Amazon and NewEgg, the VT01 does offer a cheap upgrade to the rather generic looking DeskMini chassis – and a starting point if you can source a standalone M-STX board.
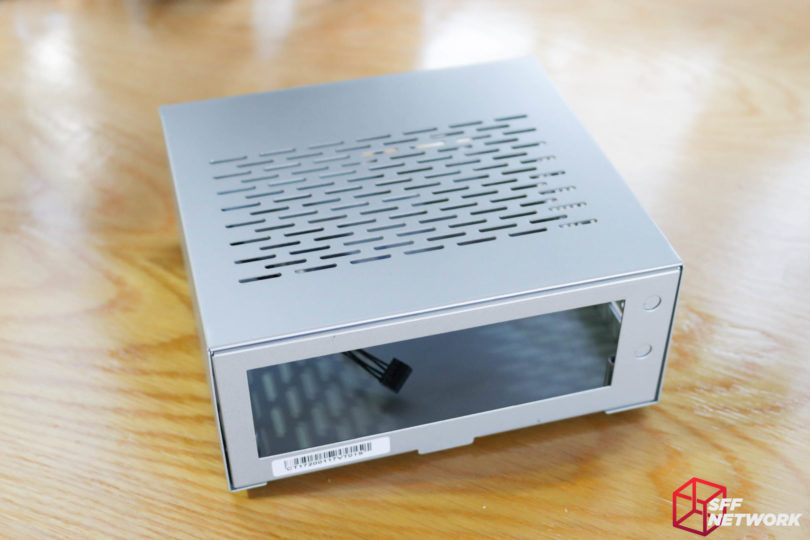
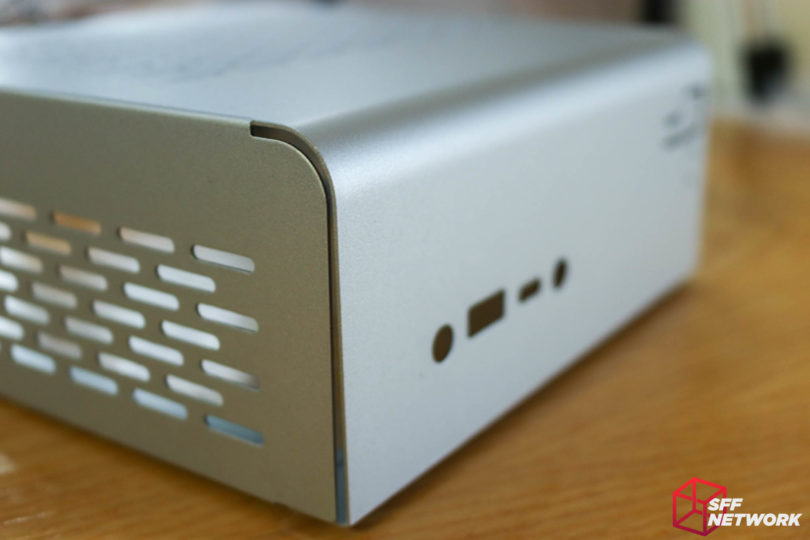
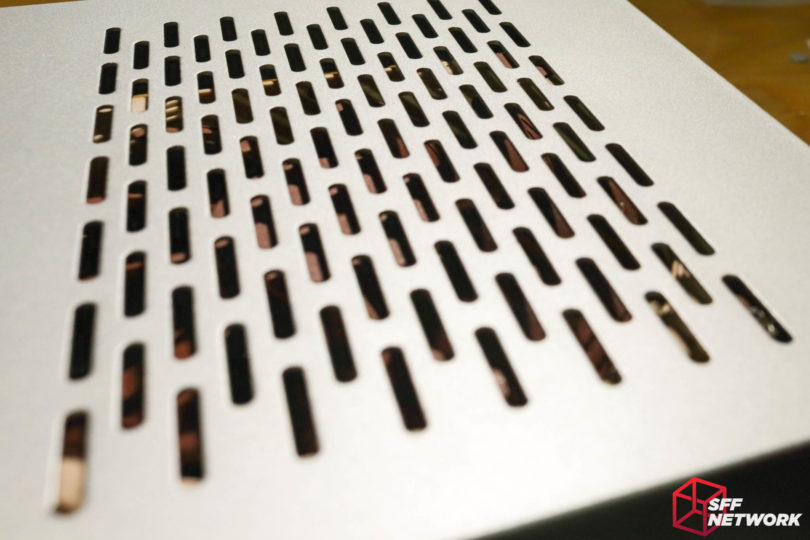
Cooling in the chassis is offered by the top, left and right sides having a stamped slot-like pattern. Whilst not as free to air flow as more traditional circular or hexagonal holes, the slots offer a unique design aesthetic.
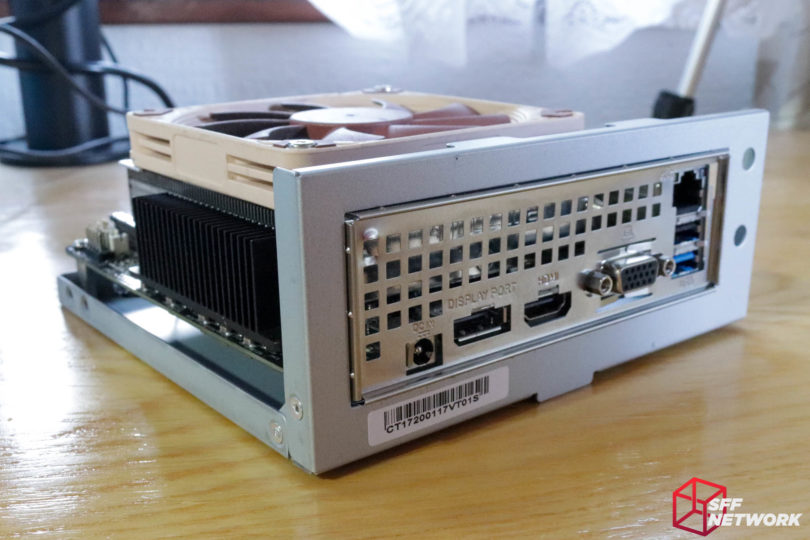
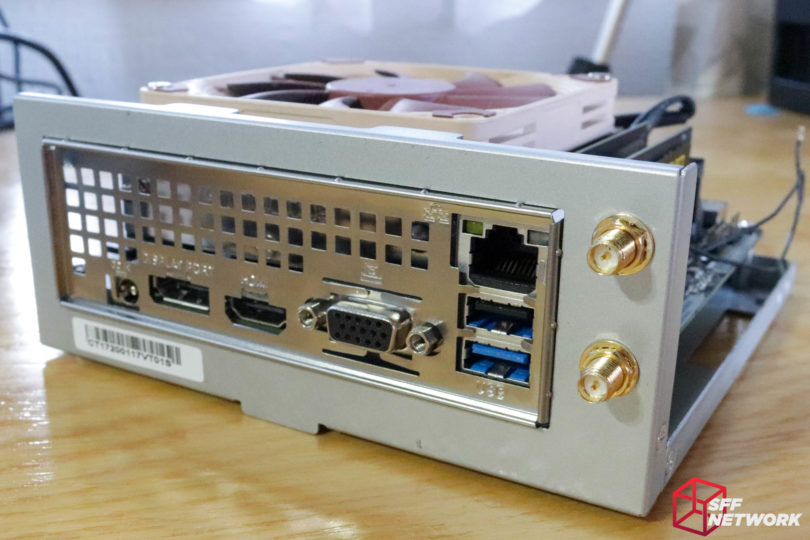
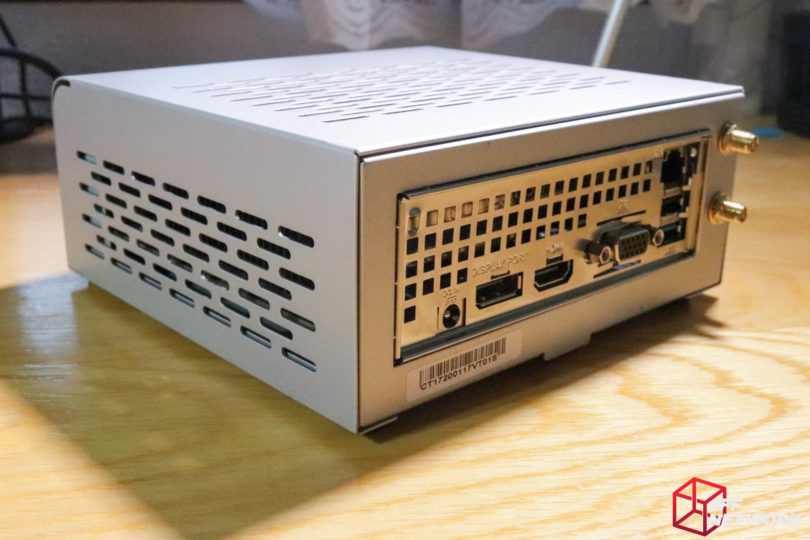
At the rear of the chassis here, we can see that it is very small – the relatively small IO shield of the STX platform taking up the majority of the rear panel. Also on the rear panel are a pair of WiFi antenna cutouts. No tri-band here, although the VT01 is an older design, launched over two years ago!
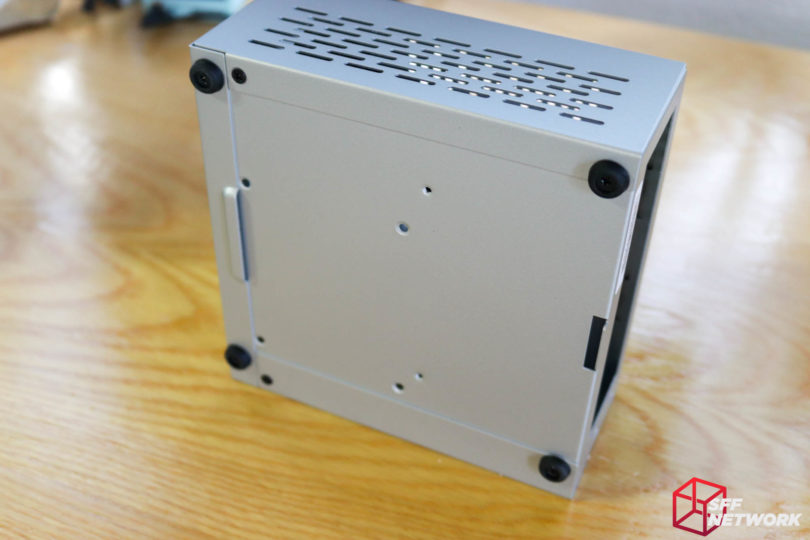
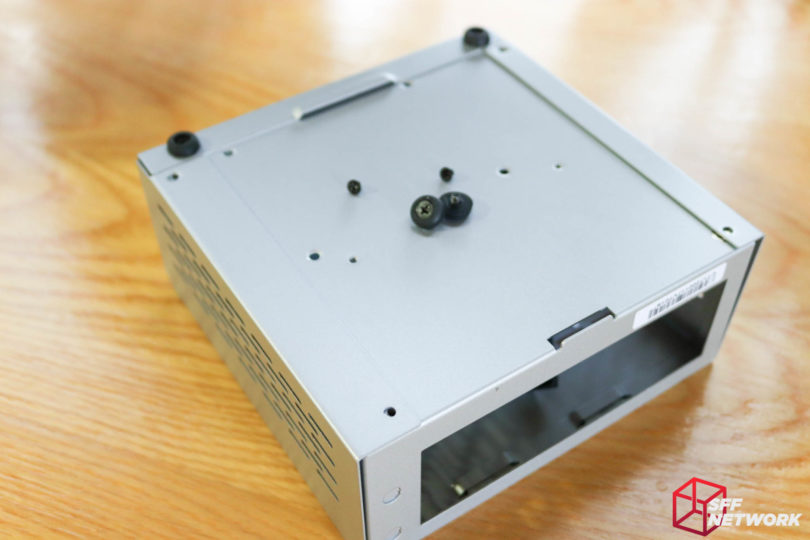
Looking under the VT01’s base, we see the four mounting holes for a single 2.5″ internal drive, as well as the four rubber feet. Simple, but it gets the job done.
Removing all four feet, and two extra screws, releases the outer shell from the inner chassis. That’s 6 screws to get into this tiny case – a side effect of the way the outer chassis is formed. The extra retention is needed to hold the front and sides in place.
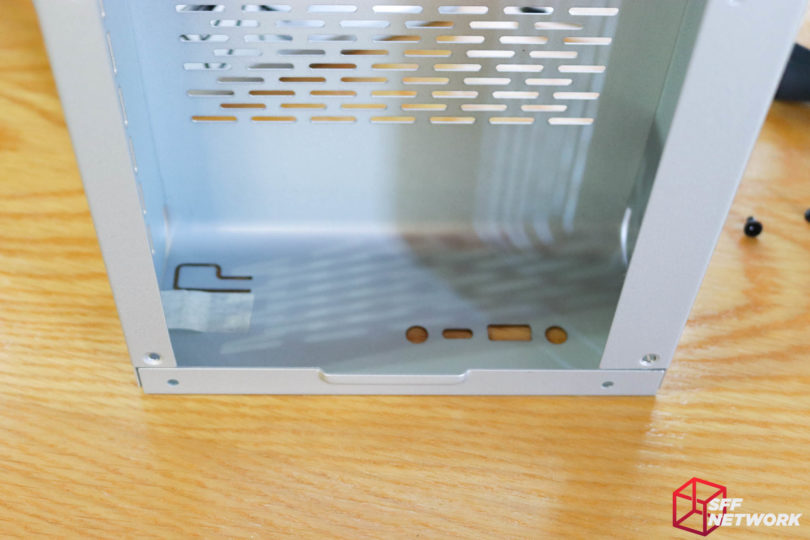
Inside the outer shell, we see the rear side of those front panel cutouts, being the standard 3.5mm headphone and microphone jacks, and a USB Type-A and USB Type-C port. Interestingly, the plastic light pipes for the power and drive activity lights is retained with masking tape – helping diffuse the light somewhat. I do have concerns as to the longevity of this solution, though.
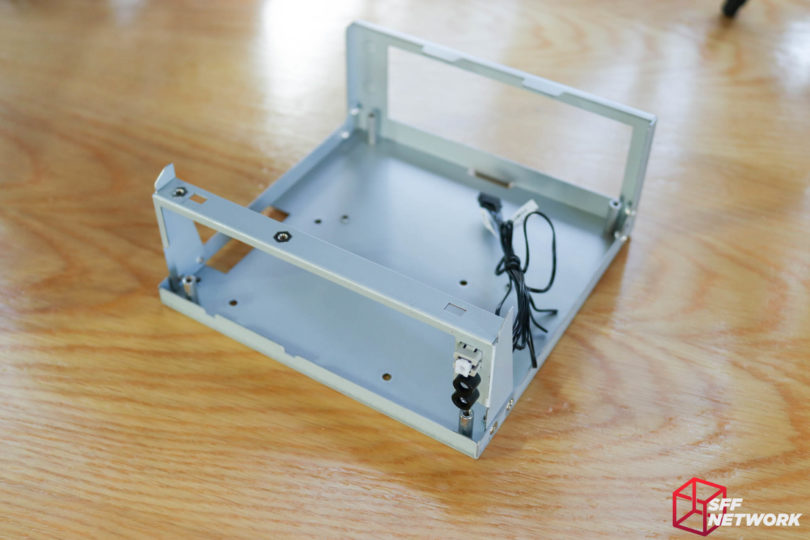
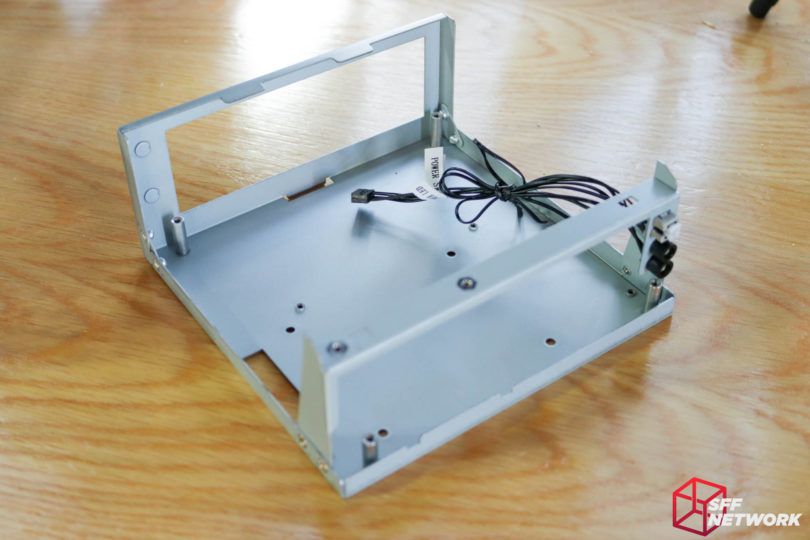
The inner chassis is also made of SECC steel, making for a robust little case. Let’s analyse the features we see.
First up, the board mounts to a set of four 11mm tall standoffs. The height of these allows for a 2.5″ drive to mount to the base of the chassis. I’d like to see a company come out with a M-STX case with no 2.5″ drive mounts – the twin M.2 slots on the ASRock A300 board allows for a lot of storage in a truly small space.
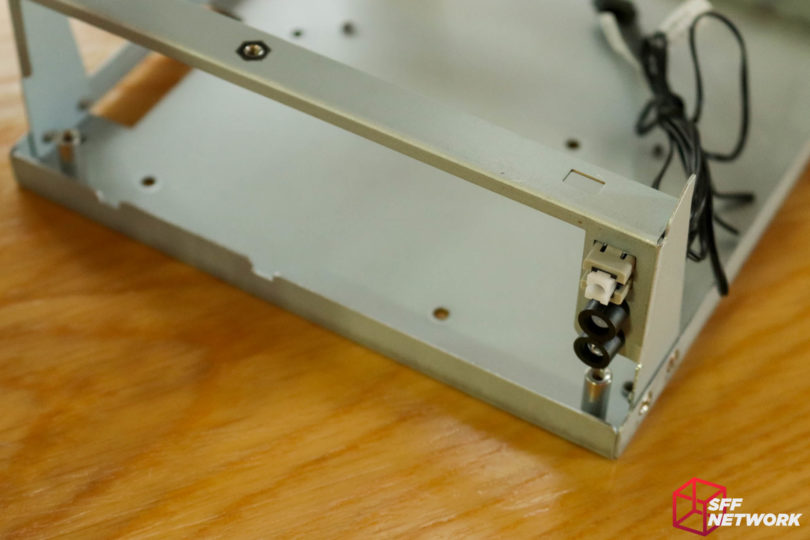
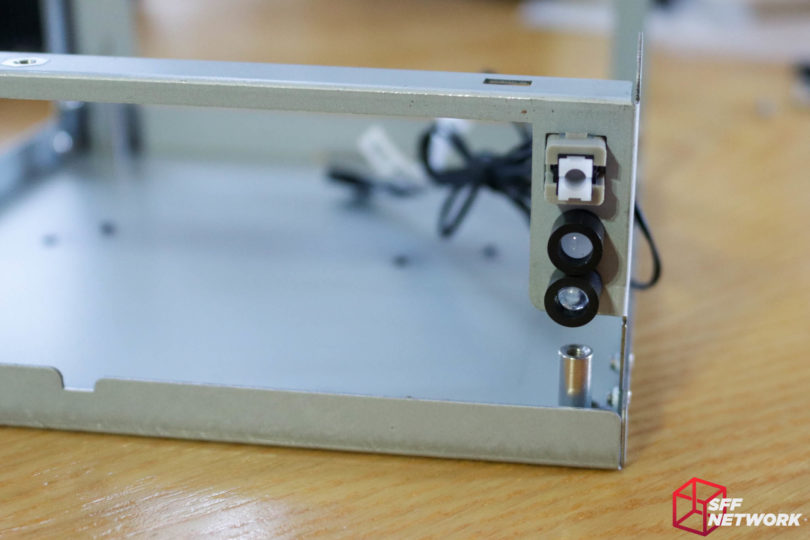
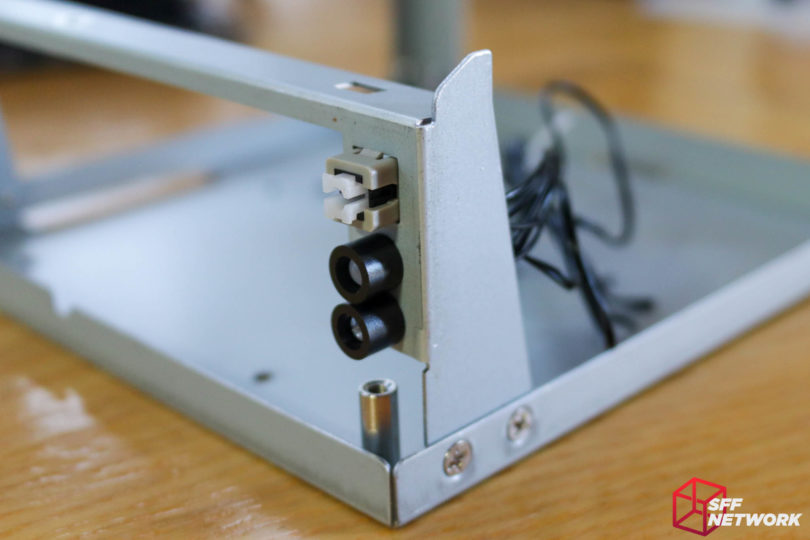
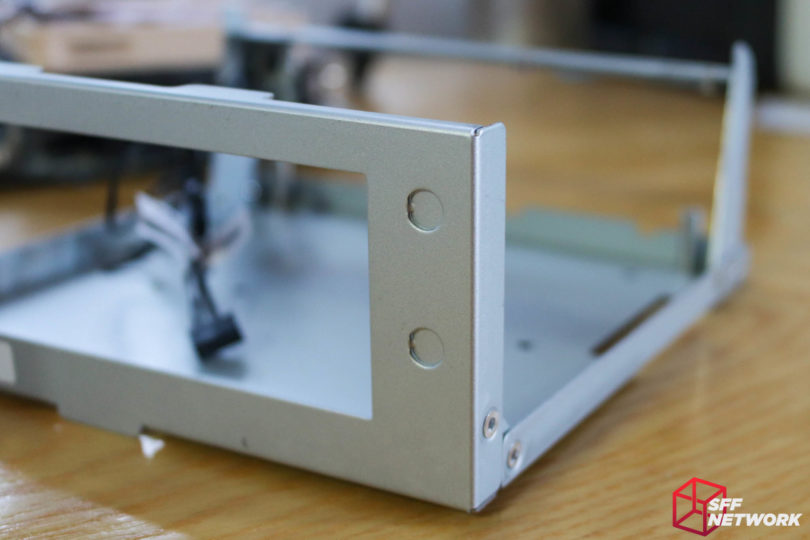
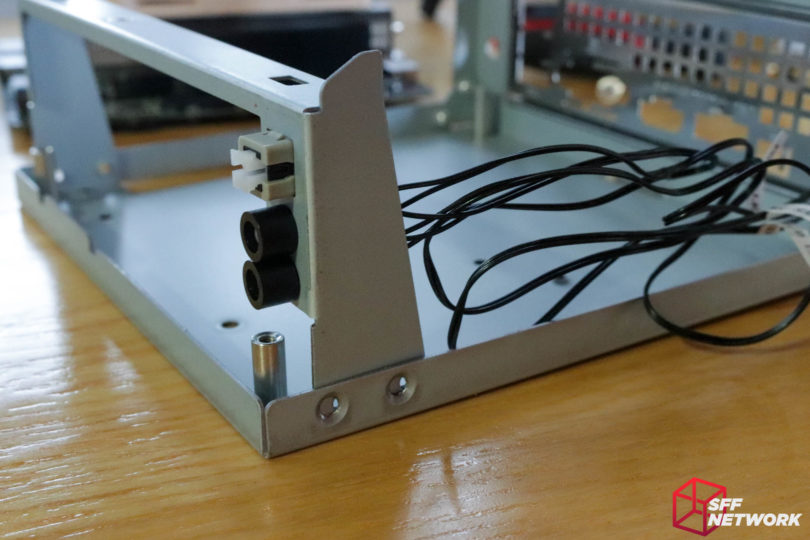
The two inserts in the bar at the front of the case are for a pair of external USB ports – an option that appears to be unavailable, not least because there are no external cutouts in the chassis!
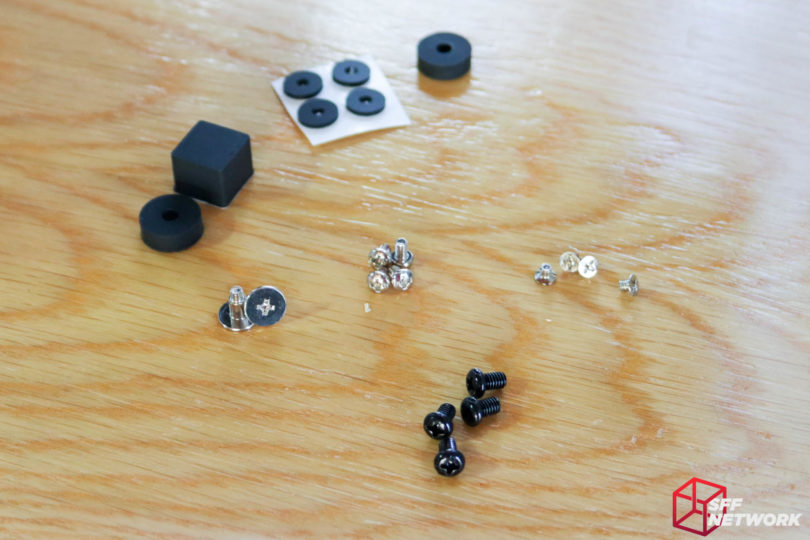
Before we go any further, here are the included accessories. The manual isn’t overly clear what these are for, and even spending time messing with the chassis, I still have no idea what the rubber blocks and standoffs are for!
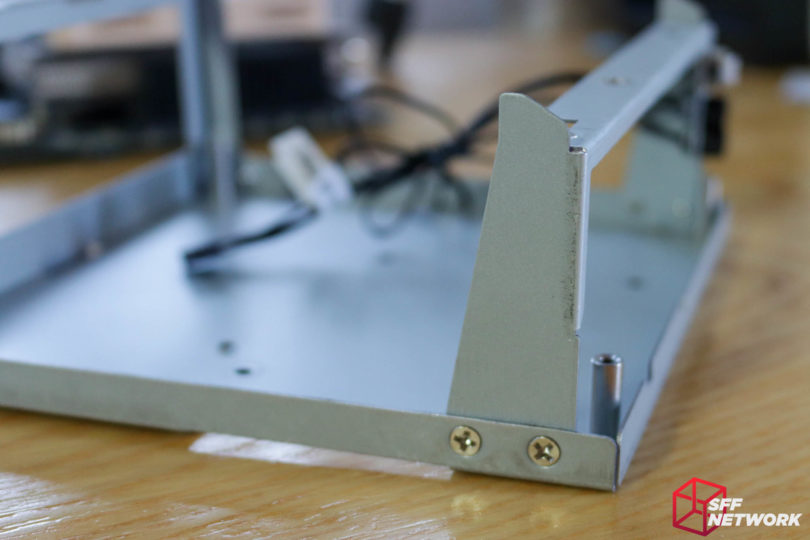
The front panel assembly is simple, but not without fault – we’ll see what I’m talking about below in the build.
The power button and LEDs mount to a folded tab in this front bracket.
This assembly over hangs the motherboard, as we can see by the standoff sitting forward of this bracket.
The bracket is removable, and this is necessary for system installation.
The two WiFi antenna holes are simple punched hole affairs.
A closer look at that power button – an exercise in function, but with some form still having its place.
The gap on each side is sizeable, and as I mentioned above, a side effect of the way this chassis is manufactured. I have a desire to fill this section with body filler and paint this chassis… watch this space.
The Build
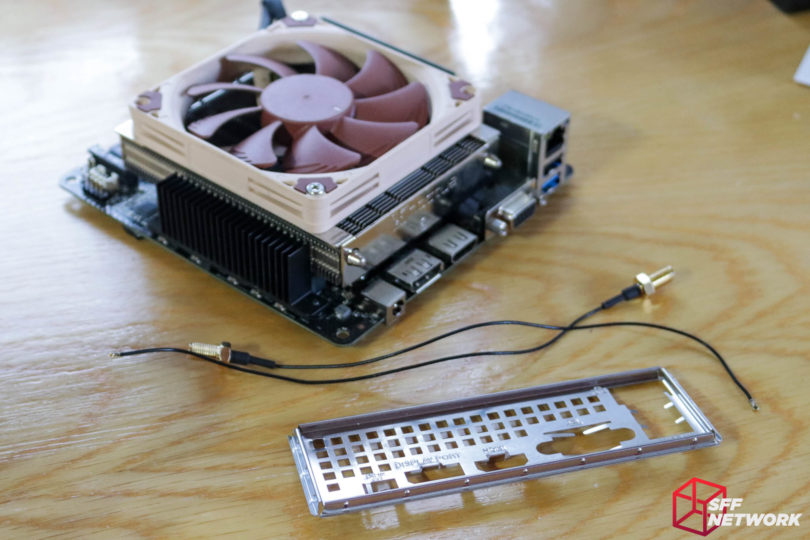
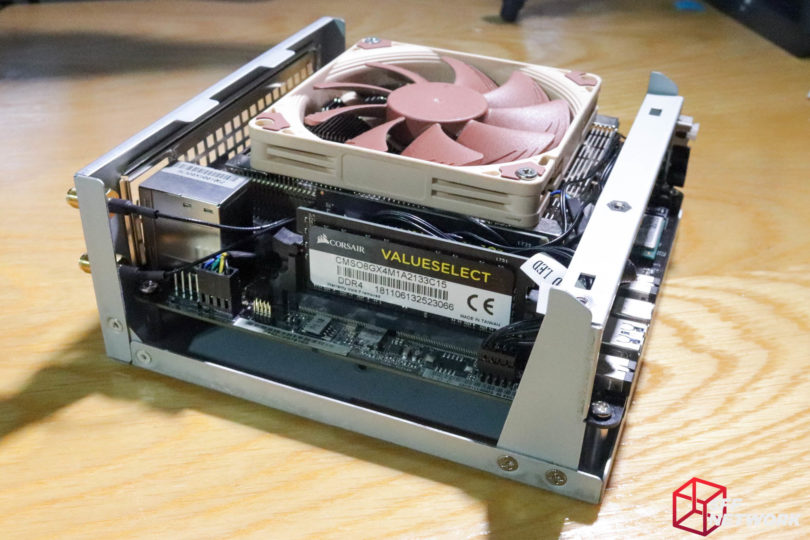
Chosen for this build – An ASRock A300 M-STX board, Noctua NH-L9A-AM4 cooler, a wifi card, and a Samsung 970 Evo Plus M.2 drive I haven’t installed in these shots.
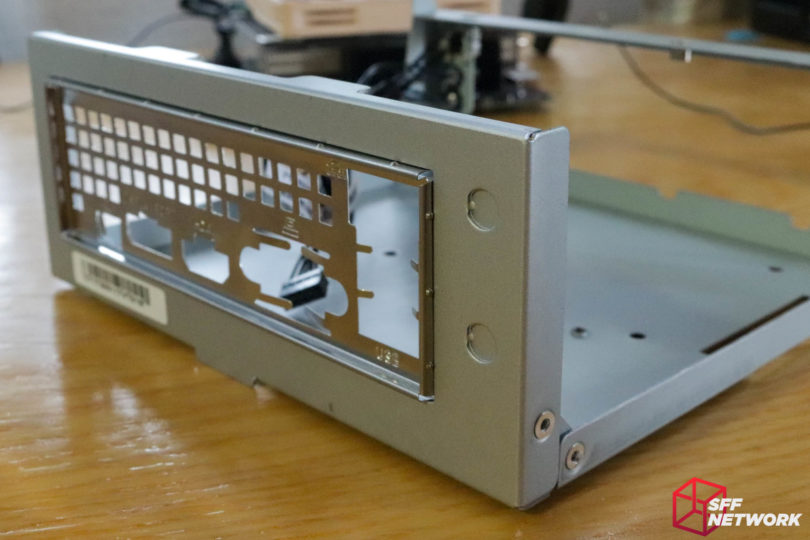
First up, the IO shield. A decent fit, as expected.
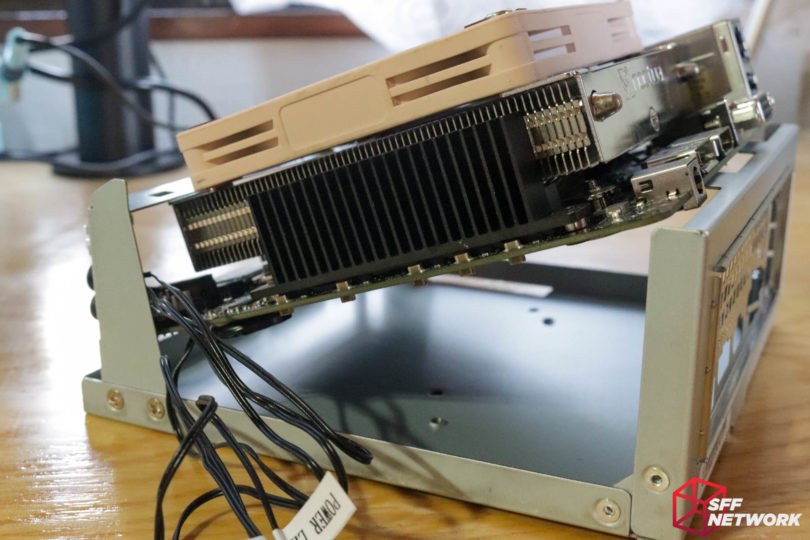
Yup, going to have to remove that bracket to allow the system to be installed. Yes, the manual does tell you to remove the bracket, but I’m a stubborn person!
Two screws on each side, easy.
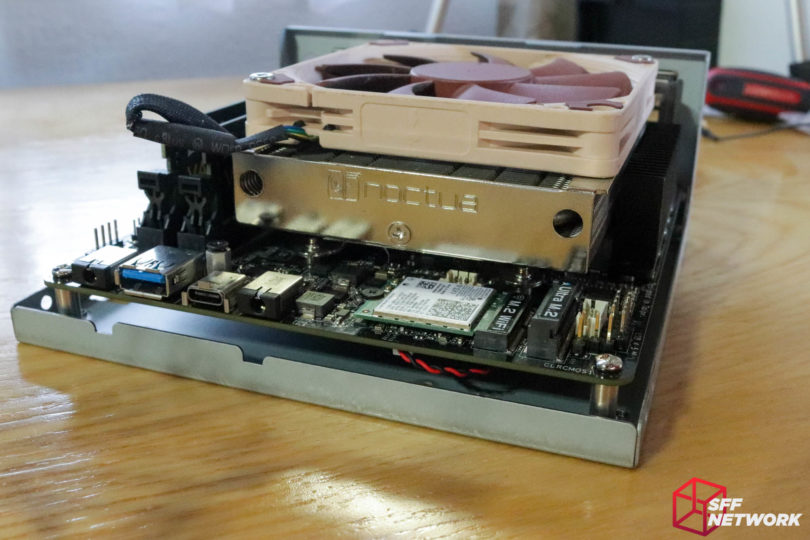
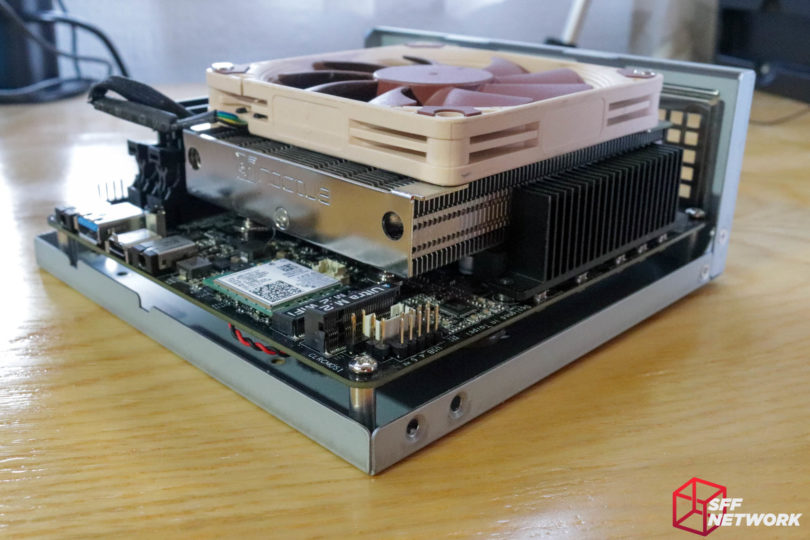
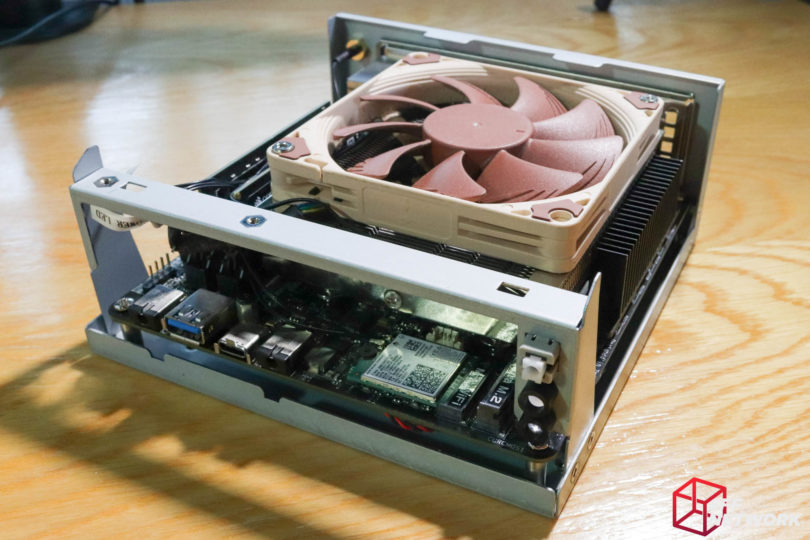
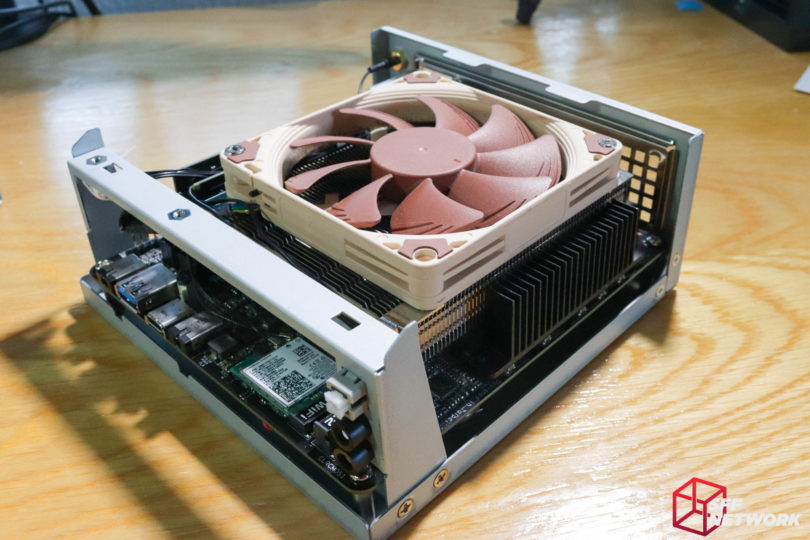
And the board is installed.
The case is very much defined by the size of the board, with not much wasted space aside from the 2.5″ drive mount area under the board.
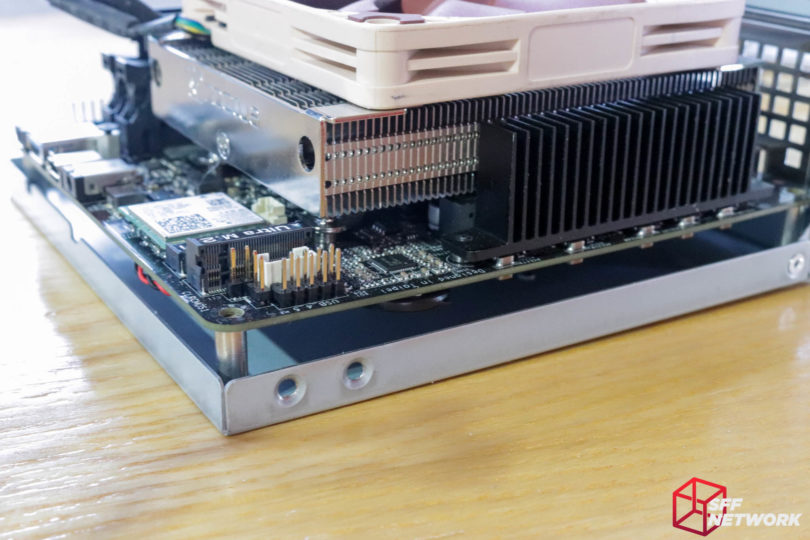
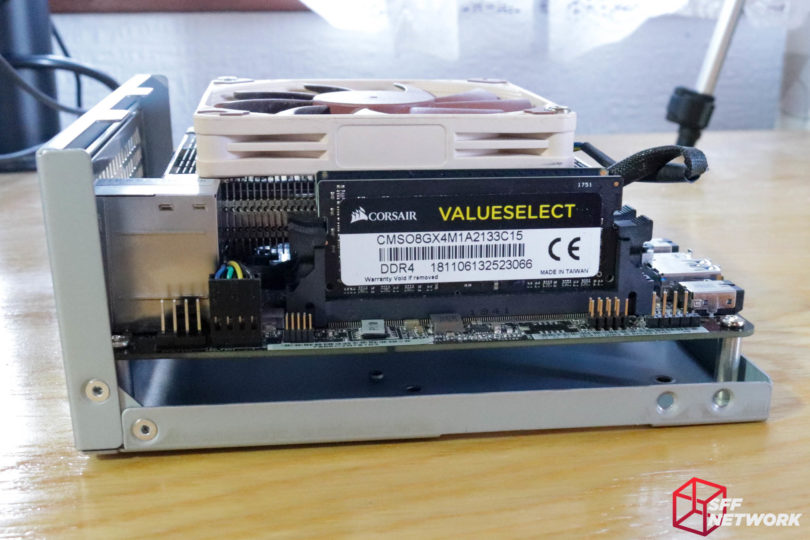
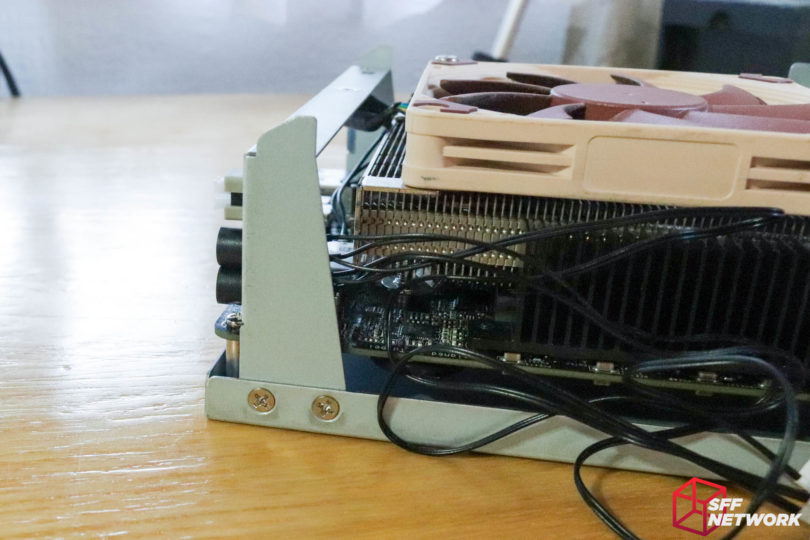
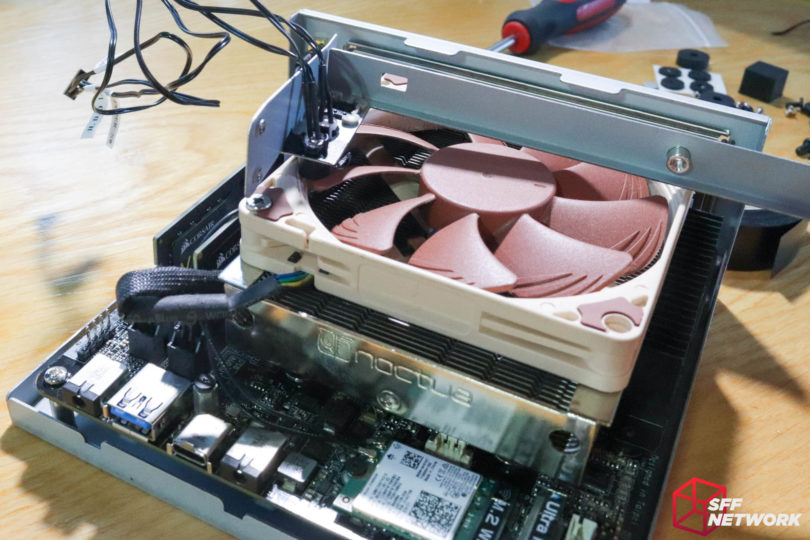
The Noctua NH-L9A-AM4 is a tight fit, technically taller (at 37mm) than the maximum height cooler supported in the VT01 – a rather small 34mm. Whilst there are various coolers available for the Intel platform that comply with this height limit, aftermarket pickings are slim on the AMD side (linked search includes the over height NH-L9A-AM4), hence me selecting this particular cooler.
Sure looks good though!
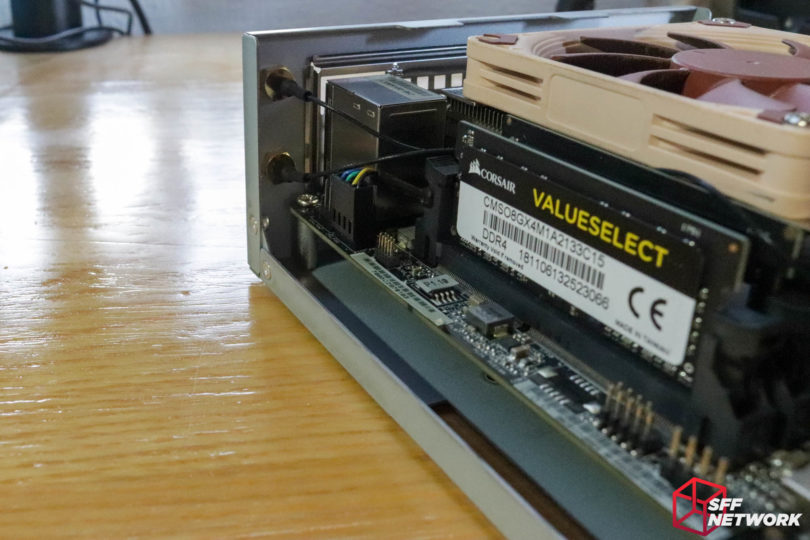
WiFi antennas installed with no issues.
And the cables are routed.
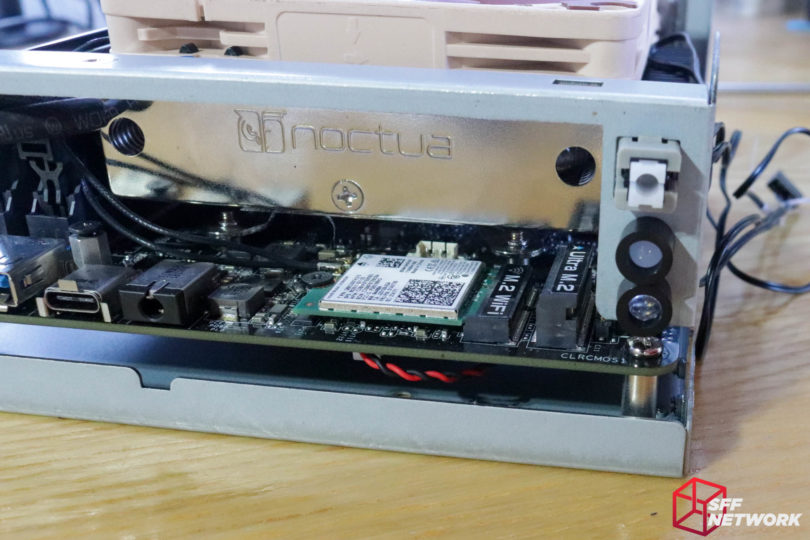
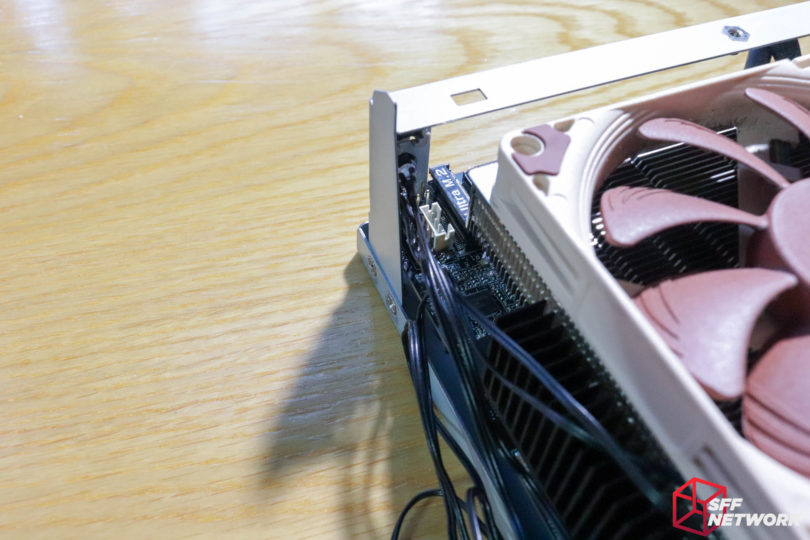
Reinstalling that front bracket… uh-oh..
Hard to see here…
But yep, the front bracket fouls on the Clear CMOS header on the A300 motherboard. Since this board is more dense than the Intel variants of the M-STX platform that existed when the VT01 was developed, this is not entirely unexpected.
When I say the bracket fouls the header, it’s a tight enough fit to ensure electrical contact, but not enough to bend the pins on the board.
I removed the bracket, applied electrical tape to the offending area and reinstalled the assembly.
Back in place, insulated, and cable managed.
The beauty of the DC-in power supply of the DeskMini platform is that cable management is made so much easier. No zip ties, velcro, but yet the cables are tidied.
Oof, the lid was a challenge to reinstall. The fan on the CPU cooler catches on the retention flange inside the outer shell as you are reinstalling it – a pain, but can be worked around. The real issue though, is that a fan so close to a panel can cause aural issues. Only testing will tell.
Schmick.
That’s a tight fit, just how we like it.
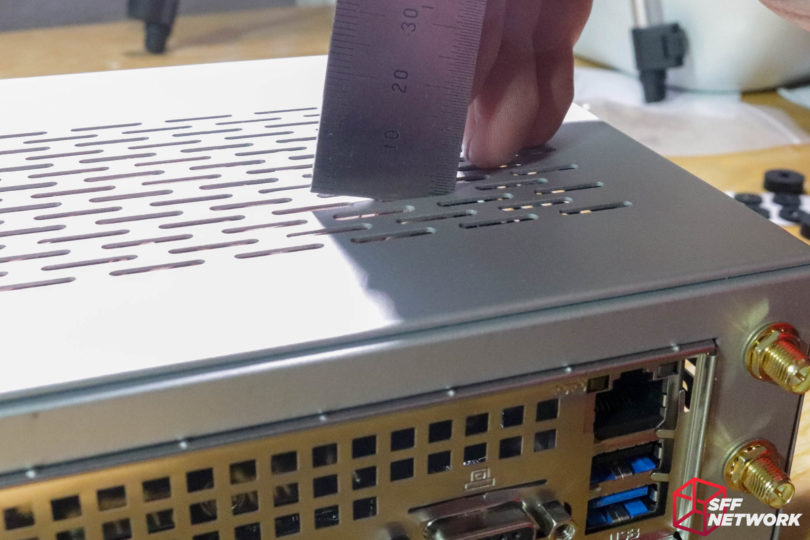
I can’t find my calipers after my Computex 2019 trip, so this metal ruler will have to do.
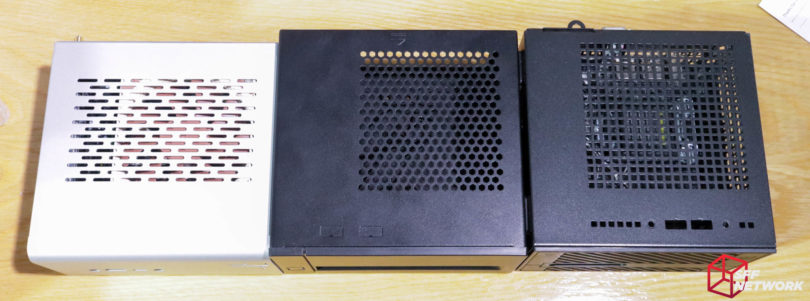
Comparing the VT01 with the VT02 and the DeskMini, in order. The CT01 is clearly the shortest, with the VT02 next in height, and the DeskMini being the tallest.
Depth-wise, the store is the same. The VT01 really is the smallest.
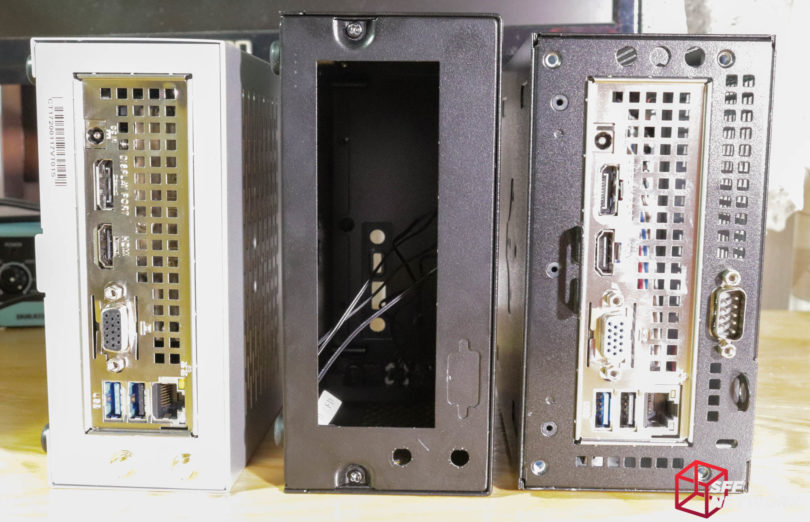
On their sides, the chassis widths (now vertical) are more evident. In all three dimensions, the VT01 is the smallest. In this metric though, the VT02 is larger than the DeskMini, making it more similar in overall volume to the DeskMini’s OEM chassis.
The Testing
Simples – load up Prime95 Blend and FurMark and let the system heat soak until the CPU temperature is stable for 5 minutes. This torture test is enough to test any case’s cooling mettle, be it uSFF, SFF or (ugh) LFF.
Test system specifications;
- ASRock A300 DeskMini board
- AMD Ryzen 5 2400G
- 2x 8gb ADATA SODIMMs
- Samsung 970 Evo Plus 250GB SSD
- Noctua NH-L9A-AM4 cooler
The Results
Oof, that fan noise. 72°C under Prime95 and FurMark load – with an ambient of 18°C making that a delta of 54 degrees. The fan had to sit at top speed, meaning it was a very noisy system at load. Not quite stock cooler noise, but the system was definitely making itself heard.
On a positive note – this is quite likely the hottest combination I could install in this case, and lower TDP solutions will most likely not suffer from as drastic an aural profile. One thing to note though, half the noise profile is from the air turbulence caused by the fan being adjacent to the top panel. A lower profile cooler on a 35W TDP Intel platform would work perfectly for this chassis.
The Conclusion
At US$33, the VT01 offers a cheap upgrade for your DeskMini system, or as a base to build on if you have managed to find a board by itself. It doesn’t come without compromises though – especially in the cooling department. The VT01 is definitely not ideal for the higher wattage AMD APUs – I’d recommend only installing an Intel system, with a CPU below 50W TDP, in this case. The case also raised an interesting point I had not thought of – there is a severe lack of lower profile coolers for the AM4 platform – the Noctua NH-L9A-AM4 being the shortest option without resorting to server cooling solutions.
Aesthetically, the chassis is an interesting mix of the TJ07-esque styling, with a dash of industrialness brought on by the cheaper manufacturing methods (i.e. the gaps in the side of the chassis).
Can I recommend the VT01? Alas, no. A recommendation would mean I endorse the use of the product in most use cases – something that the VT01 isn’t able to to. With AMD’s Ryzen APU platform being the powerhouse it is, I judge it to be on par with the Intel offerings in possible use for a M-STX chassis. In this case, only the Intel boards are really usable – negating half the possible use cases, in my opinion. A shame, as the VT01 is the only aesthetically unique M-STX chassis available at time of writing.
I’d like to see a VT03 along the same aesthetic lines, but remove the bottom 2.5″ mount, move the board lower in the case, and gaining 5-6mm of CPU cooler headroom. Even this change, somewhat minor in the grand scheme, would alleviate a lot of the issues I found with the VT01.
Pros
- Better looking than the original case
- Great value
- Easier to build in than the OEM DeskMini case
- Flexible VESA Mount
Cons
- Front panel bracket fouling the A300 motherboard
- Cooler limitations on the AMD platform limits platform choice
- Cooling isn’t quite up to the 65W APU’s heat output without high fan speeds
Niggles
- Difficult to recycle packaging
Thoughts? Discuss them in the forum.
This review sample was provided by SilverStone.
Here at SmallFormFactor.net we give manufacturers the ability to be part of the community. We offer a right to reply to our hardware reviews. If a manufacturer responds with any feedback or corrections, their comments will be posted here.

