Initially known as Project Gregory in the SFF Network forums, the CG7 is touted as a flexible, customisable, SFF chassis with so many options to choose from it boggles the mind. Instead of offering a single setup, options, be it at time of purchase, or via included components, mean that your CG7 will be different from any other.
Two configurations are available – Mini-ITX with a TFX power supply, or Flex-ATX (i.e not full width M-ATX) with a DC-DC power supply option. We’ll look more into both below. The important aspect here is that this is an indie case with a tonne of customisability – an amazing feat, where cost per unit is the deciding factor between success and failure with the tiny profit margins.
A note before we start – this is a pre-production sample and thus some aspects may change in the final versions. We will note during the review as to changes that may be made to the final production variant.
Table of Contents
The Specs
| Model | CG7 Cravo |
| Motherboard Support | M-ITX, “Slim” M-ATX (Up to 205 mm wide) |
| Power Supply Support | TFX, DC-DC |
| Material | Acrylic, wood |
| Drive Support | Up to 3 x 2.5″ drives. (6 in the M-ATX layout w/ external AC-DC PSU) |
| Fan Support | 1x 120 mm on side bracket, up to 4 x 80/92mm fans on end brackets |
| Max CPU cooler height | 69 mm with side bracket, 72 mm without |
| Dimensions | 305 x 227 x 103mm without feet. |
| Volume | 7.1 litres |
| MSRP | TBD |
The case will be available to order from Overclockers UK for Europe and US, or direct through www.lazer3d.com for the rest of the world.
The CG7
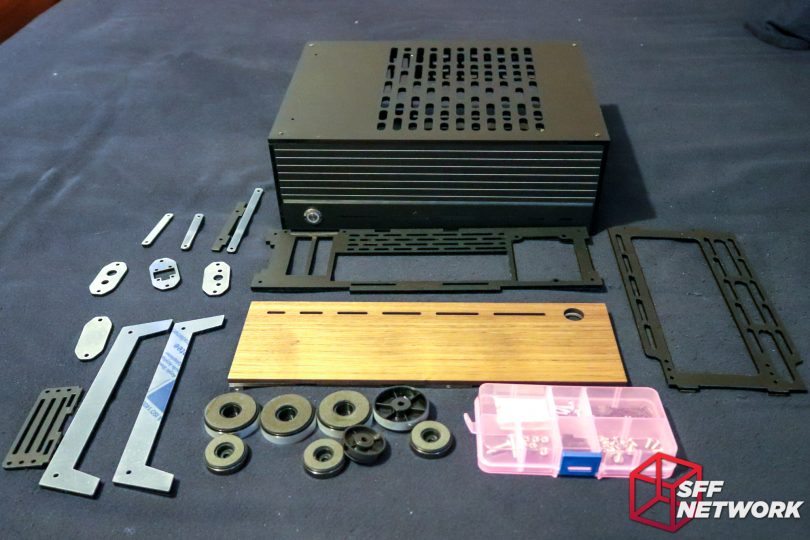
Lazer3D sent SFFn a pre-production kit to try out – this includes many of what will become standalone options – so the final product will not include all you see here. Also to note, As this is a pre-production variant, some design aspects may change.
What a loadout! Lazer3D really wants us to see how flexible the CG7 is. Let’s see what we got in our “press kit”;
(Clockwise from the top left)
- Card retention bars (2x ITX)
- Single 2.5″ drive mounting bar
- Single M-ATX card retention bar
- The CG7 itself! The case came pre-configured for M-ATX use, so the M-ITX back panel sits below this.
- Drive and fan mounting panel
- Wooden (yum!) front panel
- Pink container containing all the fasteners (again, a wondrous thing that Lazer3D has implemented in all their products)
- Various case feet
- Two acrylic leg assemblies
- A few power input panels, supporting everything from mains in, to G-Unique, HDPlex and Pico-PSU (and more!)
- And finally, a multi 2.5″ drive mounting panel
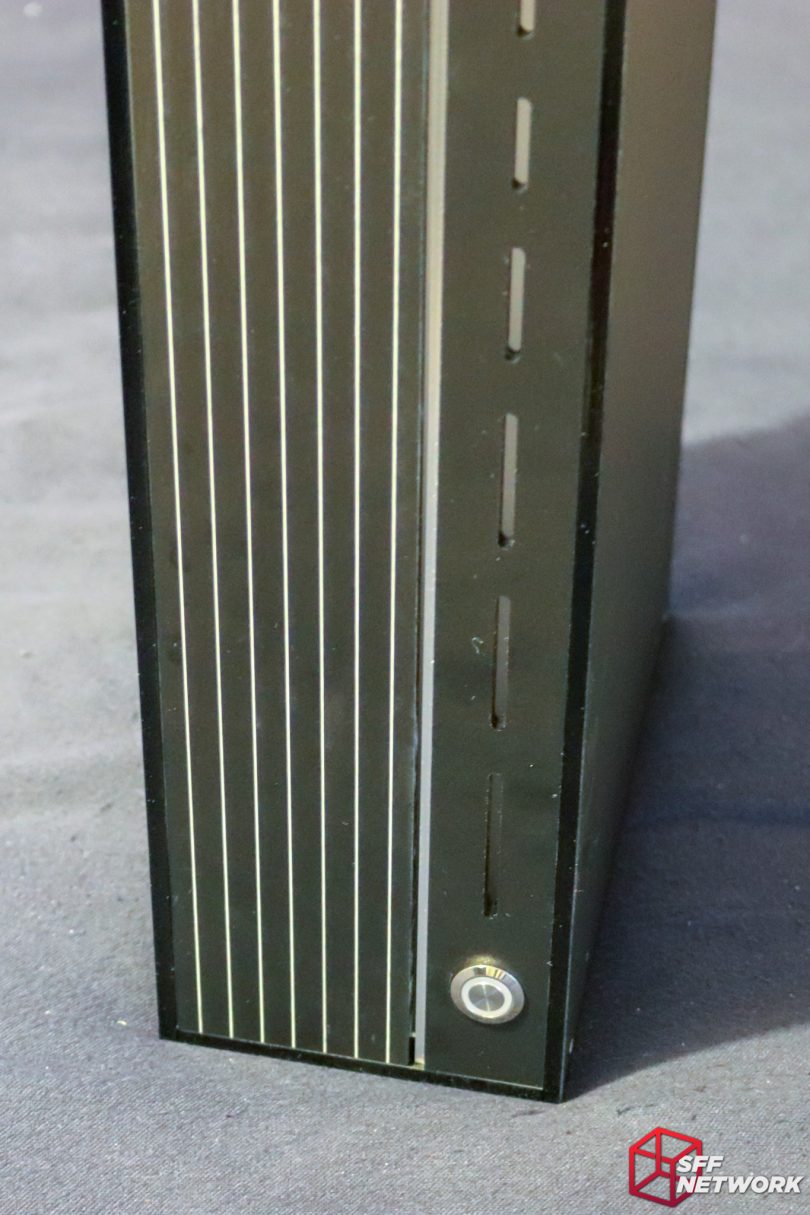
Standing tall, the first thing that strikes me is that the design is very subtle. Think a pinstripe suit, or retro hi-fi. No flashiness here. No front panel ports, just a sole 16mm vandal resistant switch with power ring. Simplicity – an appreciated ethos.
I may as well get this out of the way – some of the images in this article are below my usual standard – during the production of this article I found myself between office spaces. (Namely, my home work space had to be turned into a kid’s bedroom as my children are growing older. Parenthood, le sigh.)
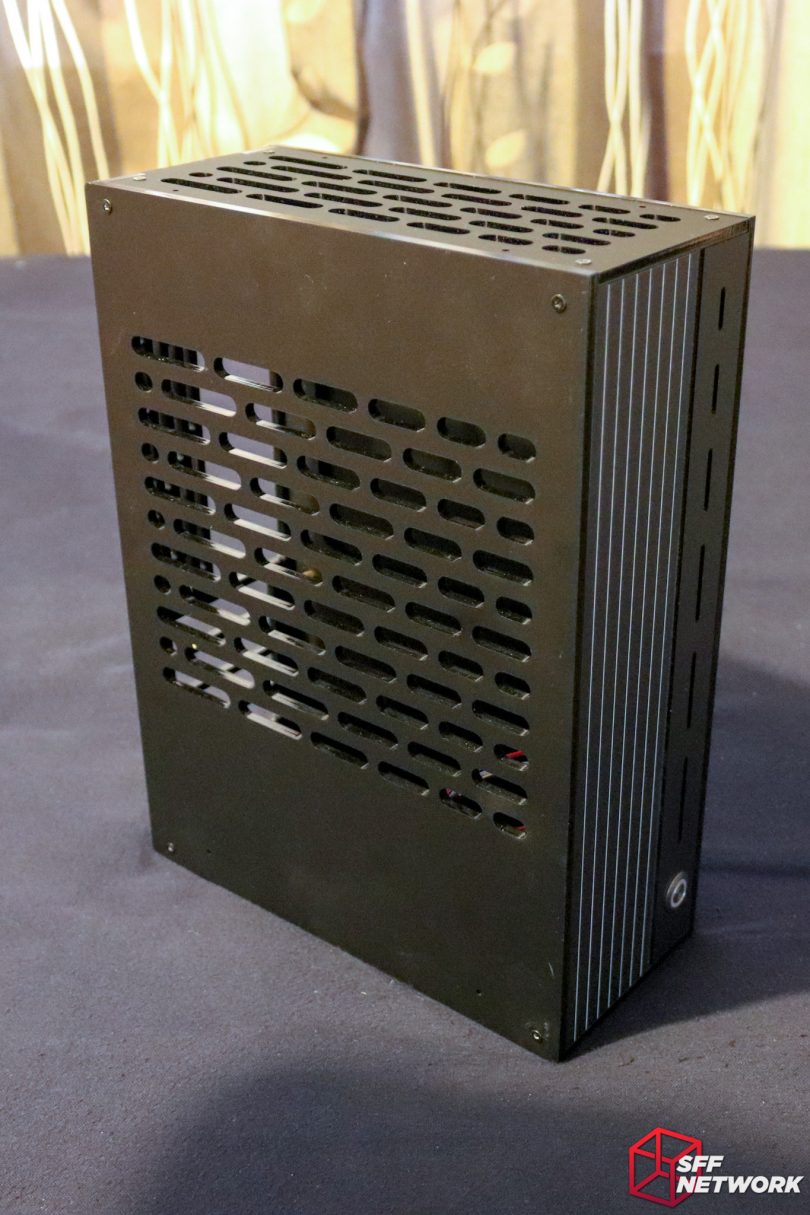
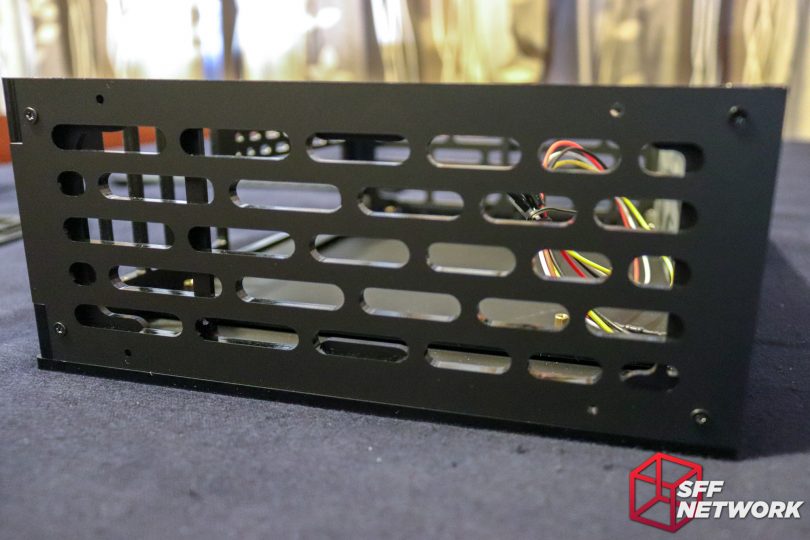
To the three quarter shot, and the side panel makes an appearance. This ventilated side panel can be re-orientated in a few ways to allow extra cooling to your CPU or expansion cards – depending on where you need the airflow. The panel itself is around 5mm thick, a hefty piece of frosted black acrylic. It is held to the chassis (as with all the panels that make up the case) by a quartet of countersunk M3 screws, in black, mounting to the metal (!) corner brackets. The metal corner brackets are a great touch compared to the acrylic “mod cubes” of old – smaller, sturdier and better looking.
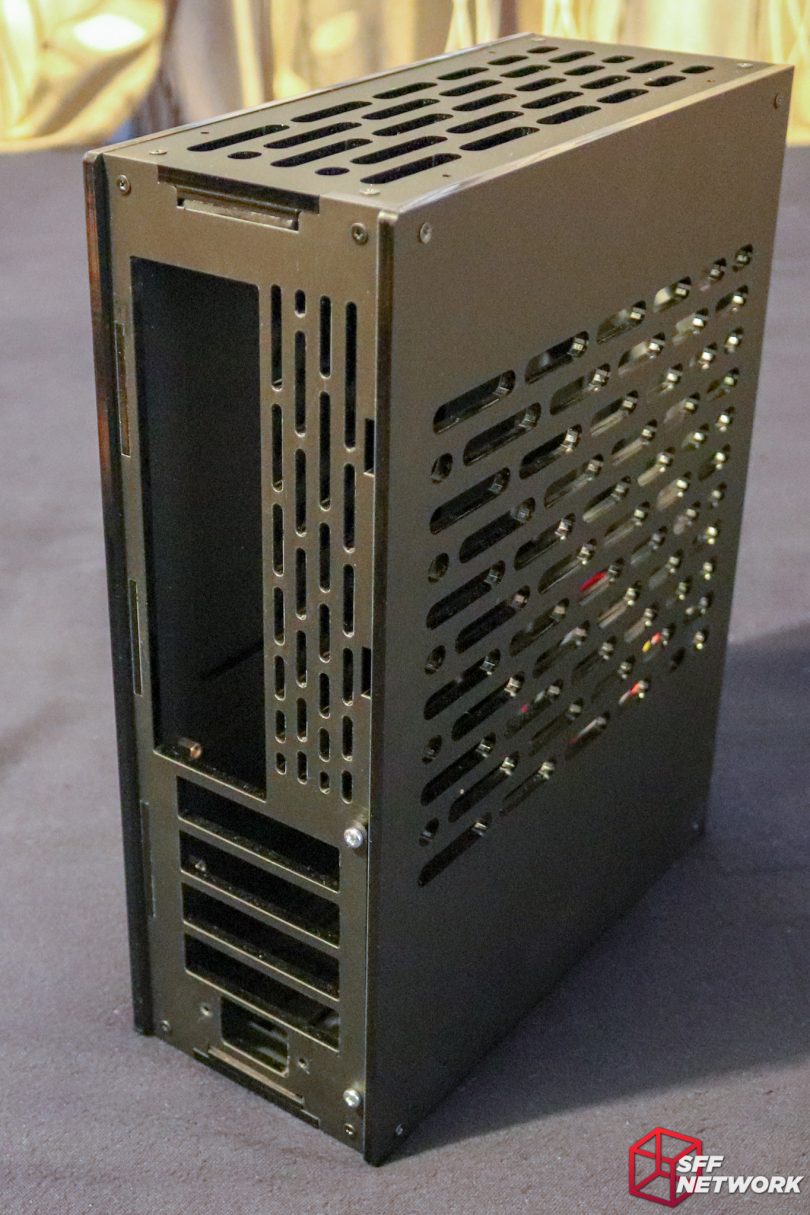
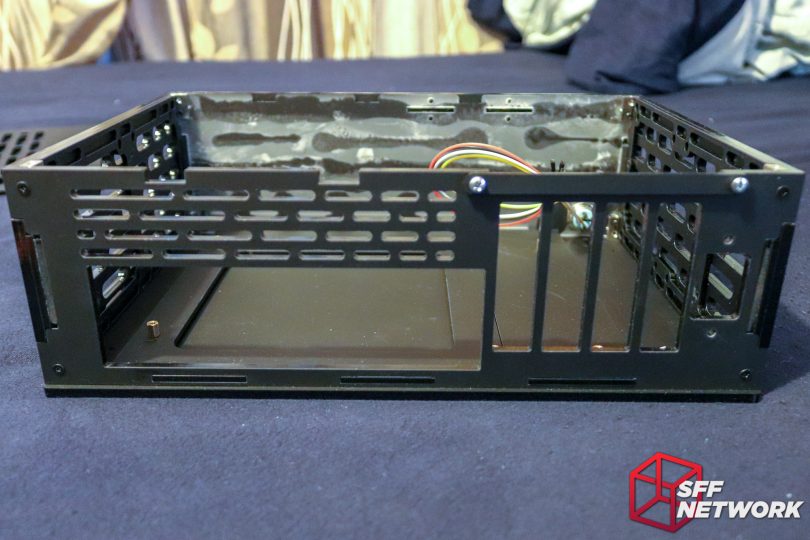
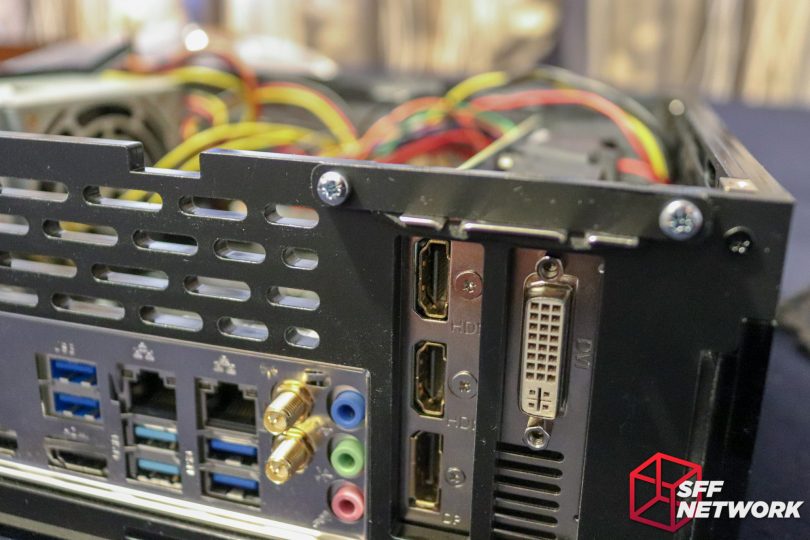
To the rear, and our first glance at the M-ATX layout. Low profile cards only, but that’s the rules of the game when you’re going this small. Also, DC-DC becomes a necessity here, there just isn’t the space for a normal (ignoring the loud Flex-ATX and 1U form factors) power supply.
Cards are held in with a retention bar – more on this later.
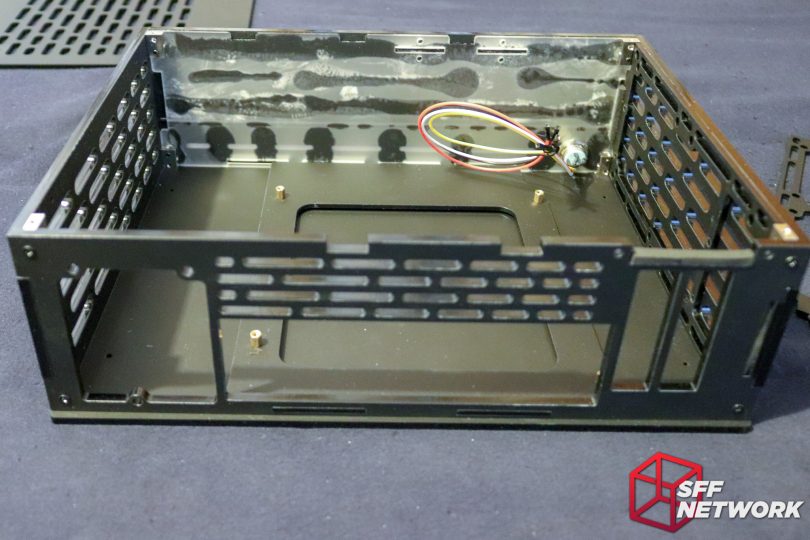
The front panel is a two layer affair, with the front aesthetic portions adhered to a structural panel behind. Notches in the panel provide locations for various mounting panels.
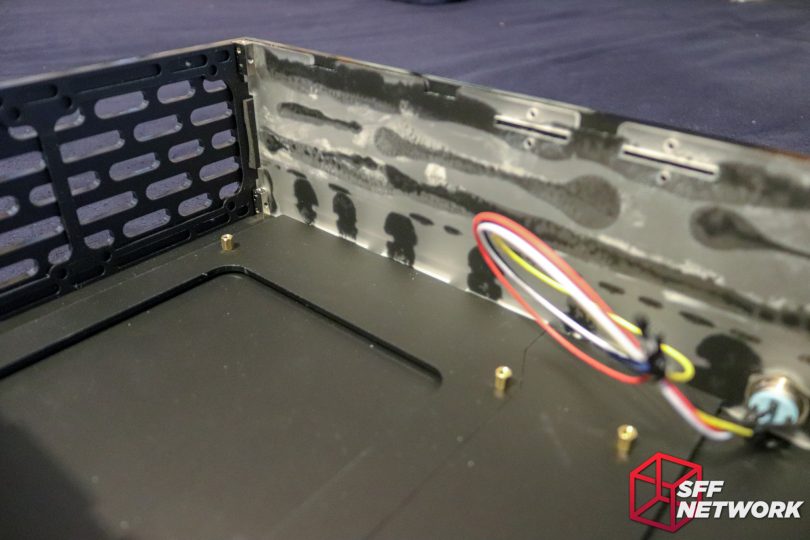
Also of note here is the two part motherboard tray. In the M-ATX configuration, two sections are installed, holding all the standoffs for the board, as well as providing notches for the expansion card brackets.
The card retention bar..arm.. thingimawhatsit… is mounted at each end with M3 screws and nuts, This doohickey clamps the card brackets against a foam strip, holding the card in place. Along the bottom of the shot there are three darker coloured sections – these are the edges of the motherboard “tray”, which slots into the front and rear panels to aid in chassis rigidity, as well as removing the need to fasten them down with screws.
The smaller pair of the panels (it’s a challenge naming these things on a case that is designed to work in multiple orientations!), are also around 5 mm thick, and share the same venting pattern that the main panel has. You may have noted extra holes on these panels, and the main vented panel – these are for mounting the case feet, or the case leg assembly!
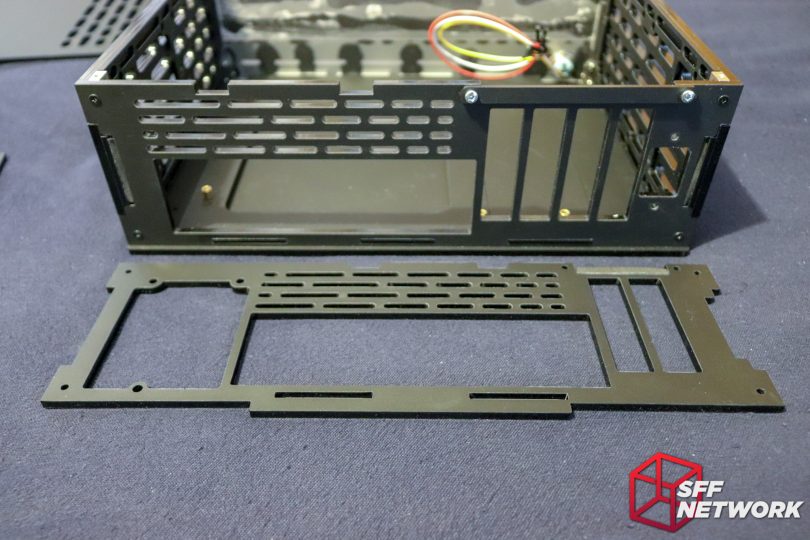
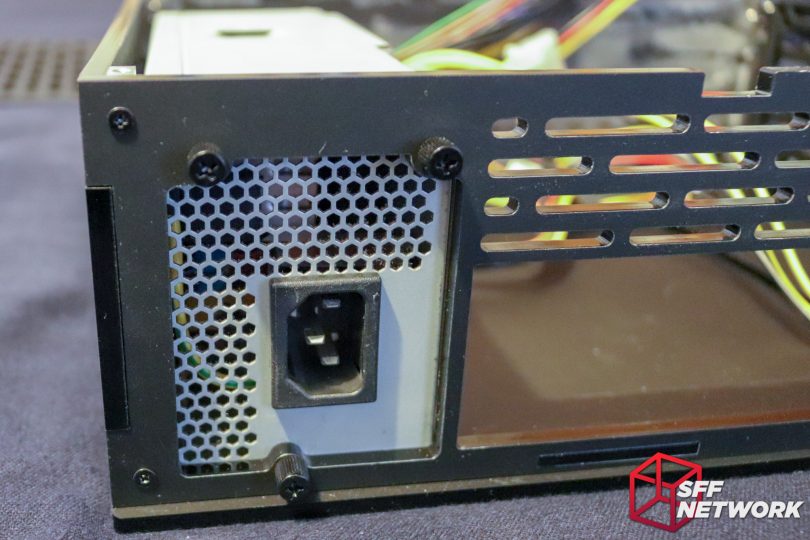
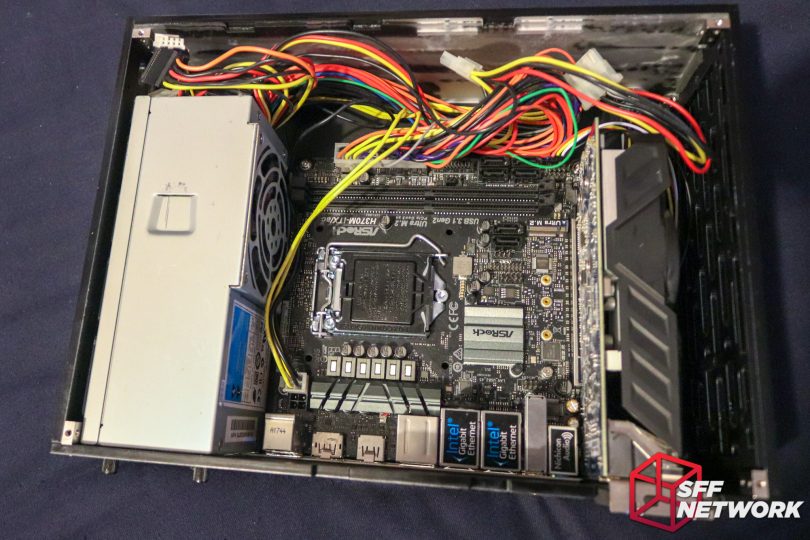
Let’s see what the CG7 looks like in M-ITX mode. The M-ITX panel includes mounting for a TFX form factor power supply, a sadly misunderstood and forgotten SFF power supply standard. Great to see it being utilised here!
Swapping out the panel is as simple as removing four screws, re-configuring the motherboard tray, and reinstalling the screws. Nice.
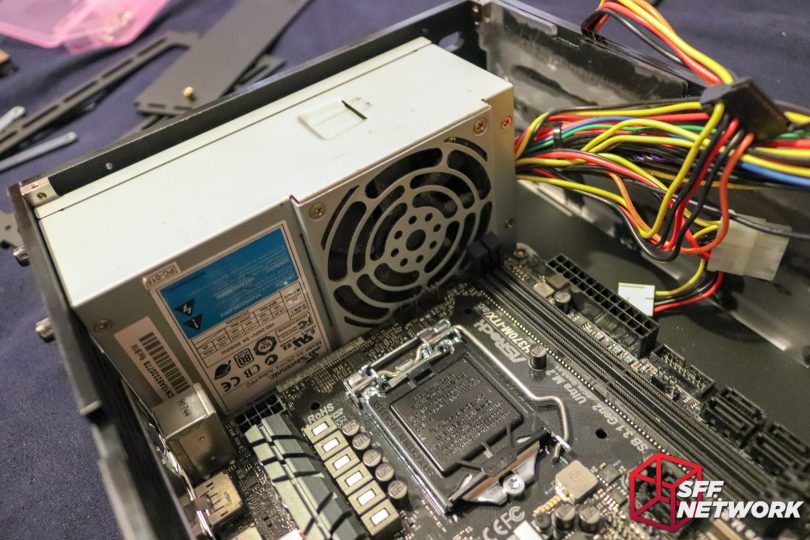
Mounting the TFX power supply is as simple as screwing in the three included thumbscrews.
A little tight on the motherboard, alas. I’d recommend installing the PSU last! This is due to the TFX PSU I have on hand having a fan “bump”. Future case revisions are looking promising to remedy this.
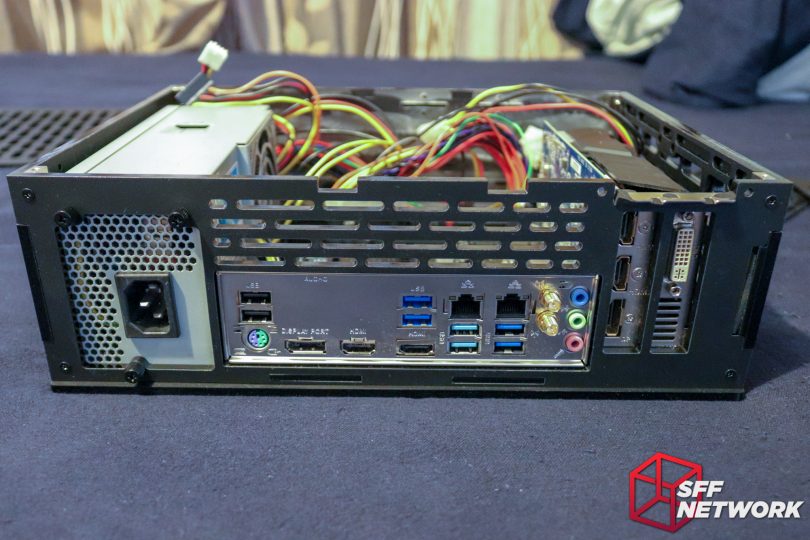
A quicky system build, showing off some of the capabilities of the case. Up to a 72mm CPU cooler can be installed, along with the dual slot expansion card (in this case, a GTX 750 TI).
I’d highly suggest some time spent on cable management – I was in too much of a rush to get to the CG7’s main party trick, M-ATX!
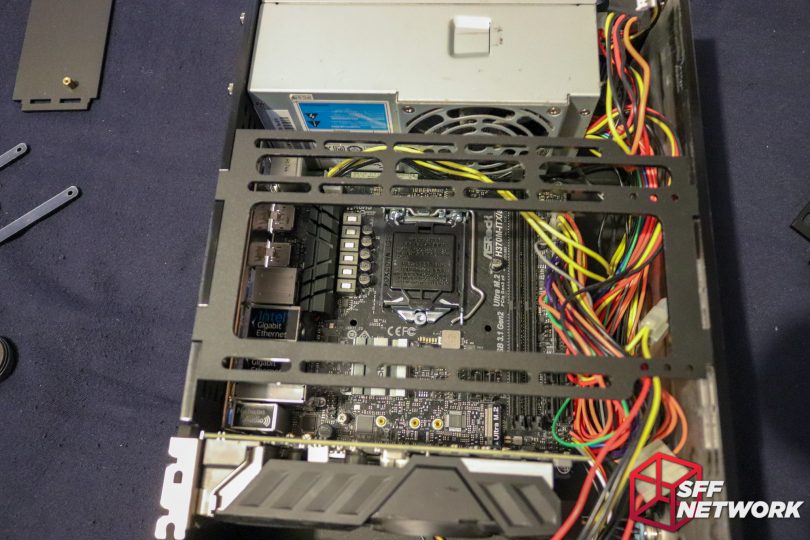
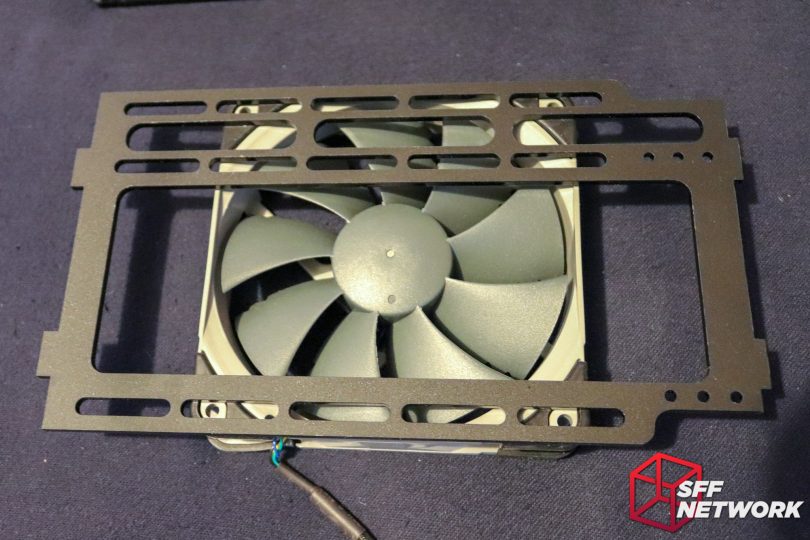
Notching into the case, the fan/drive mounting panel is a snug fit, and sits right where you want it to provide cooling air to the system.
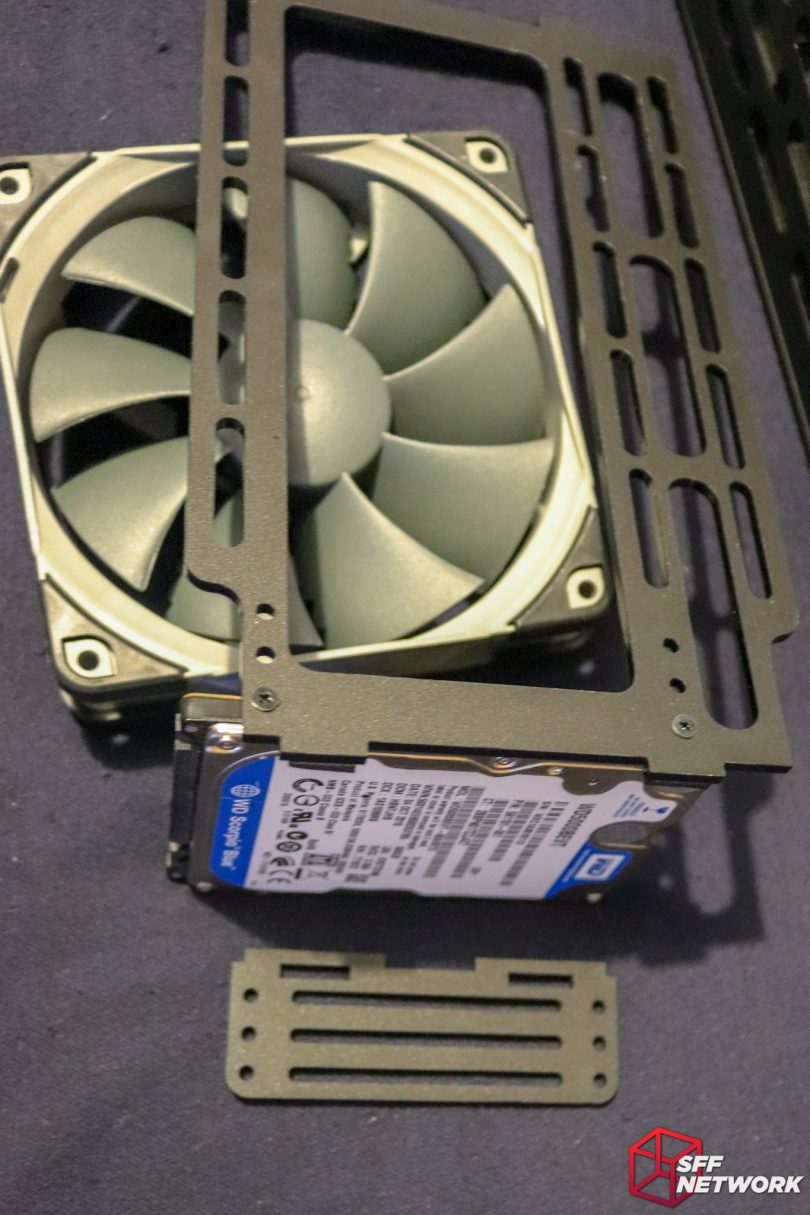
Up to a 120mm fan can be mounted to this panel, as well as 2.5″ drives as needed.
Using the drive mounting bracket, up to three 2.5″ drives can be mounted in the CG7 in a normal config – handy!
The card retention whatsit clamps down firmly on the bracket. I did find, however, that blanking plates wouldn’t work with this card retention mechanism – the torque applied by the arm meant that the blanking plate would flip up like a garden rake in a comedy skit. I have passed this feedback on to Lazer3D!
The Build
After looking through the case thus far, I was excited to throw some interesting hardware in to see what we can really do with the CG7. Micro-ATX? Yes please. Triple expansion cards? Yup. Internal AC-DC? Indeed. Let’s go!
Personal rig build time (again!) – let’s see what I threw in;
- Intel i7-7700T
- 16GB G-Skill Flare X 3200 DDR4
- 512GB ADATA XPG GAMMIX M.2 SSD
- AMD Radeon Pro WX2100
- Dual NIC network card
- ASUS Xonar DX Sound Card
- HDPlex 300W AC-DC
- KMPKT Dynamo Mini Prototype Direct Plug DC-DC
- Prolimatech Samuel CPU cooler
- Noctua Sterrox NF-A12x25 fan
- 2 x Noctua NF-A9x14 fans
That’s a lot of hardware for a 7.1 litre case.
(excuse the typo on the case name!!)
The Experience
Being a pre-production unit, I came into this expecting to find issues, rough edges, and design aspects that needed revision. I was pleasantly surprised, with the CG7, in my eyes, being production ready in the current state.
On quiet fan mode (because I’m human), I recorded 70c max on the CPU temperature and 78c max on the GPU – no throttling. Ambient was around 18c at the time – summer is coming. Acoustics – pretty good. The thickness of the acrylic helps dampen some of the higher frequencies, leaving only a dull whirr of fans. At the moment of writing, the CG7 is sitting to my right next to my 27″ monitor and it’s just barely audible, mostly down to the 40mm fan on the AMD WX2100 GPU.
The Conclusion
With a launch of around November this year, we don’t have to wait long for the CG7 Cravo to hit the market. Some tweaks will be done before production, and I recommend you check out the forum thread to keep an eye on these if the CG7 interests you.
As this is a pre-release unit, I’ll refrain from my usual Pros, Cons and Niggles list, but instead I’ll go with a less formal “thoughts” section.
The CG7 is an interesting balance between design, material limitations and cost. The use of acrylic leads to a more “square” design – curves are only found in cutouts. A retro aesthetic fits nicely with this limitation though. The inclusion of wood nails this – nothing screams retro like real wood panels.
The use of a TFX power supply is an interesting choice – it’s not a hugely common form factor. Not one I would have gone for – the HDplex, KMPKT, Pico-PSU and G-Unique power supply options, not to mention Meanwell and similar AC-DC units, offer a quieter, more power dense configuration. Removing TFX support could save the case a solid 40 mm, if not more, in the longest direction – knocking a litre off the total system volume. Of course it’s not that simple – we’d need to find a new home for an internal AC-DC PSU.
An internal cable management baffle towards the front would be great – at the expense of limiting expansion card length. As always, any changes to a product means compromises!
Overall, though, the CG7 is definitely worth your eye if you are shopping for a new case. Less so for the M-ITX form factor (the Lazer3D HT5 fits the bill better there, in my opinion), but in M-ATX mode, the CG7 offers style, substance and options that just don’t otherwise exist in the volume of the CG7.
SFF Network Approved!
Thoughts? Discuss them in the forum.
This review sample was provided by Lazer3D.
Here at SmallFormFactor.net we give manufacturers the ability to be part of the community. We offer a right to reply to our hardware reviews. If a manufacturer responds with any feedback or corrections, their comments will be posted here.

