
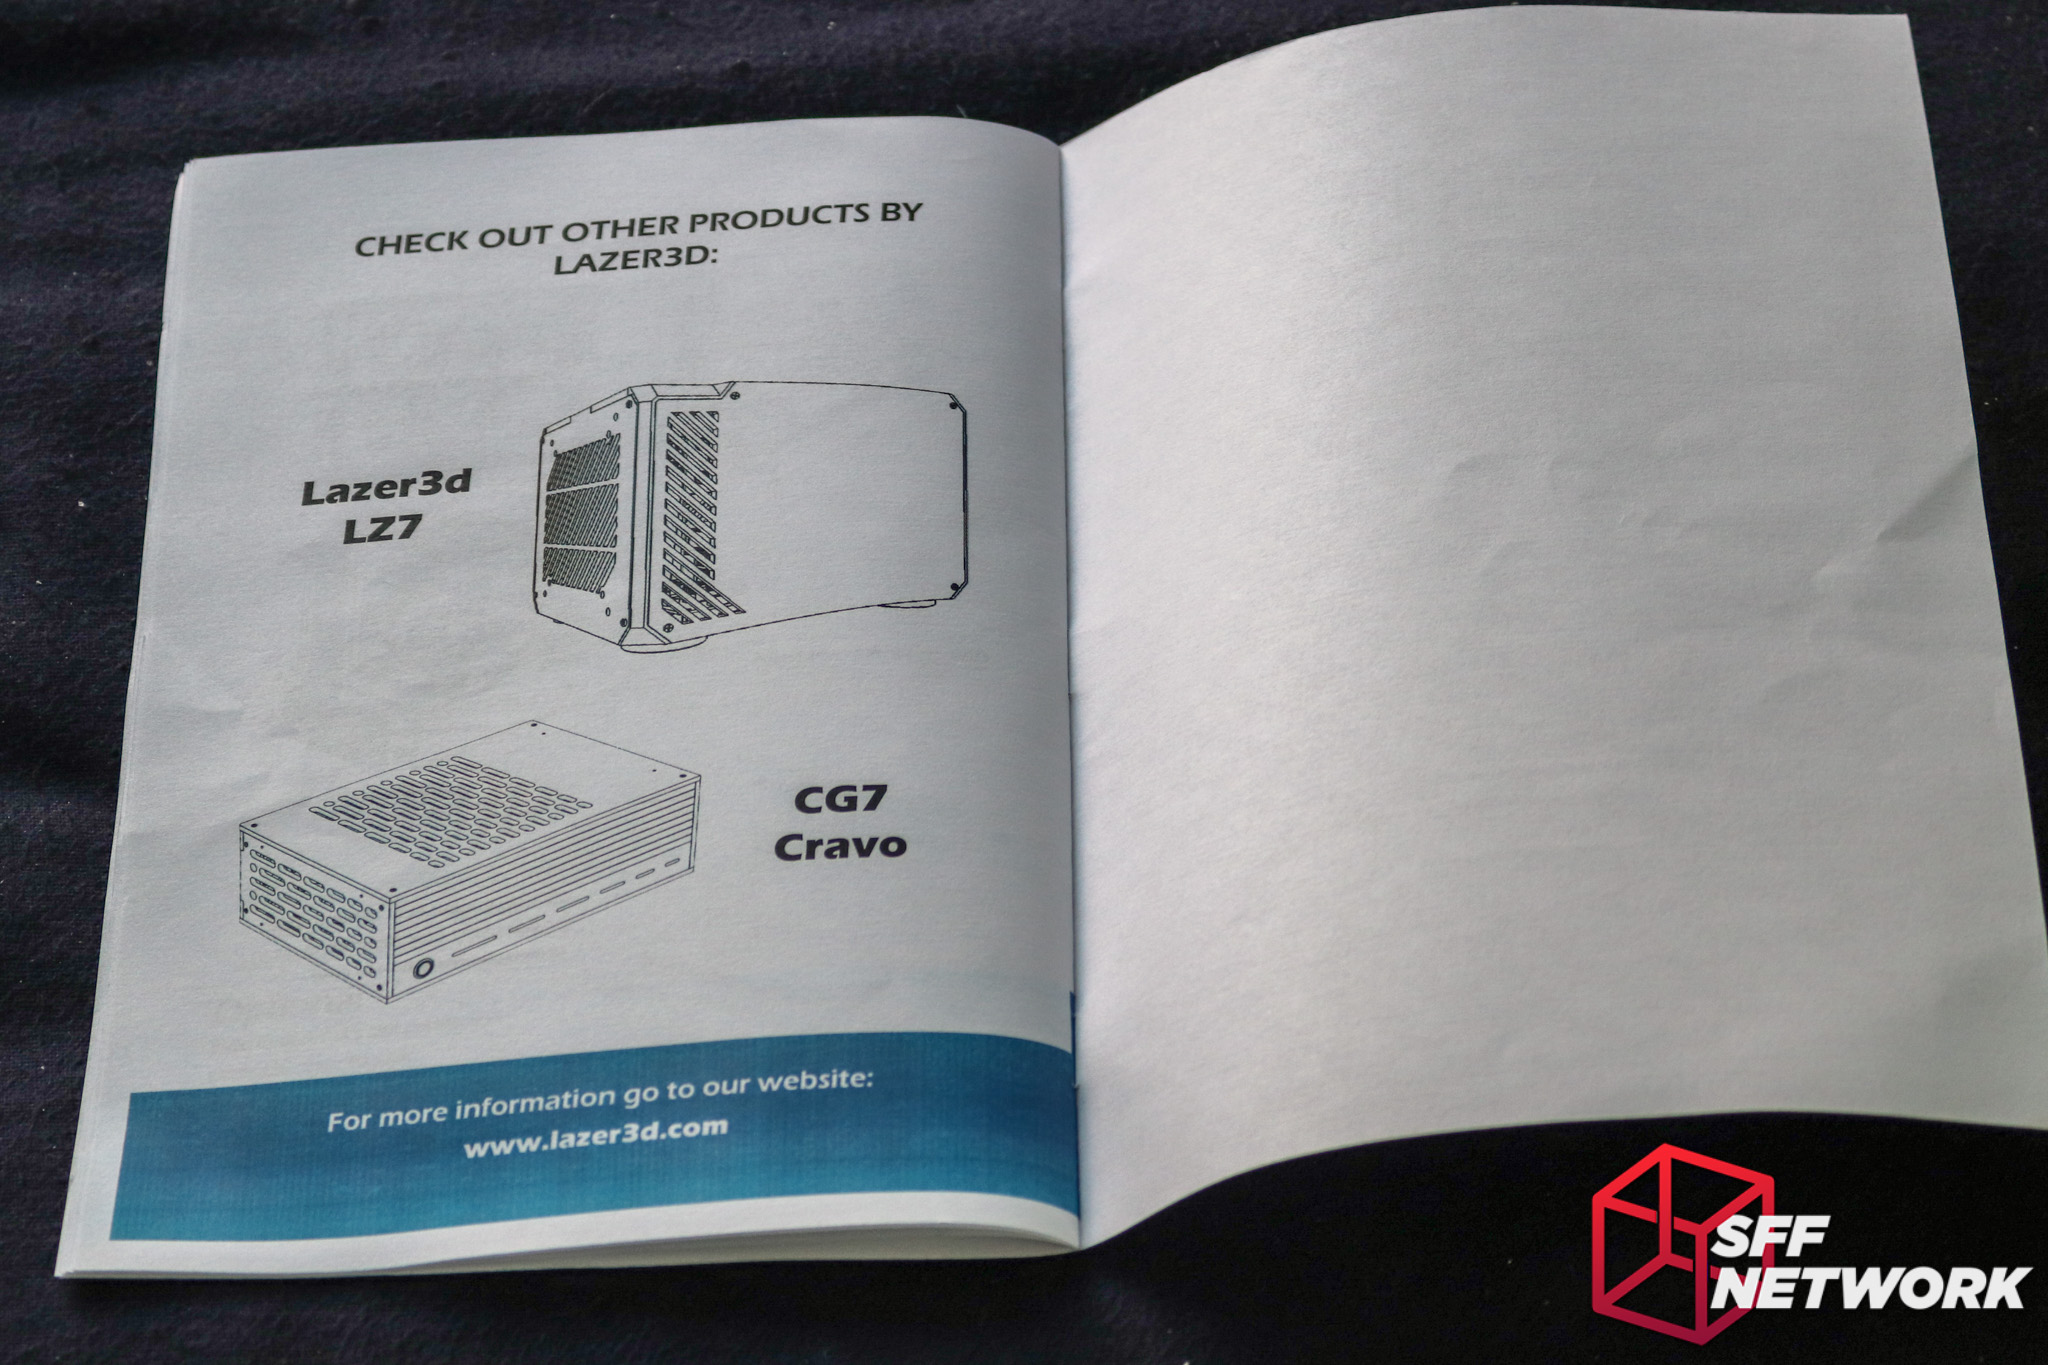
Indie cases, the major driver of our community forum and niche, come in many shapes and sizes (preferably small). Lazer3D recently approached me to try a couple of their products that are in final development – the HT5 and the CG7. Whilst the CG7 is due to launch in November, the HT5 has a September launch. Guess which one we’ll look at first?
Aiming squarely at the premium HTPC market, the HT5 offers a customisable chassis with various material finishes. Wood finishes? Yes please! Let’s have a look at how far the acrylic case market has come in the past few years – after using a SunbeamTech acrylic case in the past, I’m as surprised as you!
A note before we start – this is a pre-production sample and thus some aspects may change in the final versions. However, Lazer3D has stated that the only changes expected are in the documentation.
Table of Contents
The Specifications
| Model | HT5 |
| Dimensions (as reviewed) | 95mm (H) x 265mm (W) x 208mm (D) – 5.2 Litres |
| Board Support | M-ITX |
| GPU Support | Low profile, dual slot, up to 180mm long |
| CPU Cooler support | Up to 71mm |
| Chassis Fans | Up to 4x 80mm |
| MSRP | See below |
| Material | Acrylic |
From Lazer3D regarding MSRP:
The HT5 is targeting a launch of early September 2018, with a starting price of £89.99 (including 20% VAT – not applicable for residents outside of the EU) for the Stealth all black version, £94.99 for the Graphite (Grey/Metallic) and Timber (Oak/White) and £99.99 for the Bourbon version (Walnut/Black). The case will be available to order from Overclockers UK for Europe and US, or direct through www.lazer3d.com for the rest of the world.
The Unboxing
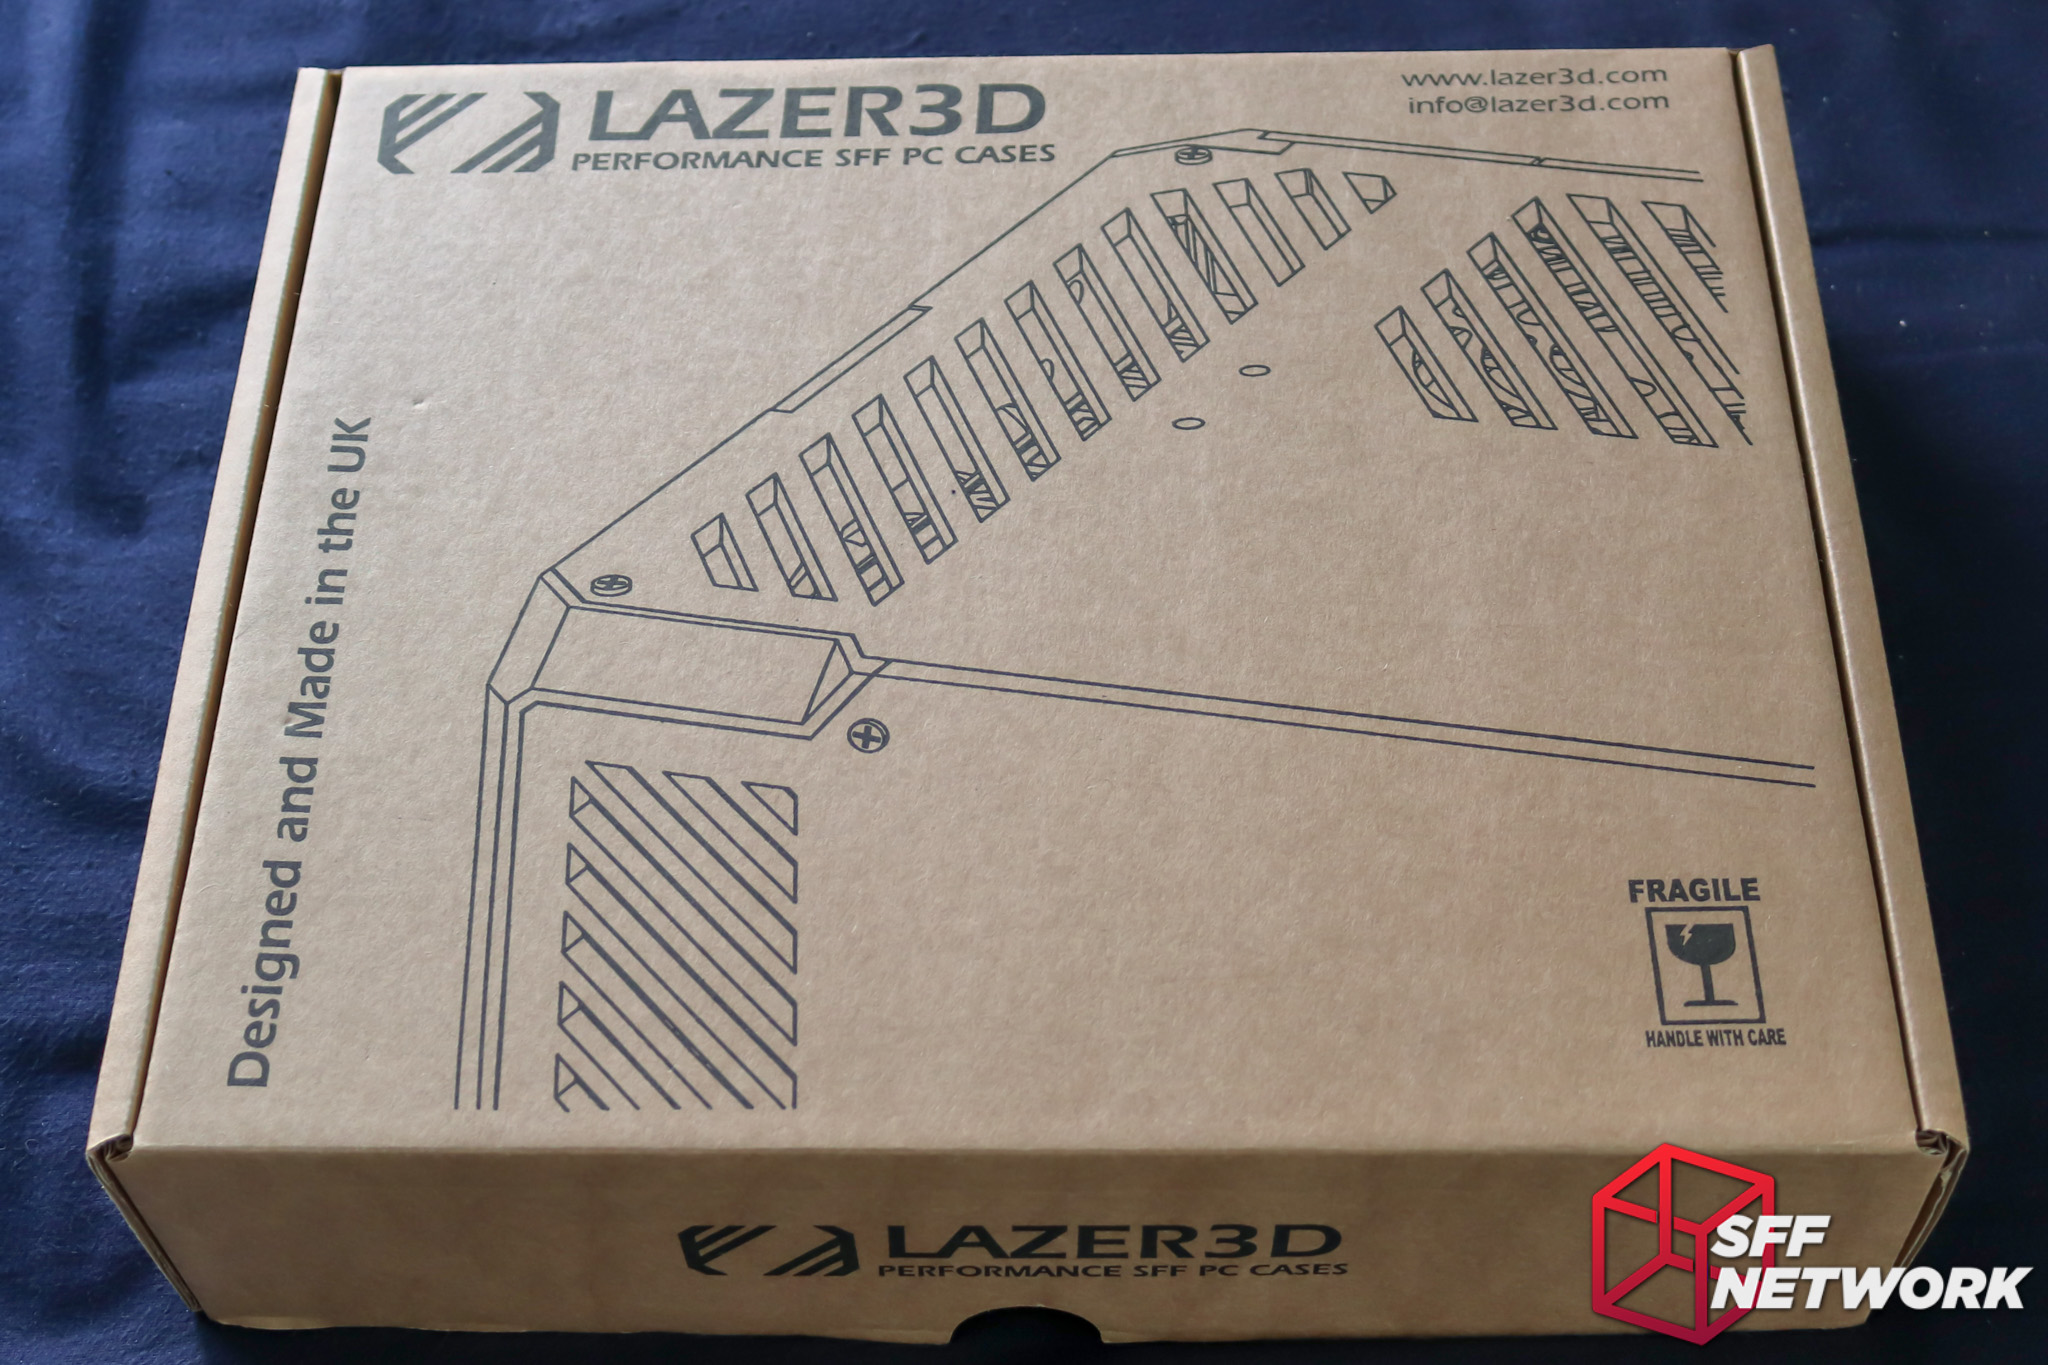
Ooh, we remember this design – it’s the LZ7! The simplistic styling of the box is slick.
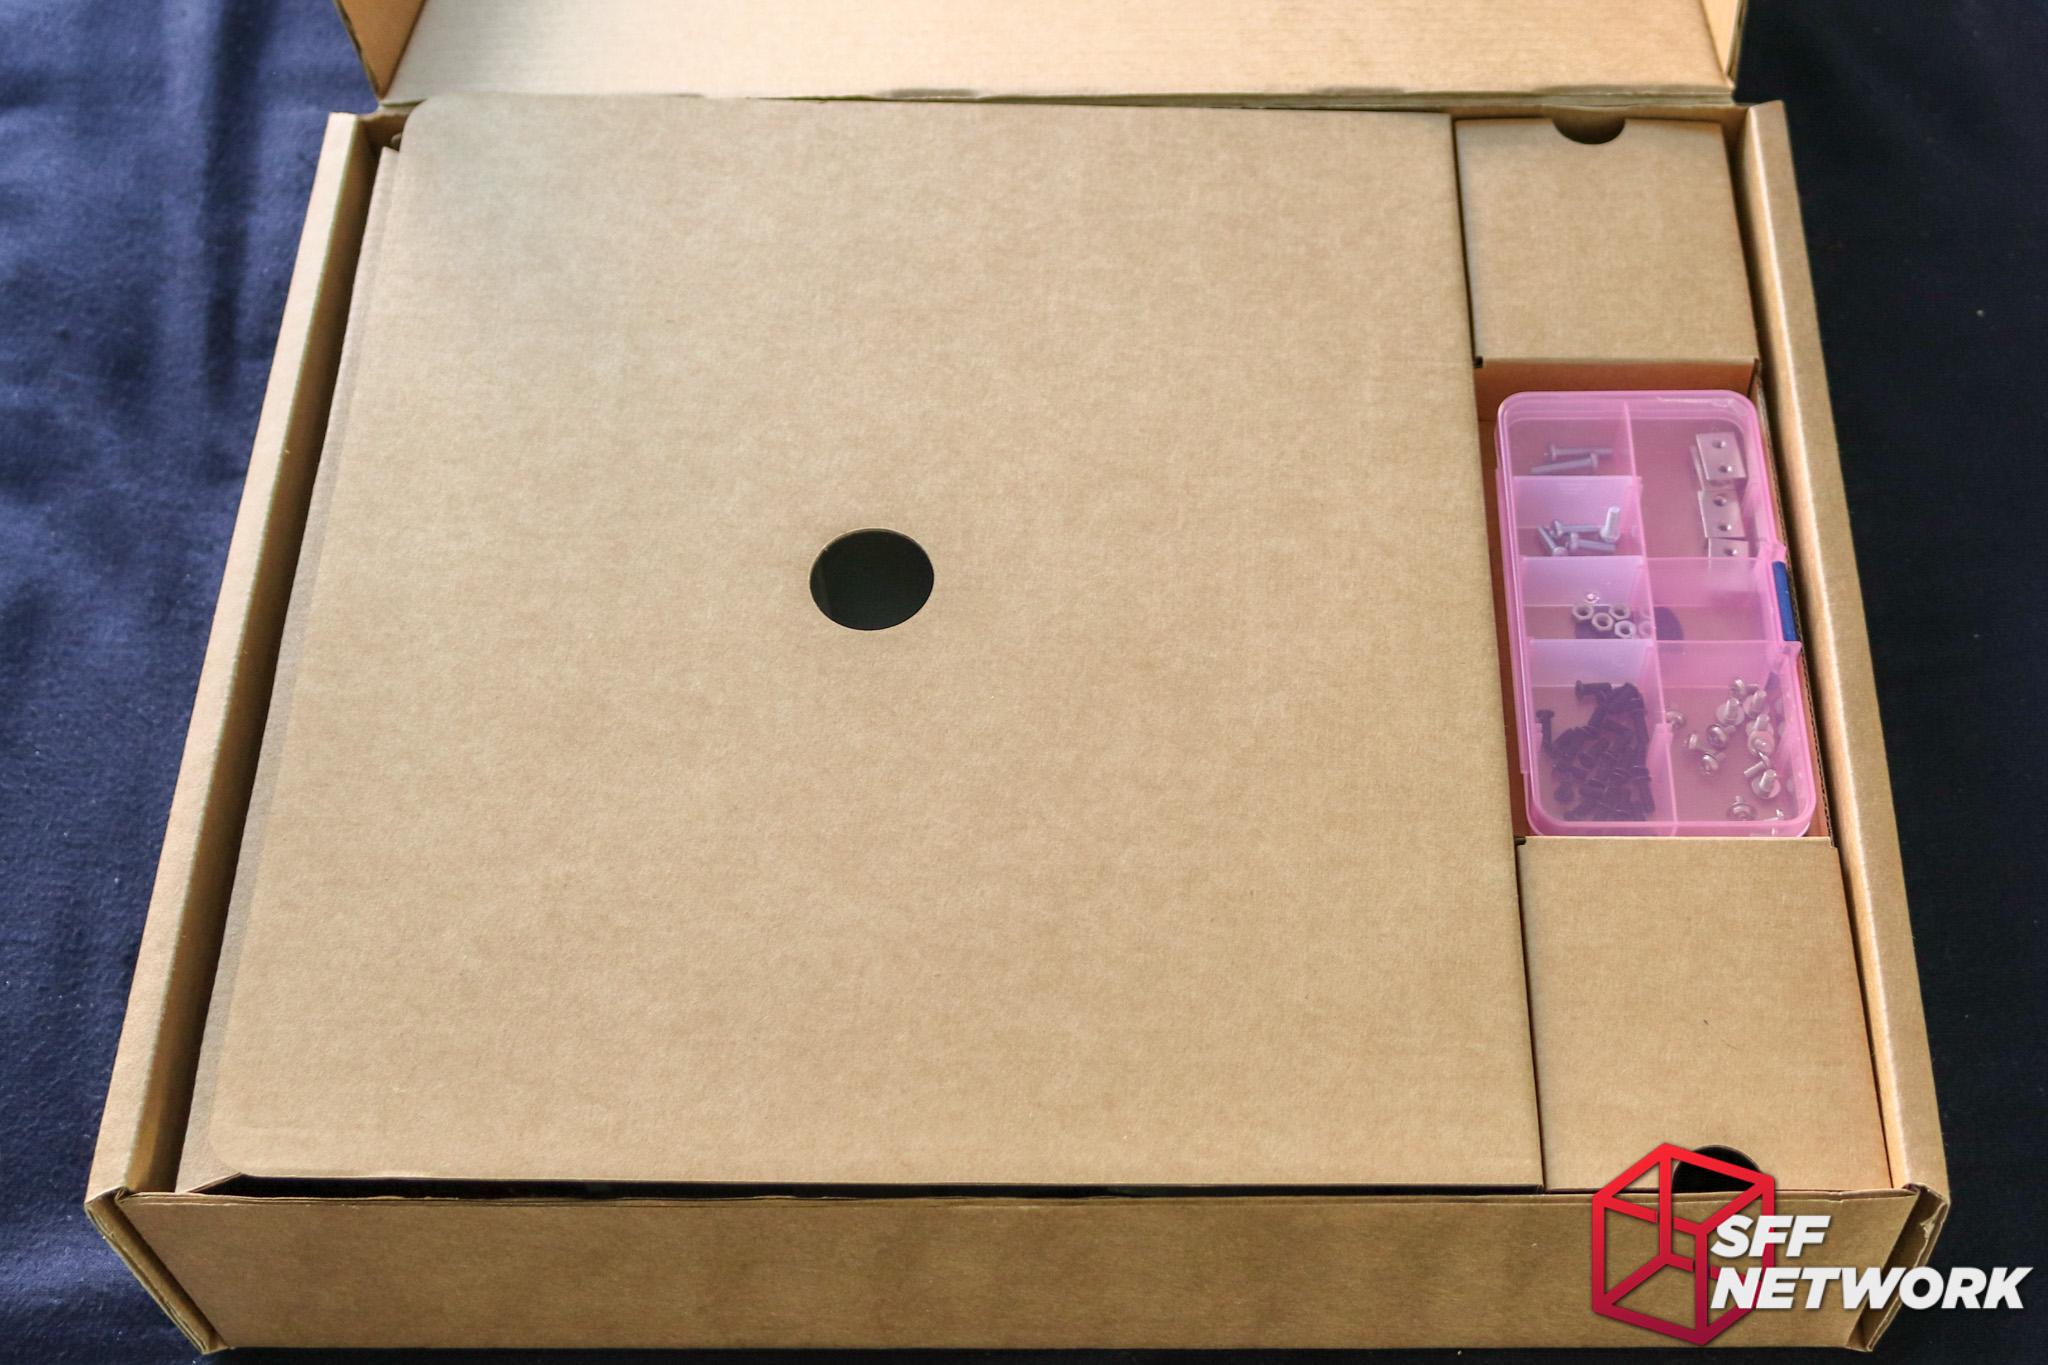
Well packaged, this case. Already we see a fantastic addition that the big players in the market ignore – a container to keep screws organised and tidy. Most large companies just throw in a ziplock bag and hope that consumers of even $200 cases don’t mind.

Partitioned, organised, nice. Oh, and pink.
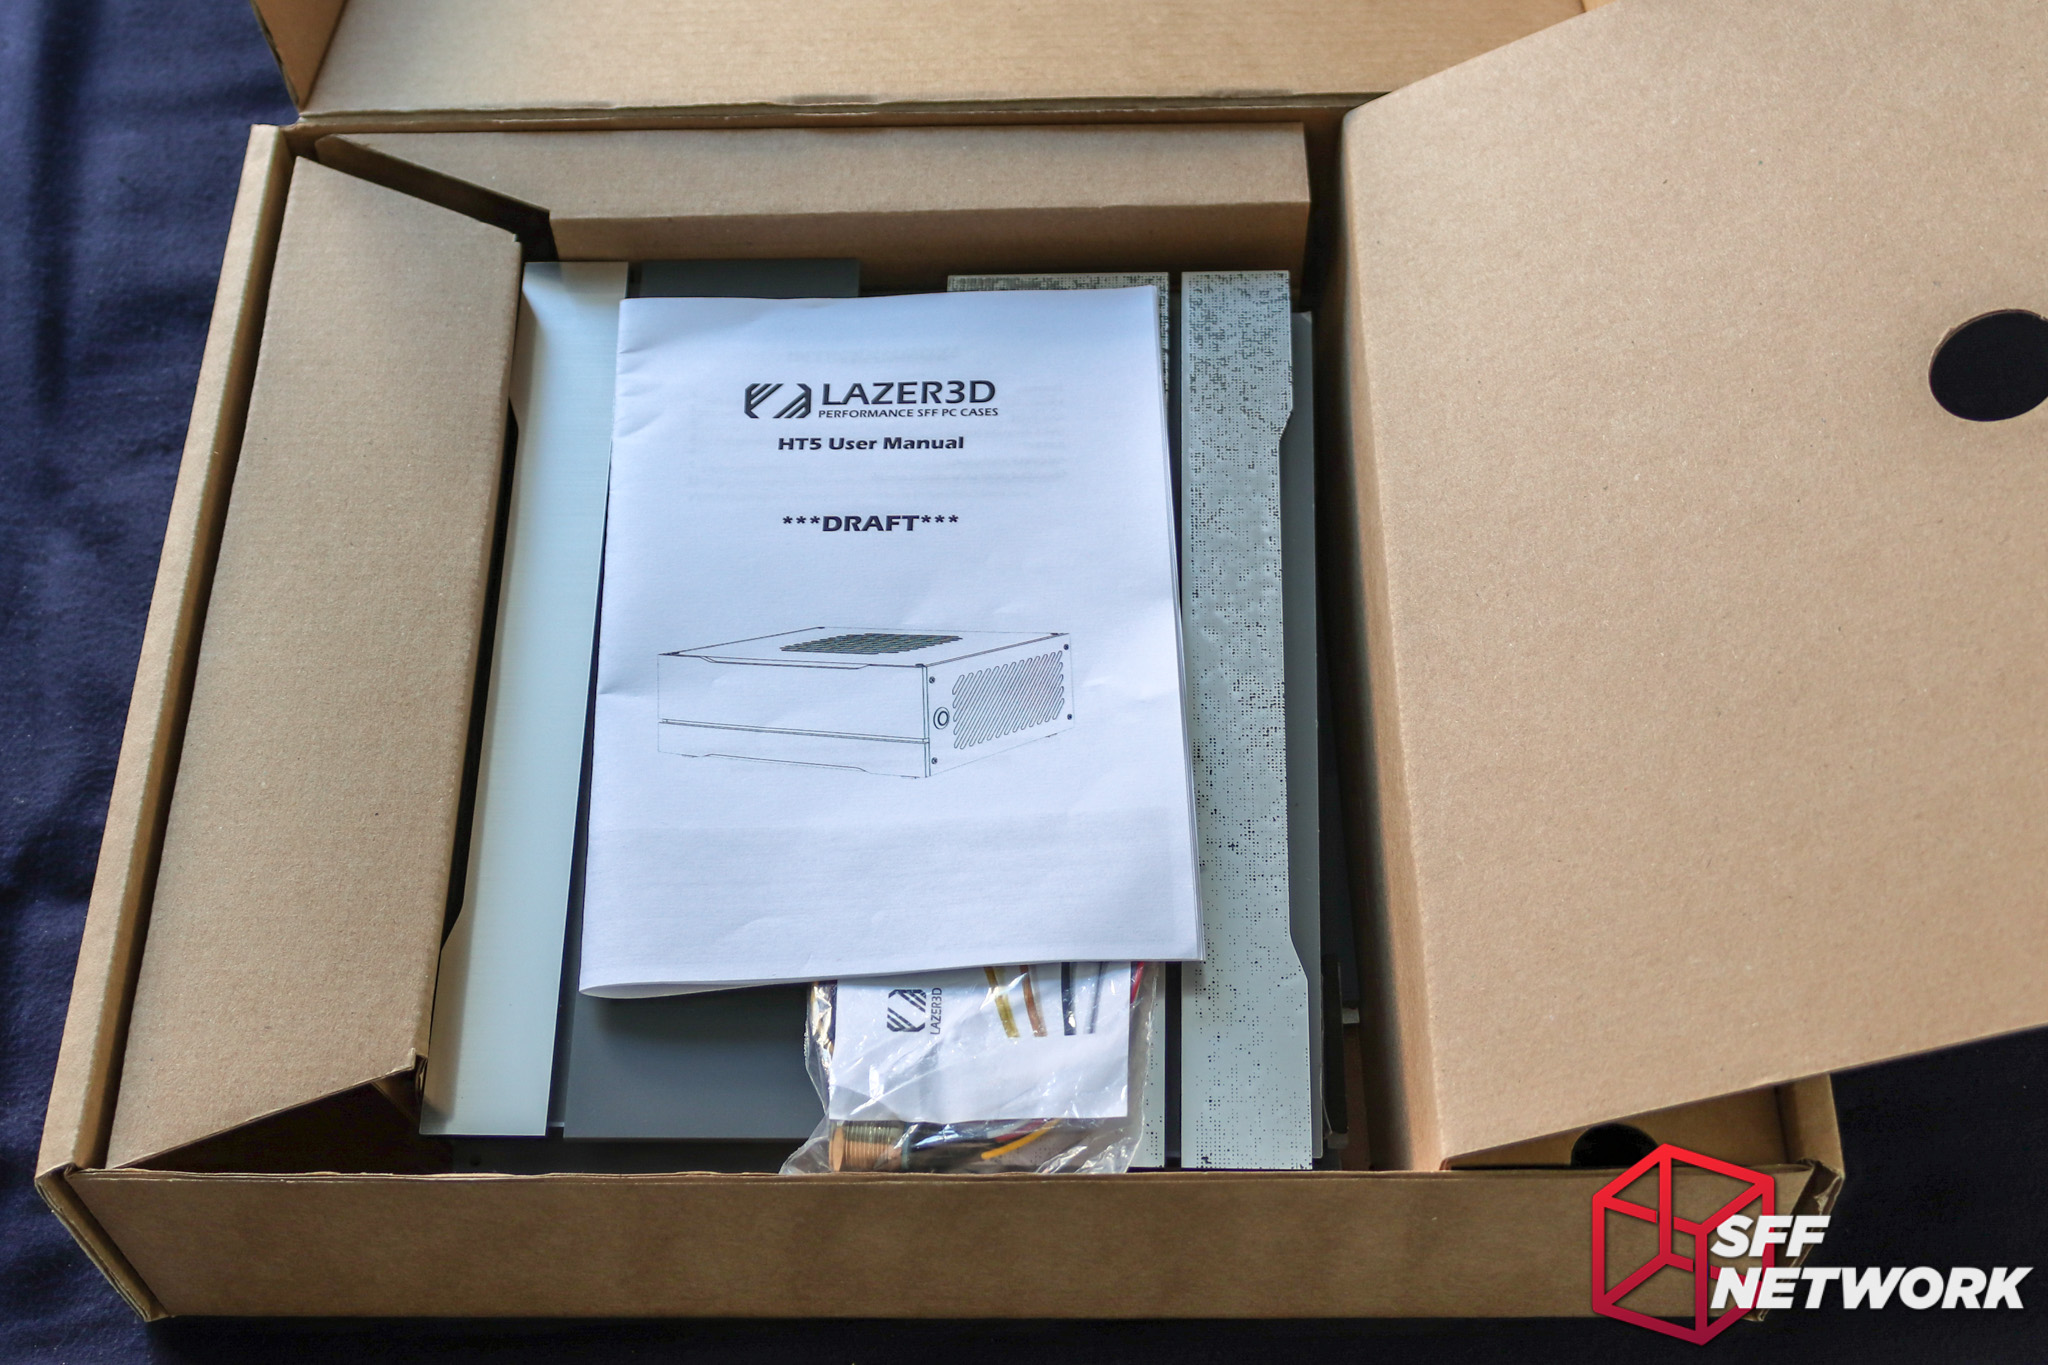
Under door number one – the case parts, a manual (draft version, we’ll discuss this later on), and everything else you need to build the case, minus the tools. There is a fair bit of empty space to the sides of the components, meaning that it all arrived in perfect condition. This box also enables Lazer3D to use the same packaging for multiple cases – saving on production and logistics costs.

Two faceplates! I wasn’t expecting this. During the development phase, the panel to the right was a possible option – and I liked it then. Hmmm… Note that this second panel won’t be included in a stock HT5 configuration.
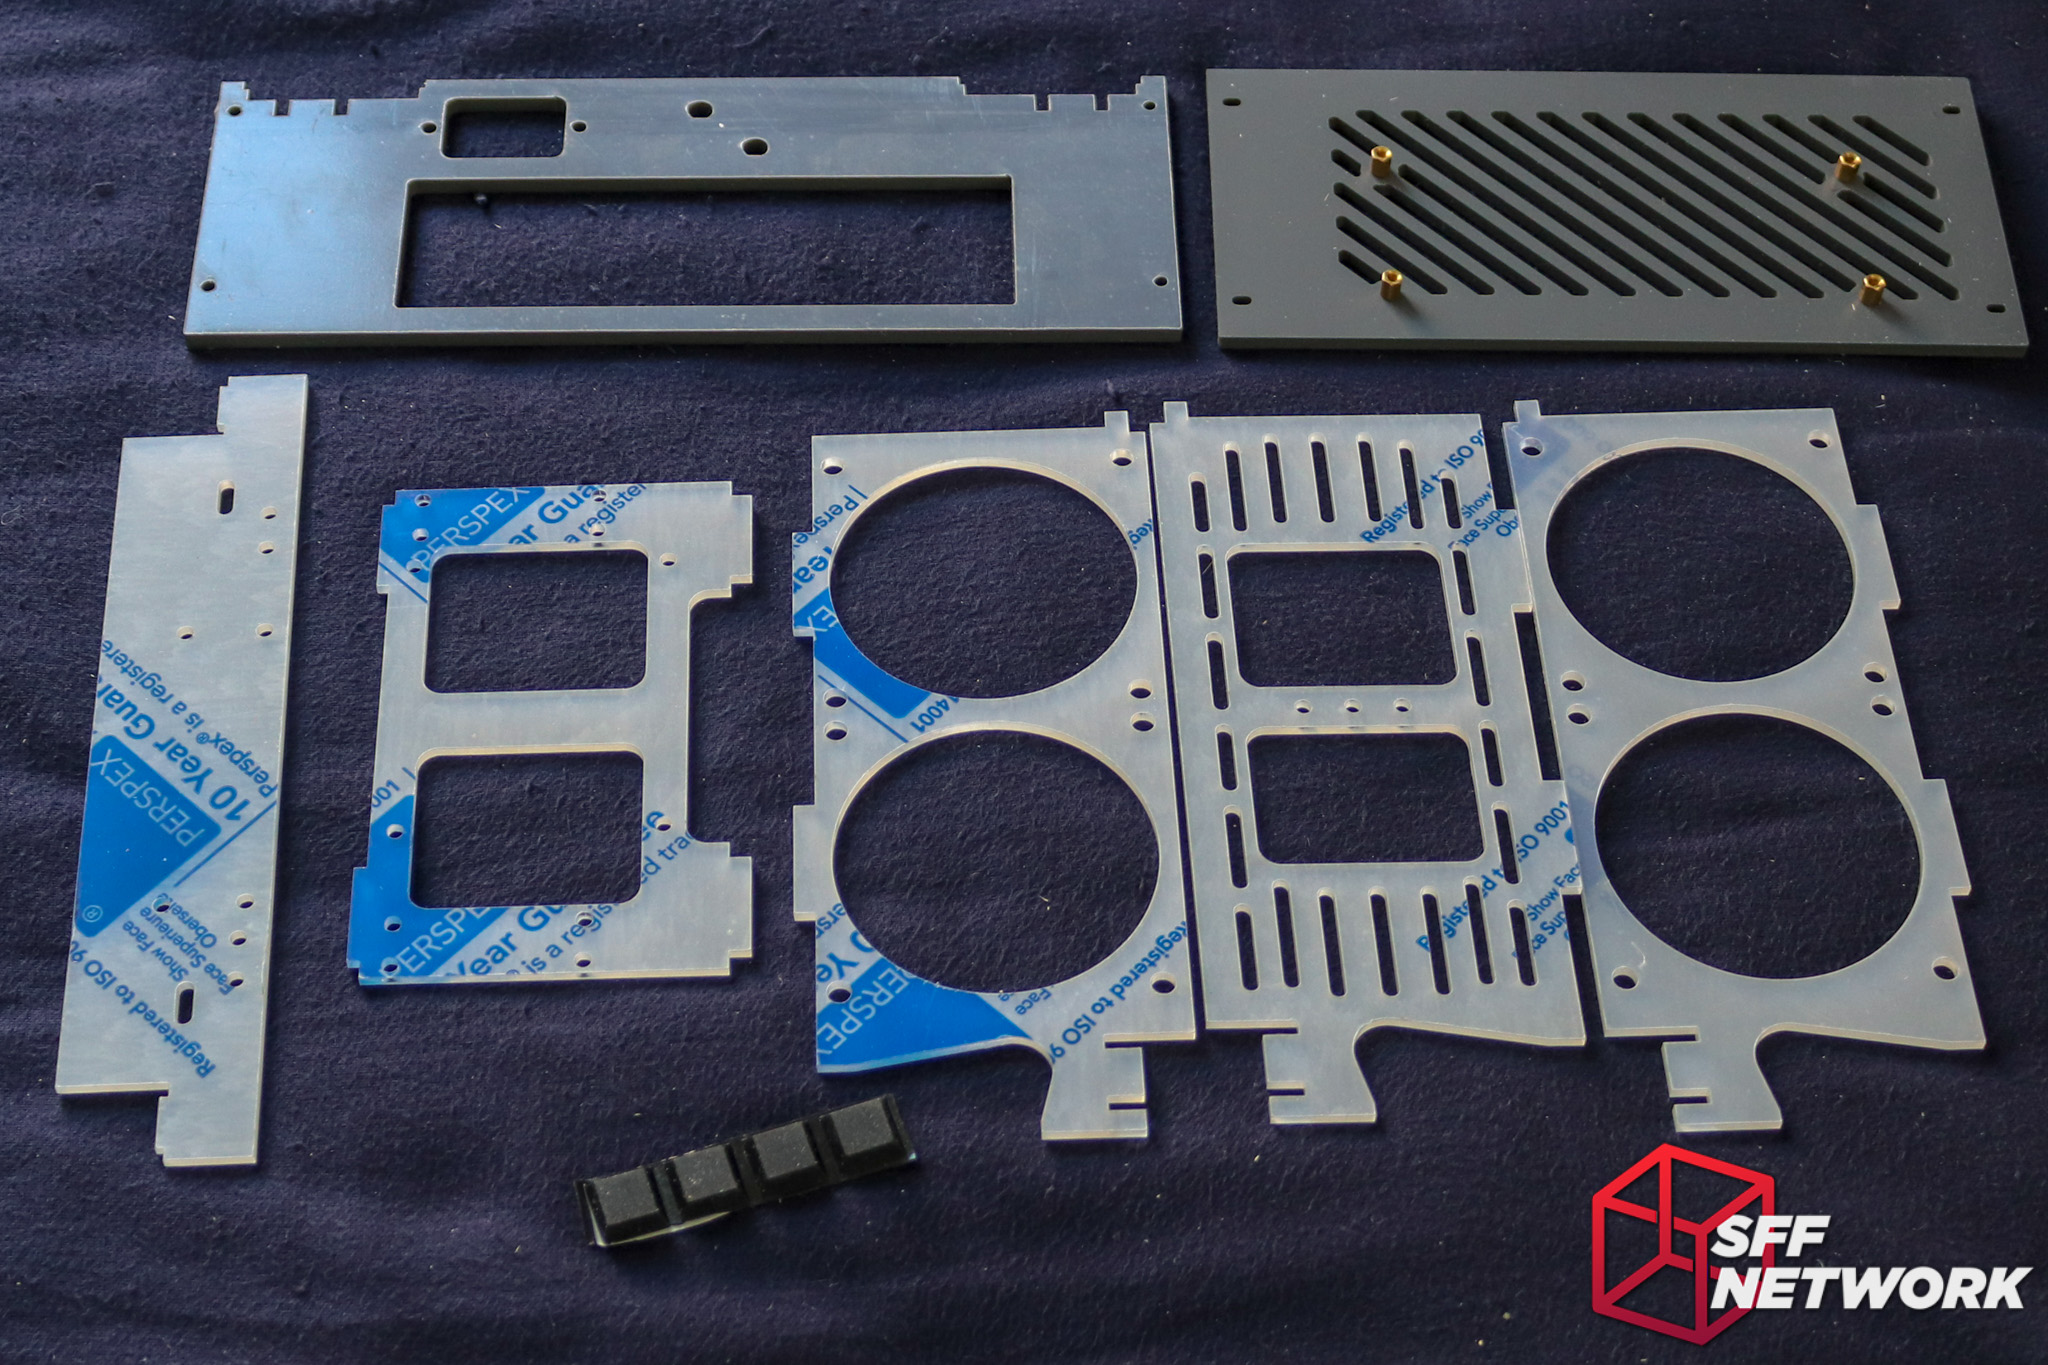
Right, let’s get into it. The first set of panels in a clockwise fashion from top left;
- APU rear panel (~5.3mm thick)
- One side panel – the HDPlex DC-DC mounting side! (~4.6mm)
- Internal fan mounting panel (3mm)
- Internal PSU mounting panel (3mm)
- A second fan mounting panel (3mm)
- Front drive mounting (3mm)
- Front bracket (3mm)
- And a set of basic rubber feeties.
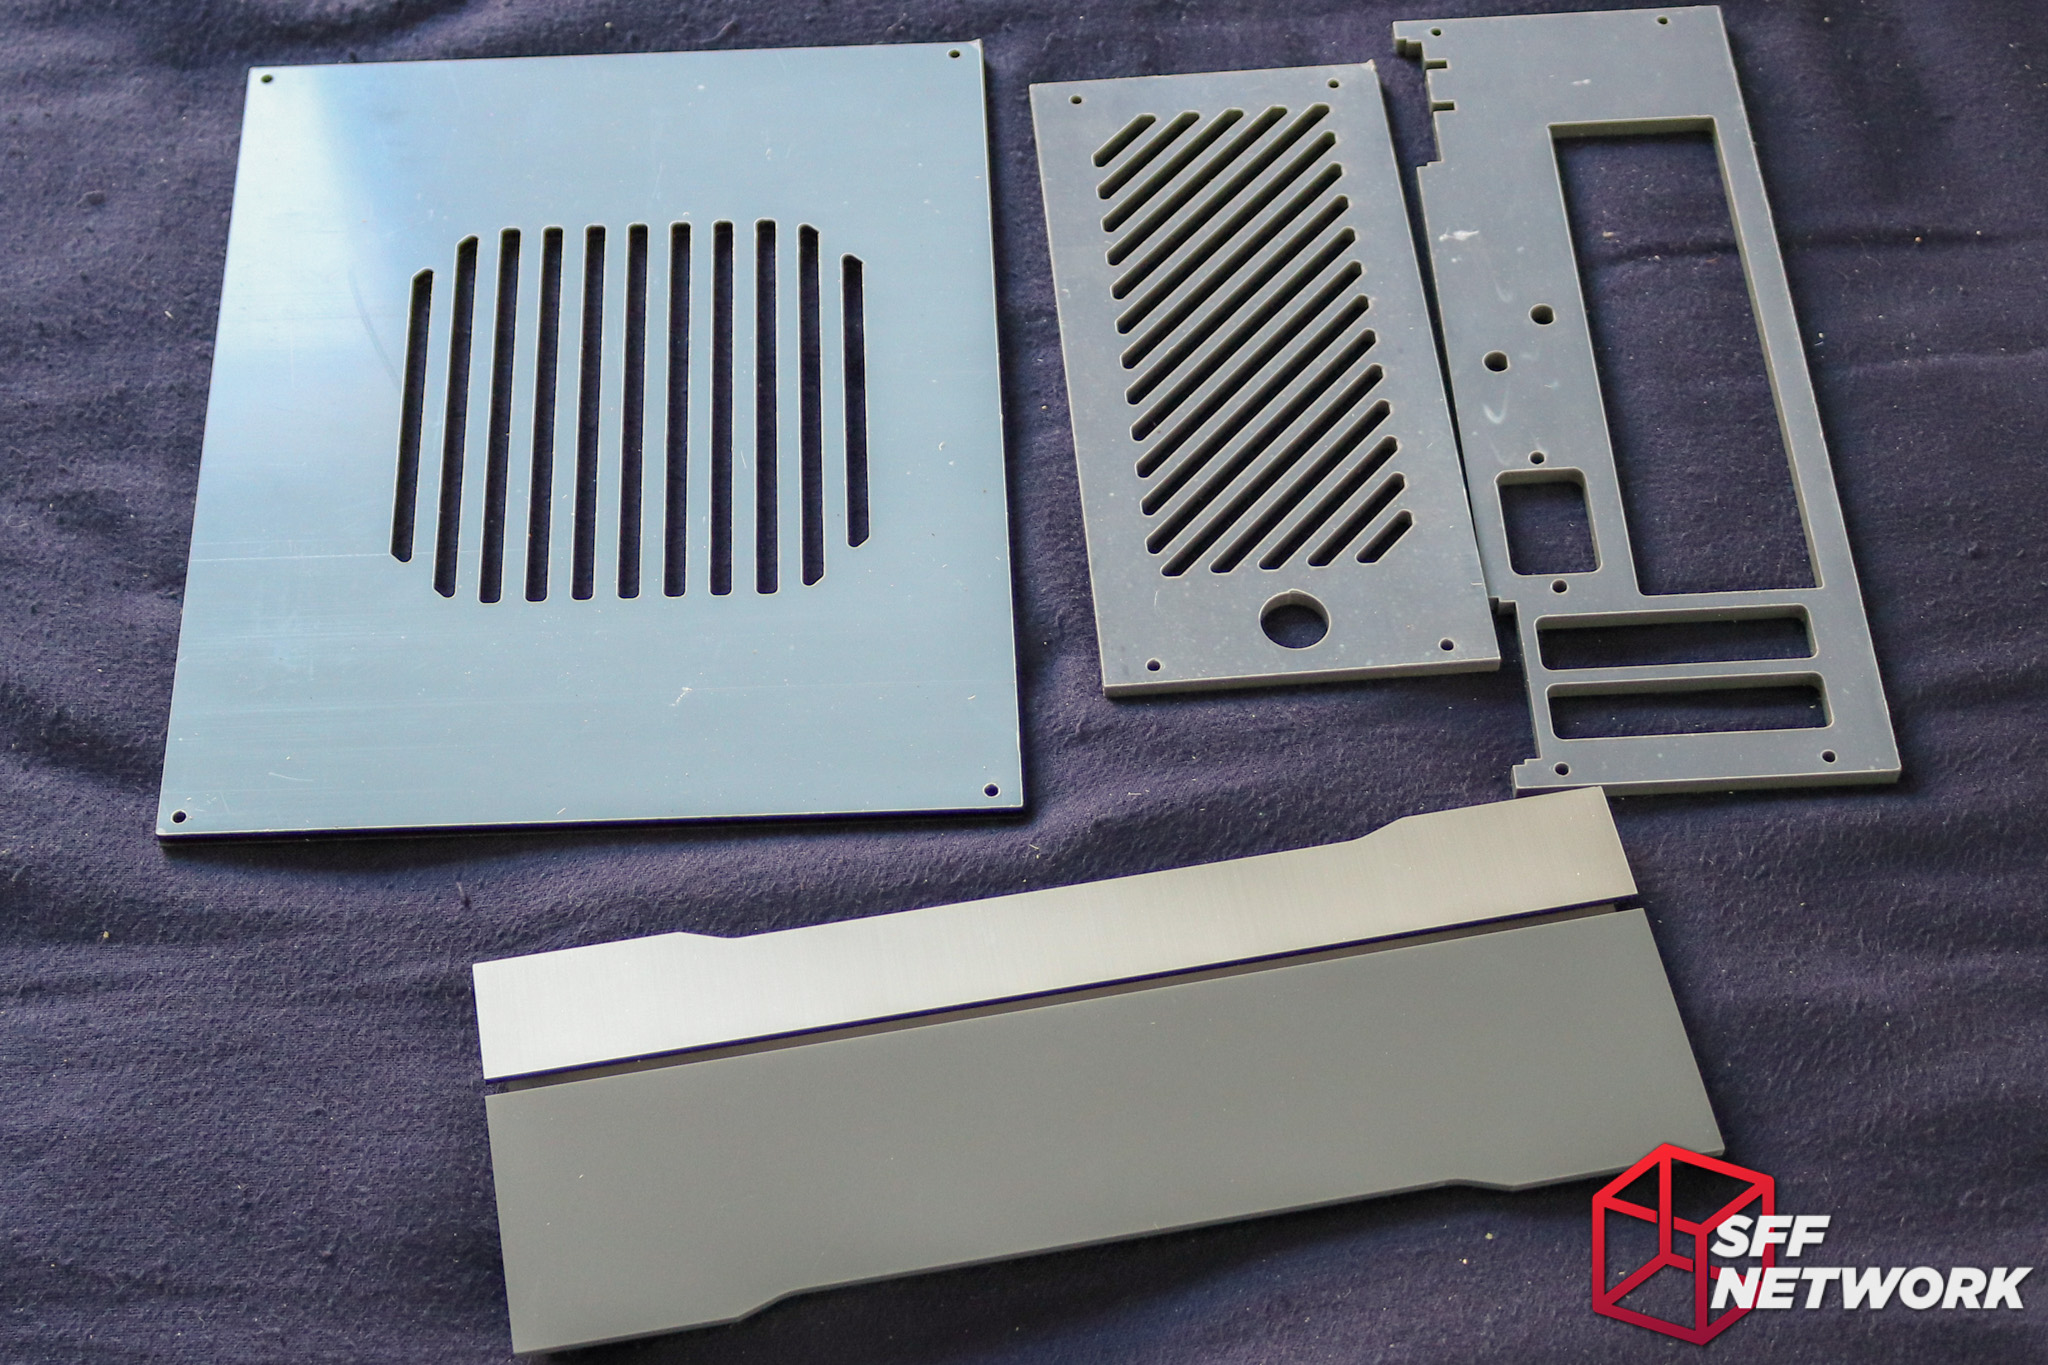
The second bunch of panels, also in a clockwise fashion (It’s all the rage!);
- One of the optional top panels (this one is in dark smoked grey) (~5mm)
- The side panel that houses the power button (~4.6mm)
- Discrete GPU rear panel (~5.3mm)
- And the standard faceplate. You can pick what panel and faceplate options when the HT5 is available for sale – see pricing options above.

Almost there;
- Bottom panel – where the motherboard lives (~5mm)
- The alternate, clear, top panel option (~5mm)
- A baggy of power input adapter panels

Last one (I told you the clockwise fashion was fashionable);
- Printed manual (bonus points, already)
- Internal shroud panel (3mm)
- Power button in a bag
- My alternate front panel. Note that is isn’t going into production unless demand is high enough!
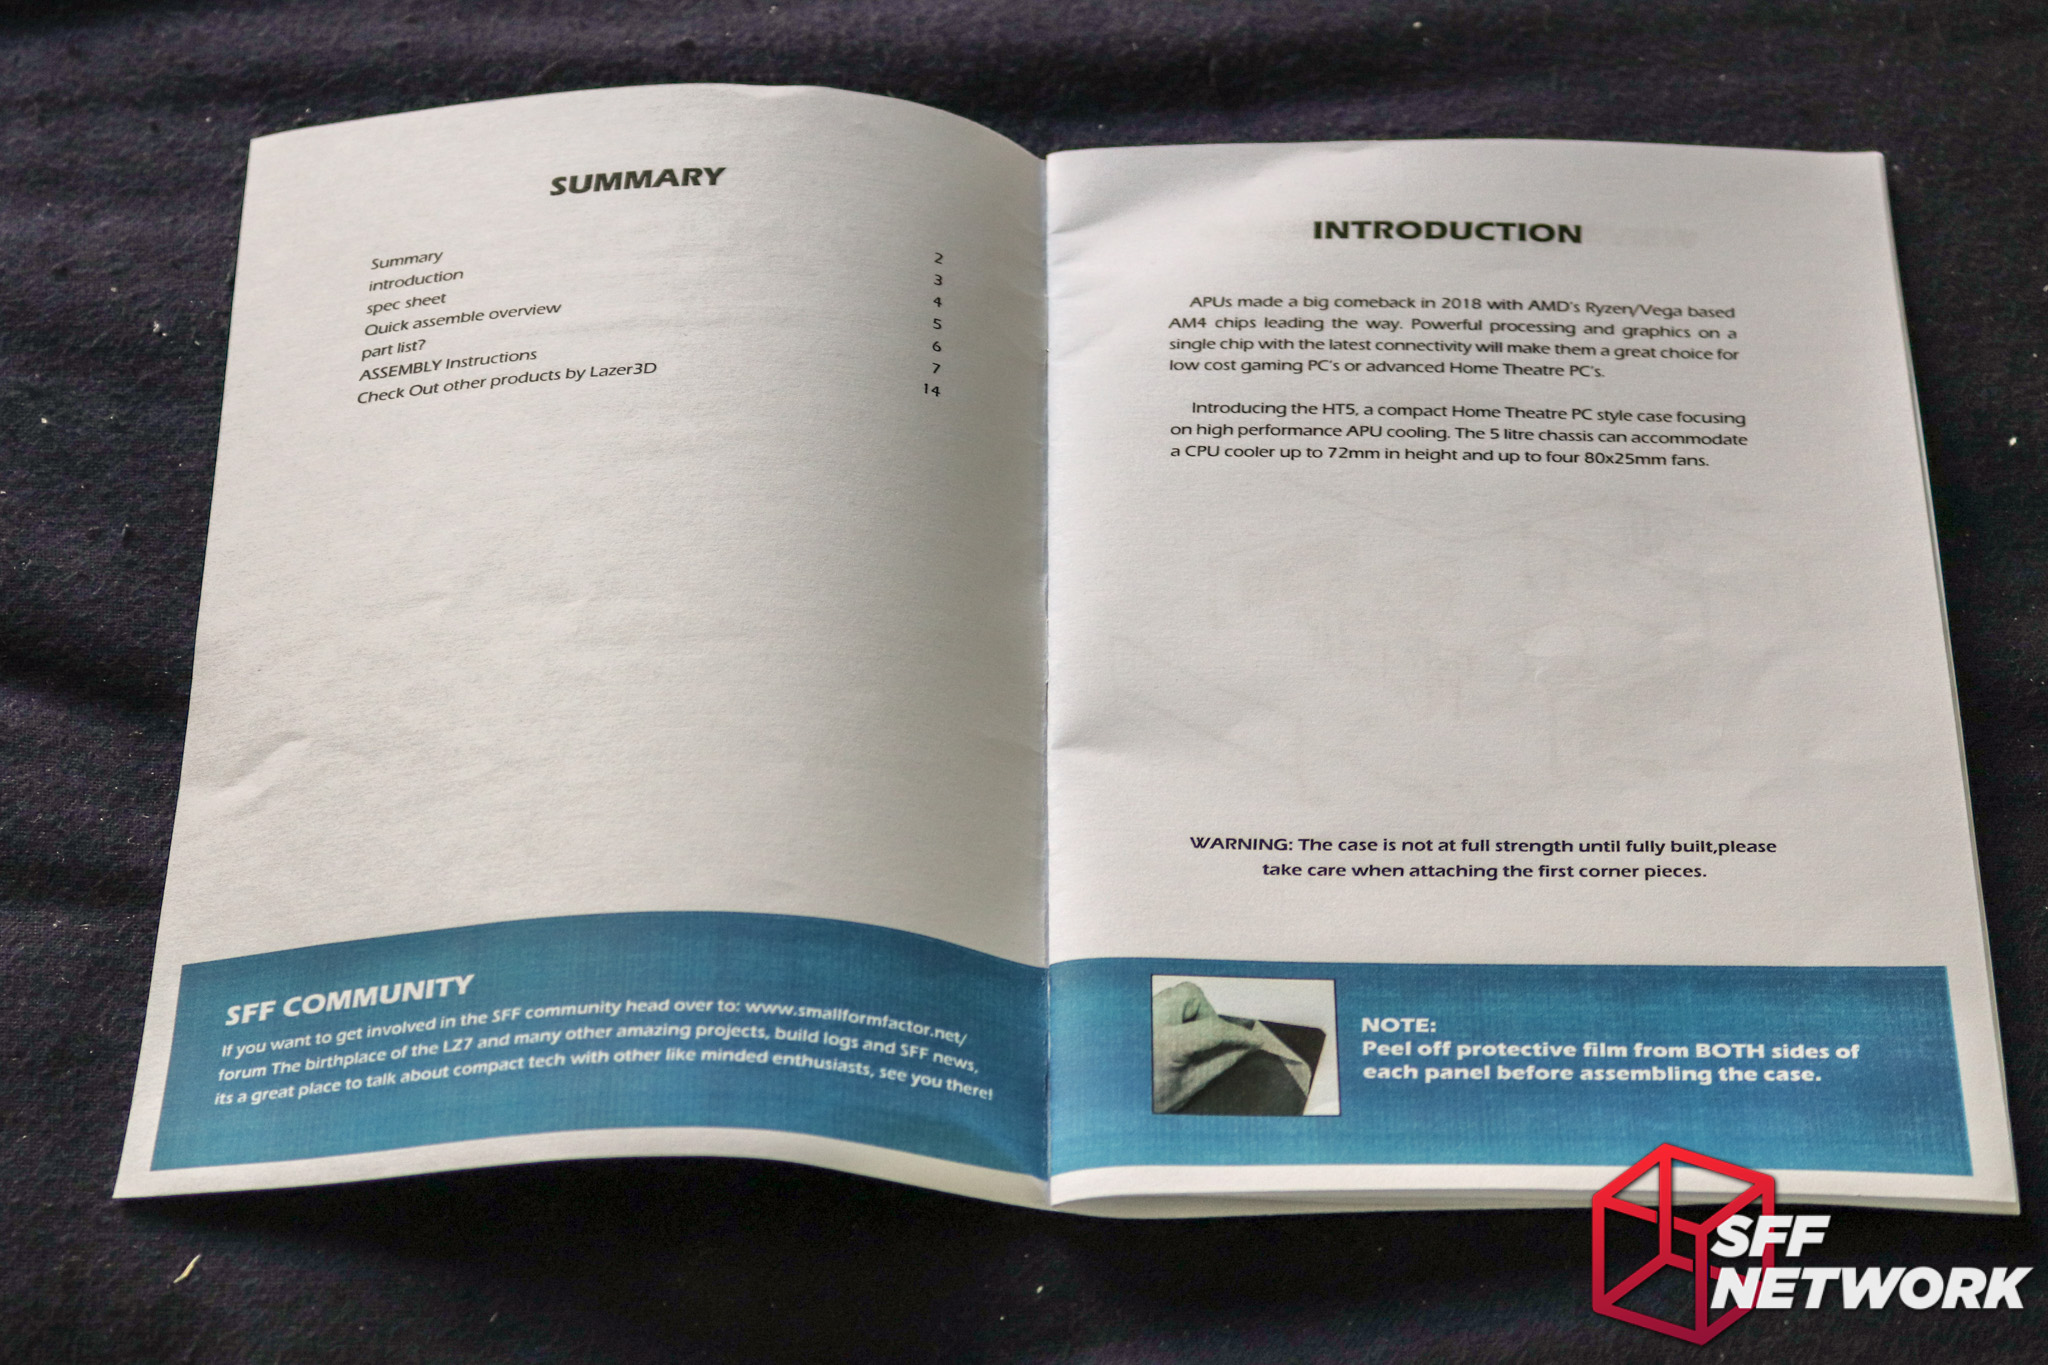

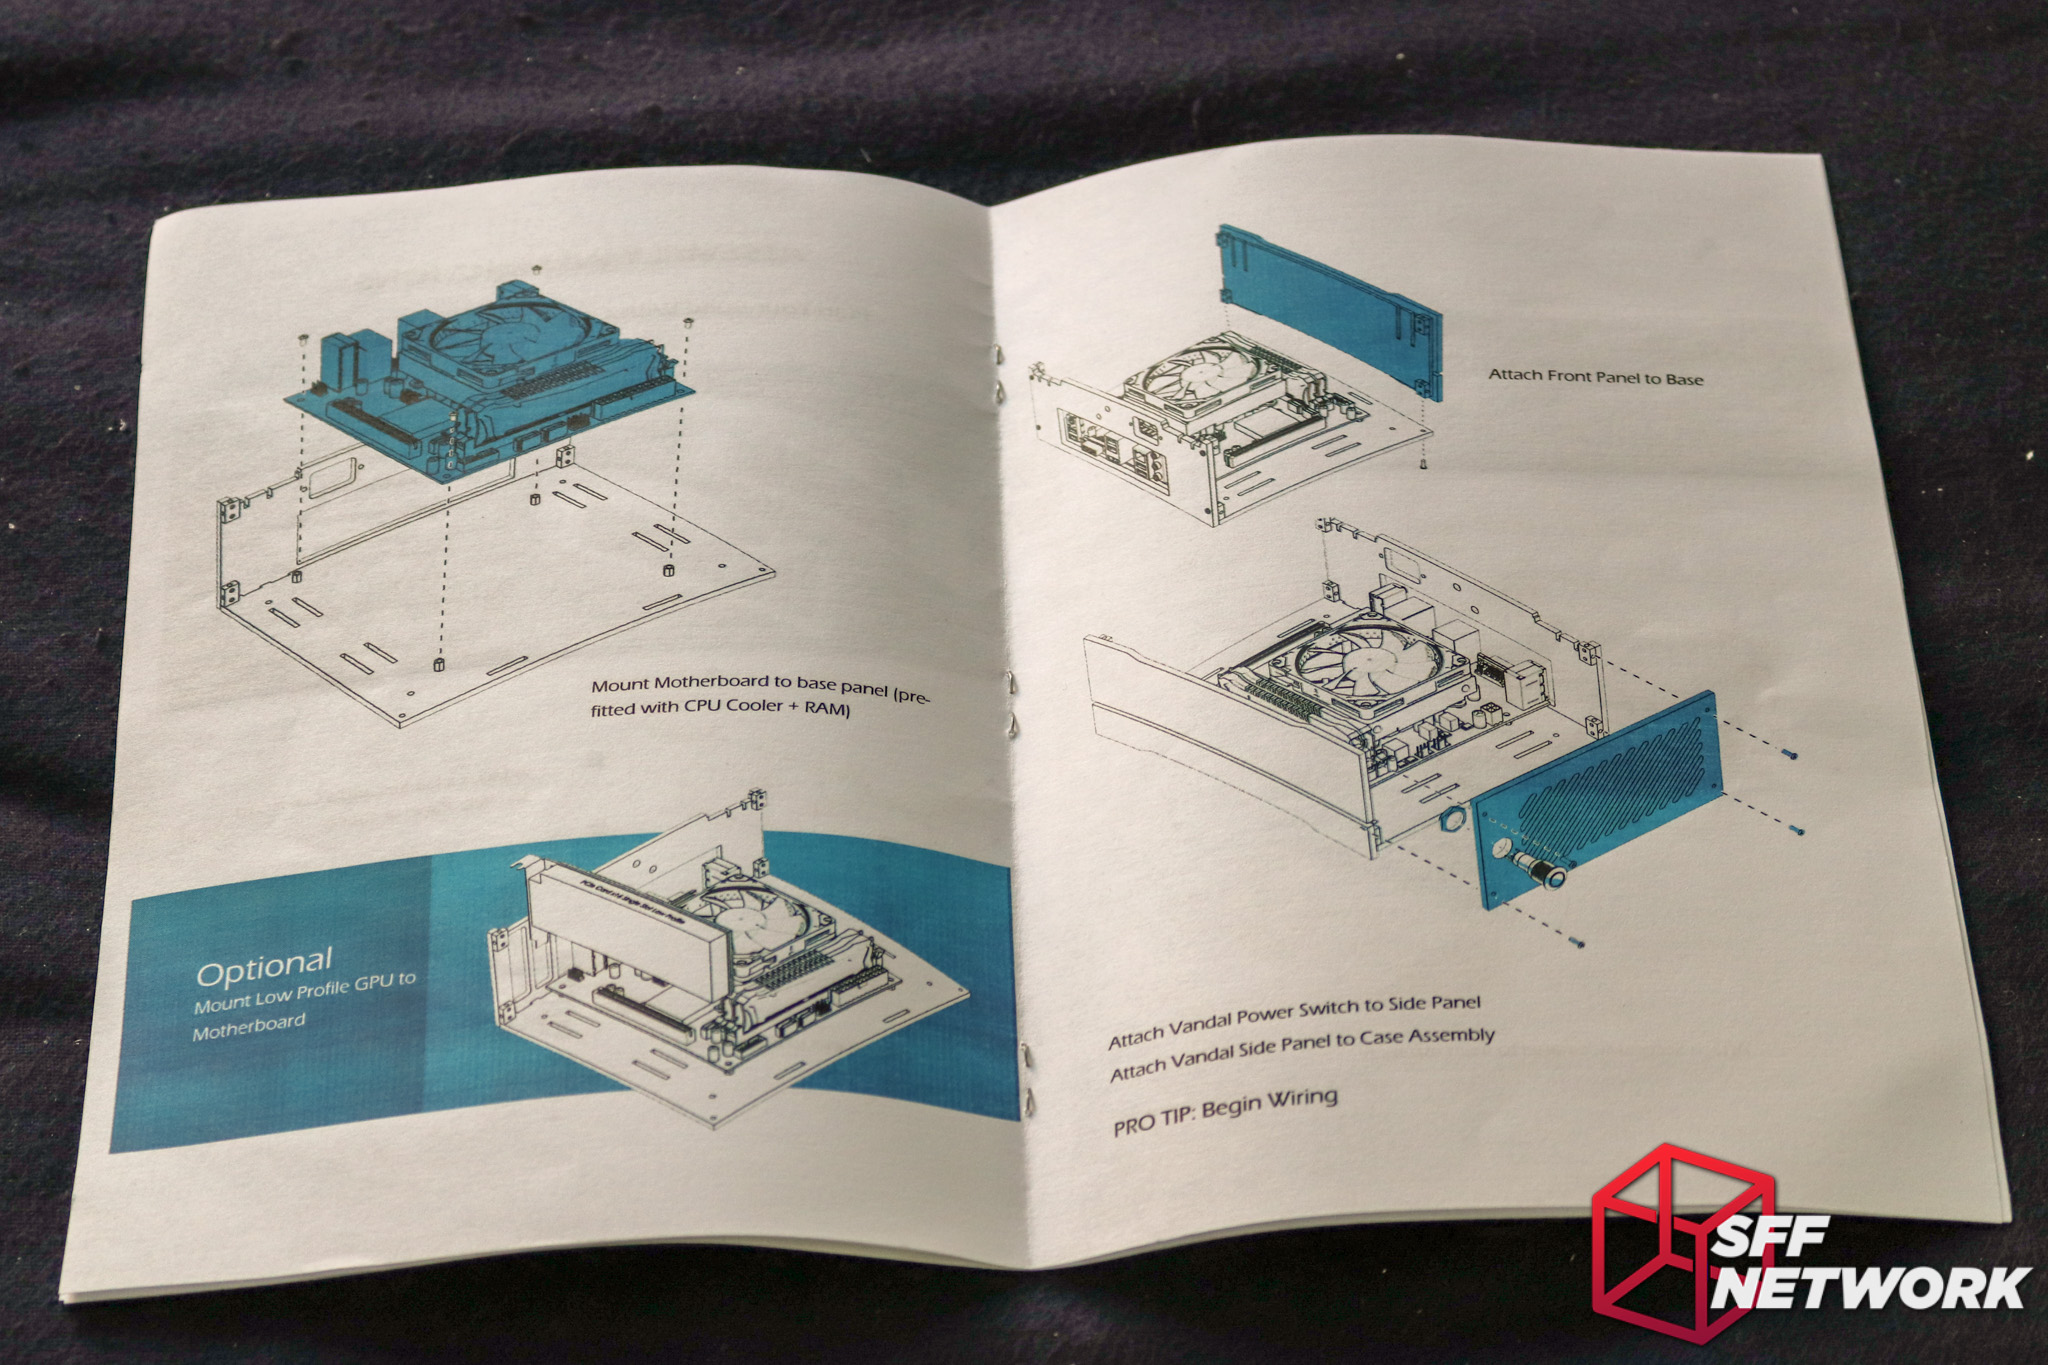
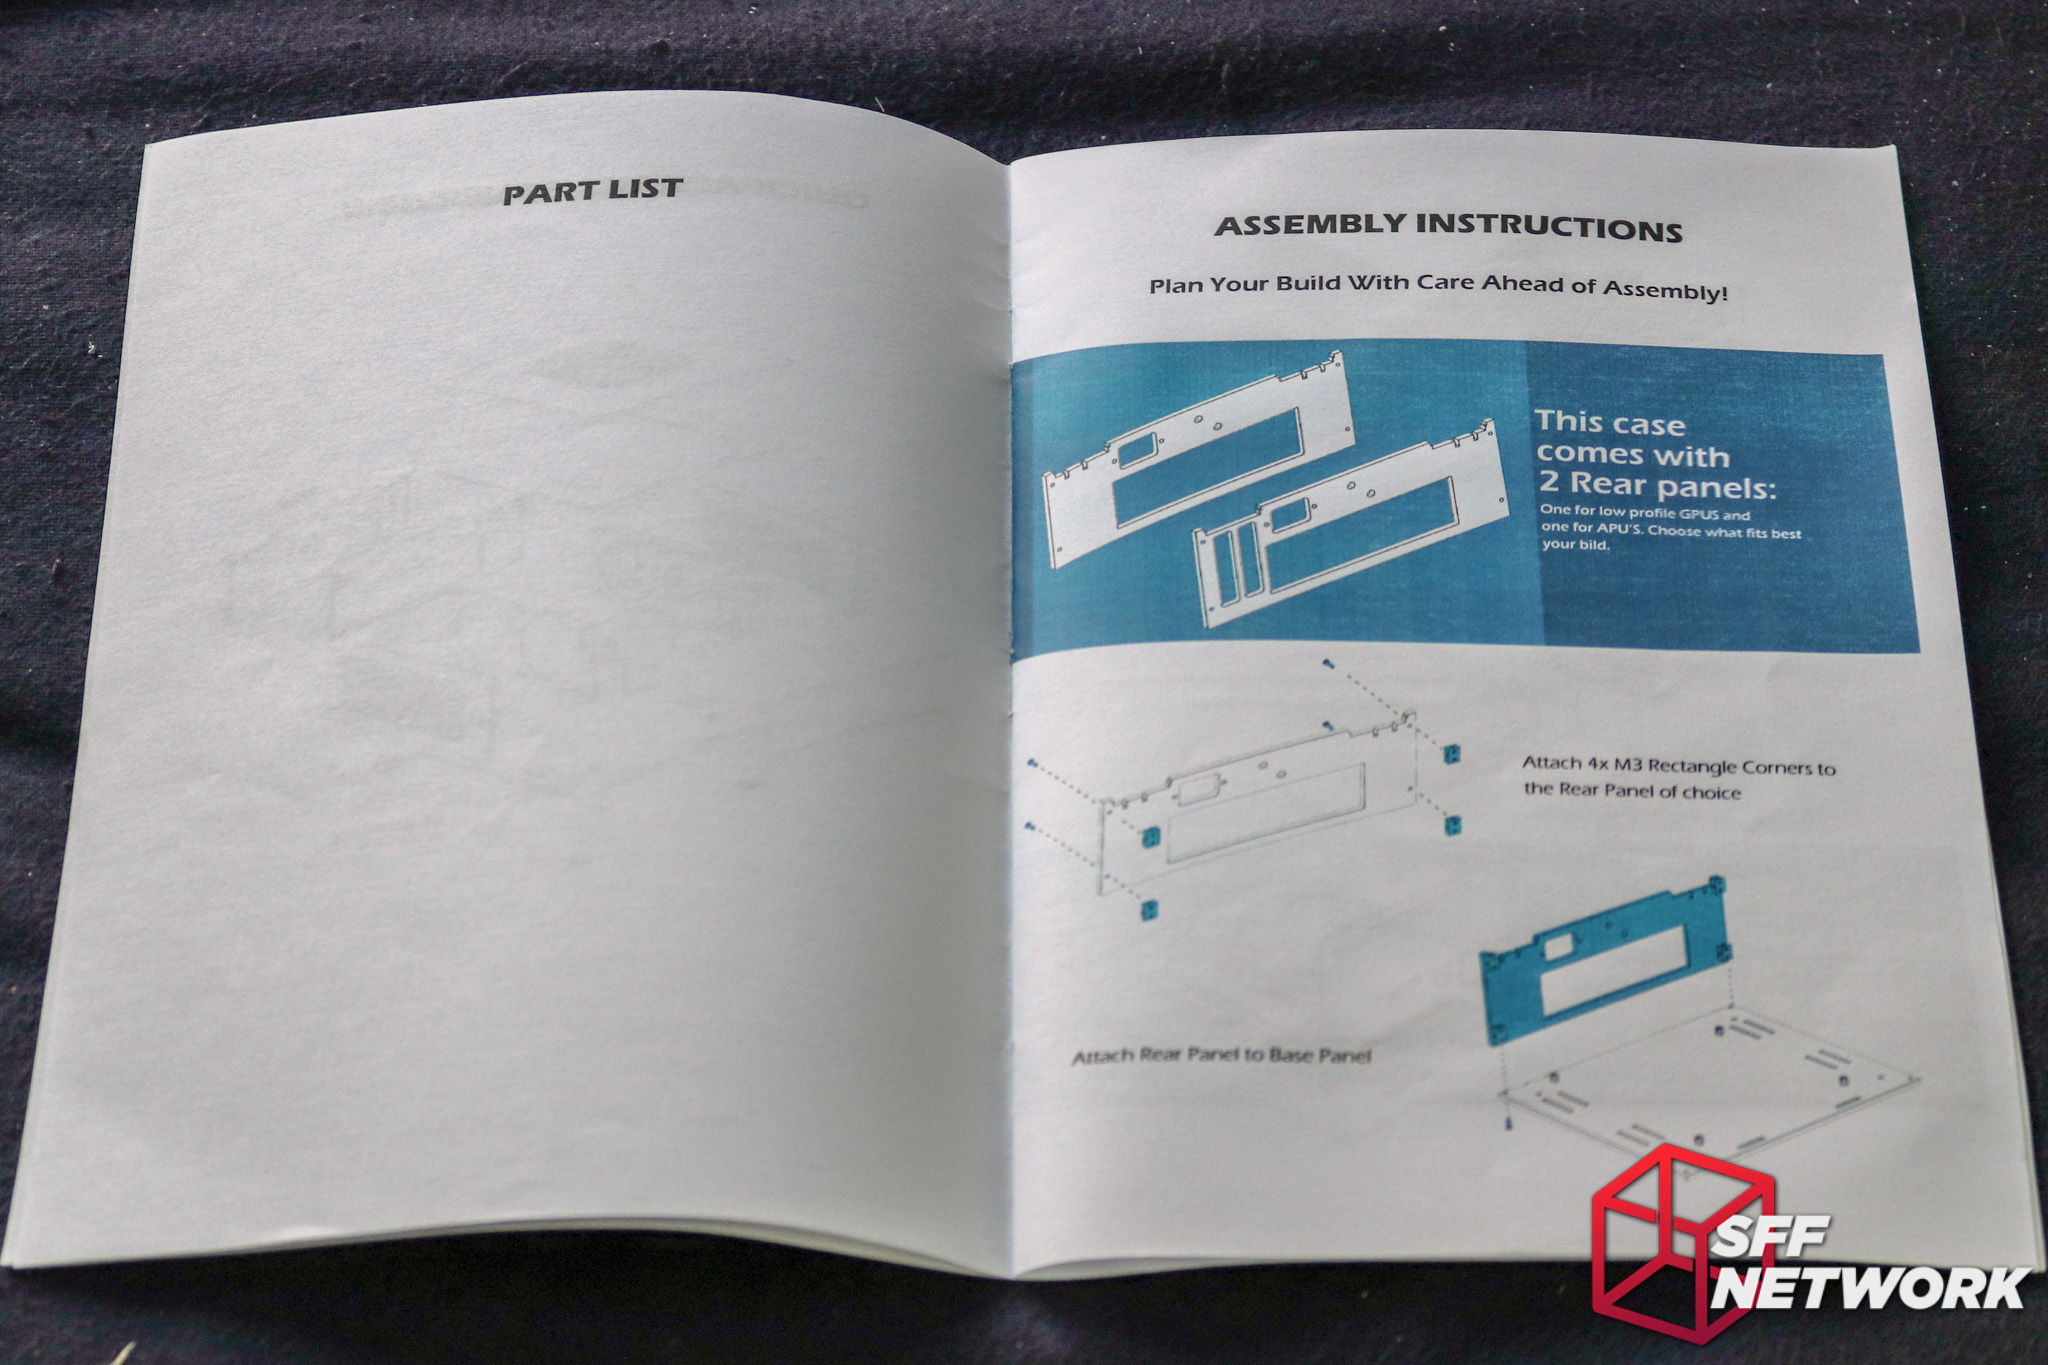

A gallery! The printed manual is a touch I very much like. Unlike some more premium offerings, relying on forum threads or YouTube videos for support and explanations (I’m looking at you, 3/4 of SFFLab’s product range!!), Lazer3D includes a well thought out, printed manual to aid in building and configuration of the case.
The Build
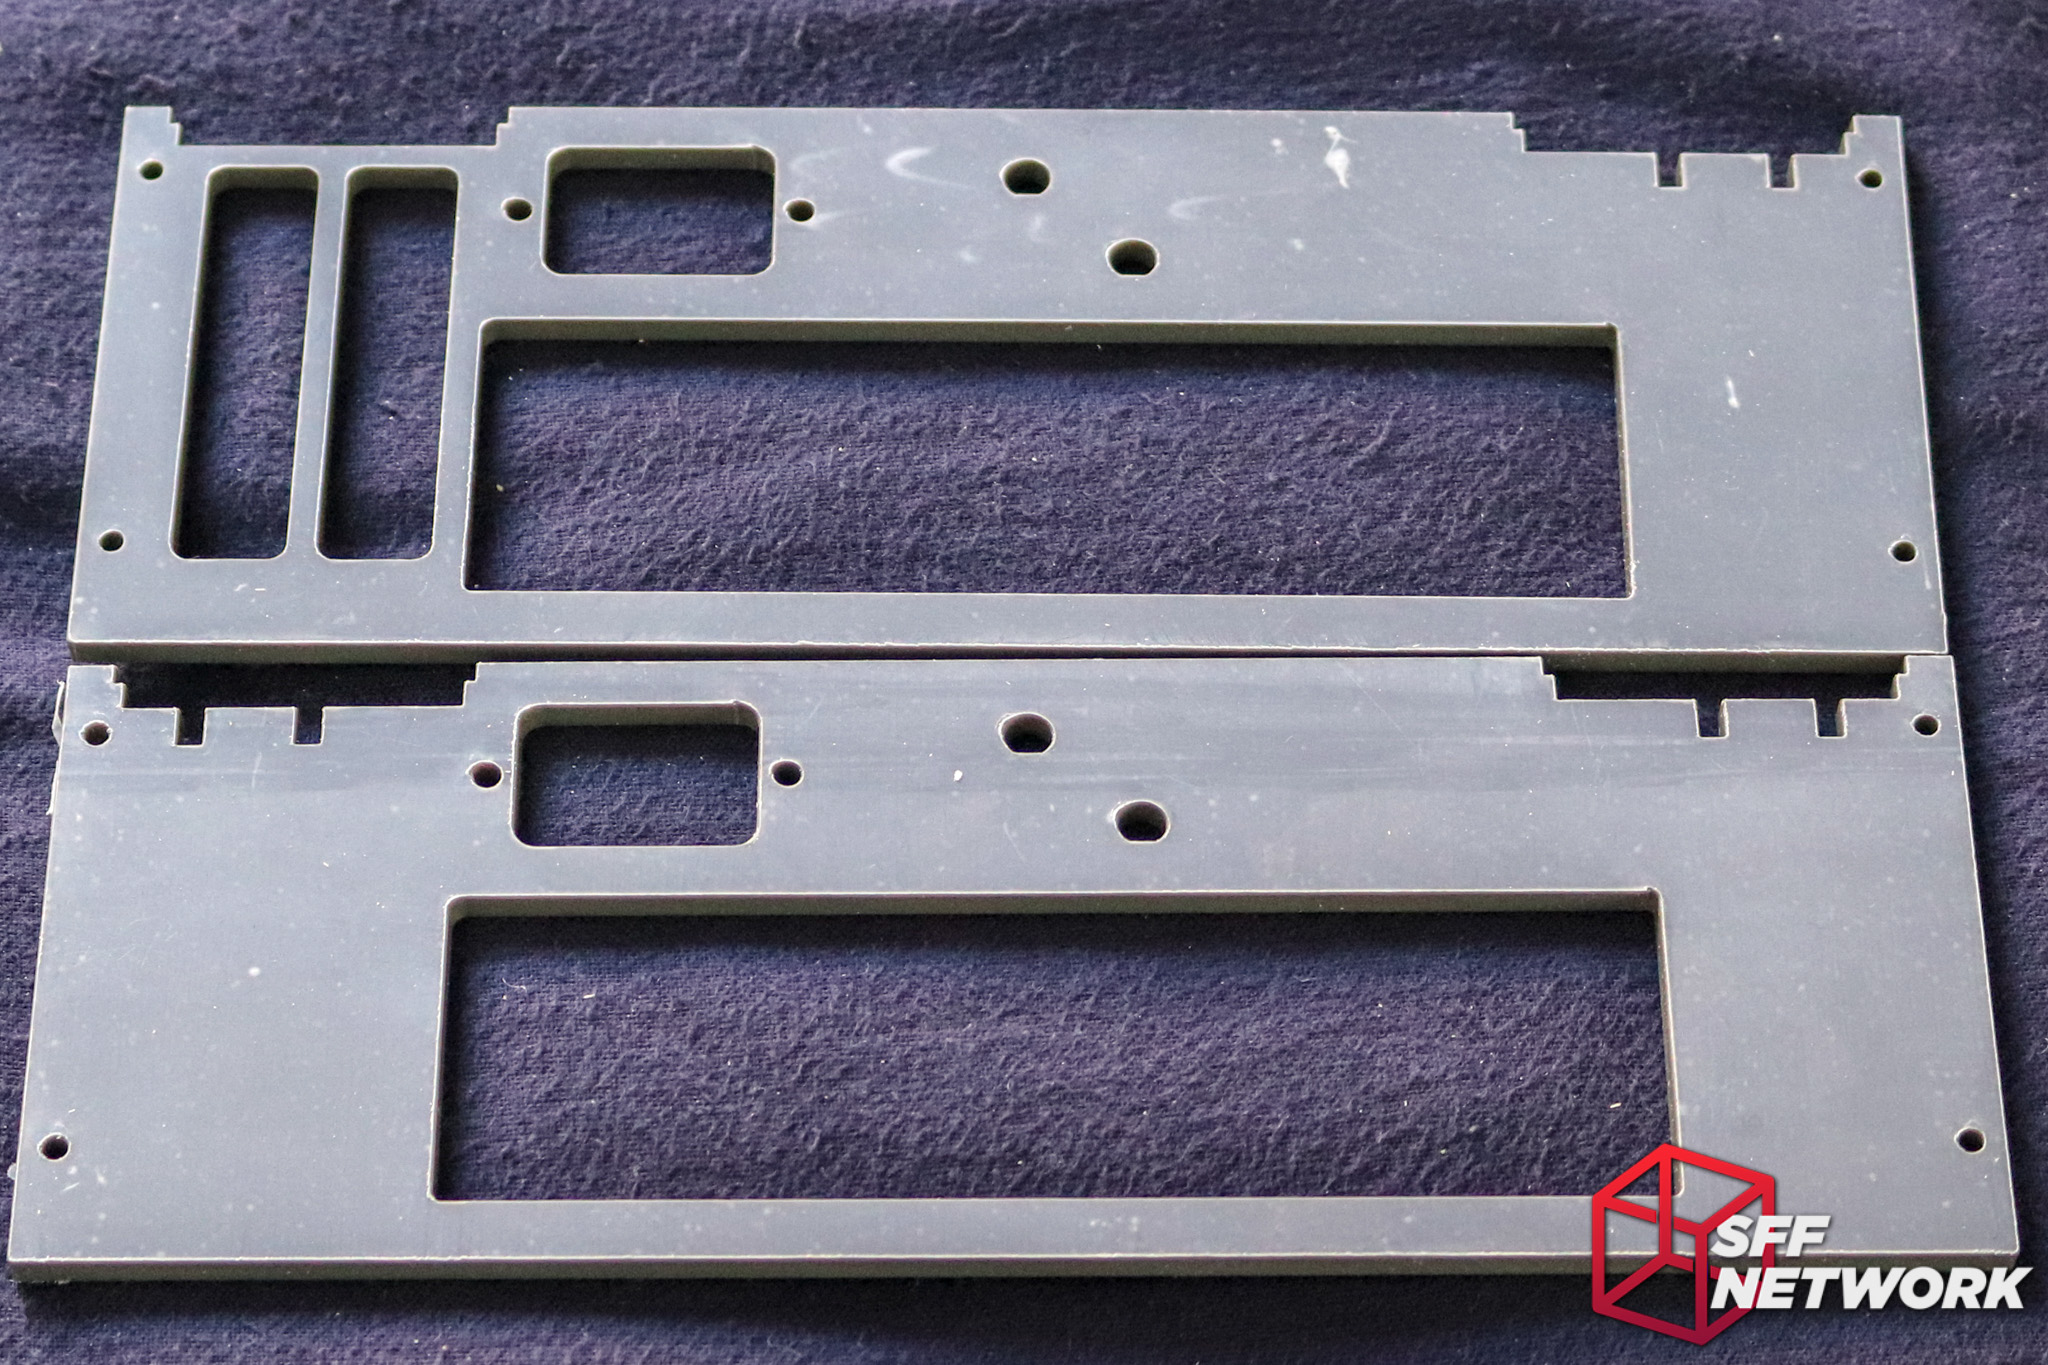
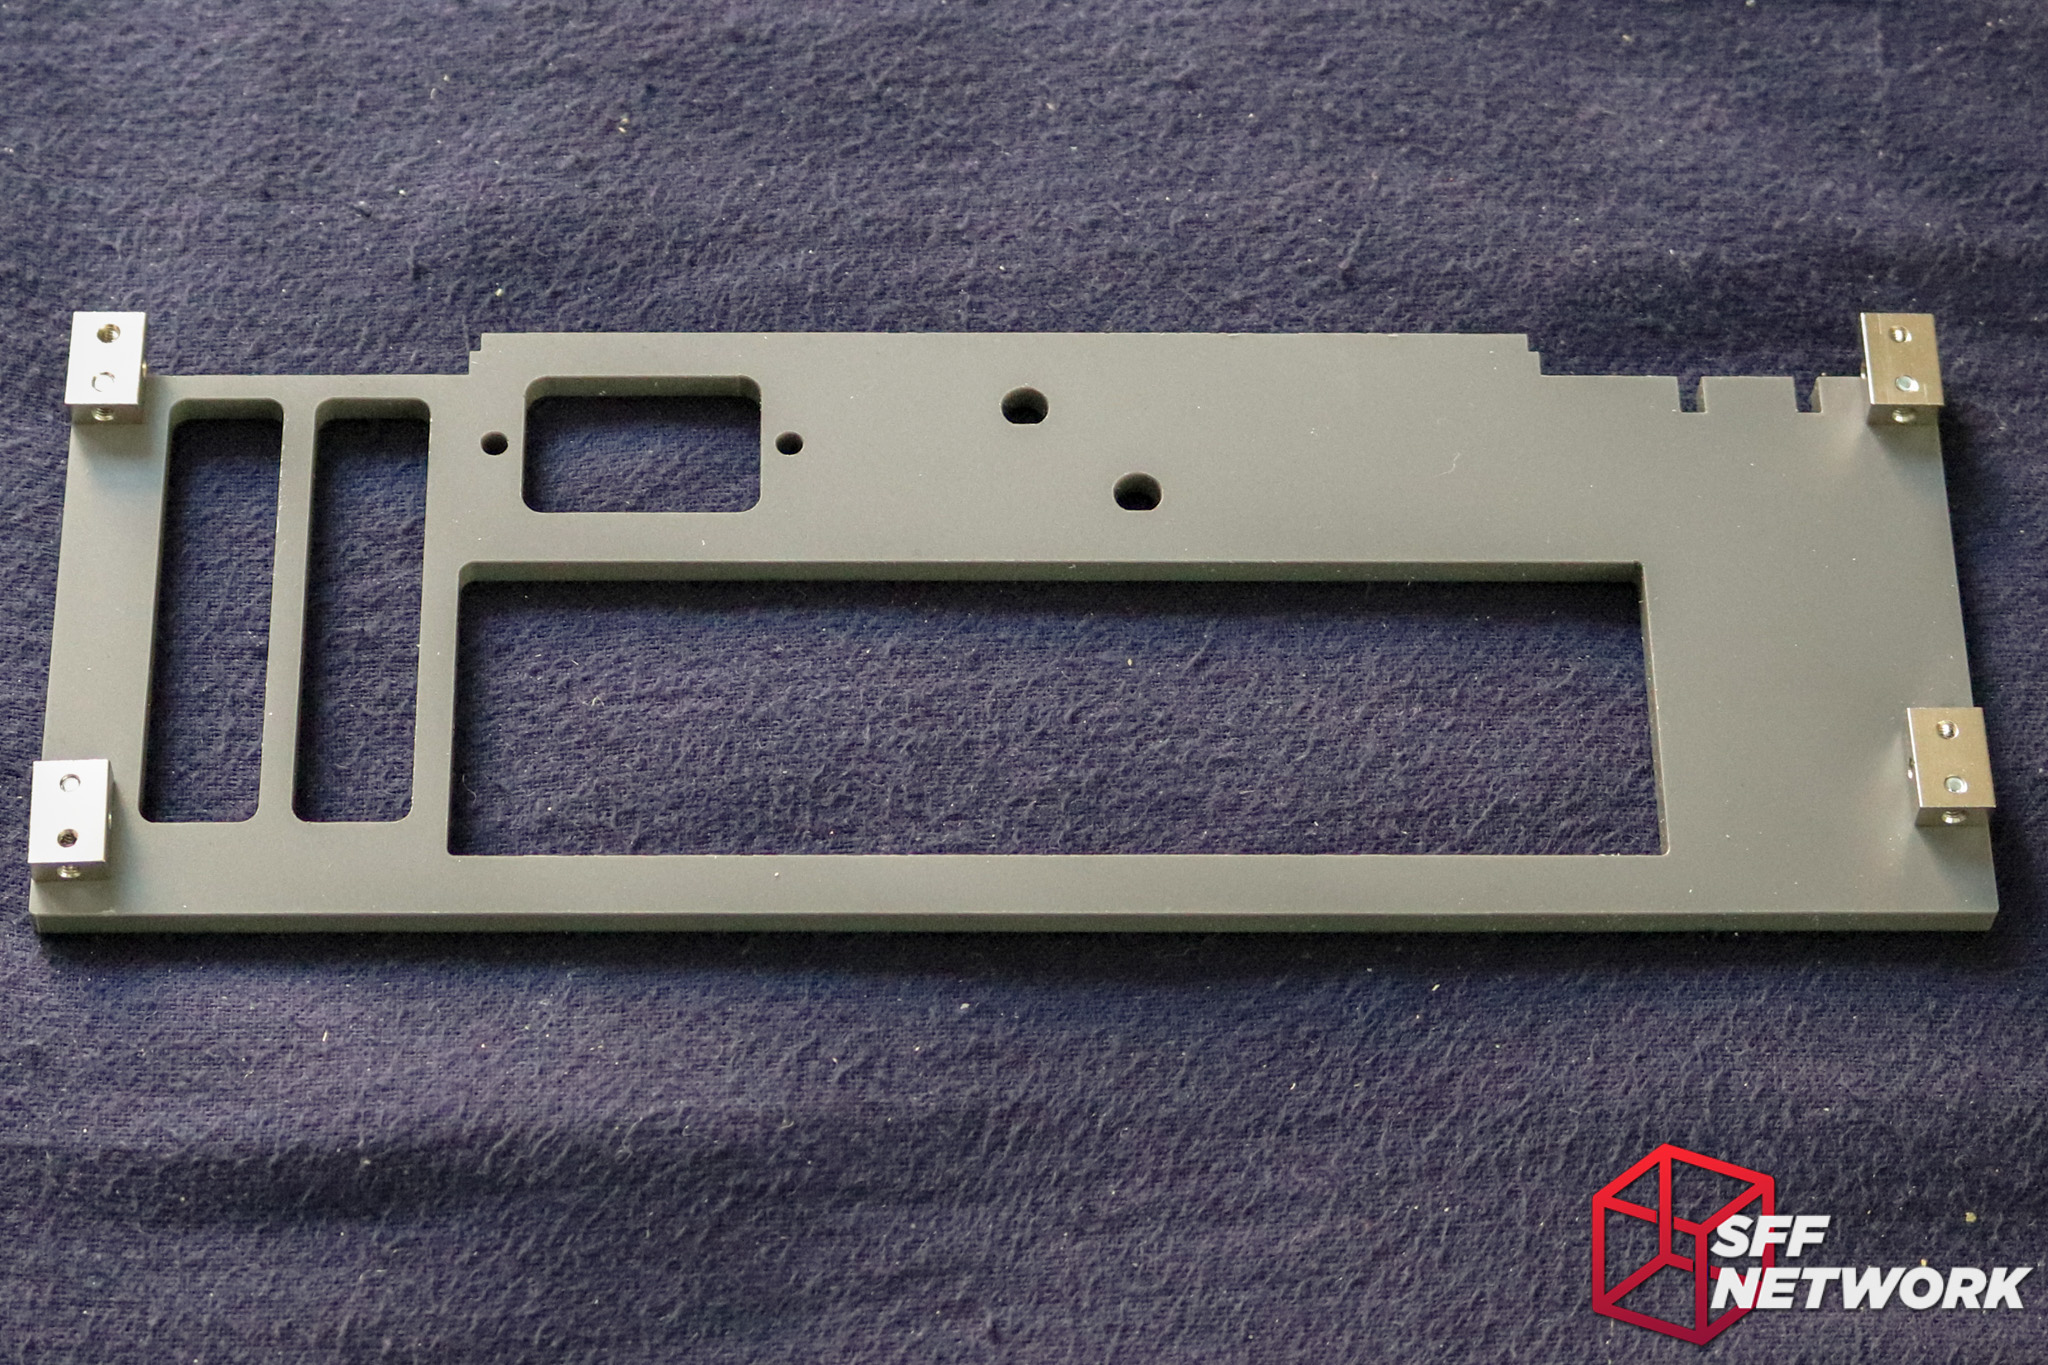
Let’s pick a rear panel. At the top is a panel that supports a dual slot, low profile GPU, whilst the bottom panel does not. Where the GPU would sit in the system, is replaced with mounting for up to two of the aforementioned internal mounting panels, be it for fans, PSU options, or whatever fits, really.
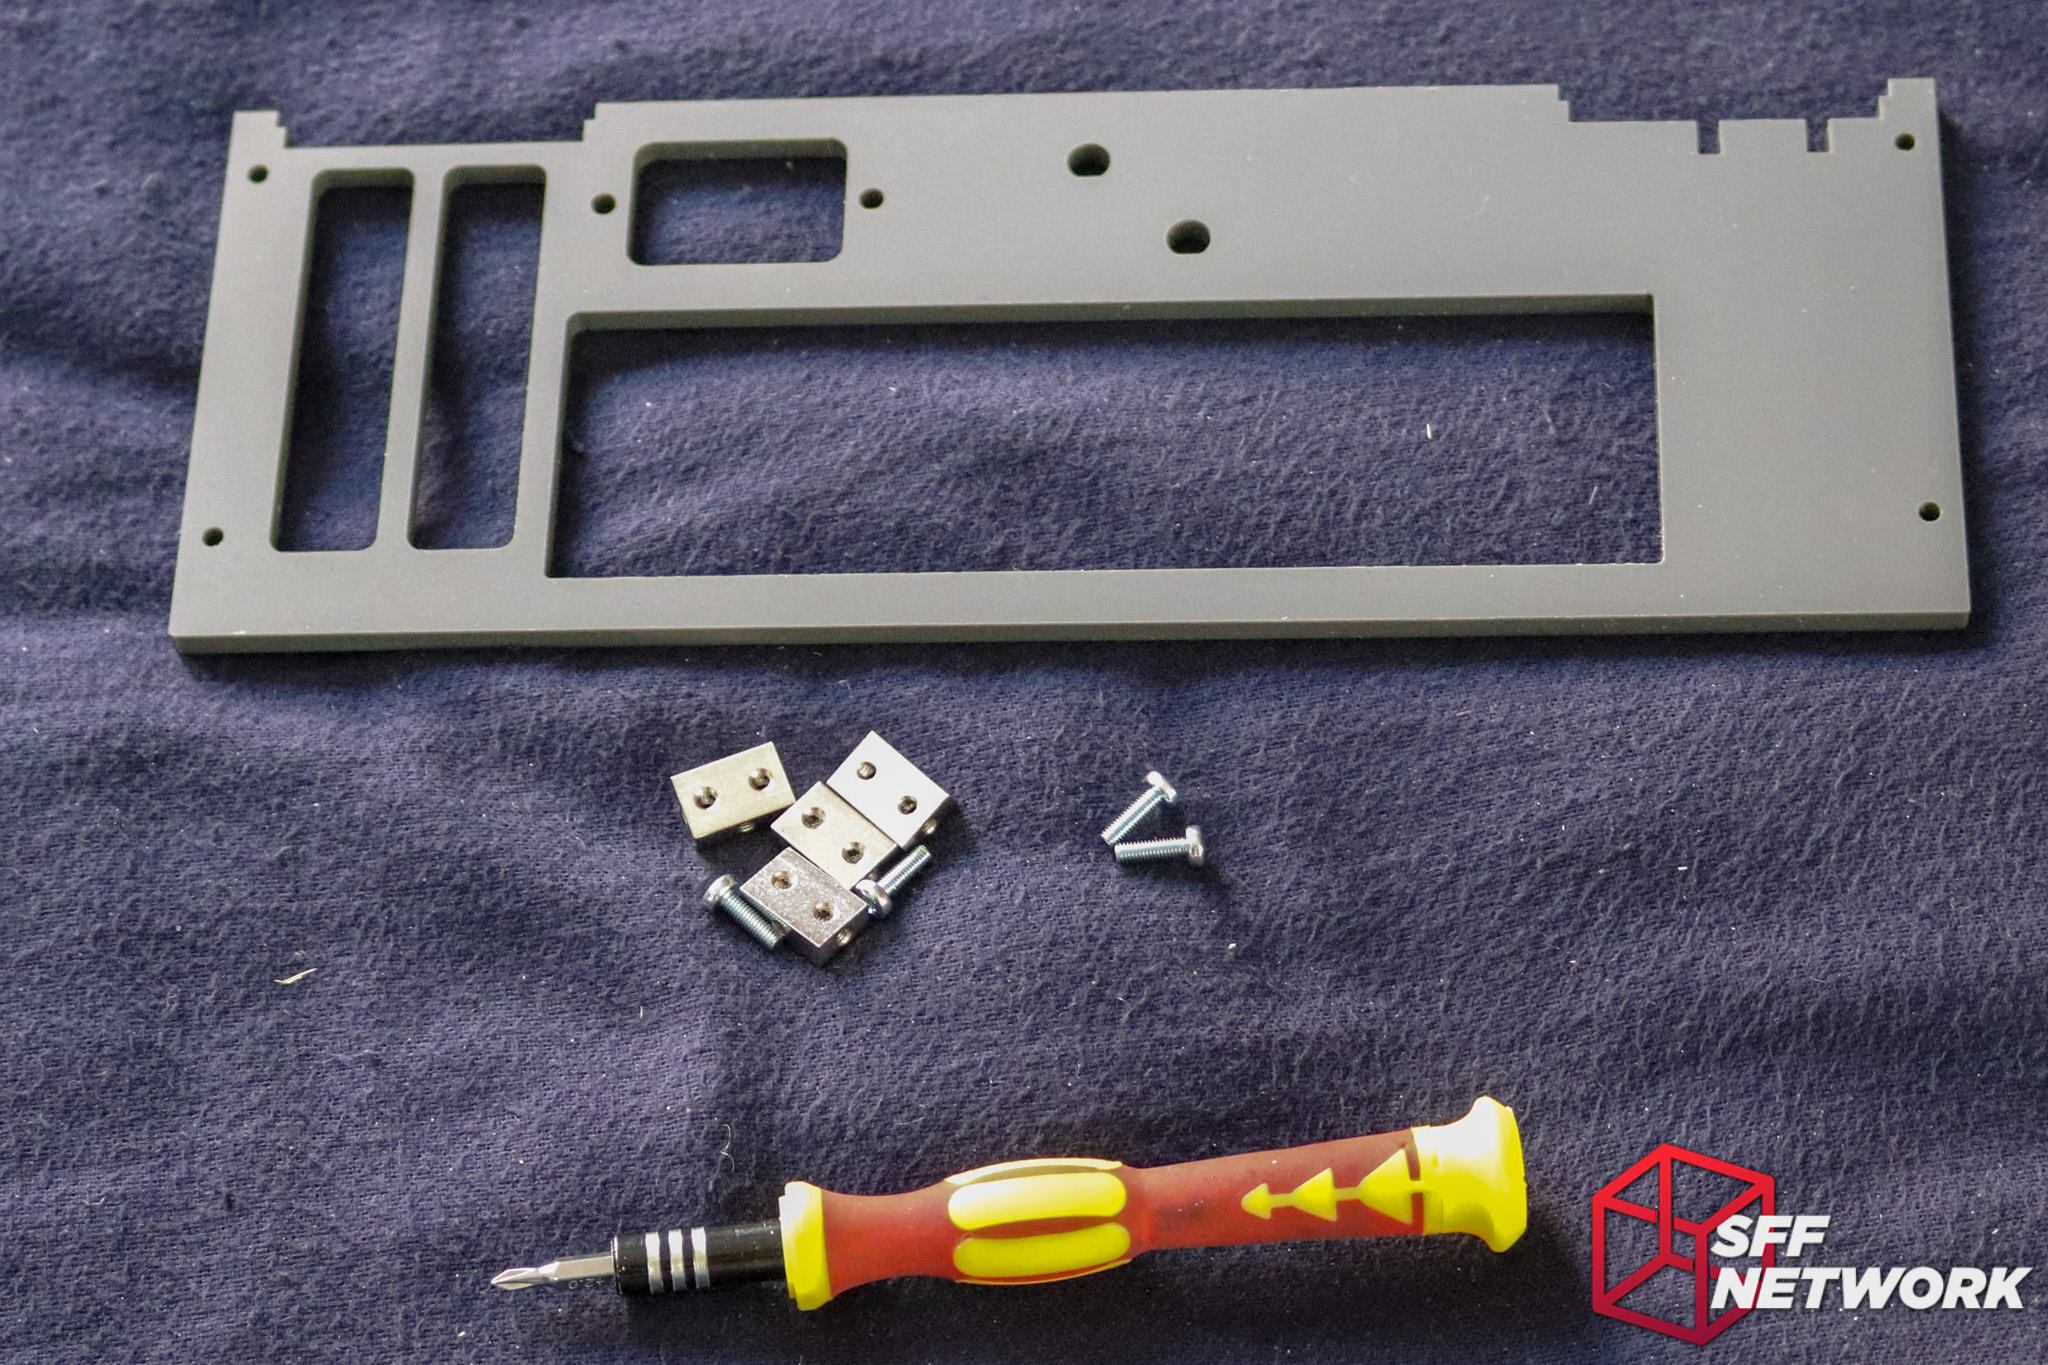
Guess which option I went for? A note here – the manual wasn’t clear as to exactly what screws to use here, so I screwed up. Lazer3D has stated that this will be remedied in the final manual version.
Unlike the acrylic ModCubes of most acrylic based cases, Lazer3D has chosen to use threaded metal inserts to attach the panels to the final product. More bonus points!
Mount the brackets like so. I fix the screw issue in a couple of steps…
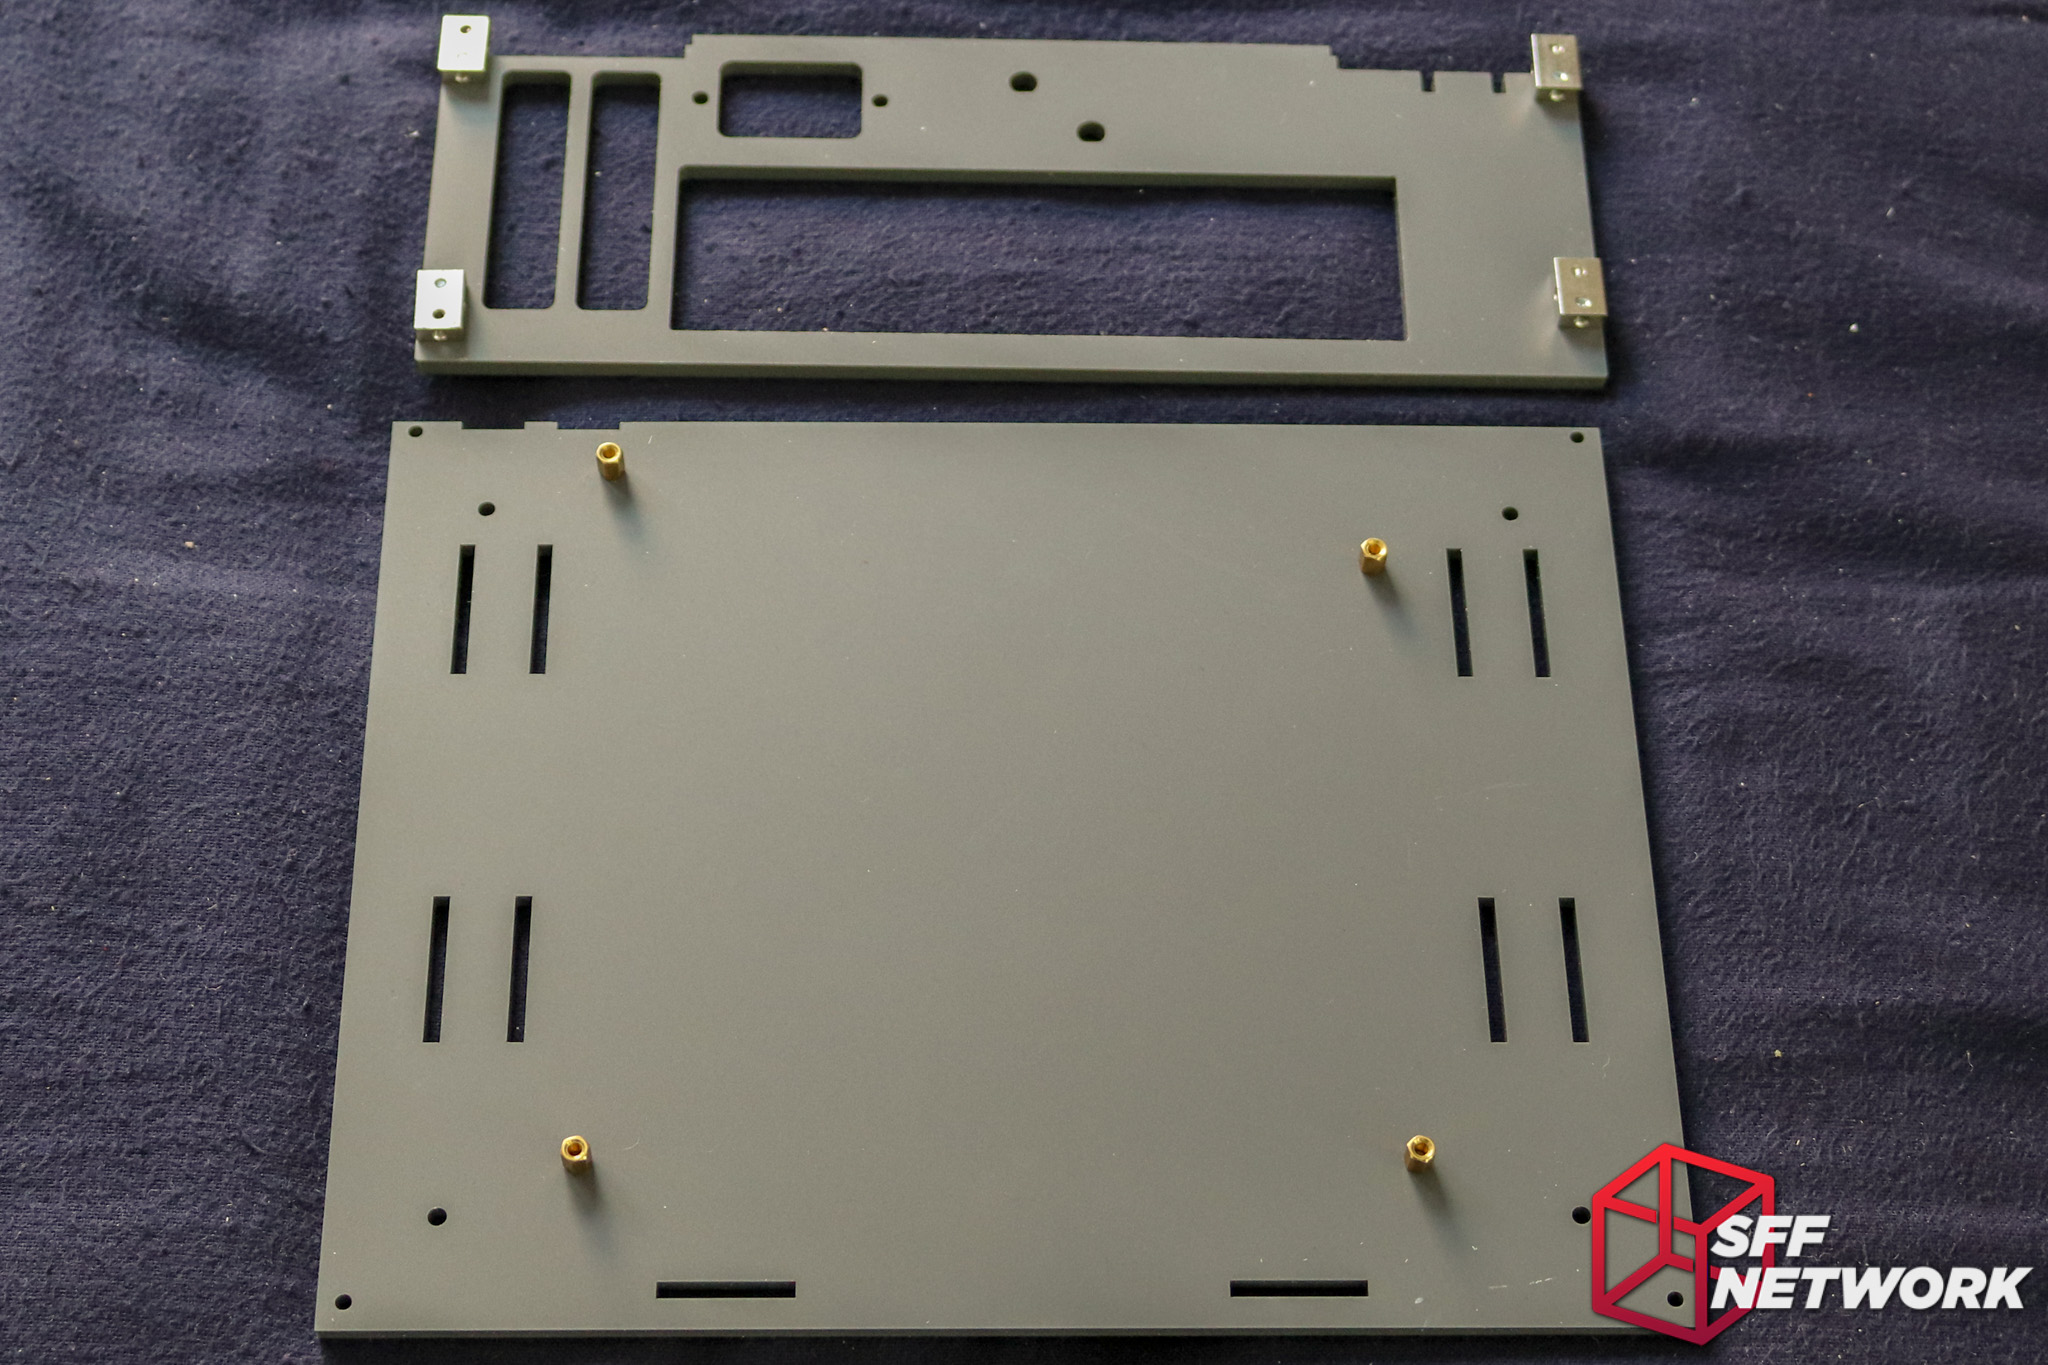
In comes the bottom panel – the motherboard tray. The various slots in the tray are to brace the internal panels – an ingenious idea that means you aren’t using a tonne of screws to add in everything.
Hey, I fixed the screw issue! The black countersunk screws in the fastener pack are to be used for the panel mounting.

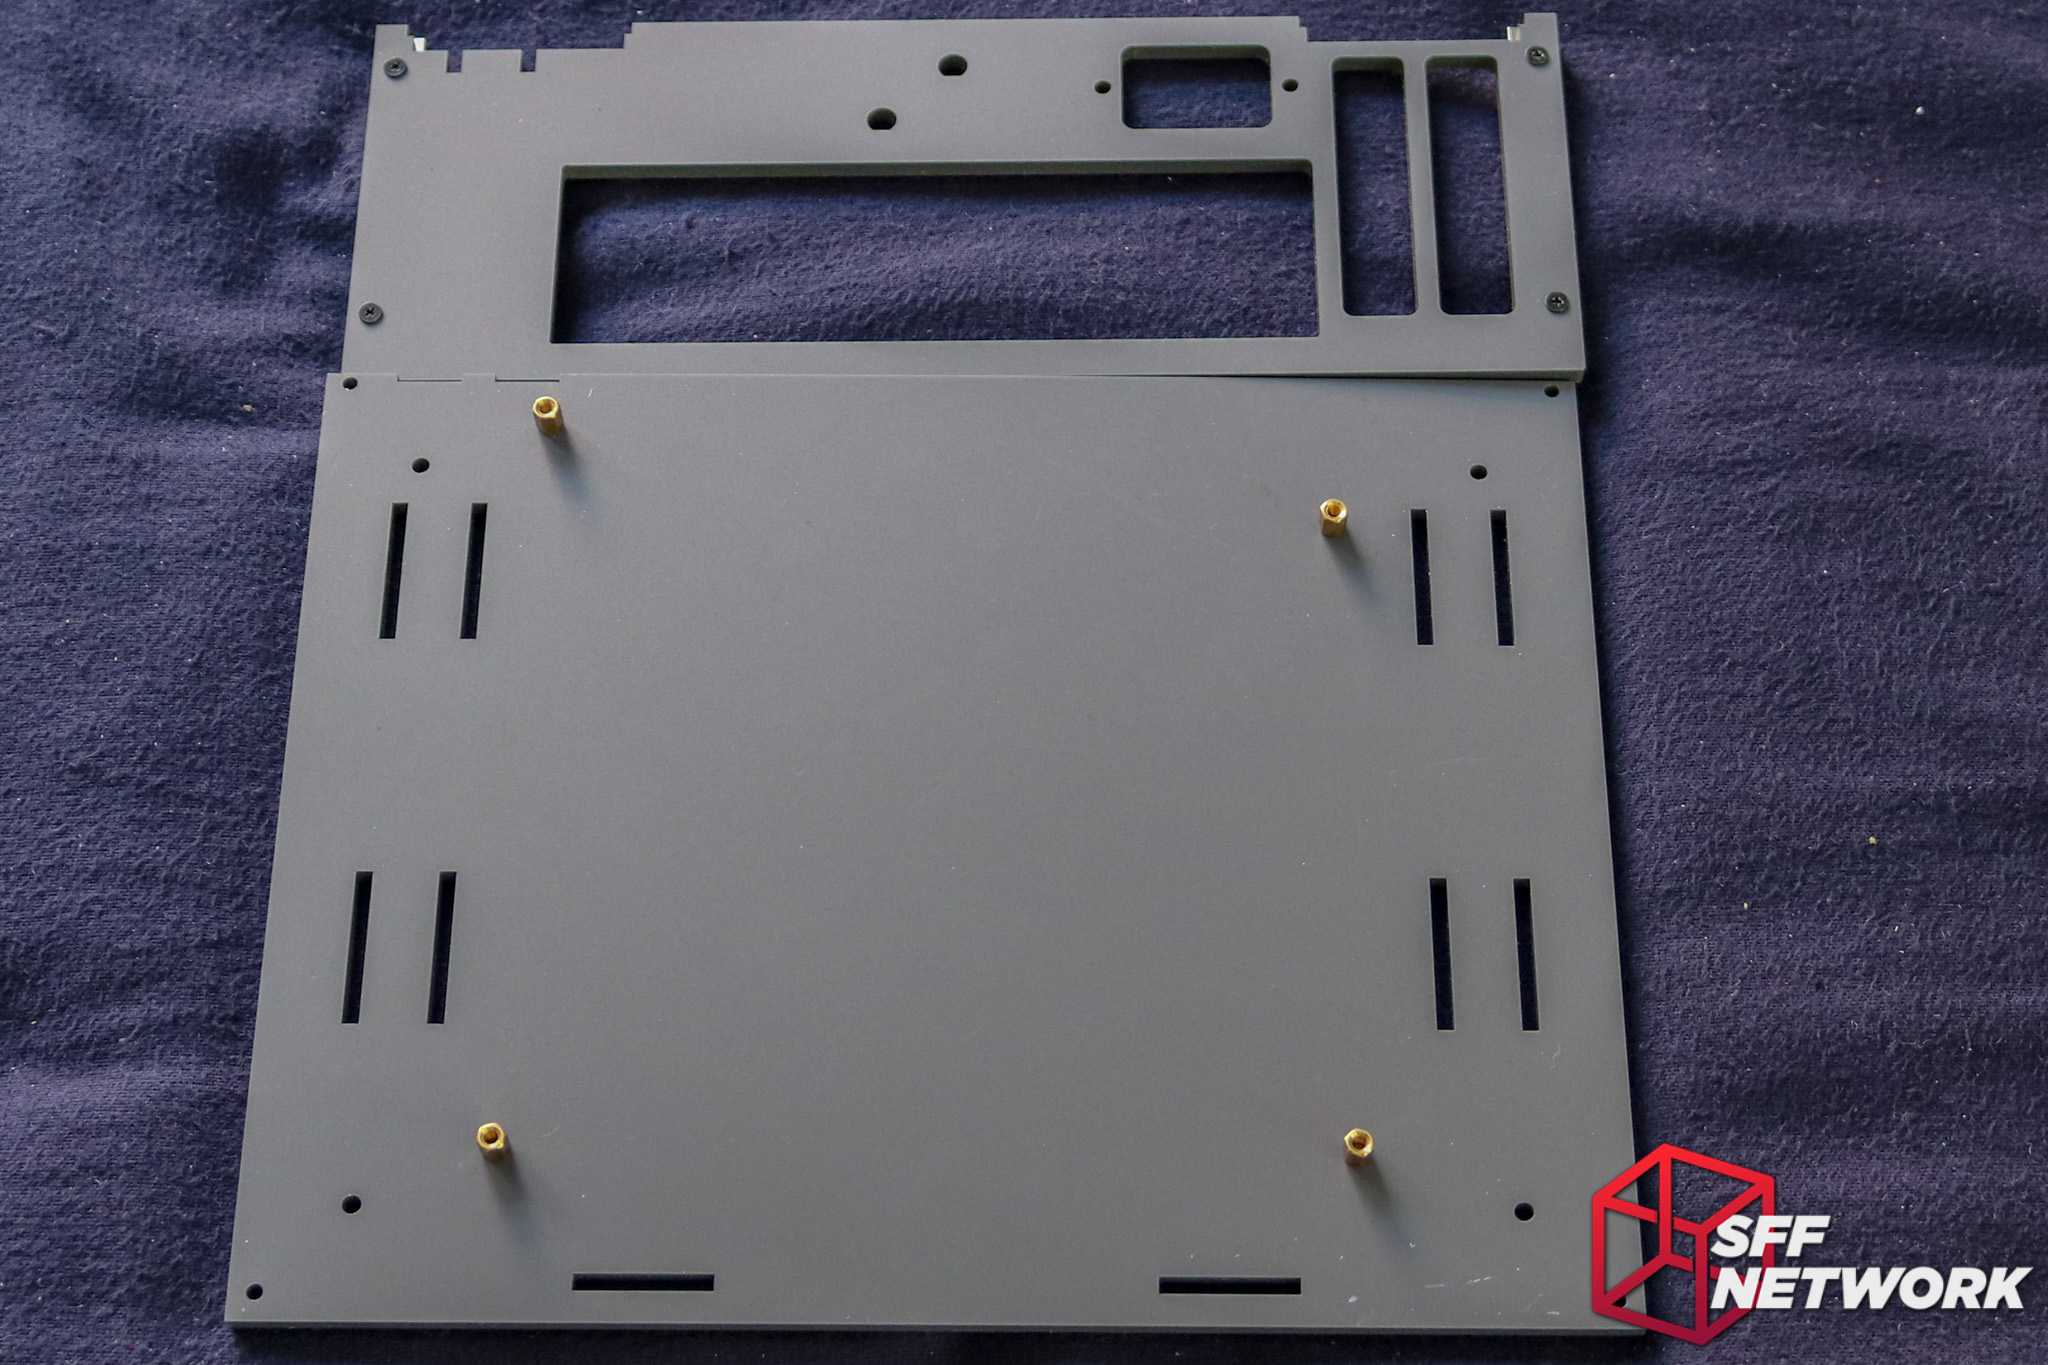
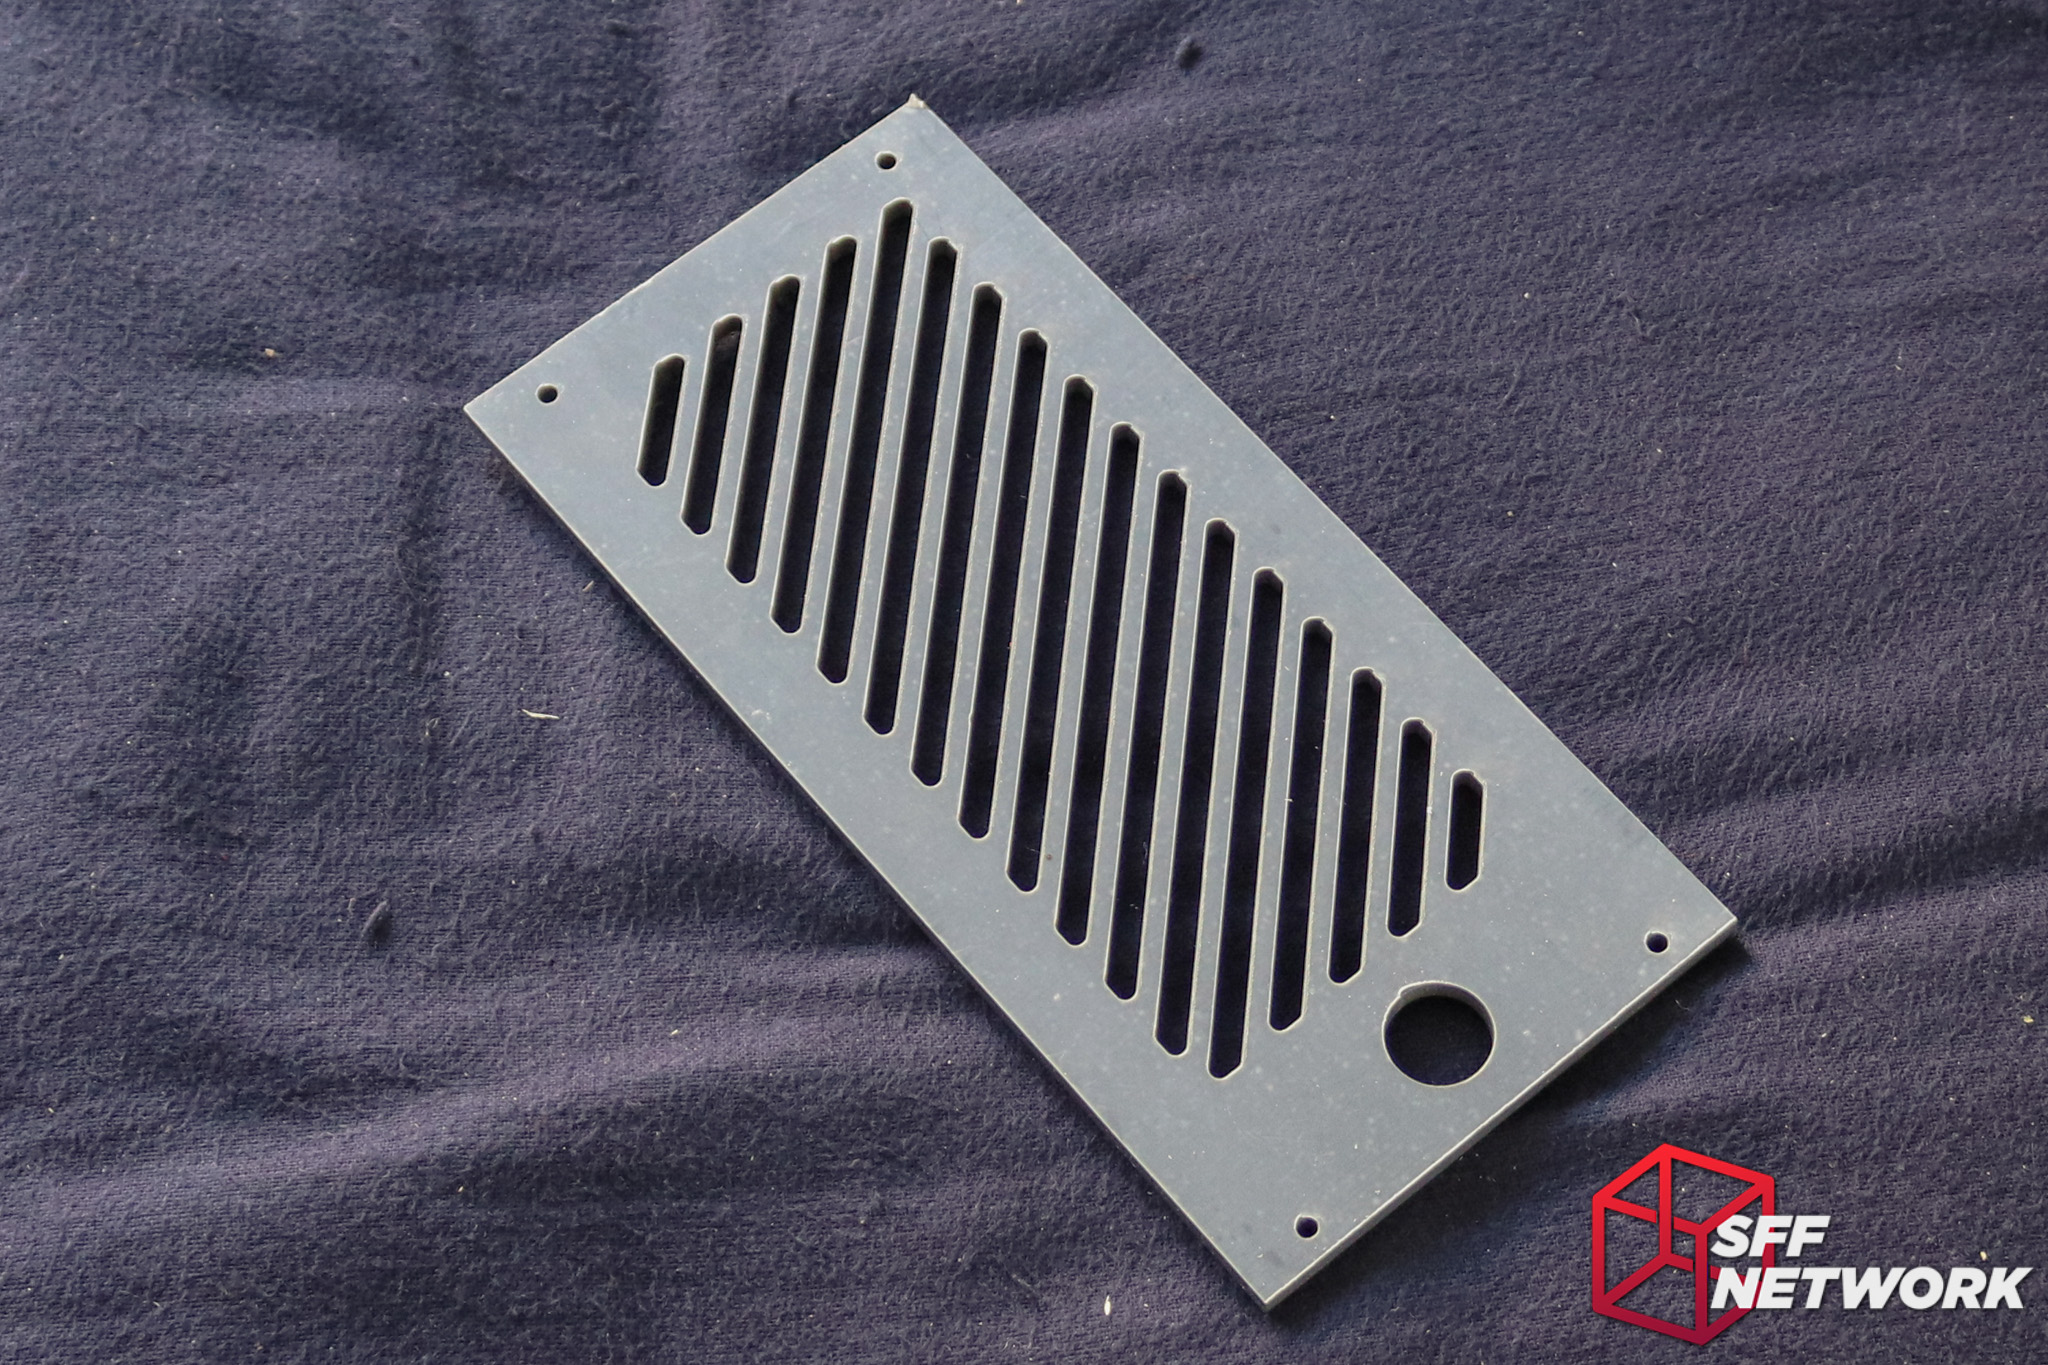
Attached together. For those wondering, the two small holes in the rear panel are for WiFi connectors, whilst the large one is for a C13 power input, or the various adapters included in the kit. I love the colour of these panels, a nice 80’s PC dark grey.

Time for some hardware! The panels including pre-mounted standoffs is also another plus point over a lot of mass produced cases. It’s extra important here though – threading things into acrylic can be risky.
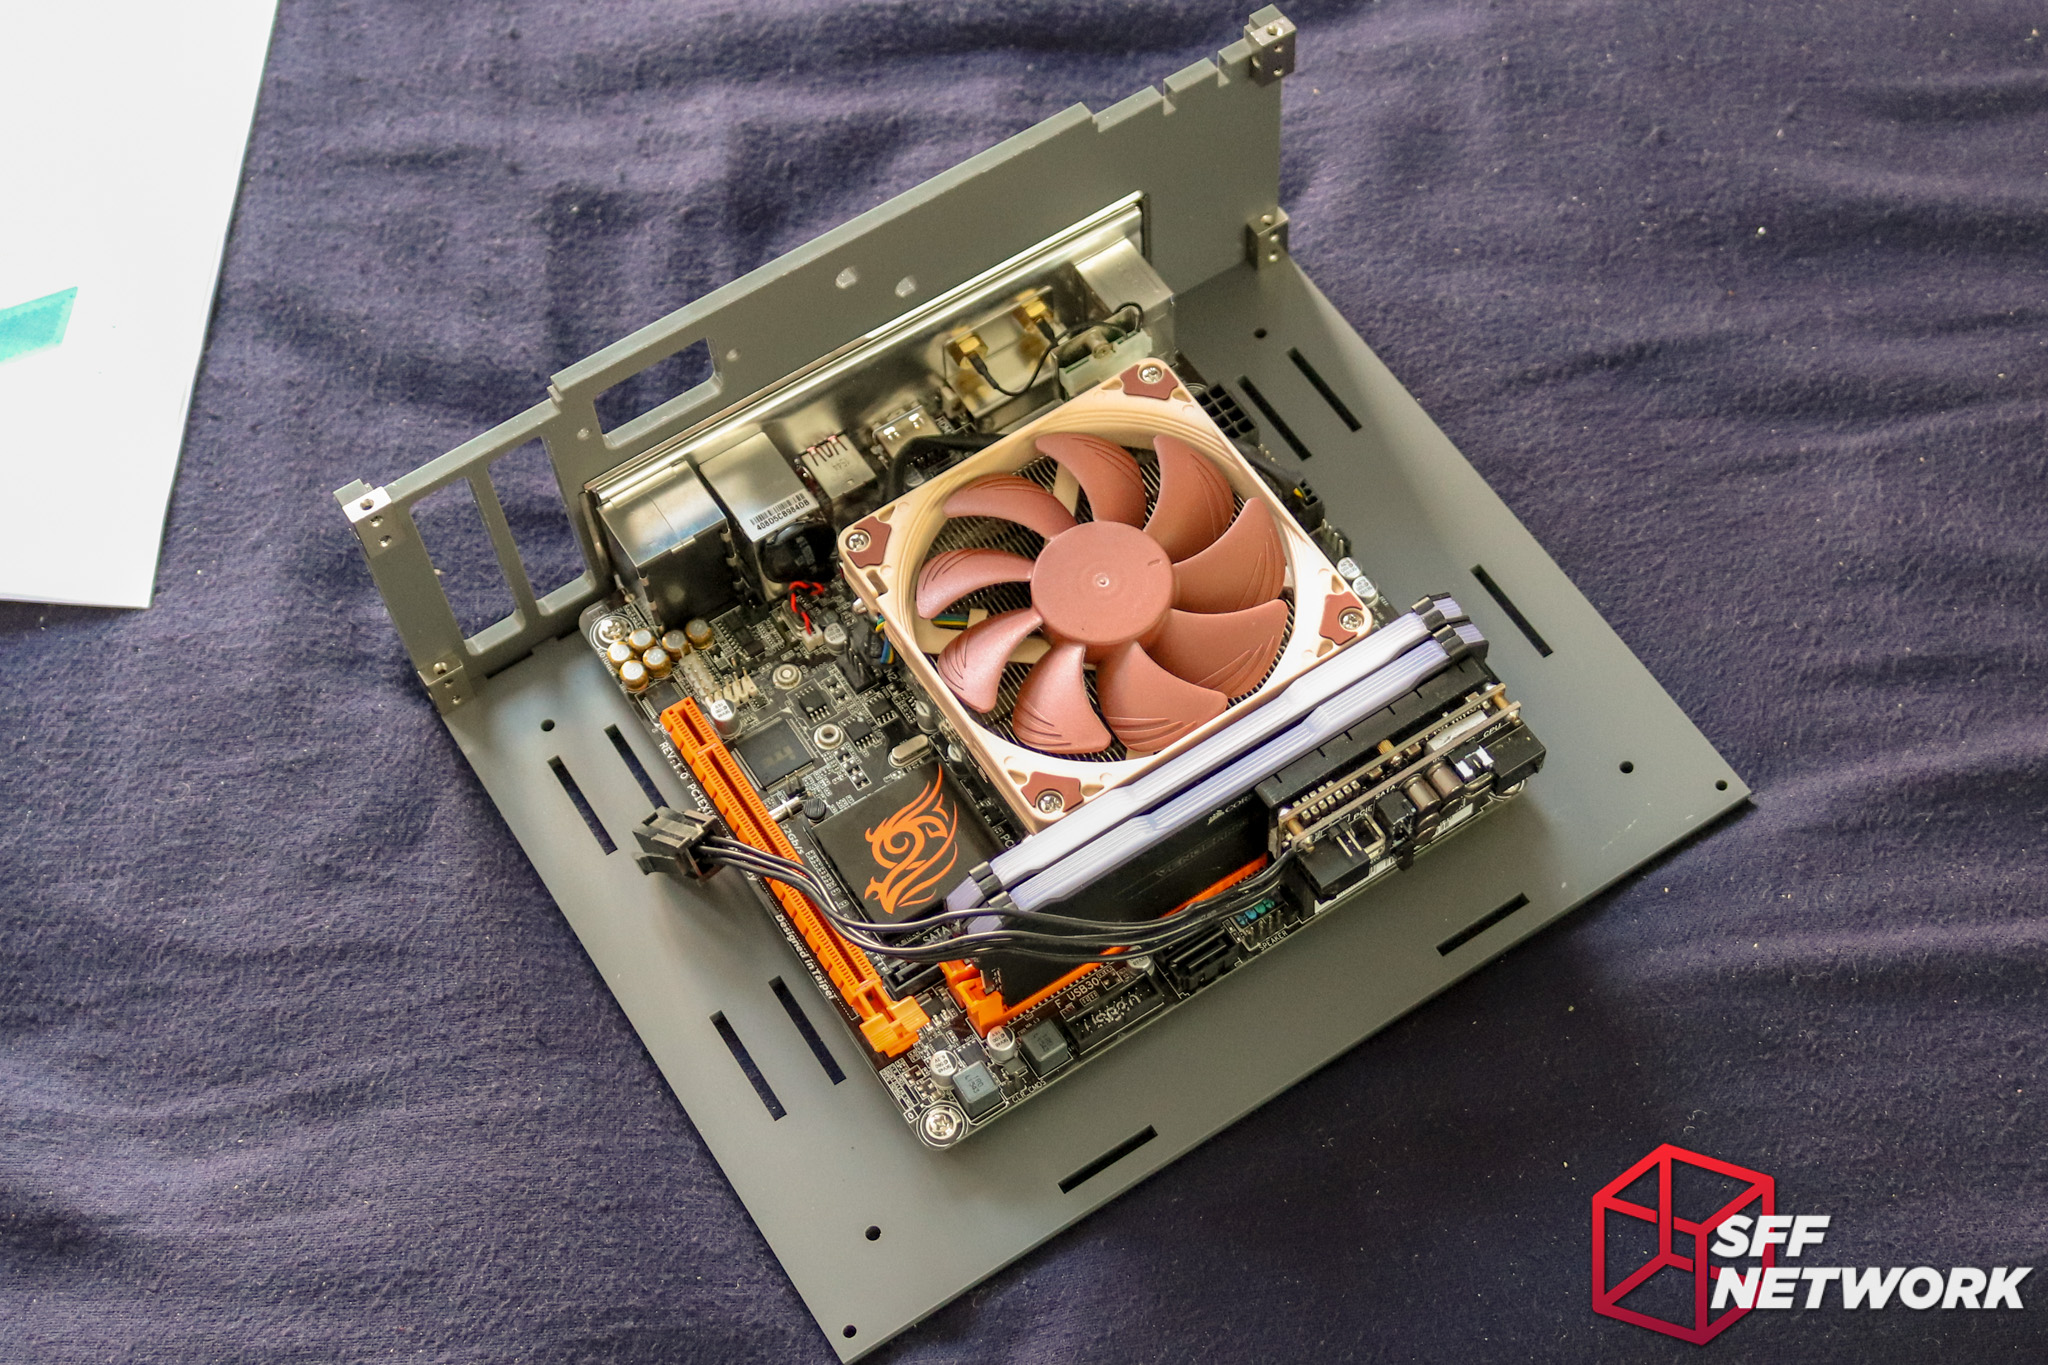
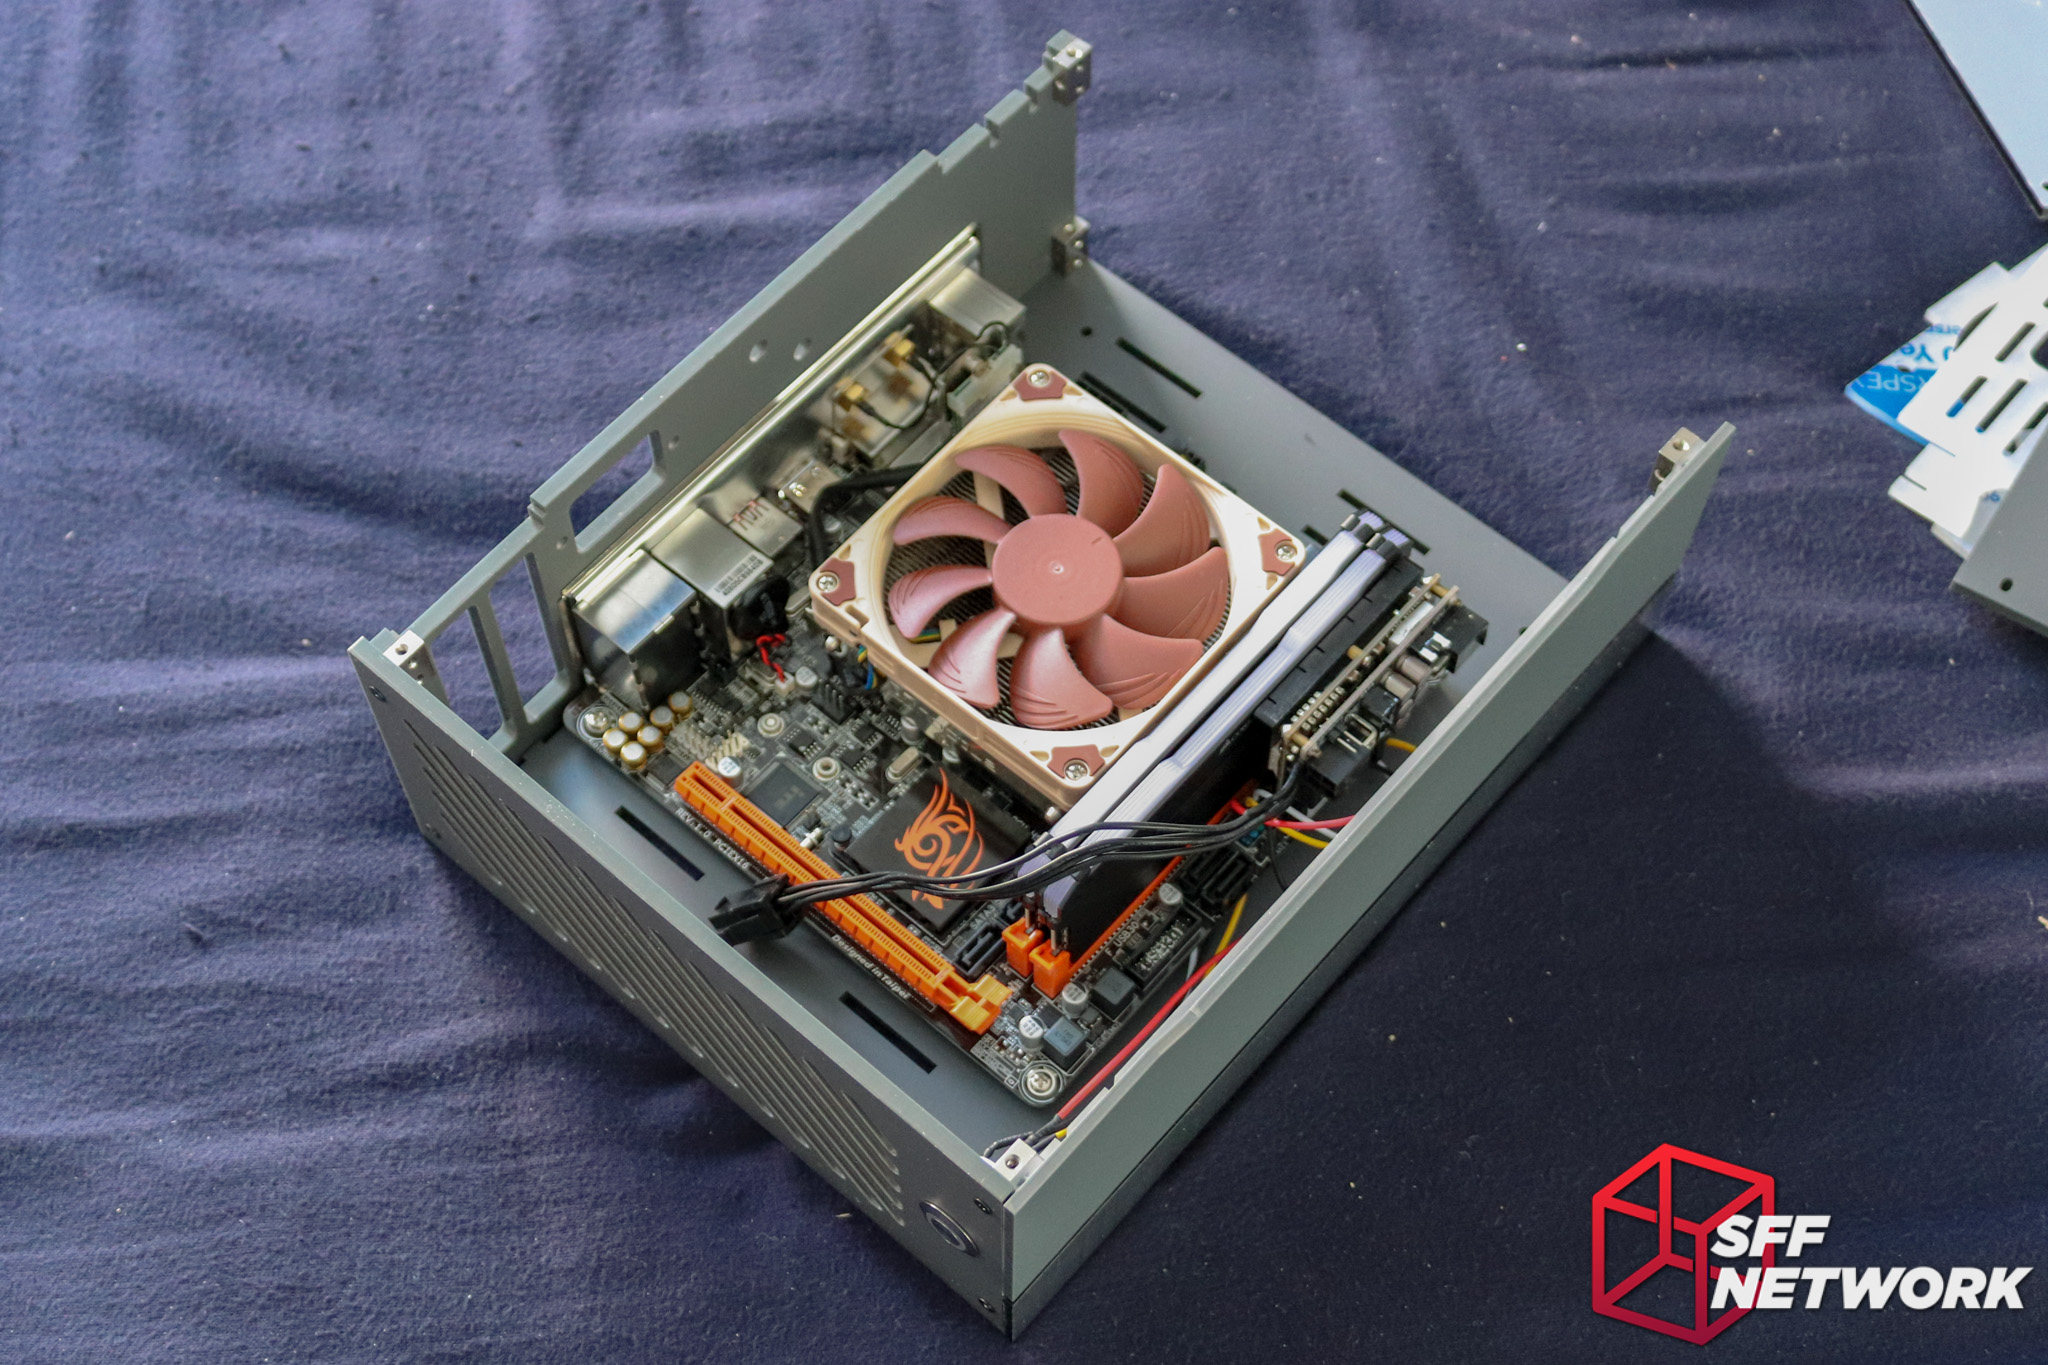
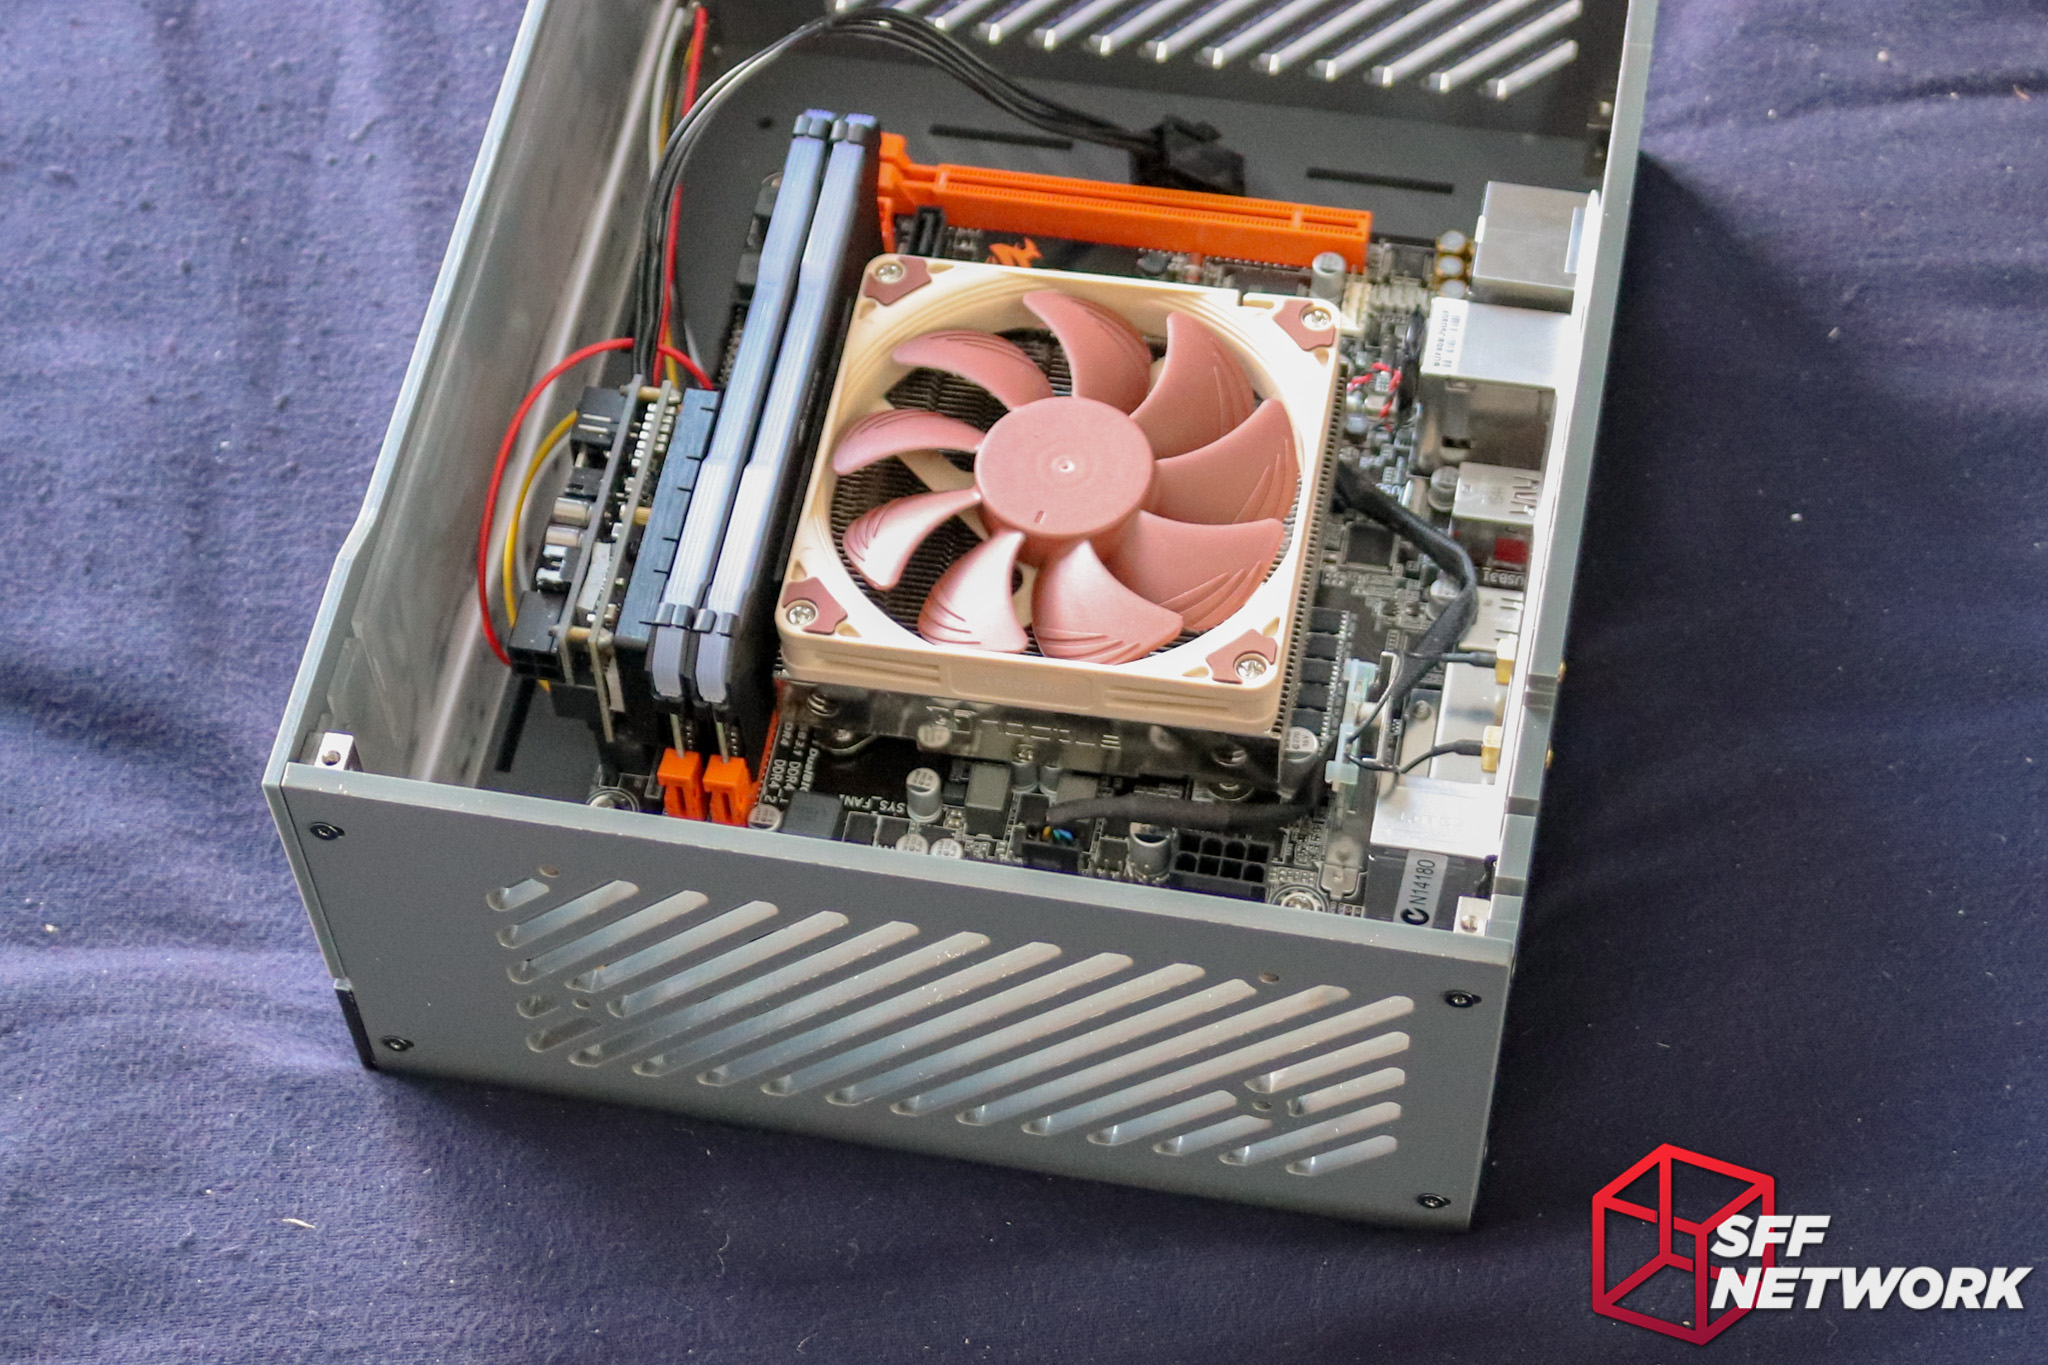
For this build, some personal hardware. A Gigabyte B150N Phoenix WiFi motherboard, an i7-7700T processor, a 512GB NVMe AData XPG SSD (under the board), a KMPKT Dynamo Mini 160W DC-DC direct plug PSU, and finally, a pair of Corsair Vengeance RGB Pro DDR4 DIMMs.
Of note, the acrylic is more flexible than the usual metals of PC cases – you will find the rear panel flexing a tiny bit with EMI padded IO shields like this one. This is normal – and your motherboard does like to rest against a padded panel.
Front panel installed. Same screws, same method – excepting that the metal bracket pieces are bonded to the front panel from the manufacturer. Shweet. As you can see, a motherboard a little larger than M-ITX can be mounted, at the expense of some of the internal panel options. M-DTX will fit, for those wanting to slot in one of those.
The power button panel! One thing to note – if you love peeling the protective film off new electronics, you will love this case. Every panel needs peeling!
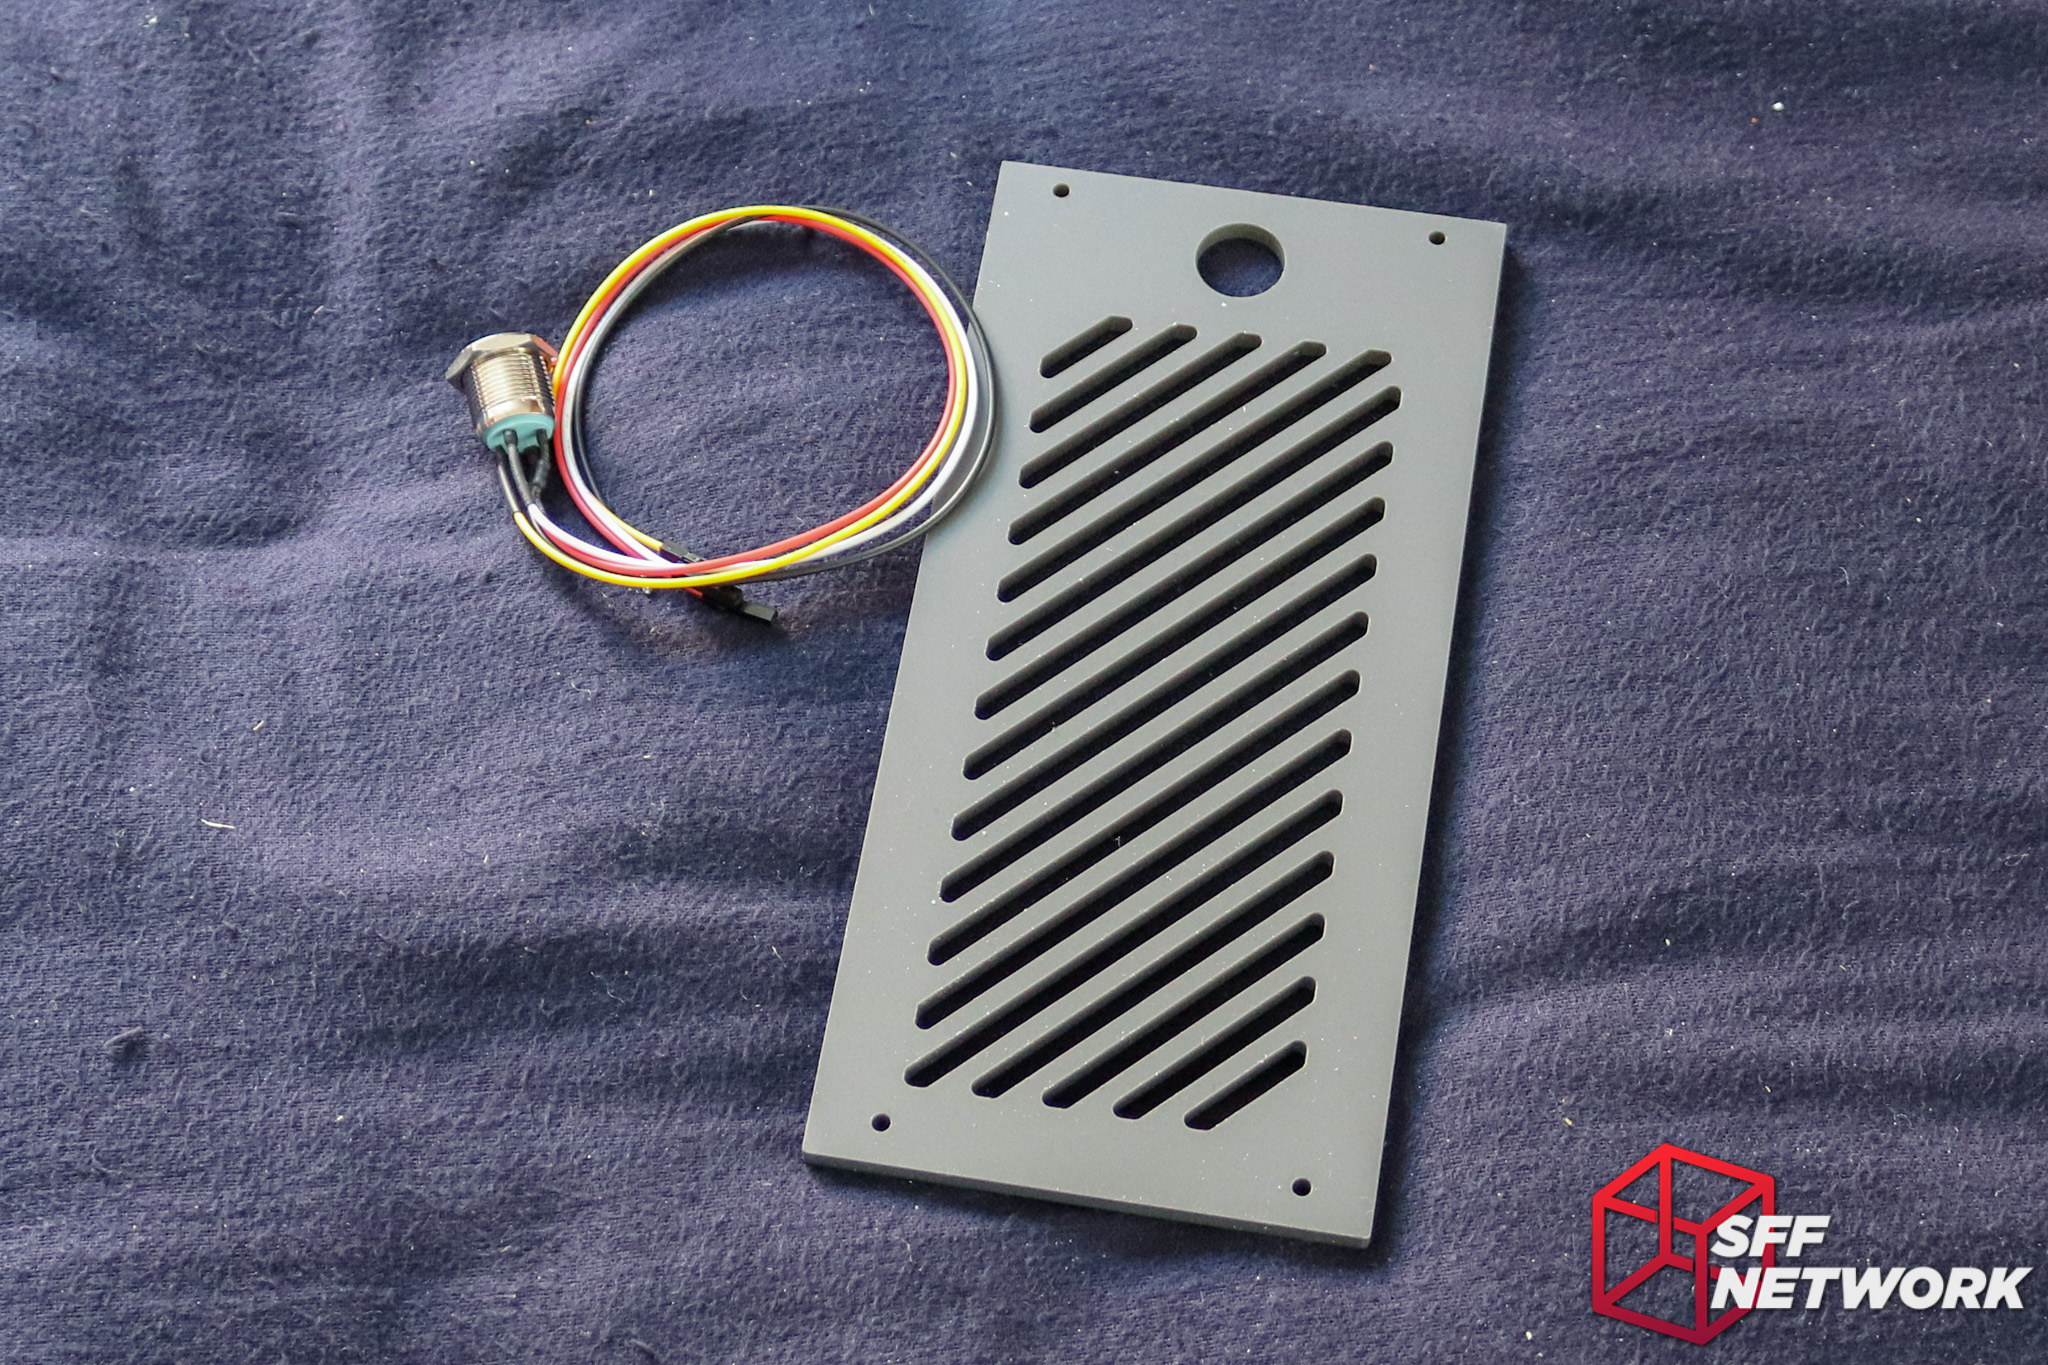
Let’s mount the included vandal resistant switch.
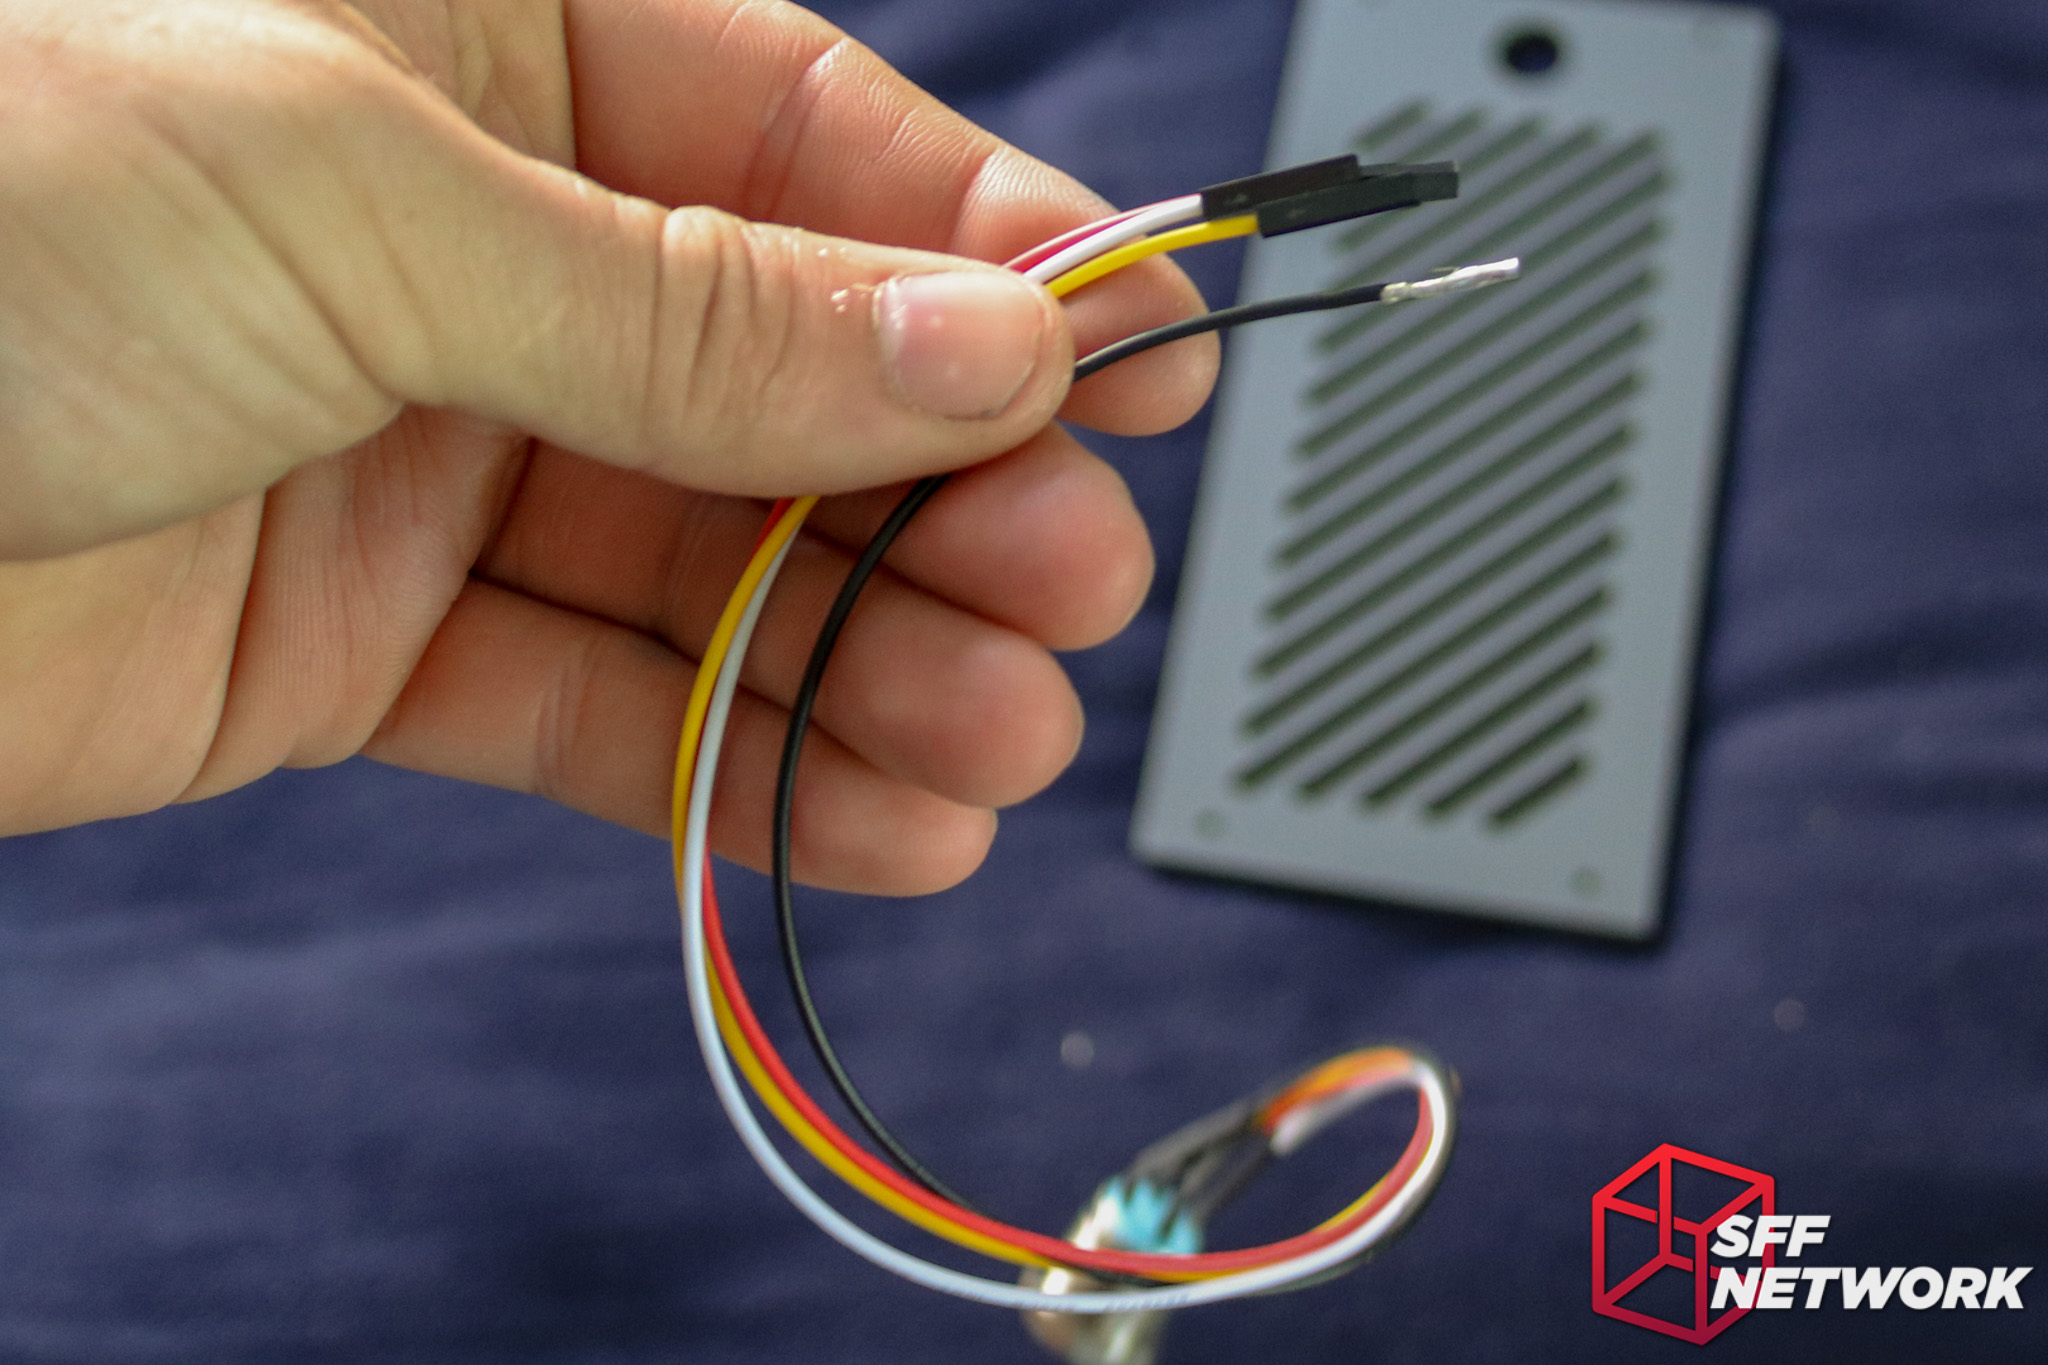
Ohhhhh, wait. This needs fixing. Lazer3D notes that the missing plastic is definitely a one-off. Easily fixed. I would like to see a singular header block for the power button – the front panel header has been standardised for over a decade now. I haven’t built on a consumer motherboard in over ten years that had a different header for the front panel! The first PC I built from all-new parts, in 2003, had the standard header on the board.

Fixed, mounted. The switch is a standard 16mm unit, so is easily replaceable with a switch of your choice.
And mounted. The HT5 is getting more rigid as the build continues – adding confidence in the construction quality of the case.

This is the last side panel – pre-mounted with standoffs for the HDPlex 400W DC-DC power supply. Lazer3D says that if the discrete GPU option is chosen, it’s advisable to swap the power button and this panel if you aren’t using the HDPlex 400W. I chose to defy convention and remove the standoffs!
And mounted.

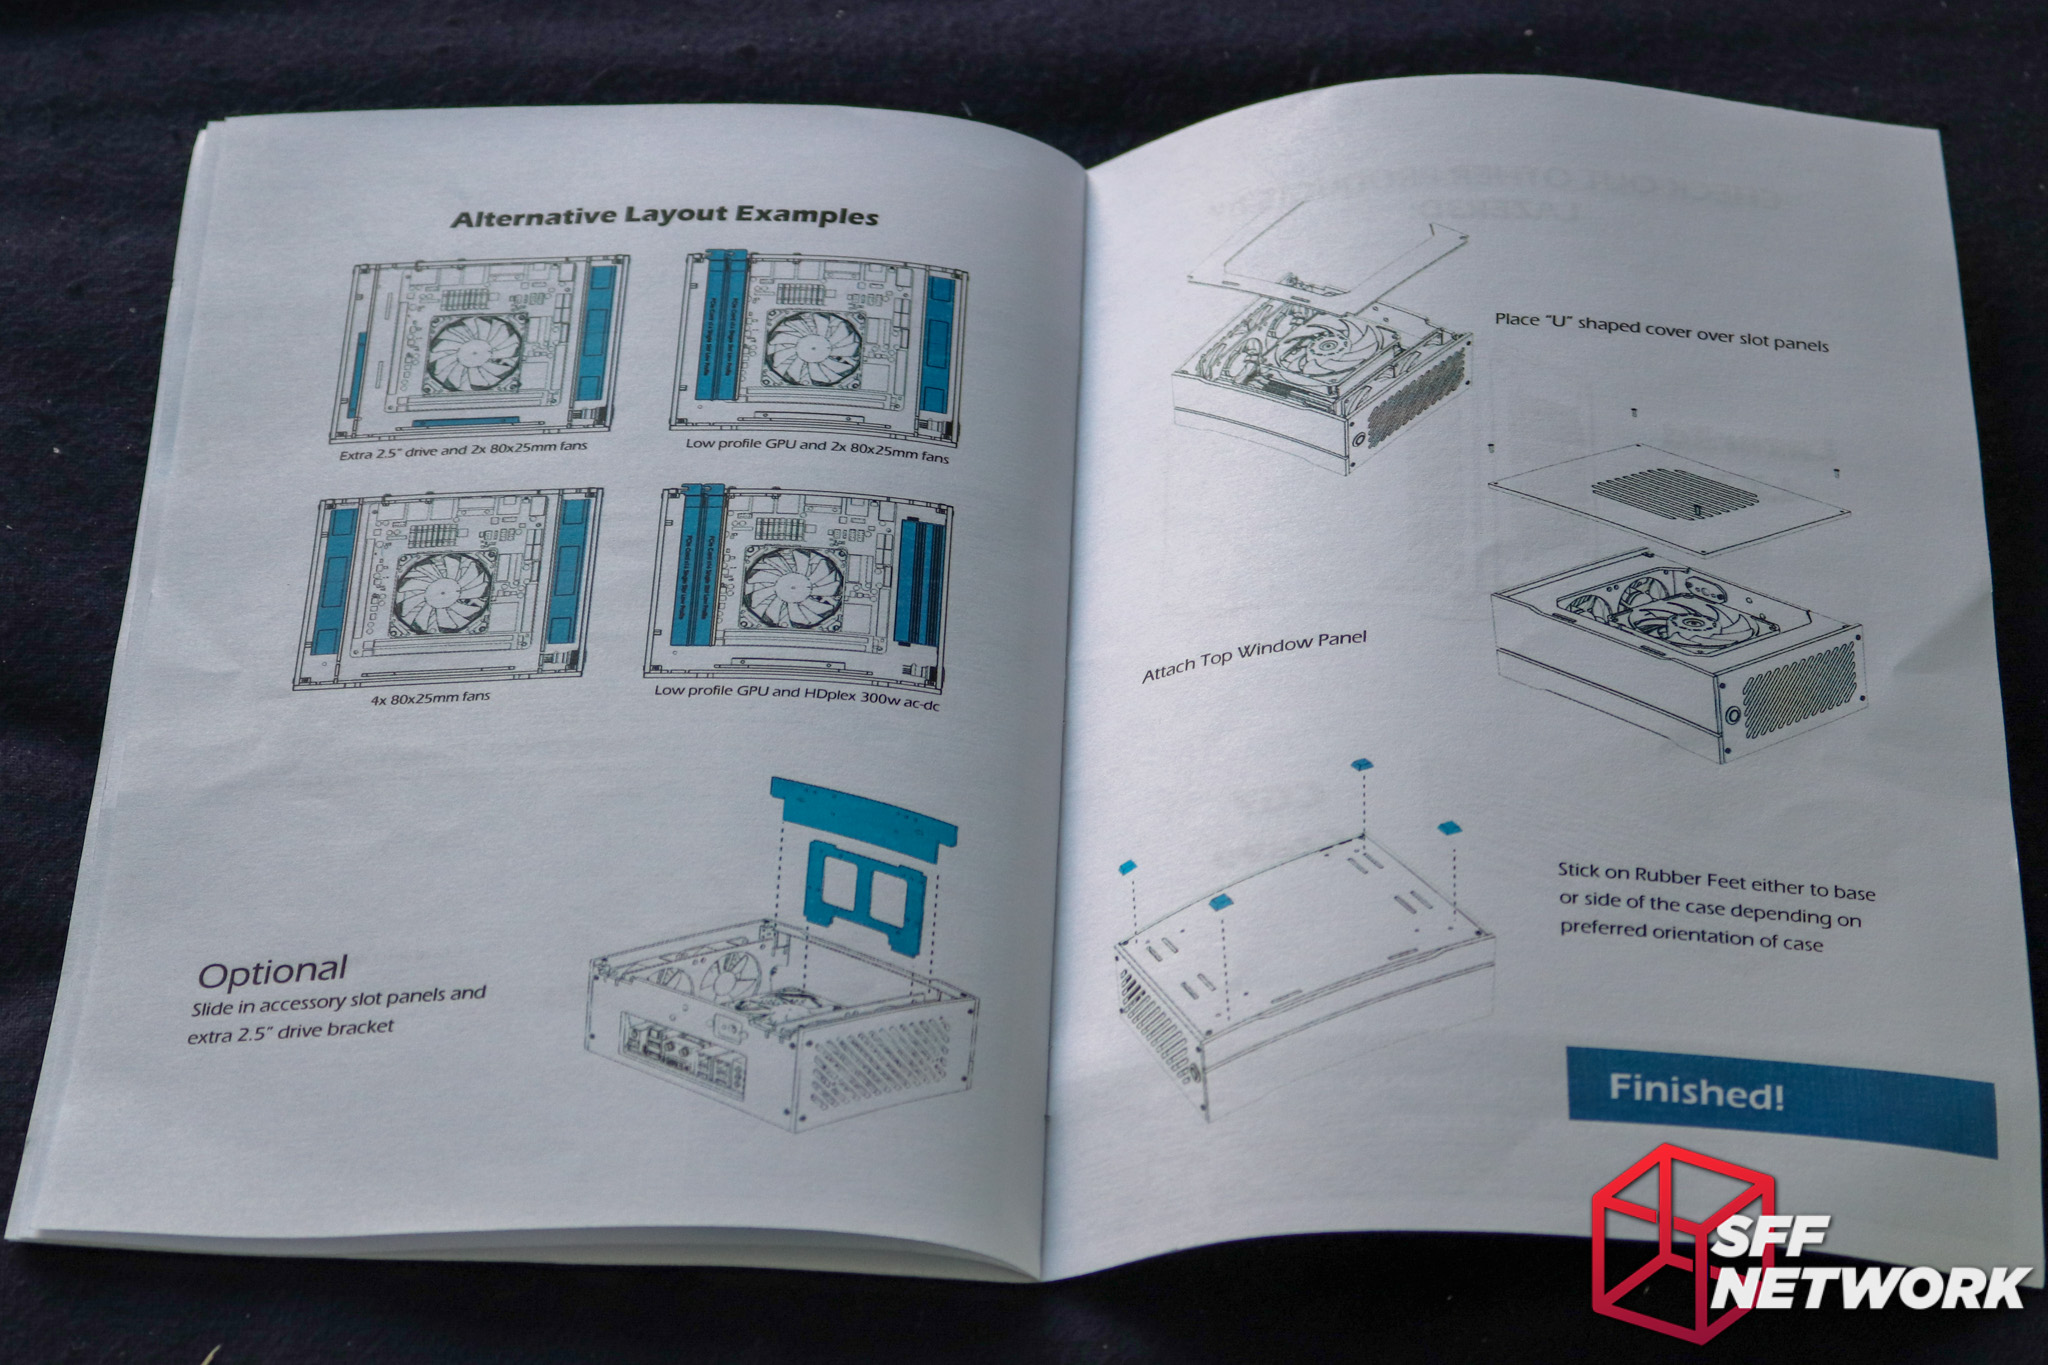
So many choices! Eventually, I decided to use none of these. Mostly because of my hardware choices – discrete GPU, internal AC-DC power supply, and a pre-production KMPKT Dynamo PSU meant I didn’t have room for extra fans, or drives. Fine by me – 512GB M.2 enough for my use!
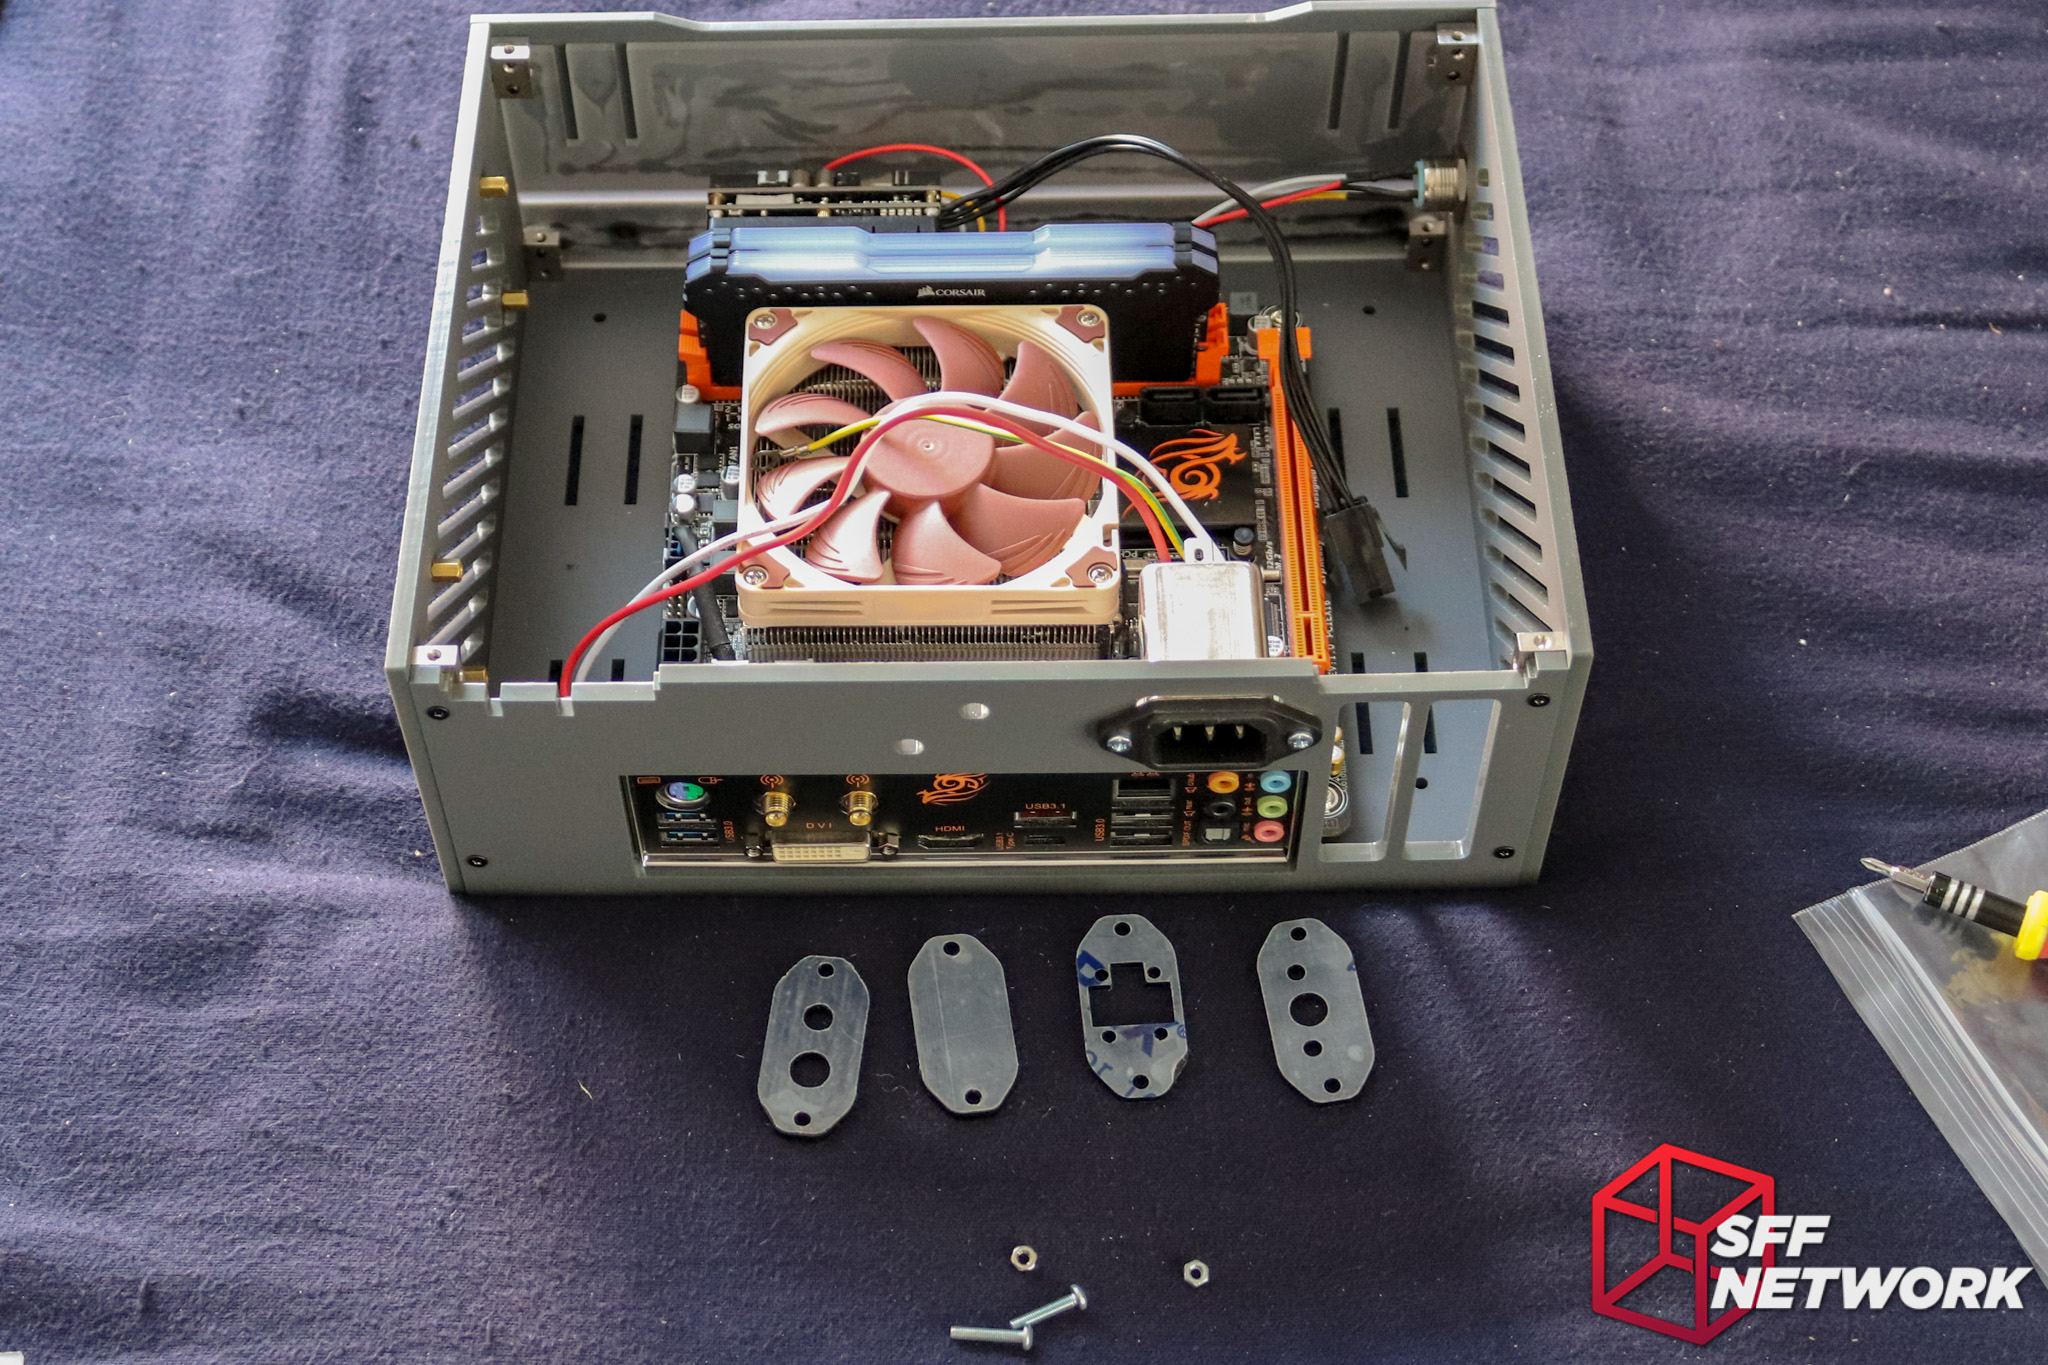
Whilst I mounted a mains input, other options are included (from the left);
- Barrel jack in two sizes (for use with PicoPSU style input)
- Blanking panel
- Mini Fit JR input (suits G-Unique style)
- HDPlex/KMPKT barrel jack with mounting screws
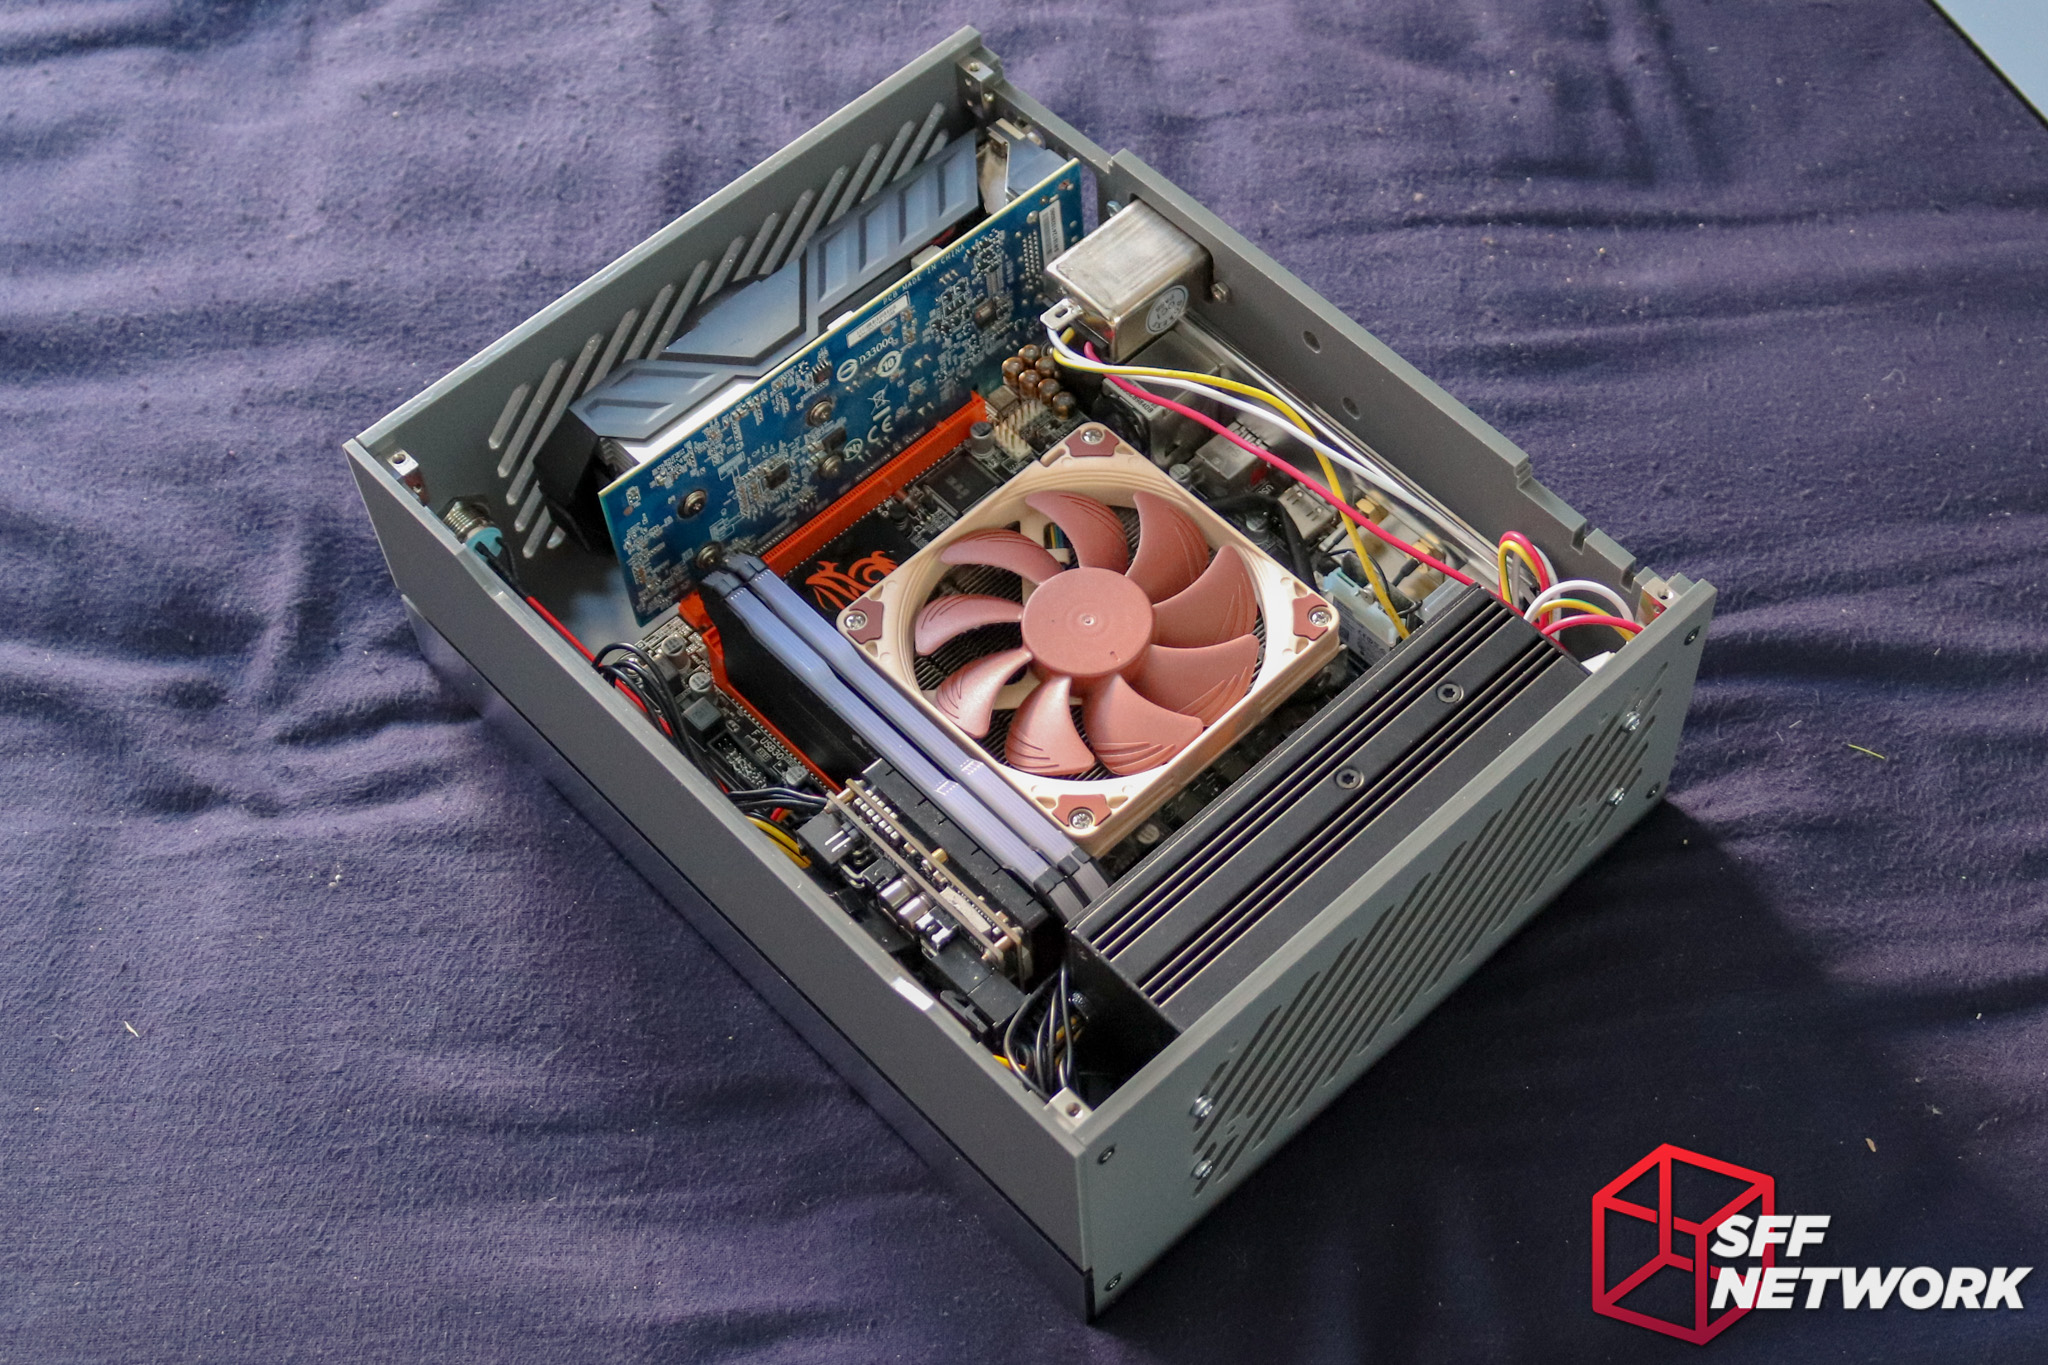
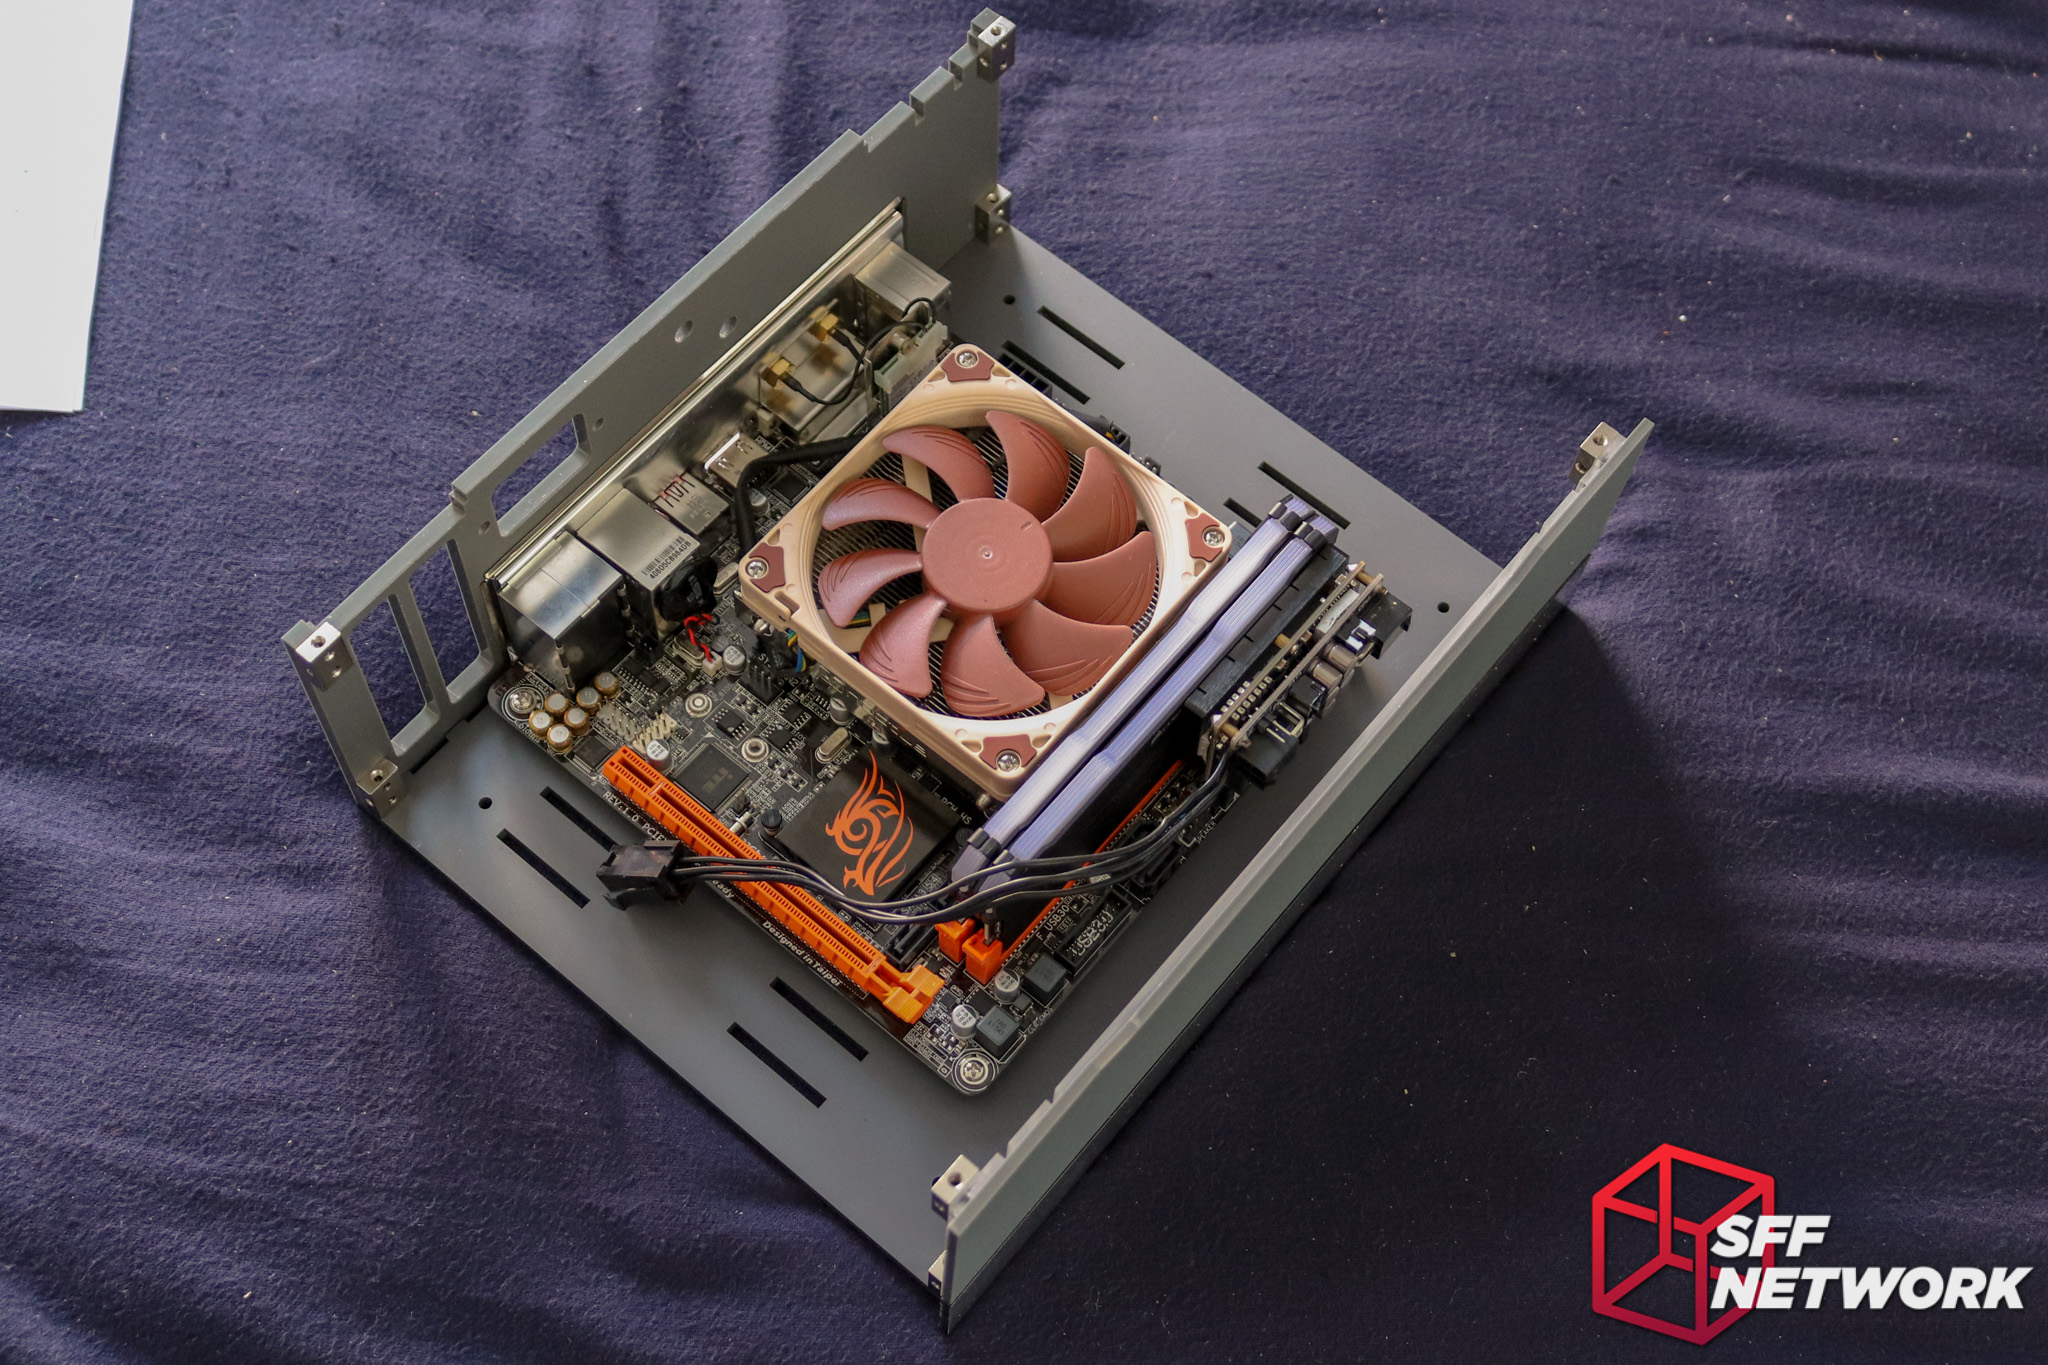
Fully configured! A HDPlex 300W AC-DC and a Gigabyte GTX 750 Ti join the fray, meaning that this is a pretty dense build.
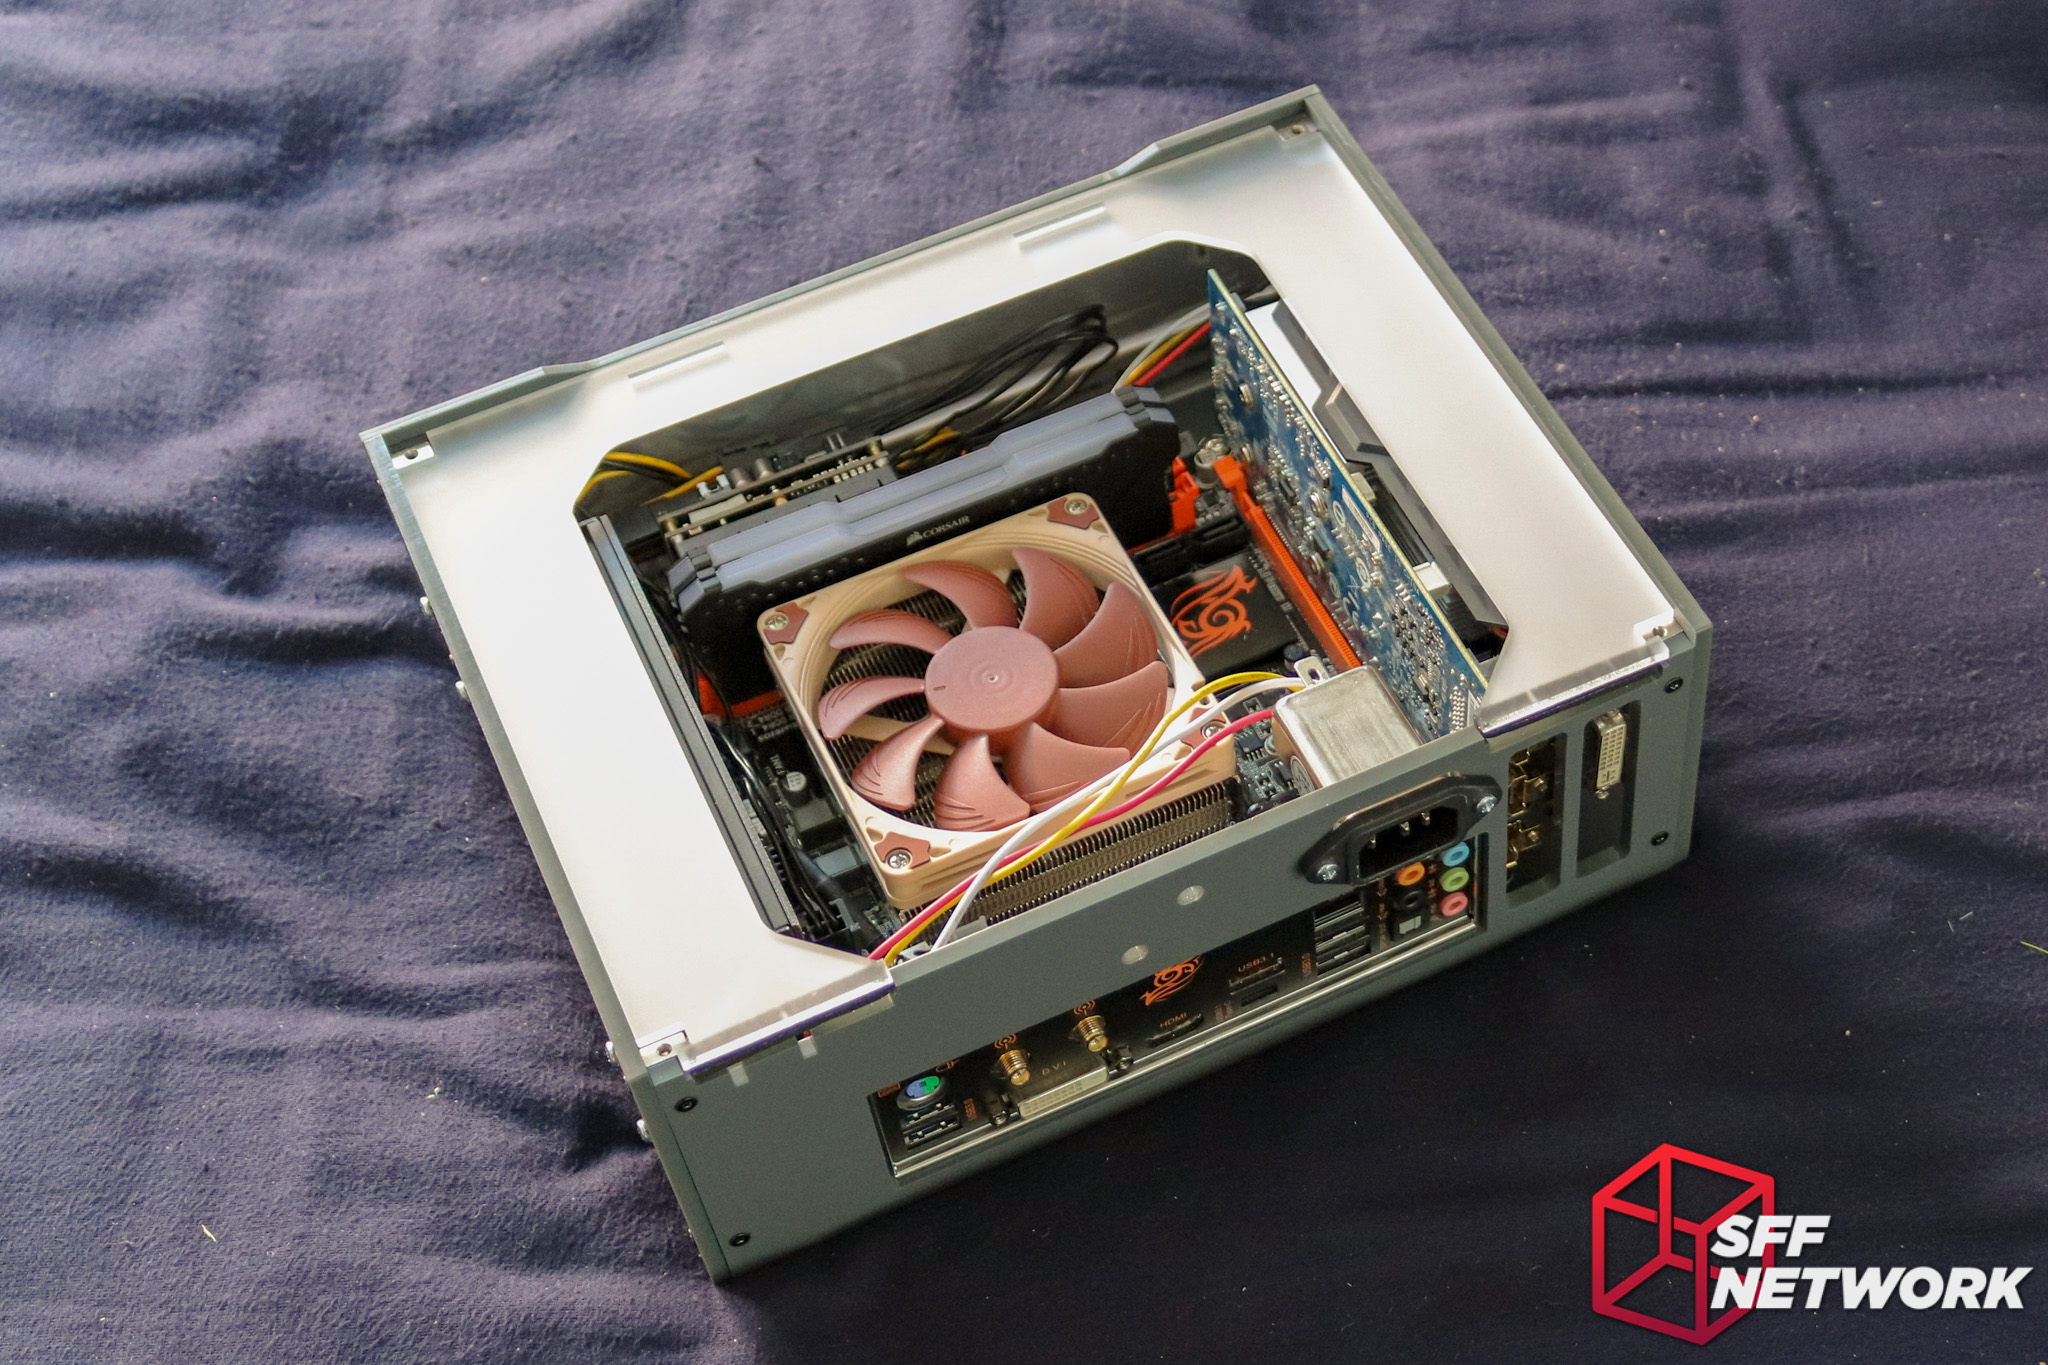
Adding in the included shroud panel, the build becomes a lot more stylish! Ignore the lack of PCI bracket on the GTX 750 Ti – I really should find that piece…
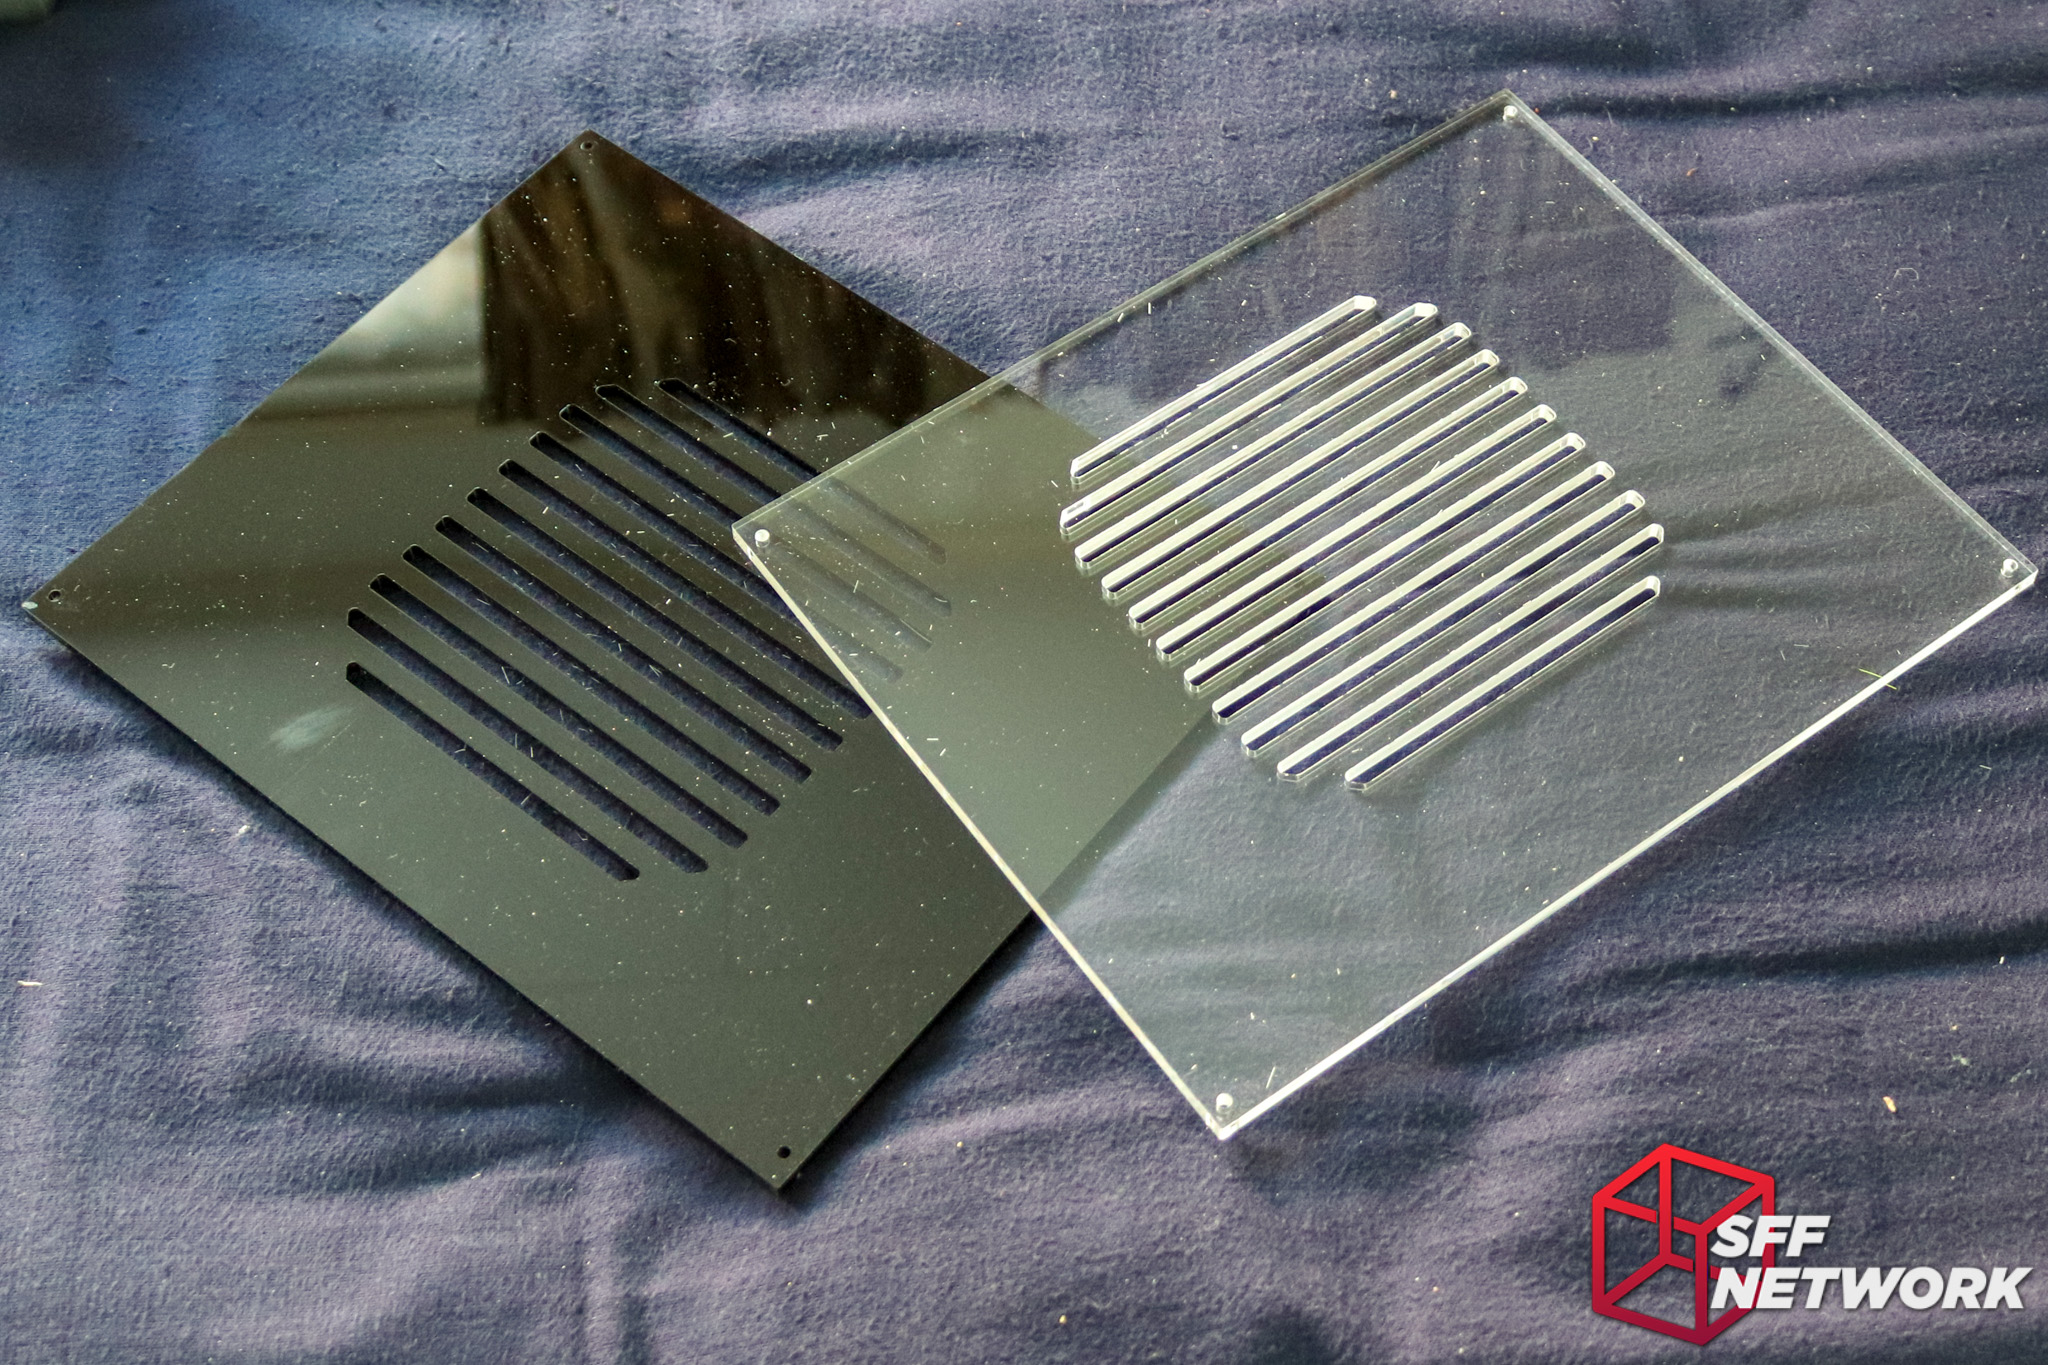
The two top panel options in all their glory. The choice between subtlety or showing off is clear (pun intended). Take your pick and install away. Note that when ordering the case, you will pick your panel then – only one is included in the kit!
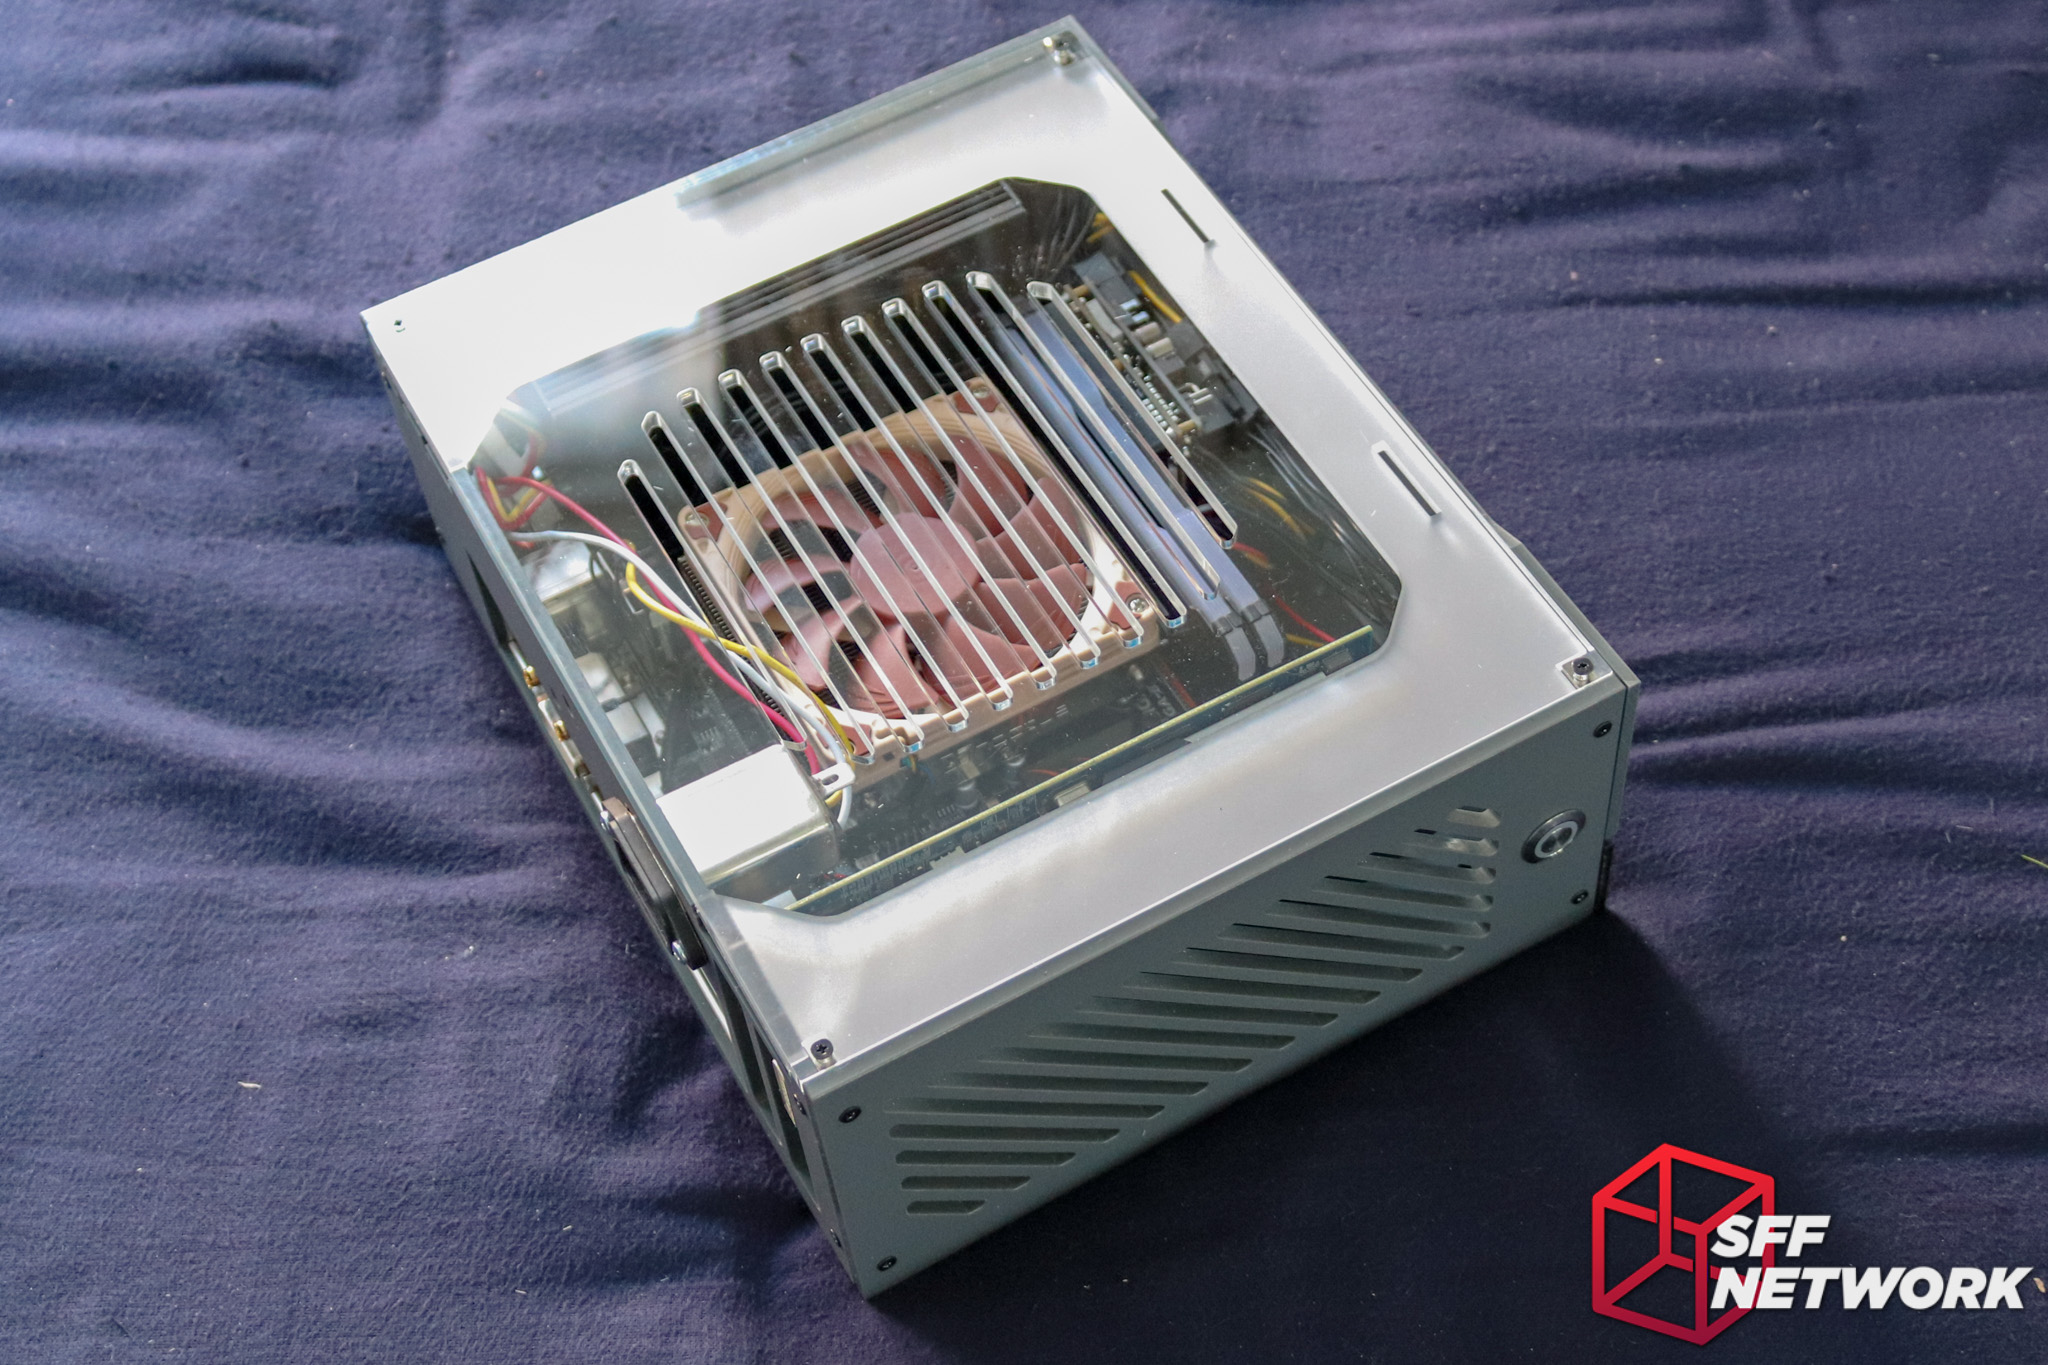
Done!
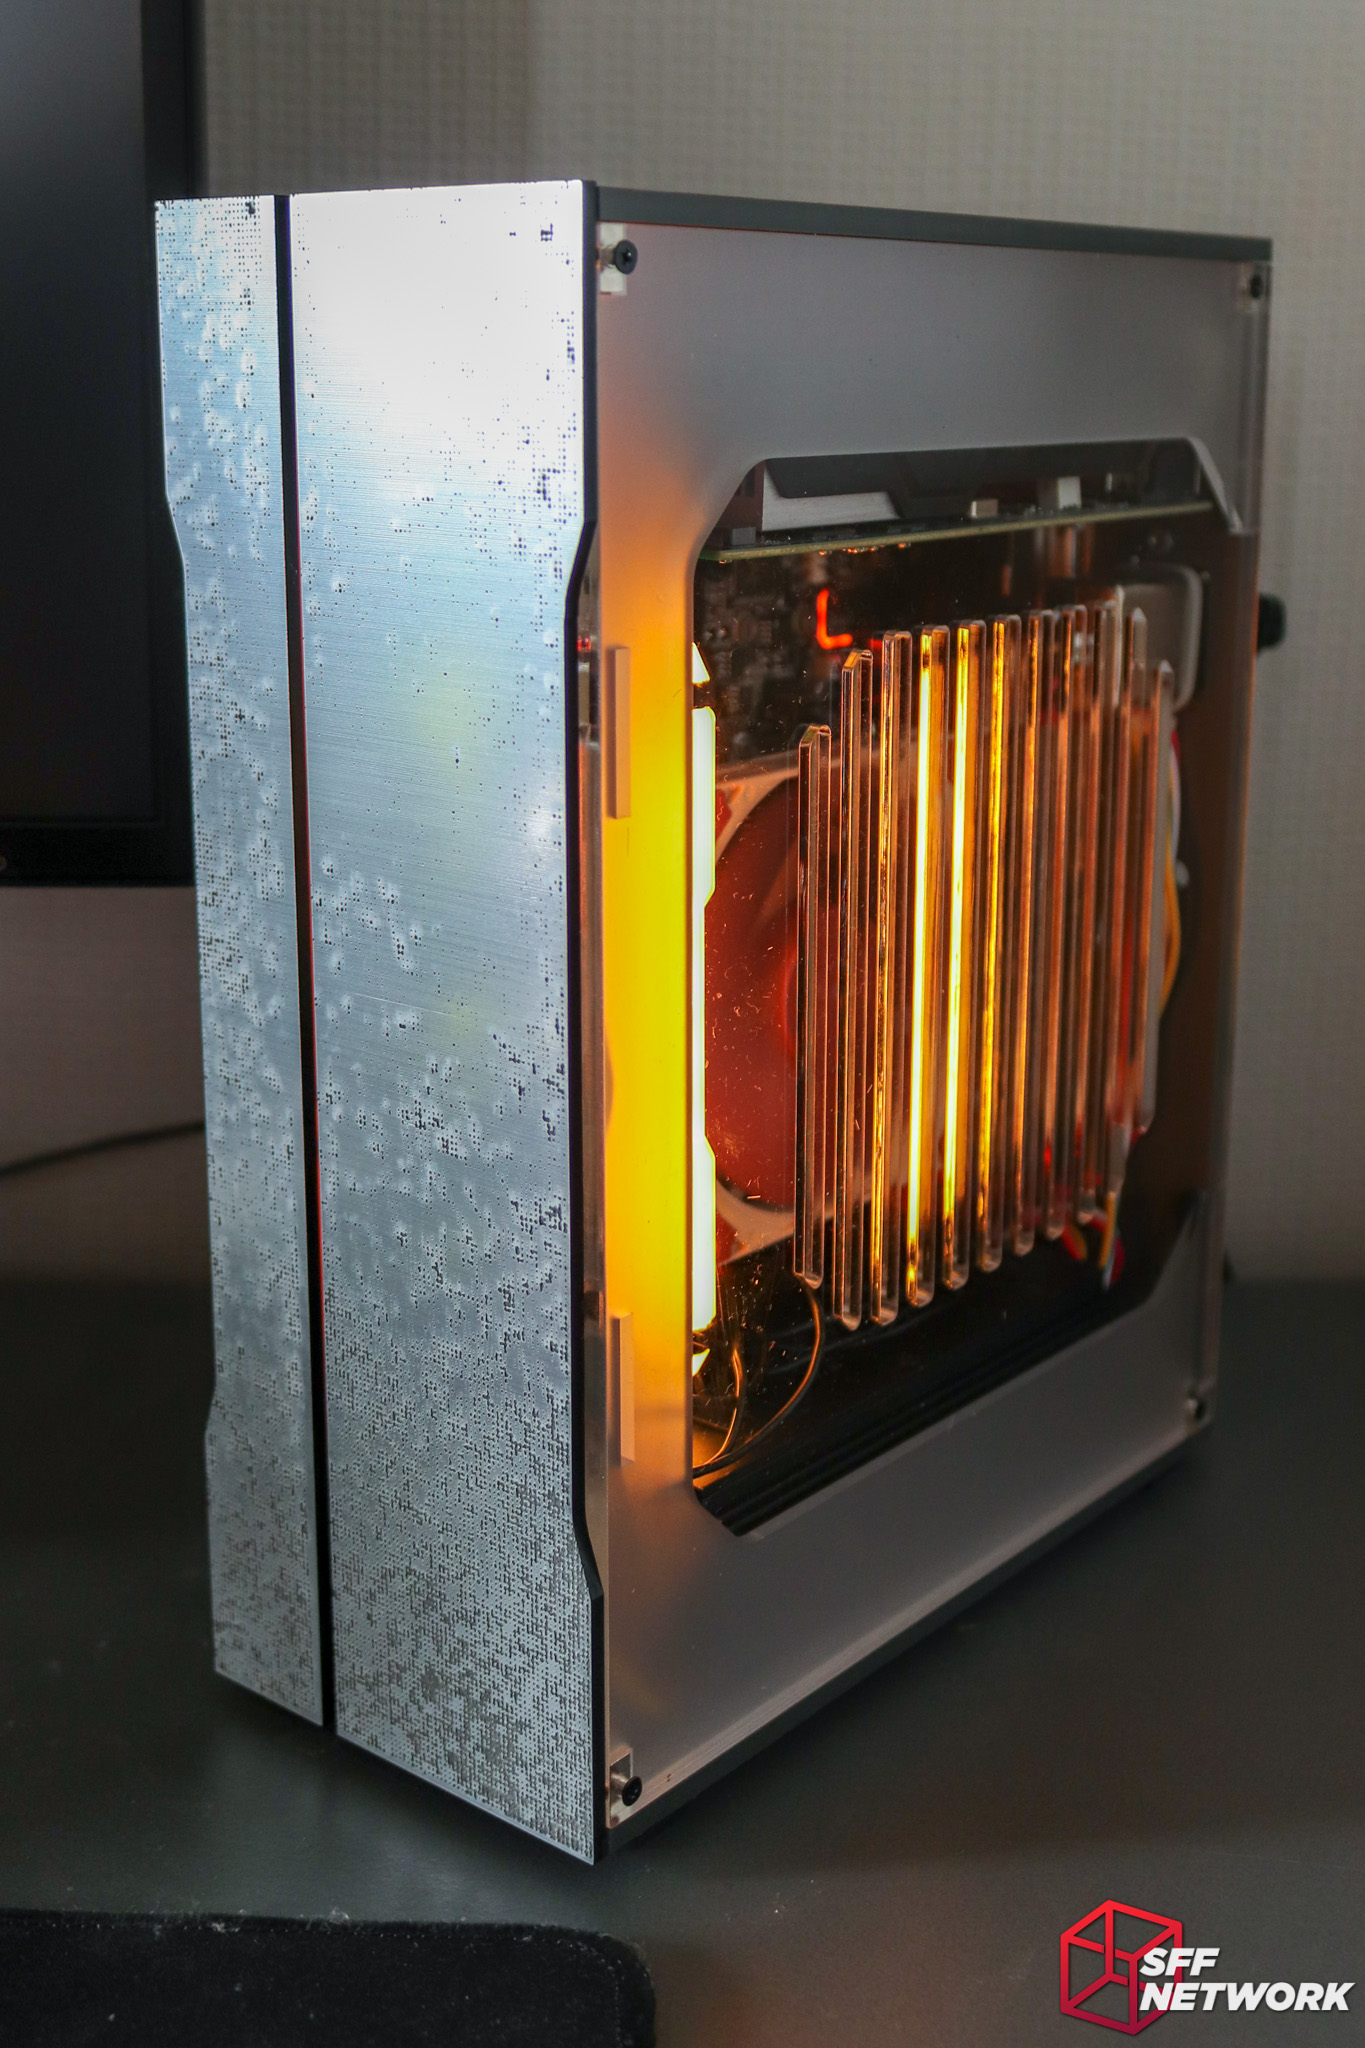
RGB finally has a use. The laser cut panels really do pick up lighting and add to the aesthetics of the case.
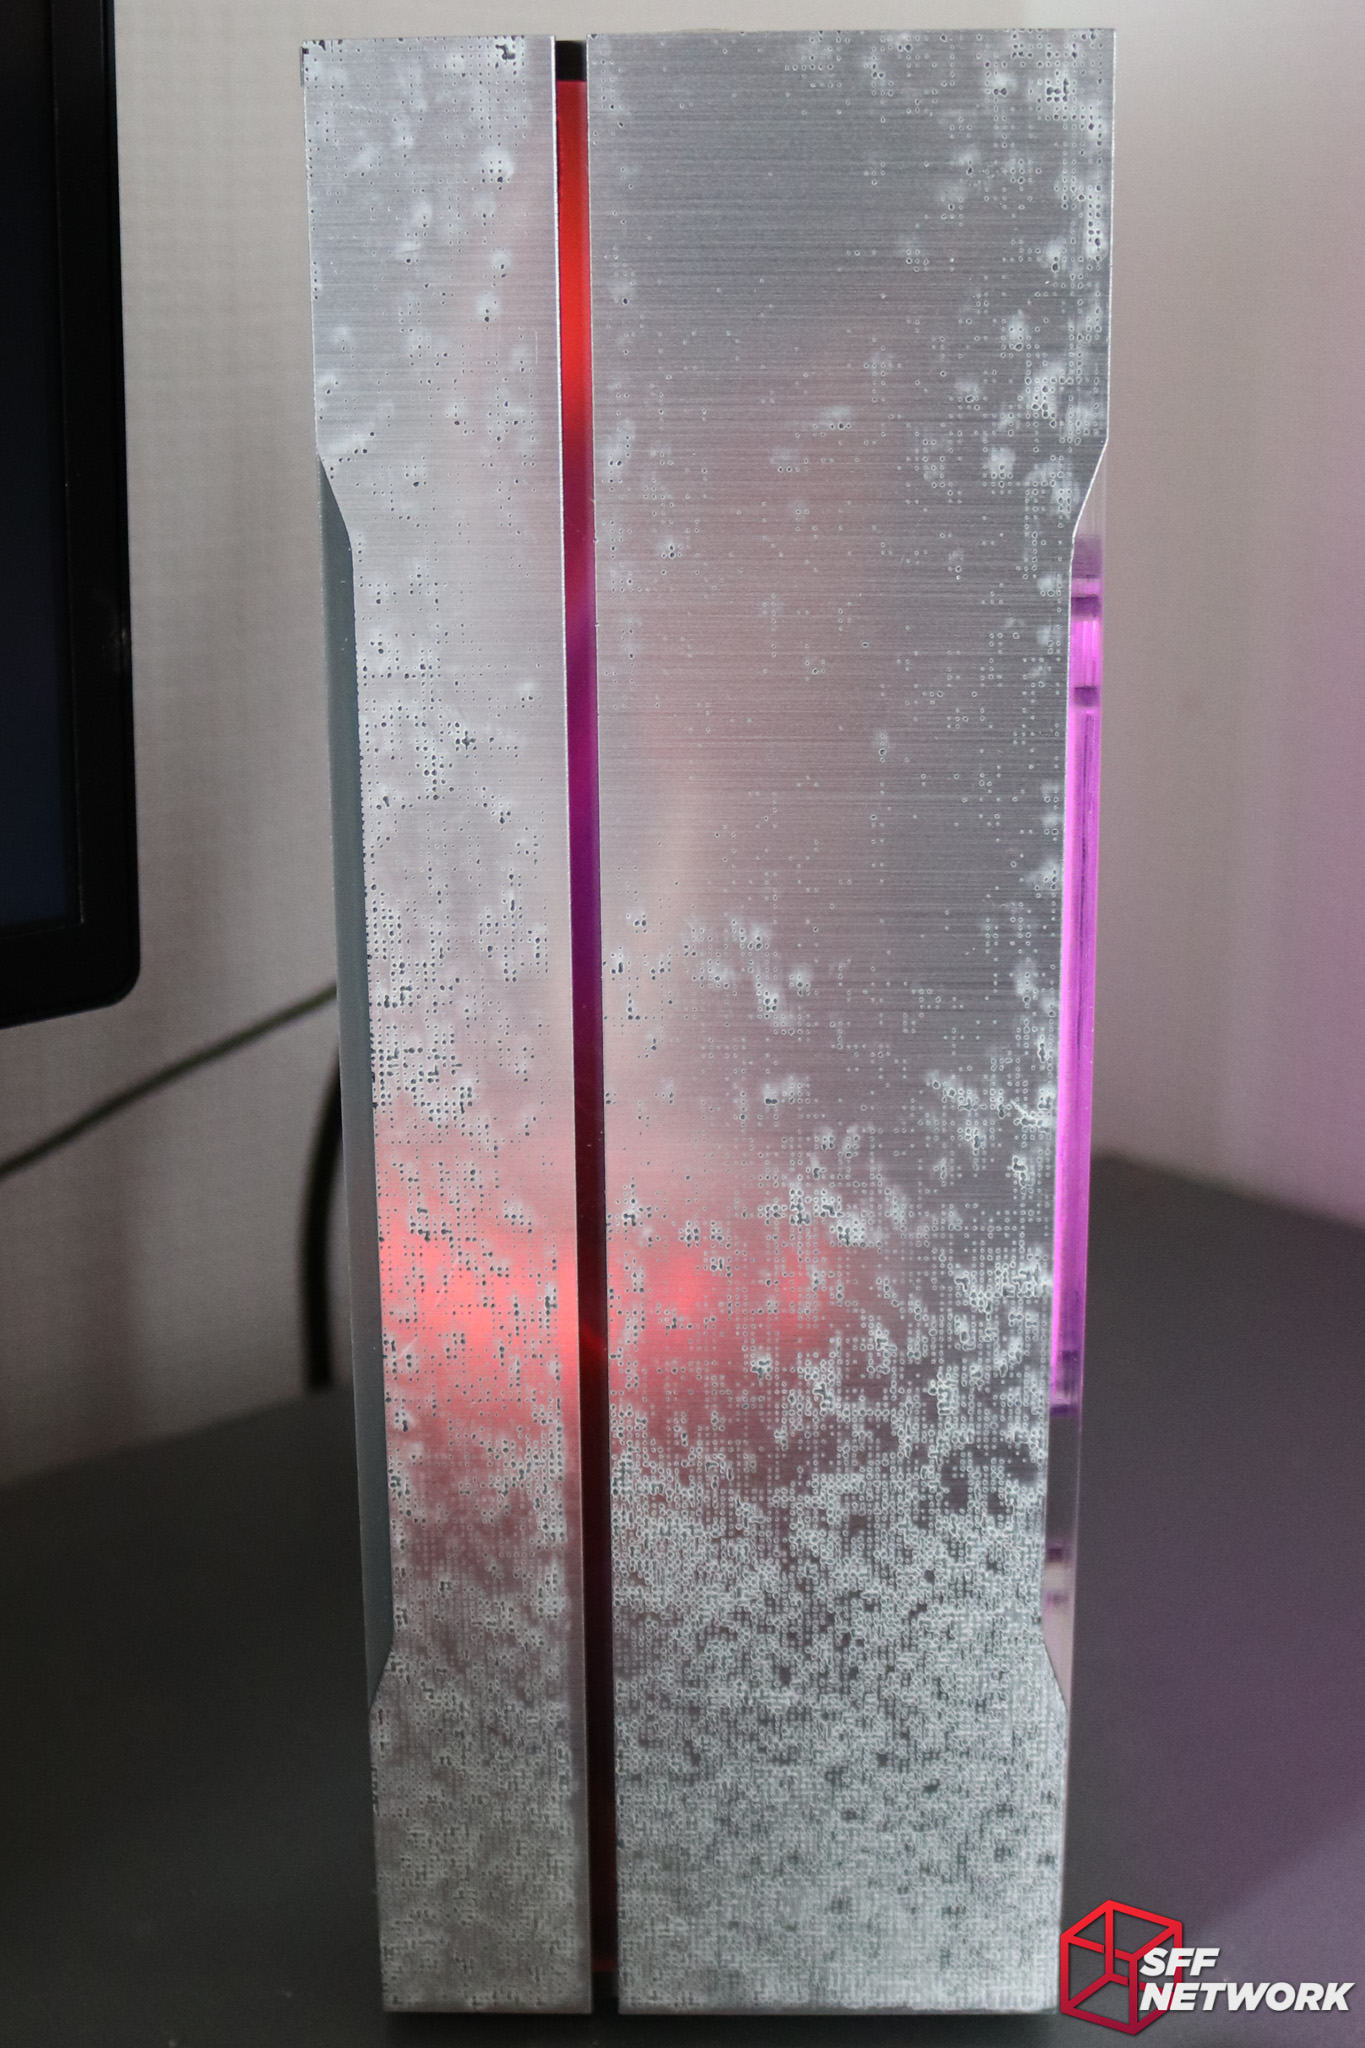
And on to a bit of a Synthwave/Outrun vibe.
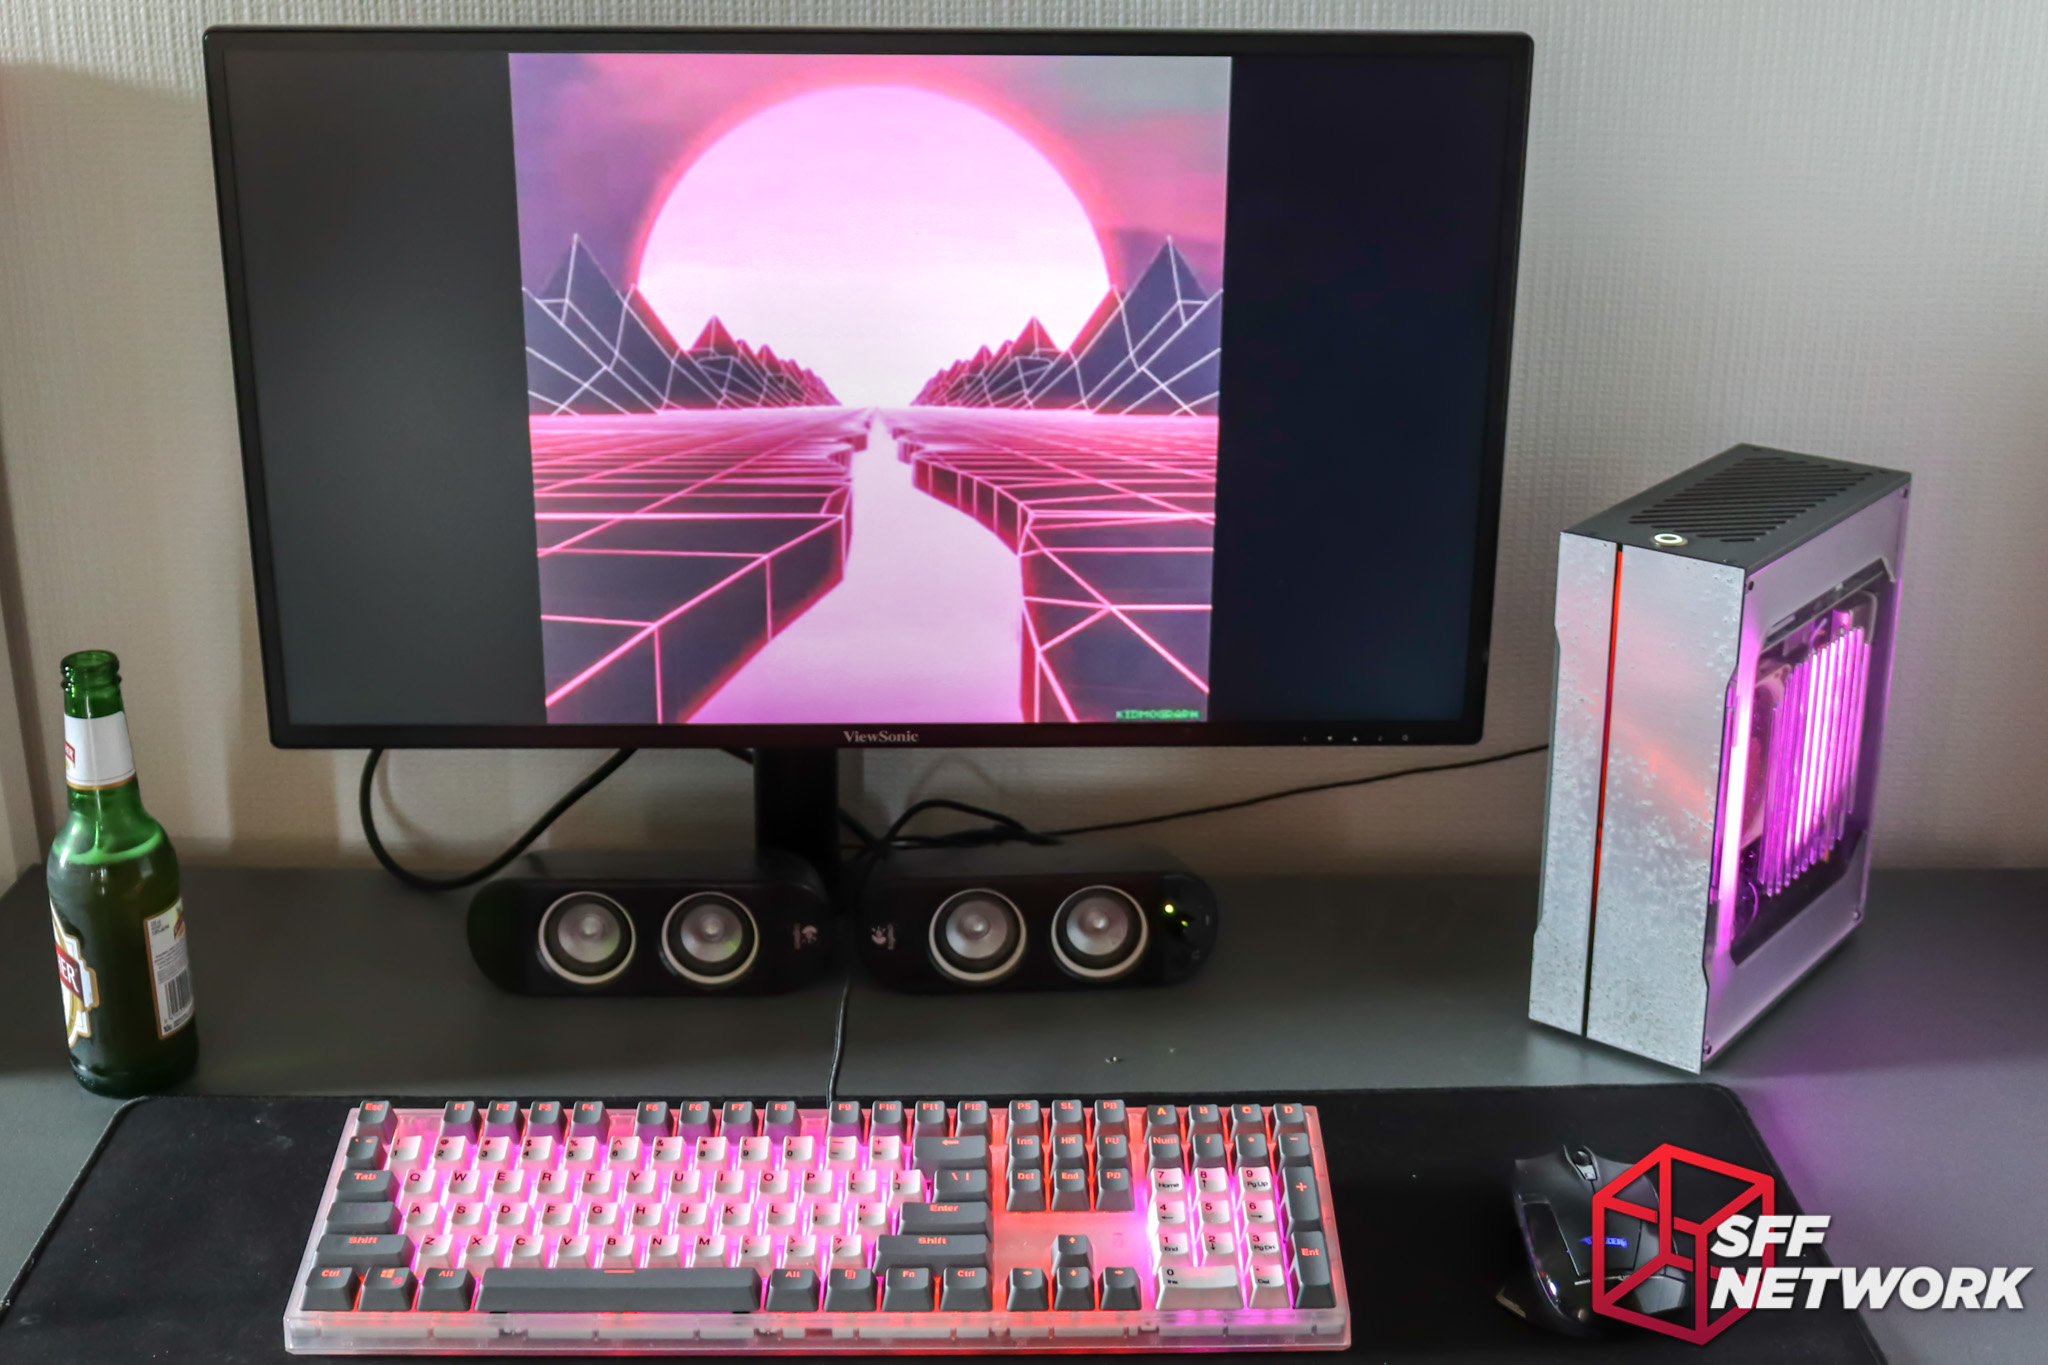
Mmmmm 80’s. Oh and a frosty brew.
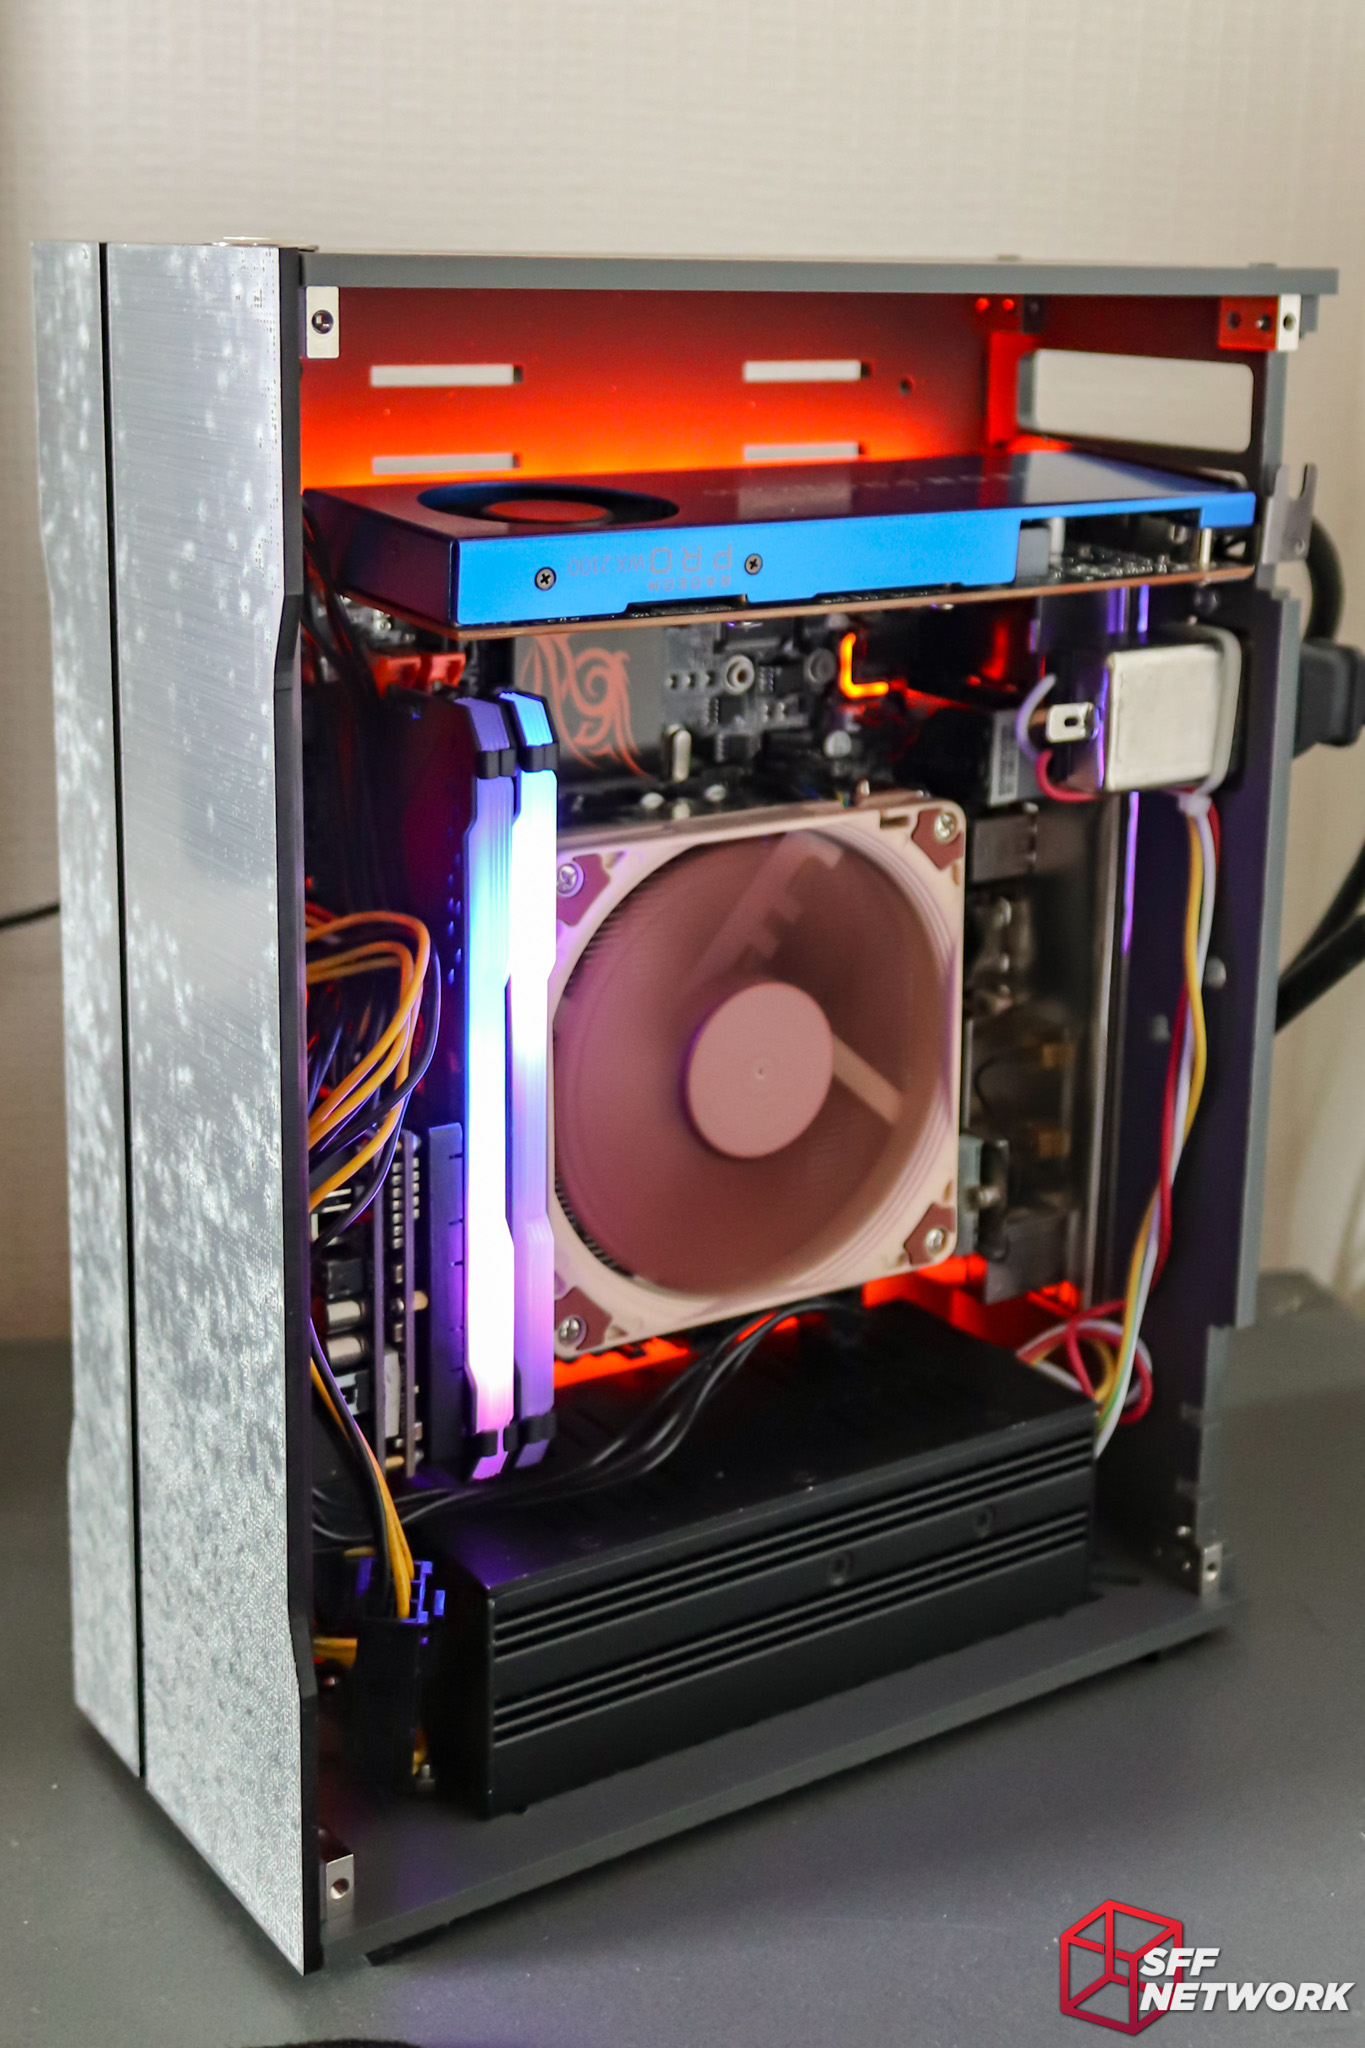
Wait, that’s not a 750Ti?! Yup, the HT5 has become a personal build for me, so I chucked in my brand new Radeon Pro WX2100. Schmick. Some cable management will need to be done, though.
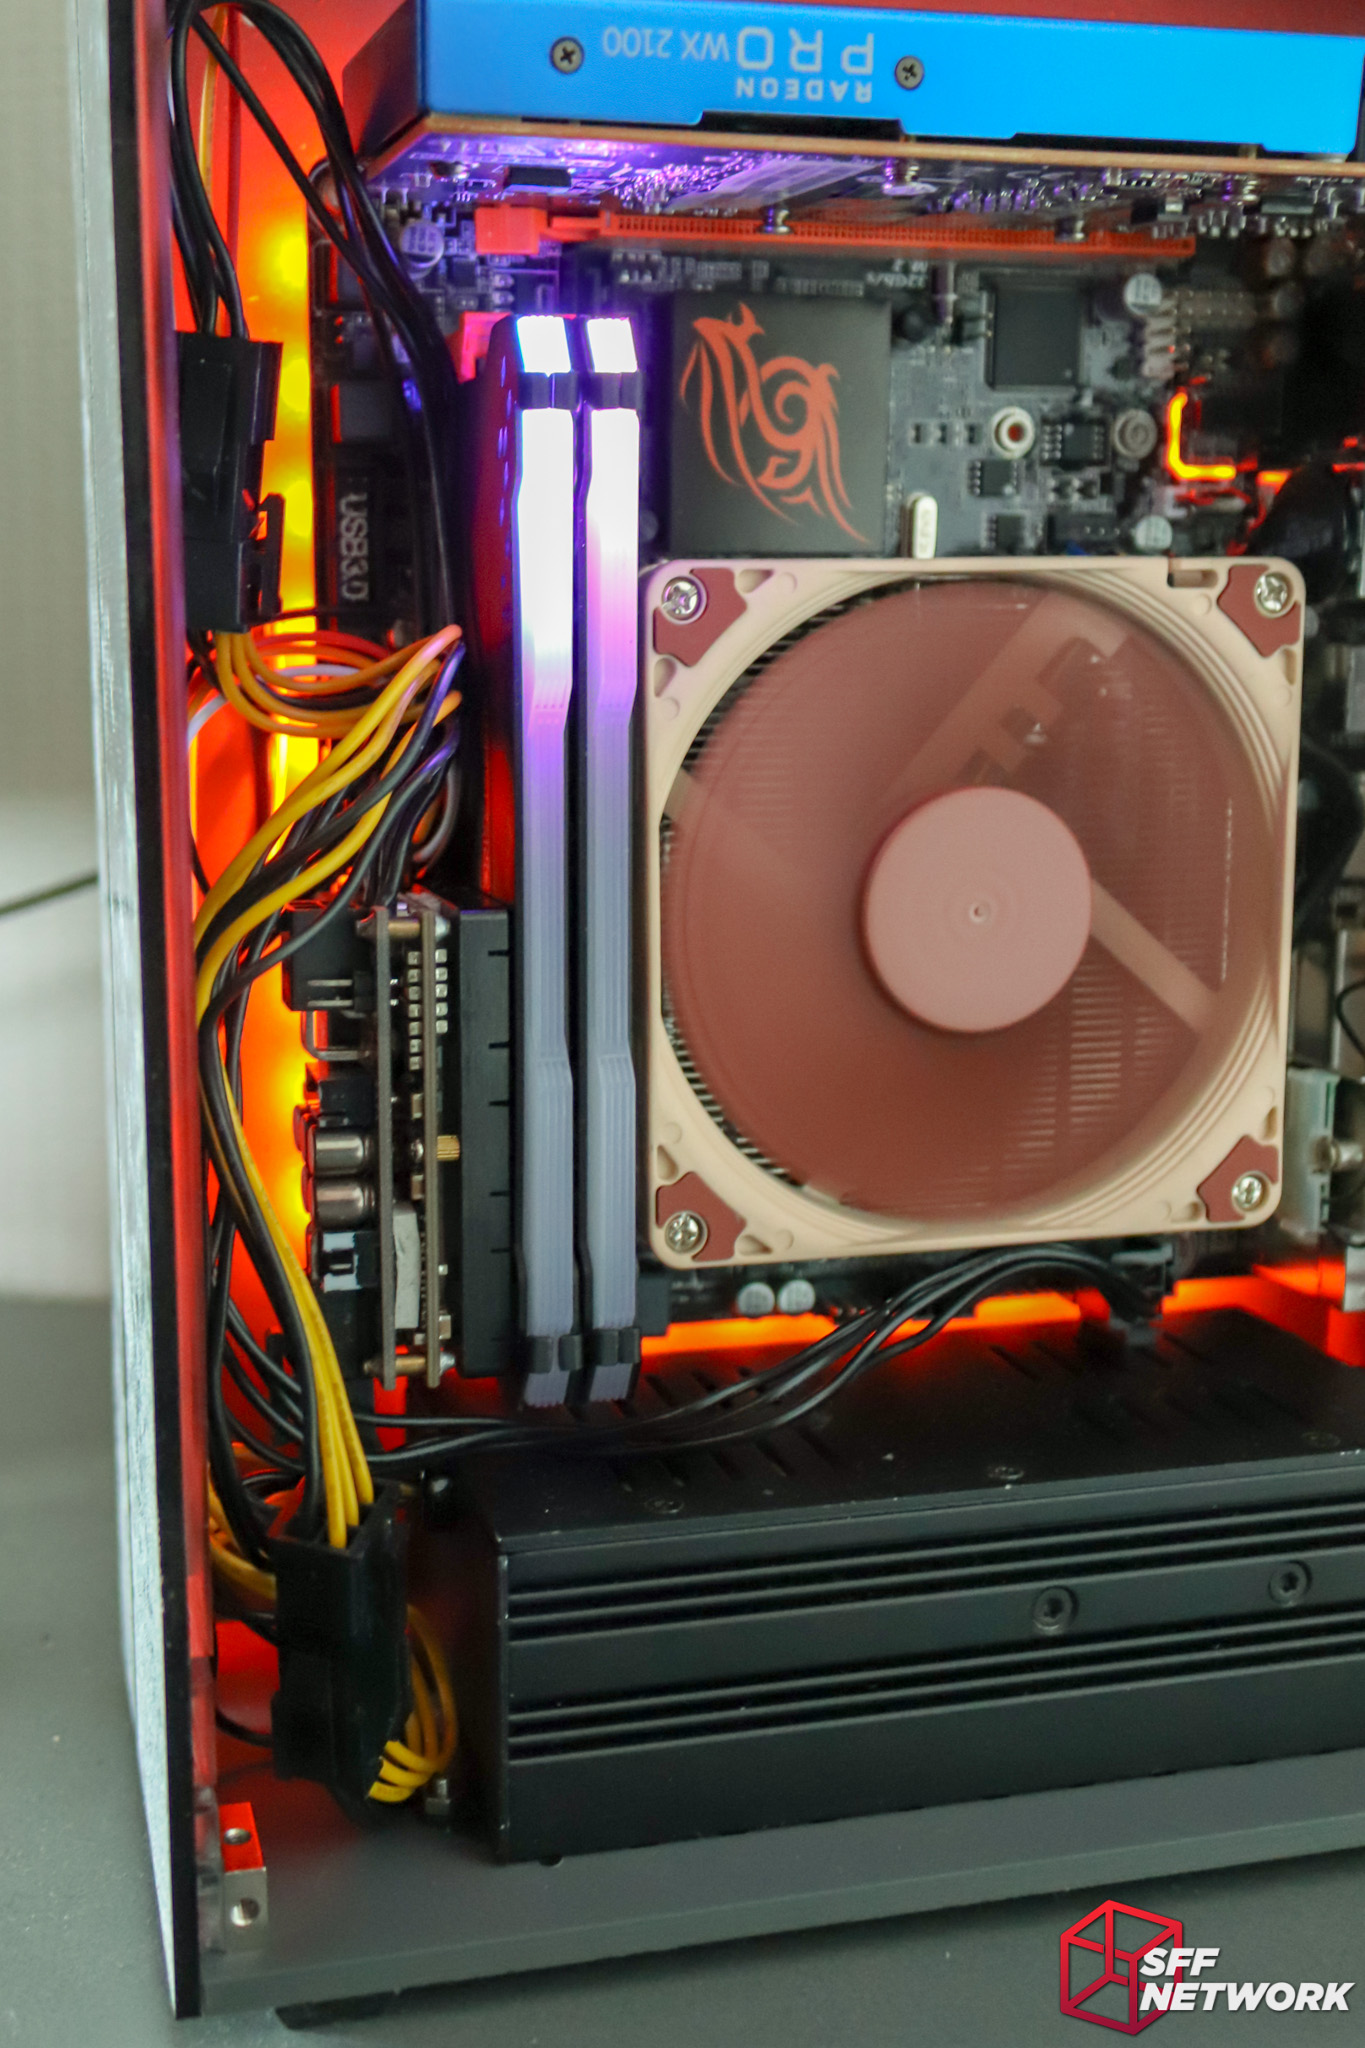
Yup, this needs tidying. The included shroud panel hides a lot of this, thankfully, however I know it’s there!
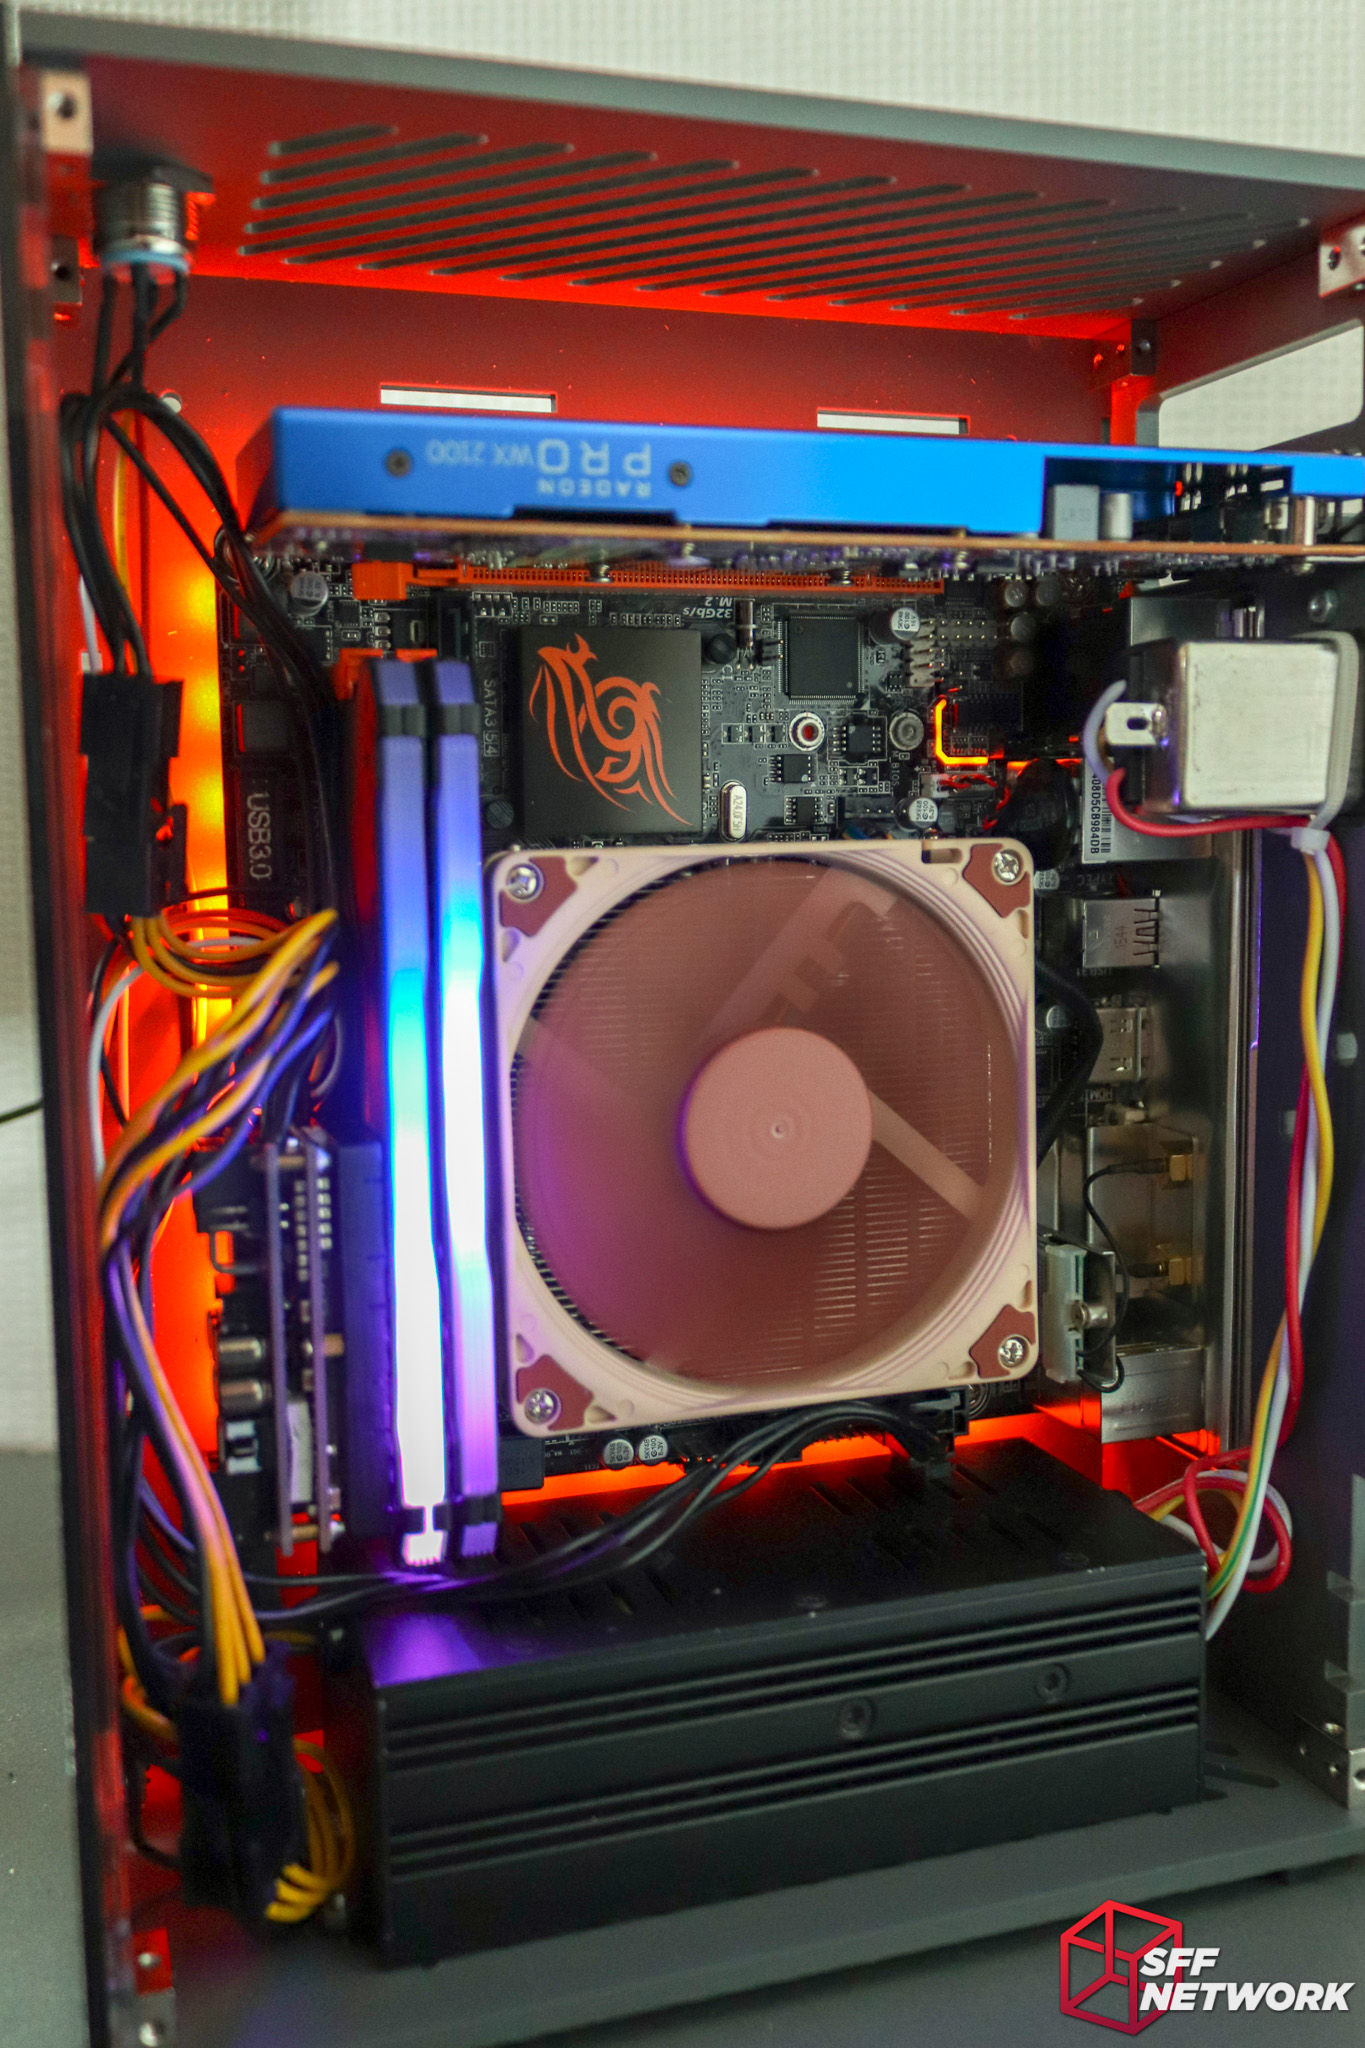
Blue and orange.. hmmmm…

An alternate PSU configuration is the HDPlex 400w DC-DC – mounted to the included standoffs.
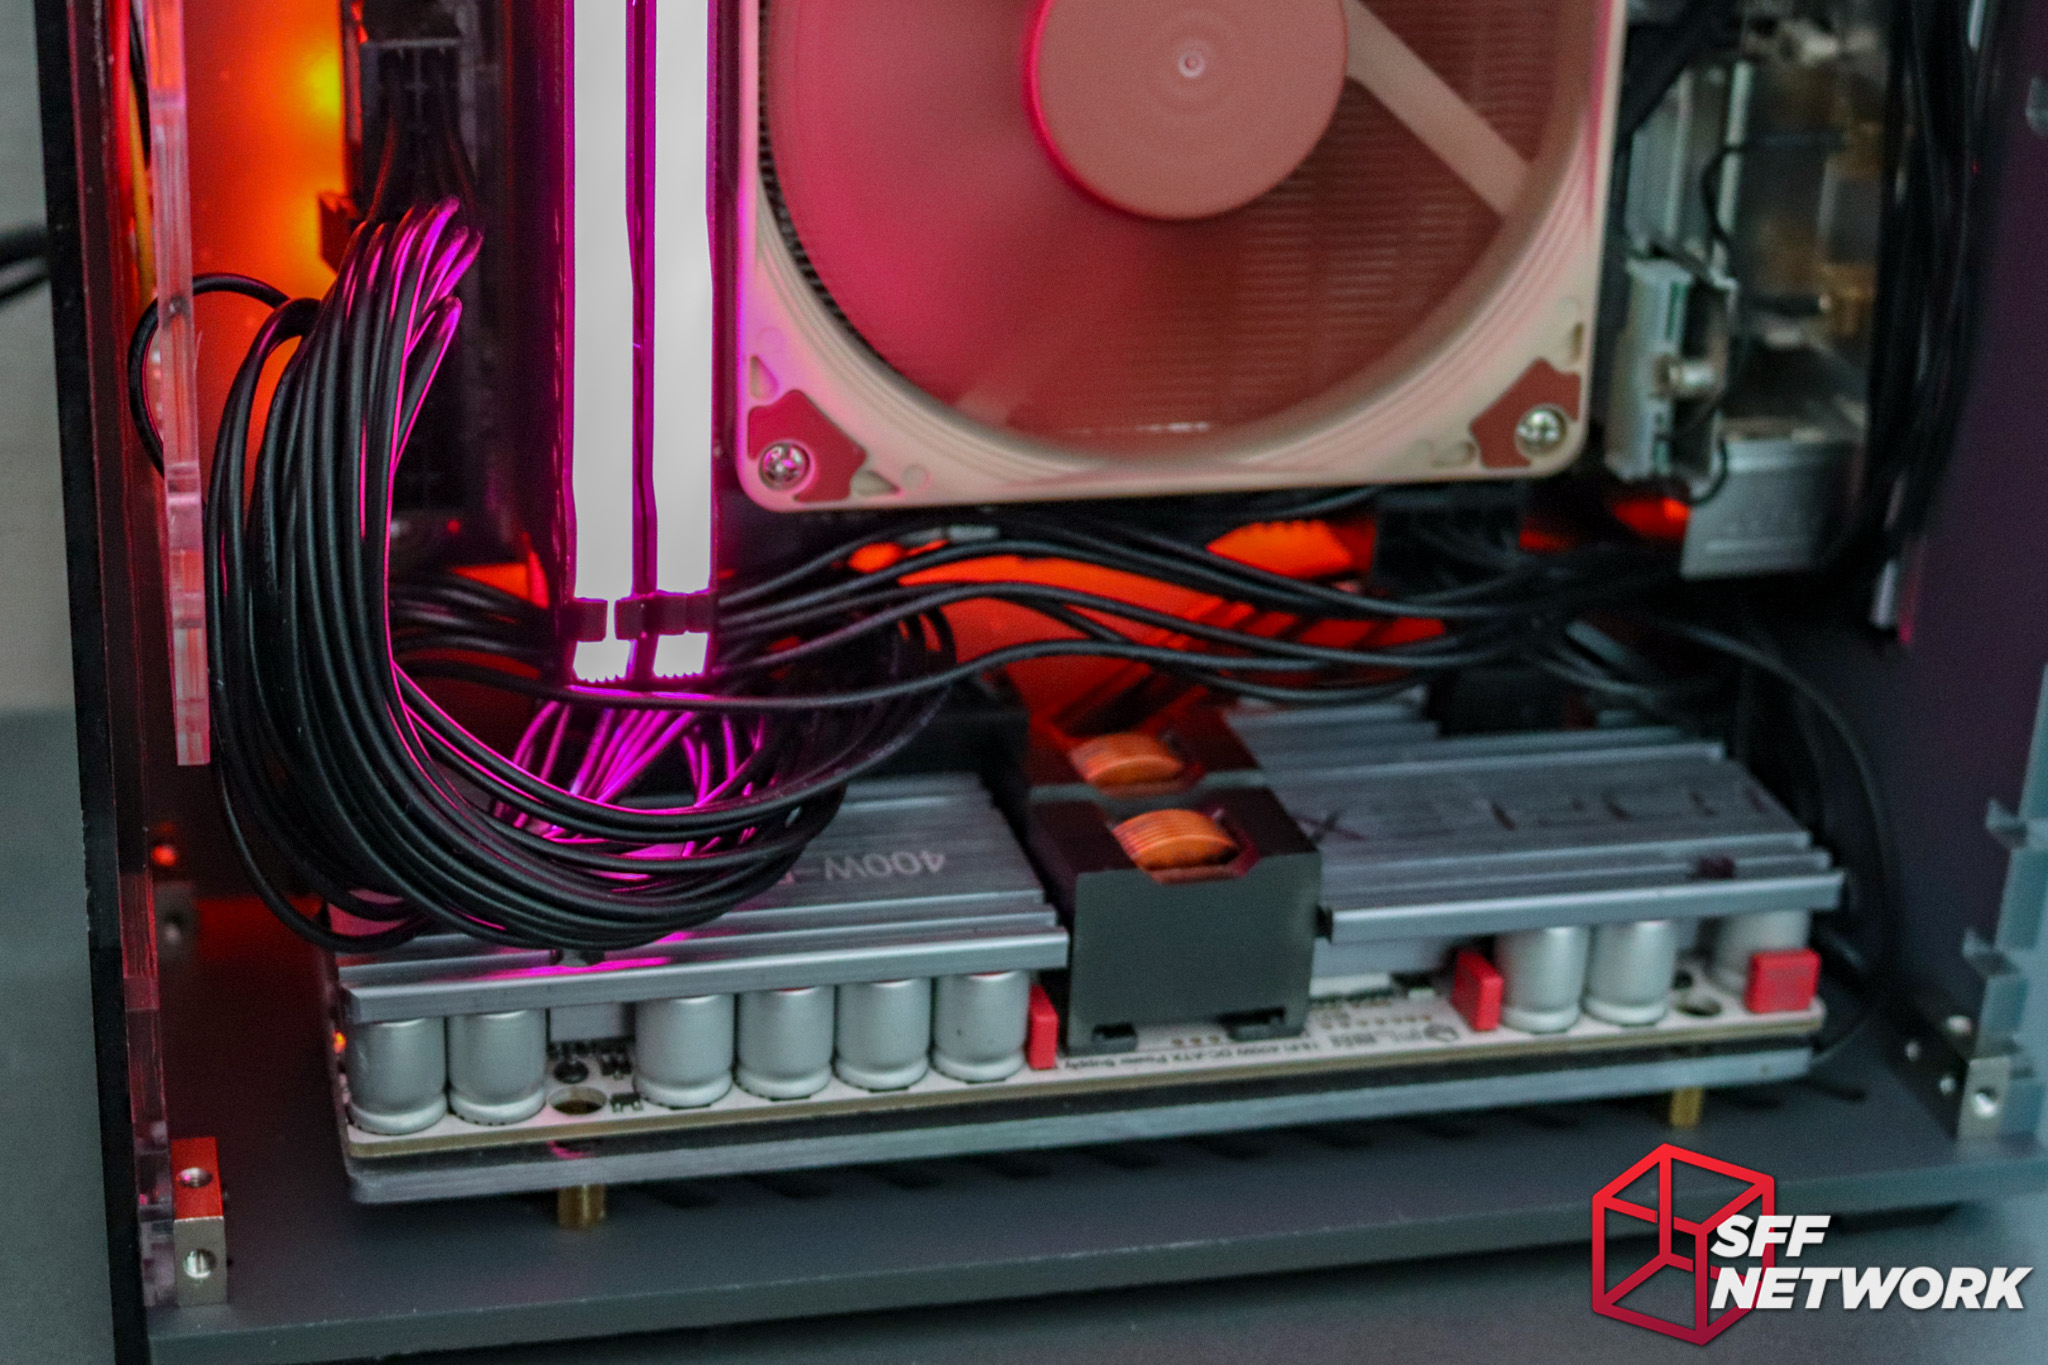
The wires may be a little long, but the 400W looks awesome in this spot – well done Lazer3D!

Yes, the rear power input spot is configurable – I’ve swapped the mains power socket for a HDPlex 19V power brick input – the input panels included with the HT5 fit the power input PCB very well.
The Conclusion
I always love kitset acrylic cases, from the original Sunbeamtech offerings, through to the more recent Geeek products and their ilk. Lazer3D has knocked it out of the park with the HT5 – a kitset case that feels more premium than a lot of prebuilt chassis.
Apart from the screw denotation issue (that will be remedied in the final version of the manual) and the one-off power button header glitch, I encountered no issues building in the HT5. The build, put simply, was a joy, even with a DSLR in my way, documenting the journey for your eyes!
Cooling? As expected. Whilst my config may run warmer than most, the ability to add up to four 80mm fans means that cooling won’t be an issue in most configs. A 71mm CPU cooler height limit is huge for such a system as well. The two vented side panels, as well as the large vent in the top panel, mean that an average system will run sufficiently cool – only under heavy loads did I ever hear my fans spin up. Under a silent fan profile, my system never broke a 20 degree over ambient rise – with no fan screaming to mar the experience.
Whilst we normally limit awards to “Editors Choice” or “Recommended”, the Lazer3D HT5 gets a one off award in a way – it is good enough to house my personal system. The aesthetics, quality and ethos behind the build align with my tastes quite well – with some custom tweaks (expect a “Personal Rig Update” article in the future), this is the case I’ve been dreaming of for some time. Of all the cases to pass through my hands, it’s this one that I pick – high praise.
Pros
- Insane fun to build
- Customisable
- Great aesthethics
- Cooling options are fantastic
- Individual parts may be available to customise your chassis
Cons
- The faceplate I have isn’t part of the initial product range!
- Not EMI compliant (well, duh)
- Cable management is challenging in a more complex system such as the demo system I built
Niggles
- My unit came with a missing header on the power switch – Lazer3D has promised to look into the issue
Thoughts? Discuss them in the forum.
This review sample was provided by Lazer3D.
Here at SmallFormFactor.net we give manufacturers the ability to be part of the community. We offer a right to reply to our hardware reviews. If a manufacturer responds with any feedback or corrections, their comments will be posted here.