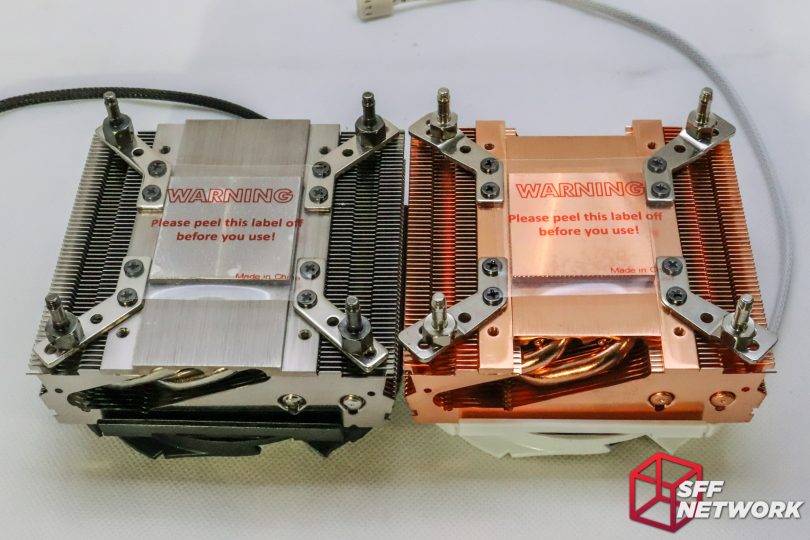
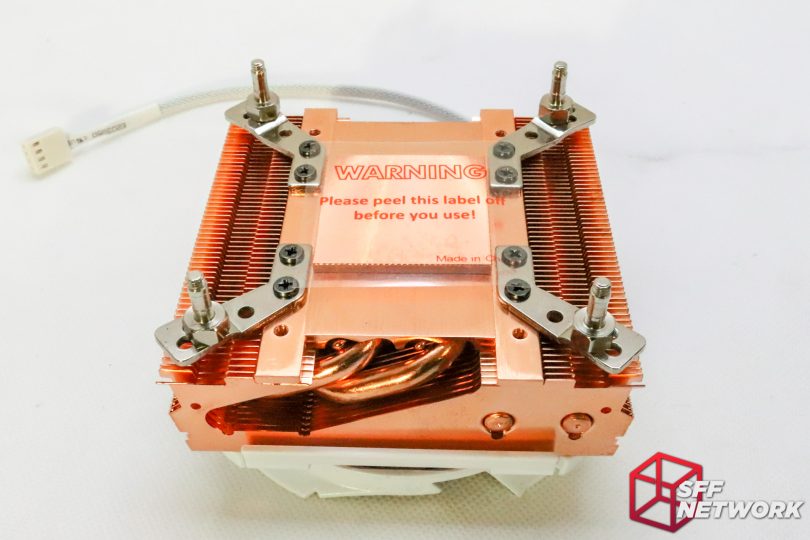
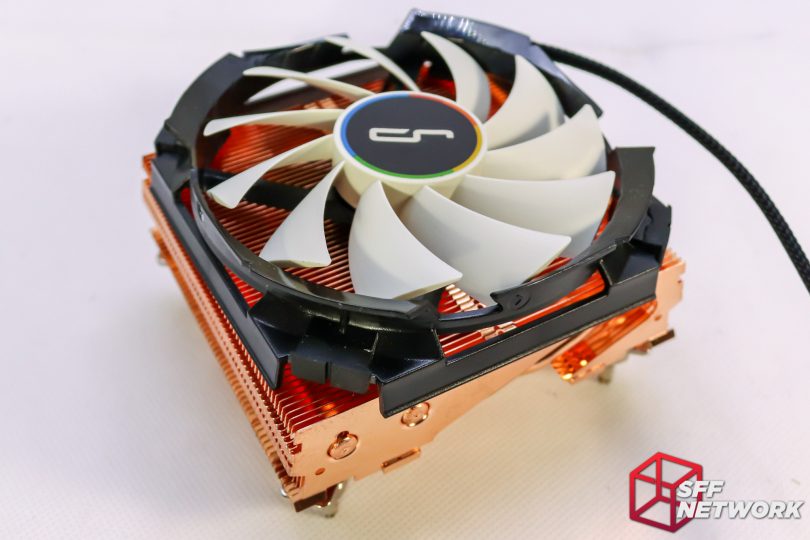
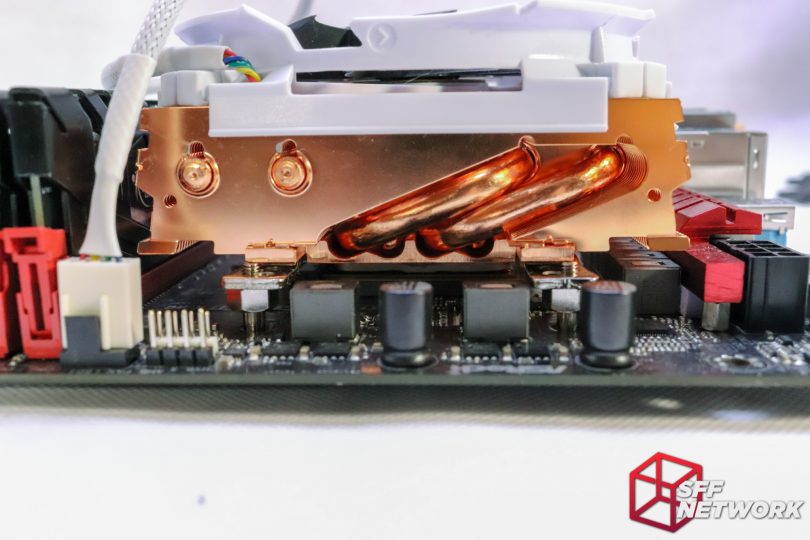
Just before Computex 2017, we were treated to a sneak preview of something different – the CRYORIG C7, but in all copper form. With claims of 10-15% improvement in initial testing, down to community members reporting no real improvement, the C7 Cu has been a controversial product to say the least.
With a review unit in hand (finally!), today we set out to review the C7 Cu versus the original aluminium variant. Unfortunately, we gave away our original CRYORIG C7 some time ago, so with the help of SFF Network Patrons, we picked up a new one to enable apples to apples testing, and see where the numbers truly lie.
Table of Contents
The Specifications
| Model | C7 Cu |
| Dimensions (with fan) | L97 mm x W97 mm x H47 mm |
| Weight (with fan) | 675g |
| Weight (without fan) | 613g |
| Heatpipes | 6mm, 4 units |
| Fins | 0.04mm thick, 1.2mm gaps |
| Fin Count | 57 |
| Base | Pure copper, nickel plated |
| TDP rated | 115W |
| Sockets | Intel 115x, AMD AMx, FMx |
| Box Contents | C7 Cu x 1 X-Bar™ Backplate x 1 Hex Nut x 4 Washer x 4 CRYO-Paste CP7 x 1 Screwdriver x 1 Installation Guide x 1 Product Registration Card x 1 |
| Fan Dimensions | L92 mm x W92 mm x H15 mm |
| Fan Weight | 62g |
| Rated Speed | 600 ~ 2500 RPM ±10 % |
| Noise Level | 30 dBa |
| Air Flow | 40.5 CFM |
| Air Pressure | 2.8 mm H2o |
| Current Rating | 0.2 A |
The CRYORIG C7 Copper is retailing for US$49.99 at NewEgg.com at time of writing, compared with the aluminium variant at US$29.99. Compare this to US$69.99 and US$29.99 respectively at Amazon.com.
The Unboxing
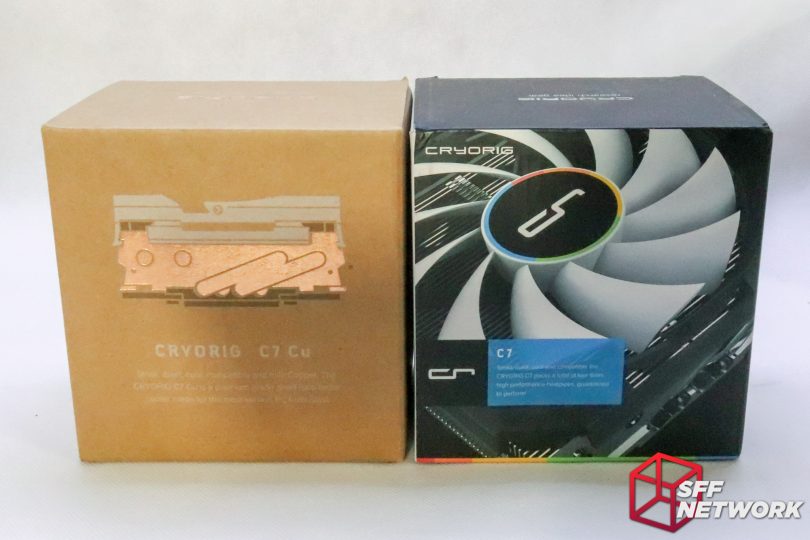
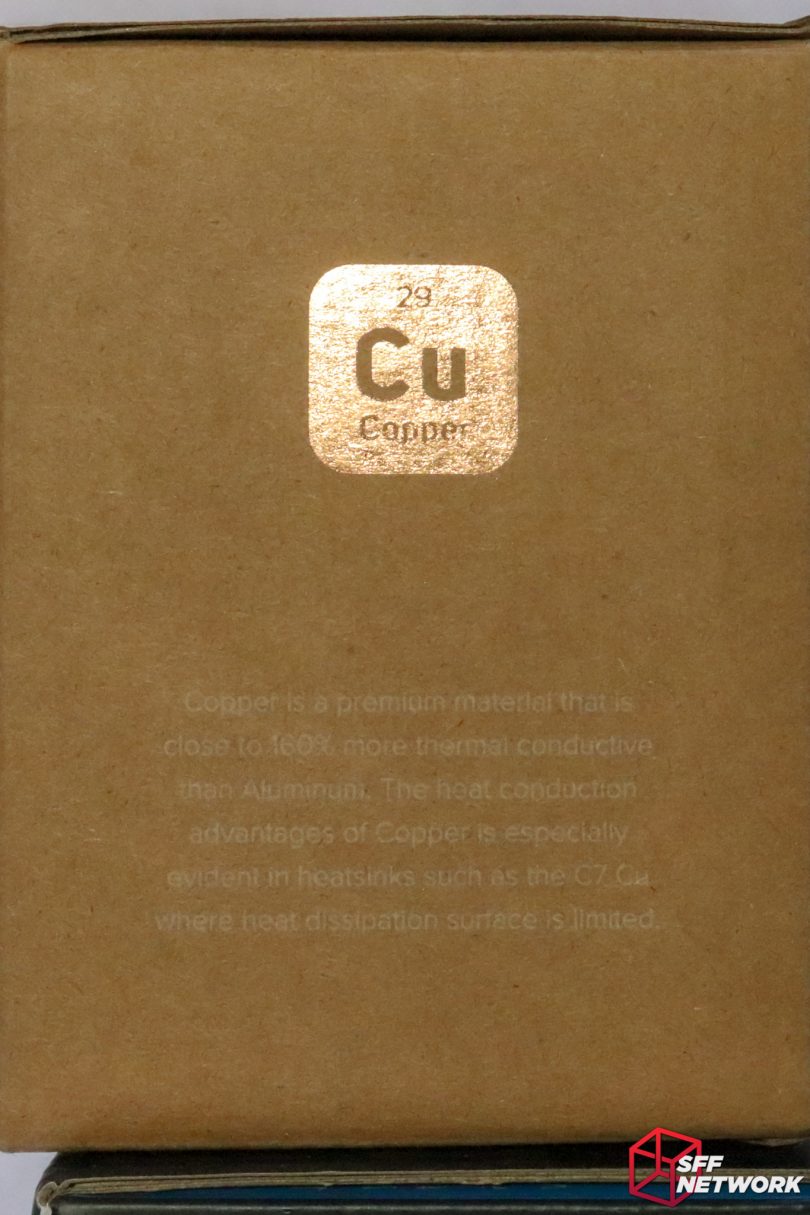
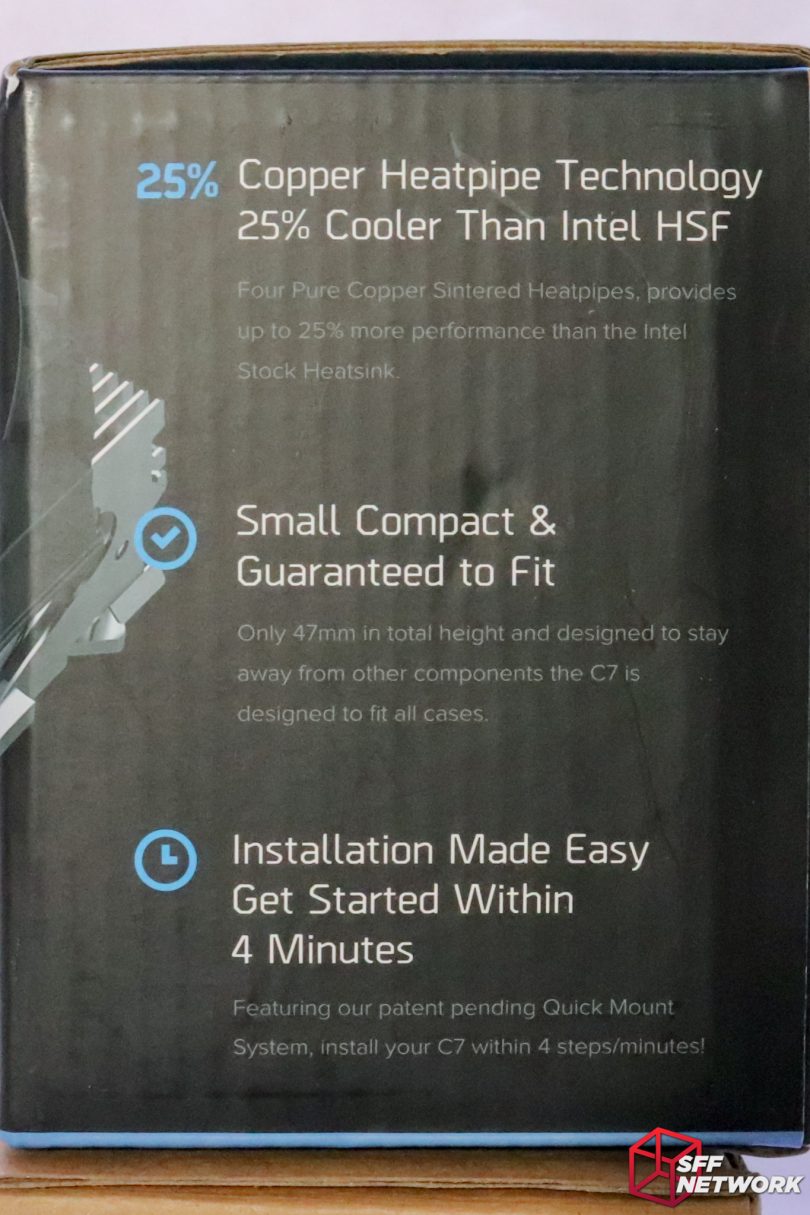
The CRYORIG C7 CU’s packaging is… otherworldly… compared to what we’re used to from the brand. White, copper and black on bare cardboard stands in stark contrast tom the aluminium variant and its full colour printed box.
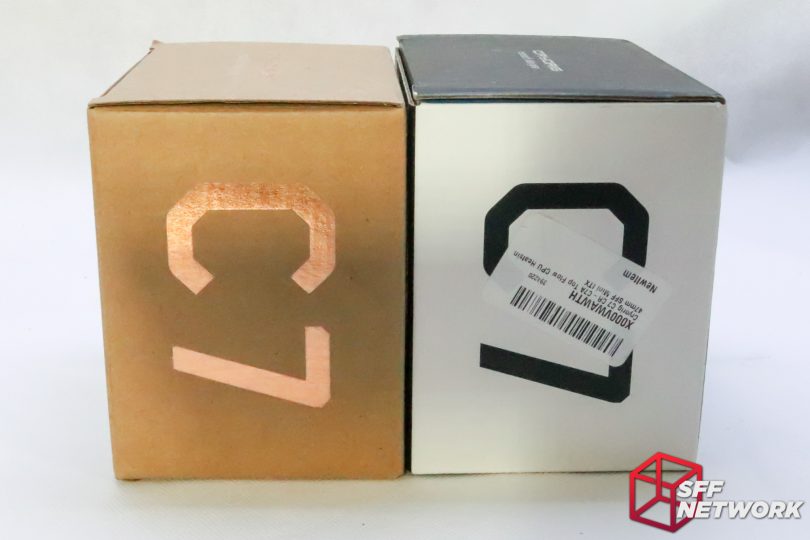
Ignore the sticker on the original C7 – an artifact of us sourcing the cooler from Amazon.com for a direct comparison. One tie-over from the first generation product is the large “C7” on the side of the box, here resplendent in copper-esque printing.
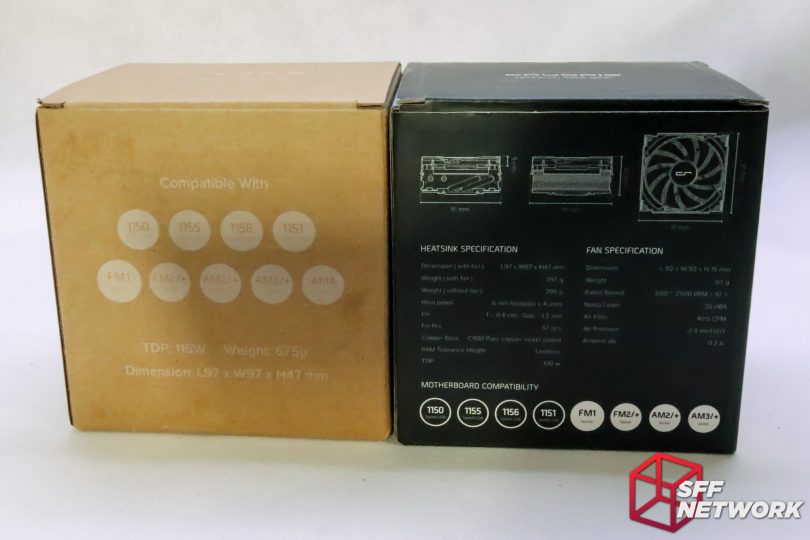
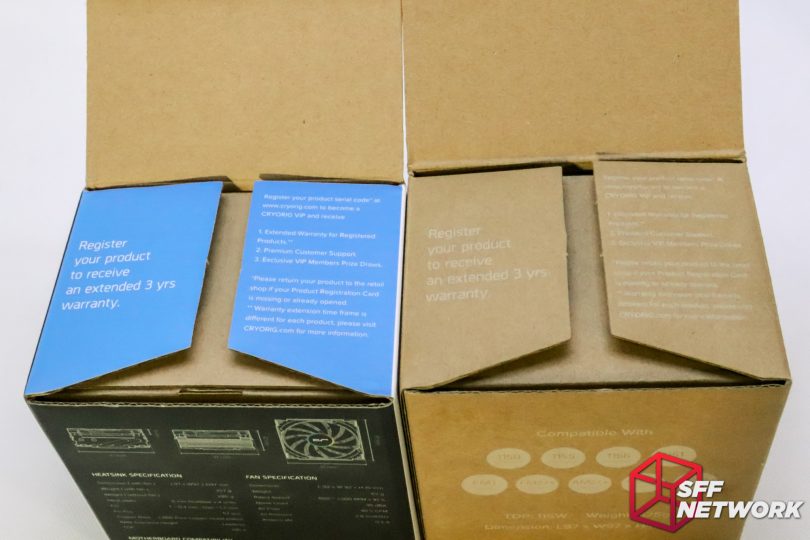
The packaging on the C7 CU is clearly designed to be more “designer”, with simple representations of compatibility versus the full spec list of non-copper unit.
Again, simpler.
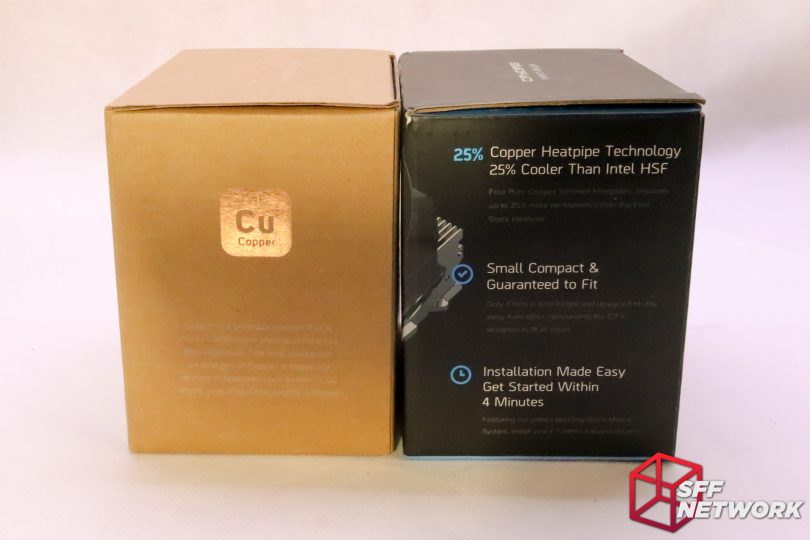
Marketing!
Let’s open them up.
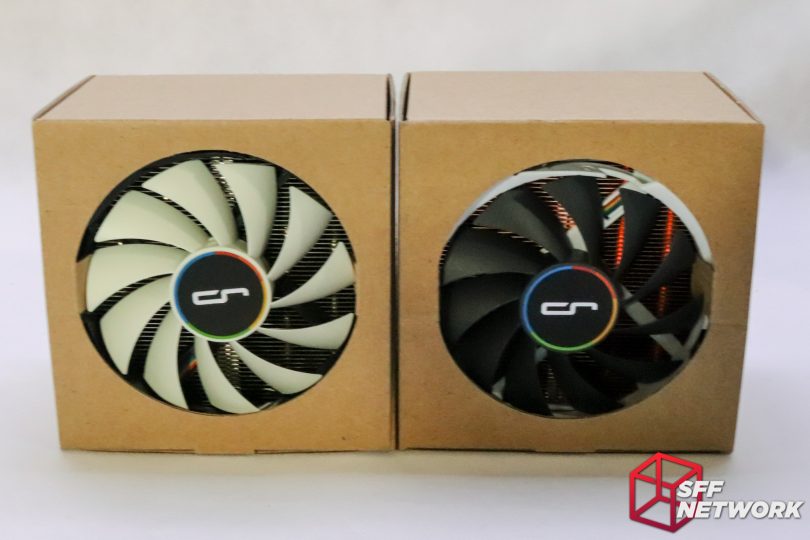
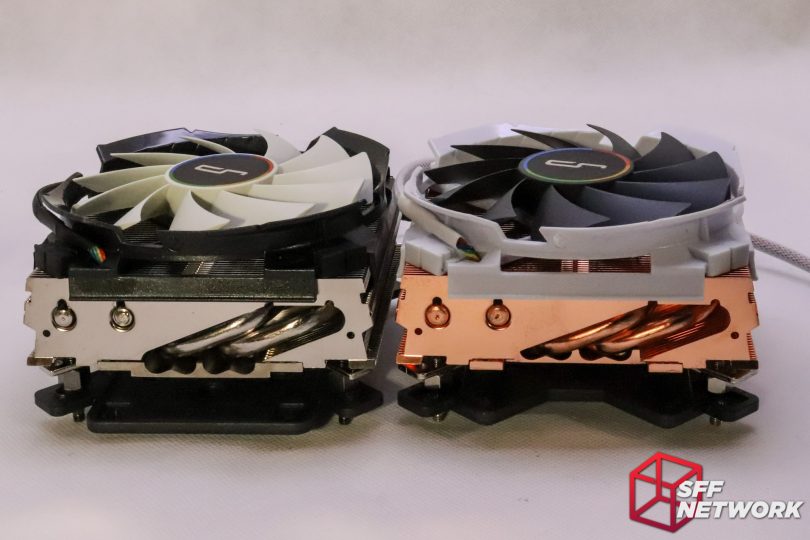
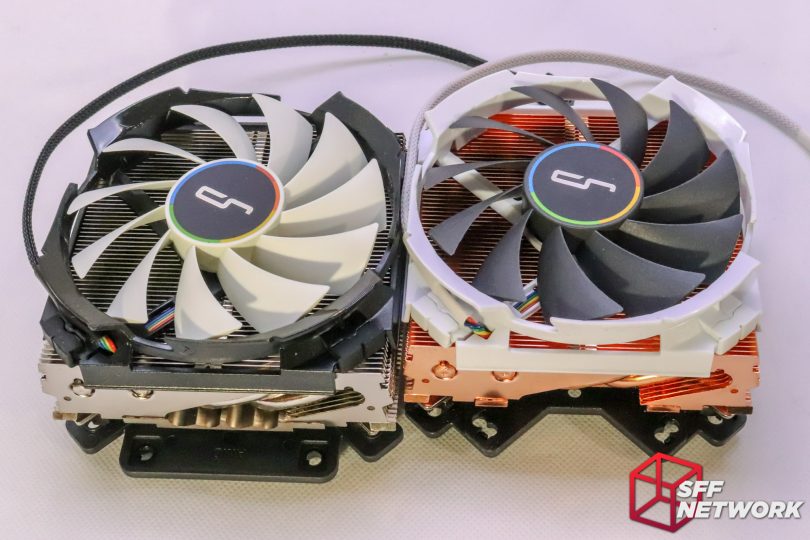
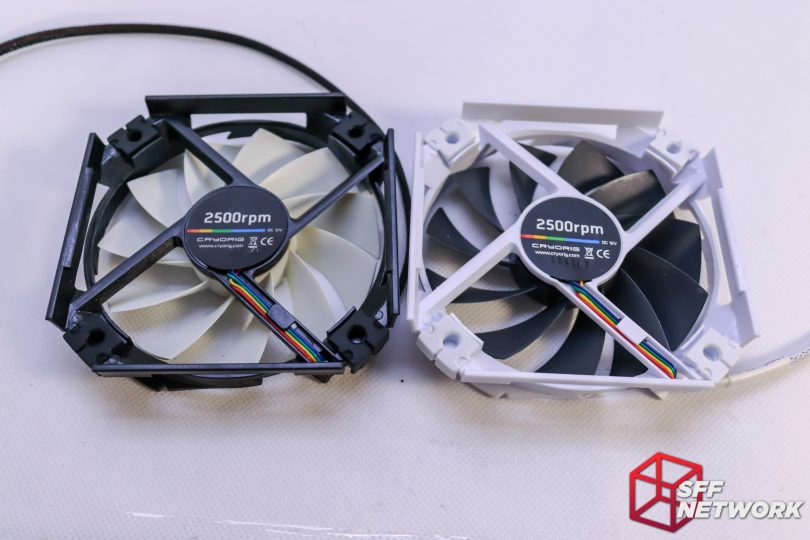
At first glance, there are more changes than just the cooler material – CRYORIG has helped the C7 Cu stand apart more with an inverted fan colour scheme compared to the original variant.
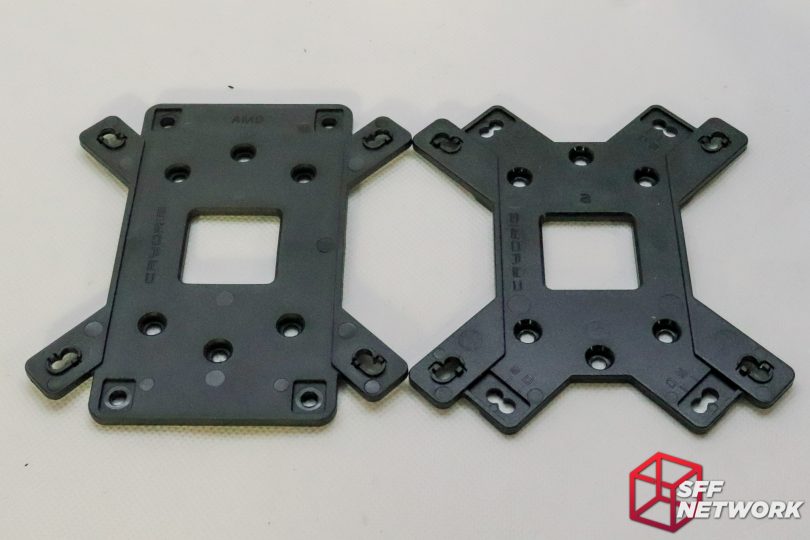
Two backplates! one from each cooler. The original sits to the left, the new to the right. It seems that the stock at Amazon.com is older, with no support out of the box for AMD’s AM4 socket. Fret not, CRYORIG will supply a replacement mounting kit free of charge for those who buy or own original C7 coolers! All Copper C7 coolers come standard with AM4 support.
Also noteworthy is that there are more cutouts in the backplate – quite a few users in the SFF world reported compatibility issues with the original backplate.
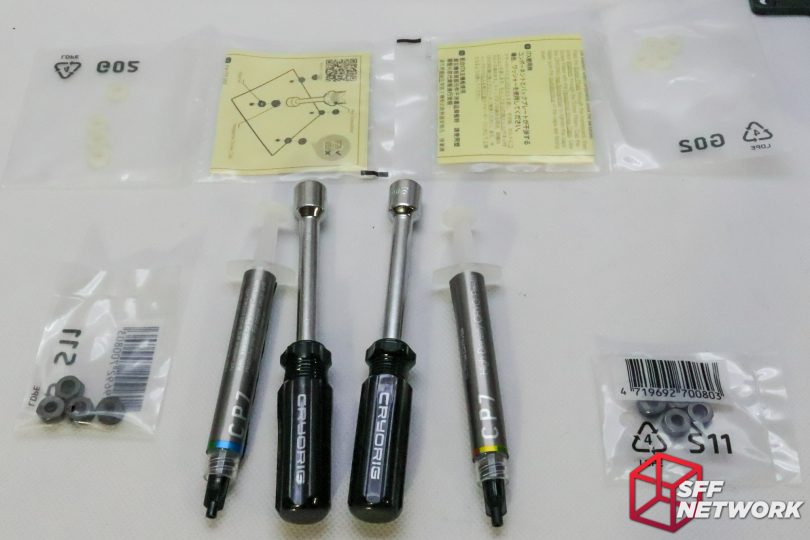
Two sets of kit! Identical loadouts for each cooler, so let’s just look at one side. With your cooler, expect to receive;
- White plastic washers for mounting your cooler without a backplate
- Nuts for mounting the cooler
- CRYORIG C7 thermal paste
- An 8mm nut driver
Not included but I highly recommended you have on hand:
- 10mm wrench
- Phillips screwdriver
The CRYORIG CU C7
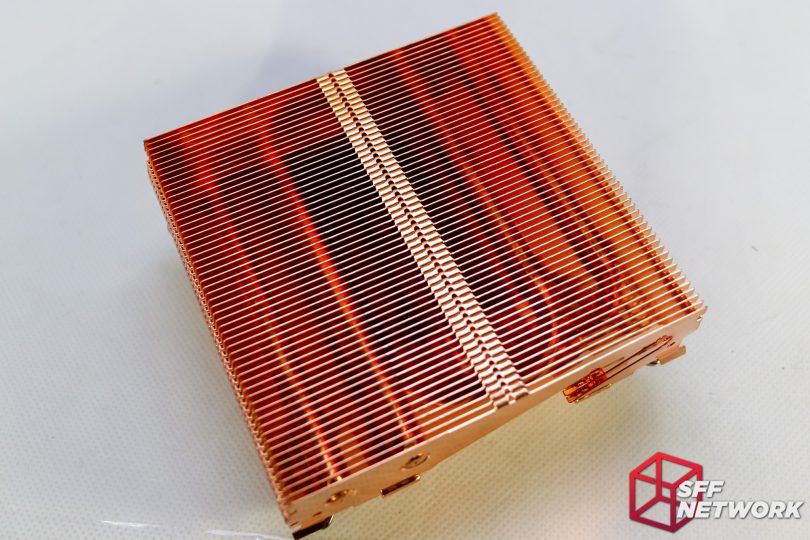
Mostly identical physically, remarkably different from a materials standpoint. Aside from the changes in fan colour, the 100% copper makeup of the C7 Cu is something we don’t often see these days. Aside from the typical “flower” style coolers (up to and including the Zalman CNPS2x), we rarely see copper as a major material – it is just too heavy and costly to justify making larger coolers out of.
CRYORIG’s unique fan design has continued on to the copper variant, with quad cutouts in the fan frame to allow air to be pulled in from the sides. However, be careful with cables and your phalanges – I managed to cut my finger!
Don’t be this guy (Reddit). The aluminium C7 on the left has the old style mounts, with the new, AM4 compatible ones on the C7 Cu. They are interchangeable (phew). Also of note is the slightly smaller base on the copper variant – they had to cut cost somewhere.
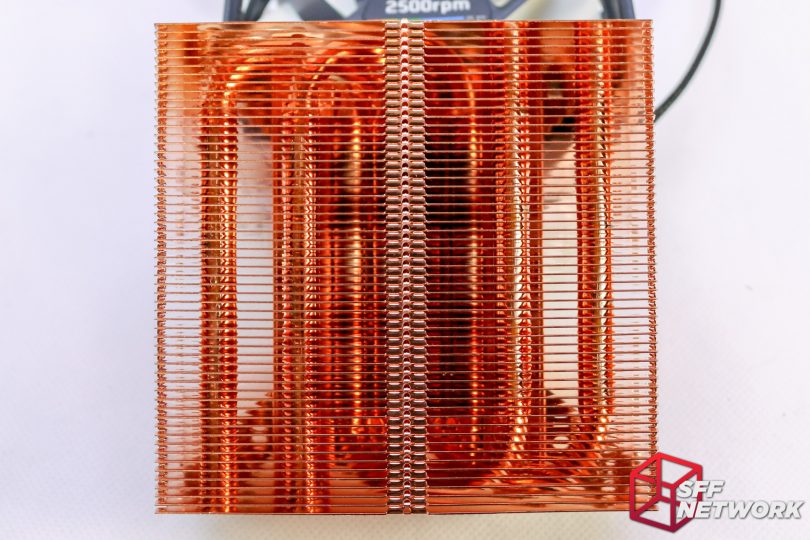
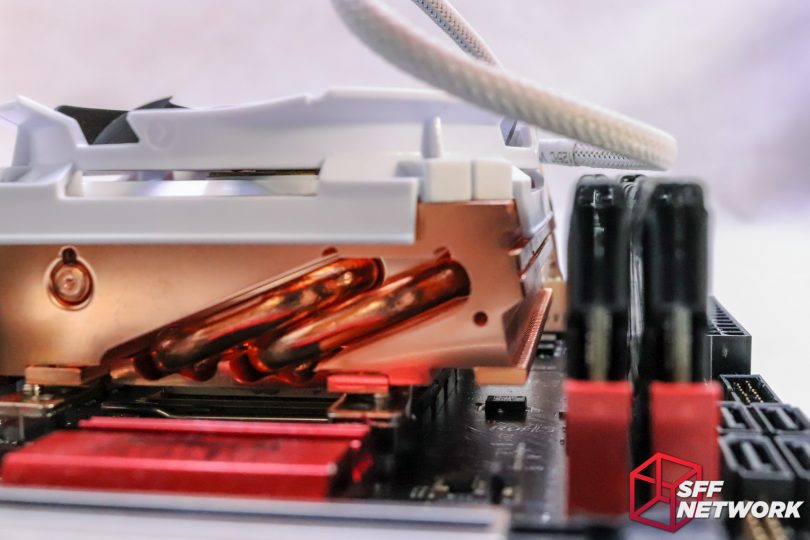
In detail. the quad heatpipes make a U bend, in this image, with the first pair starting from the top left, bending down and around to return towards the top via the base. From there the second pair snake back around to end at the bottom right. Apart from the smaller sub-base level, all the other dimensions stay the same as the original C7.
One thing to note – the surface finish of the base isn’t.. great. Far from polished, obvious machine marks and ridges in the milling are apparent, making cleaning the base between tests a nightmare. In the future, I expect to polish the base, and test this on a lapped IHS processor to see how much of a difference this makes.
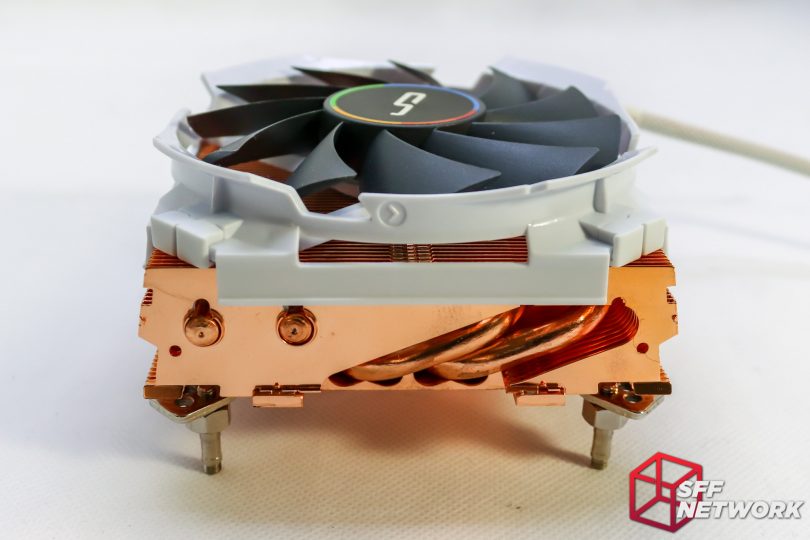
CRYORIG’s fan frame cutouts show themselves at this angle. Apart from the increased risk of laceration (don’t ask me how I know), these also increase air pulled in from the sides of the fan, enabling use in tighter clearance areas, where the cooler to side panel gap isn’t as sizable as Large Form Factor aficionados would prefer.
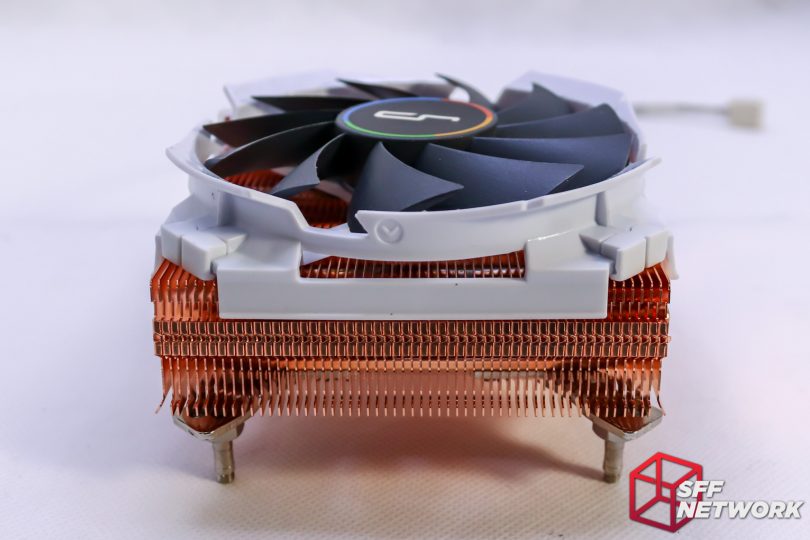
No, I didn’t damage it – the fins on each end are deliberately bent outwards at the ends.
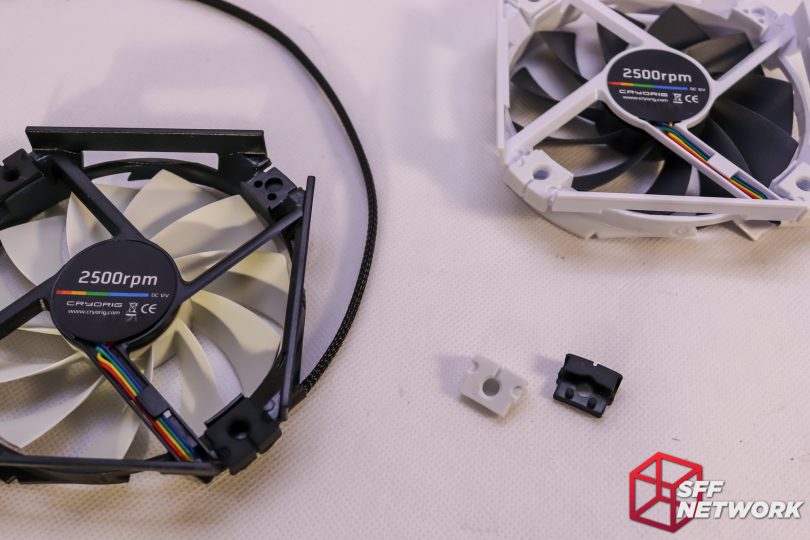
Apart from the different colours, the fans are effectively the same design, with the same 2500 RPM top speed. I pulled the sticker off to see how easy it would be to combine the two to end up with an all-white and all-black fan, alas, the fan axis is fitted into a blind bearing shell. That is to say, I can’t just remove a circlip and pop the impeller off. Dang.
At each of the four corners of the fans, vibration dampening inserts are installed. These sit on the copper fin array. It’s hard to say how much difference these make when the fan clips to the side of the heatsink with the hard plastic fan frame.
Fan off, and the copper is shown in all it’s glory. It’s so pretty!
Here you can see the heatpipe routing a bit more clearly.
And for those wondering – the original fan on the newcomer!
The Installation
Yes, the backplate was that hard to install. One thing to note is that whilst the screws holding the mounting brackets go through circular holes, they have some slop in them, enabling out-of-dimension configuration of the mounting studs. I’d suggest testing the backplate before putting it on a board. Our poor ASRock motherboard!
Another note – I found that the screw and washer mounting solution didn’t provide enough mounting pressure on the cooler, leading to poor performance in initial testing of that mounting method.
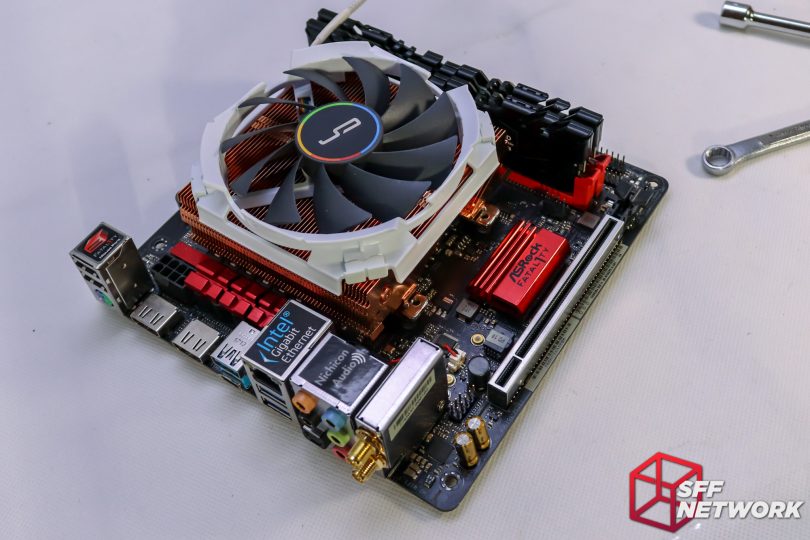
It fits! Perfectly. Airflow from the fan is directed at the VRM heatsink and the RAM – these could get rather toasty depending on what CPU you pop this on top of!
100% RAM clearance.
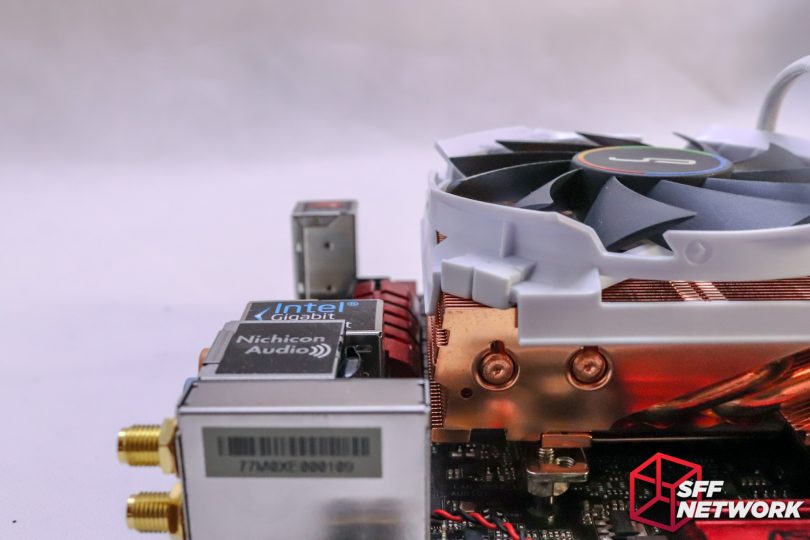
And solid clearance around the VRM section.
It’s not sitting on anything, which means that it does indeed comply with AMD’s keep out zone design.
The Testing
Using the following test system;
- AMD Ryzen 5 1600X (Amazon, NewEgg)
- ASRock Fatal1ty AB350 Gaming-ITX/ac (Amazon, NewEgg)
- G-Skill Flare-X 3200 DDR4 2 x 8GB (Amazon, NewEgg)
- ADATA XPG SX6000 128GB M.2 SSD (Amazon, NewEgg)
- SilverStone NJ450-SXL (Amazon)
- Noctua NT-H1 Thermal Paste (Amazon, NewEgg)
- EVGA 210 (Amazon, NewEgg)
With this configuration, I loaded up Prime95, set up the Blend torture test, and set to pumping some heat into the heatsink. Testing was done on an open bench, reducing the many factors that affect real world installations – system heat capacity, GPU heat recycling, airflow characteristics and the like.
I started at the 100% PWM value, recorded fan speed, and let the cooler heat soak for 10 minutes. I then stopped the Blend test, let the system cool down. From there, the next PWM setting was inputted, and the process repeats. I began each set of runs again, with fresh thermal paste per cooler mount, running each test a total of three times on each cooler. From there averages were taken and recorded below.
All testing took place in a controlled ambient temperature of 18C.
| Cooler | 100% Fan Speed | Delta | 75% Fan Speed | Delta | 50% Fan Speed | Delta | 25% Fan Speed | Delta |
| CRYORIG C7 CU | 2509 RPM | 46C | 2030 RPM | 50C | 1500 RPM | 57C, 3.65 GHz | 827 RPM | 57C, 3.25 GHz |
| CRYORIG C7 Original | 2550 RPM | 52C | 2150 RPM | 57C, 3.65GHz | 1550 RPM | 57C, 3.55 GHz | 875 RPM | 57C, 3.25GHz |
| Noctua NH-L9a-AM4 | 2520 RPM | 45C | 2070 RPM | 52C | 1570 RPM | 57C, 3.6GHz | 867 RPM | 57C, 3.3GHz |
And because readers will ask:
| Cooler Config | Fan RPM at 100% | Delta |
| CRYORIG C7 Cu with Noctua Slim 92mm Fan | 2520 RPM | 52C |
| CRYORIG C7 Original with Noctua Slim 92mm Fan | 2520 RPM | 57C |
| CRYORIG C7 Cu with Noctua 25mm thick 92mm fan | 1870 RPM | 50C |
| CRYORIG C7 Original with Noctua 25mm thick 92mm fan | 1870 RPM | 52C |
Note, any text in bold, red font is thermal throttling of the system, with noted clock speed – down from the standard 3.7GHz.
After testing, we can see that there definitely is an improvement, in fact, a greater than 10% improvement over the original variant of the C7, albeit only in the higher fan speeds. When we get down to unrealistically low fan speeds for the load, they become much more equal in performance.
Compared to the industry stalwart in this product segment, the C7 Cu trades blows, with the L9a-AM4 performing a little better in the lower fan speed sections. The Noctua cooler, however, is significantly quieter at all fan speed ranges!
The aural profile of the fan is interesting. At 100%, the fan is unbearably loud, nearing Intel Stock Cooler levels of bad. Down at 75% it is much, much more tolerable, turning from a whine of sorts, down to more of an air rushing noise. from 60% down, it’s pretty much silent.
Speaking of fan speeds, let’s see why a louder fan is needed for the C7 product line compared to the Noctua NH-L9a-AM4. Slapping the fan from the Noctua cooler onto the CRYORIG coolers nets poorer performance at full speed – simply put, the CRYORIG pushes more air at the same RPM and suffers aurally for it.
The Conclusion
Well, this wasn’t what I expected at all. After reading countless threads about the efficacy and lack thereof of the new C7 Cu cooler over the original variant, I expected at most a 5% improvement at top fan speeds, and nothing at 50% PWM and below. What I saw in testing was double that, with 10-12% performance improvement over the original C7, all the way down below 50% fan speed. Physics is physics, I figure.
What I’m not a huge fan of, is, well, the fan. Keeping the original fan design is a mis-step in my opinion. I was critical of the fan’s proprietary nature in the original C7 review, and my opinion stands. Also of note is the harsh aural characteristics (which I unfortunately did not note in my original review, I have learnt much in the past two years!) at high fan speeds.
However, overall, the CRYORIG C7 Cu is a solid product, weighing in (hah!) at a higher performance level that befits the material choice. Unfortunately it’s hard to recommend over products in the same category, such as the aforementioned Noctua cooler, as well as various others. Performance is upper-mid range, but the price sits higher than the performance would justify. Aesthetically, though, the price may be worth it for your build.
Pros
- Copper aesthetics
- Significant improvement over the original C7
- Solid aural performance at 75% PWM and below
Cons
- Inclusion of plastic washers to get around using the backplate, whilst a good idea, didn’t work in practice
- The backplate is horrendous to fit
- Aurally harsh at high speeds
Niggles
- Double the price!
Thoughts? Discuss them in the forum.
This review sample was provided by CRYORIG.
Here at SmallFormFactor.net we give manufacturers the ability to be part of the community. We offer a right to reply to our hardware reviews. If a manufacturer responds with any feedback or corrections, their comments will be posted here.

