
Passive cooling is one of the holy grails of computing – a high performance system without any moving, and thus noise producing, parts. Streacom has been producing passive system cases for some years now, emphasising both quality and performance in their products. I’ve been looking to see what all the fuss is about for some time, and recently the opportunity has arisen for this to finally happen.
A while back, I looked at passive cooling, running a 65w APU under a giant Scythe Ninja heatsink. While the results were promising from a pure temperature perspective, the system was unwieldy, heatsink too big, and the experiment killed that particular motherboard soon after. Let’s see how a properly engineered solution fares, shall we?
[mks_separator style=”blank” height=”2″]
Table of Contents
[mks_separator style=”blank” height=”2″]
The Specifications
| Width | 240 mm |
| Depth | 250 mm |
| Height | 109 mm |
| Volume | 6.54 L |
| Motherboard compatibility | M-ITX |
| Expansion slots | 1 x Low Profile |
| Drive mounts |
Optical Variant (as tested): 1 x ODD + (1 x 2.5″ + 2 x 3.5″ or 4 x 2.5″ or 2 x 2.5″ + 1 x 3.5″) Non Optical: 2 x 2.5″ + 2 x 3.5″ or 5 x 2.5″ or 3 x 2.5″ + 1 x 3.5″ |
| Front Panel I/O | USB 3 x2, IR, Power Button |
| Price | US$190 plus shipping |
| Colours Available | Silver, Black |
[mks_separator style=”blank” height=”2″]
The Unboxing
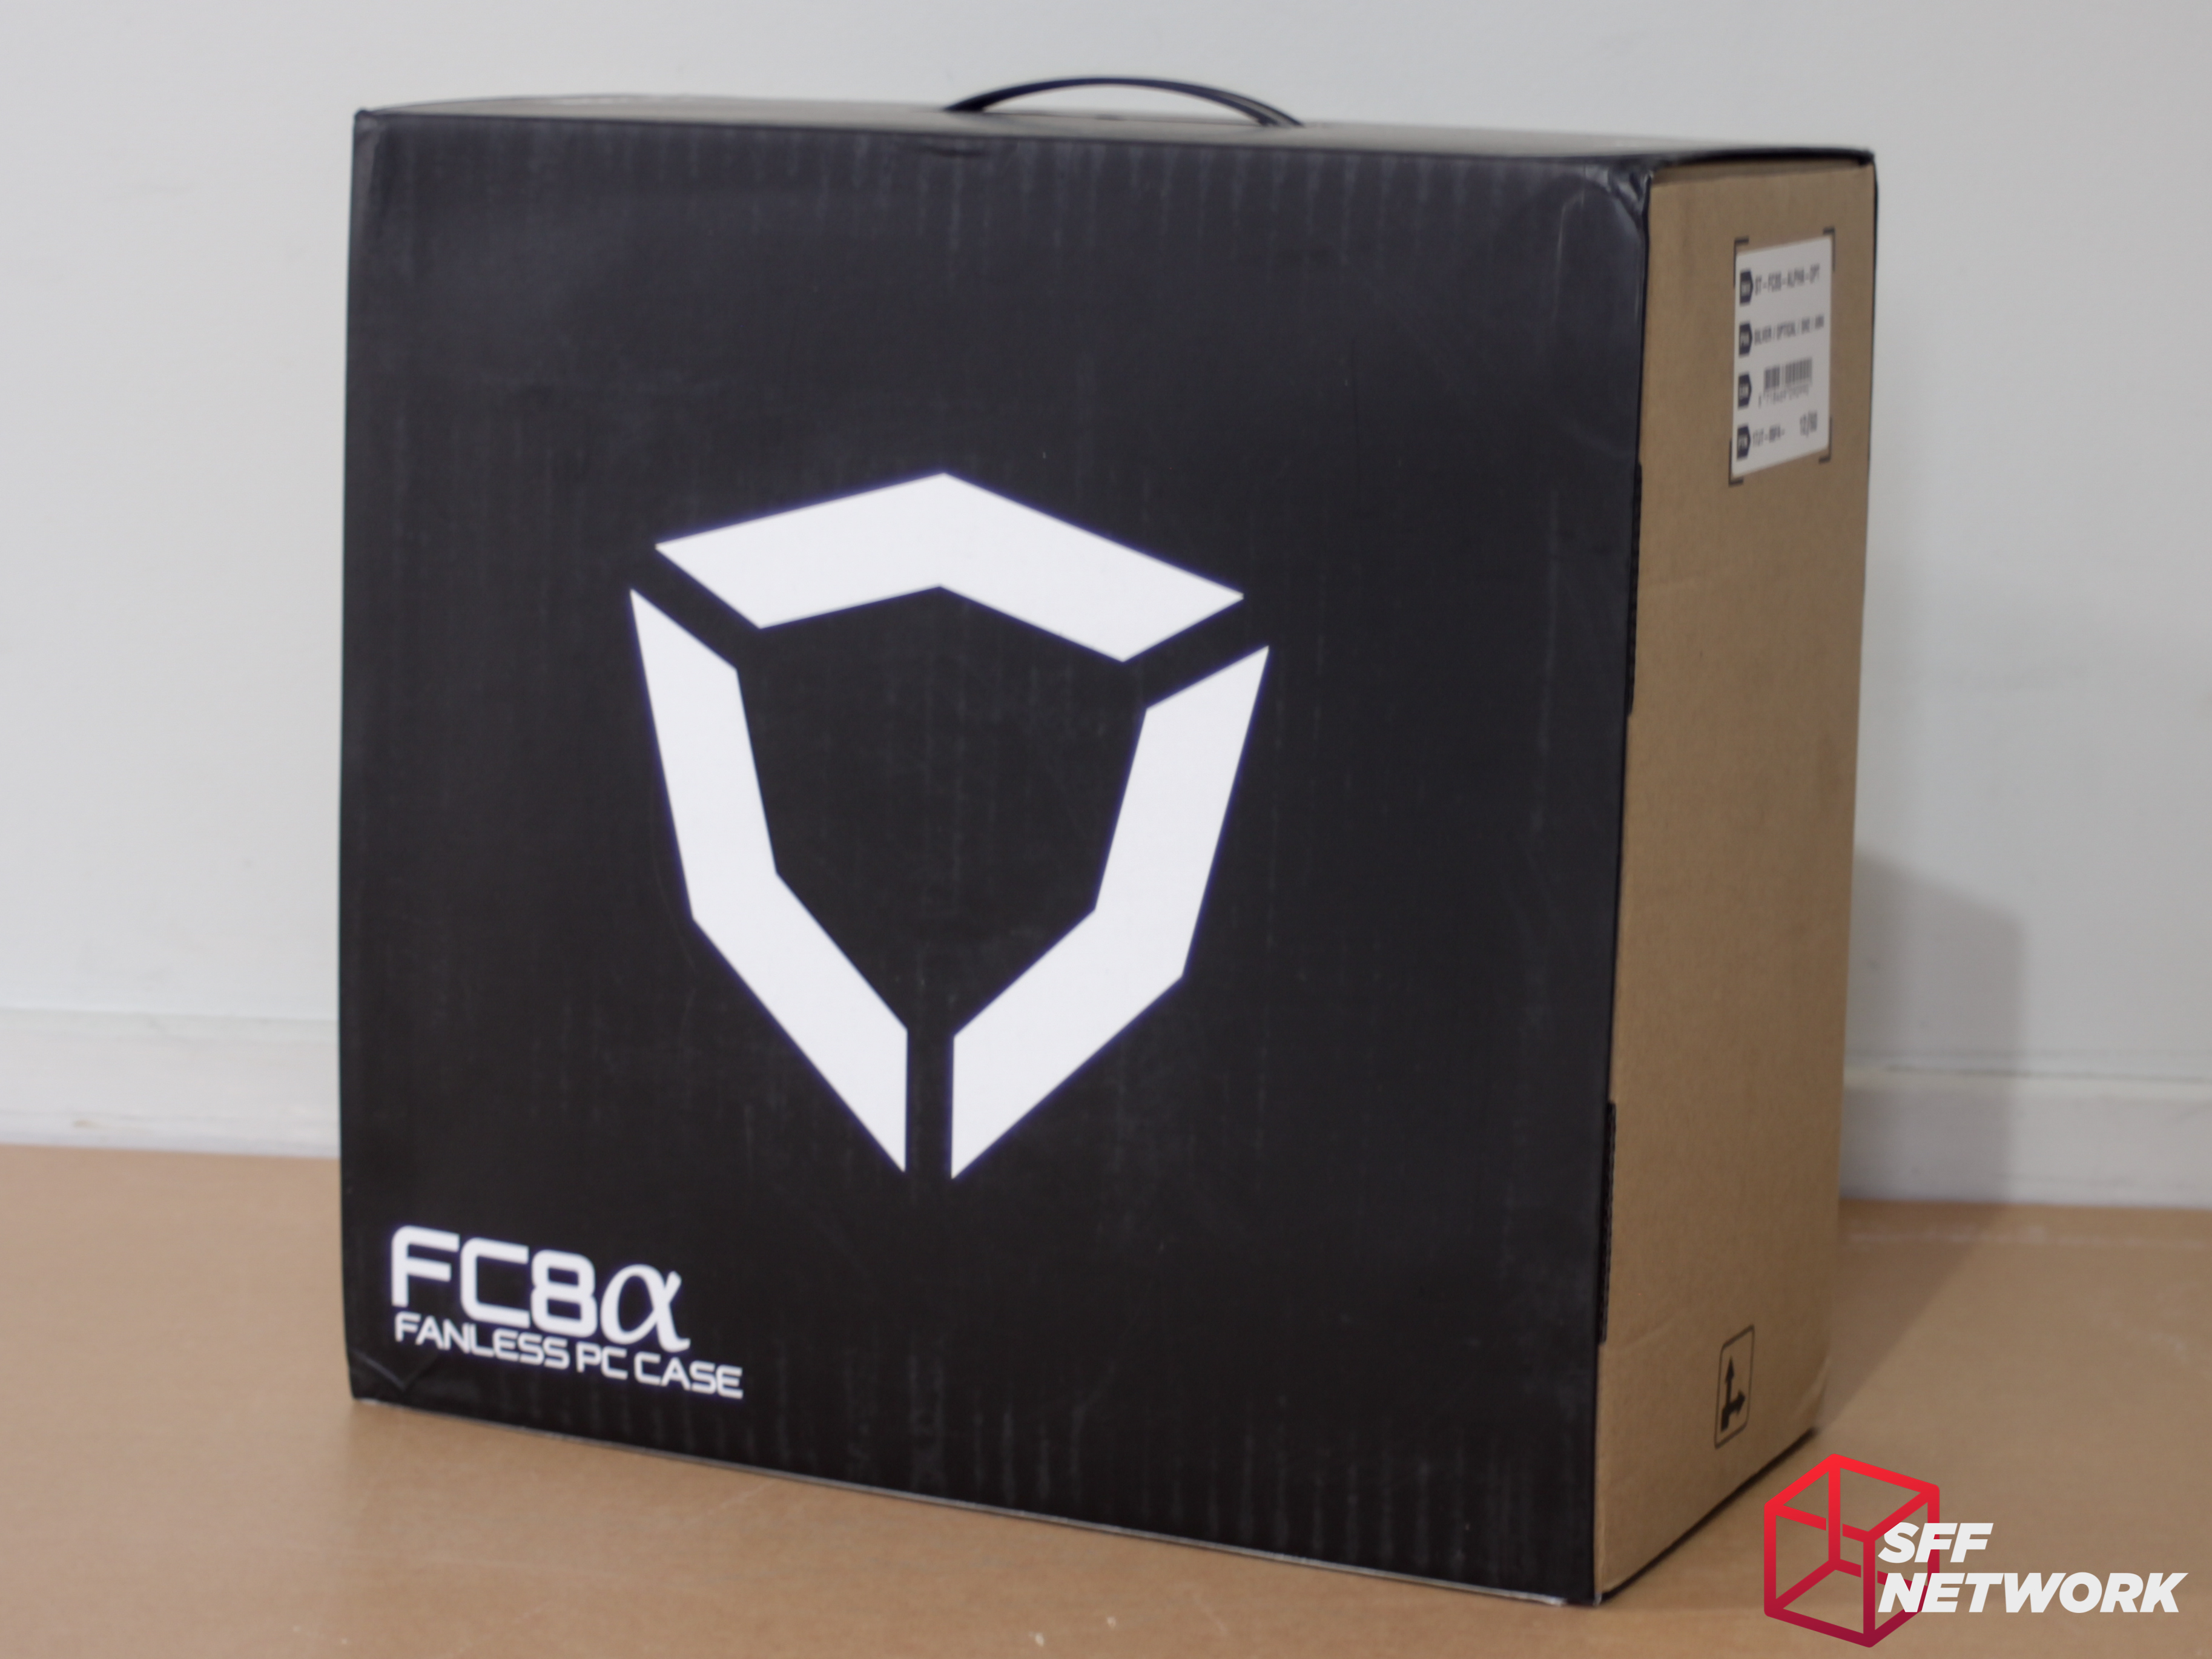
The Streacom FC8 Alpha comes in a very understated box. No marketing, flashy colours or branding other than a large Streacom logo, the product name and a simple descriptor. I love seeing industrial design like this, it shows that Streacom knows that their products are good enough to sell without gimmicks.
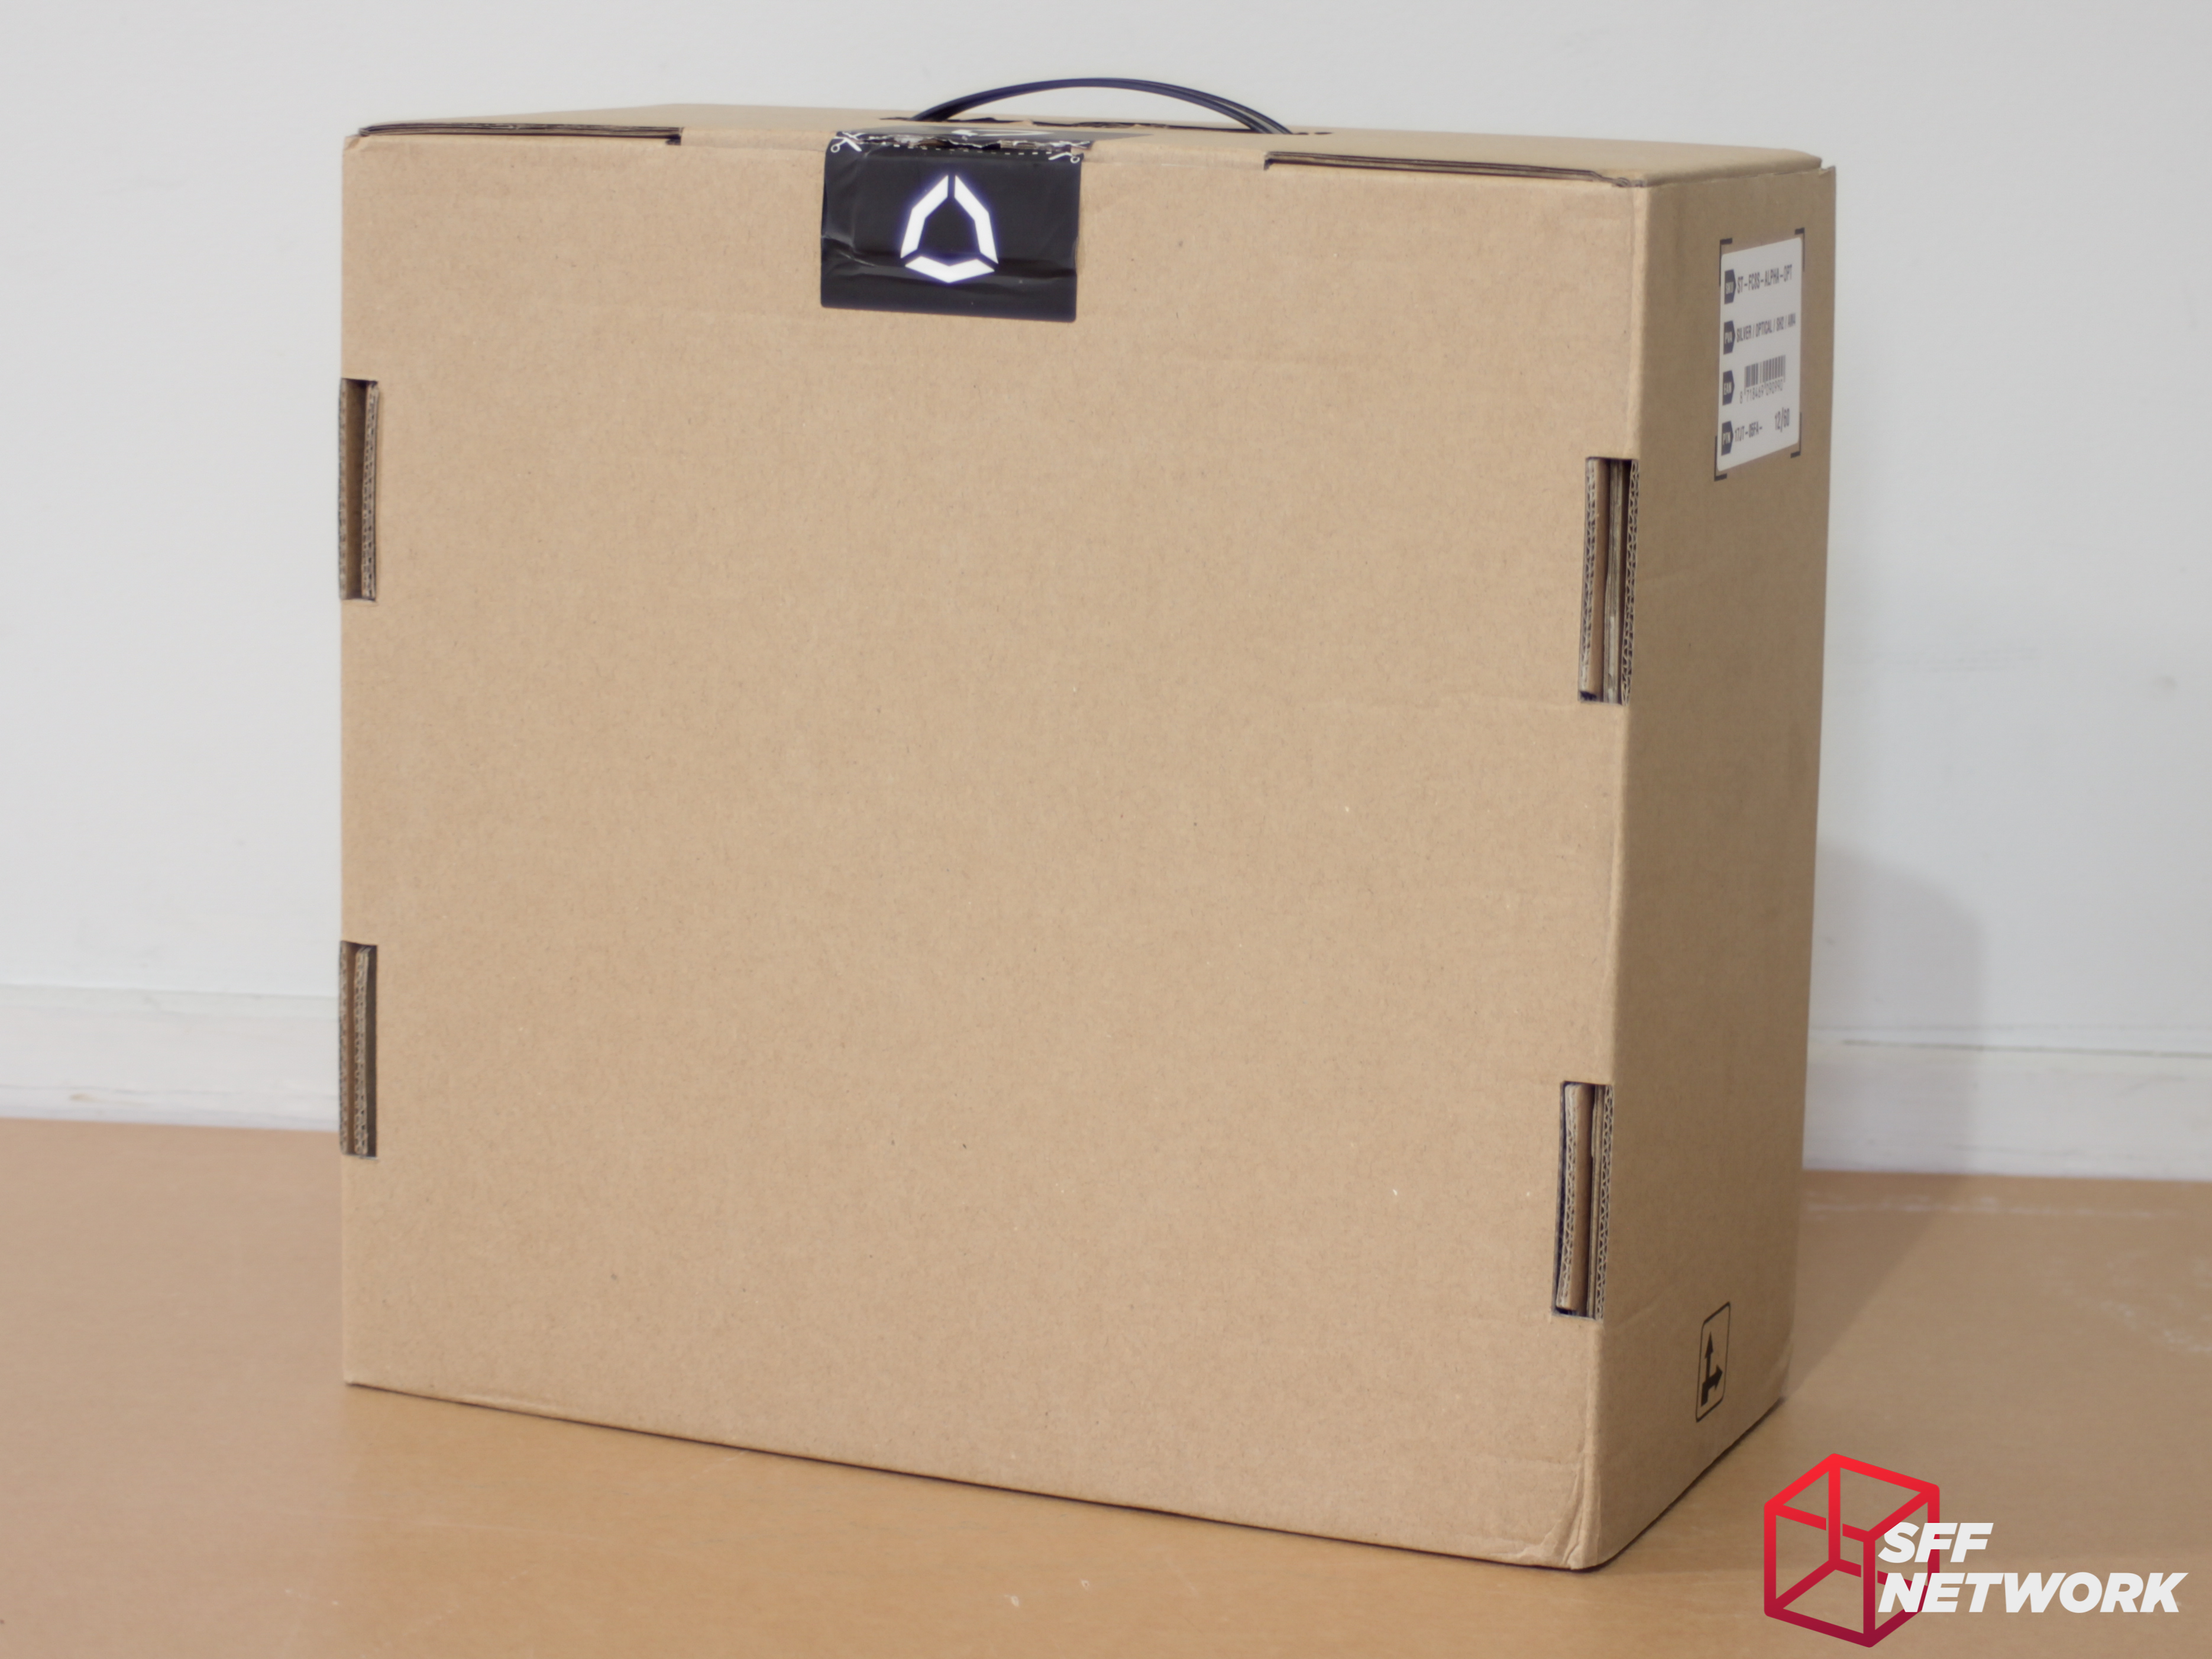
Inside the black sleeve is the heart of the packaging, a plain brown cardboard box with a Streacom sticker sealing it.
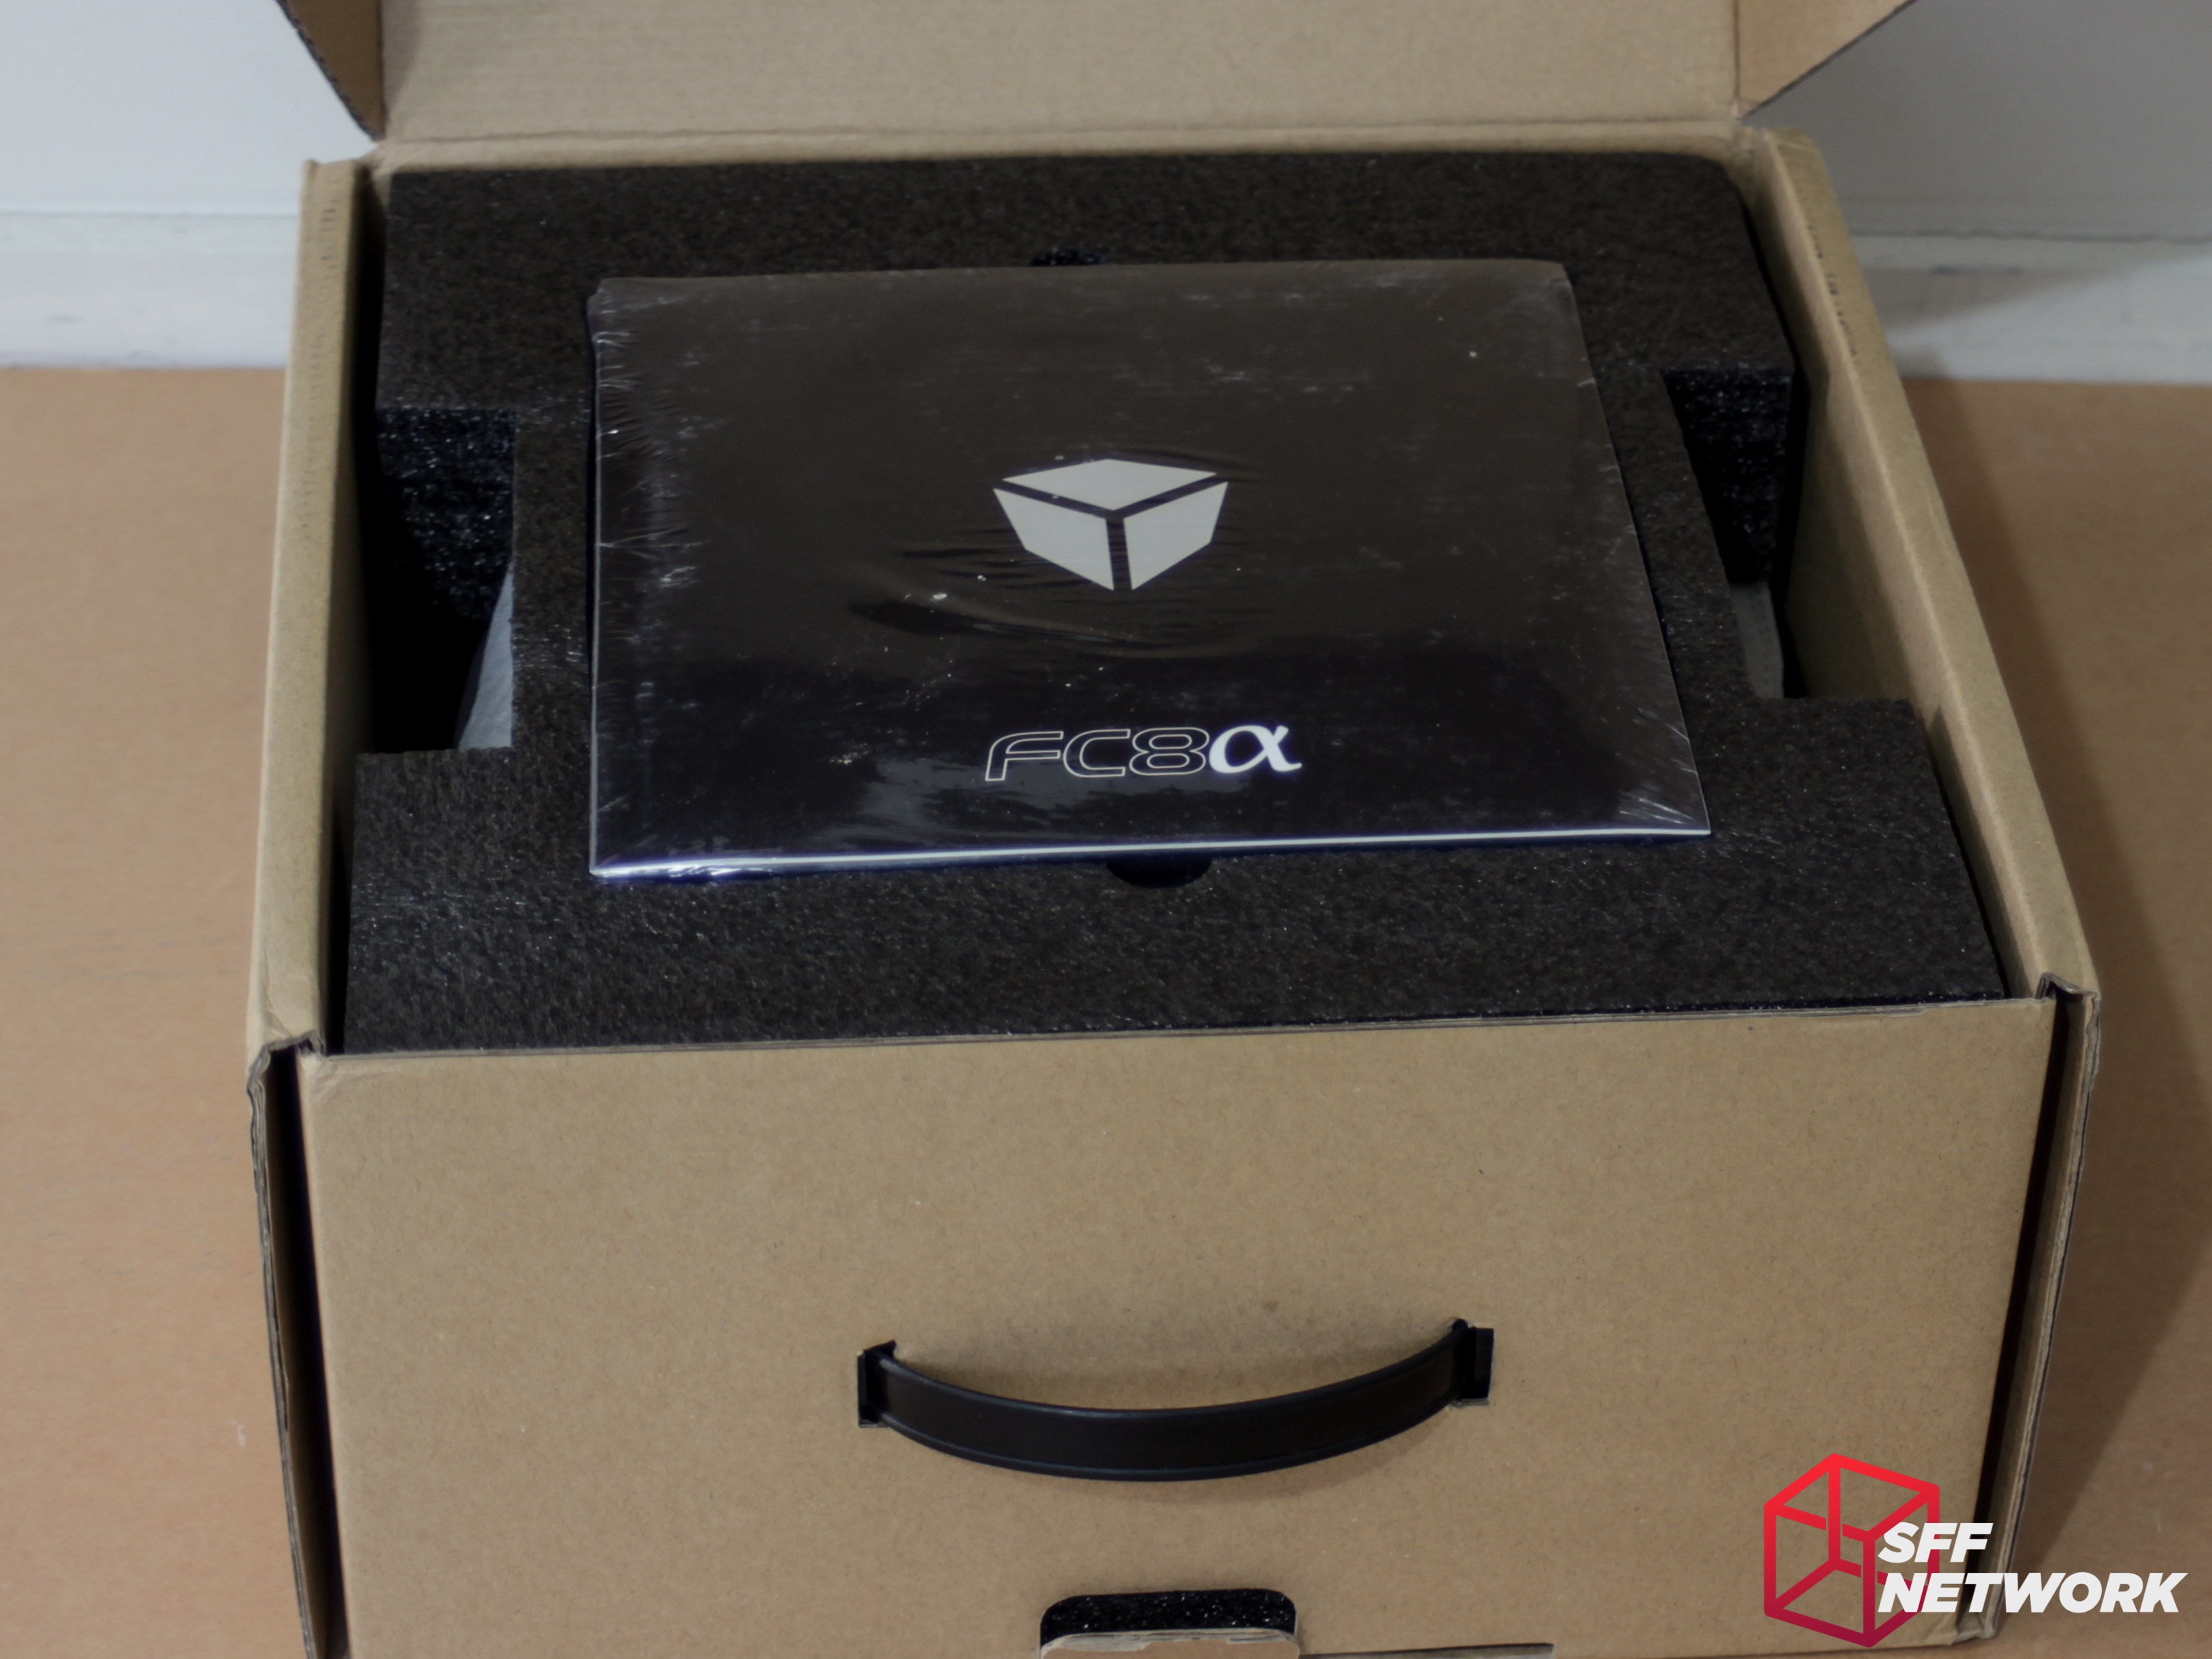
Lifting the lid on the FC8 Alpha’s packaging reveals a shrink wrapped accessories pack, and well appointed black foam to protect the chassis in shipping. Protect it did indeed, with no damage to be found to either the chassis or accessories.
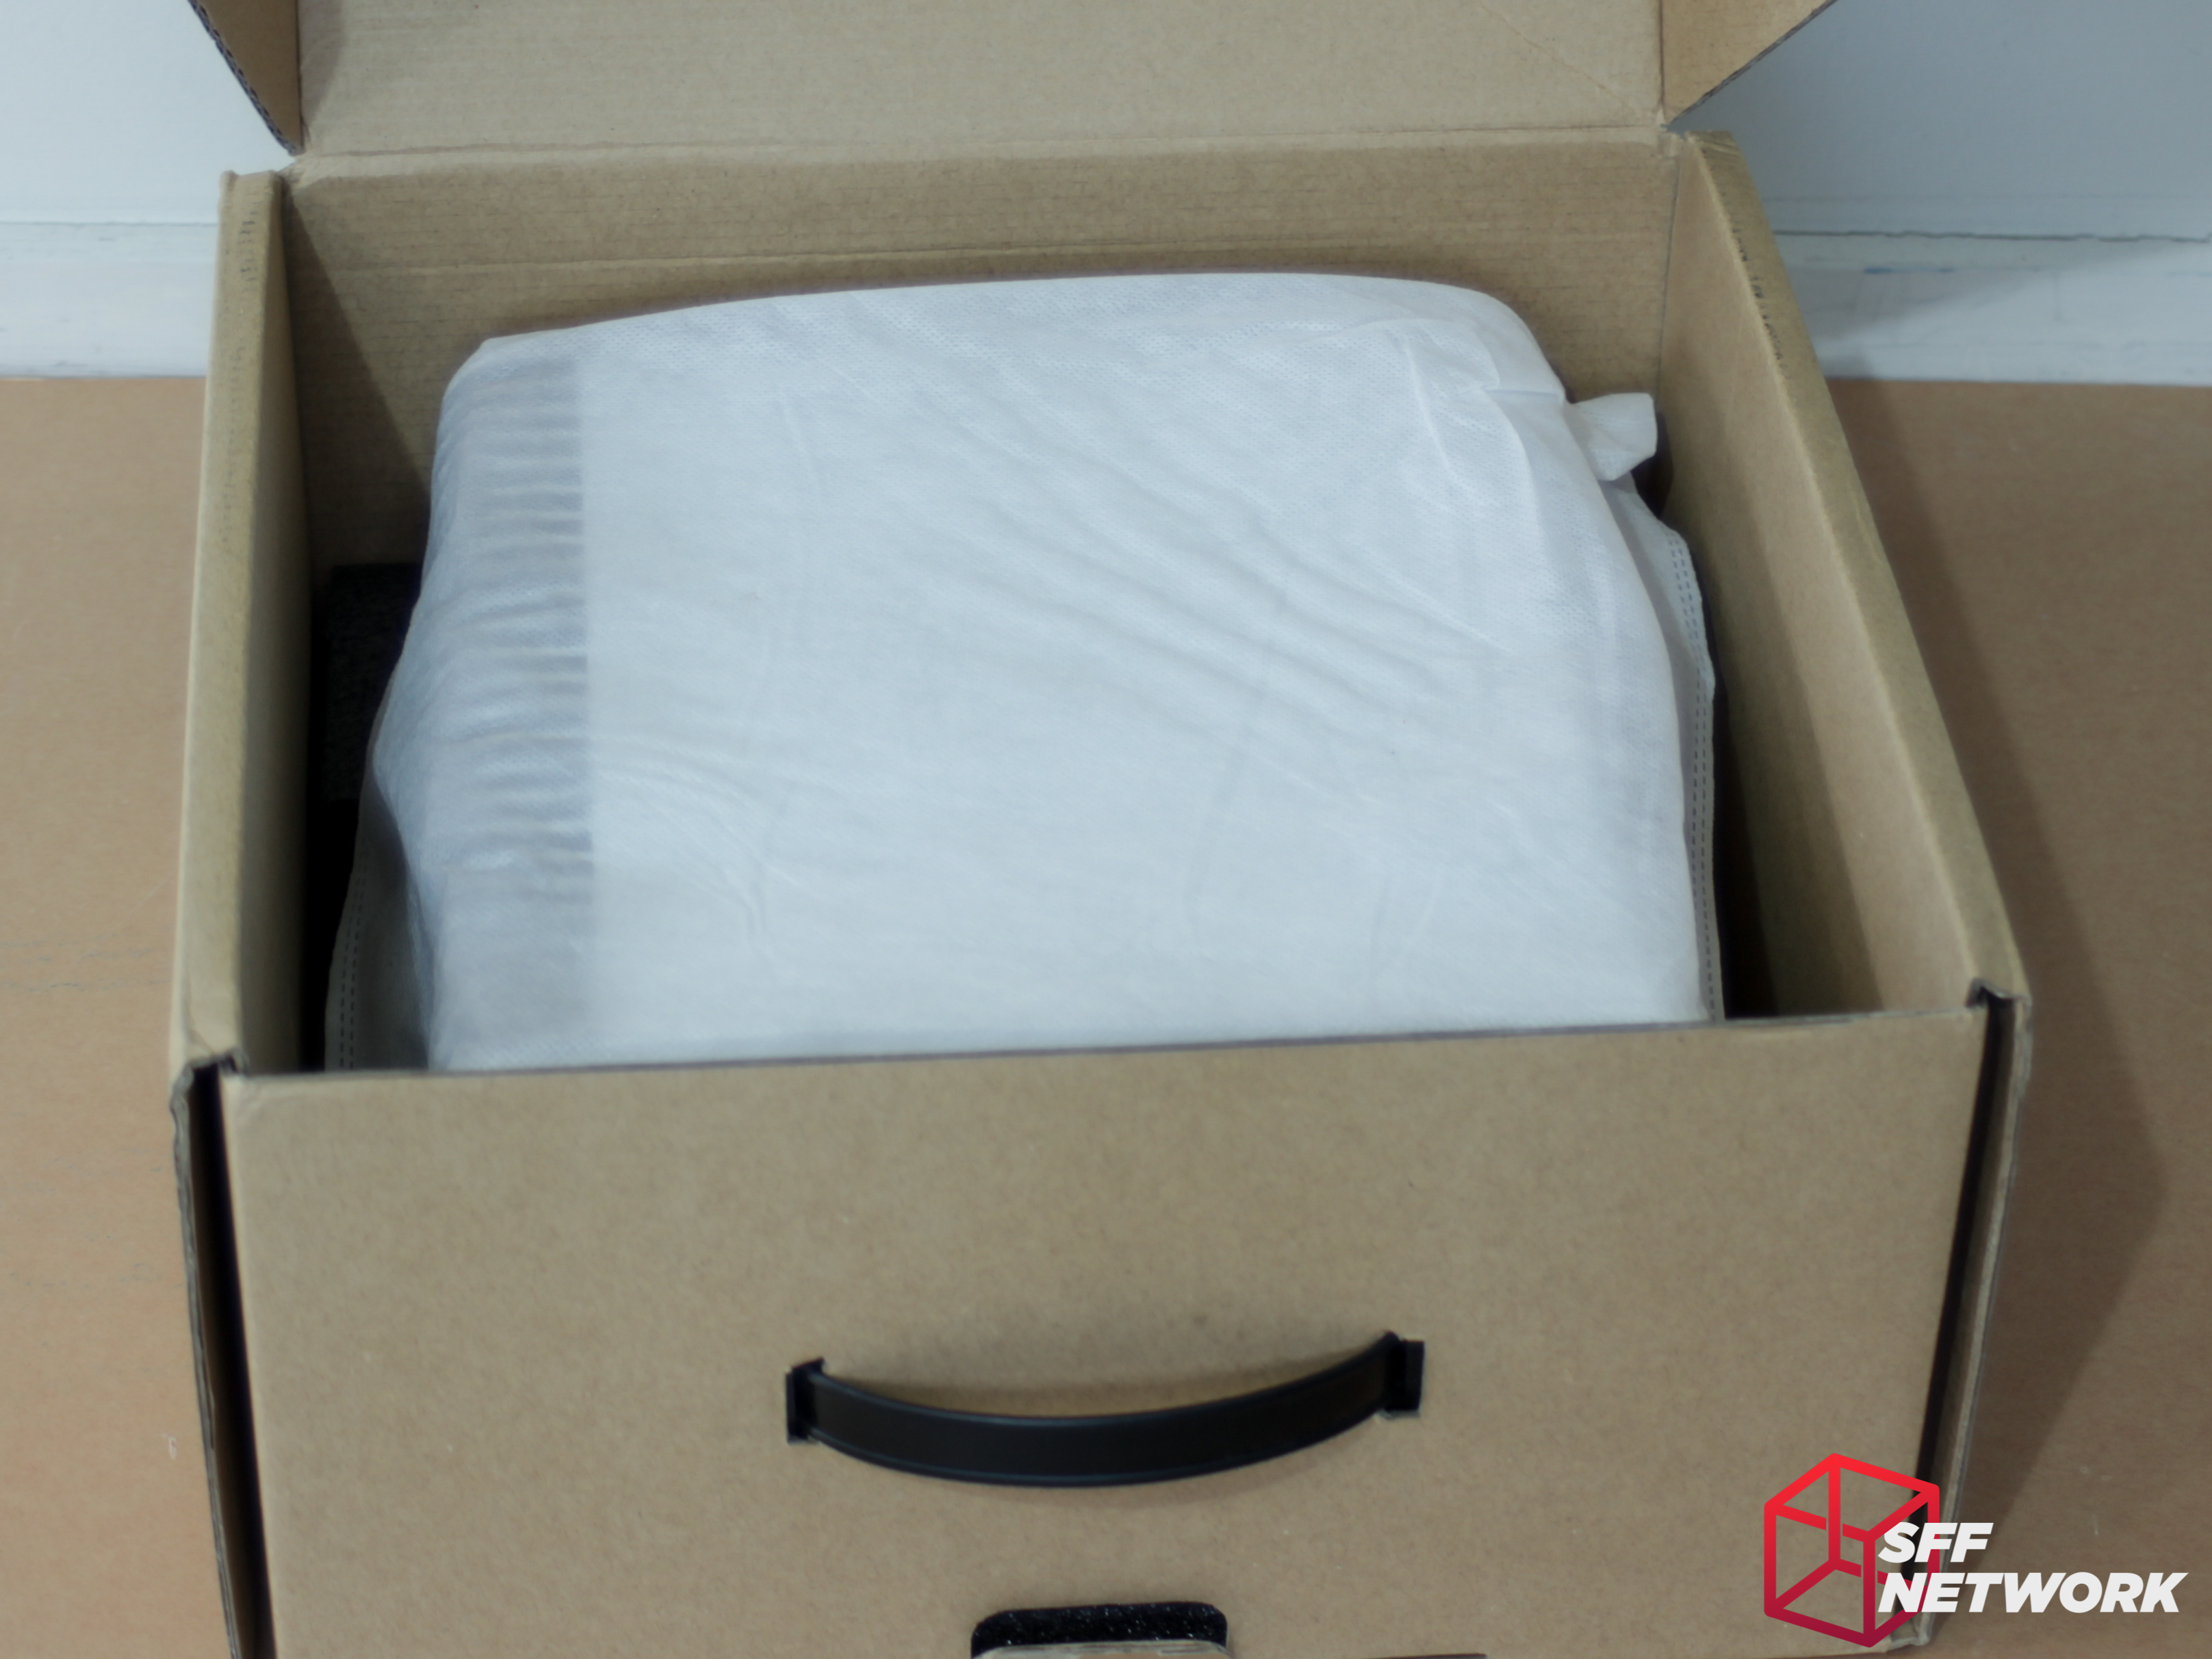
Removing the top layer of foam we find the case wrapped in a soft fibre bag, continuing the protection of the chassis in transit. Decisions like this add to the unboxing experience, lending an air of premium to the case you just spent US$190 on.
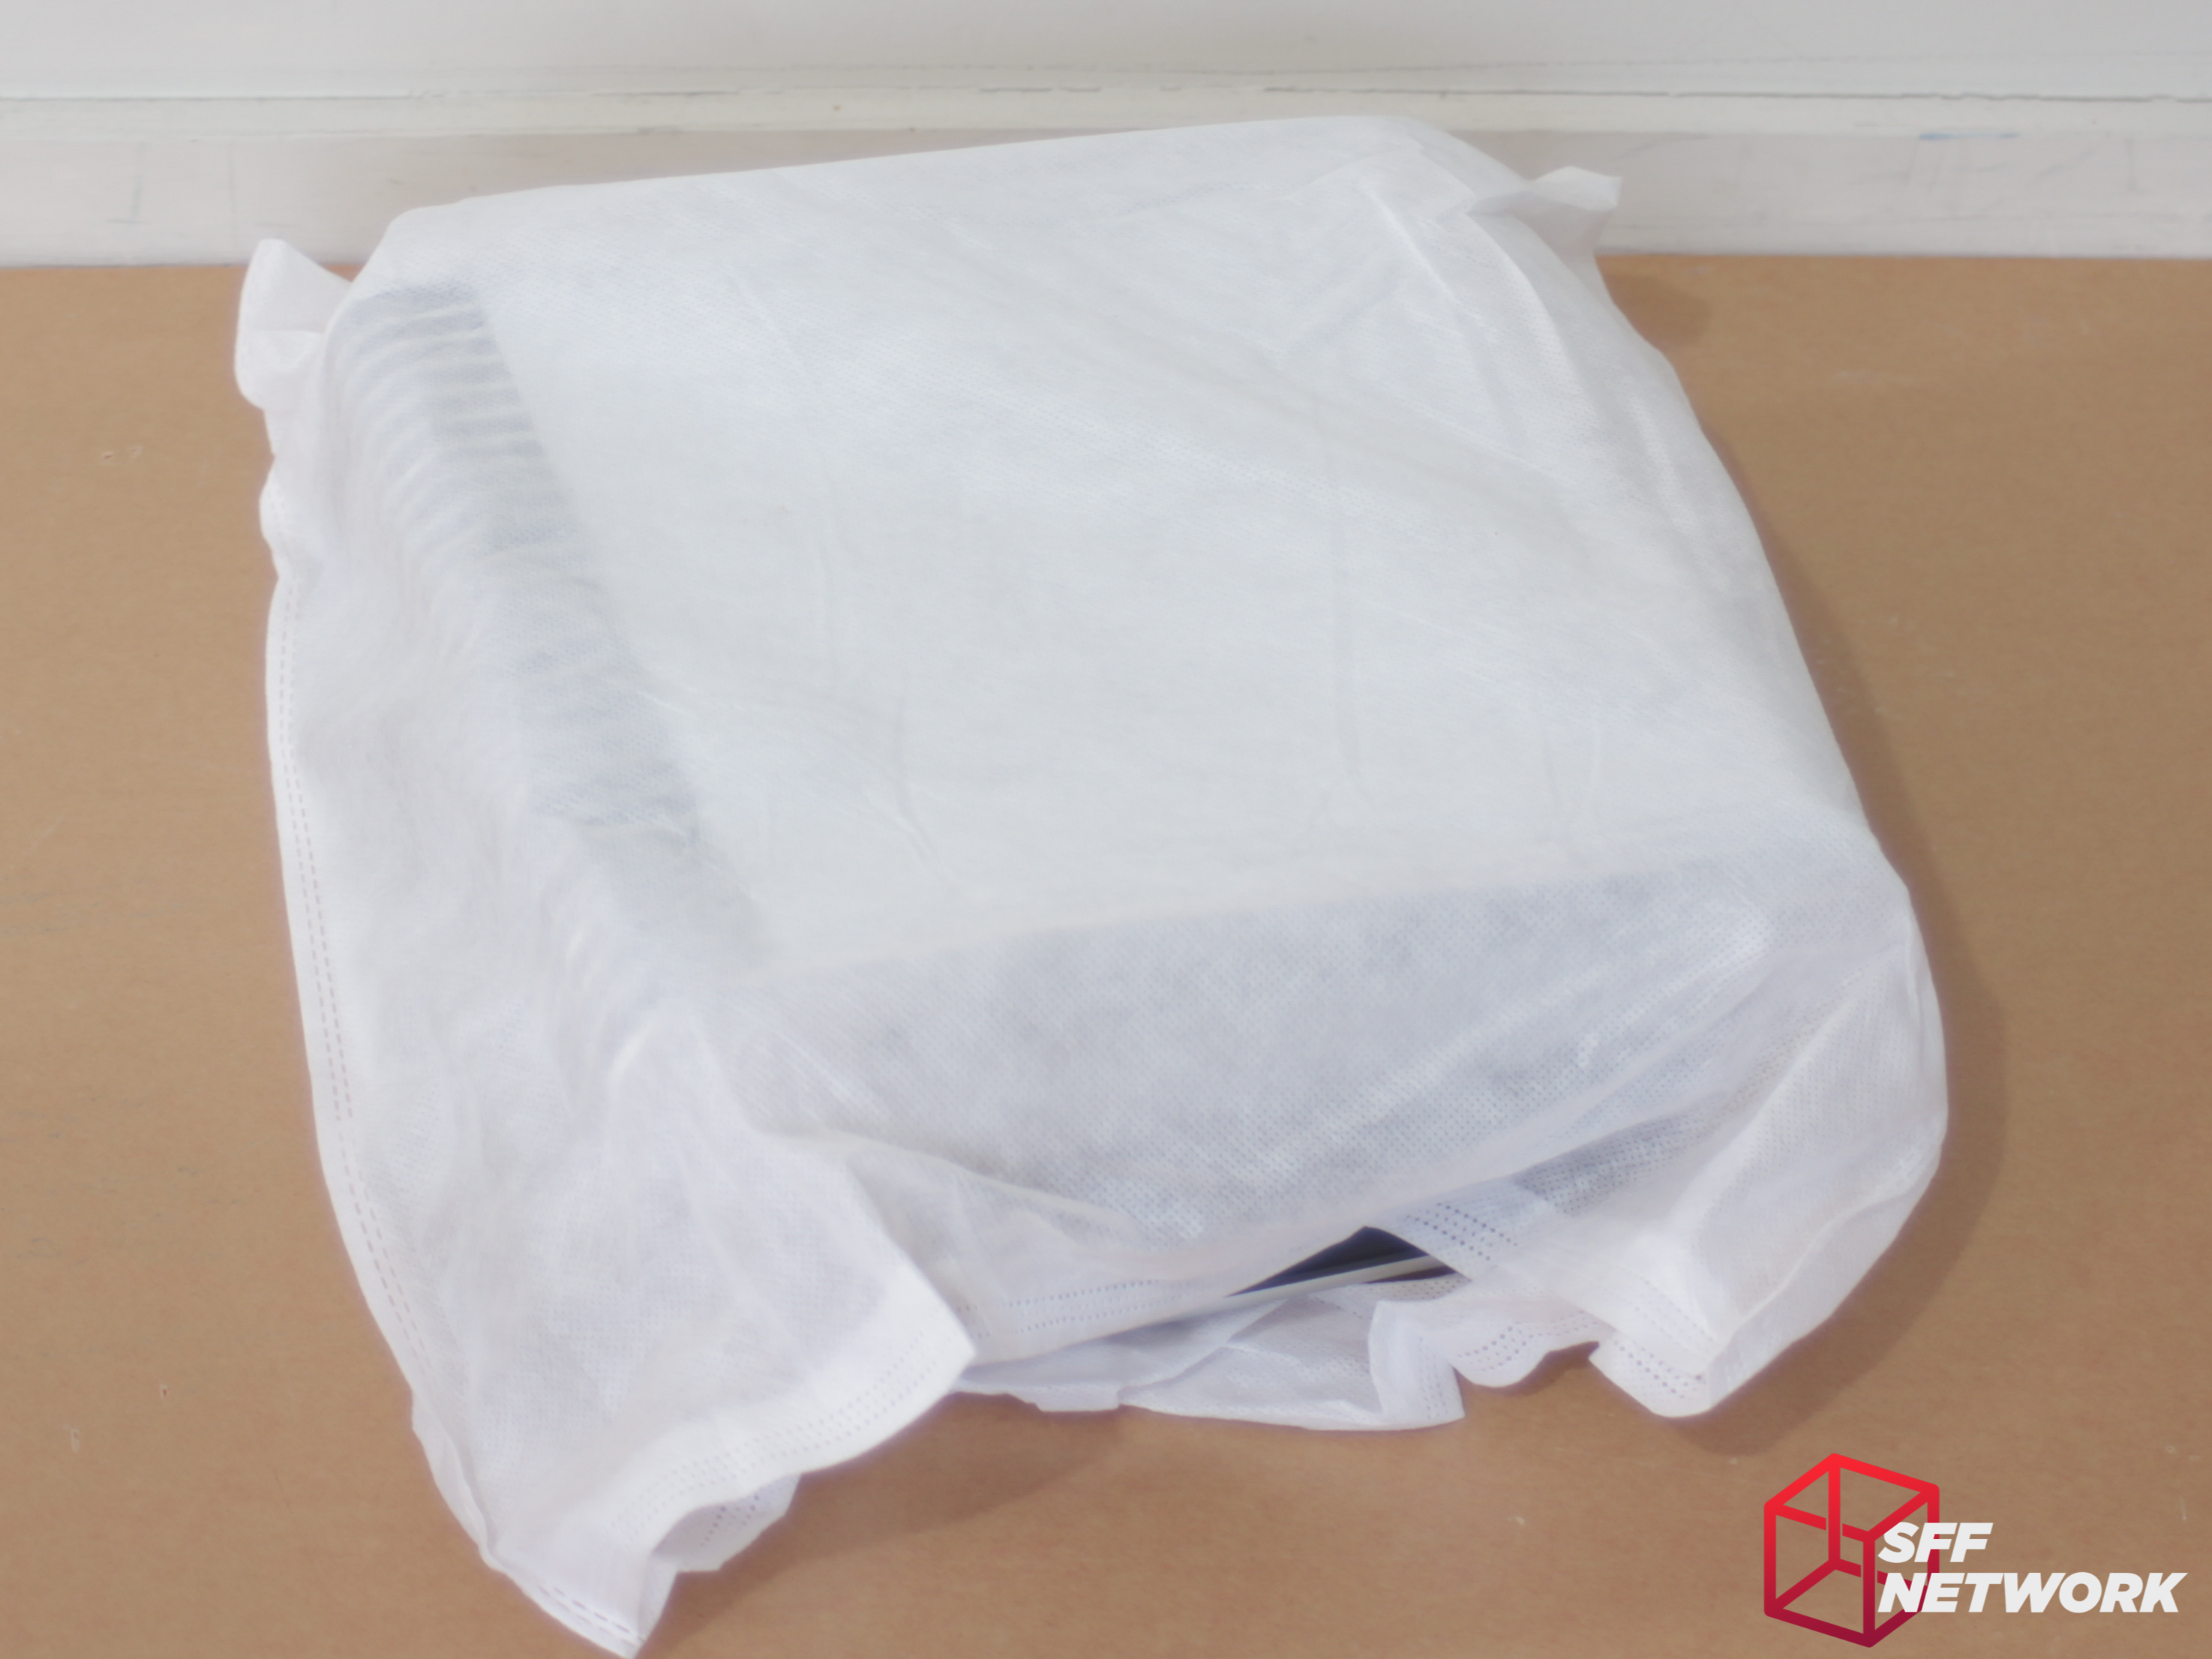
The bag hides the case from view.. for now. Let’s look at the accessories before we dig into the case itself!
[mks_separator style=”blank” height=”2″]
The Accessories
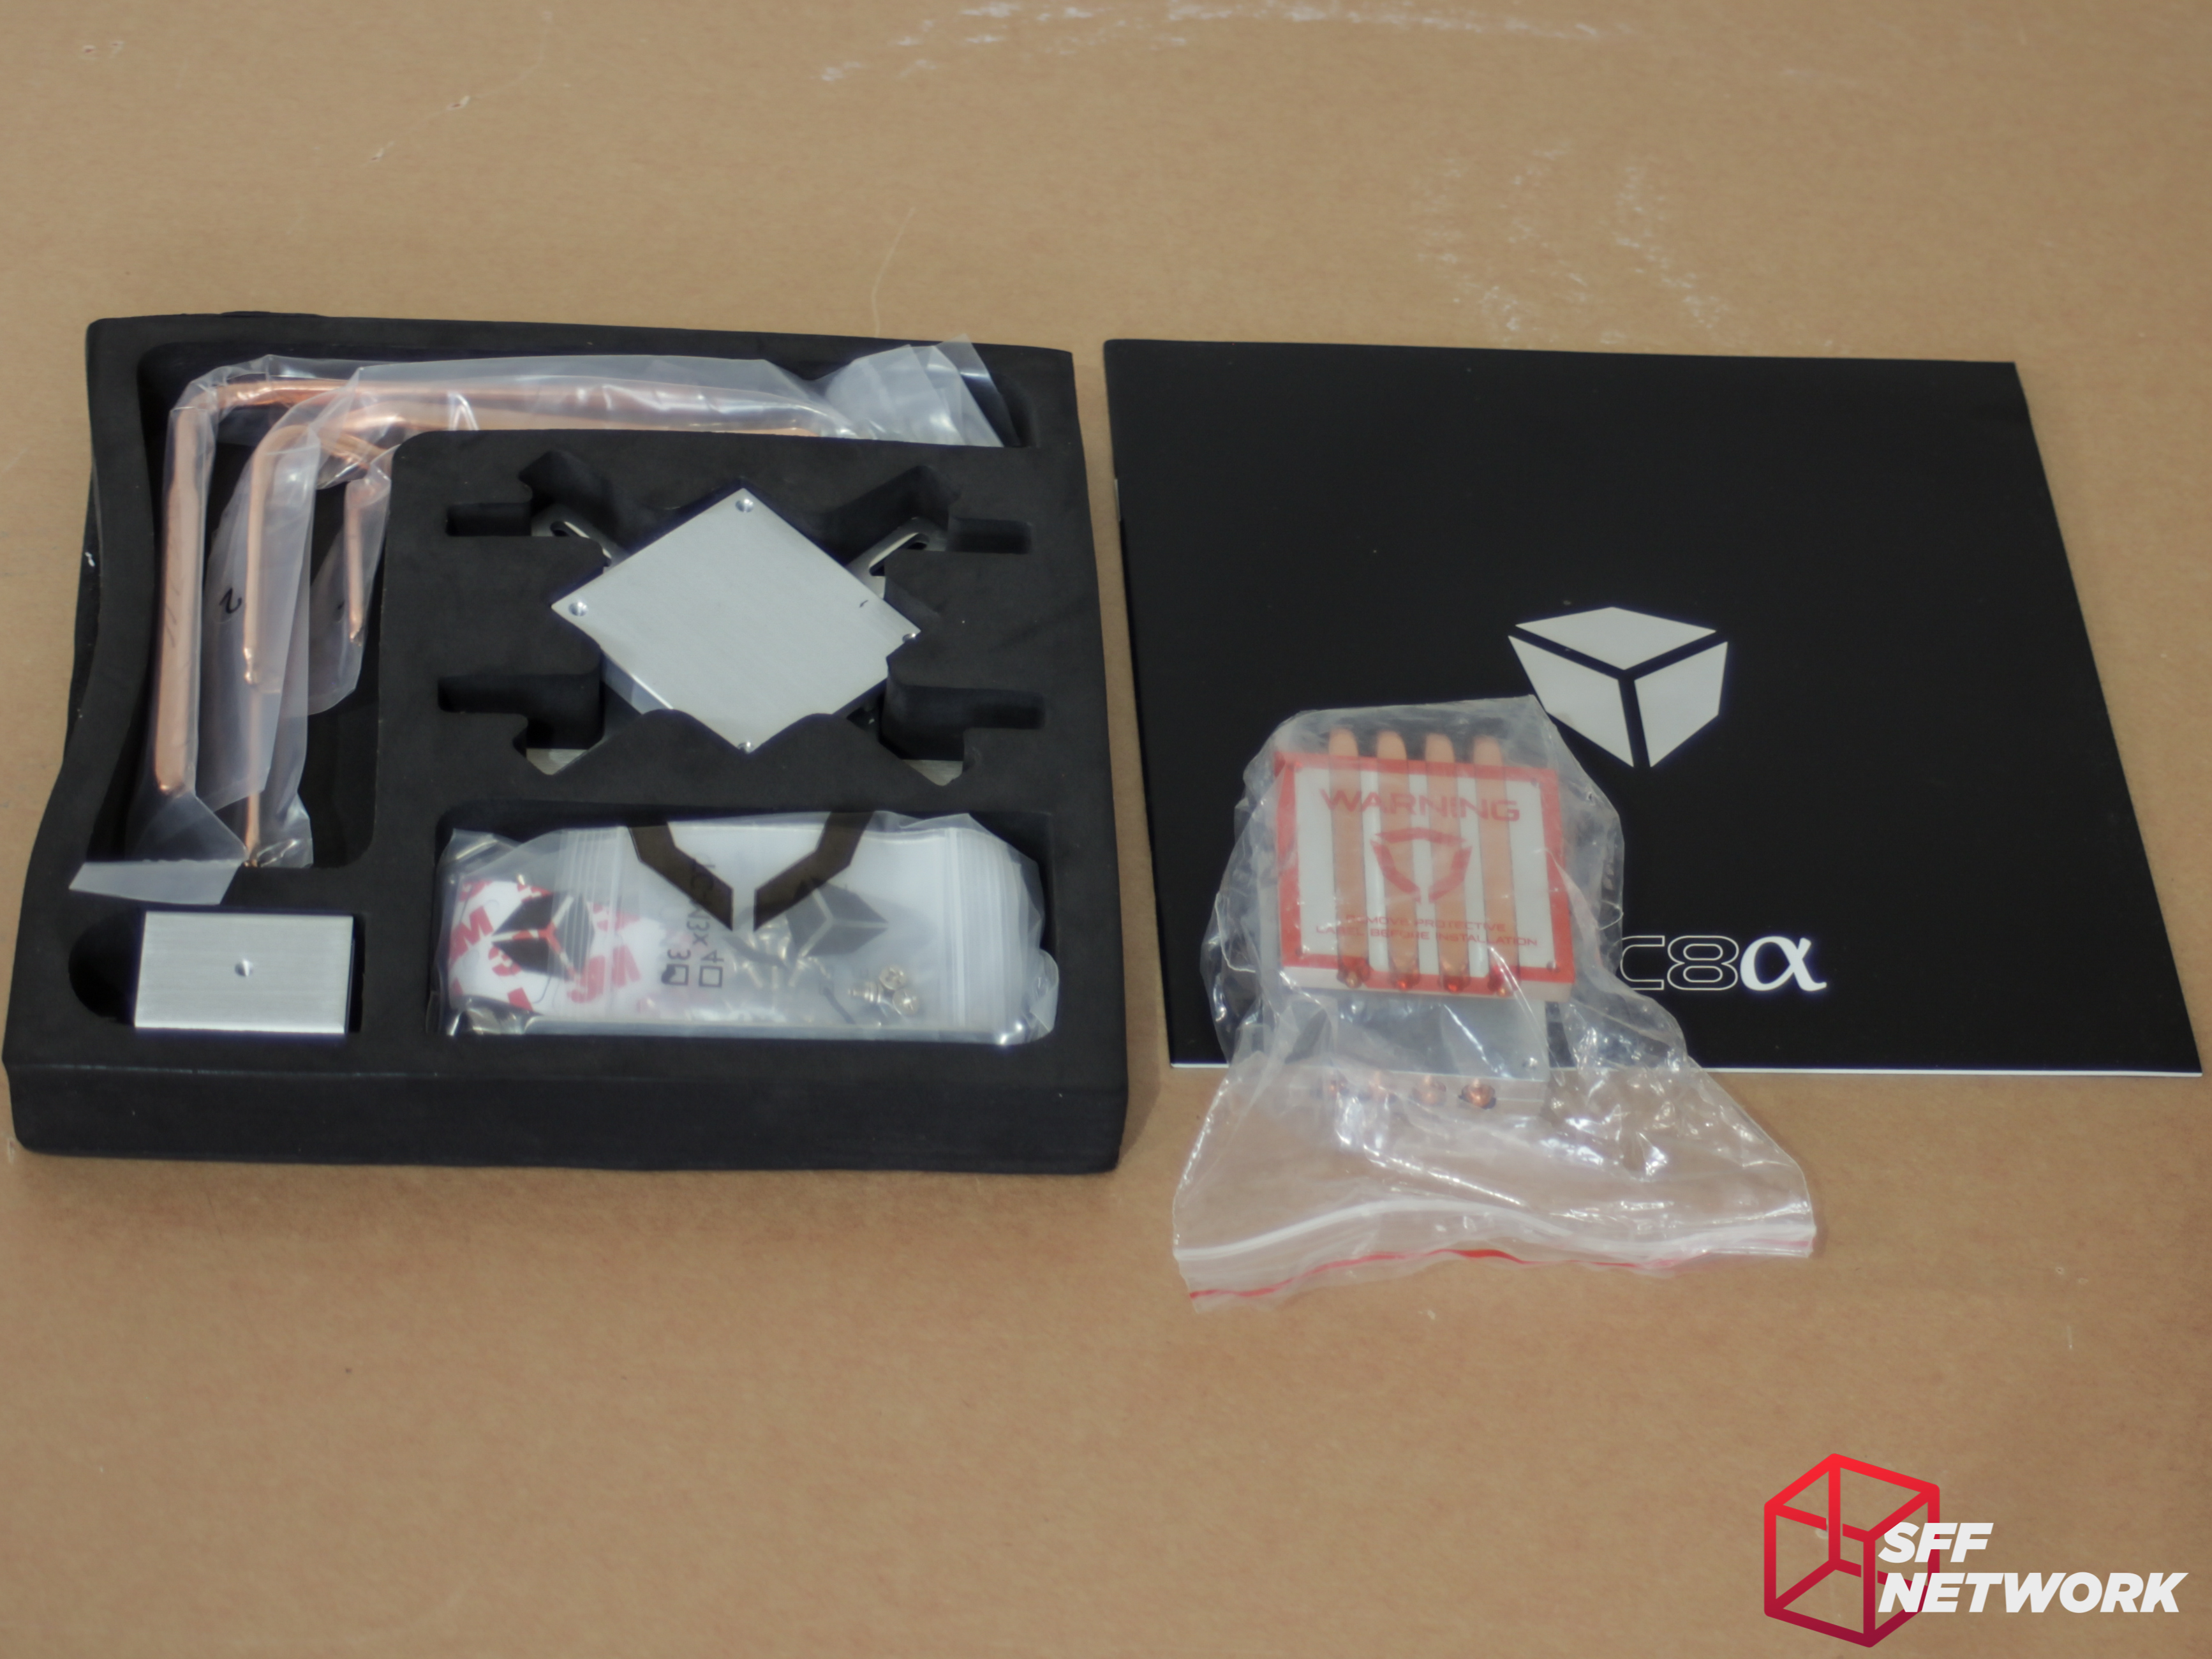
Opening the shrink-wrapped accessories pack, we are greeted with a die cut foam tray with all the accessories for the chassis, as well as a fantastic manual. Also pictured here is an accessory you can buy separately – a cooler riser (bottom right!) for those boards that have the ATX connector in a less than ideal location. This riser is available for around US$24.
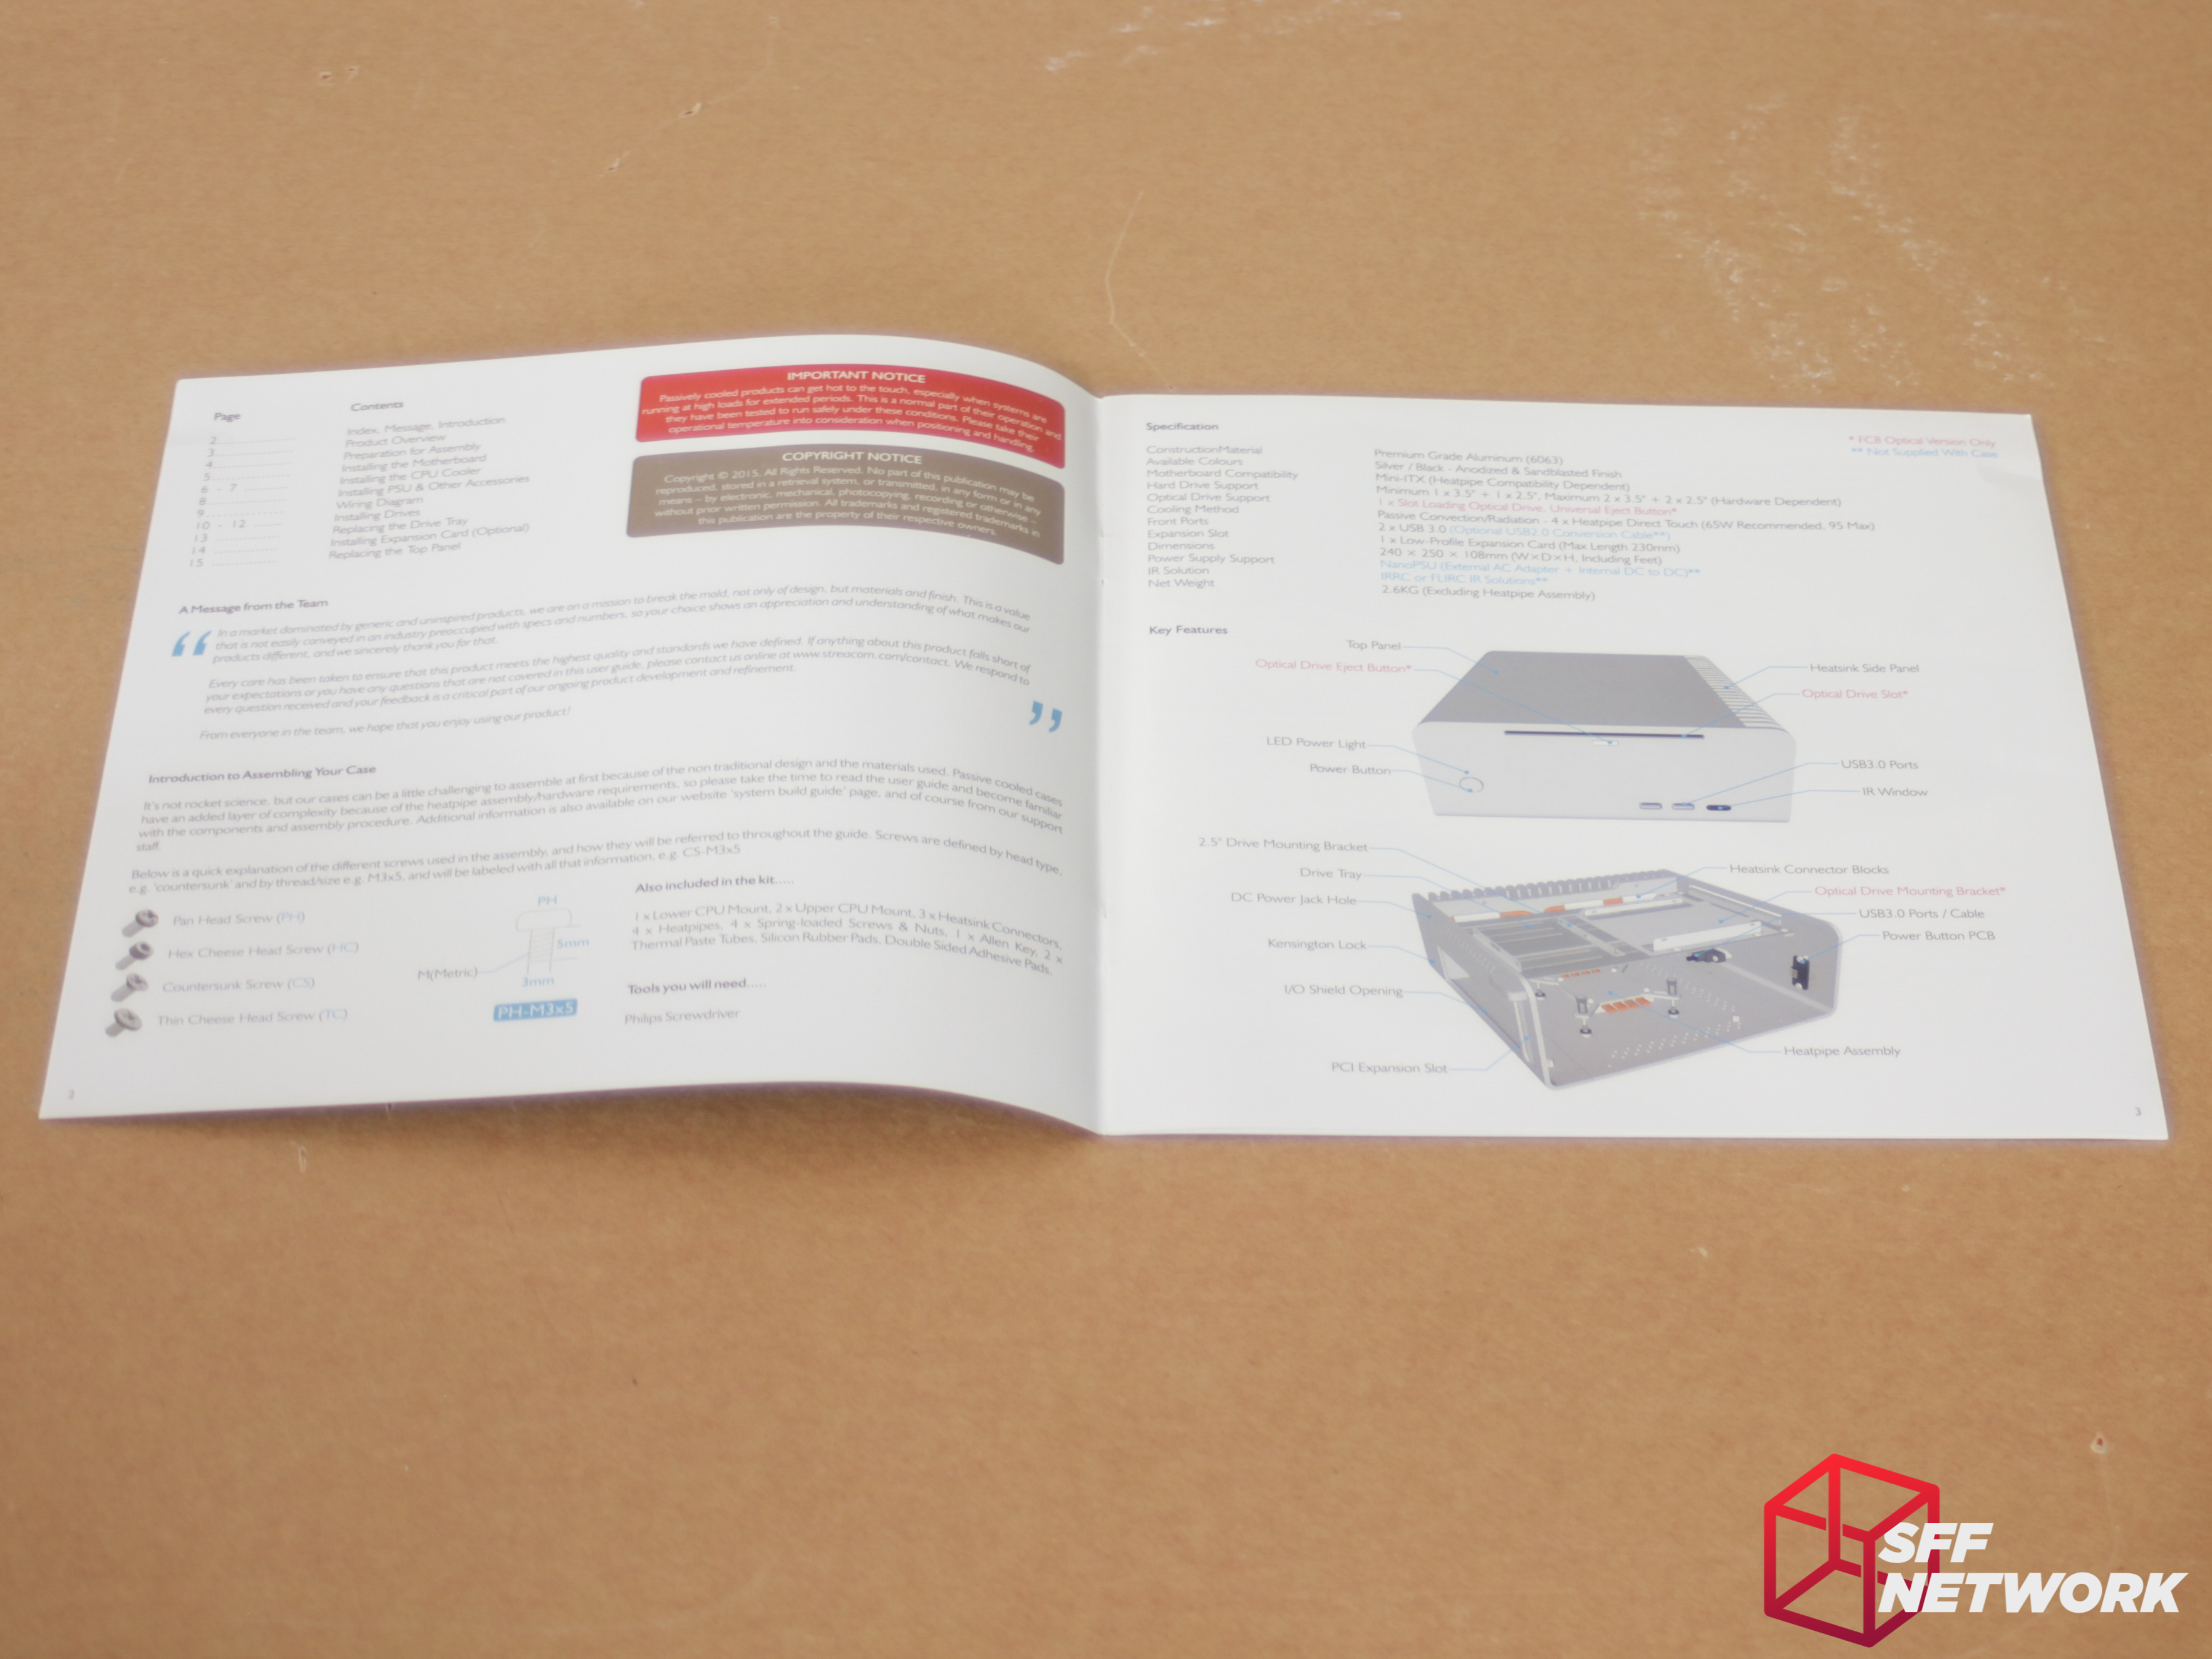
The manual included with the case is fantastic, with very clear images, great instructions, meaning that building in the FC8 Alpha is a piece of passively cooled cake!
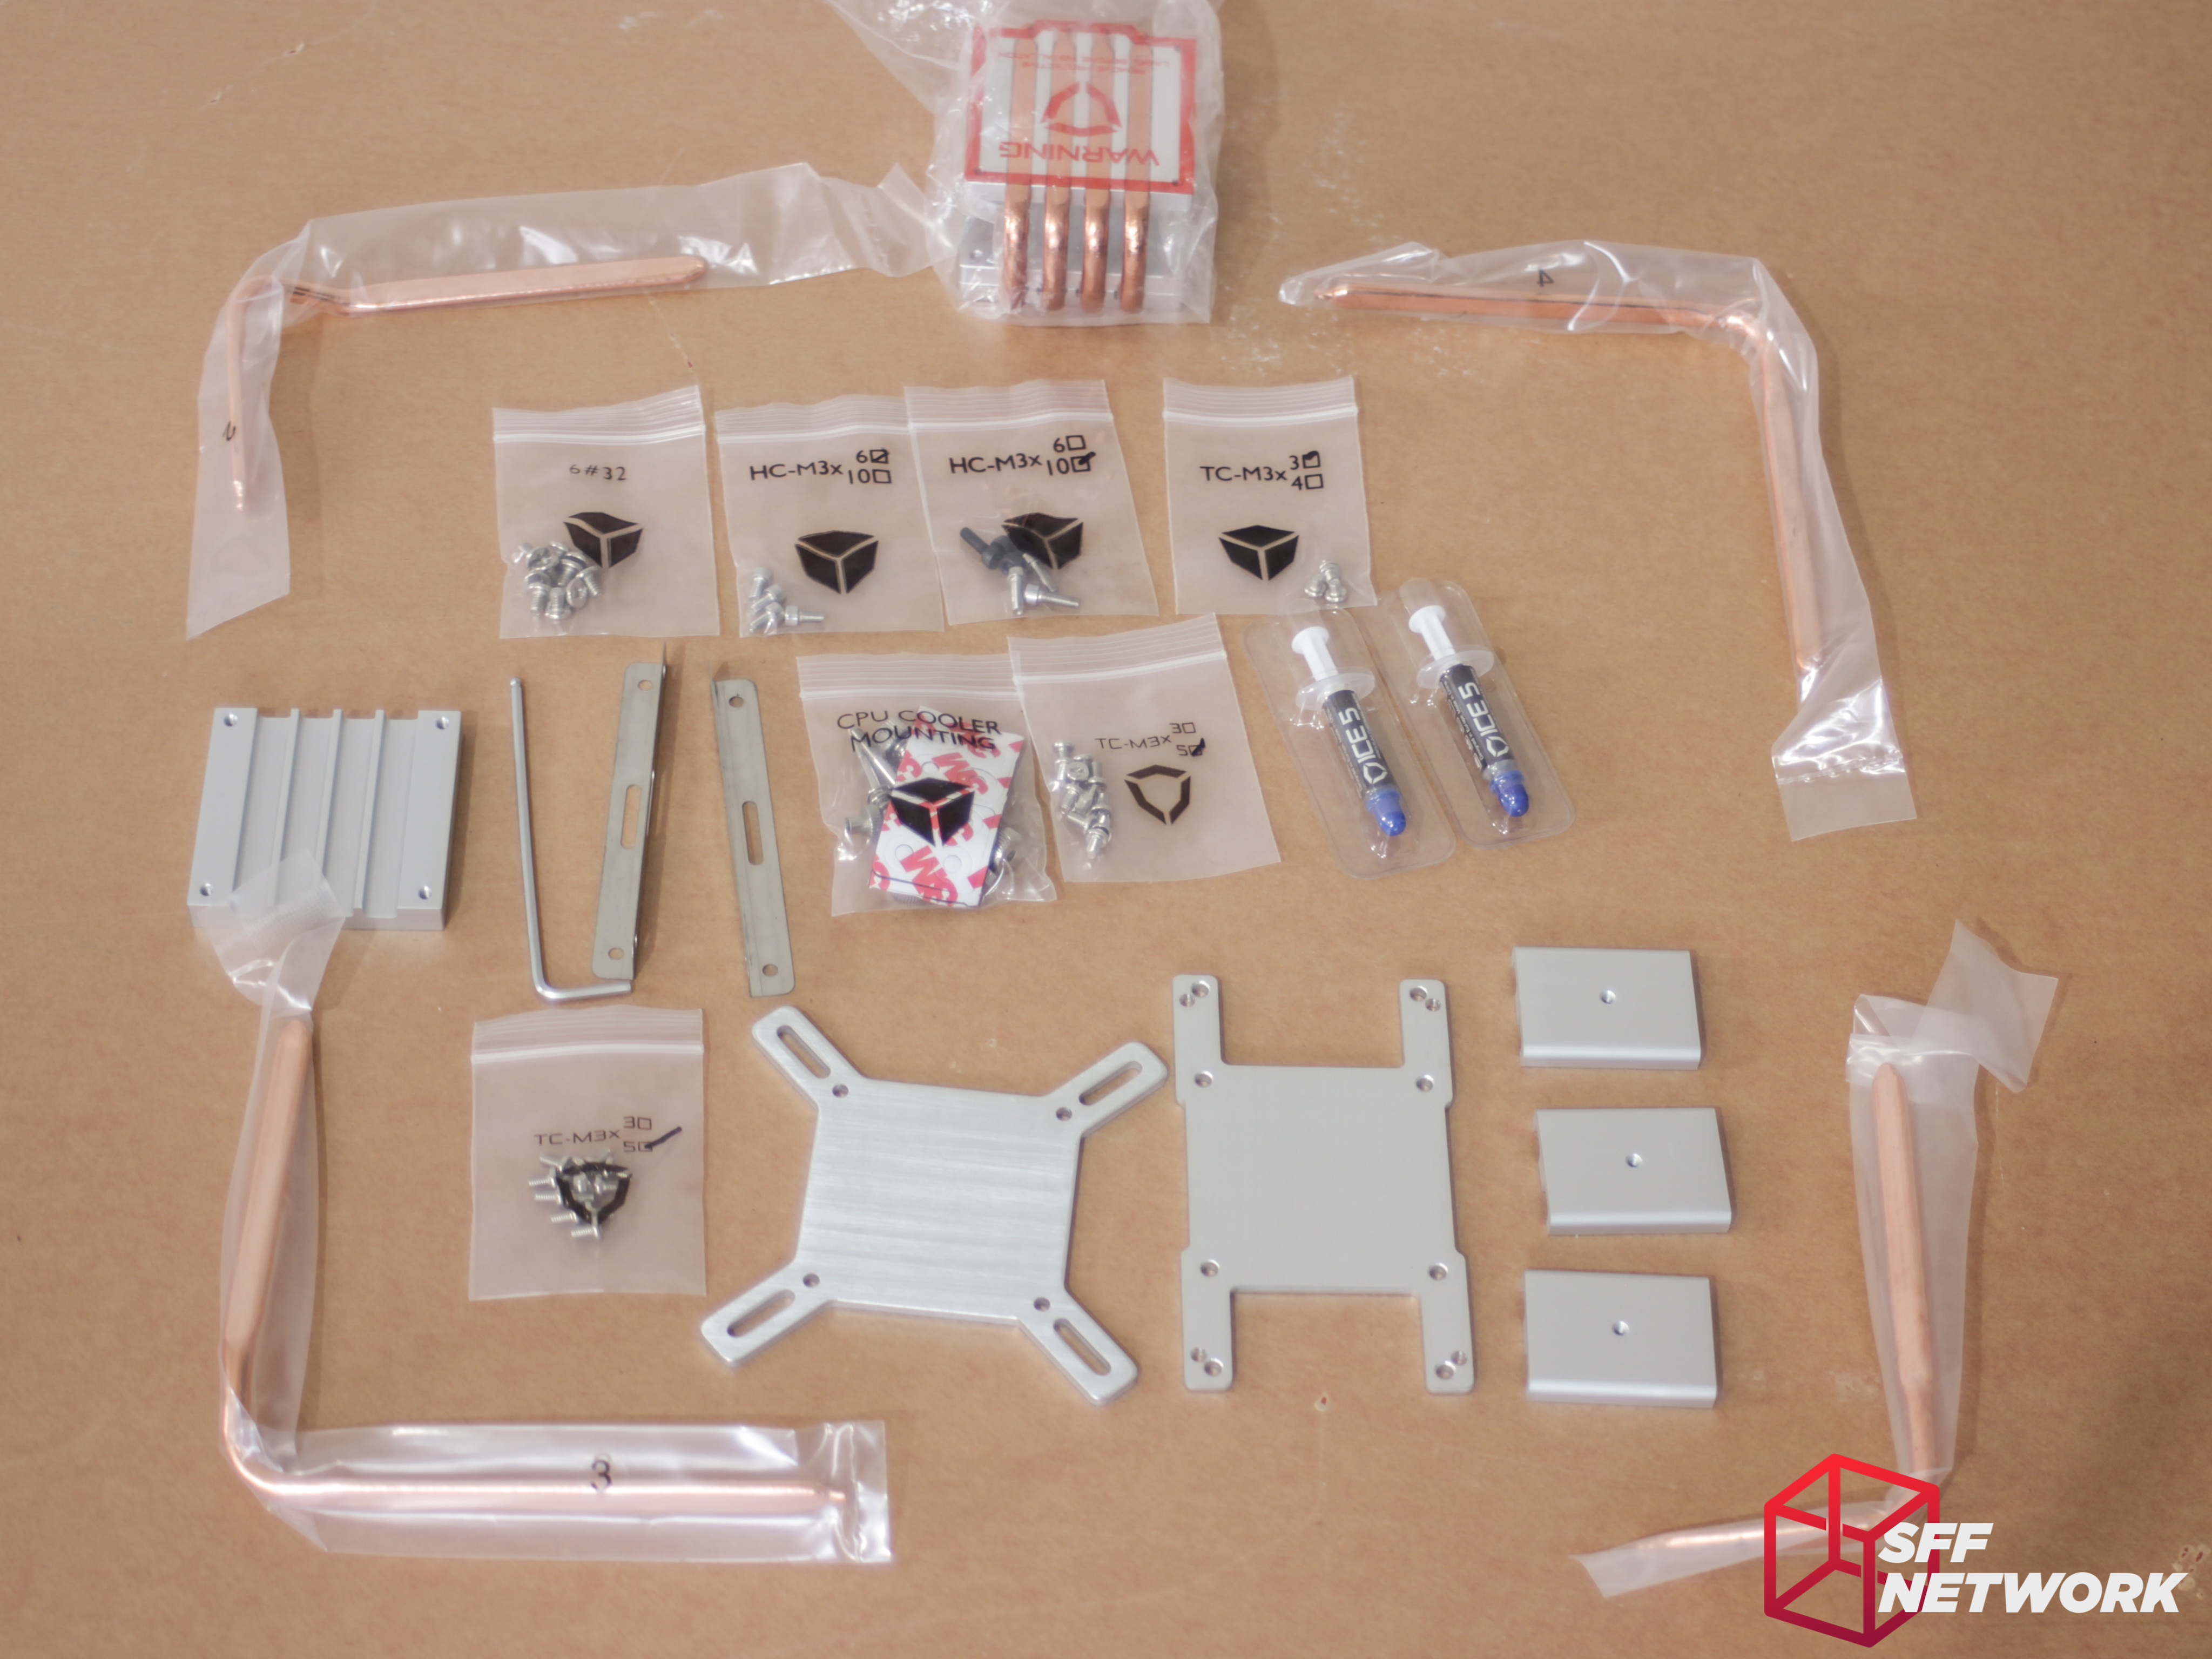
So many parts! All of these parts will make sense as you begin to build in this case. Surrounding the parts, we have 4 heatpipes. Trust me when I say it’s rather odd handling bare heatpipes, ones that have never had heatsink fins attached. At the top is the riser again, which is not included in the standard loudout. Sitting in the heatpipe square are various baggies of screws, two tubes of thermal paste (you will need this much!), CPU cooler mounting accessories, such as sticky pads, retention brackets, heatpipe mounting brackets, SSD mounting brackets, and handily, a hex wrench.
[mks_separator style=”blank” height=”2″]
The Case
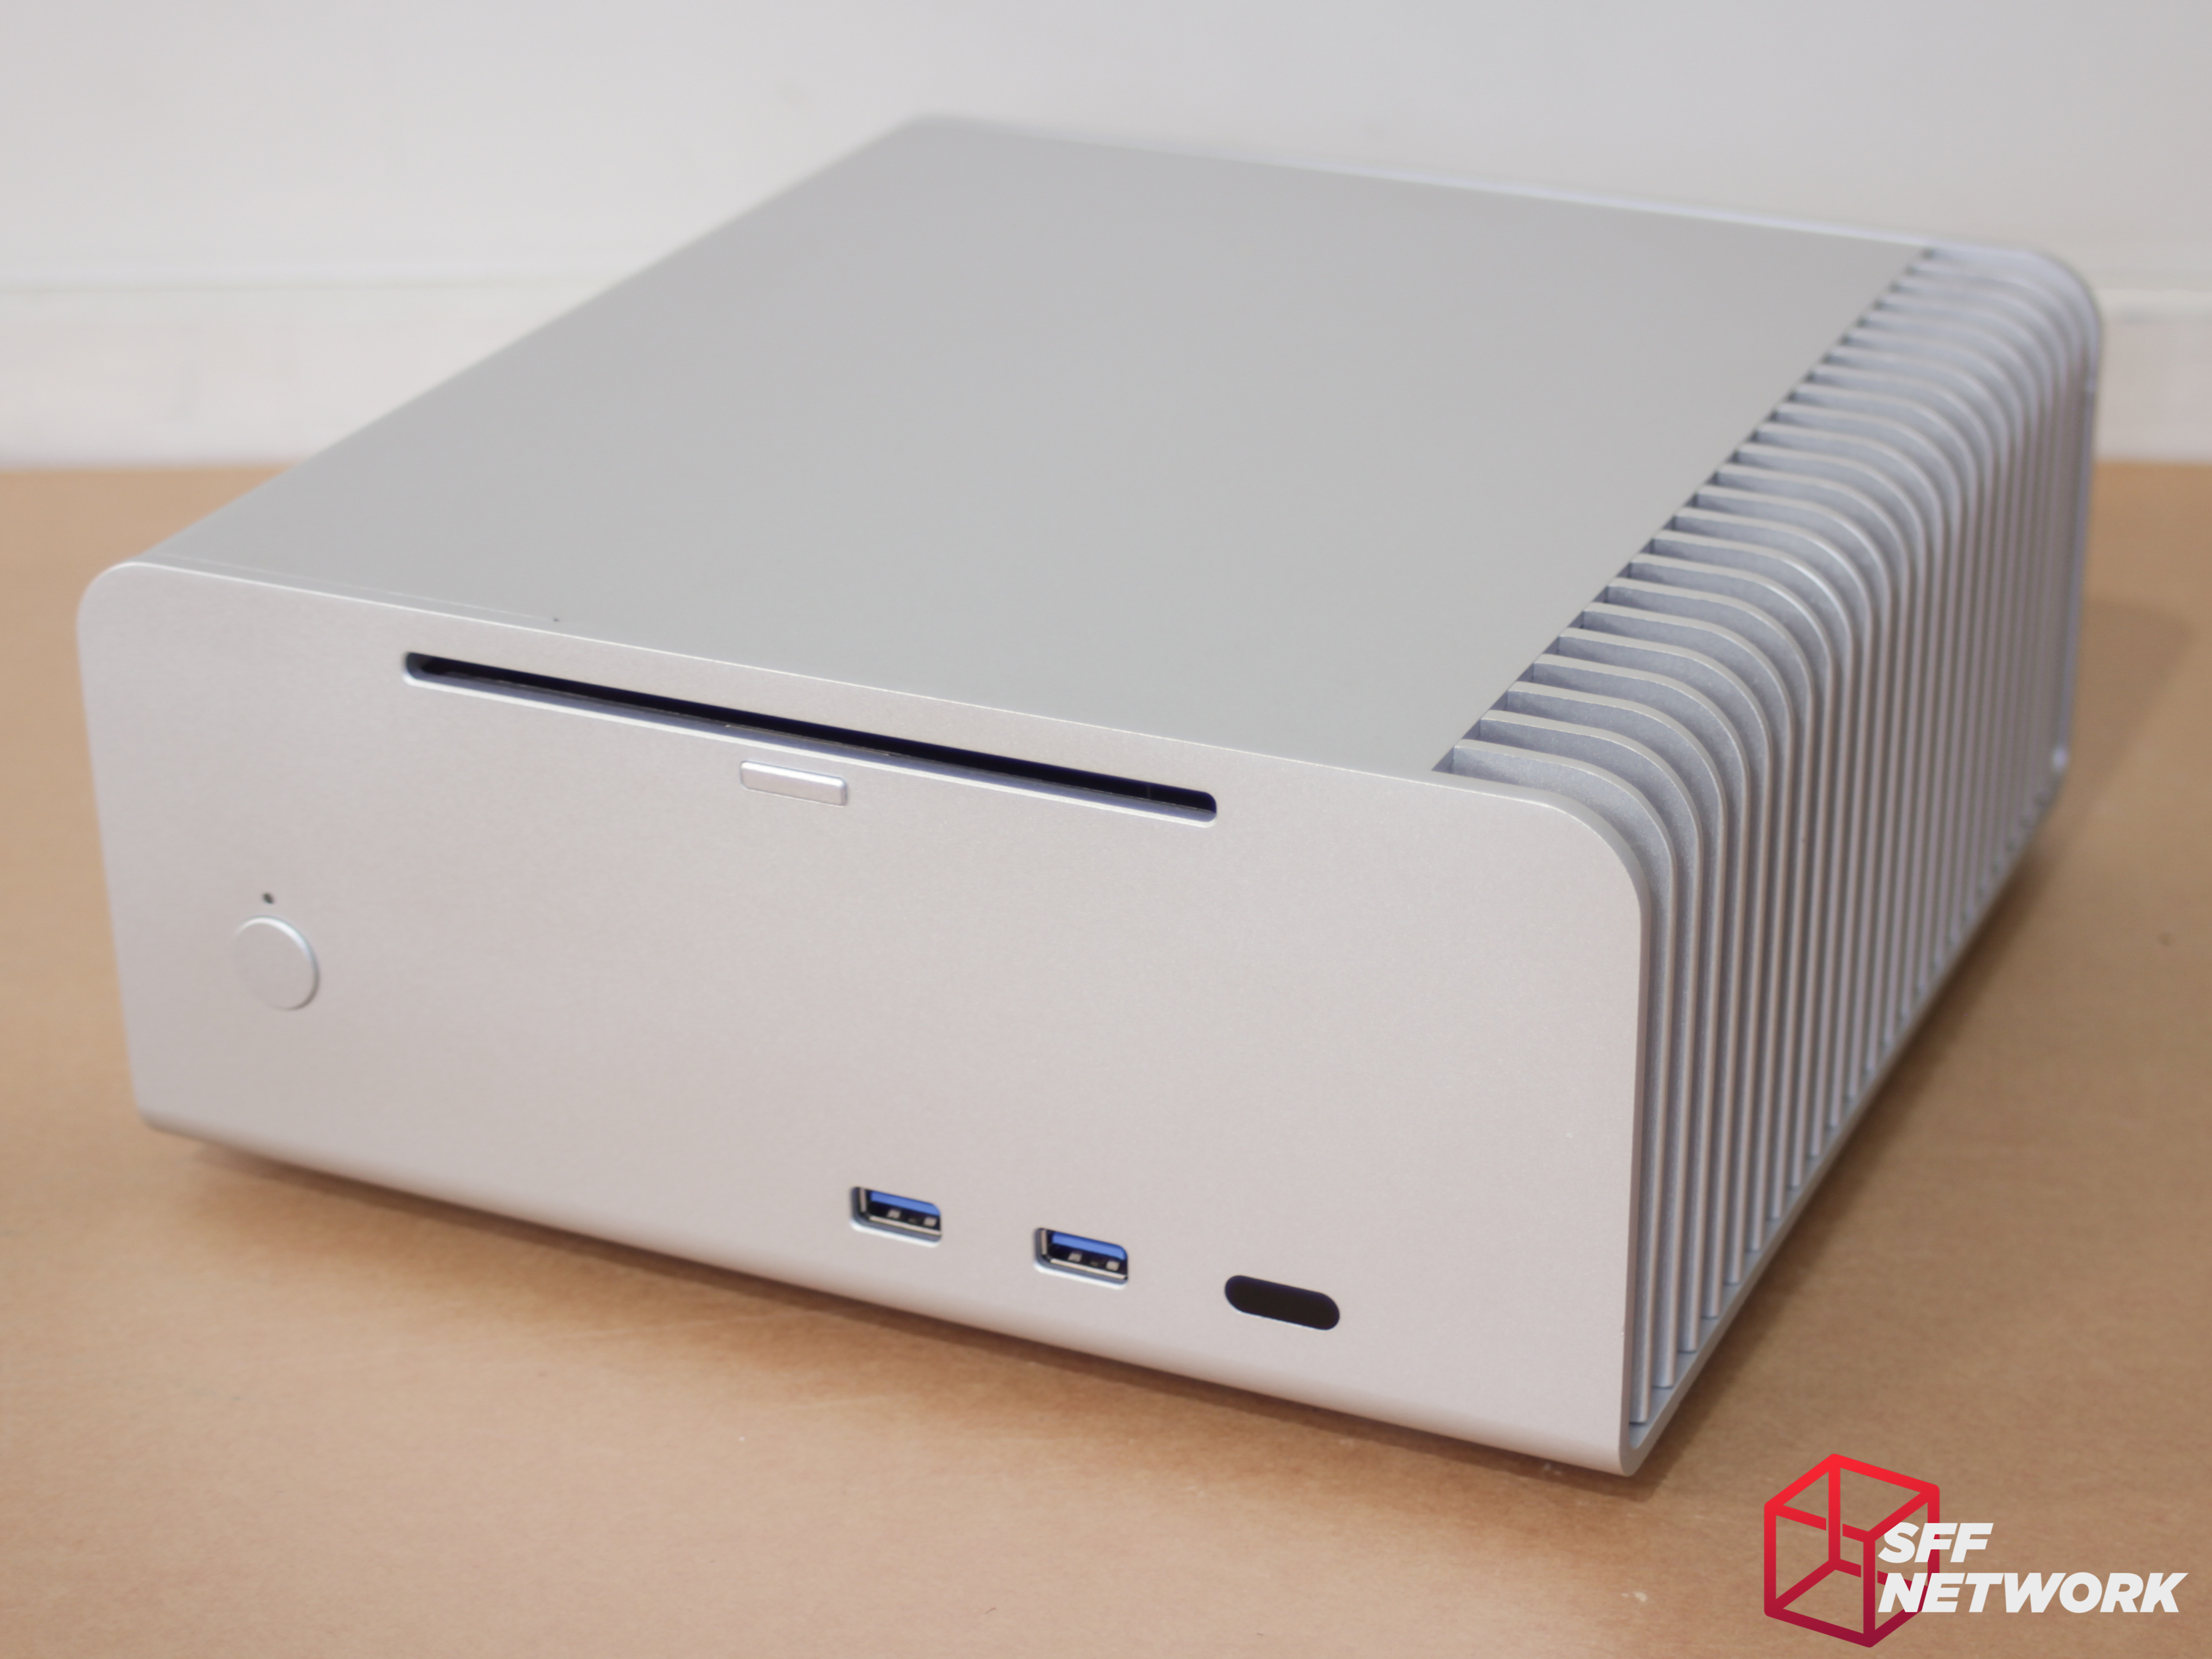
Our first look in person of the Streacom FC8 Alpha ODD. The ODD moniker is pretty self explanatory – the case features a slot on the front fascia for a slot-load optical drive – making this an ideal chassis for a silent HTPC solution. The chassis we are testing is anodised in silver, protecting the aluminium from corrosion and minor damage. Also featuring here is a pair of USB 3 ports and a spot for an IR receiver, although in the configuration we received, this area was not populated.
The design of the FC8 Alpha is one of subtlety, with a bare minimum of focus on the cooling area, and a simple front fascia layout. With today’s prevalence of flashiness, RGB and tempered glass, the design here is a refreshing breathe of fresh air.
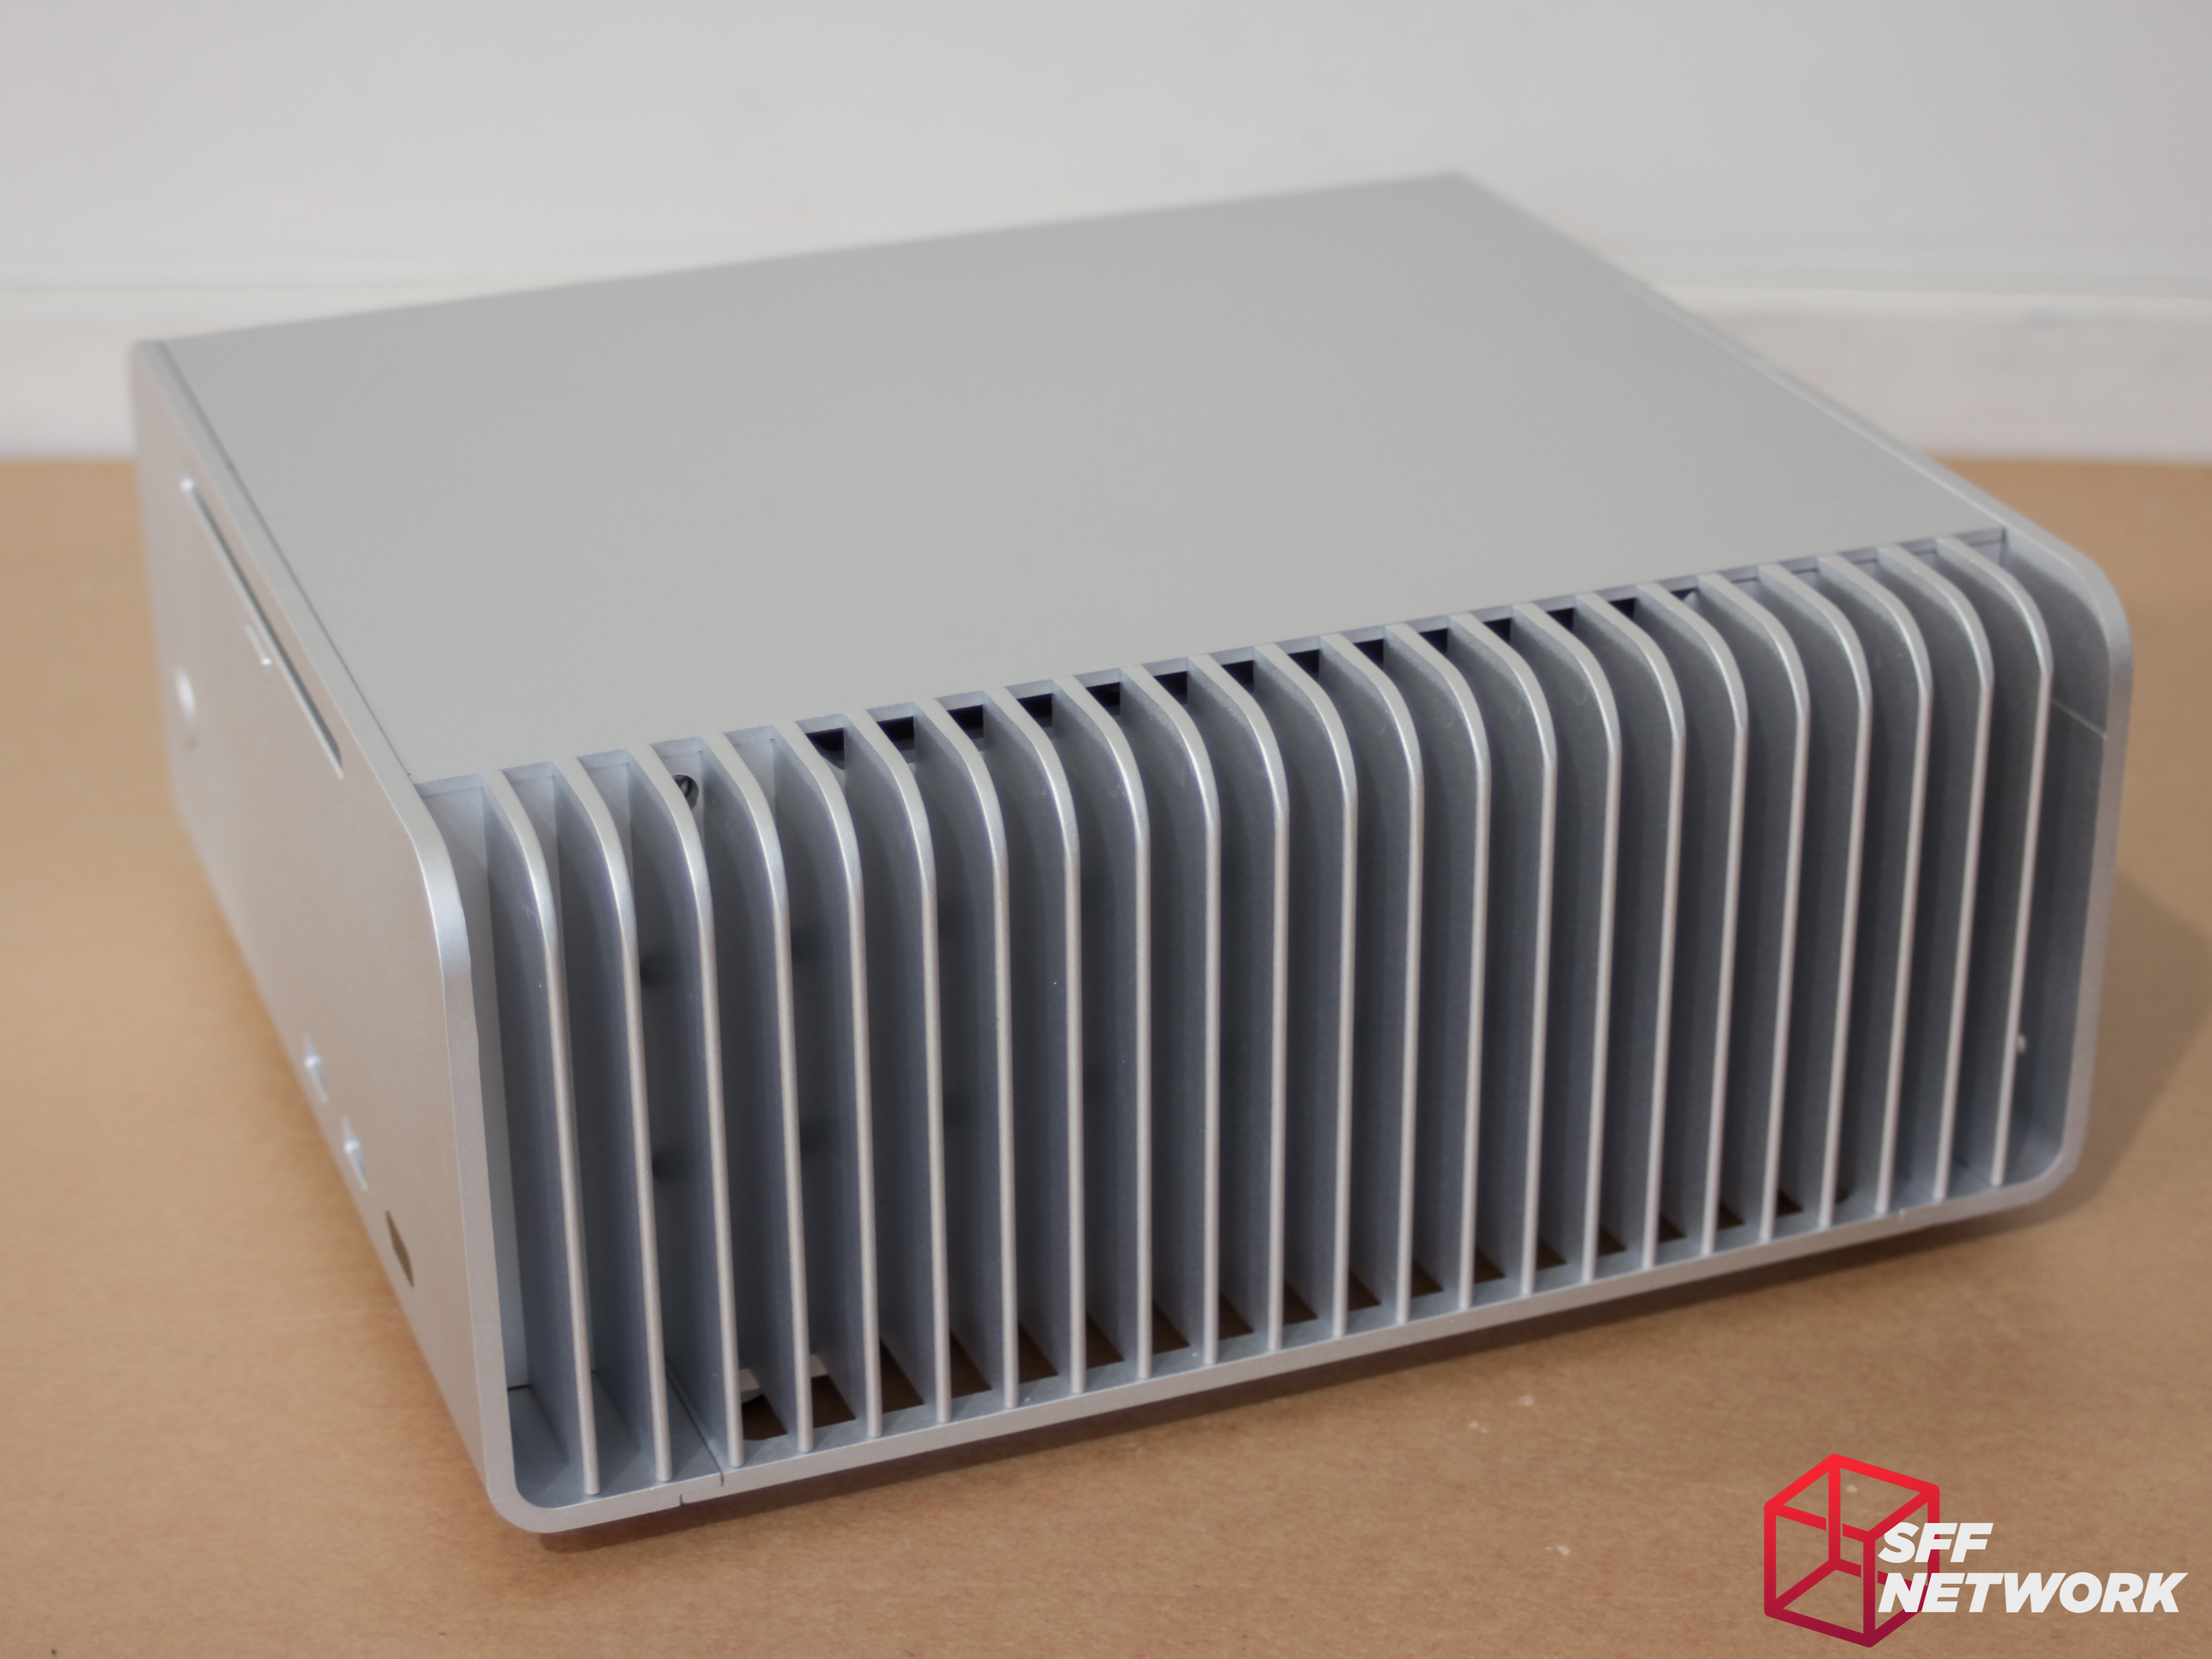
From this angle, the major selling point of the Streacom FC8 Alpha is evident – the massive stack of fins to the right hand side, which are to be connected to your CPU via heatpipes and other included accessories. These fins measure 2.7-2.9 mm at the root, and just before the fins round off, they measure 2.2-2.3 mm thick. At 96 mm long and 31 mm long, they offer a cooling surface of around 63 cm² each. Including the plate they are extruded with, we are looking at approximately 1600 cm² of directly attached cooling. Via surfaces mounted against each other, though, the entire surface of the chassis could be considered a heatsink, and I really don’t feel like measuring and calculating all of that!
Hiding underneath the stack of fins, a hole is CNC milled out of the bottom case panel, adding an area that allows airflow to rise past the heatsink portion from what would otherwise be a blocked section.
Barely visible behind the fins are the 22 holes allowing flexible mounting of the internal CPU cooling heatpipes, meaning that a large proportion of boards on the market will work successfully in this case. However, Streacom does have an excellent guide to compatibility on their website, so it may pay to check there before buying a board for this case, or this case for your board.
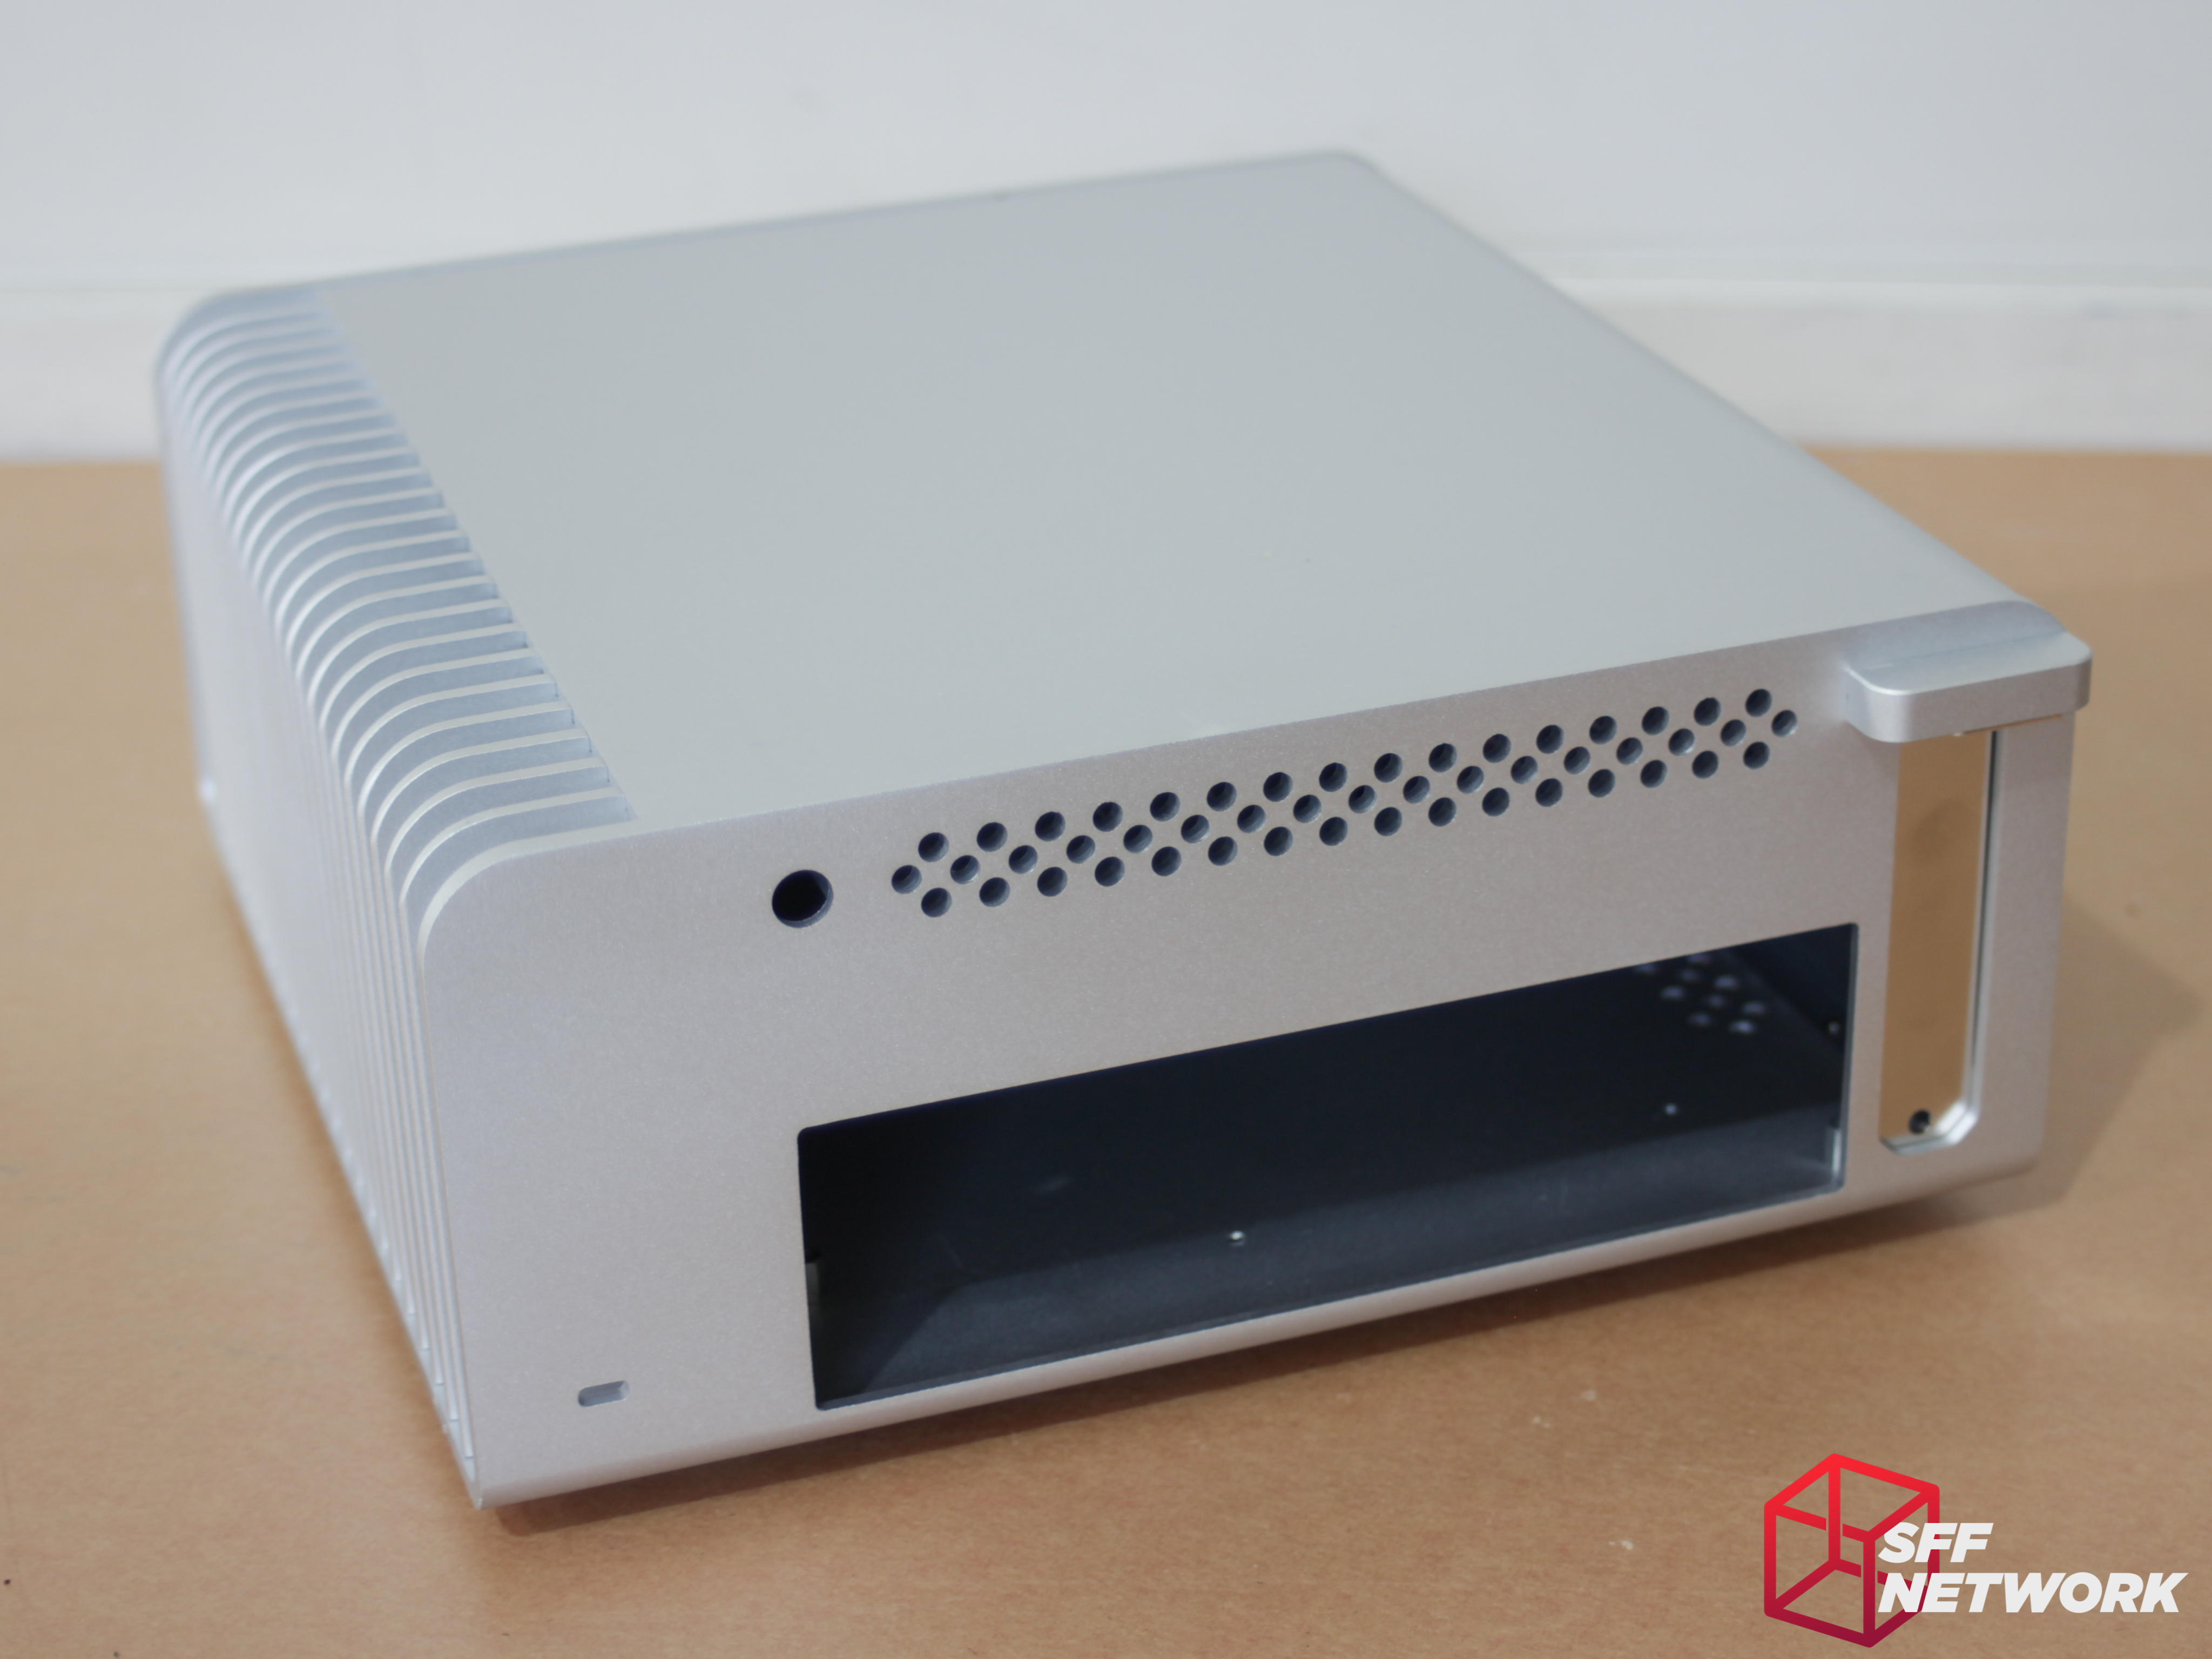
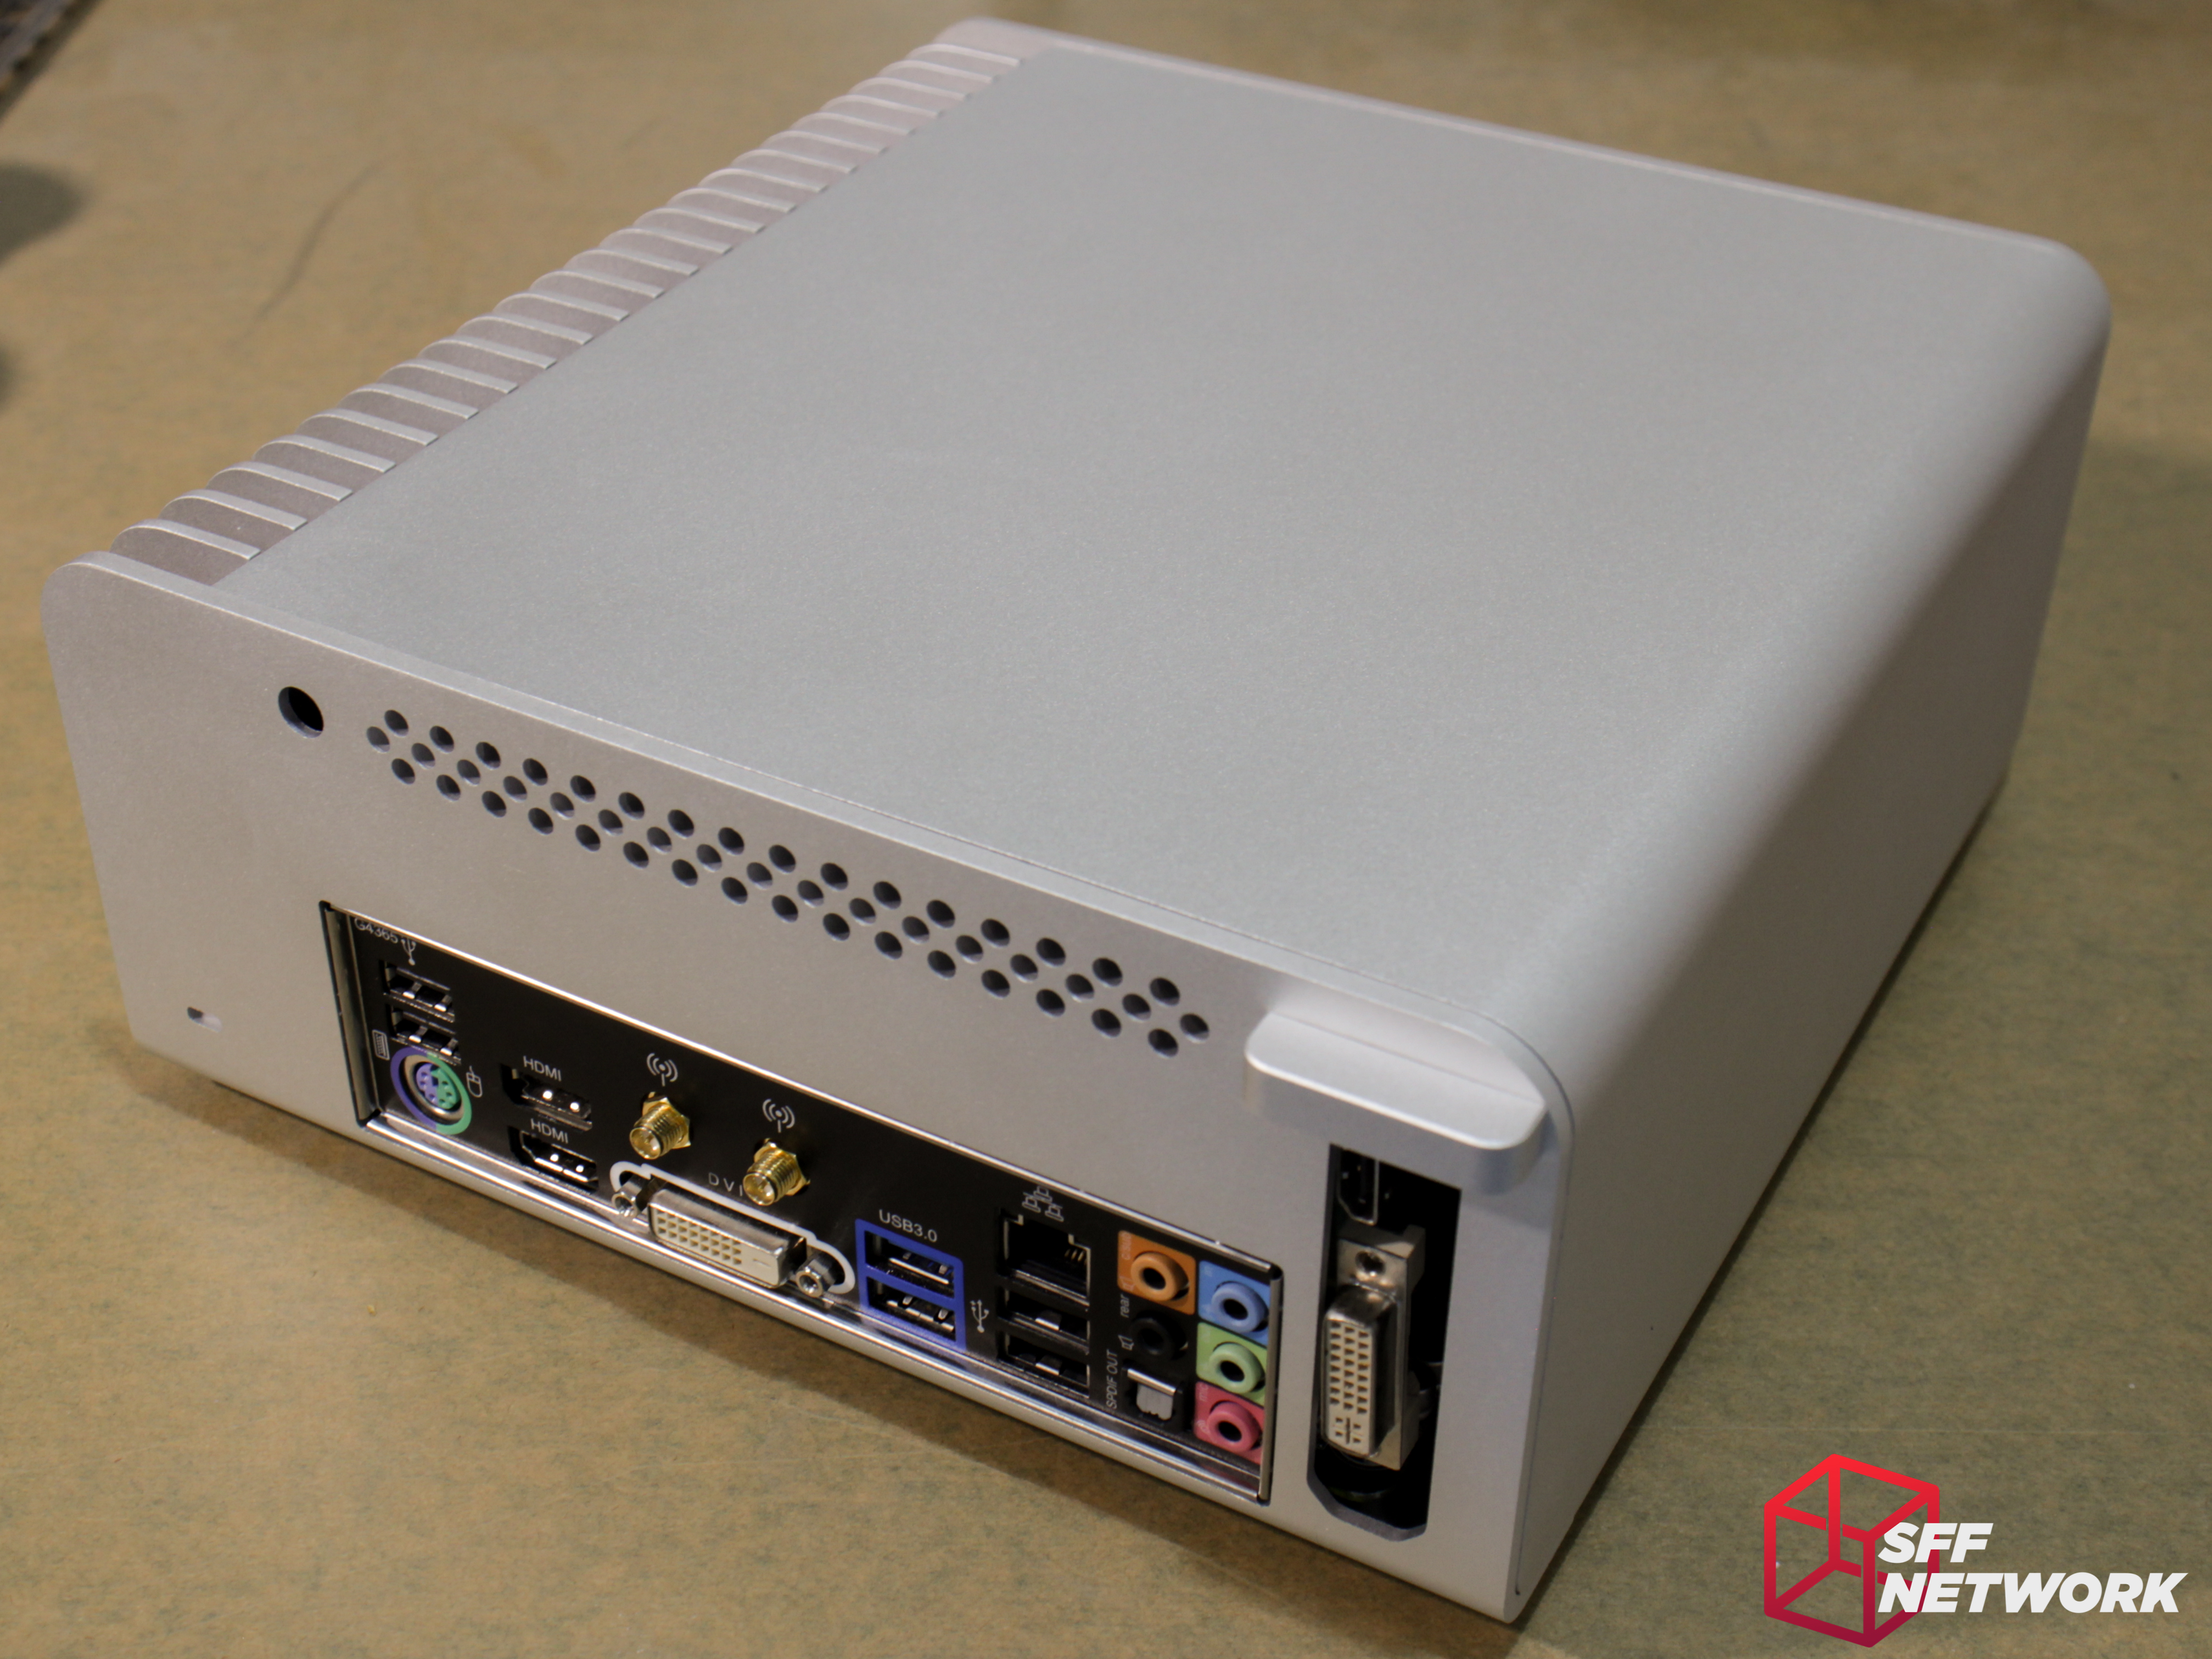
Around the back, the subtle, clean design continues. A low profile, single slot expansion slot is present, next to the simple cutout for the rear I/O shield. This area sits under a few 4.1 mm ventilation holes, and the 8.25 mm hole for the external DC input jack. Yes, this case requires (without any modding) an external AC-DC power supply, and an internal DC-DC power supply. This does help keep the internal heat load down to a minimum. The design decision also ensures that no fans are added, and the size of the FC8 Alpha doesn’t balloon with the bulk of a full power supply inside.
Hiding at the bottom left is a Kensington style slot for an equipment lock, for those higher-trafficked spaces such as recording studios or other sound-sensitive locations at which there is a risk of equipment being “borrowed”.
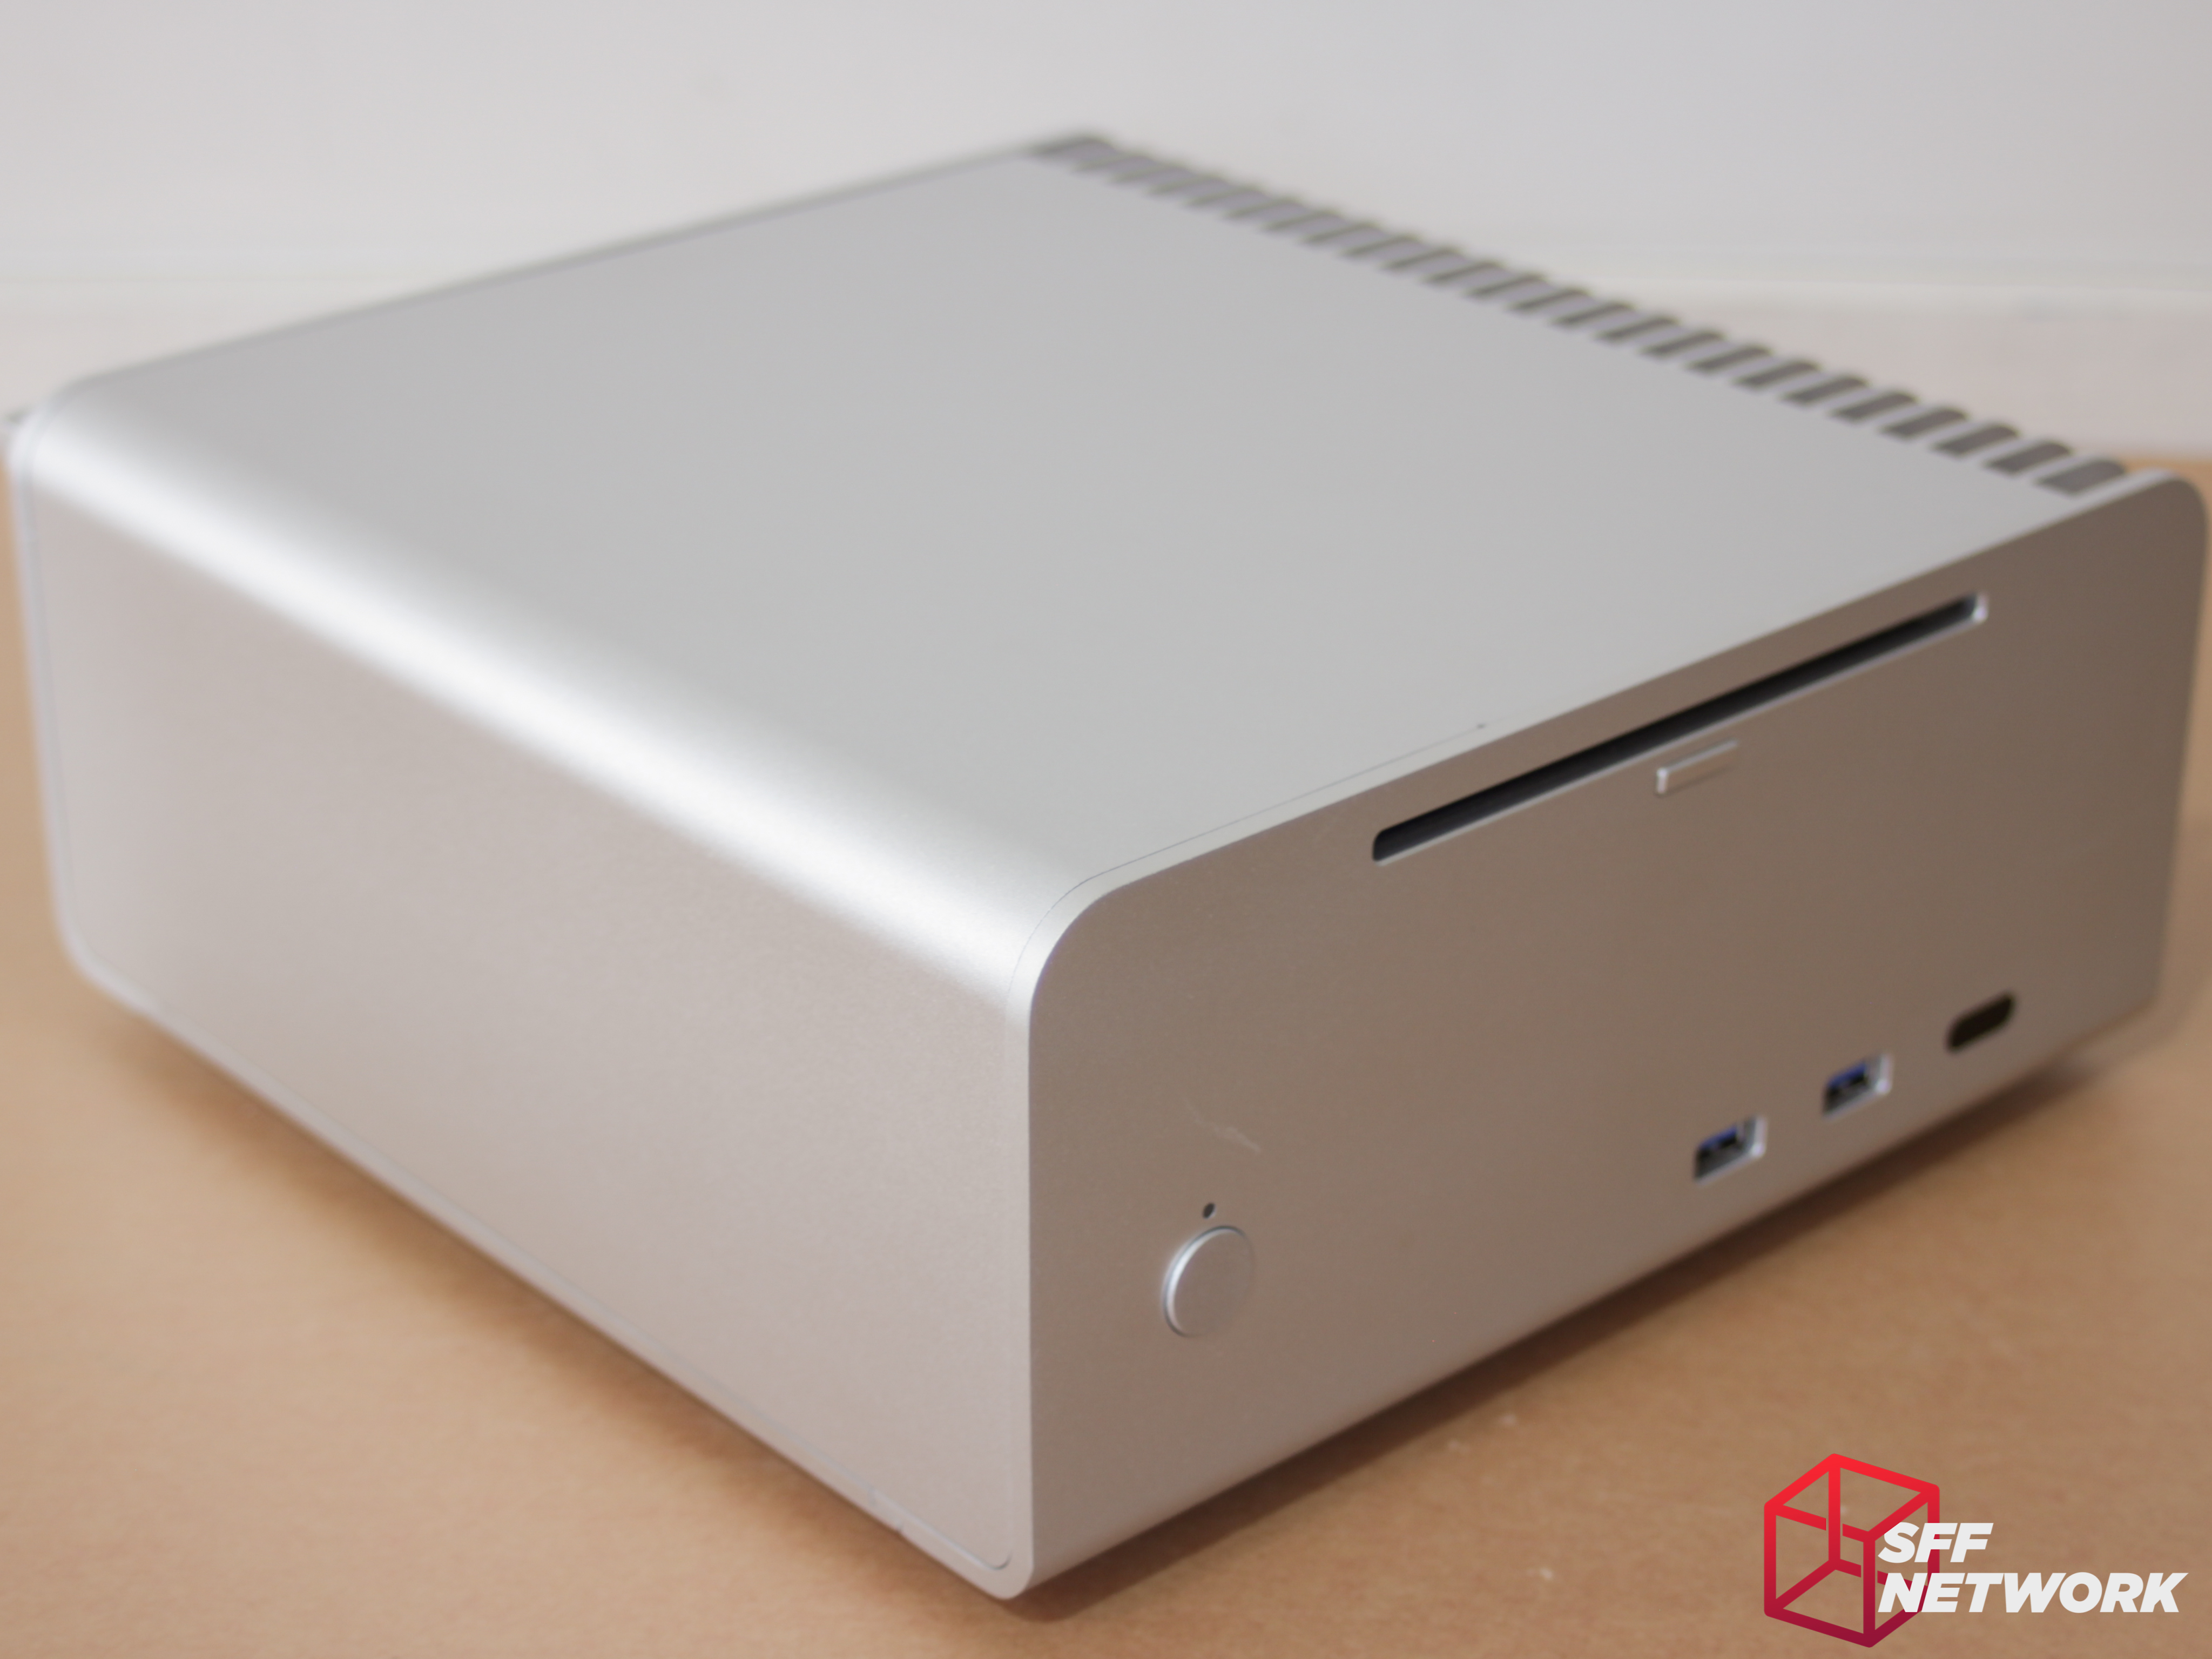
The fit and finish of the FC8 Alpha is top-notch, with panel gaps being consistent, surface finish looking the same across the entire chassis, and no dangerously sharp edges to be found. Pressing the power button, you are met with a solid click, which seems to be a product mostly of the design and implementation of the button fascia, as the button component itself appears to be a generic tactile switch, mounted on a small PCB.
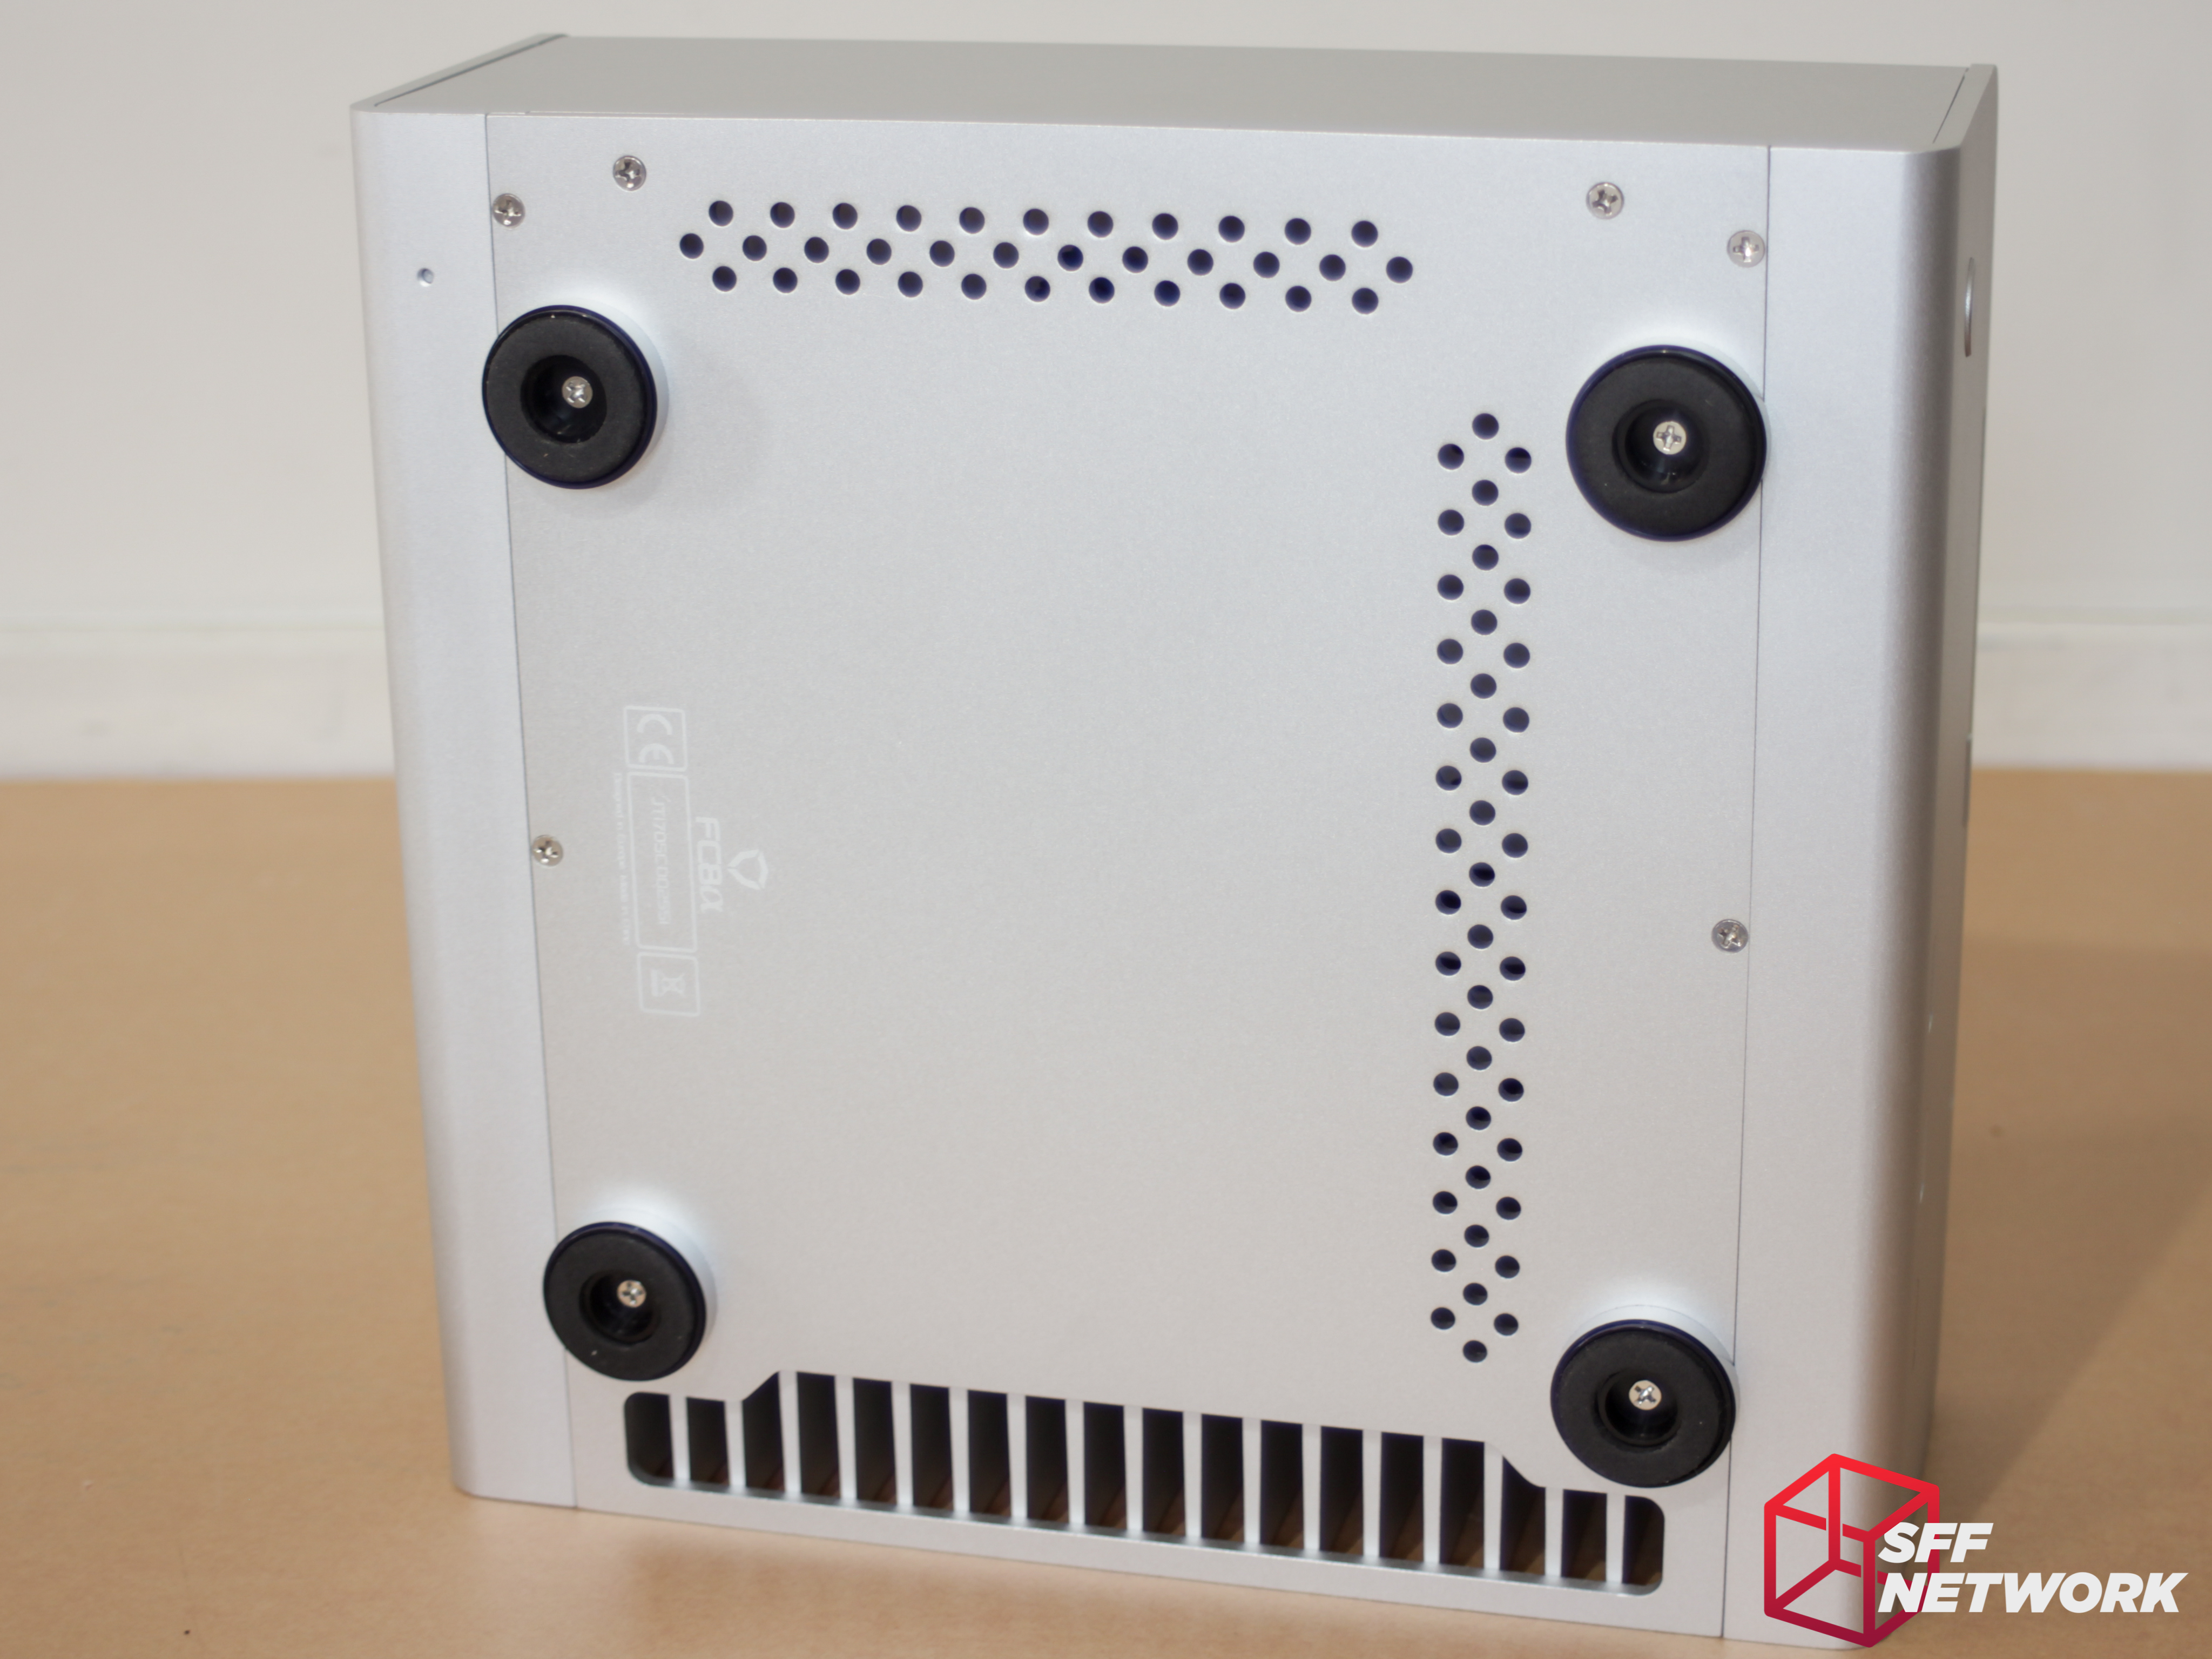
Underneath the chassis, the construction technique becomes more apparent, with the front and back components being made of extruded aluminium, which is then CNC milled to the desired form. The base panel appears to be a flat sheet of aluminium, 3.9 mm thick. This part is also run through a CNC machine, with mounting holes, ventilation and mounting flanges drilled and milled into the panel. The holes here are 3.9 mm, smaller than the ones on the rear panel.
Measuring 180 mm by 25 mm (albeit reduced to 17.8 mm near the feet), the hole under the fin stack aids in convection cooling the system. Held in by countersunk M3 screws, the plastic and foam case feet are the only part of the chassis exterior that I feel was overlooked – with so much effort put into the design of the case, the implementation of a set of 50 cent (and even cheaper in bulk) case feet just seems a little.. lacking.
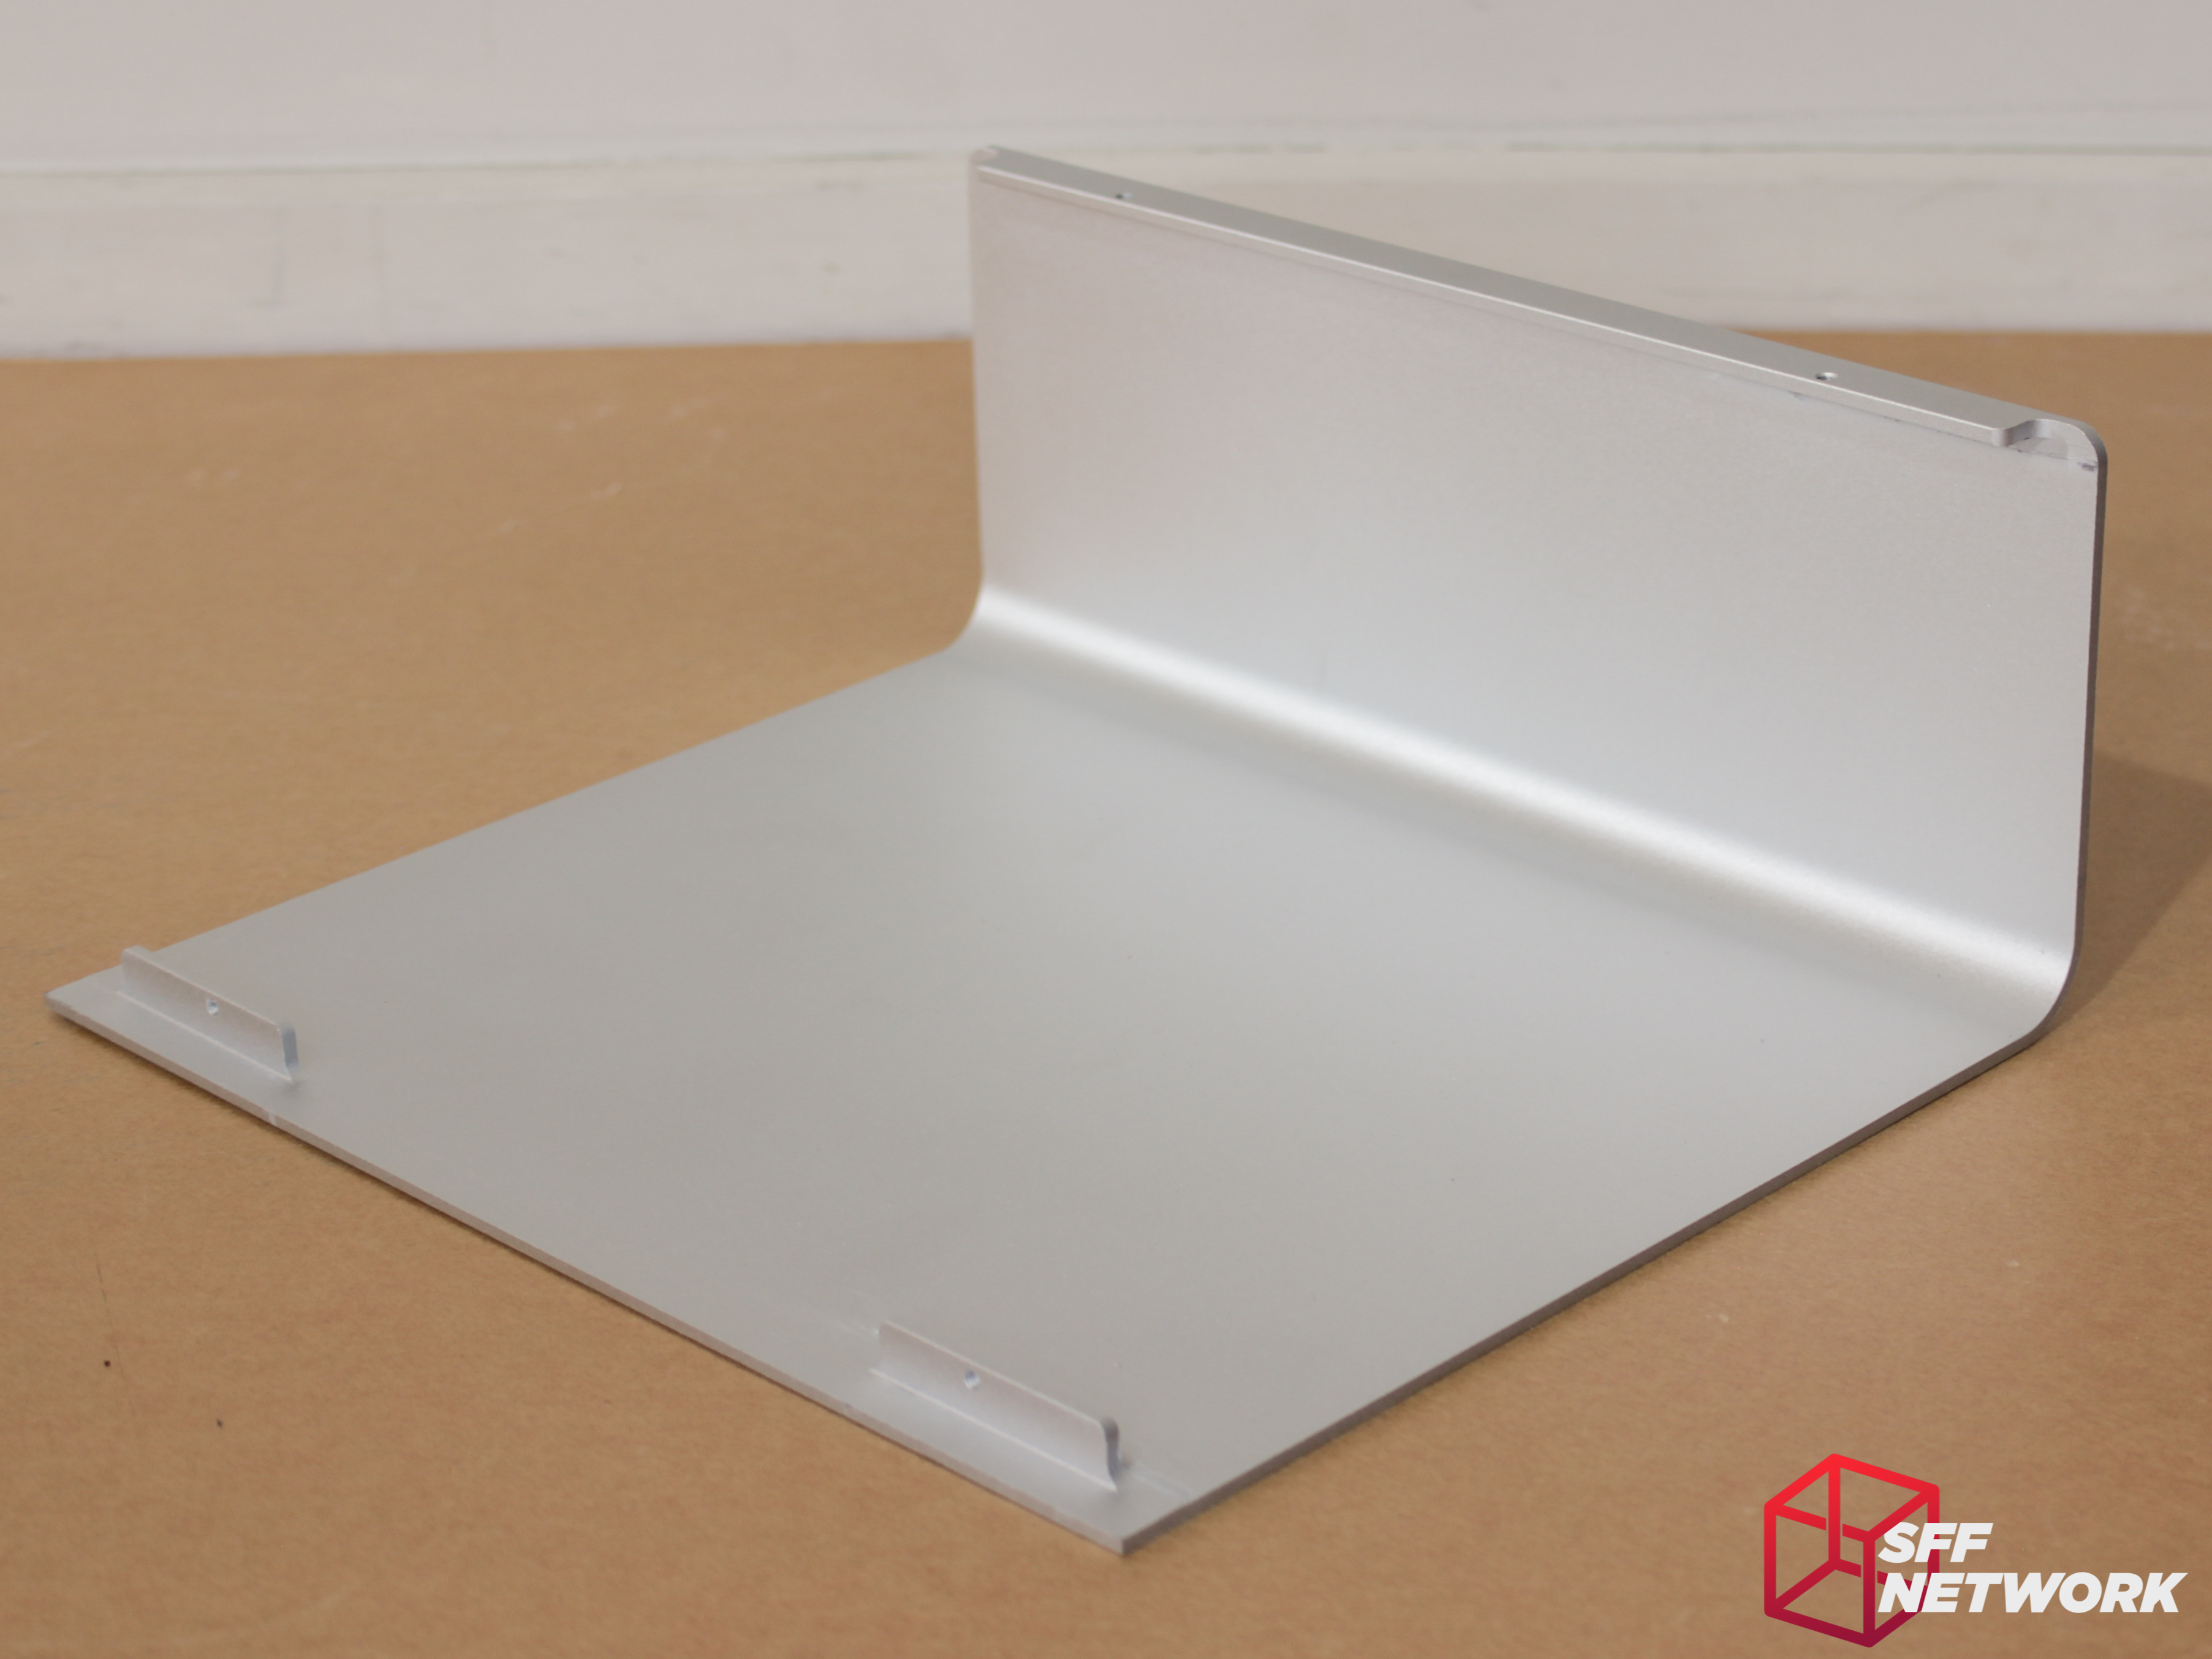
The largest extrusion in the FC8 Alpha is easily the top and side panel, which is extruded as a single 2.4-2.6 mm piece, with two areas extended for the addition of mounting flanges for the panel. These flanges are robust 2.6-2.9 mm affairs, with M3 threaded holes for the securement of this panel to the main chassis. Other than these features, this panel has no other features – no windows, vents or other unnecessary fittings.
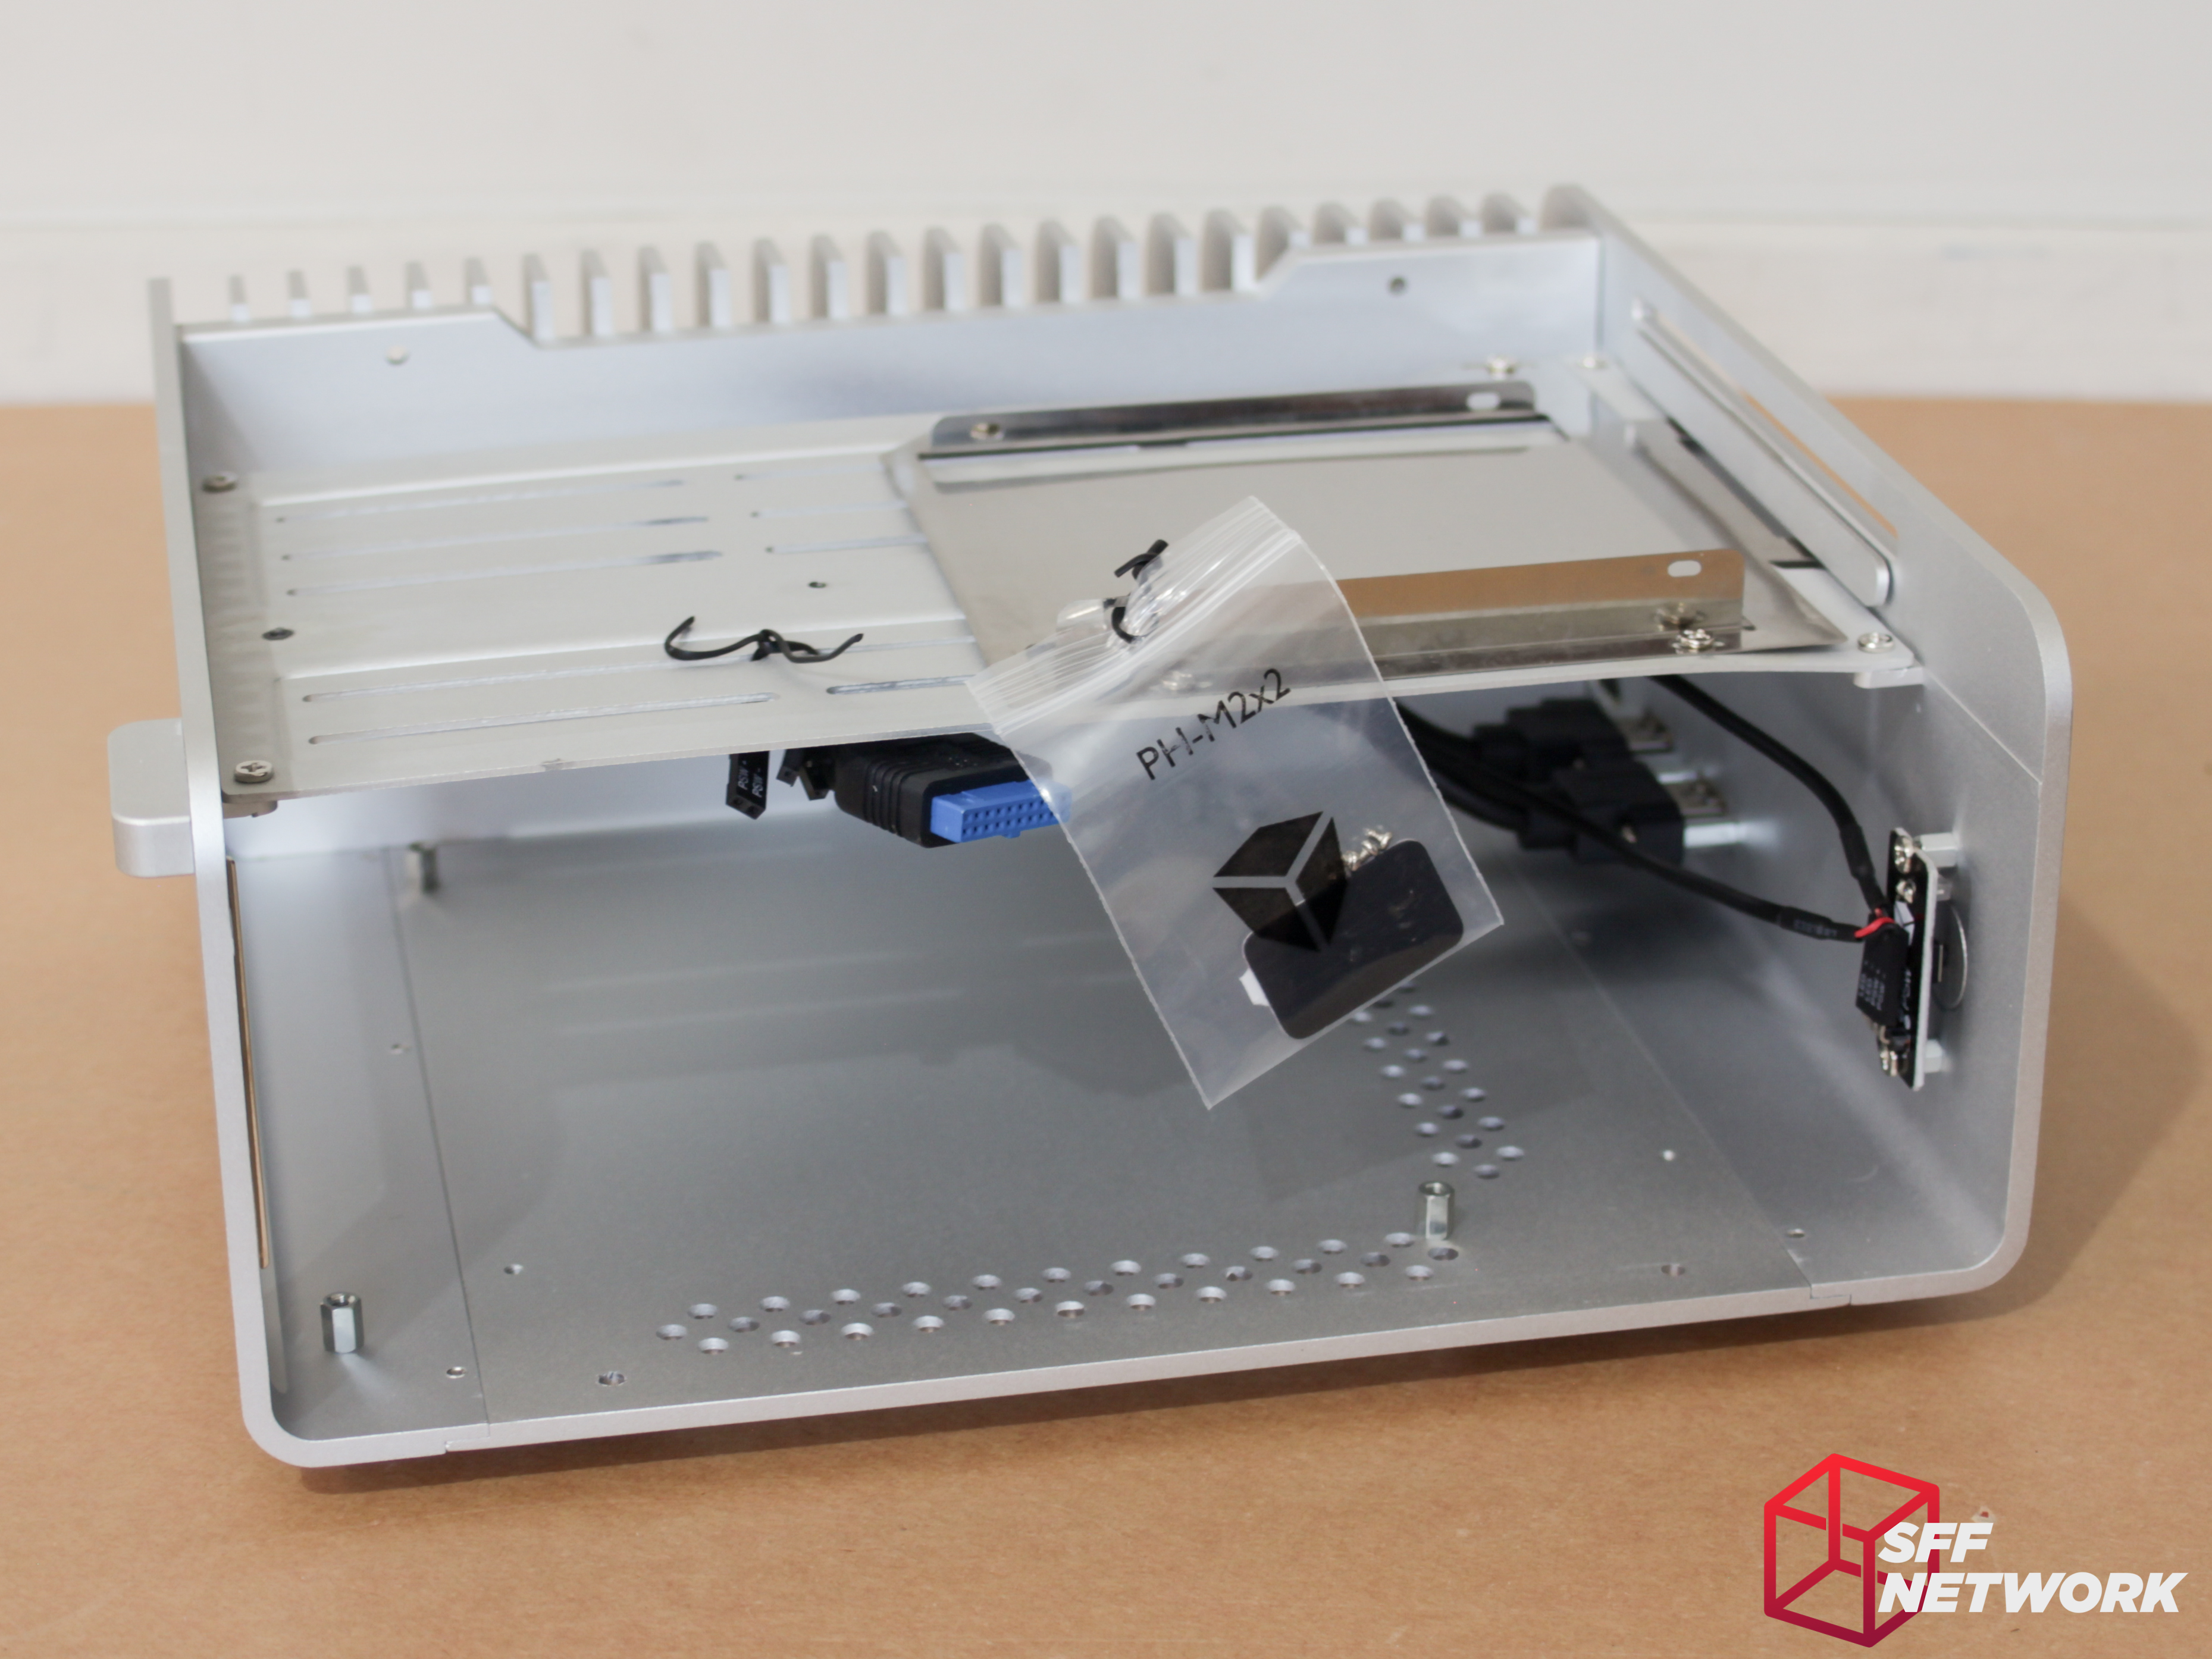
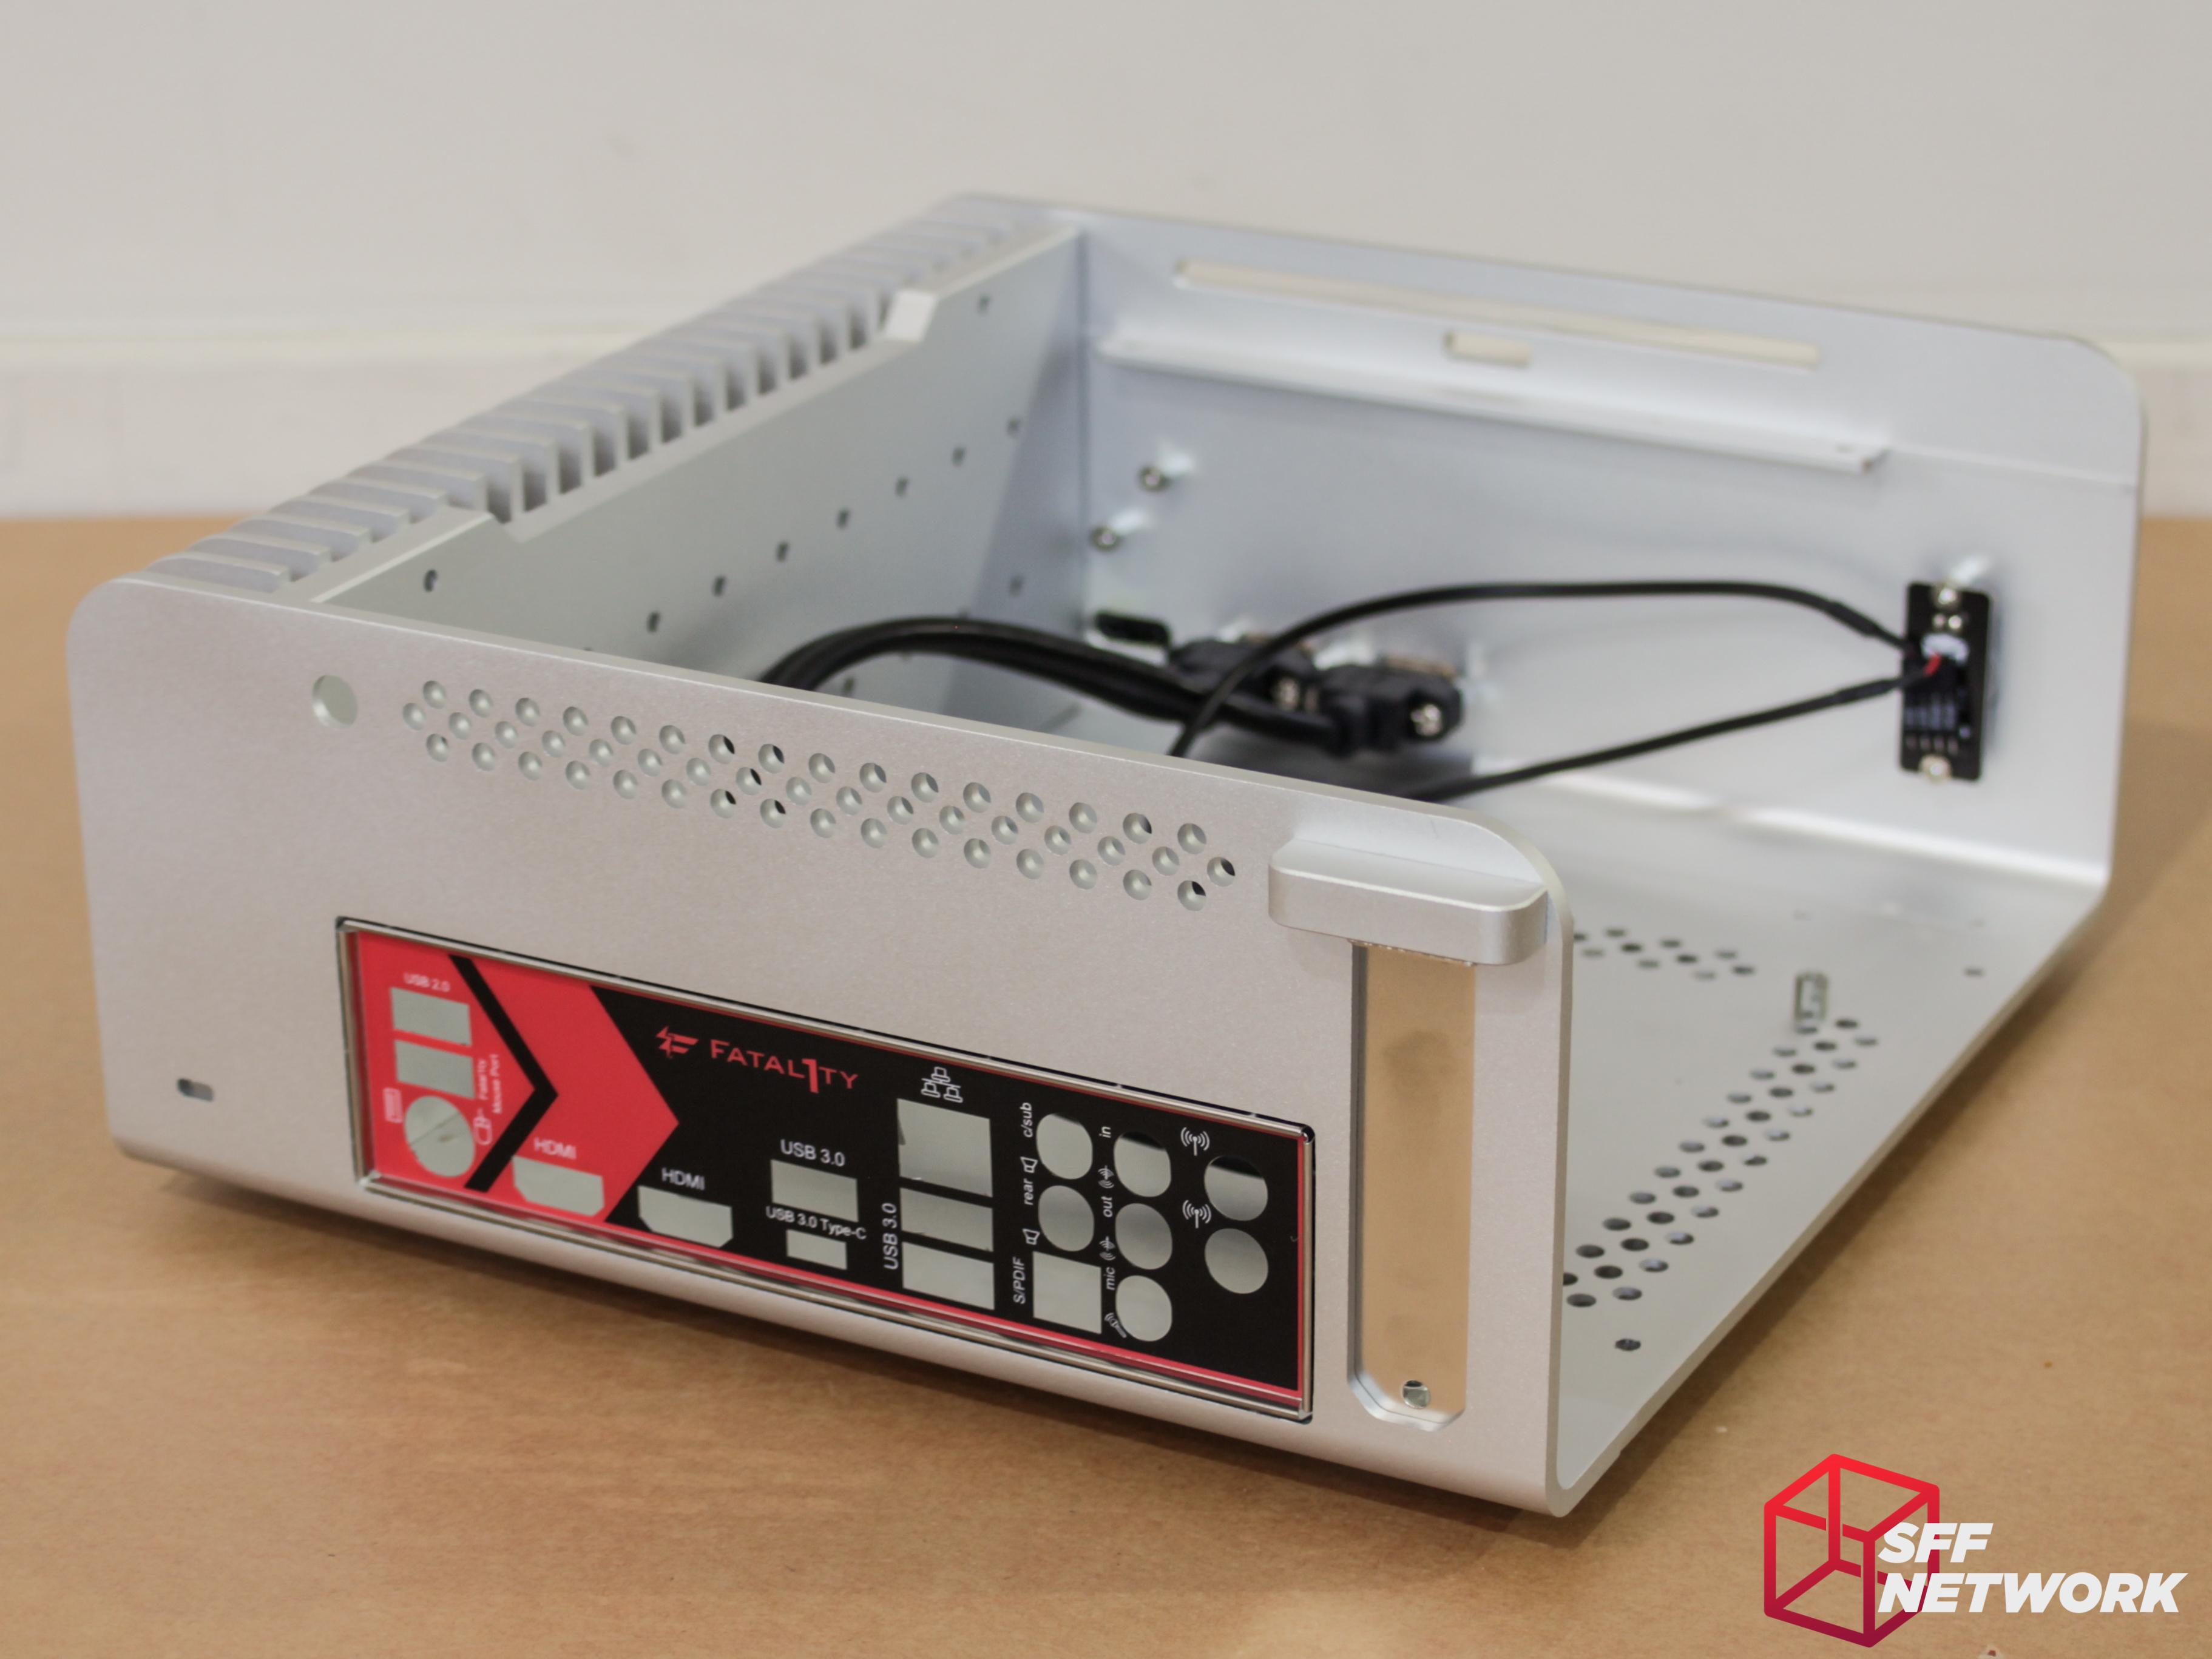
And here we go! (apologies to The Hydraulic Press Channel) Inside the Streacom FC8, we are welcomed with much the same build quality and design ethos of the exterior – simple, functional, and well built. Firstly, we see the drive mounting tray, held in with 4x M3 screws, which we will investigate further down this page. Other than that, we spot the pre-installed standoffs for the motherboard (always a pain when these aren’t installed in a case one pays good money for!), as well as the front panel I/O cabling, and power button PCB.
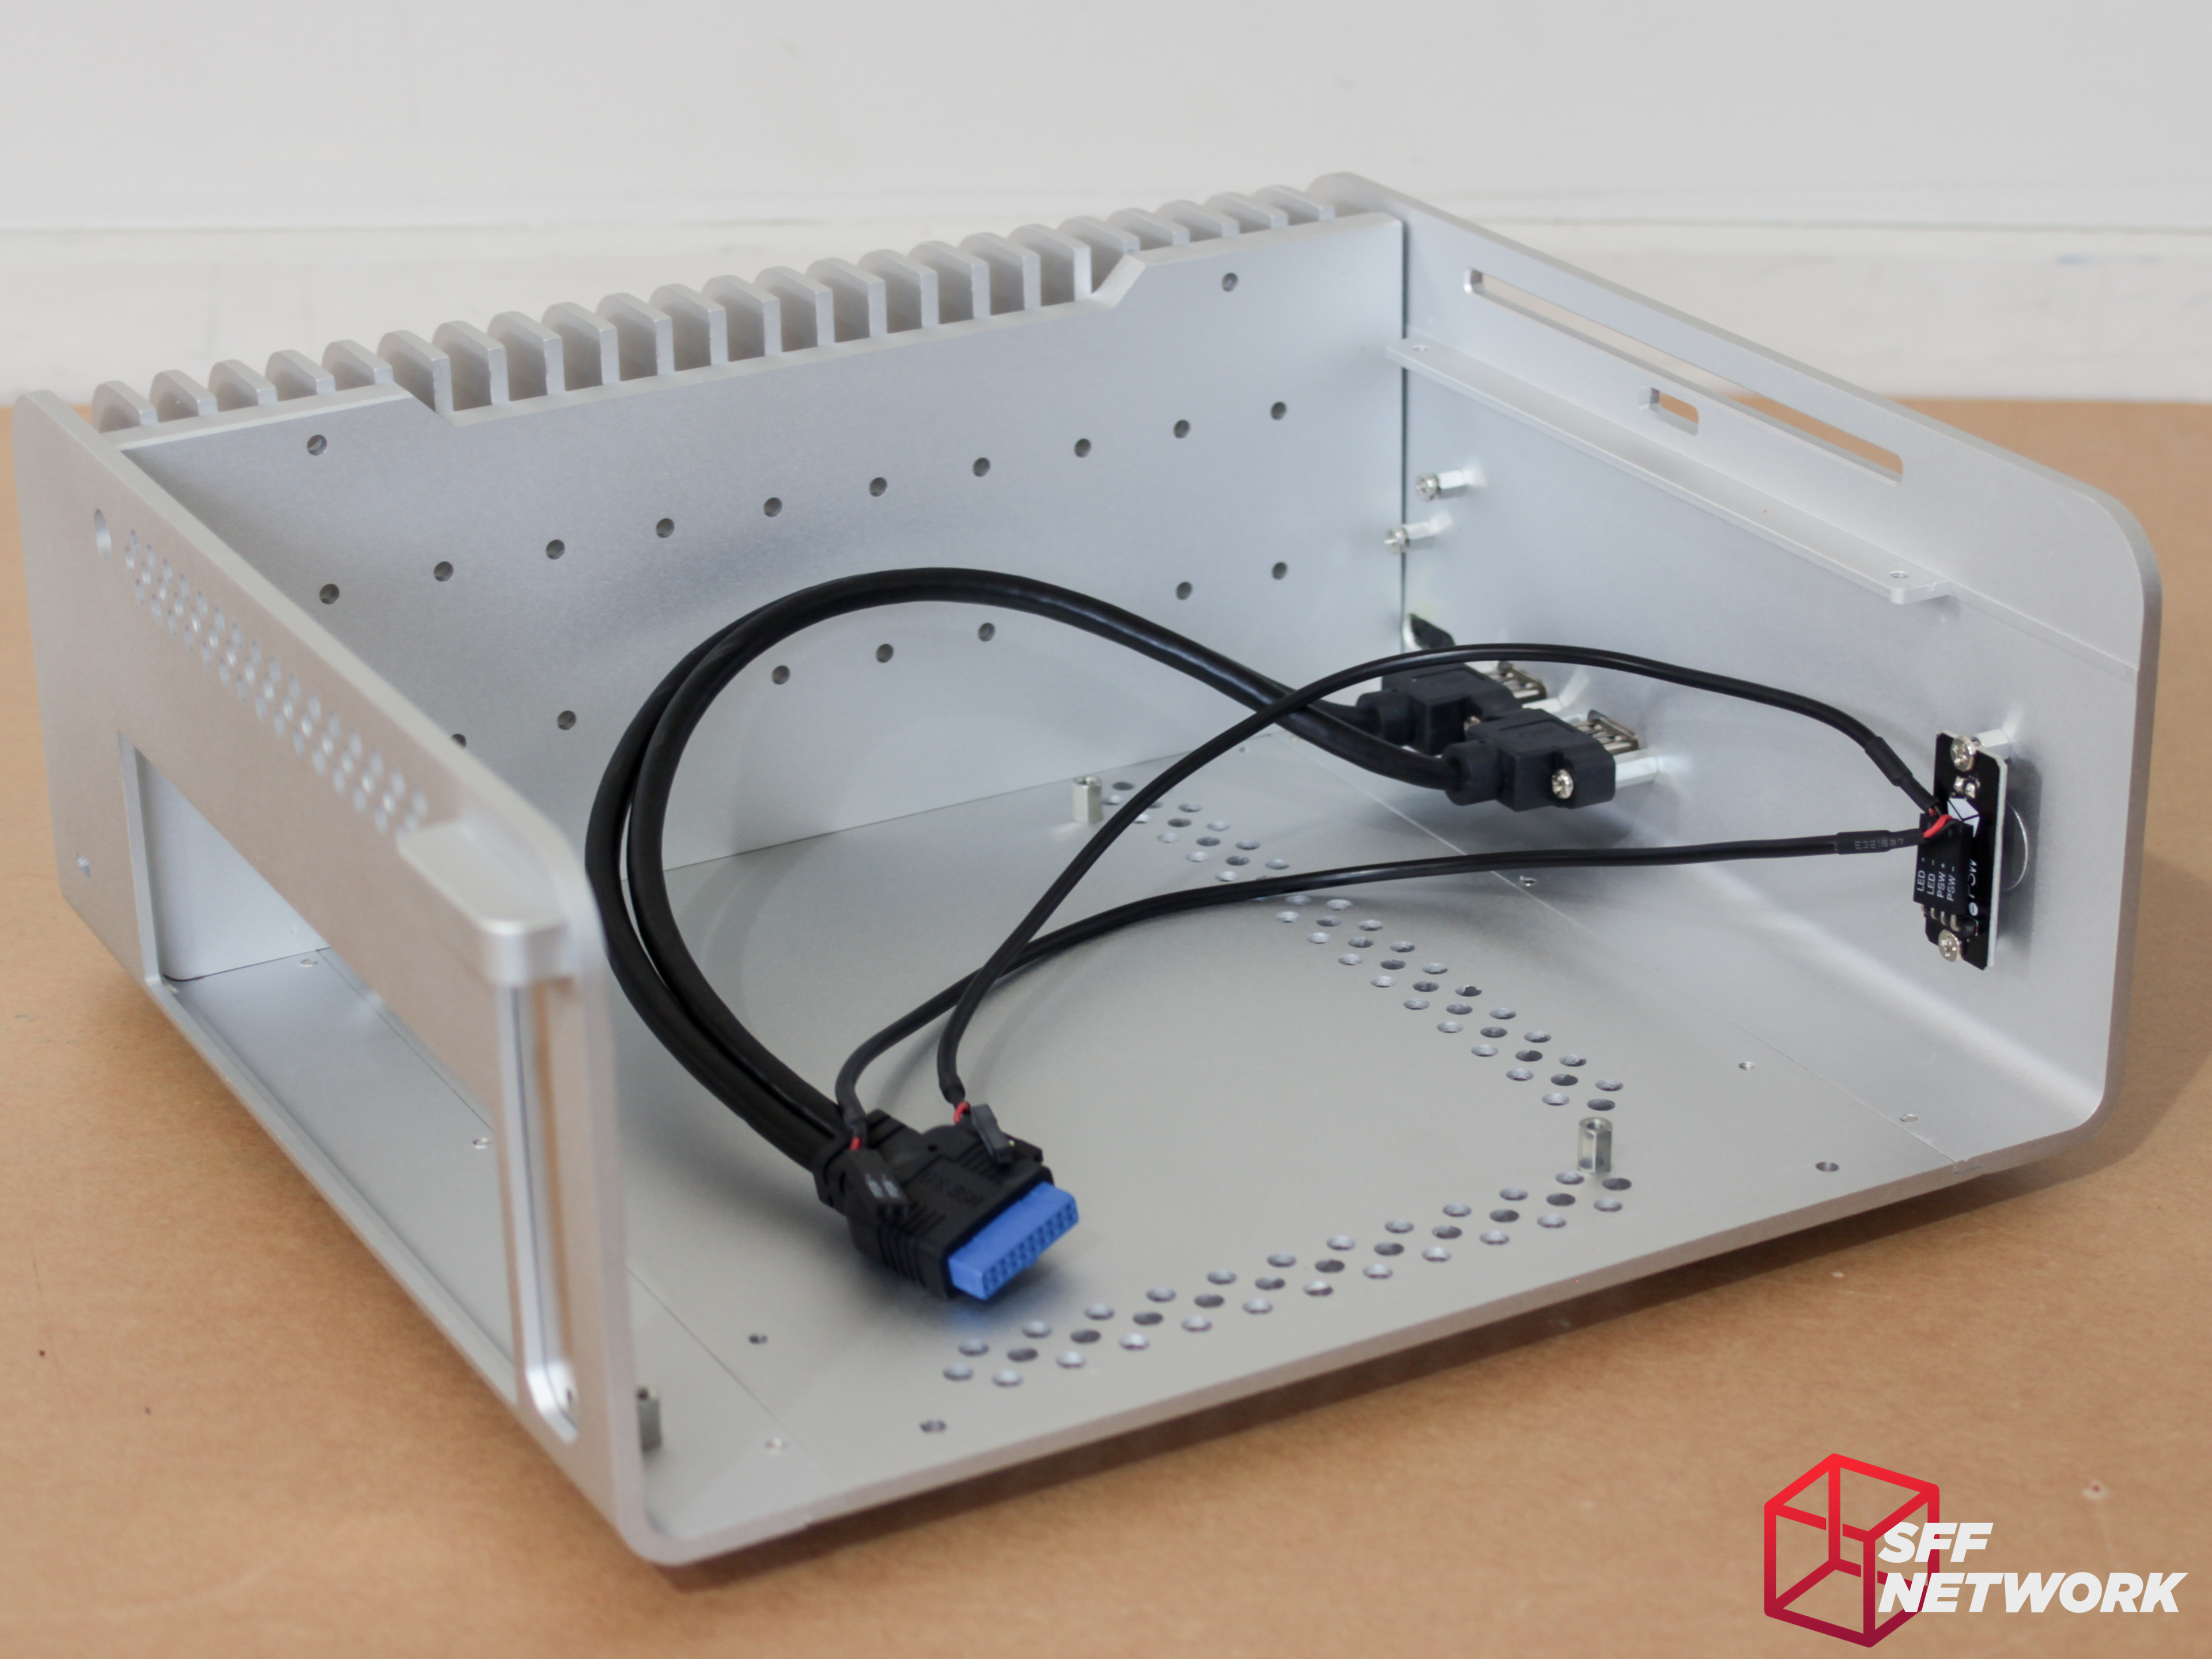
Unscrewing the 4 M3 screws releases the drive tray, and allows to see further into the chassis itself. Towards the heatsink end of the front panel, the unpopulated area reserved for an IR receiver. Next to these are the twin USB3 ports, in a removable and replaceable format. In the future I hope to see USB Type-C connectivity options launched, to enable those with compatible devices and components to use such features.

Mounting drives in the Streacom FC8 Alpha is relatively easy, albeit not tool-less. Mounting of many different configurations is possible, with the use of both sides of the tray. Below the tray, the slots allow for drive mounting in various locations depending on your system loadout and personal preferences. Up to 2x 3.5″ drives can be mounted, or 3x 2.5″ drives. On top of the tray, you have the option of installing a 2.5″ drive and a slot-load optical drive, or an extra 2.5″ drive using the supplied steel brackets.
One thing to note though, is that these drive loadouts are dependant on your system configuration (i.e. how many SATA ports the board has) as well as physical limitations, such as the CPU heatpipes blocking a particular location. Much like the CPU cooling solution installation, trial and error may be required.
[mks_separator style=”blank” height=”2″]
The Build
Let’s follow the manual through for best results! Firstly, we pop in the IO shield.
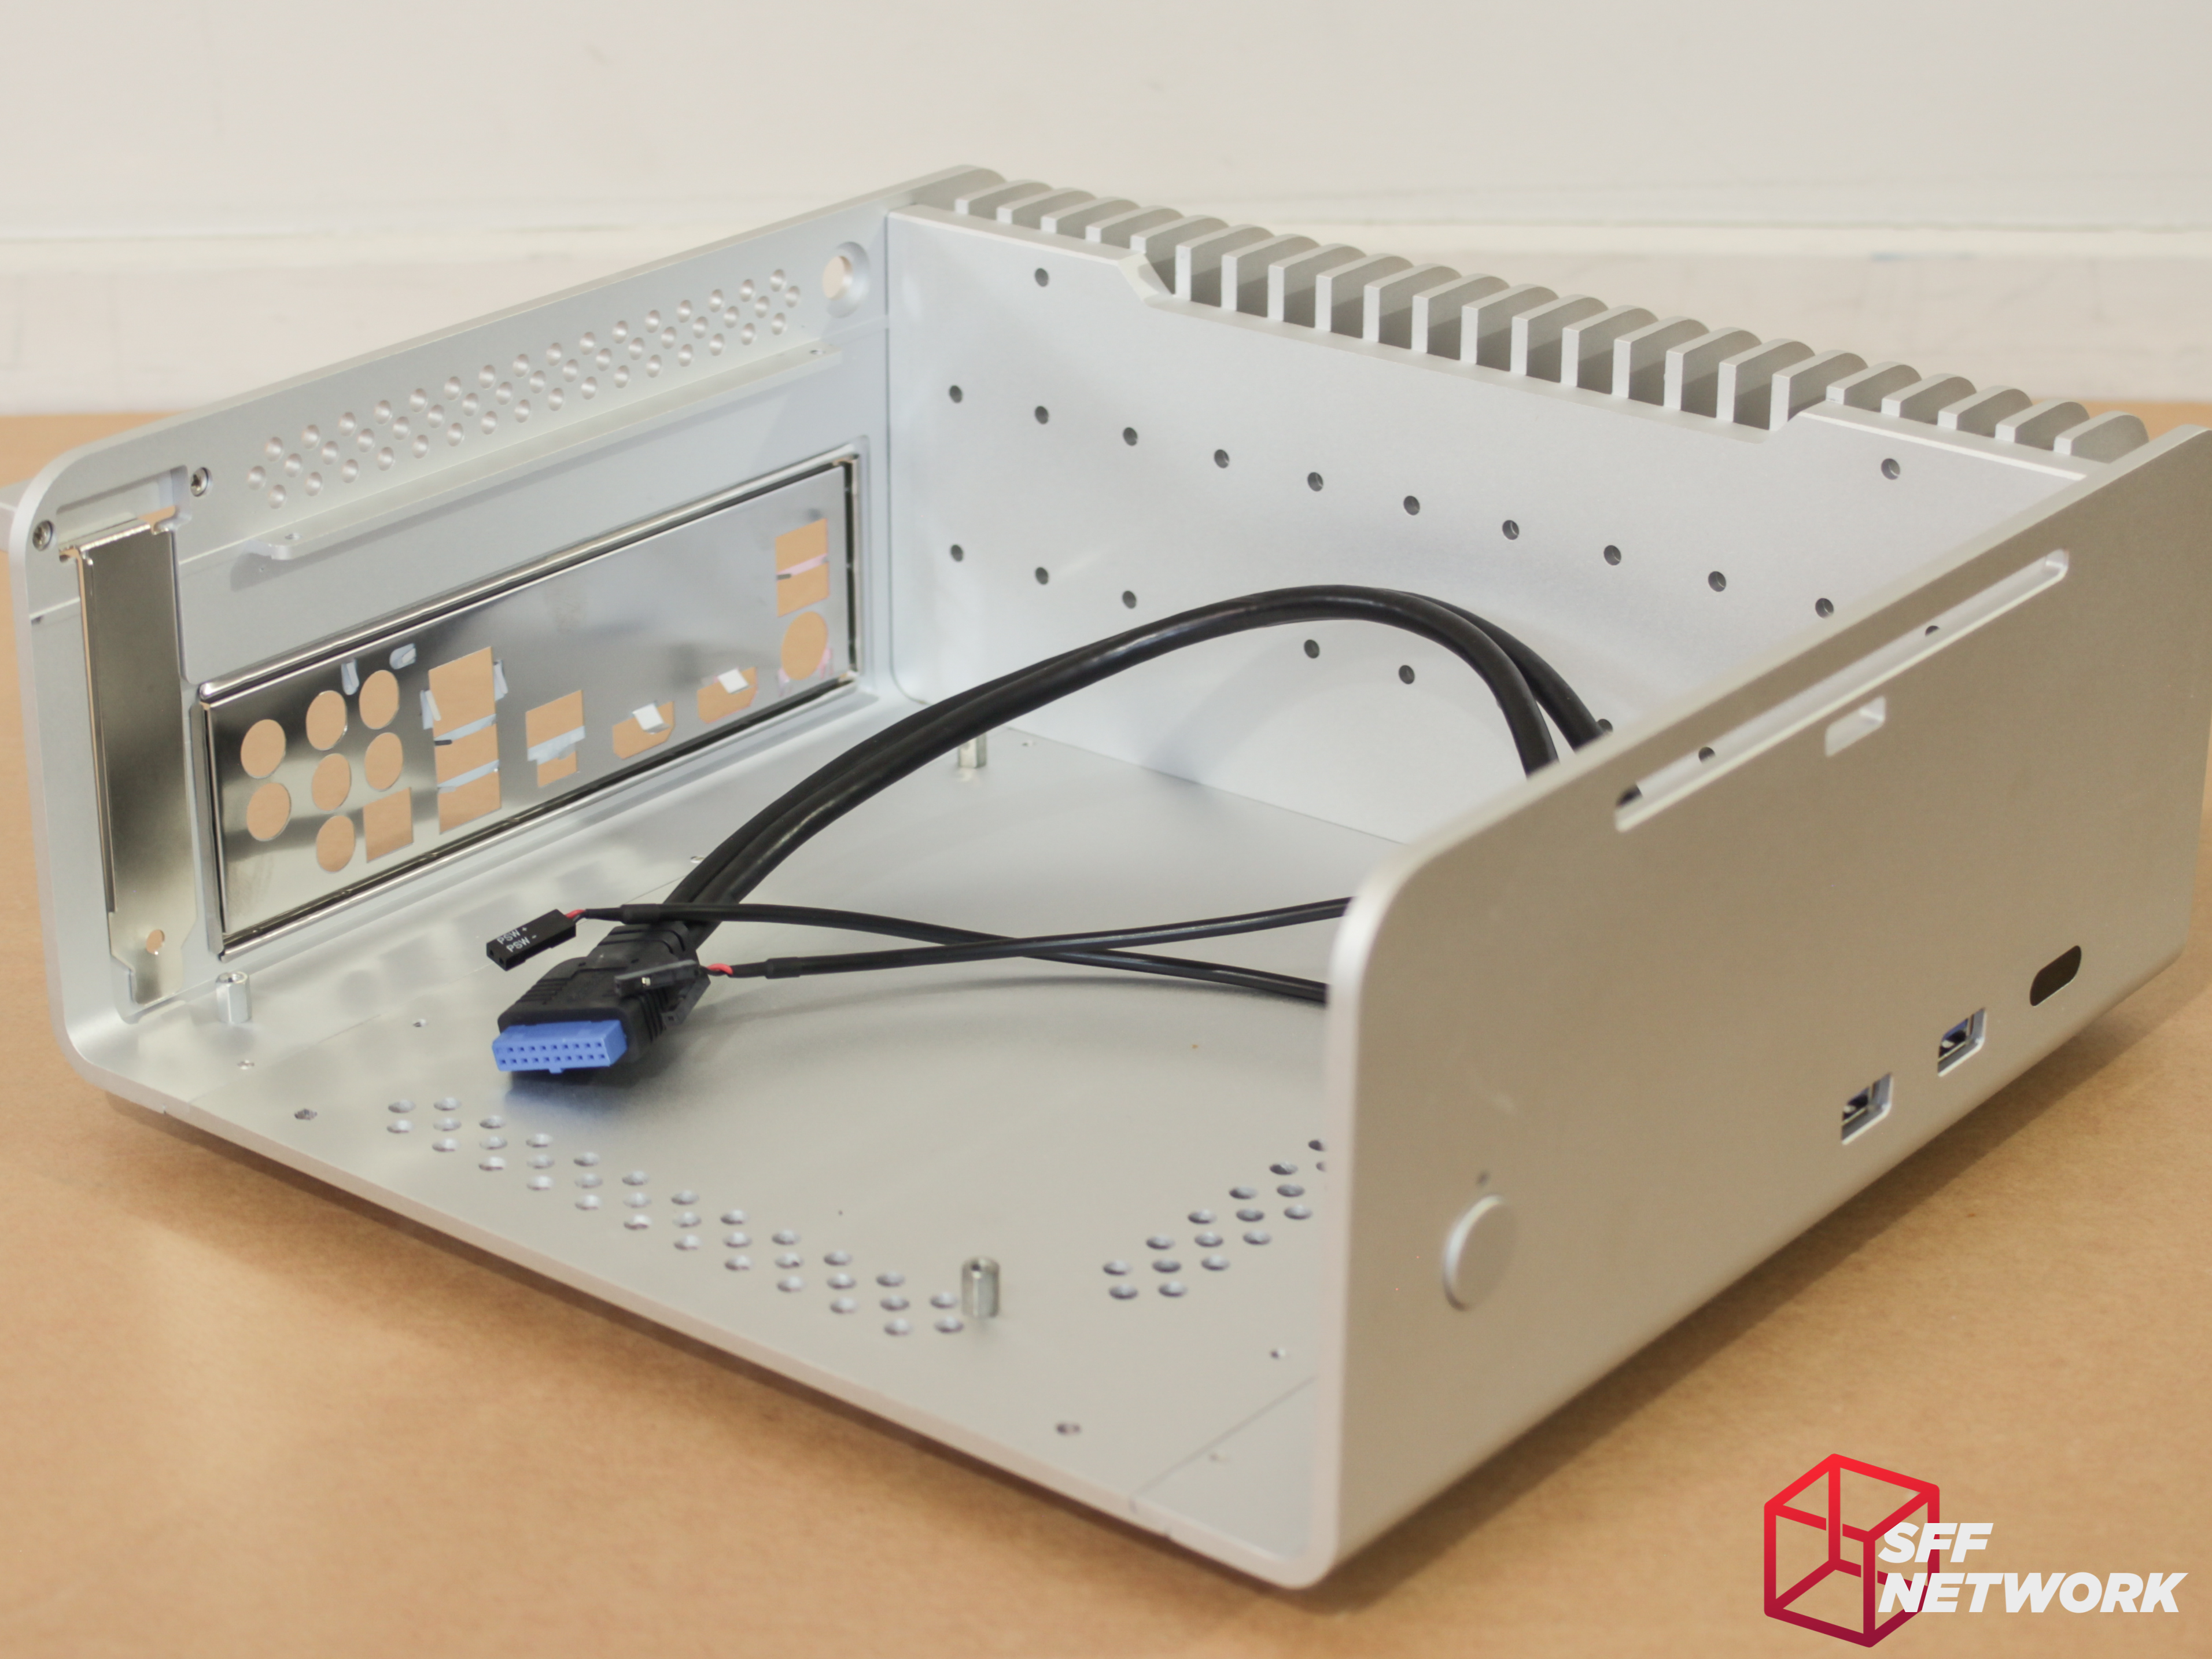
Which fits nicely, and is held in firmly, something which is more difficult to achieve in thicker materials.

For this demonstration build, we will be using the ASRock AB350 Gaming-ITX/ac.
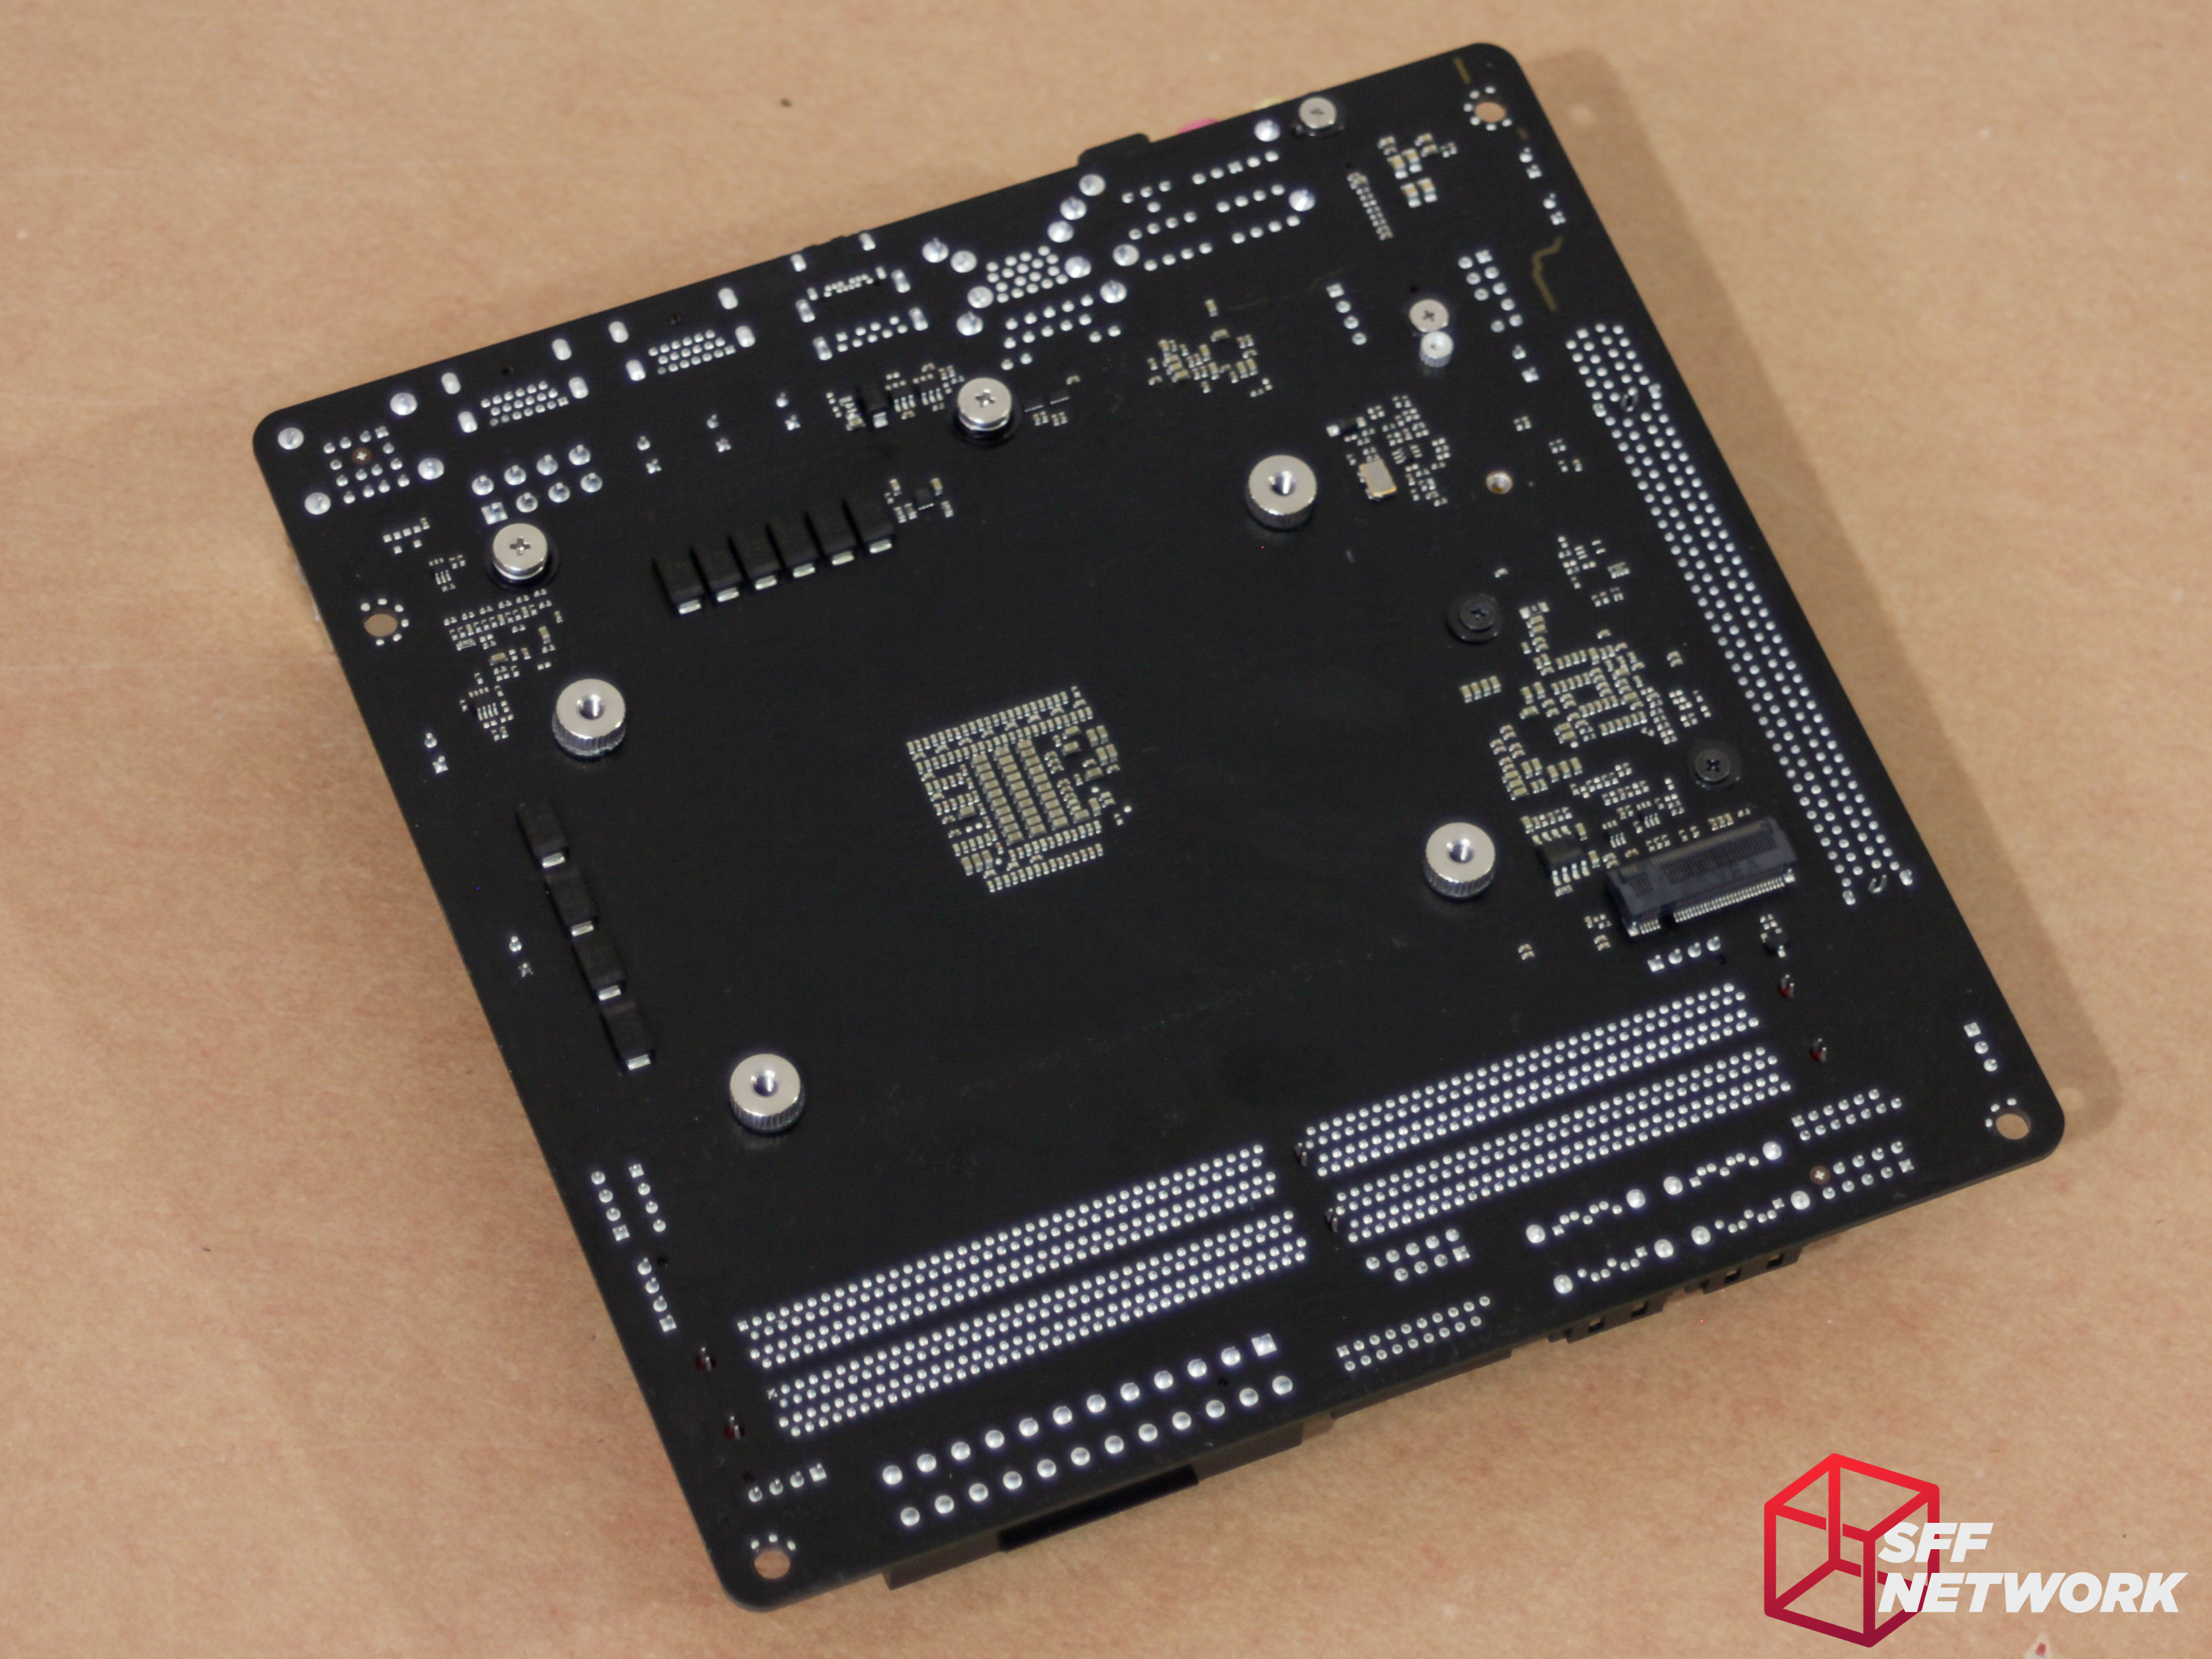
The next step is removing the stock CPU cooler backplate, and installing 4 retention nuts with double sided foam pads.

Using the supplied M3 screws, we then install the motherboard in the Streacom FC8 Alpha.
For those wondering about non-standard configurations, there is 9mm of space at the bottom of the board (below the PCIe slot) and 40mm of space in front of the motherboard.
Installing the cooler assembly is an exercise in trial and error. The provided instructions are easy to follow, and they do recommend a trial fit first. Here, I have installed the AM4 compatible setup, loosely, to enable me to adjust to suit. I would suggest that you assemble this all on a large flat surface, as flipping and rotating the case to assemble each part is needed!
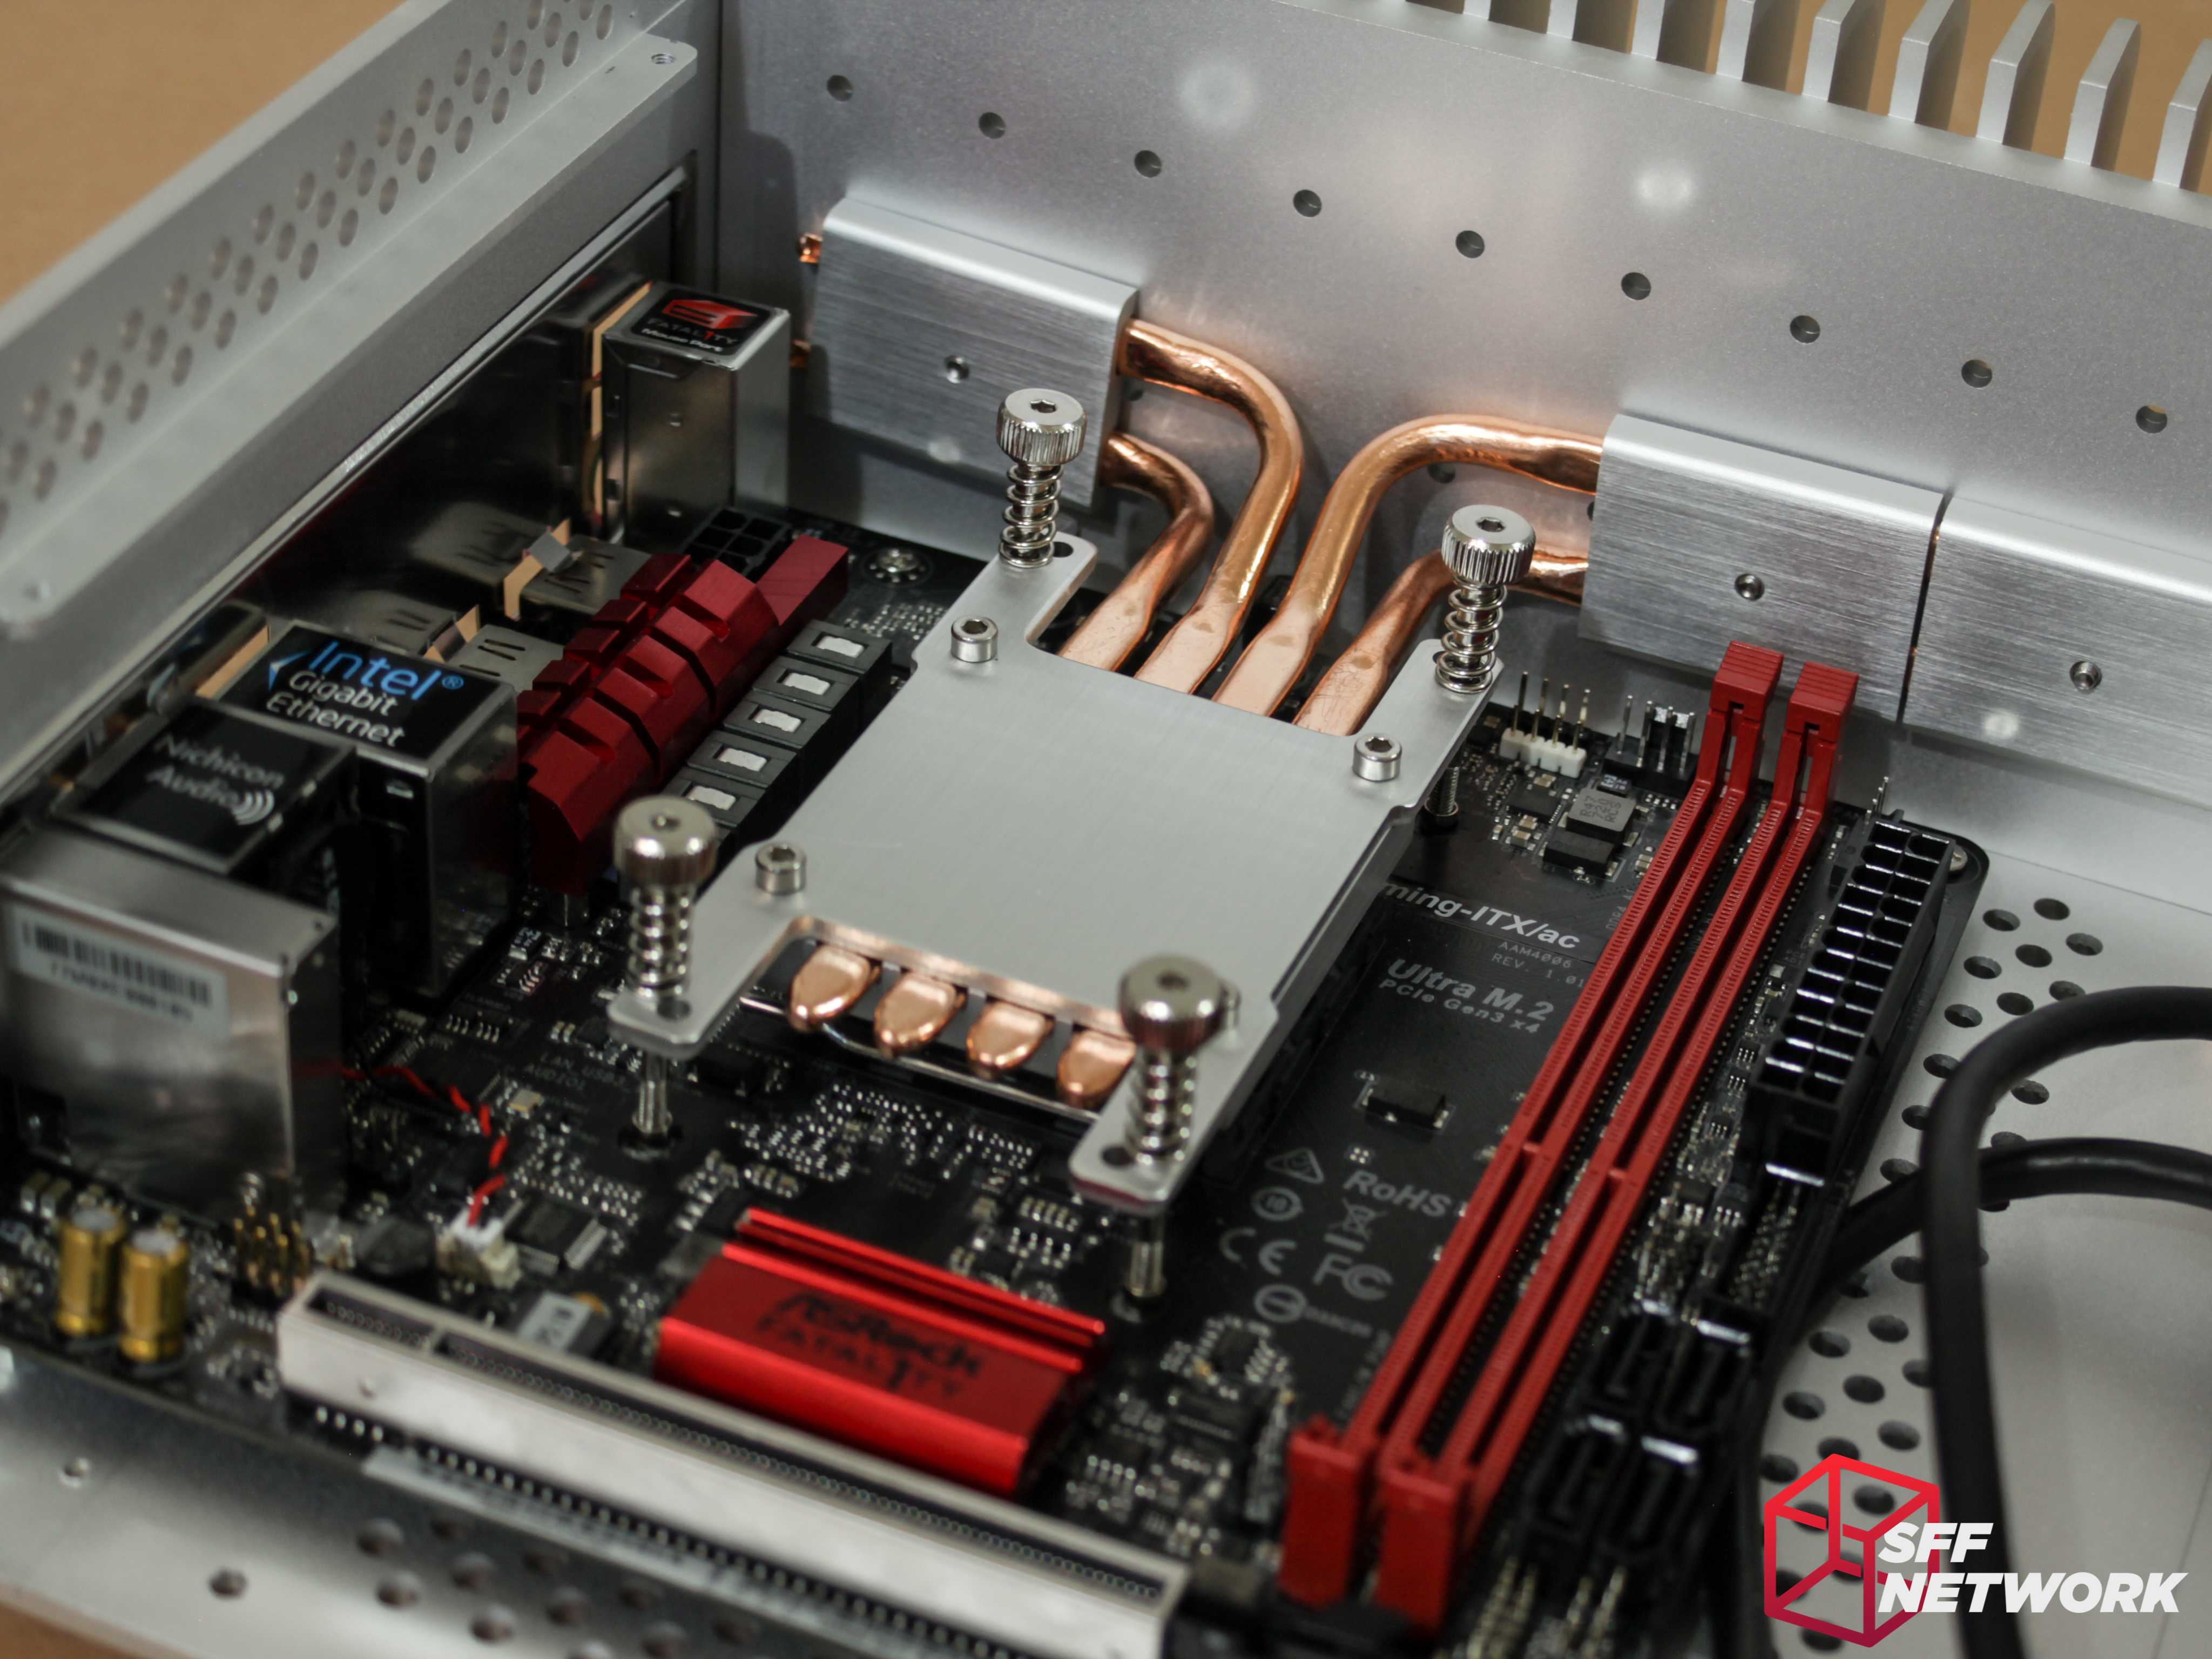
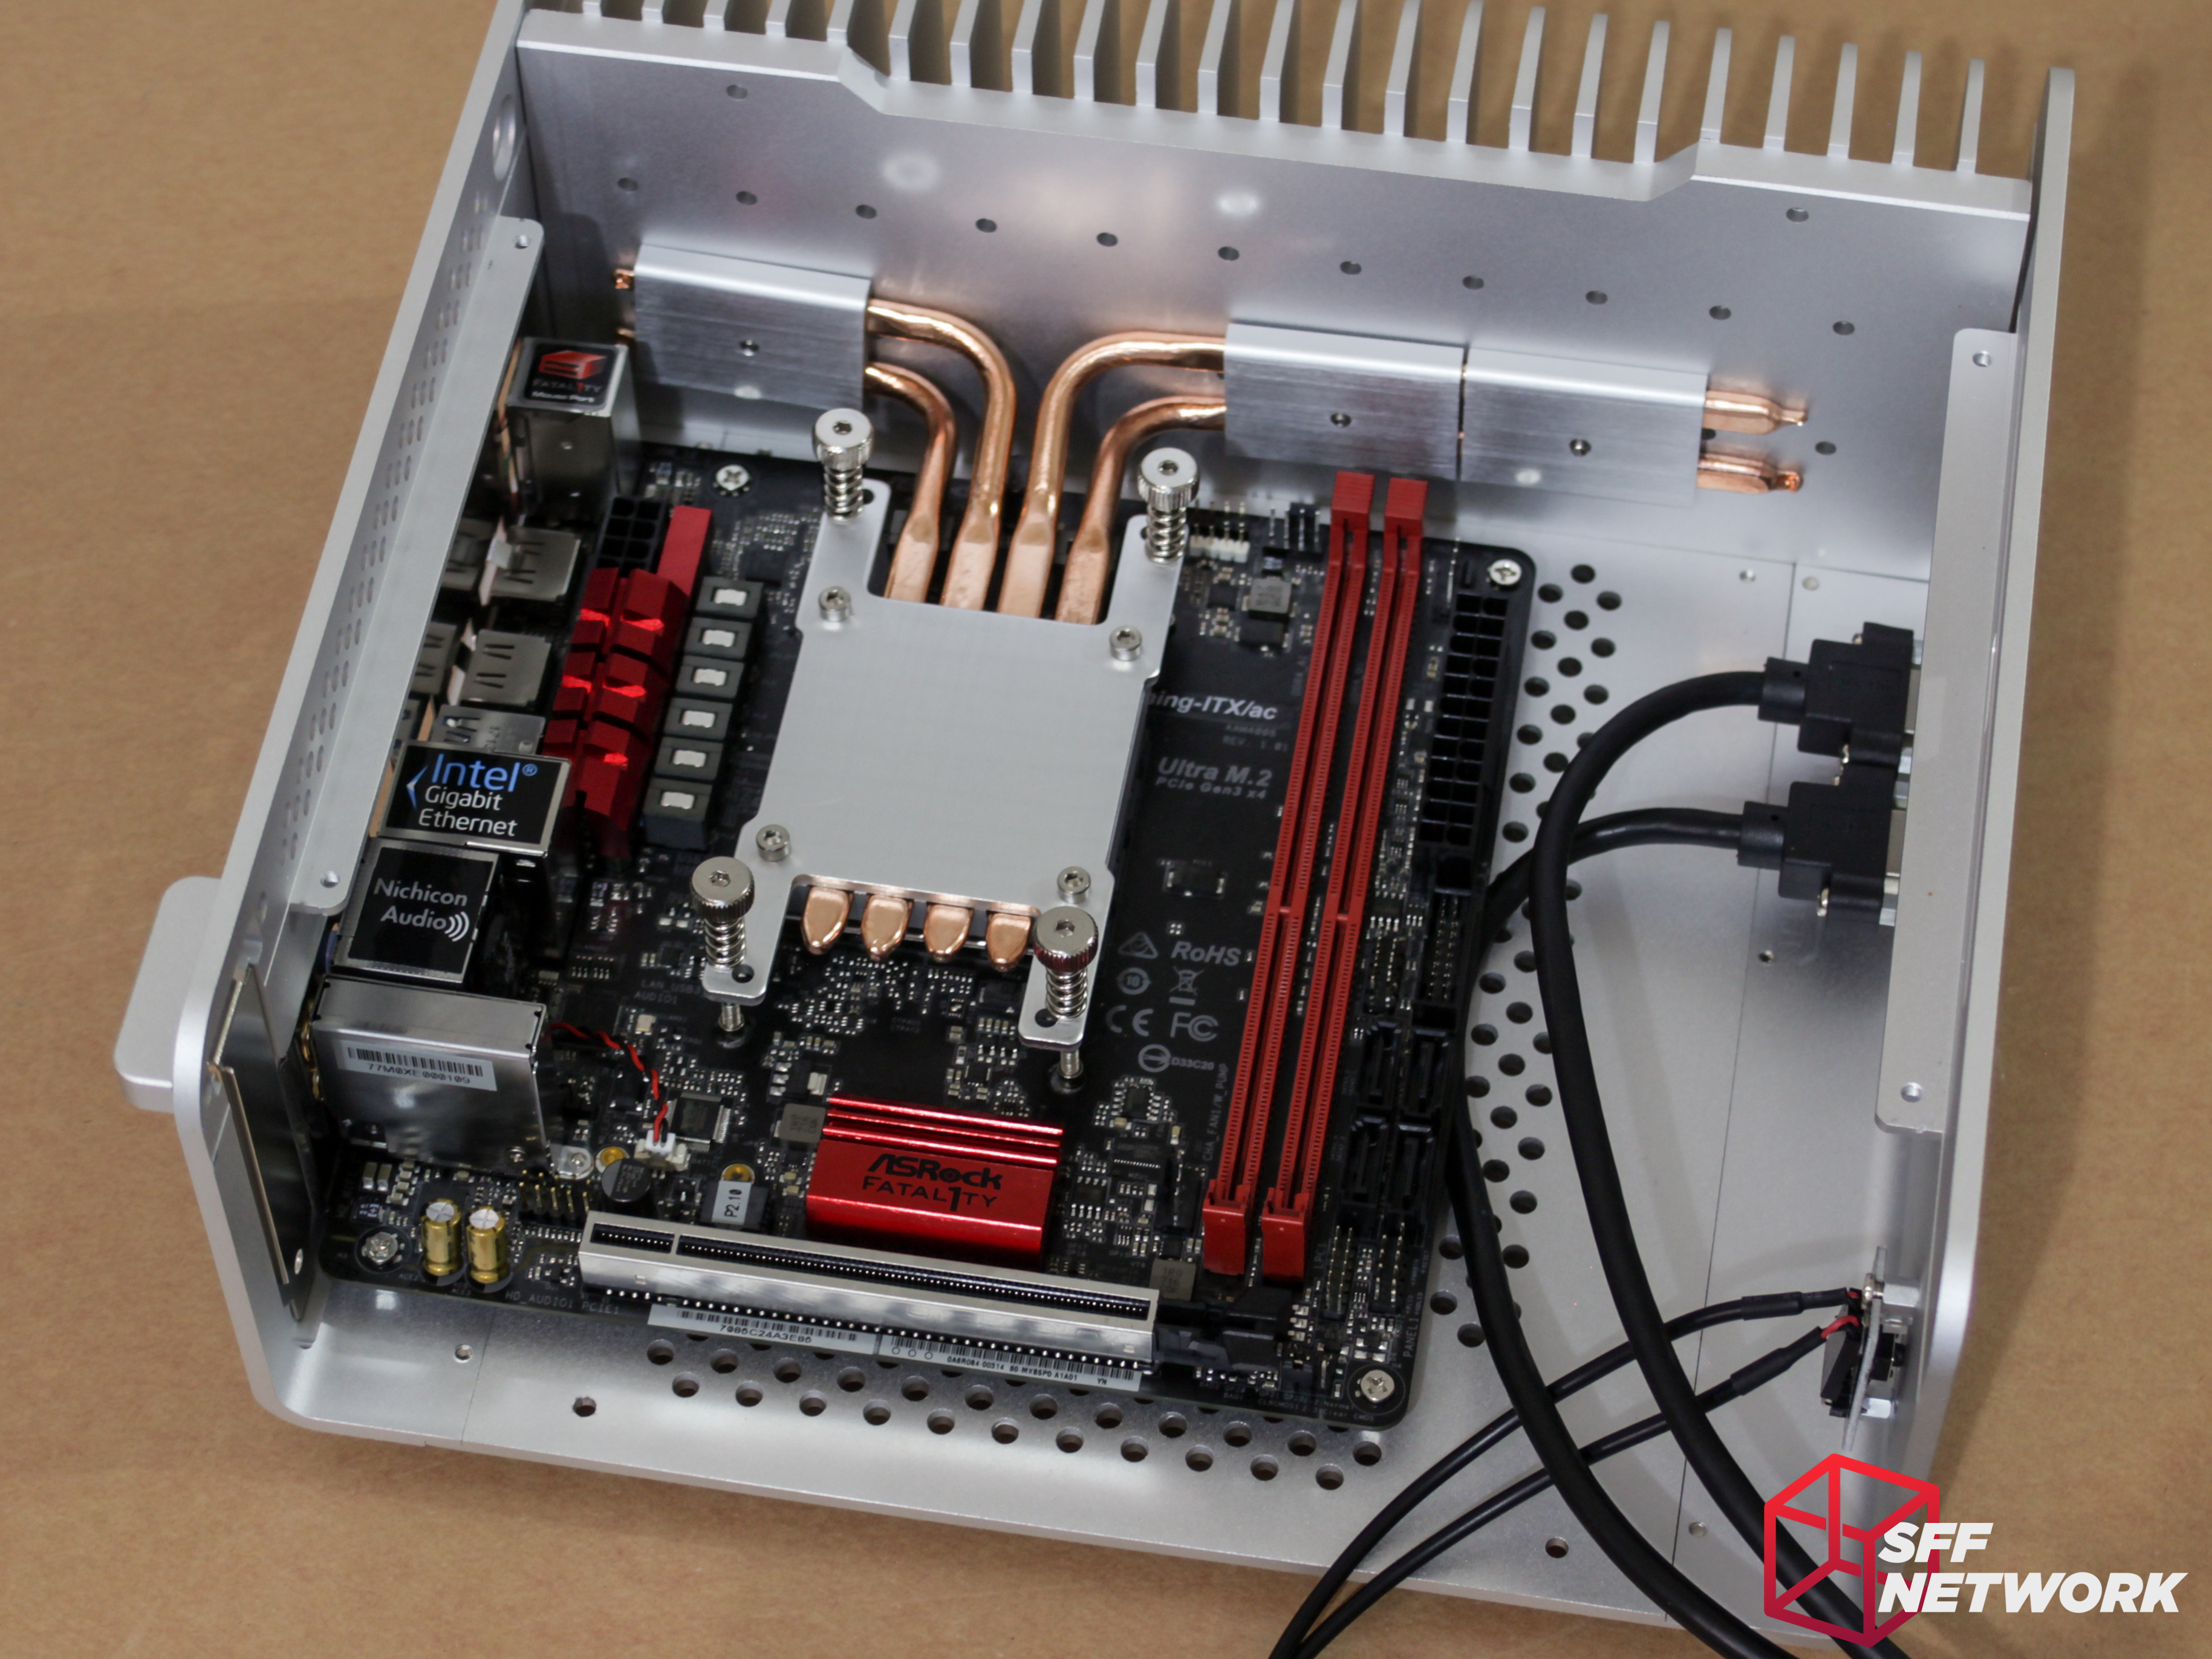
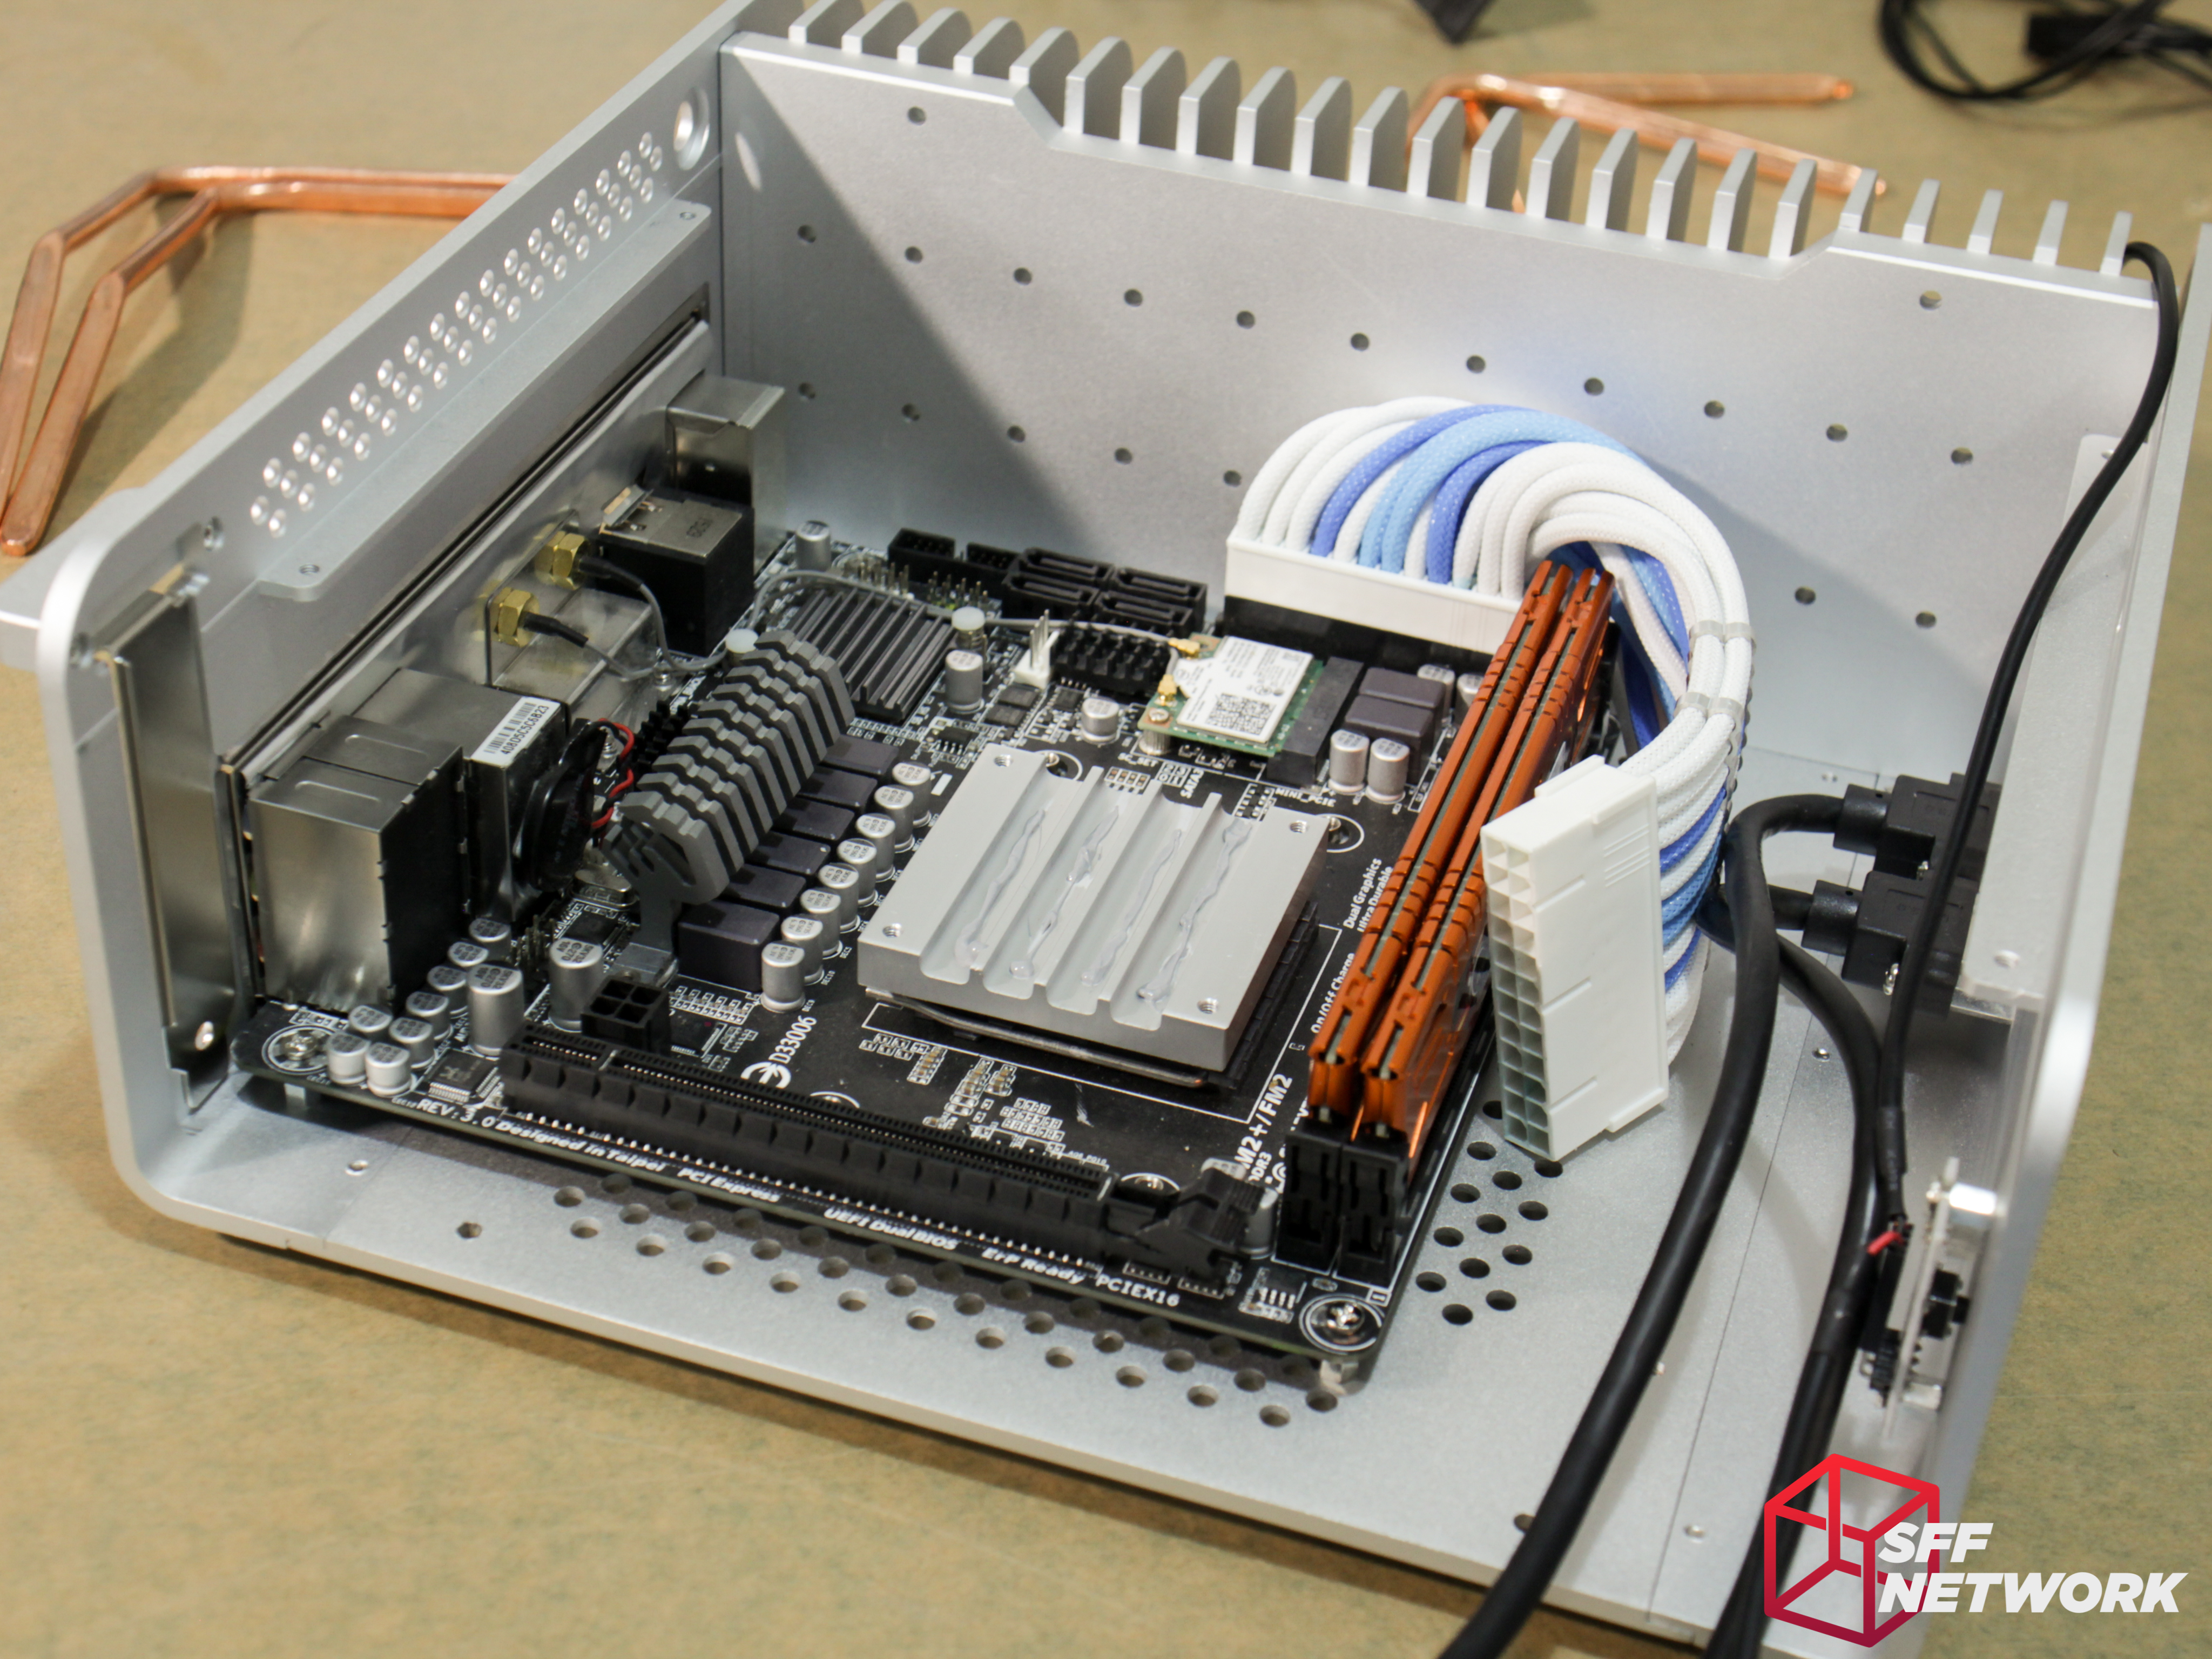
Once you are happy with the configuration, it is time to dissasemble it, and apply thermal paste. As you can see from this image, there are no component conflicts with this ASRock Fatal1ty AB350 Gaming-ITX/ac. Building on this board that fits perfectly was a breeze. However, I decided to test the system with a less compatible board, the Gigabyte F2A88XN-WiFi.

Well this is a conundrum. Boards with the CPU socket towards the bottom of the PCB may have issues with the included heatpipes. This Gigabyte F2A88XN-Wifi motherboard is outside the scope of what the chassis can support.
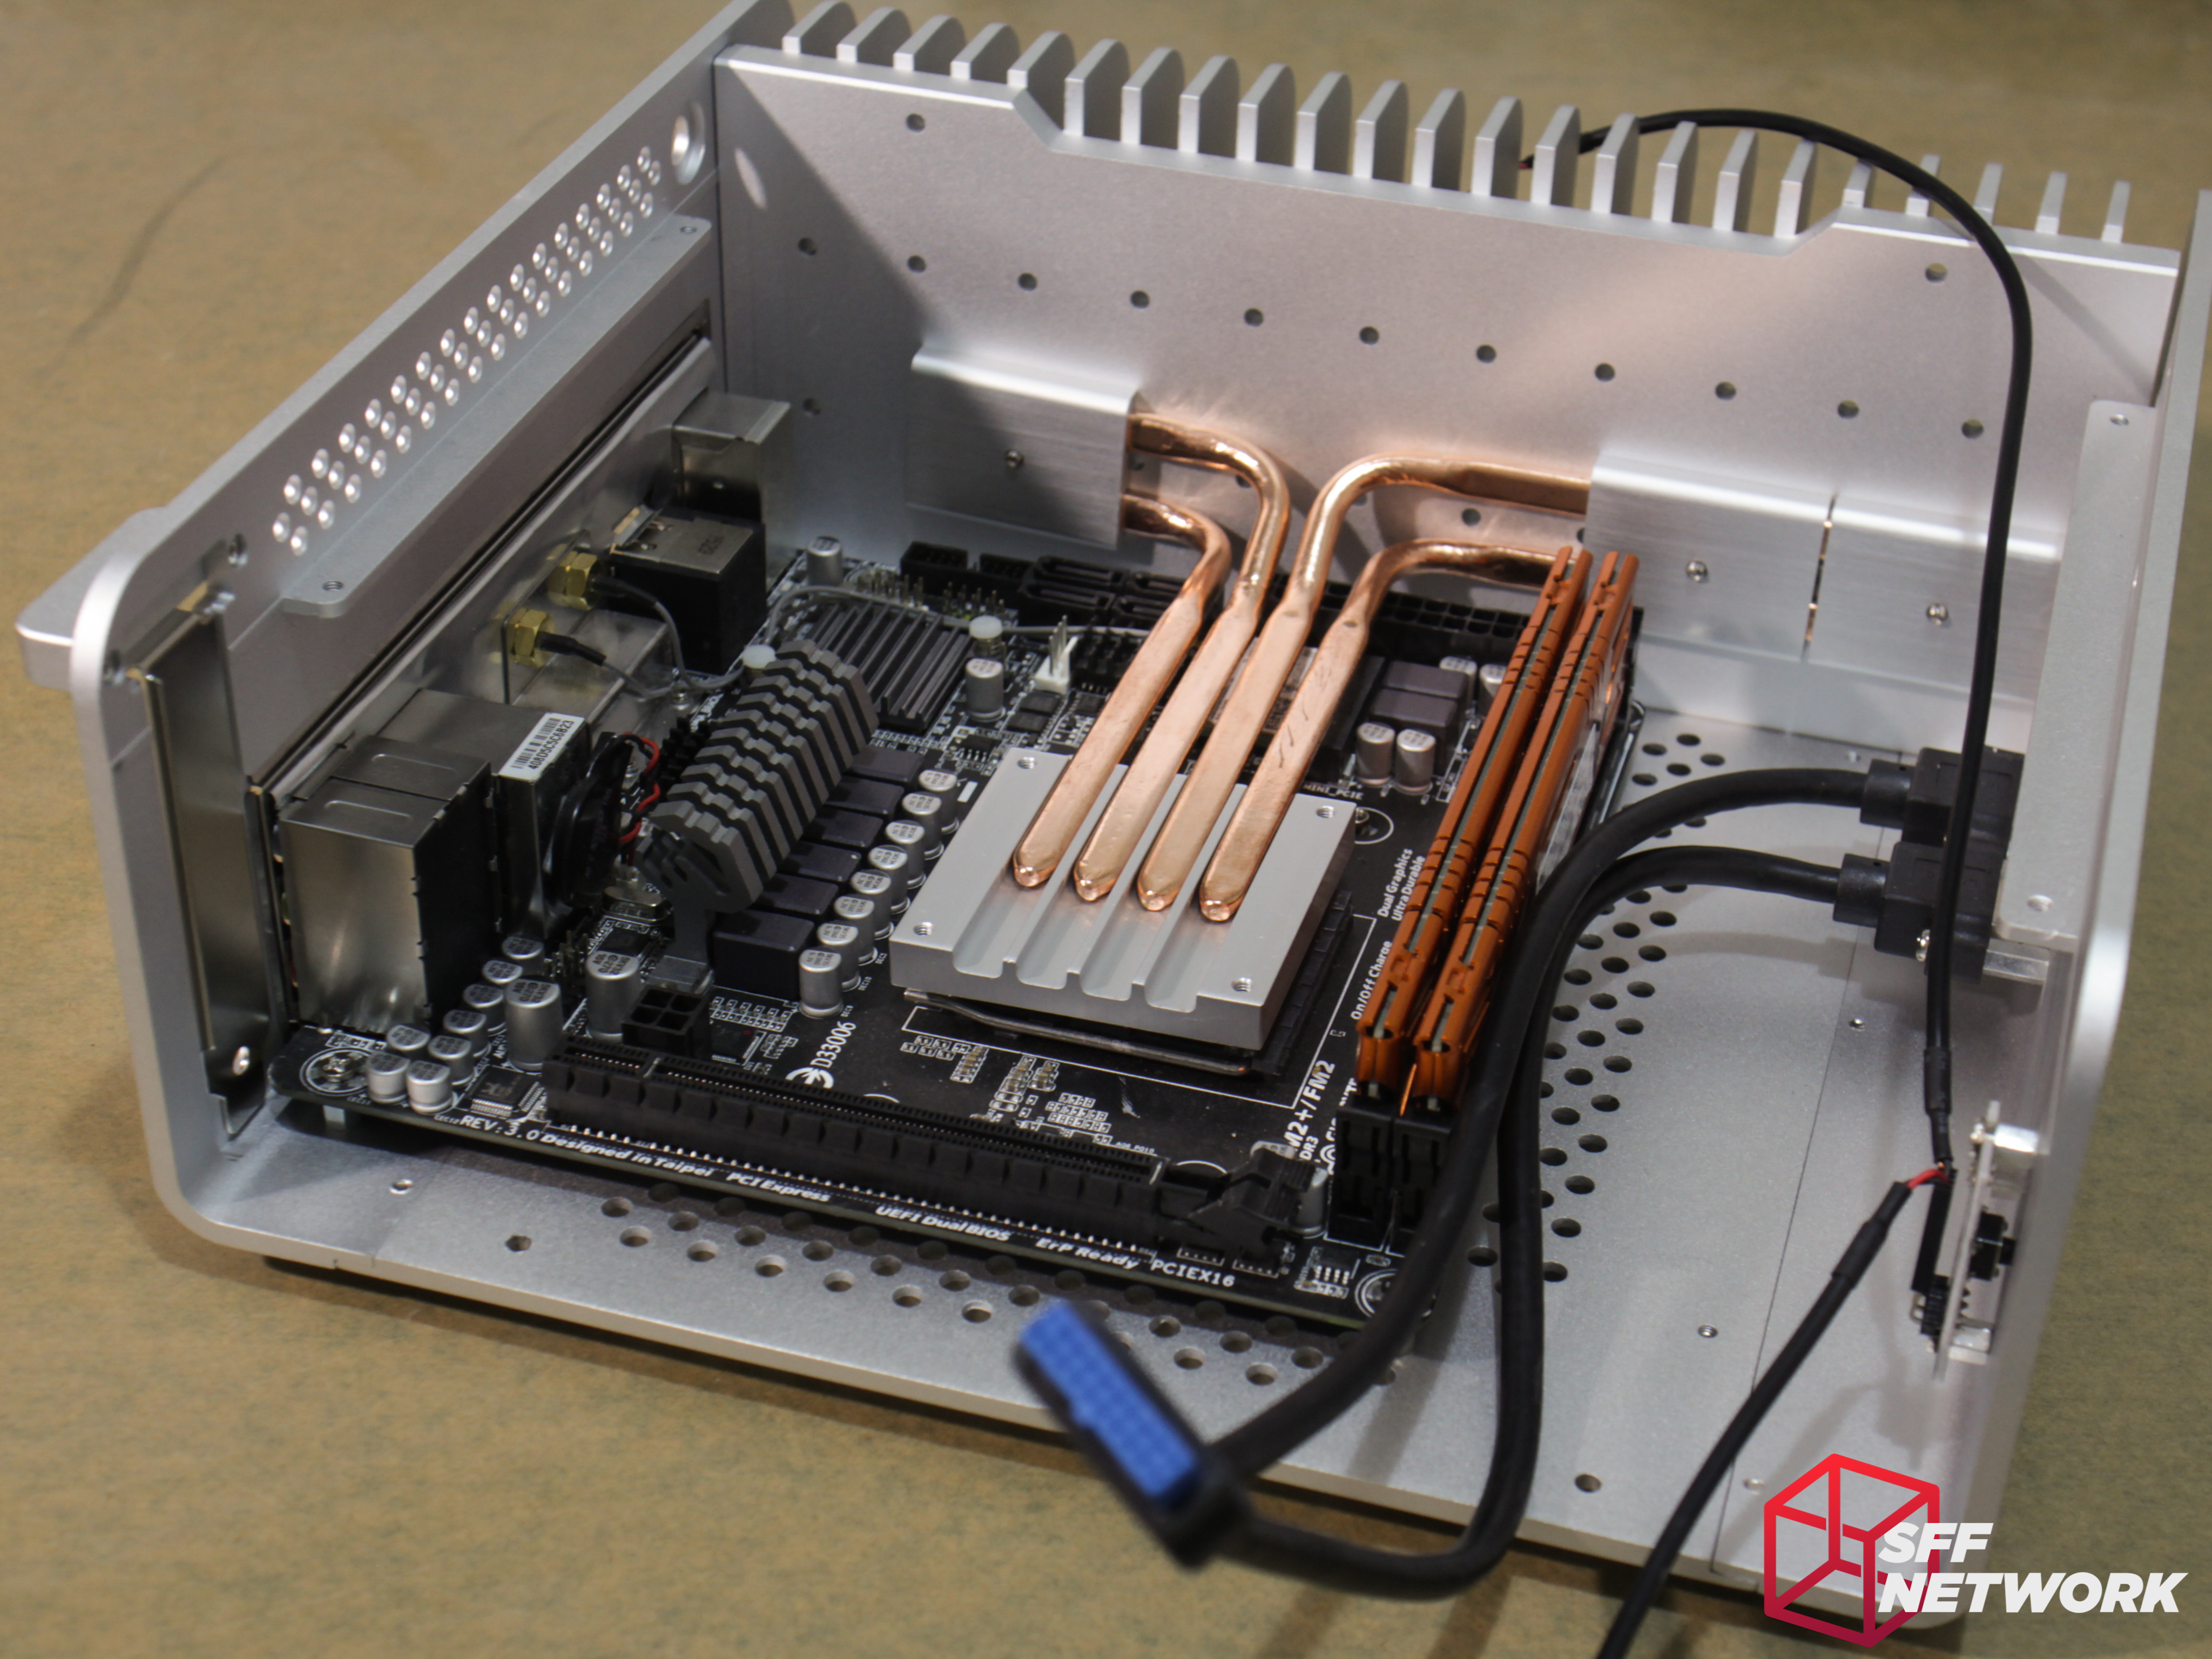
Yup, the heatpipes aren’t making great contact. Also, the heatpipes are blocking the ATX 24 pin connector. Eep!
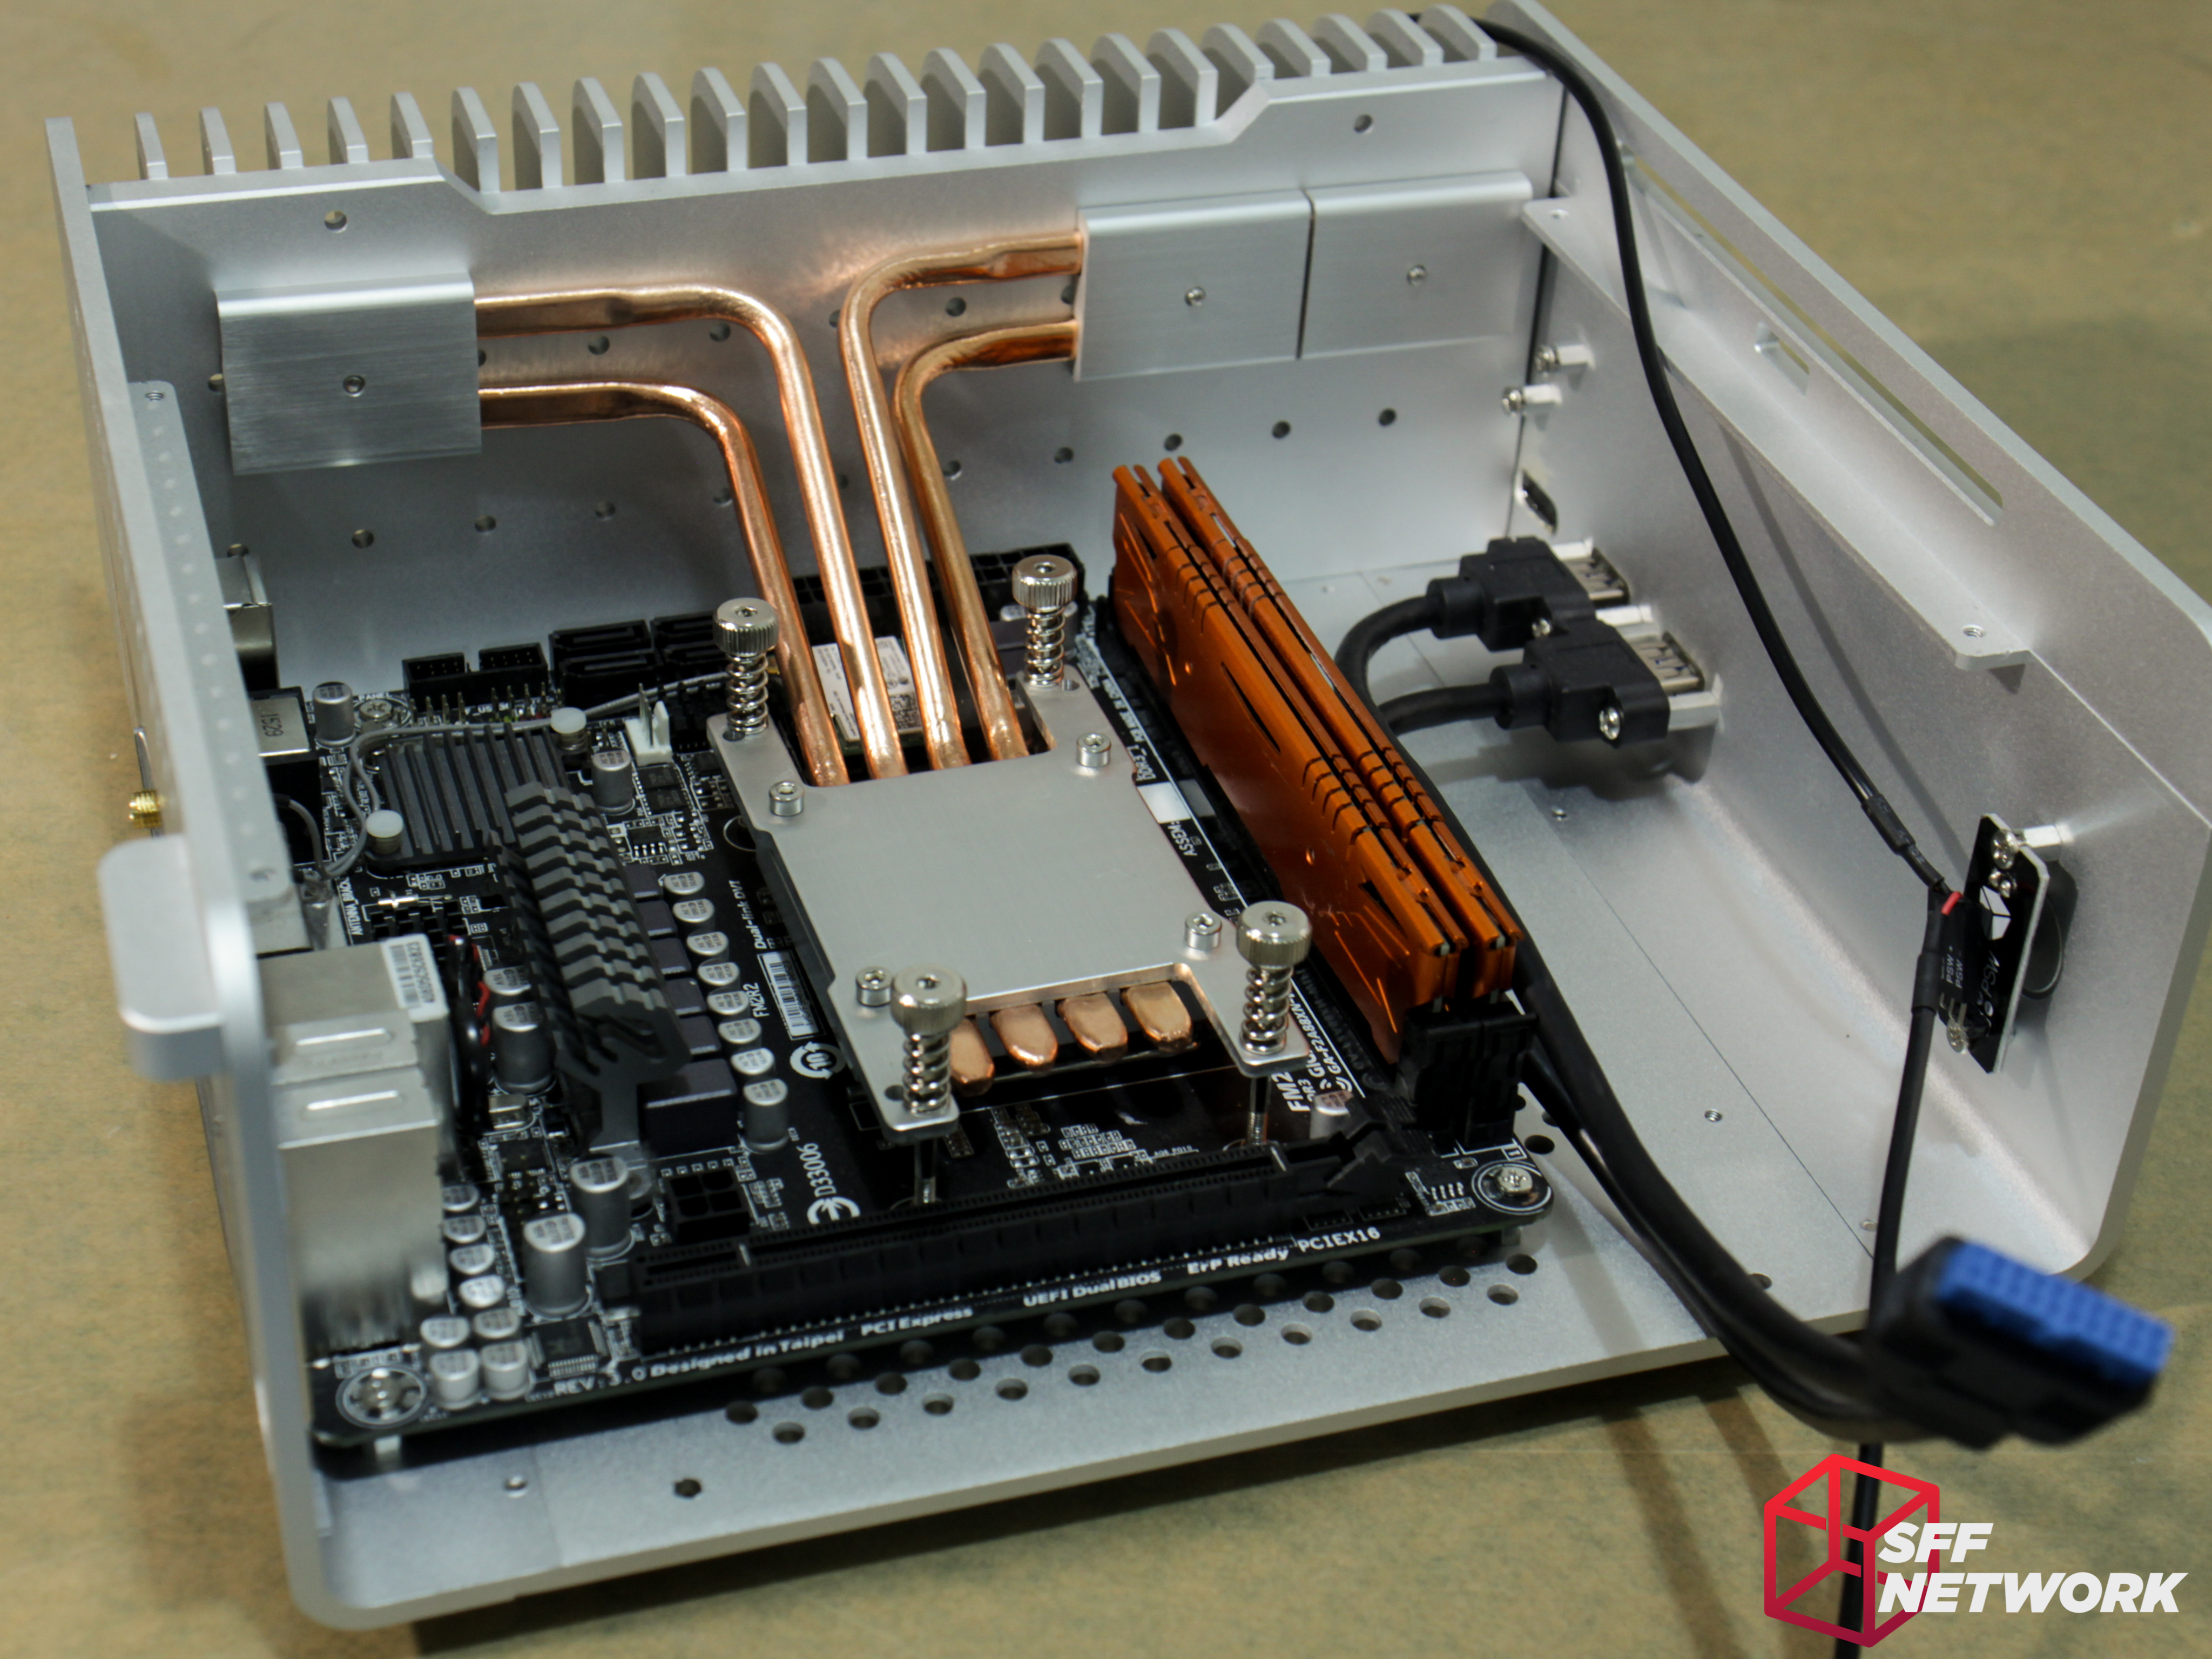
Thankfully Streacom supplied some extra heatpipes with the review package. The ones used here are the ‘SH8’ heatpipes, which alas I cannot find on Streacom’s website. Also an option is using the HT4 Thermal Riser and LH4 Extended Heatpipes, or, you know, building with a board that complies with the suggested component locations!
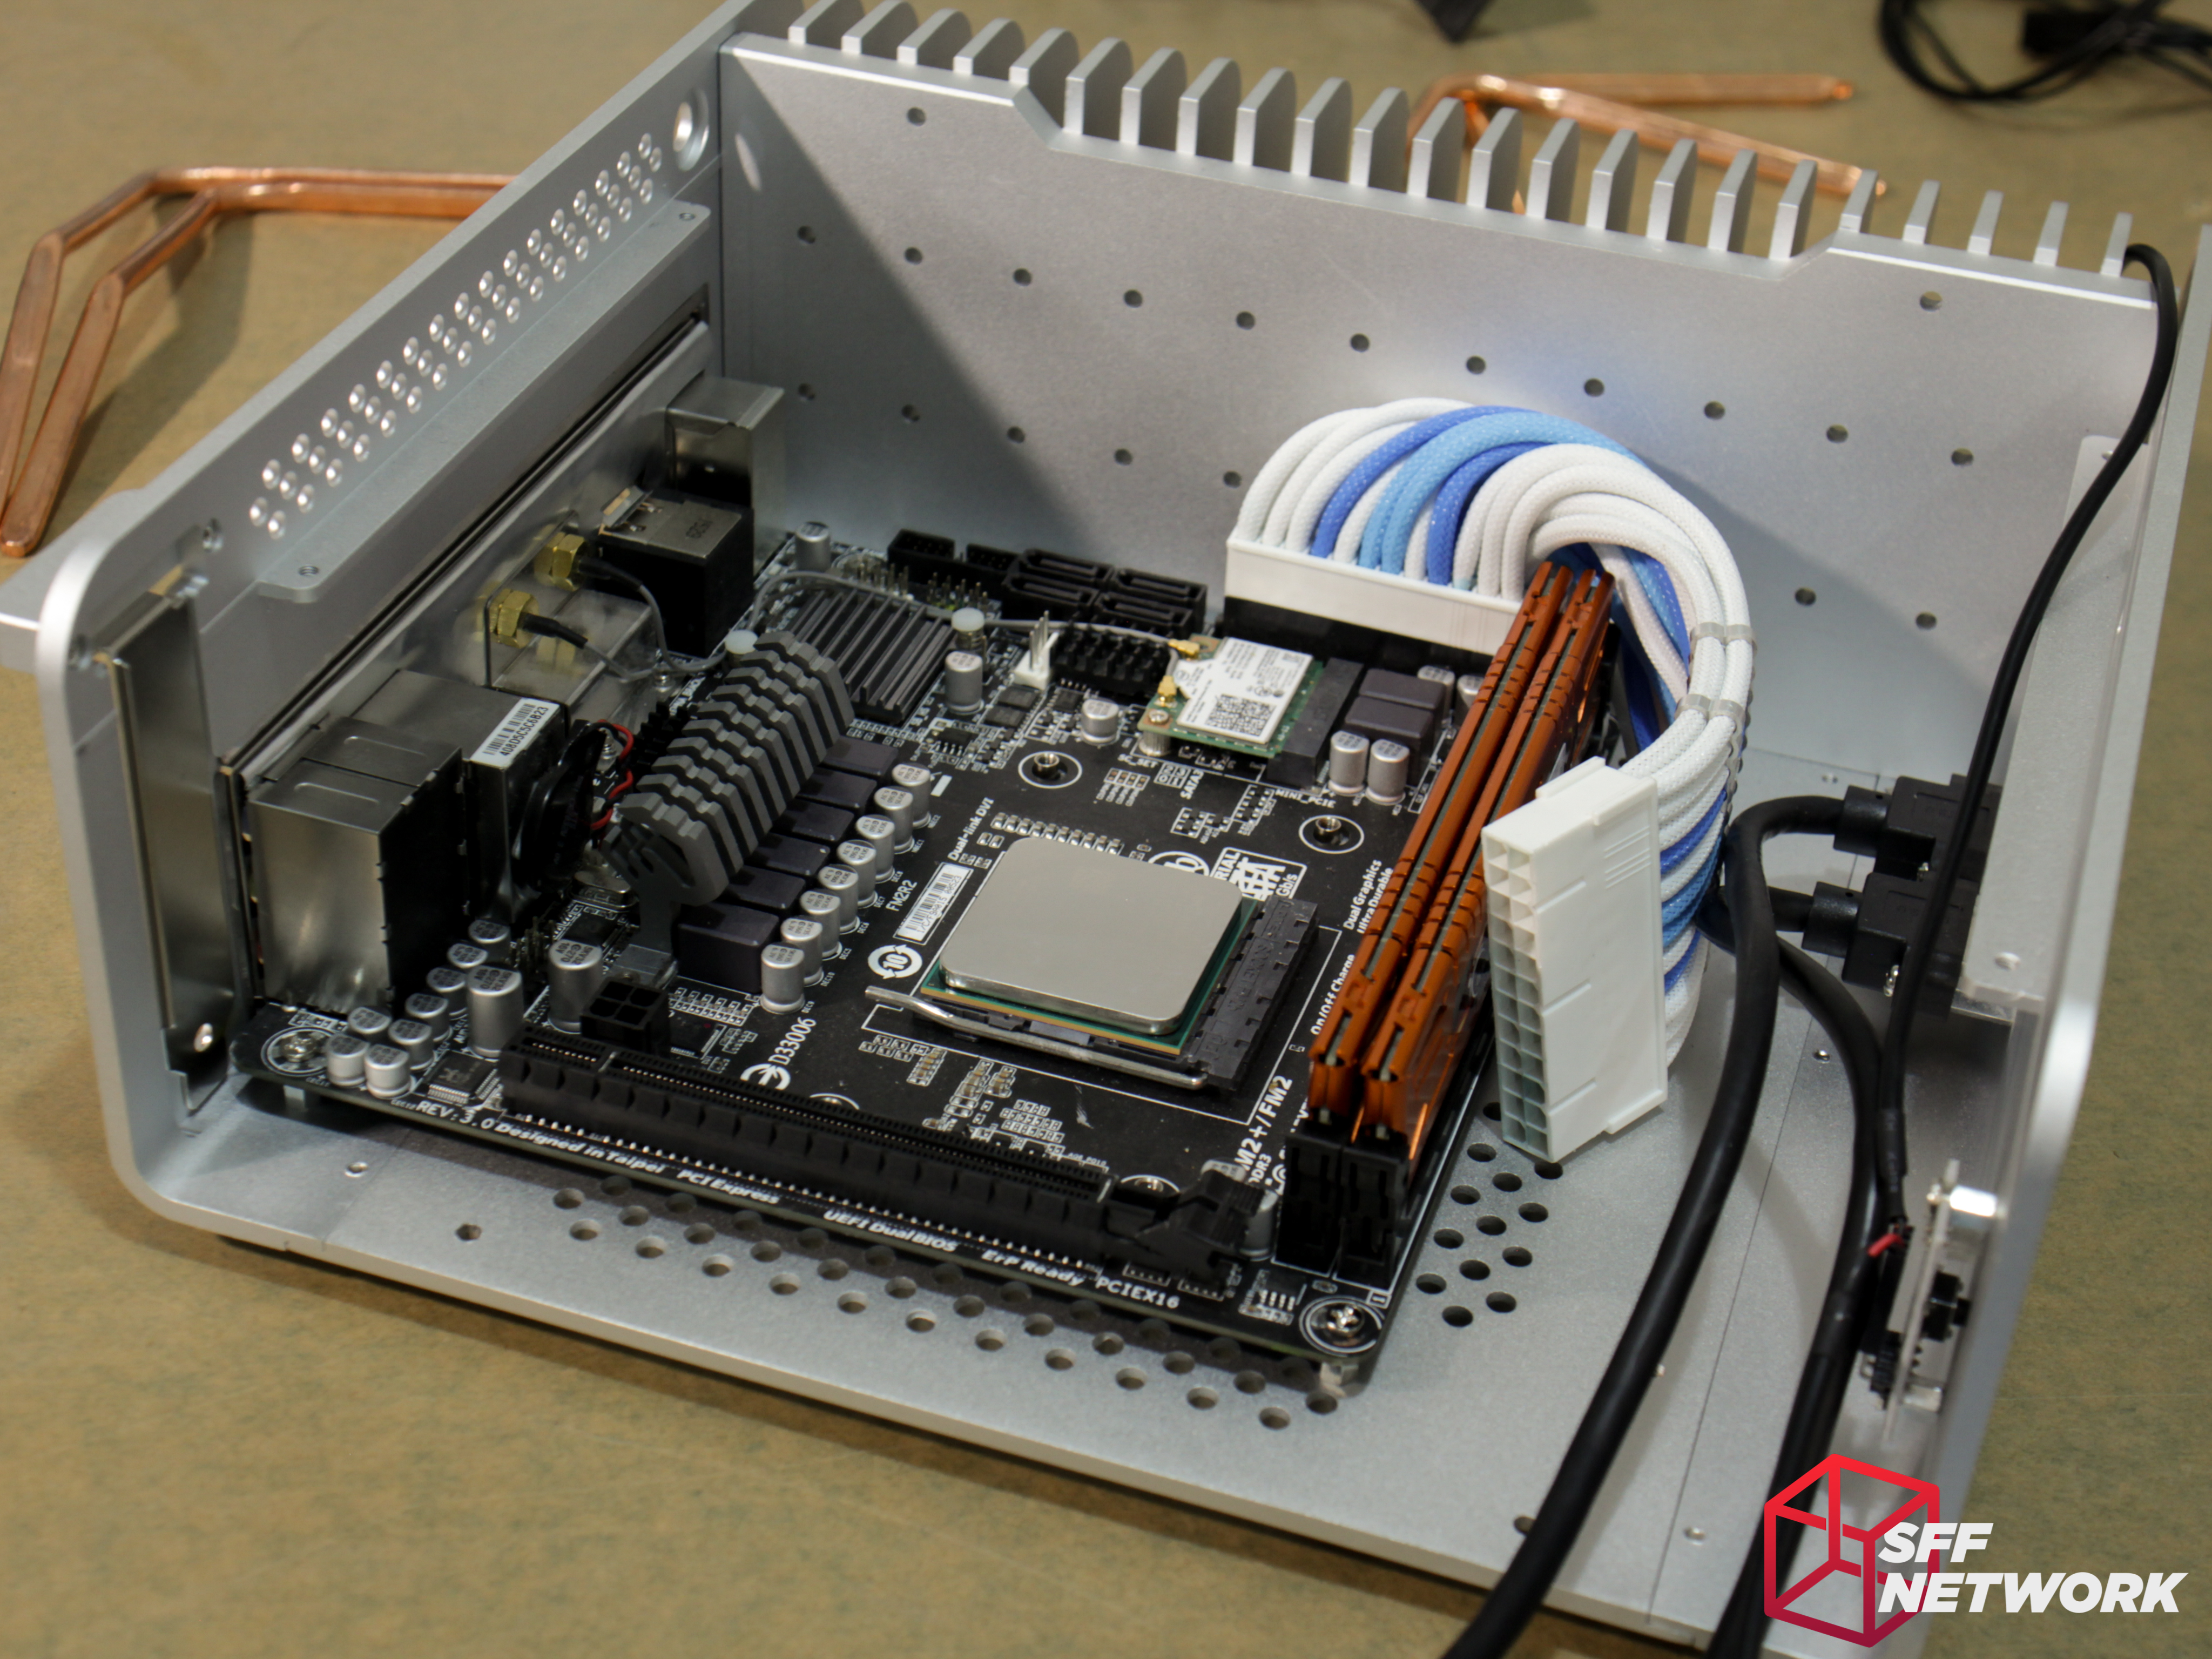
Right, let’s get back to building. First, I installed an ATX extension cable, as even with the extended heatpipes, the area around the ATX 24 Pin connector is pretty congested. I’m doing this so you don’t have to!
Down goes the CPU baseplate. In each of the grooves, thermal paste is applied – we will be using a lot of this stuff!
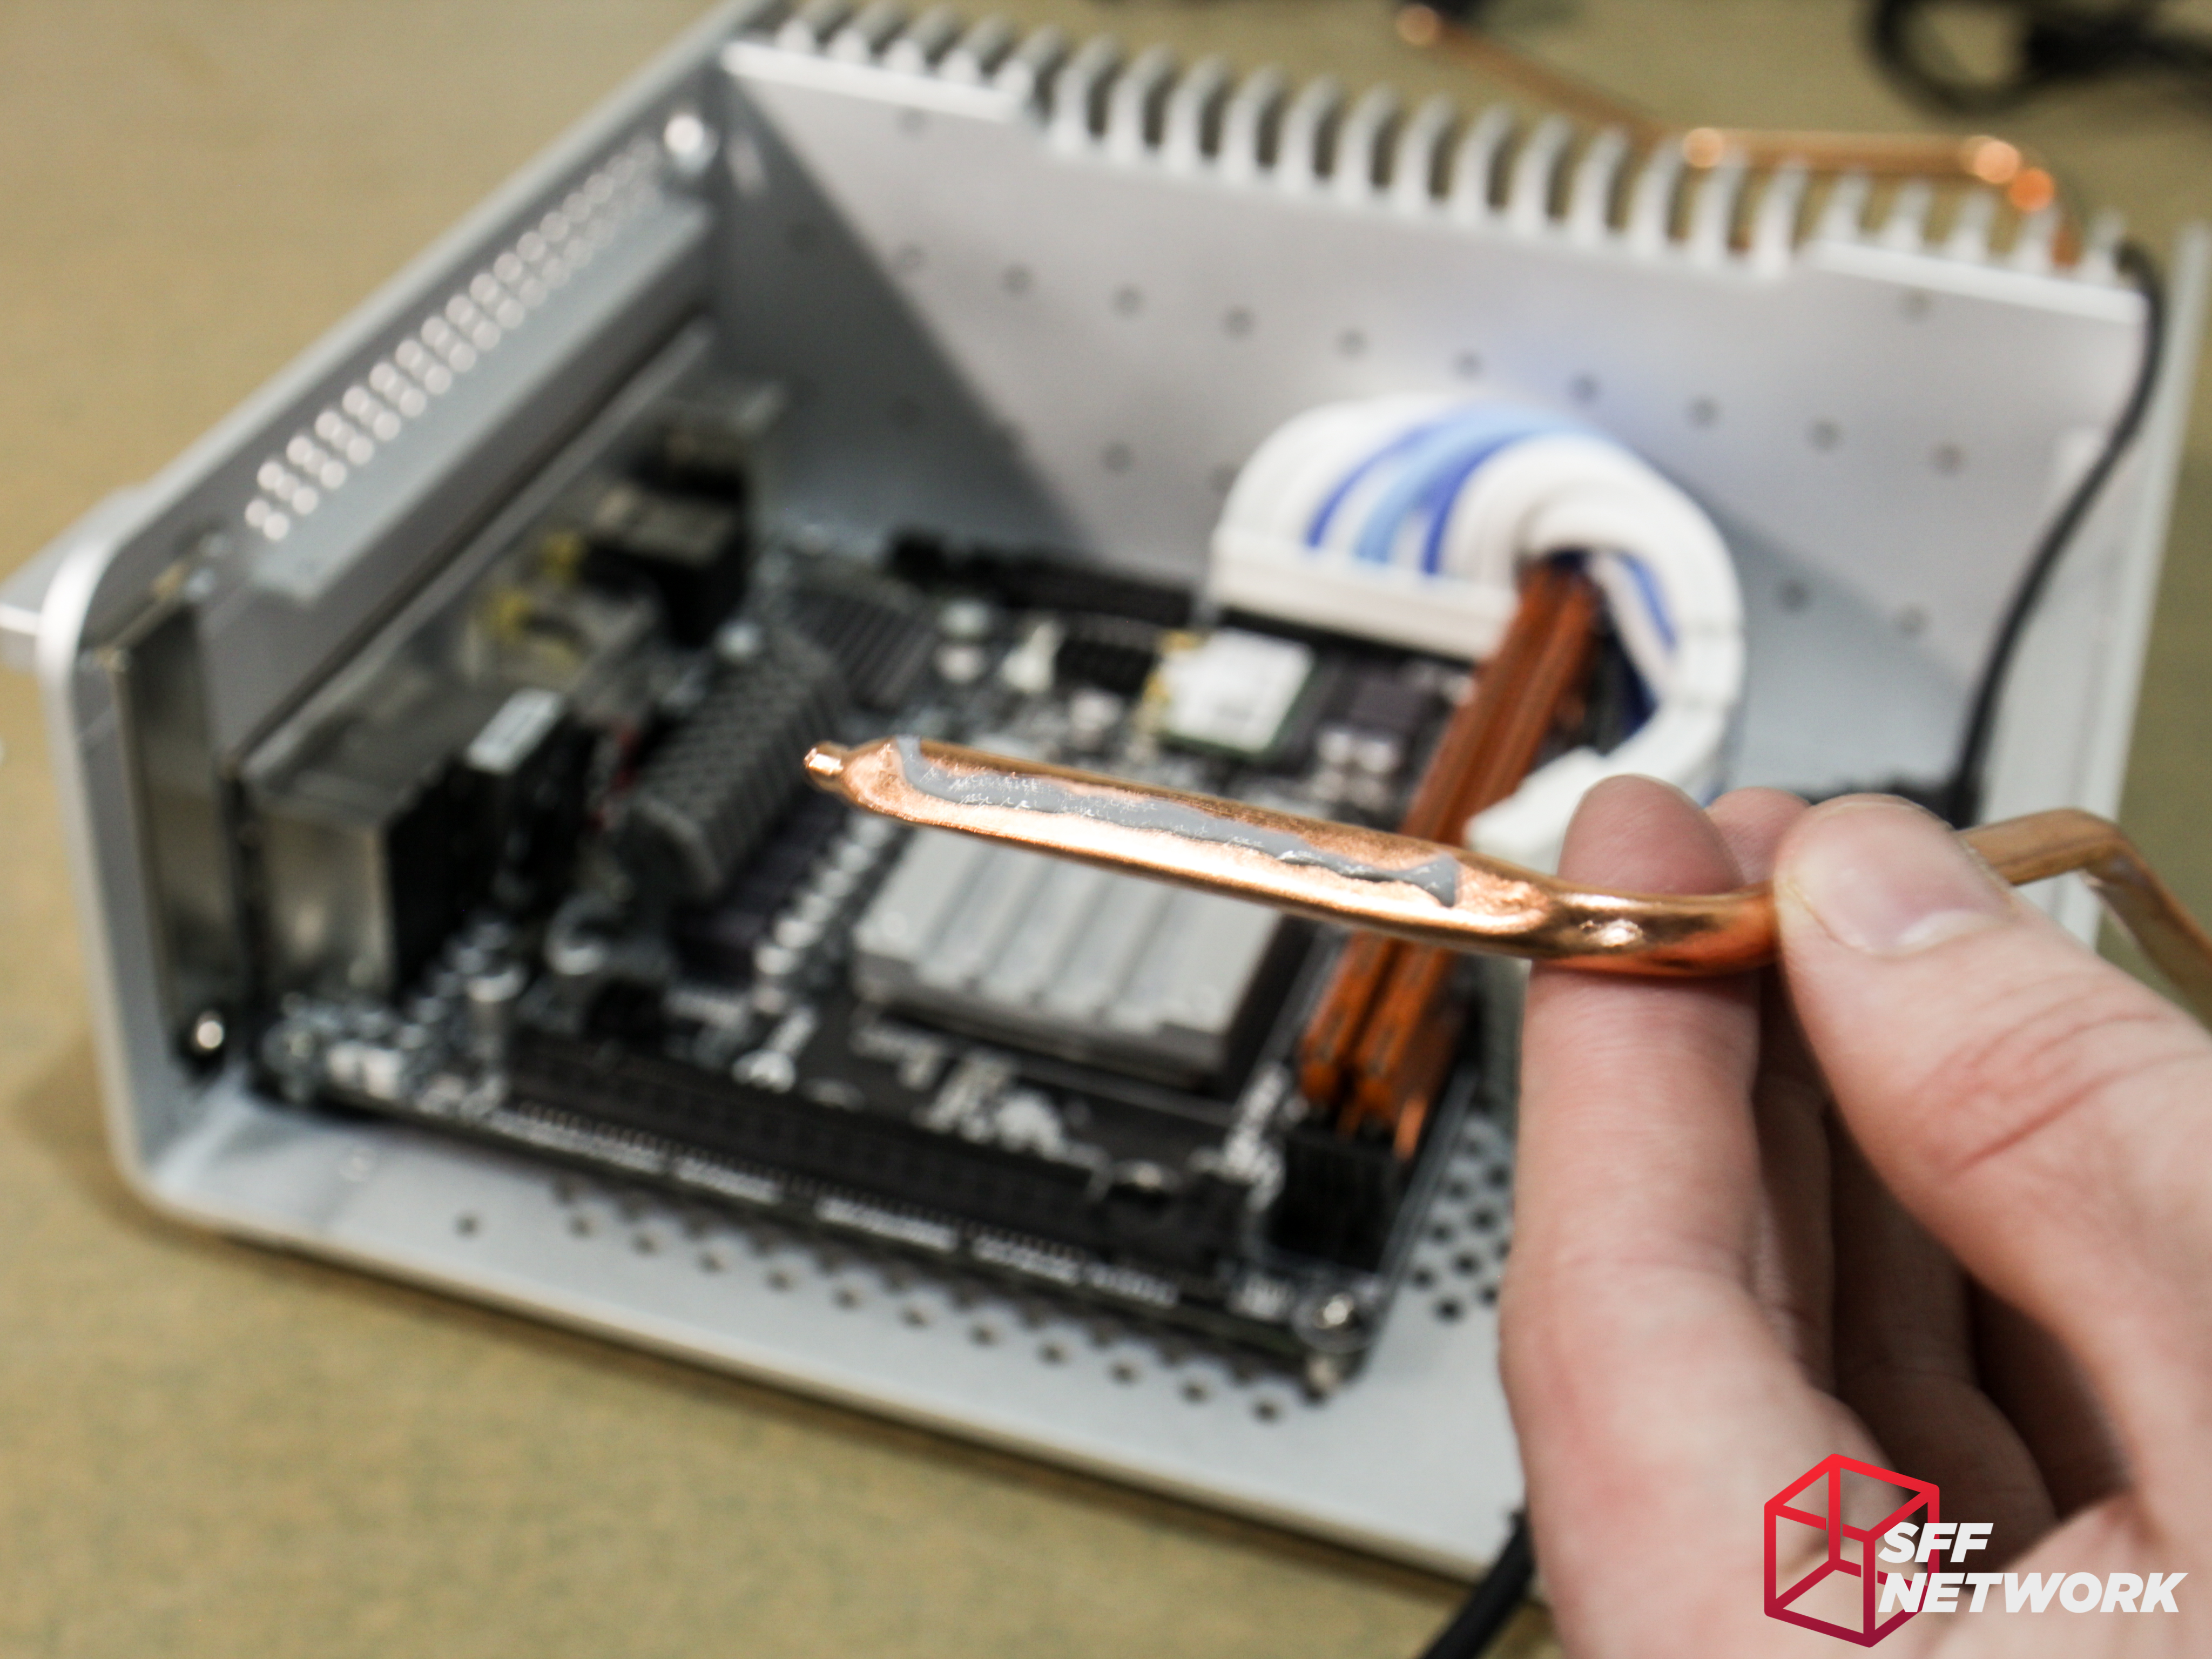
More thermal paste, this time applied to the heatpipe surface that will be touching the chassis/heatsink.
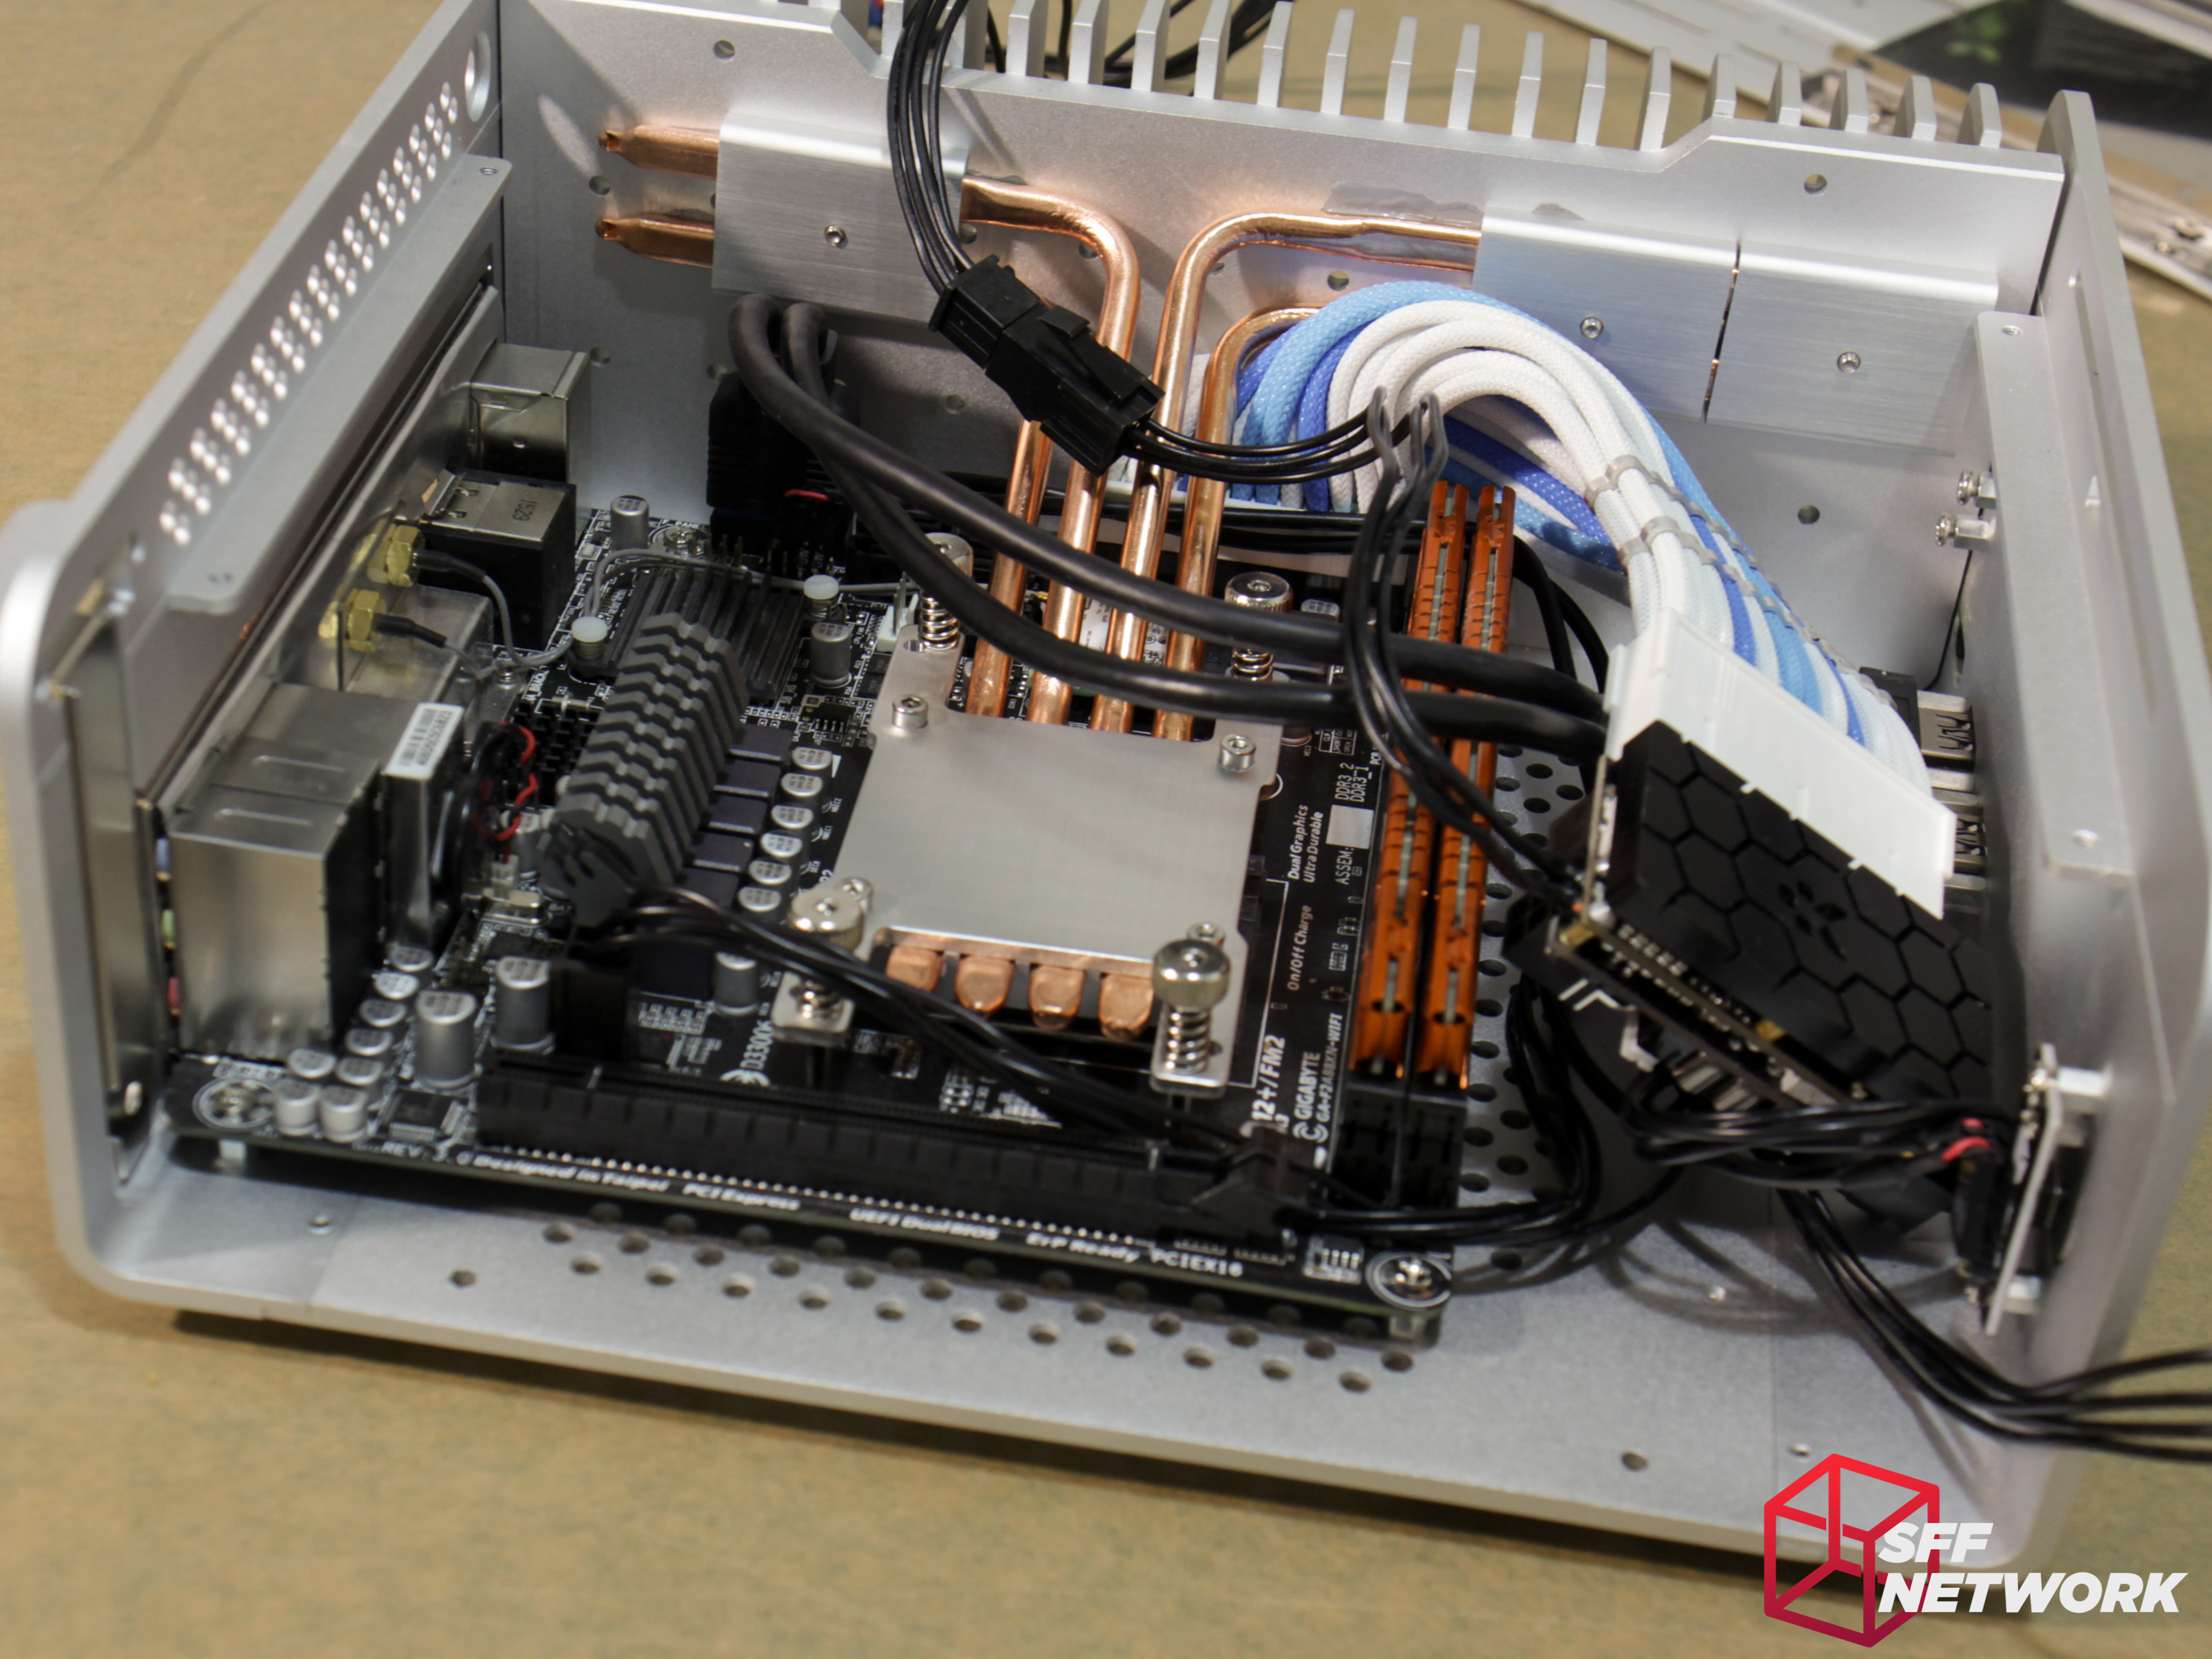
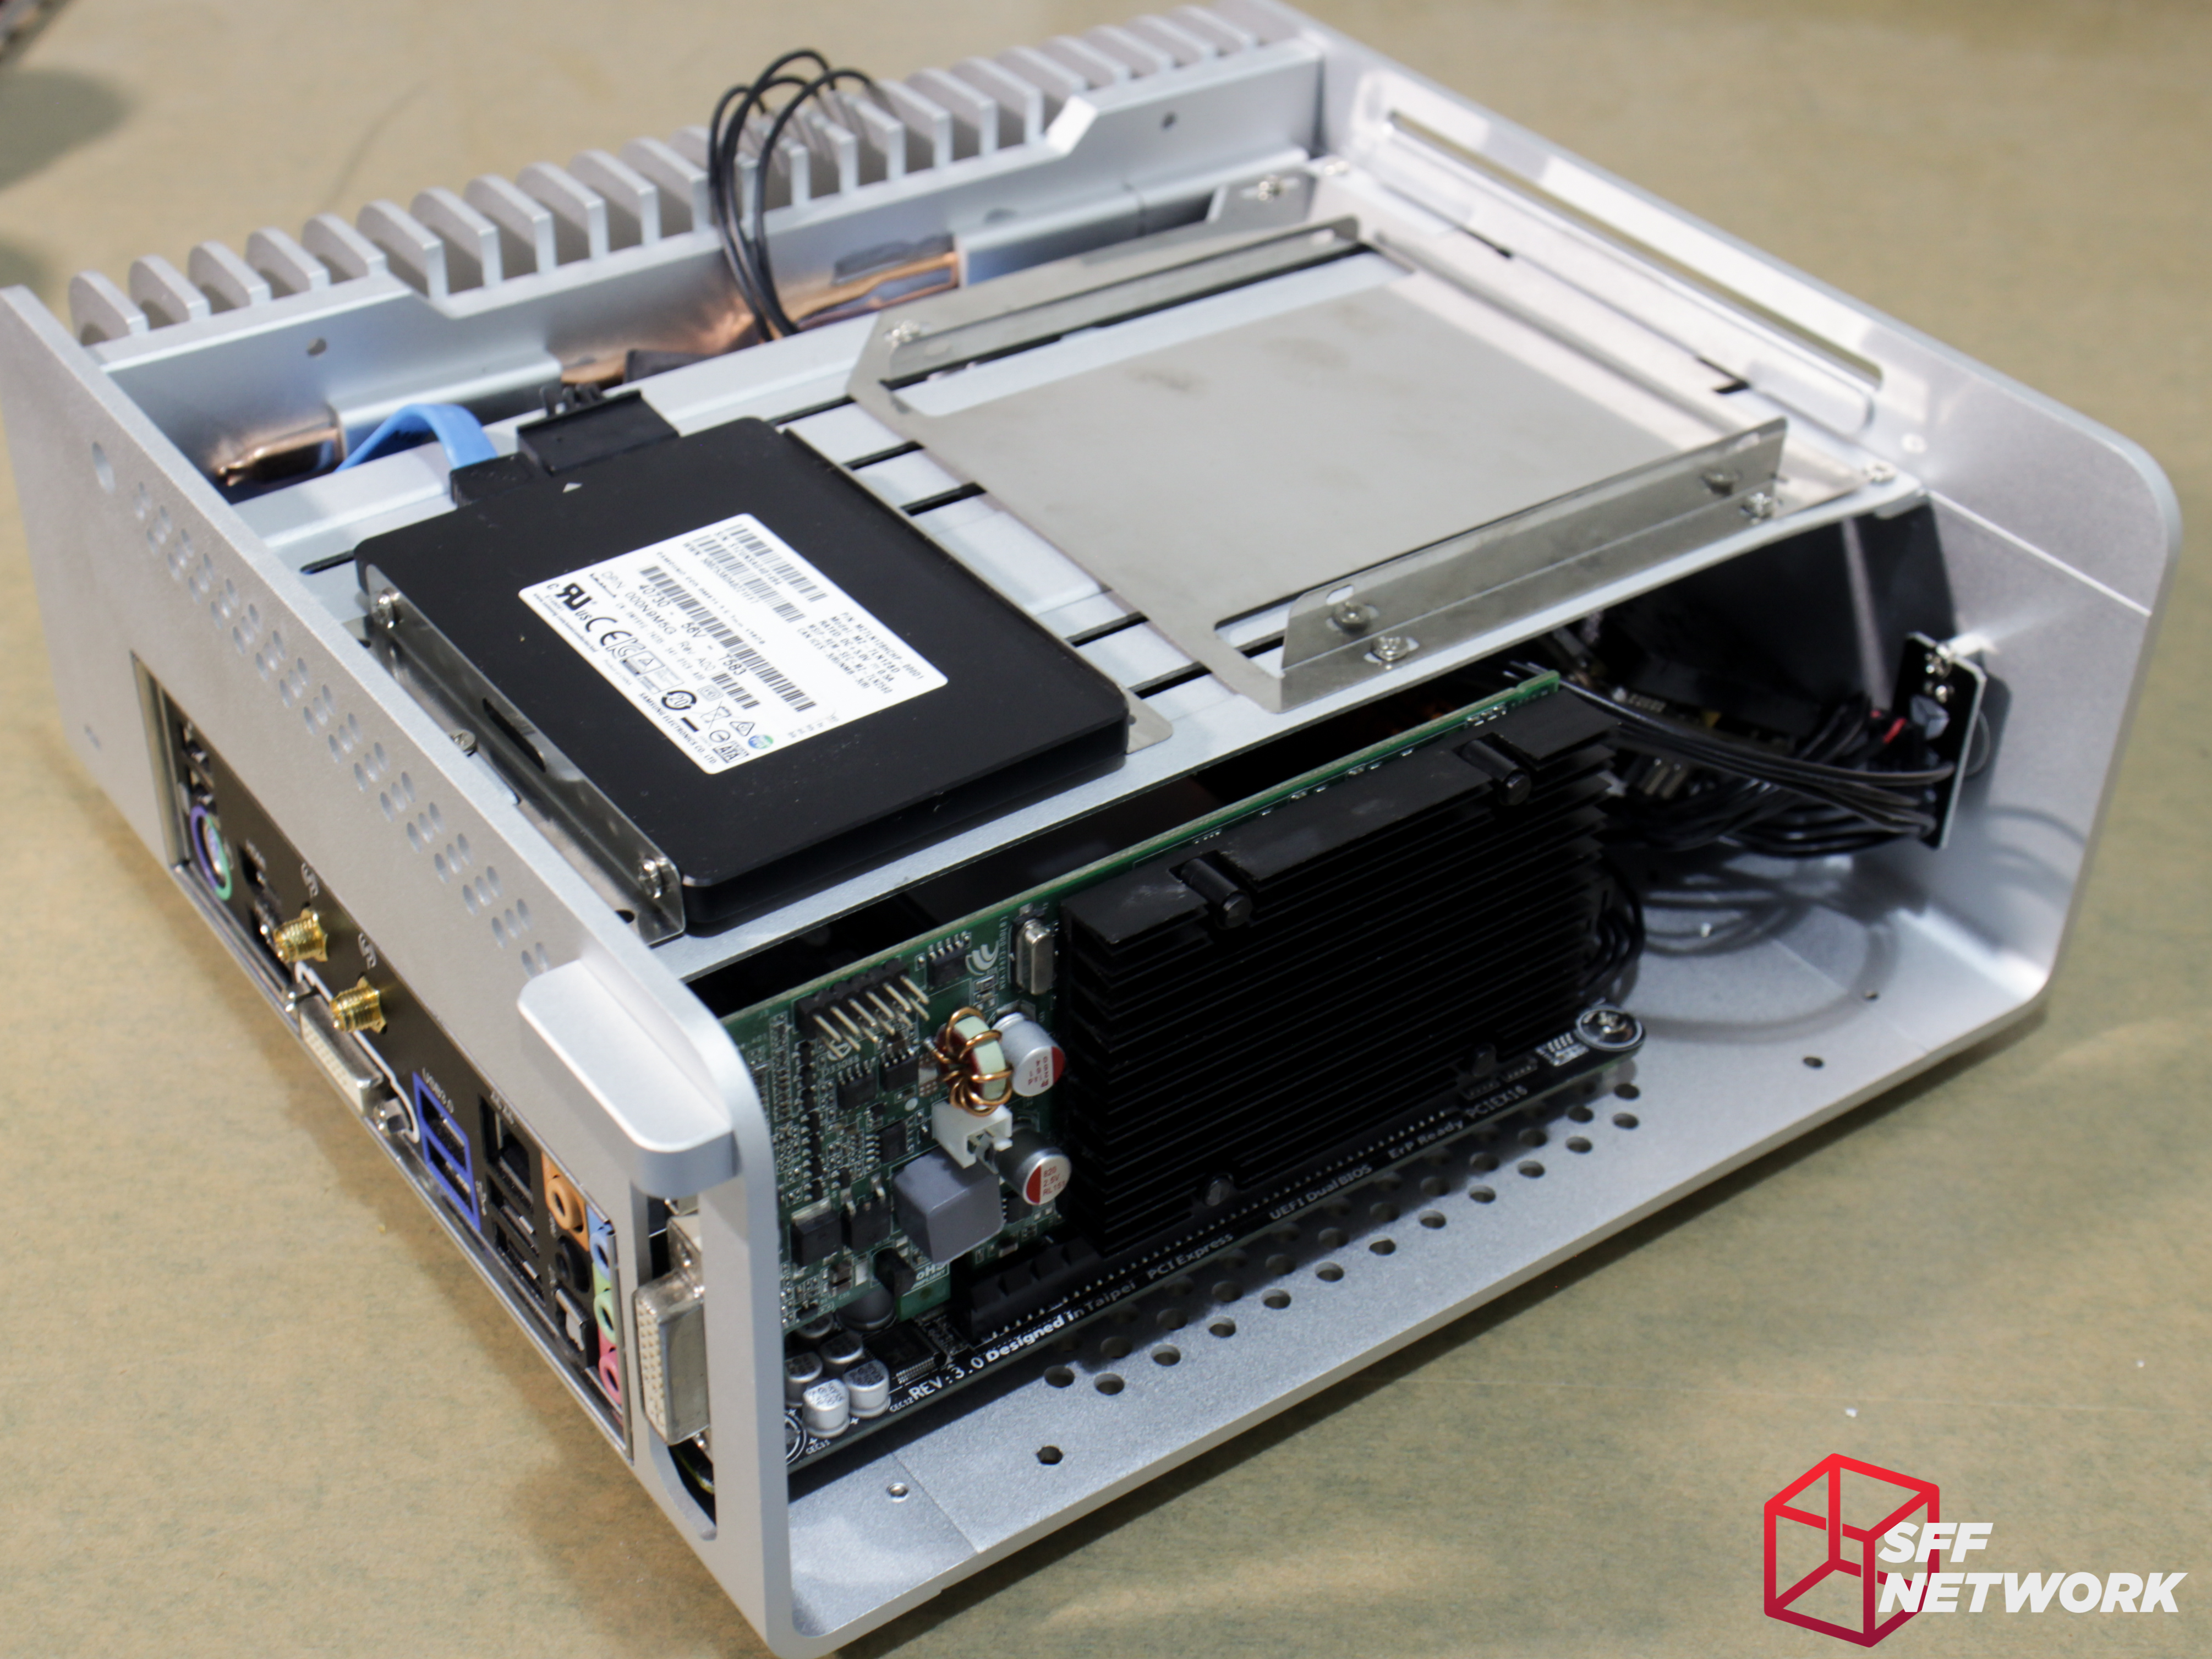
Those who are afraid of tight spaces look away now. Oh wait, you’re on Small Form Factor Network, this is par for the course here. Here I have installed the full cooling solution, the KMPKT DC-DC board, a derivative of the highly successful HDPlex 160W unit) and associated cabling.
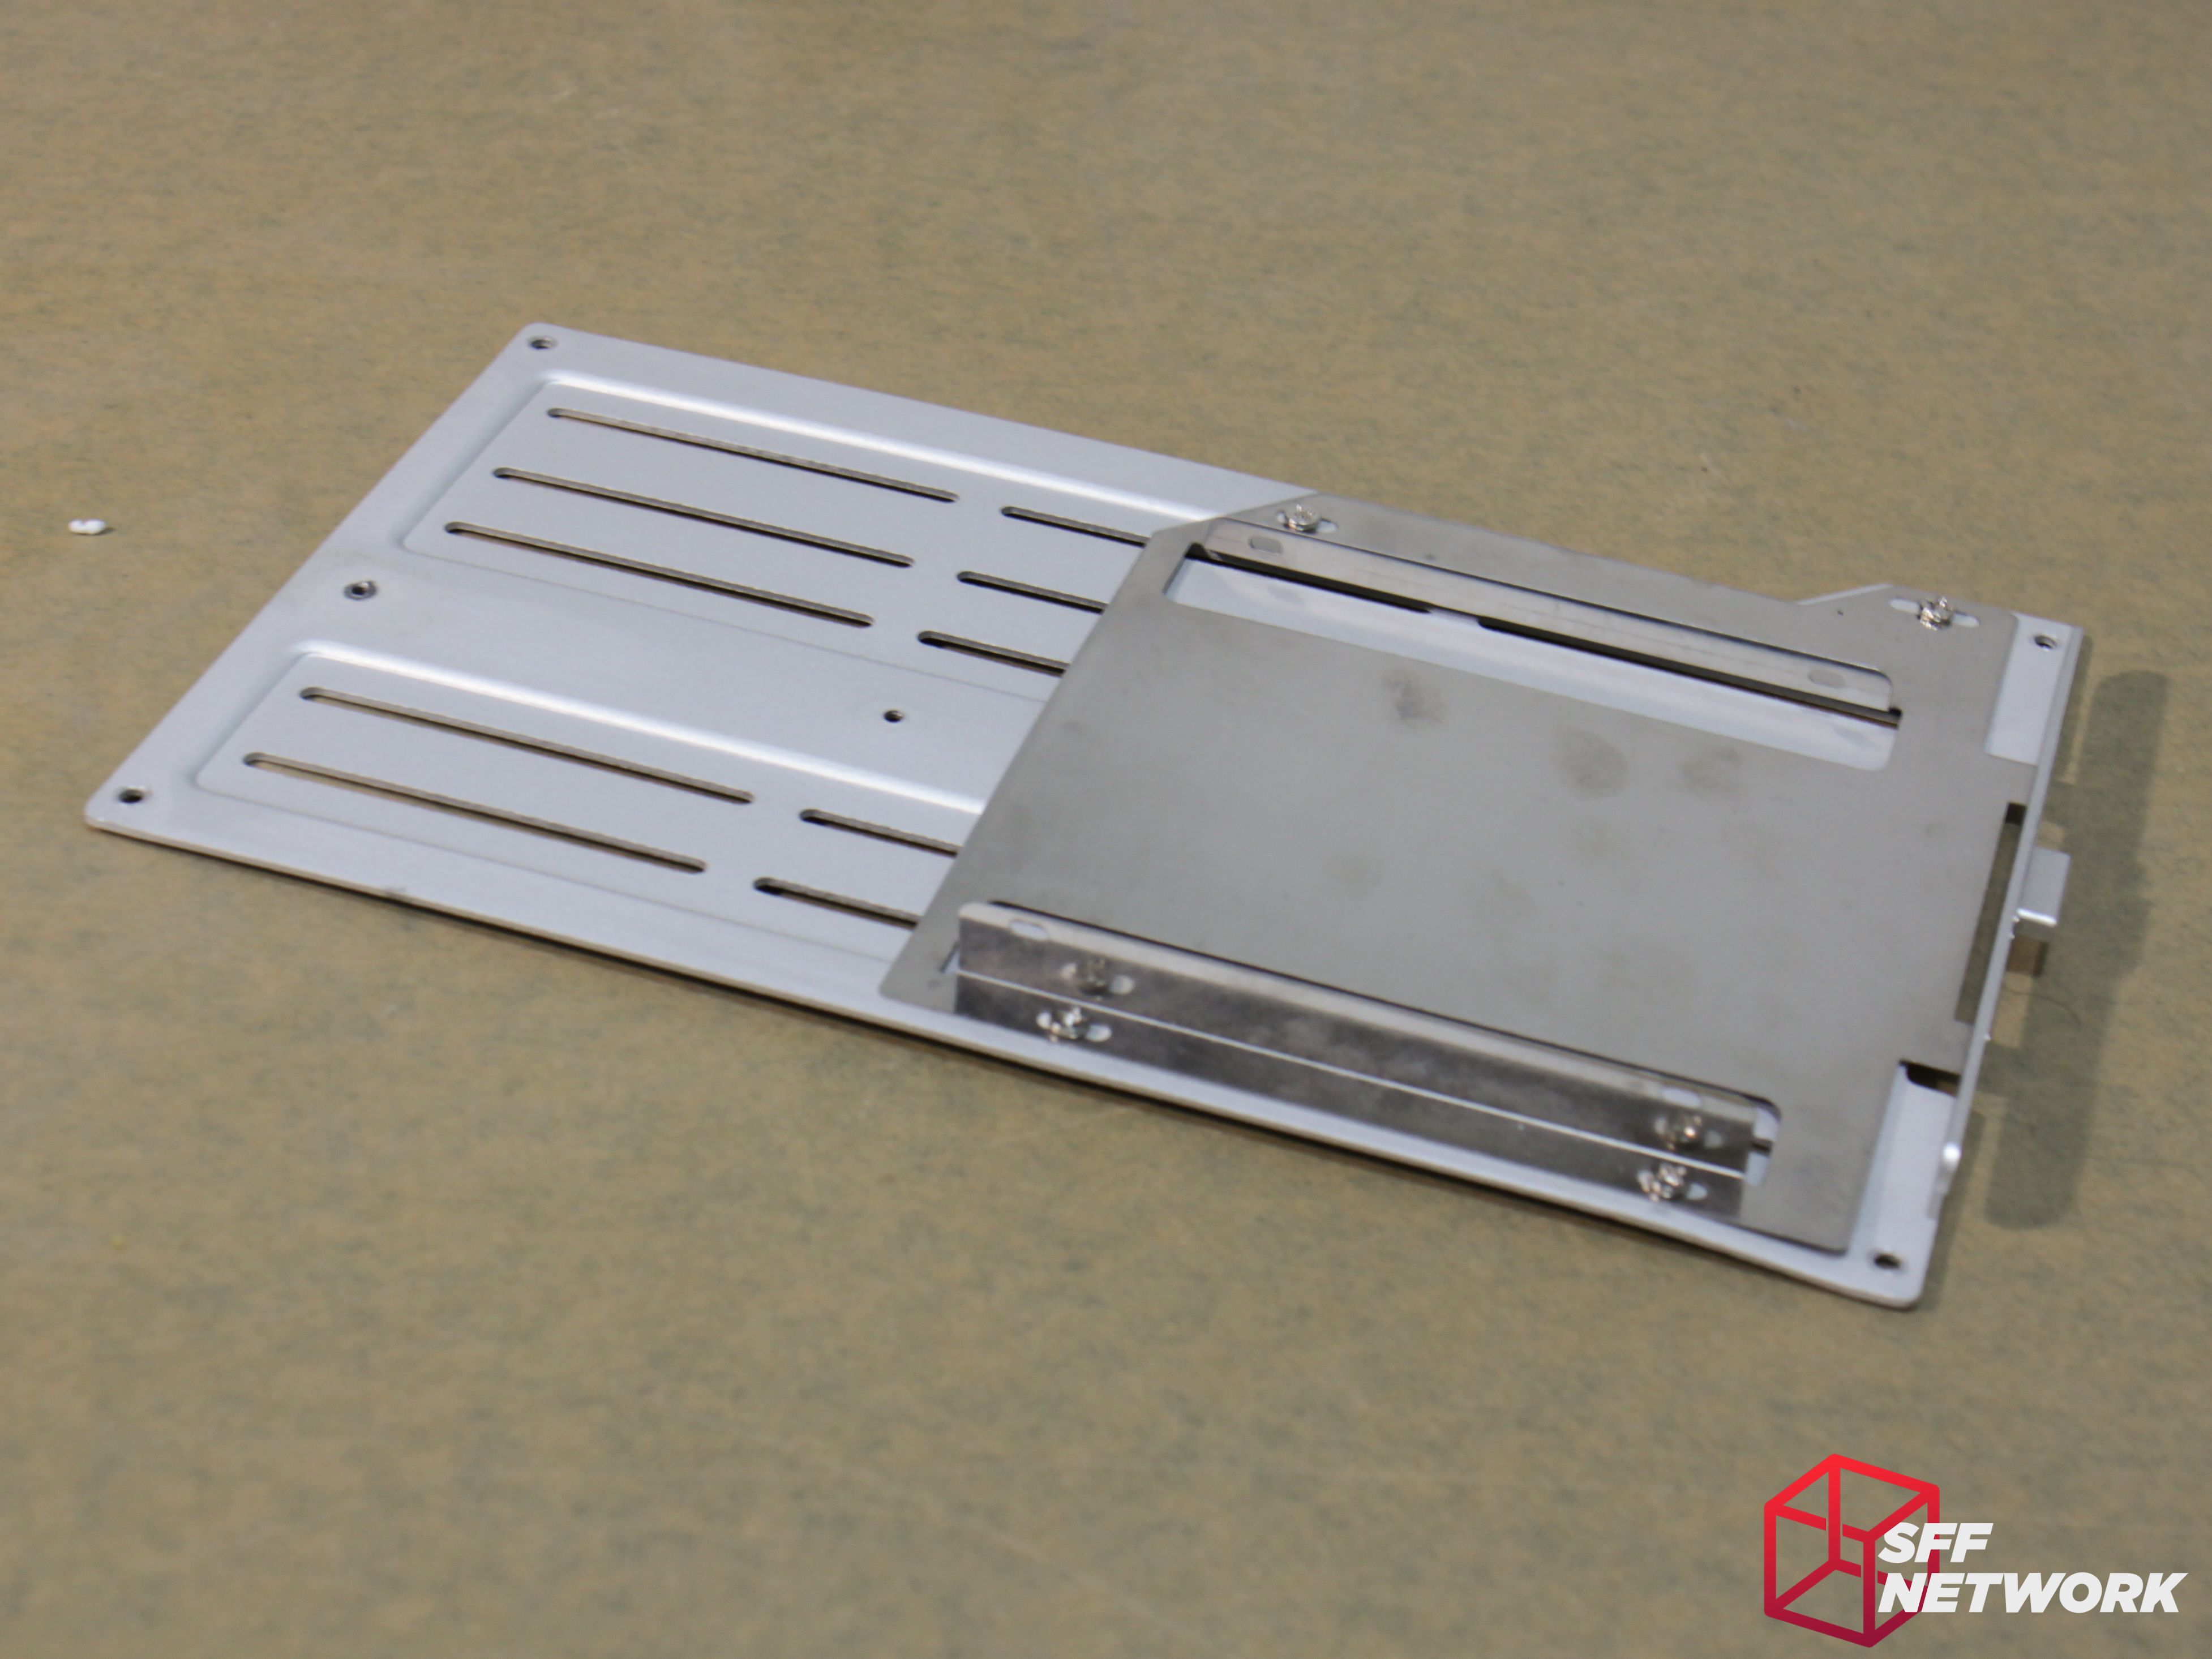
Next up, drive mounting. The drive tray included in with the Streacom FC8 Alpha can support numerous drive configurations, hence the slots. Streacom’s manual for this is very helpful, showing the best way to mount various drives. Ignore the greasy fingerprints – the shiny steel that the optical drive mounts to is a magnet for them!
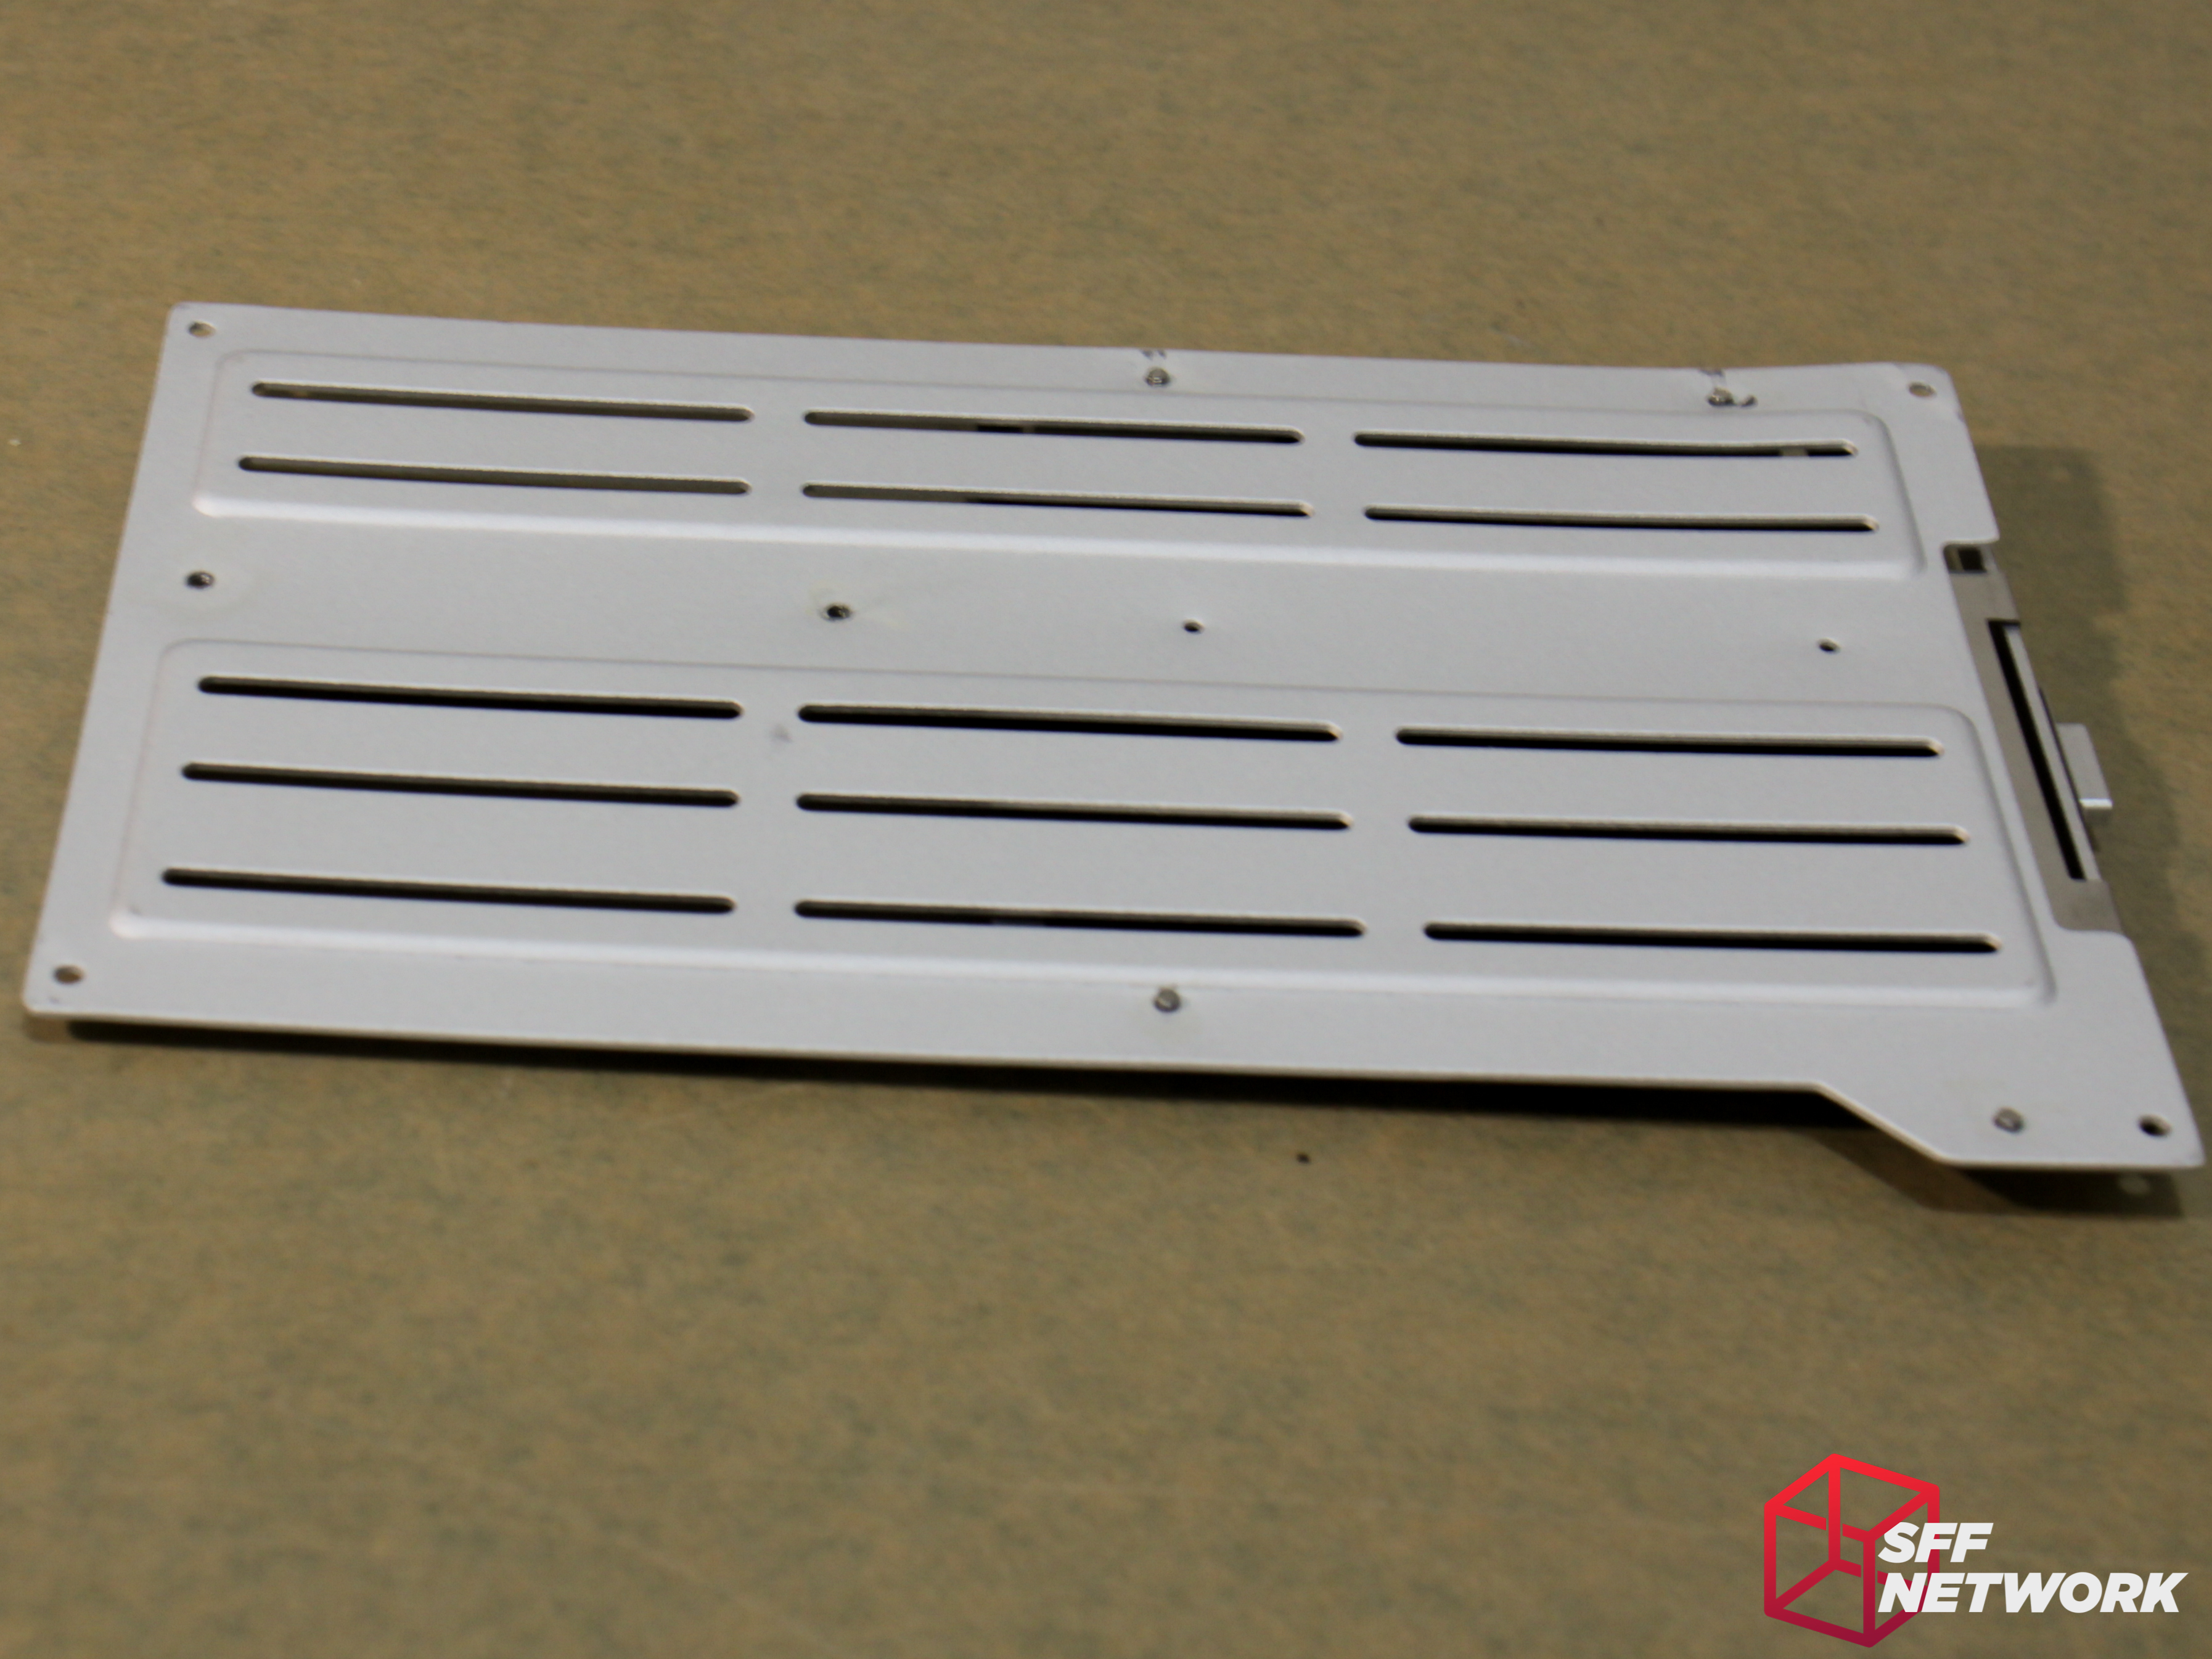
Underneath the drive tray, the slots are more obvious. On this side, you can mount 1-2 3.5″ drives, or 1-3 2.5″ drives;

As mentioned above, the manual supplied with the FC8 Alpha is fantastic. The above is a section of the manual, and is a great overview of drive mounting.
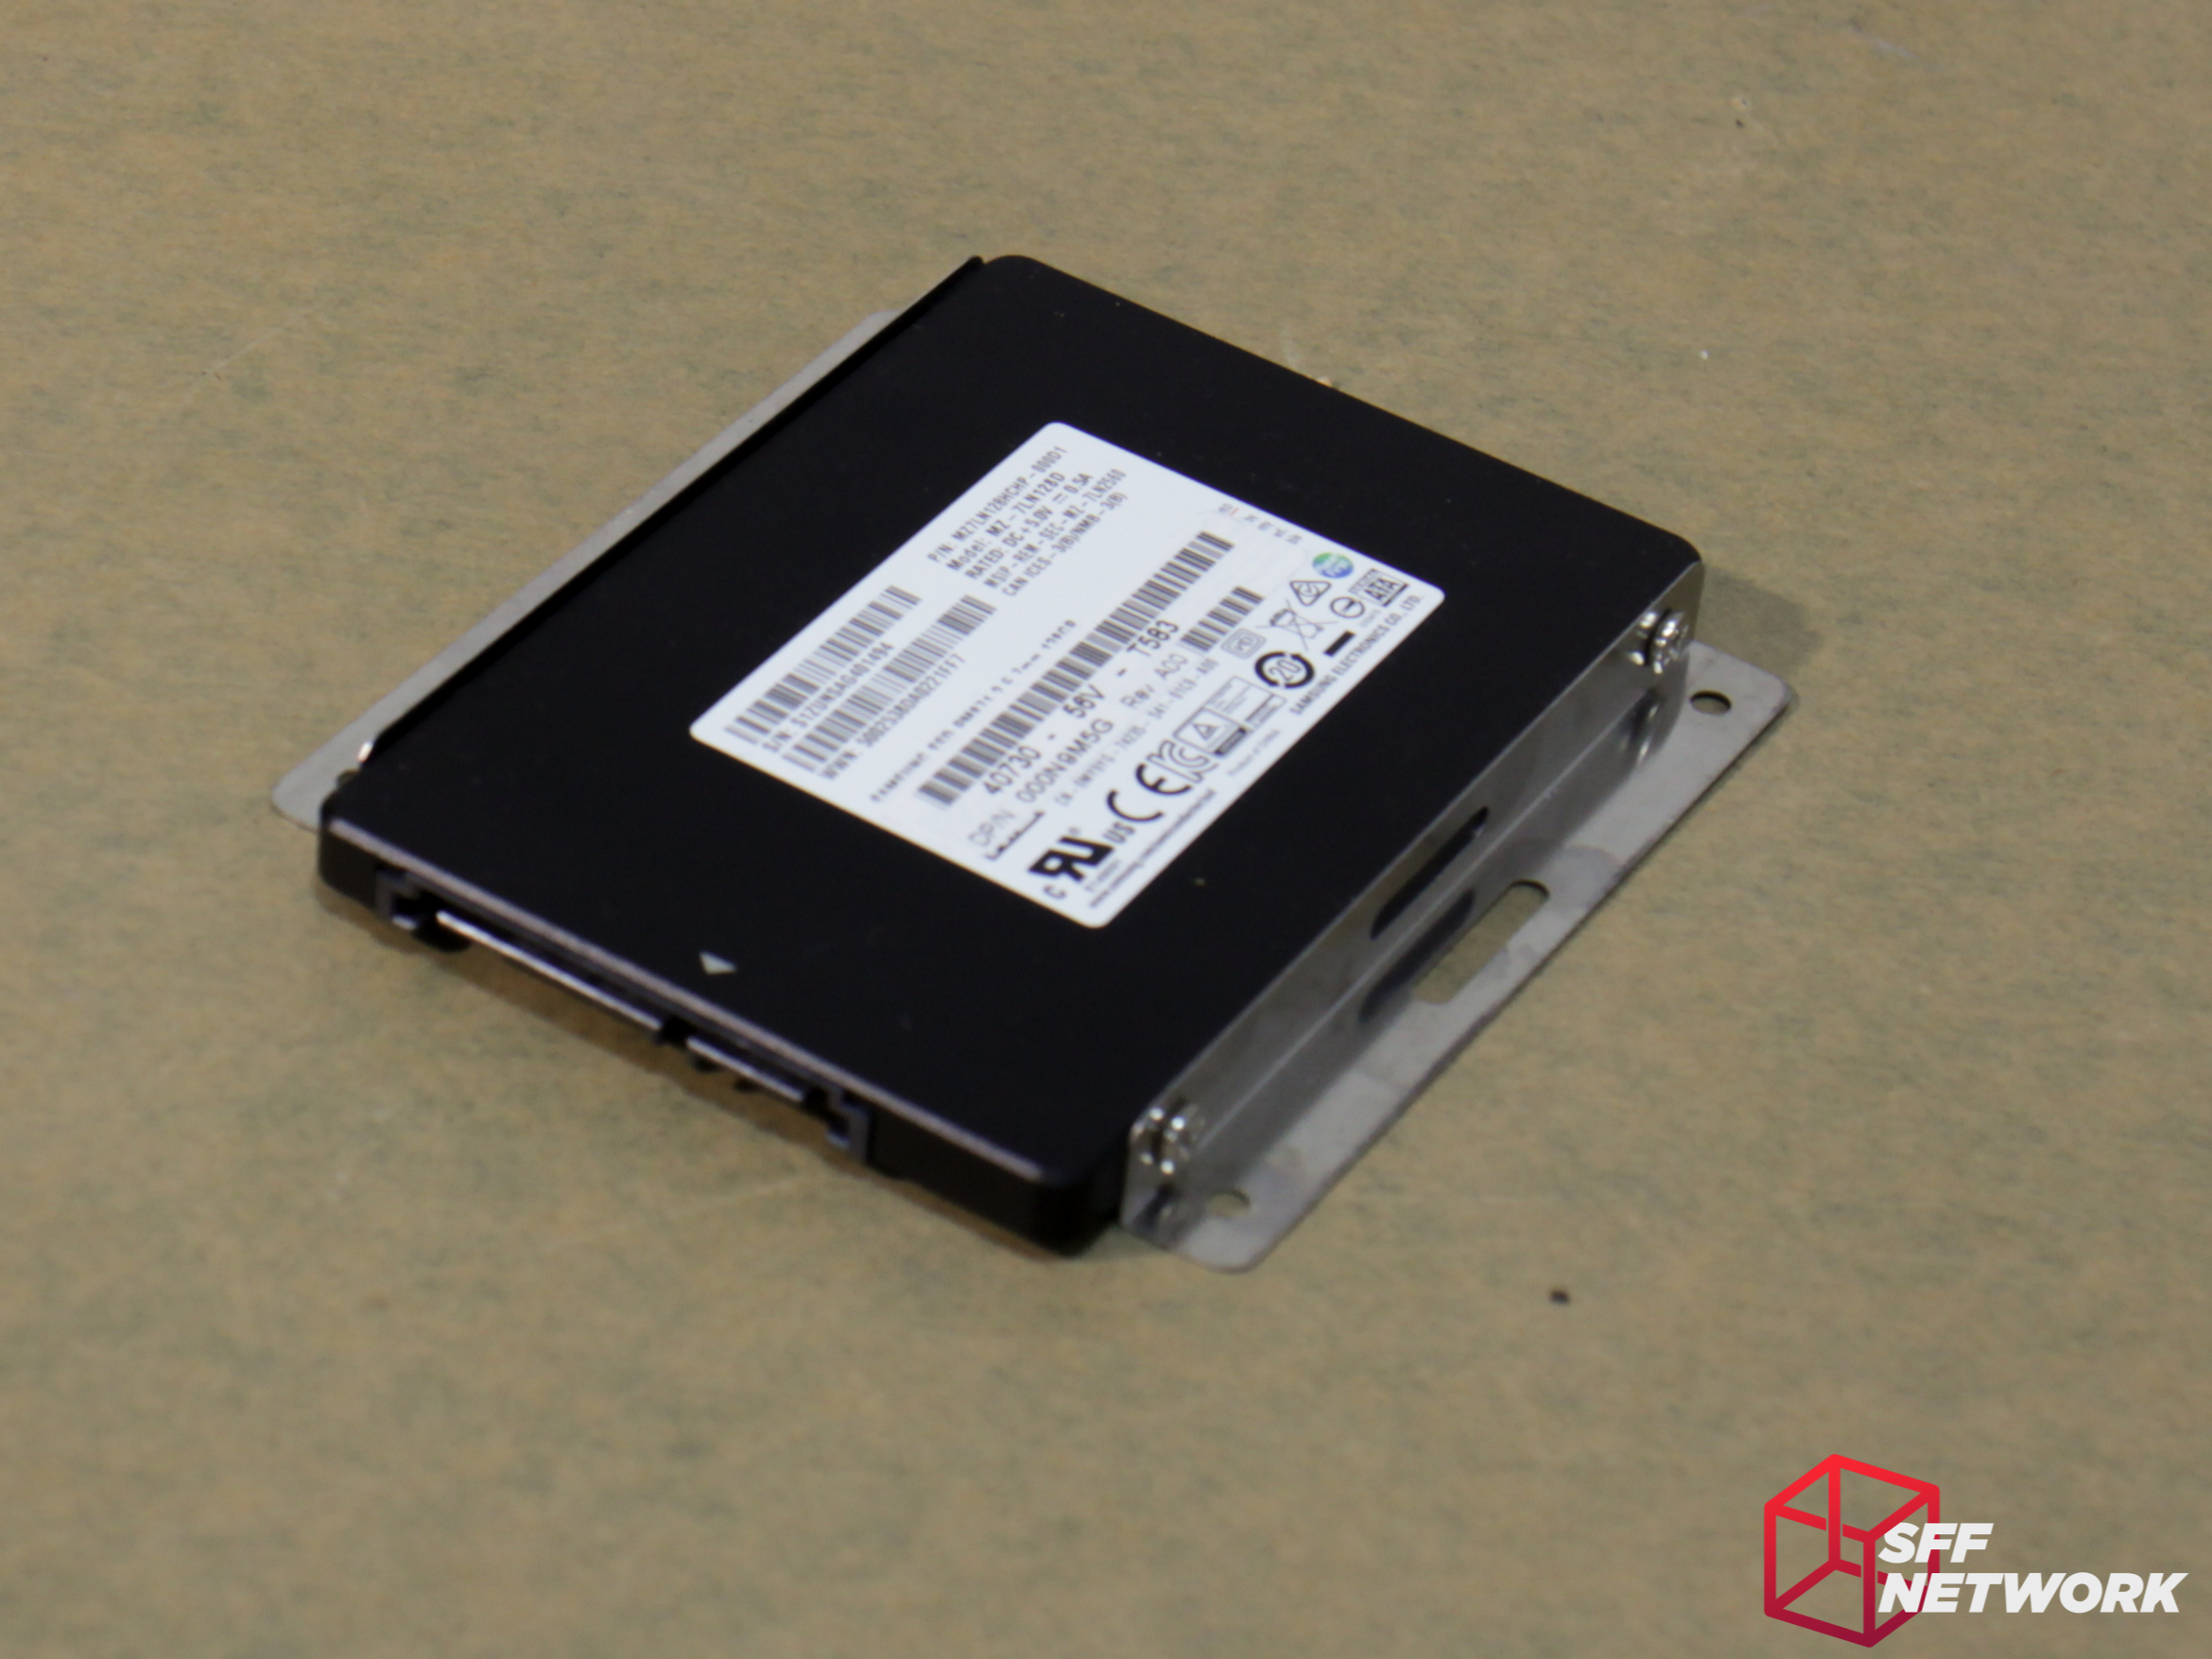
I’m going to mount the 2.5″ SSD that we are using to test to the top of the drive tray. In this case (pun intended), the two brackets included in the accessory kit are attached to the side of the drive;
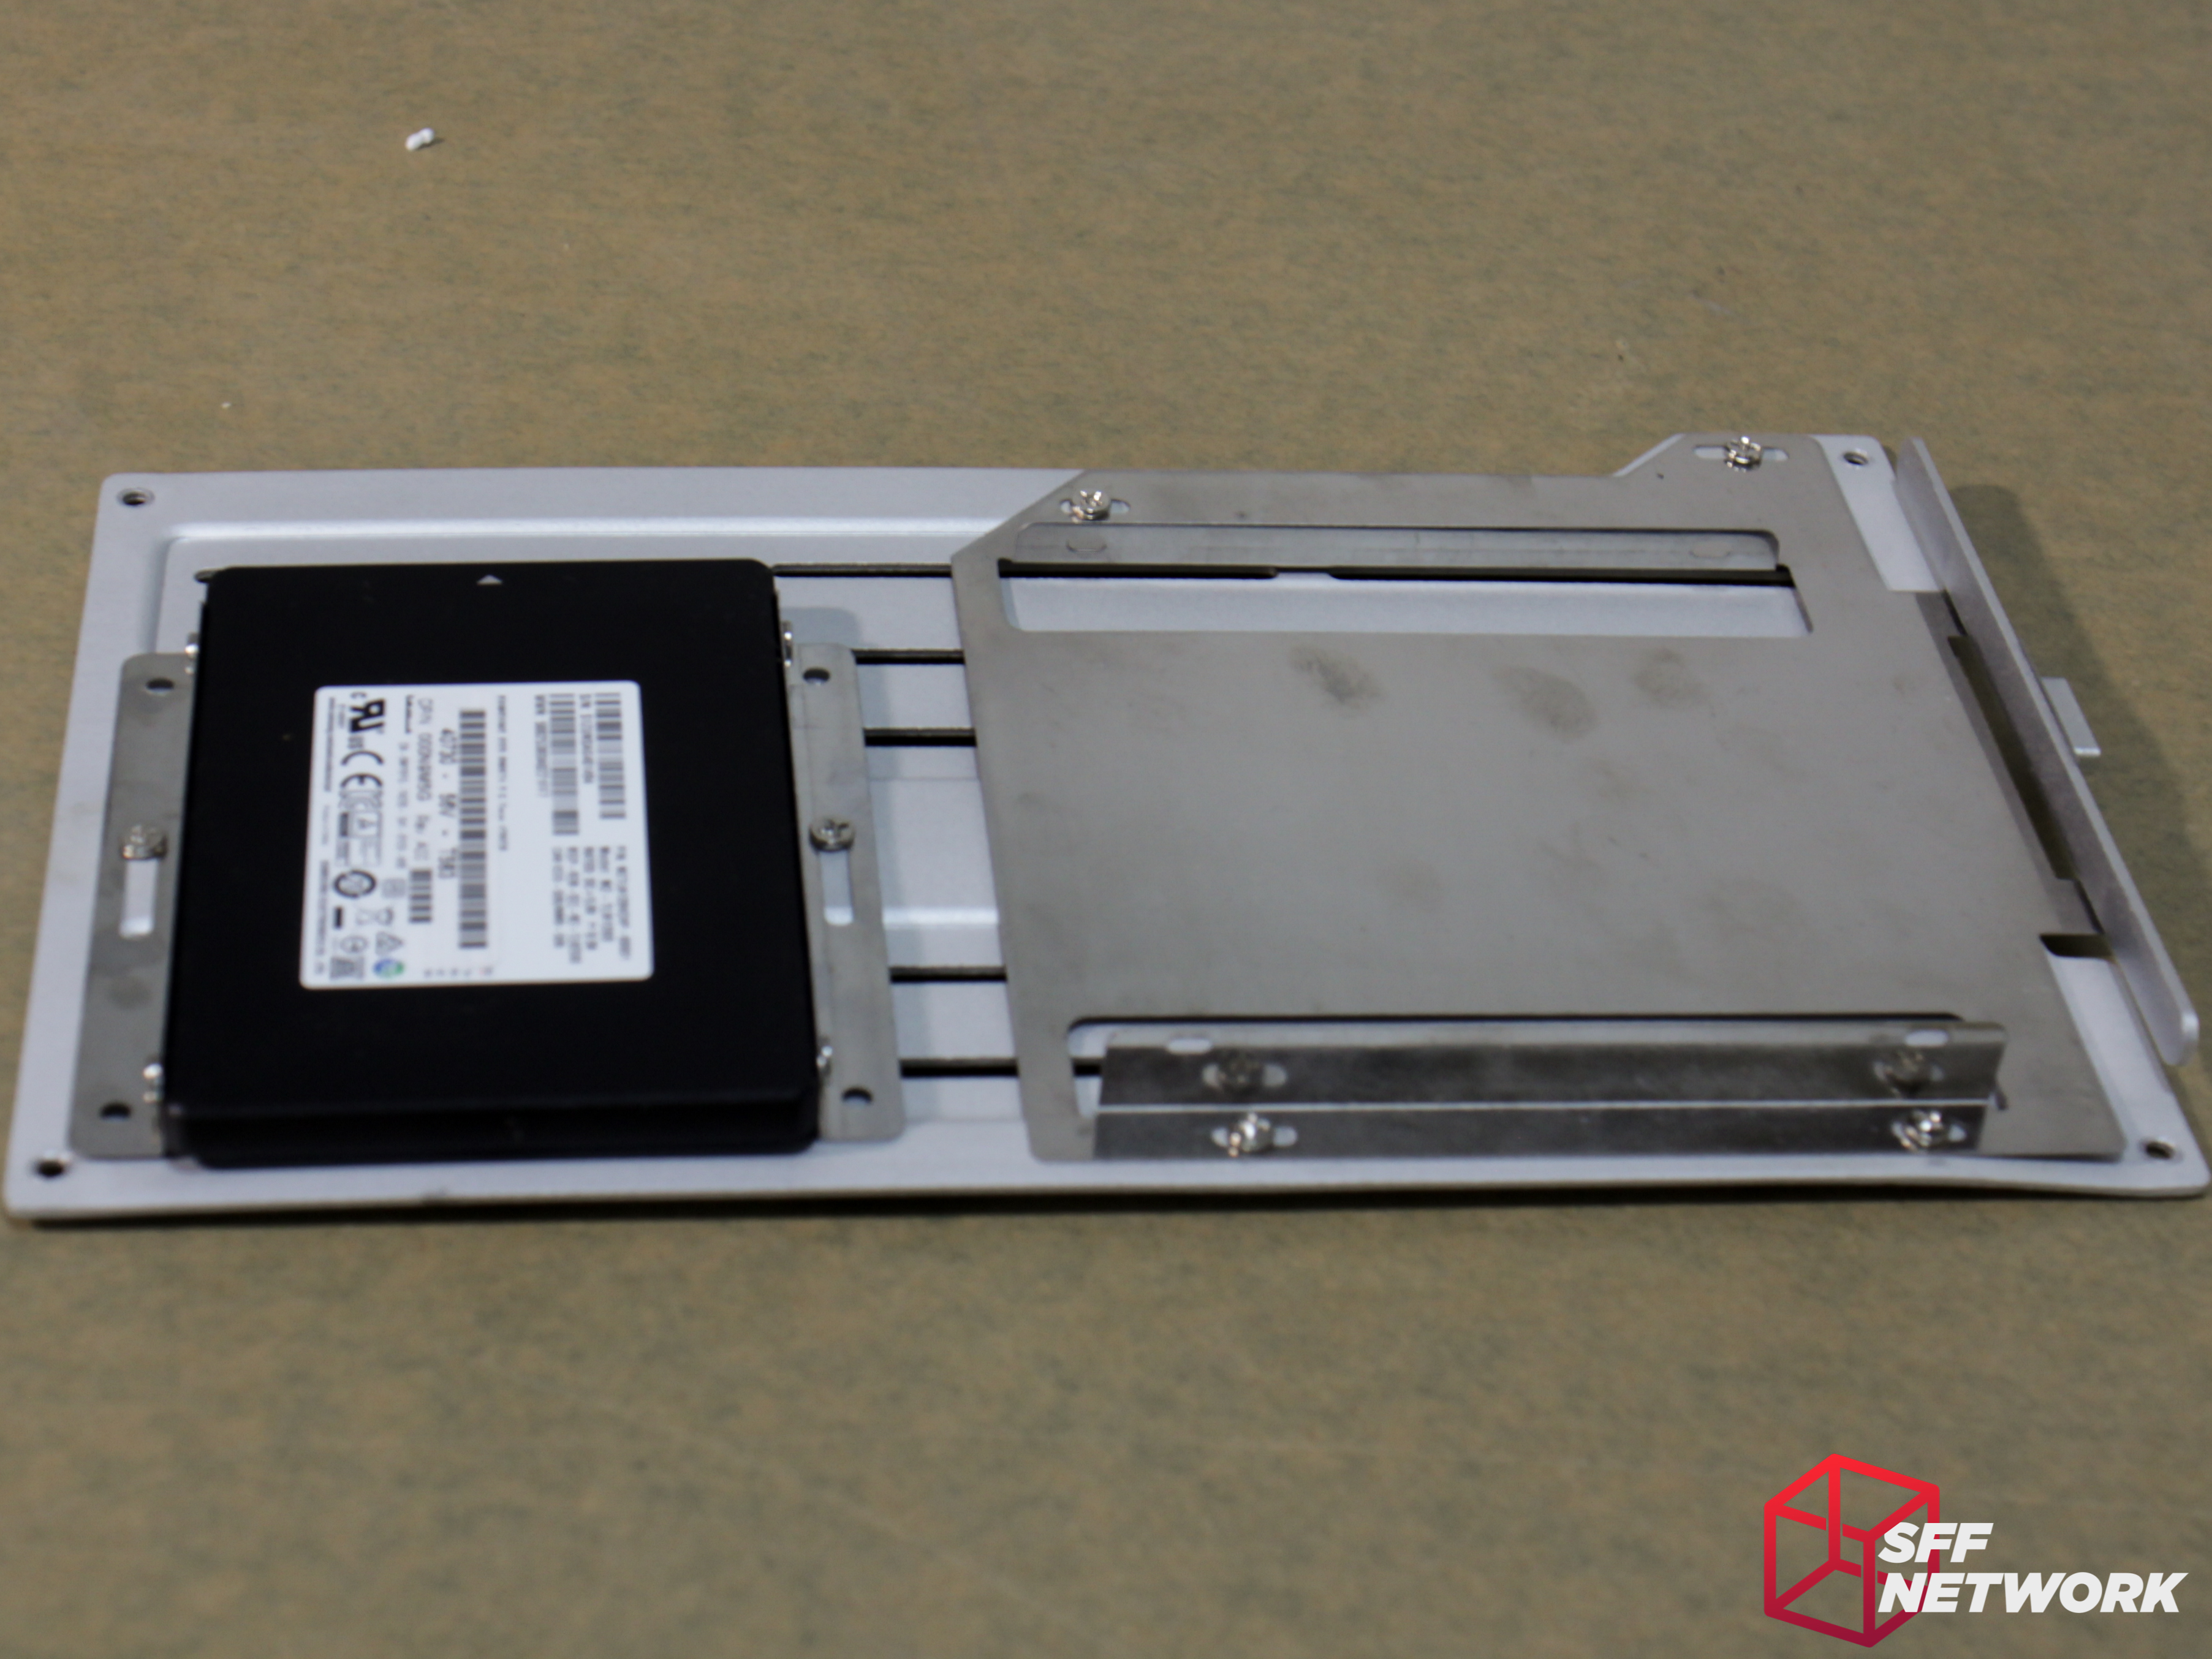
And then screwed into the top of the tray in the two provided threaded holes.
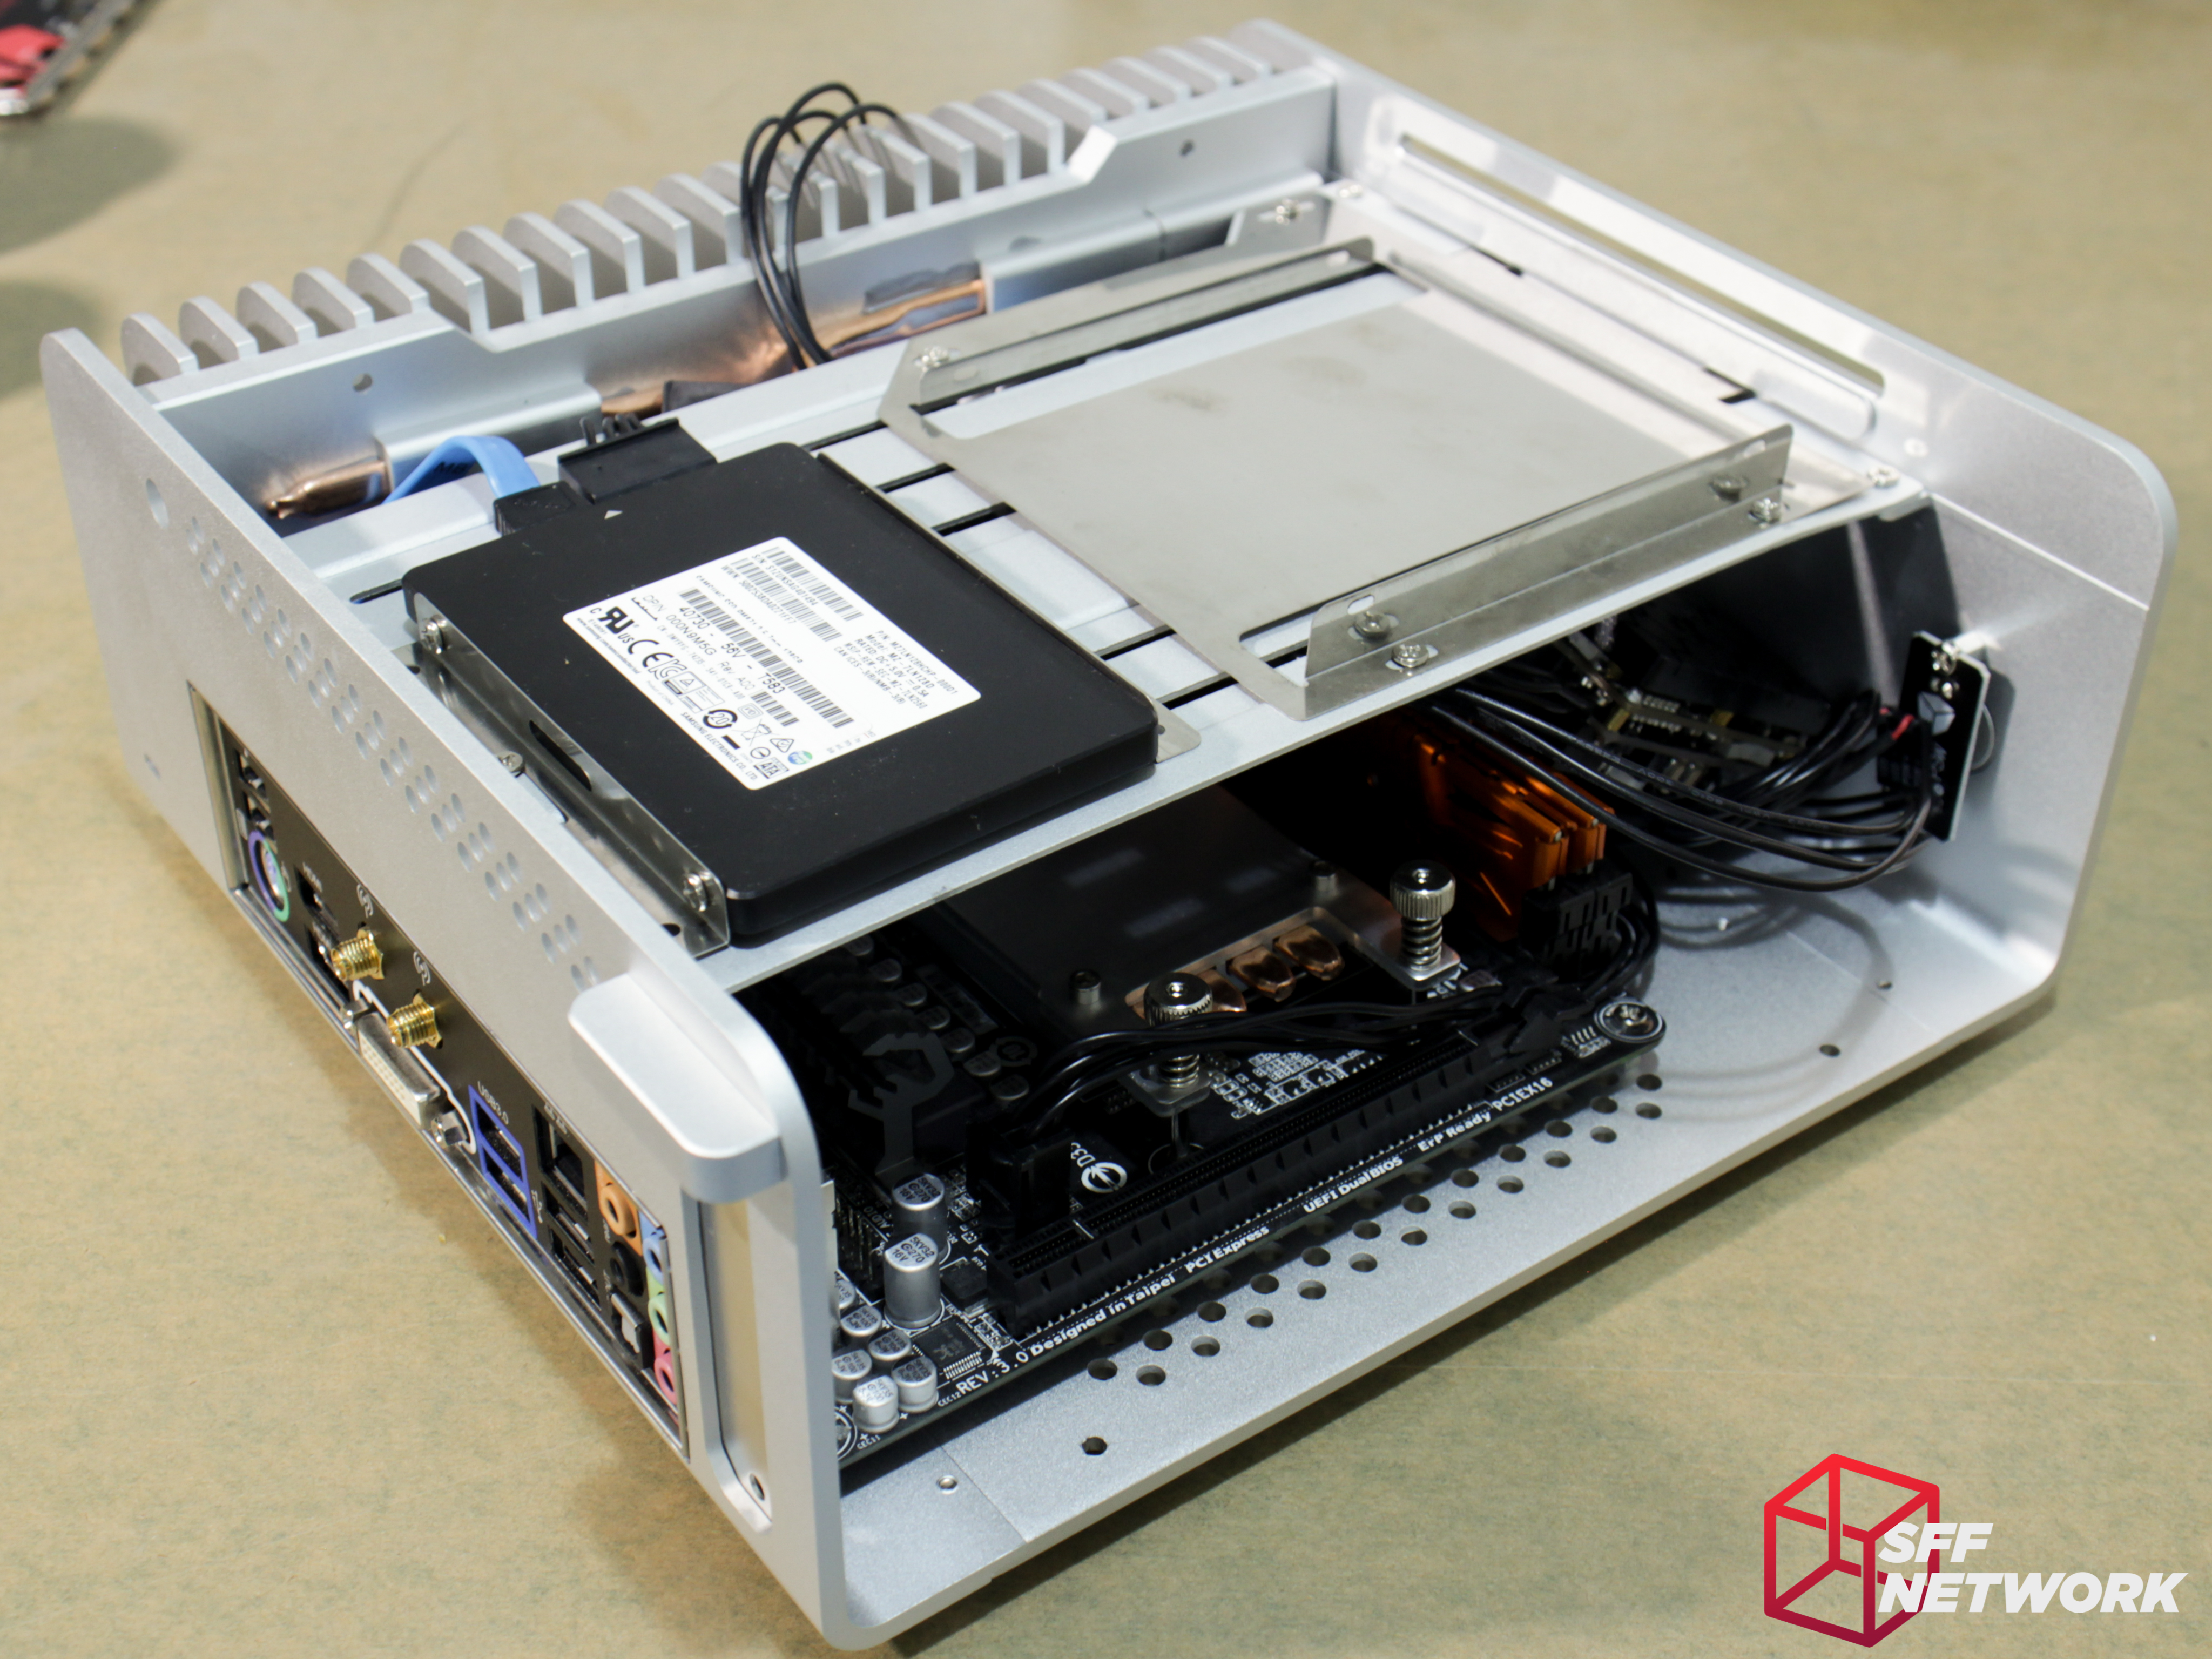
I reinstalled the tray, and the 4 screws, and we’re almost there. The tray also hides my.. terrible.. cable management in this build.
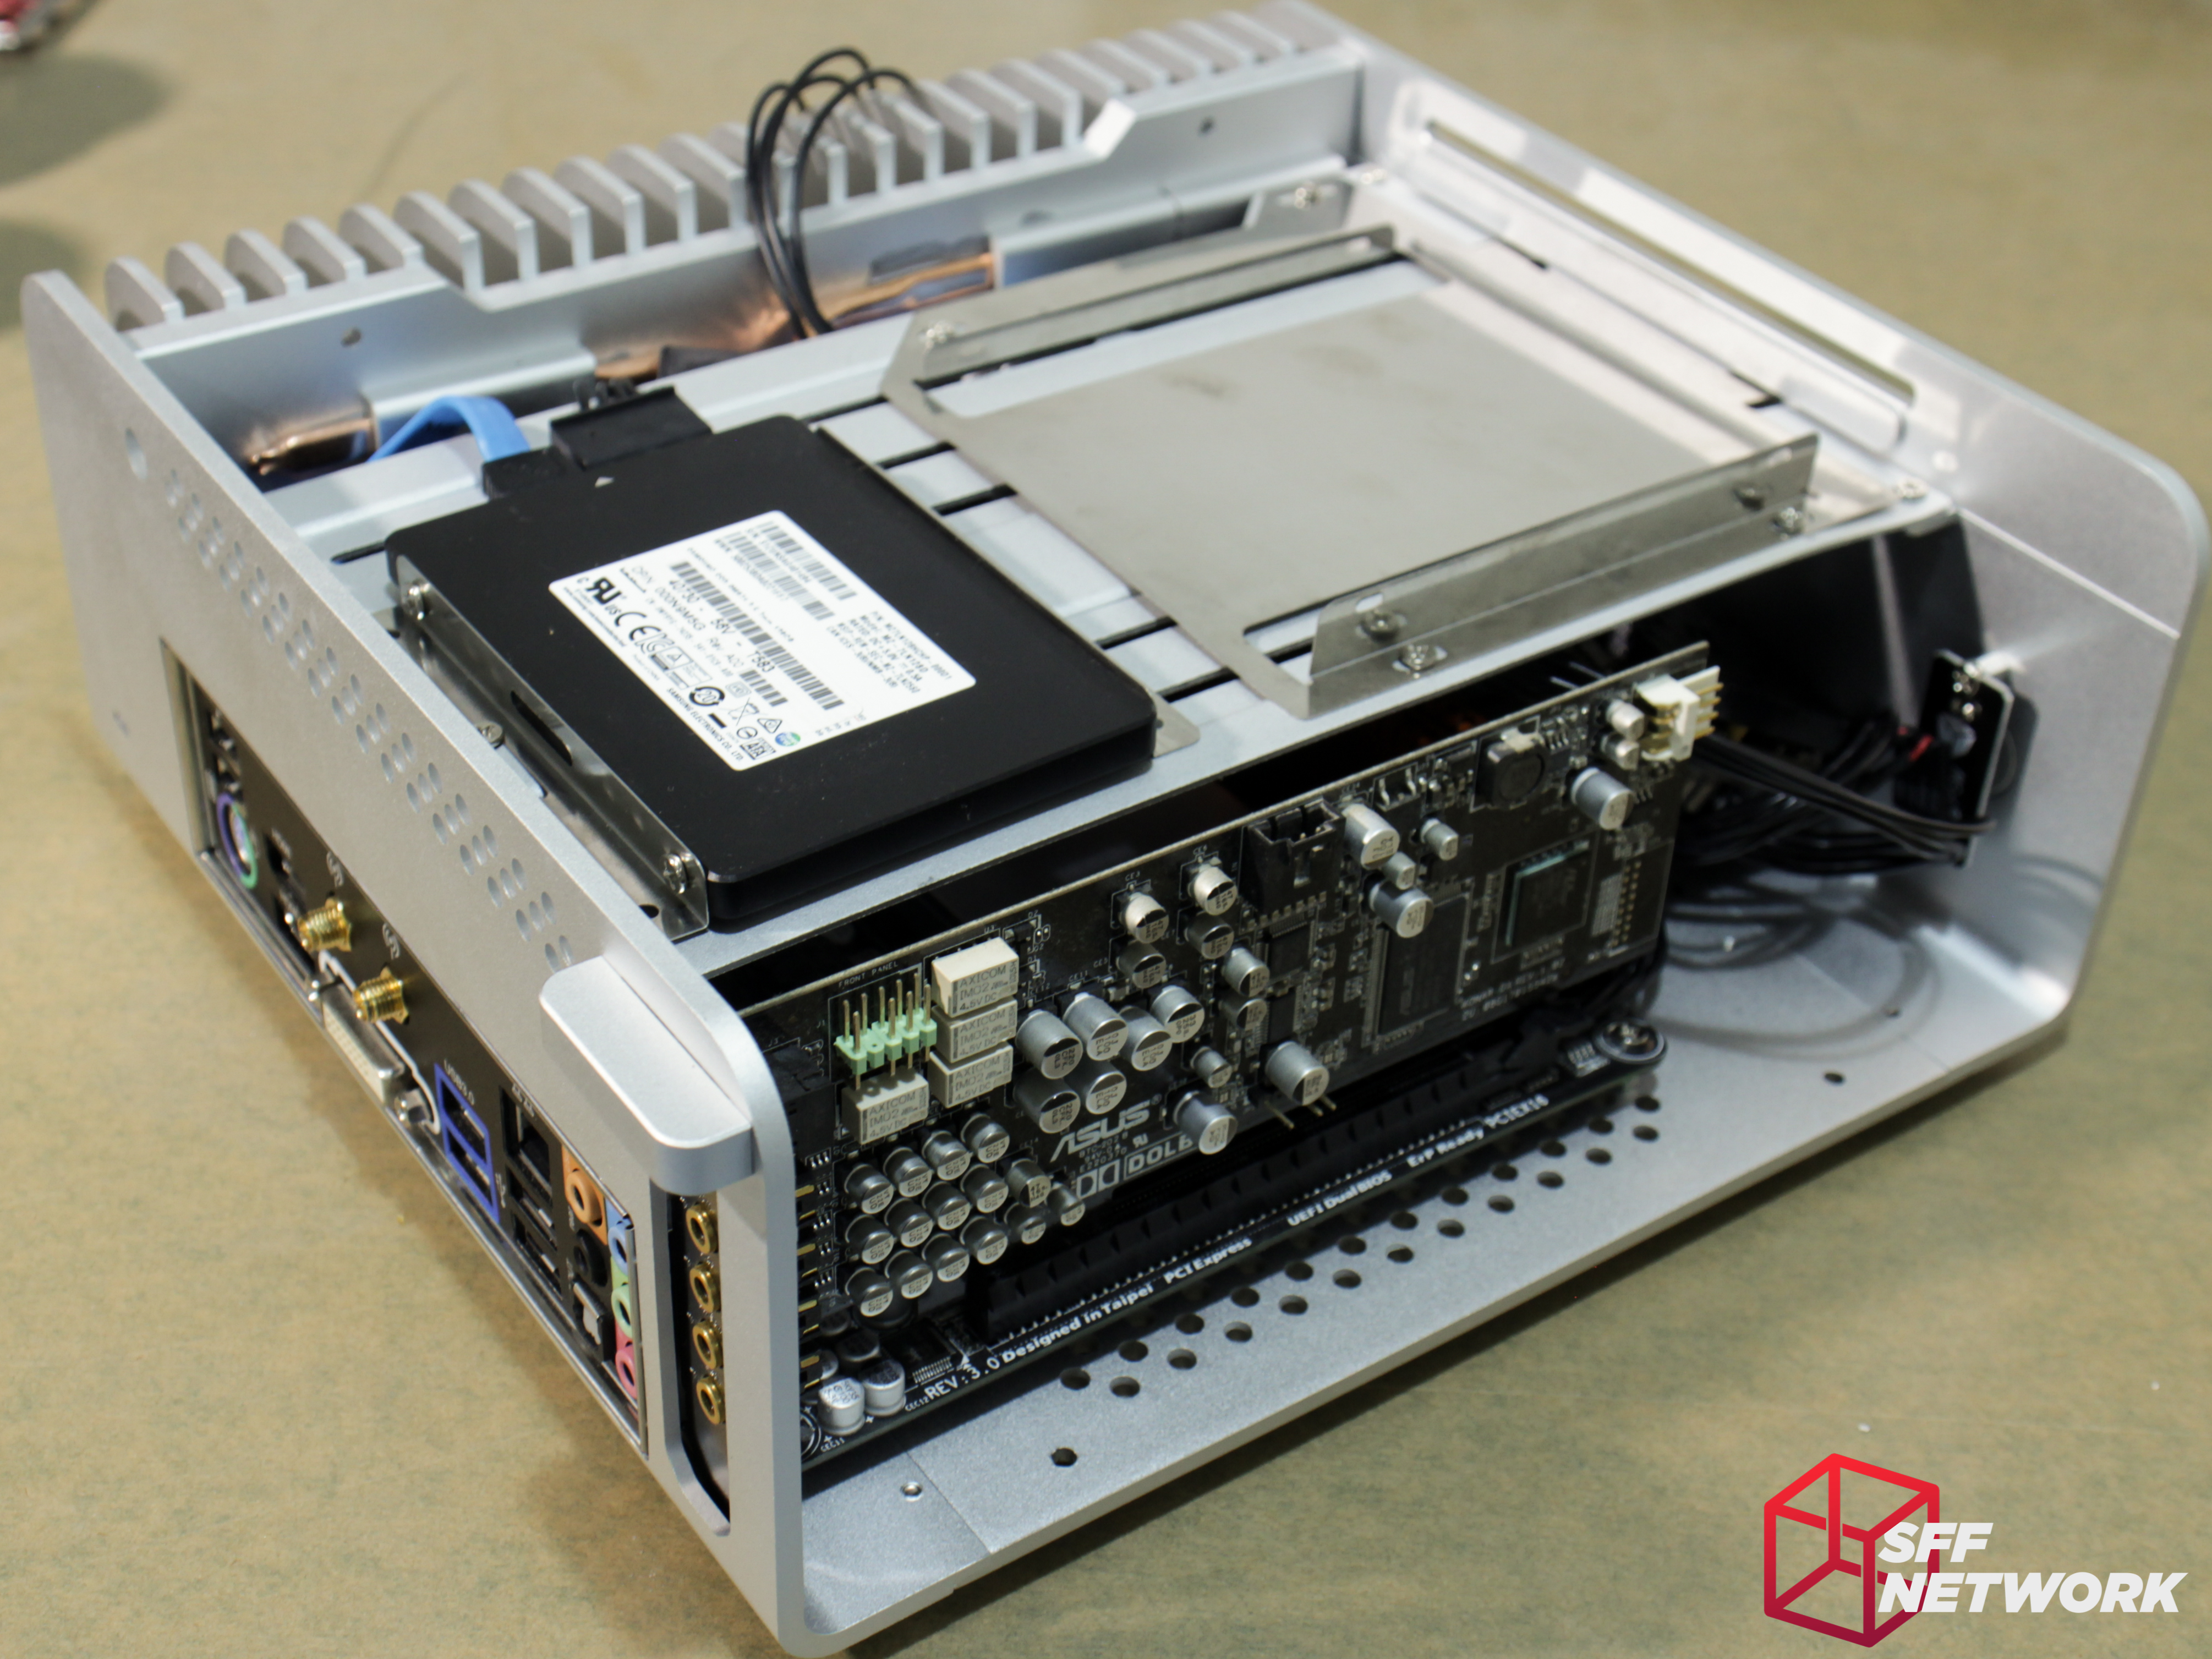
Expansion card time. In this example, an ASUS Xonar DX card is featured, rounding up a great HTPC or audio listening setup.
And for testing purposes, or even Steambox or light gaming, a passive, low profile GPU can be installed. In this case, a weedy GT210 is thrown in, as it’s the only passive card I have on hand!
Not that I have the low profile bracket for the card on hand, but that’s not really a big deal here. The fit and finish (apart from the aforementioned missing bracket) is awesome, with everything fitting perfectly.
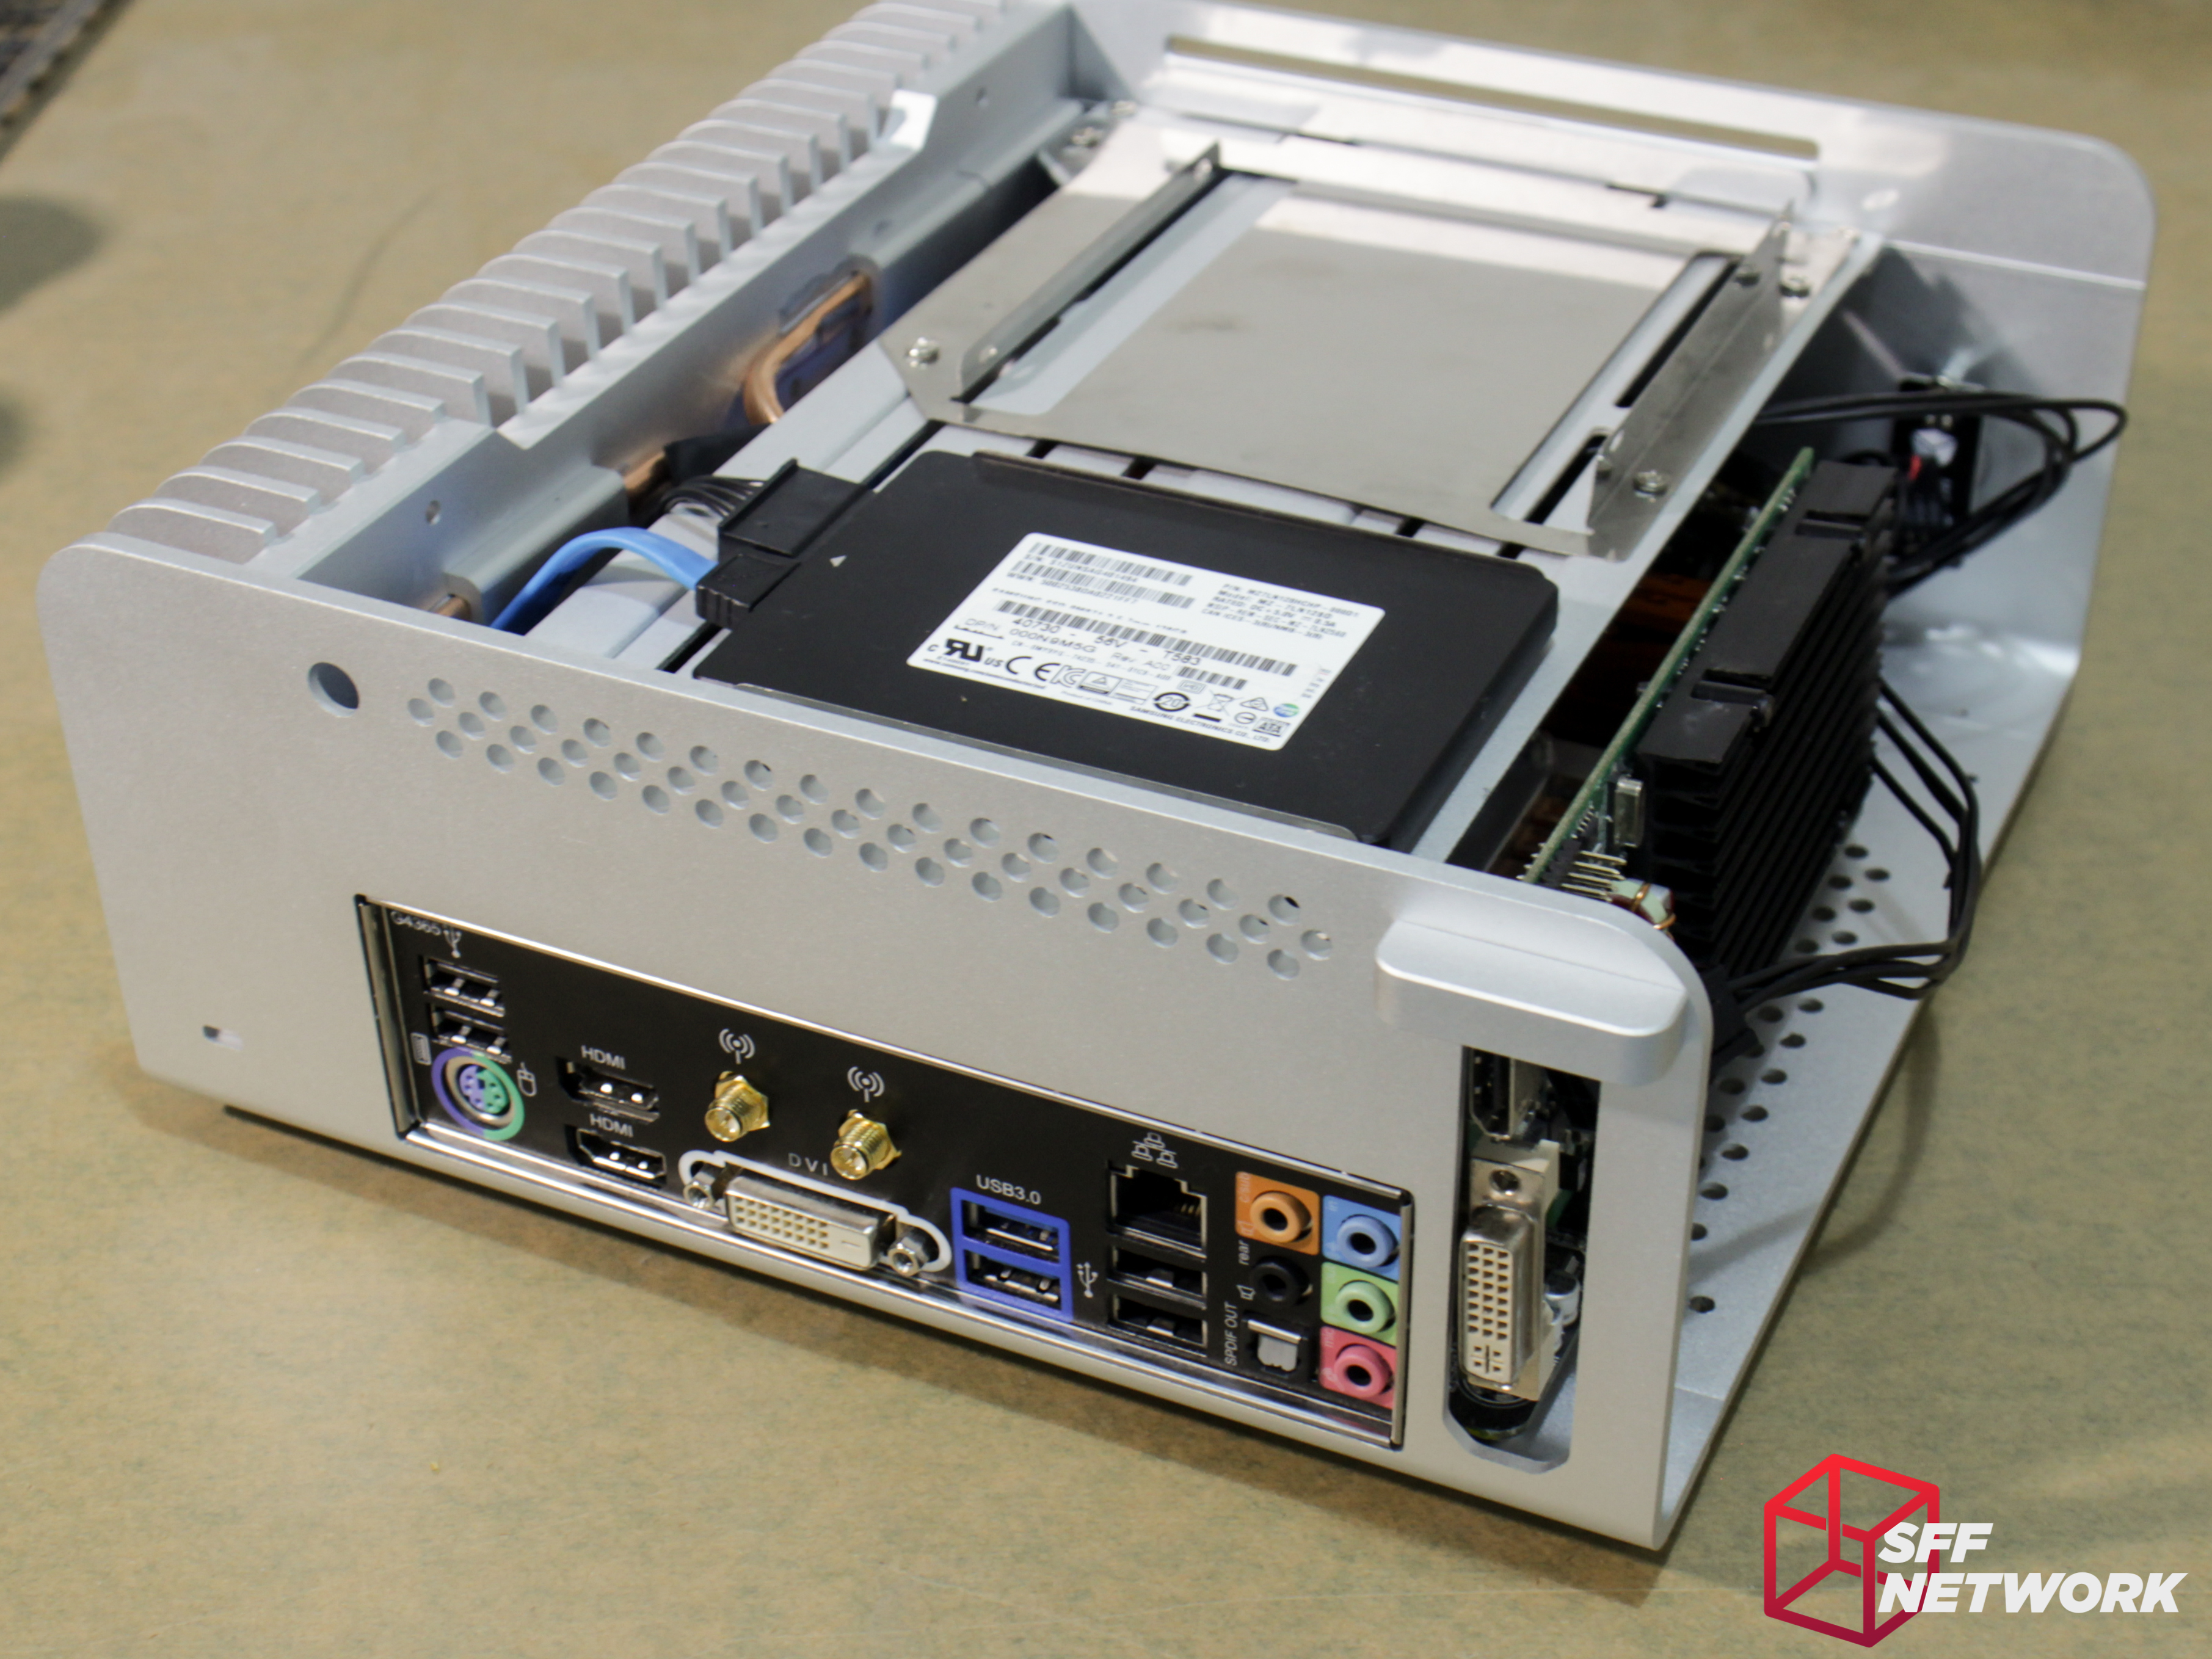
With the lid on, the build is complete. You may note a missing power jack – I don’t have a “bolt in” DC input jack that is compatible with the case – the HDPlex input jack supplied with my KMPKT DC-DC board needs to be mounted with screws.
[mks_separator style=”blank” height=”2″]
The Testing
To test the Streacom FC8 Alpha, I used a slightly different test configuration than we use when testing CPU coolers – this was mostly down to the limitations specified by the manufacturer.
We used the following hardware;
| Motherboard | Gigabyte F2A88XN-WiFi |
| CPU | AMD A6-5400K |
| RAM | 2x 8GB DDR3-1600 |
| Storage | Samsung 800 Series 128GB SSD |
| Power Supply | KMPKT 160W DC-DC Direct Plug |
| HDPlex 300w AC-DC | |
| OS | Windows 10 Pro 64 Bit |
| Test Software | Prime 95 Blend |
| Speedfan |
To test the performance of the case/cooler combination, I set up the system as per the build images and specs above. I then booted the system and let it idle until it stayed at a stable temperature for 10 minutes. This ensured that all the initial Windows processes and startup apps had completed their work and the system was truly at idle.
From there, I booted up Prime 95 and hit go on a Blend stress test – the most brutal of tests – designed to load up the CPU, RAM and chipset. I once again let this run for some time, until the system reached saturation and a stable temperature was recorded. During both tests, the wattage of the system was recorded, as well as the ambient temperature of the room. As an added datapoint, the temperature of the heatsink surface was also tested with an IR thermometer.
[mks_separator style=”blank” height=”2″]
The Results
In testing, the performance was excellent. In the idle tests, we recorded a delta temperature of 9 degrees – keep in mind that CPU thermal diodes aren’t usually very accurate at idle! The surface of the external heatsink matched this 9 degree delta. During this part of the testing, the motherboard VRM heatsink sat at around 28 degrees delta, with the chipset heatsink matching this. Unfortunately, the motherboard’s thermal sensors aren’t very accessible, and thus certain areas can only have their surface temperatures recorded.
At idle, I recorded around 26 watts of power consumption, using my new fancy clamp ammeter and a modified AC power lead. When loaded up, the system hit a maximum of 72 watts, right in the sweet spot for this case.
At load, we recorded a delta of 38 degrees, with 28 degrees delta measured on the heatsink surface. The VRM heatsink and chipset heatsinks measured 40 degrees delta, which is getting a bit toasty, but still within rated limits!
I decided to test the case further, and threw a quick overclock on the system. Going from 3.6 to 4GHz, I added another 5 watts to the total system power draw! (overclocking just doesn’t add the CPU TDP it used to..) However, no added CPU voltage was needed, so this is a relatively light overclock. At load, the temperatures were within 1 degree of the previous load temperatures, which is very impressive!
[mks_separator style=”blank” height=”2″]
The Conclusion
The Streacom FC8 Alpha is a fine choice for a case, with the ability to passive cool a CPU an added bonus. On the topic of build quality, the cases rivals some of the best, with only one or two minor areas of residue from the manufacturing process. Weighing in at around 2.2 kilograms, this isn’t a very portable chassis, but it’s not designed to be – it’s that centrepiece in your office, lounge or studio.
When using solid state storage, the system is completely silent, an amazing feat considering the sheer horsepower we can achieve nowadays, with adequate IGP performance and fantastic CPU performance available at 65 watts or below. If you’re looking to build that next level silent workstation, the Streacom FC8 Alpha is a fantastic choice.
The Streacom FC8 Alpha ODD is currently available for US$158 from QuietPC.com.
Pros
- Fantastic build quality
- Silent (obviously!)
- DC-DC support (the wave of the future!)
Cons
- The feet are low quality
- A bit fiddly to build
Niggles
- The lack of IR module included – the hole for the IR receiver is there!
[mks_separator style=”blank” height=”2″]
Thoughts? Discuss them in the forum.