This guest review was provided by forum member Windfall, with editing performed by John Morrison. Want to contribute a review or editorial? Private message John (confusis) on the forum!
Go back. Way back. Okay, maybe not very far back: 1996, when Mini-Box was founded. “Inspired by the unprecedented success of small form factor mainboards,” they have since “since directed [their] focus on designing and developing smaller, more compact PC peripherals.” I don’t know if that’s true or not, as I got it from their about page. I can tell you though, that from their product portfolio, it certainly appears so. They have a wide range of products, including cases, various PCI and PCIe riser cards, very unique LCD displays and controls, and a few embedded motherboards, including one developed in house for industrial applications. It has a SIM card slot for projects that require mobile broadband, and I would love to test one! They are, of course, best known here on the forums for their PSU solutions sold under the “PicoPSU” branding. And of course, they make the M-ITX case, the Mini-Box M350.
Table of Contents
Unboxing
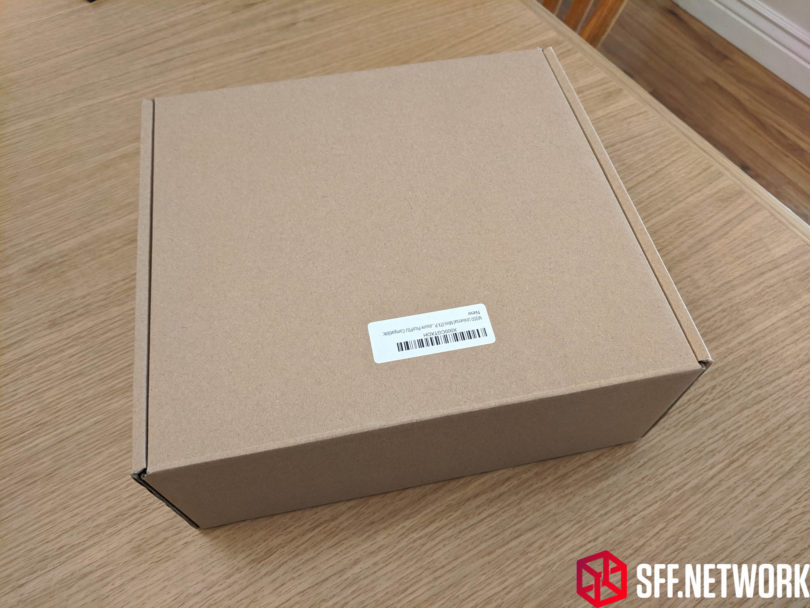
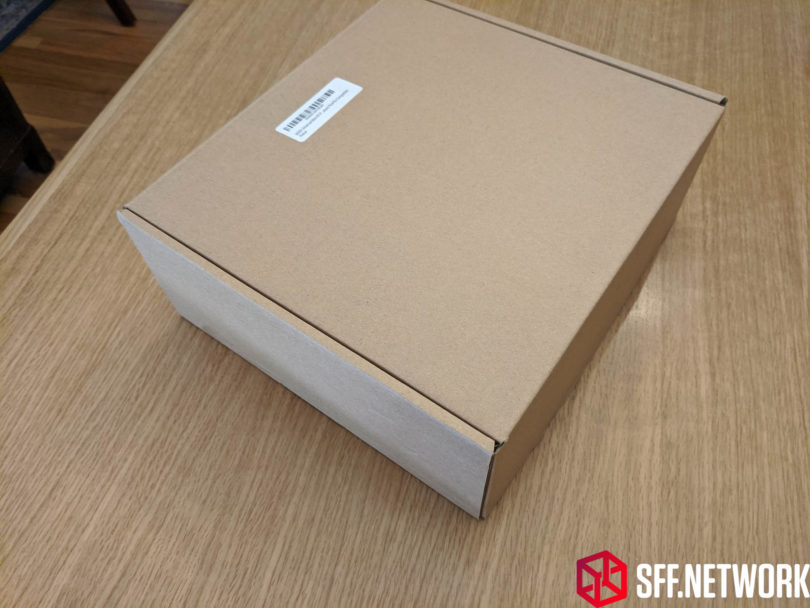
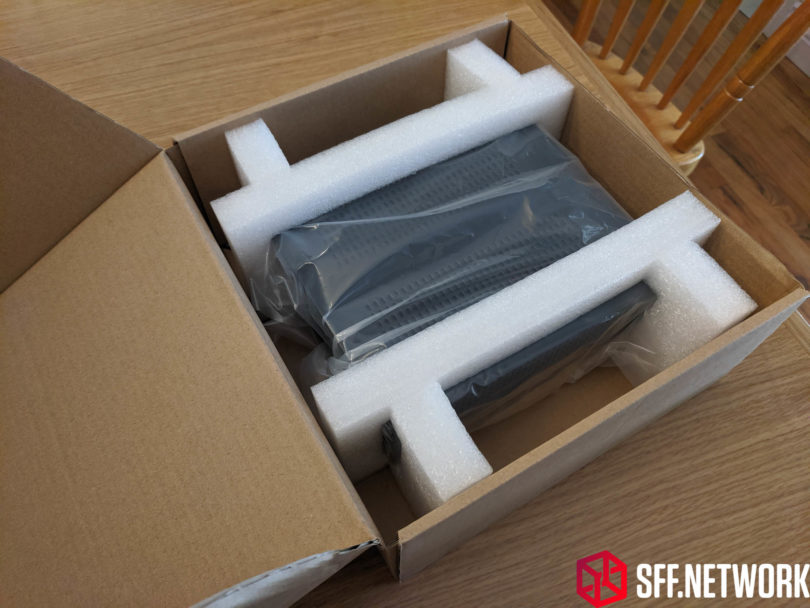
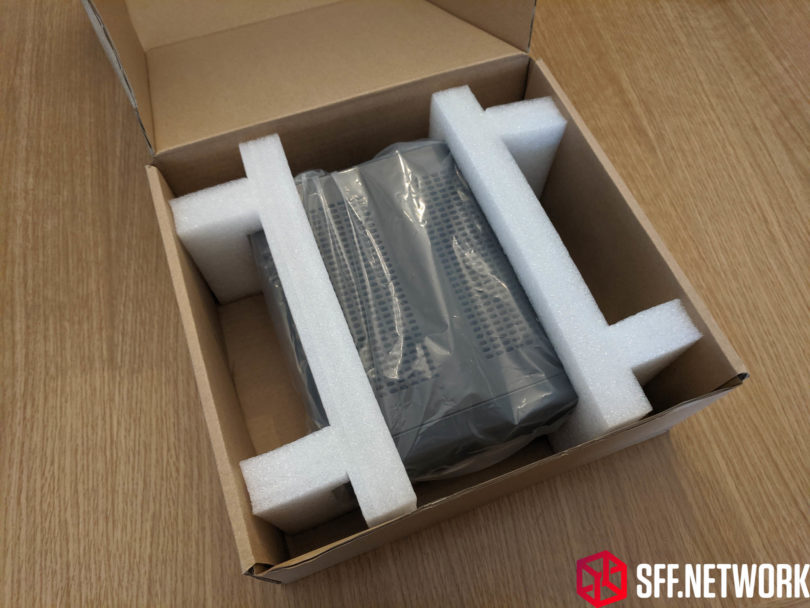
The M350 comes in a simple cardboard box, which is completely unmarked except for a stocking sticker.
The case itself is in a plastic bag suspended between pieces of closed-cell foam. (Editor: Ew, unrecyclable foam!)
It’s packaged simply, but well enough.
Exterior Overview
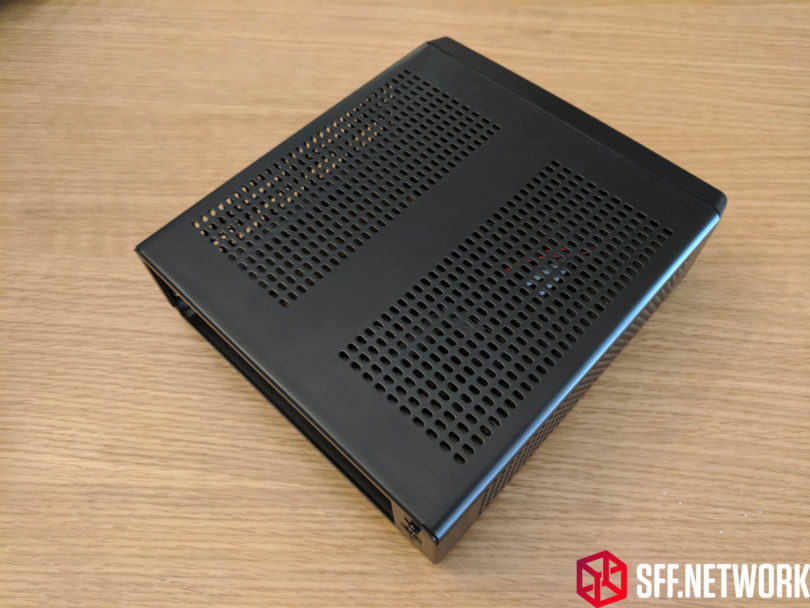
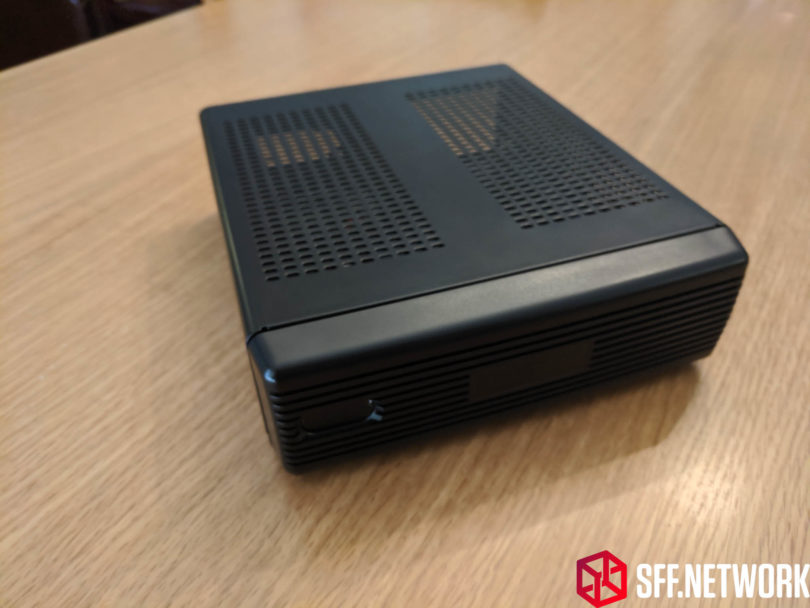
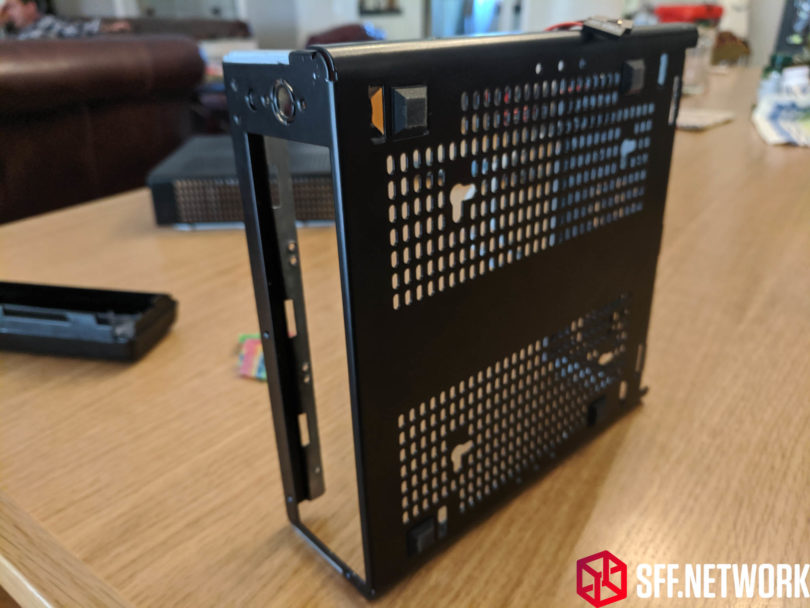
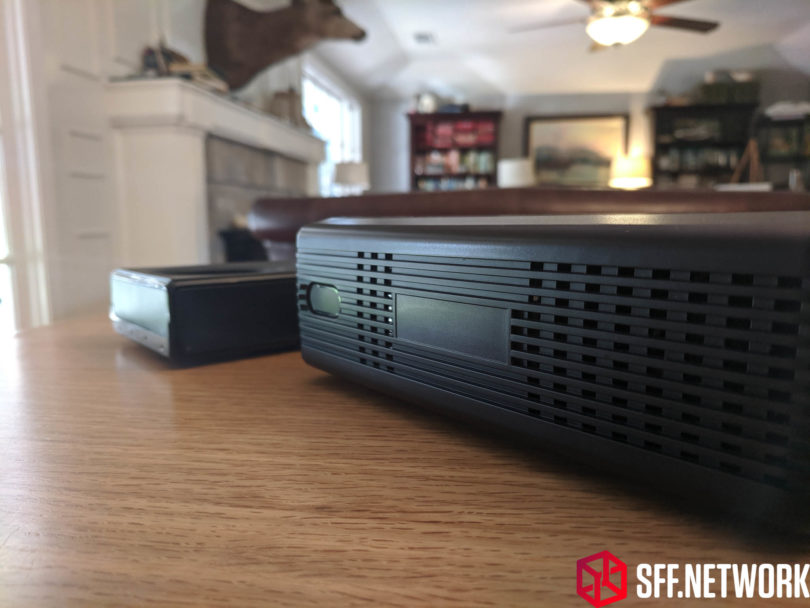
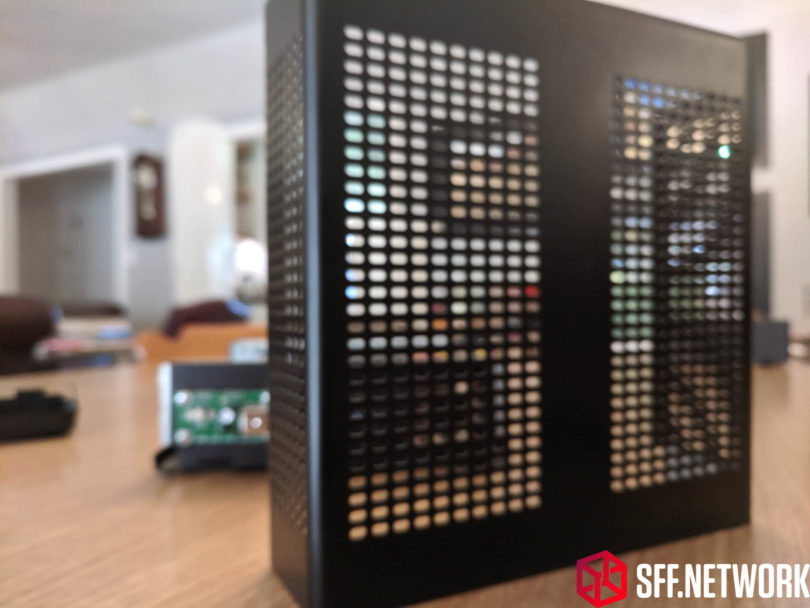
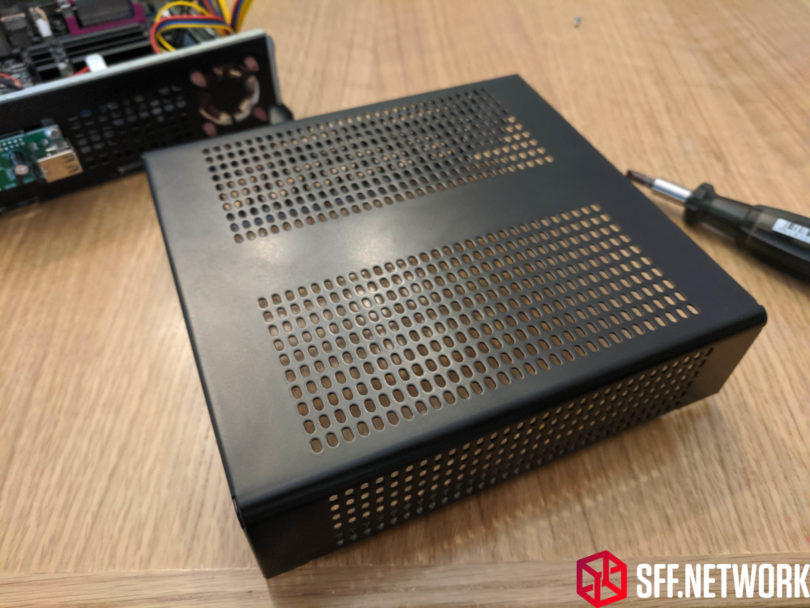
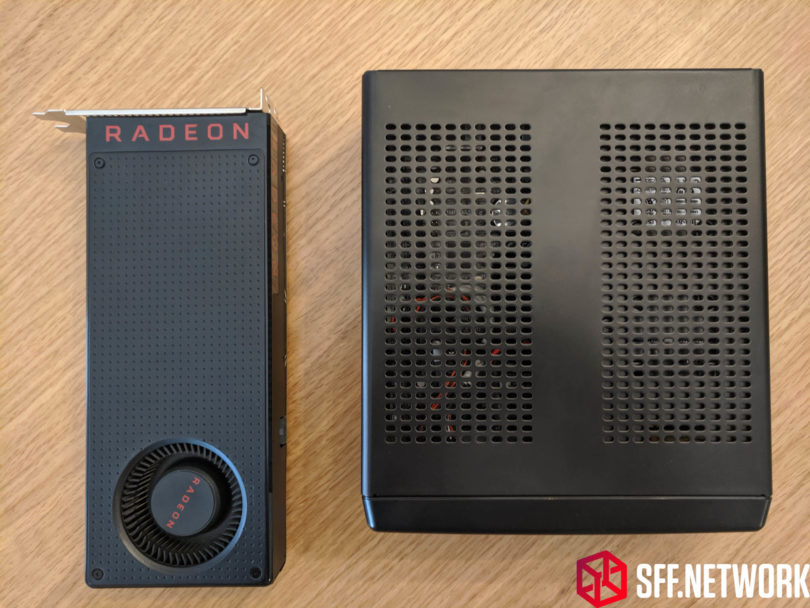
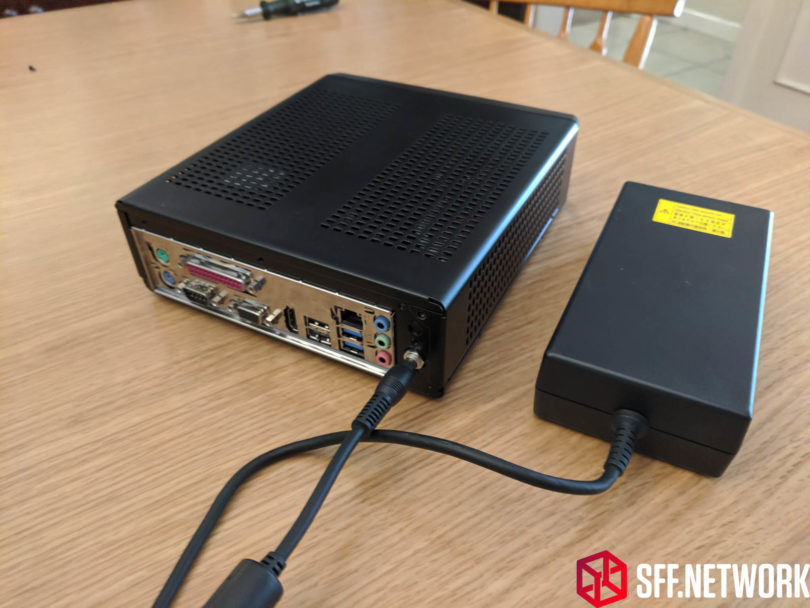
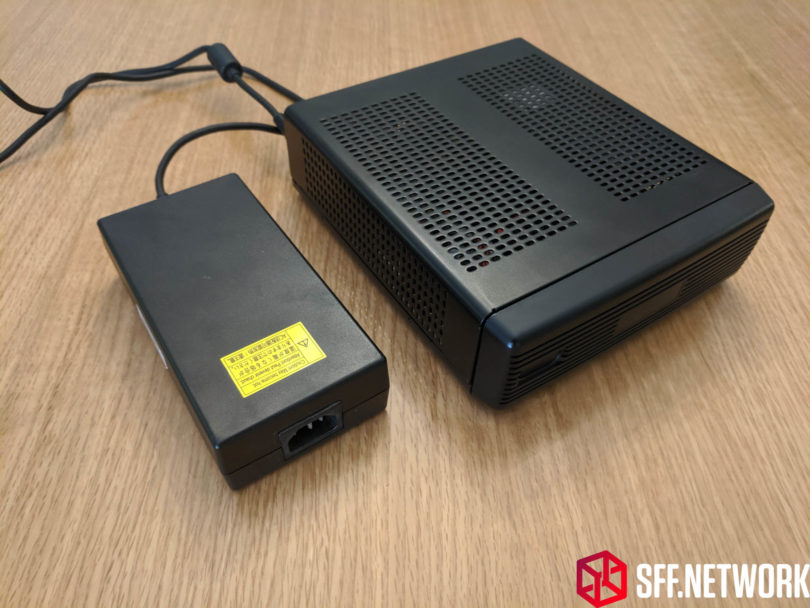
On the outside, the M350 is minimal, with no flash. Vents, just simple holes, are patterned all over the exterior shell.
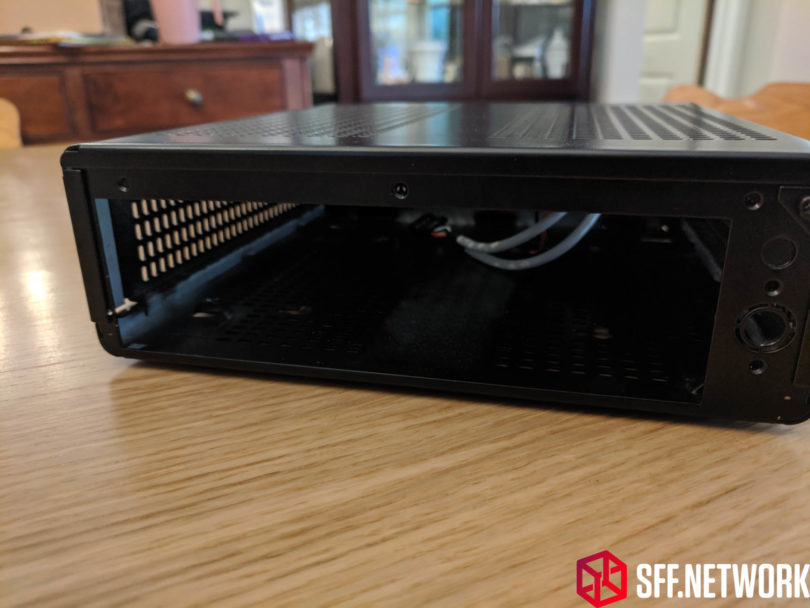
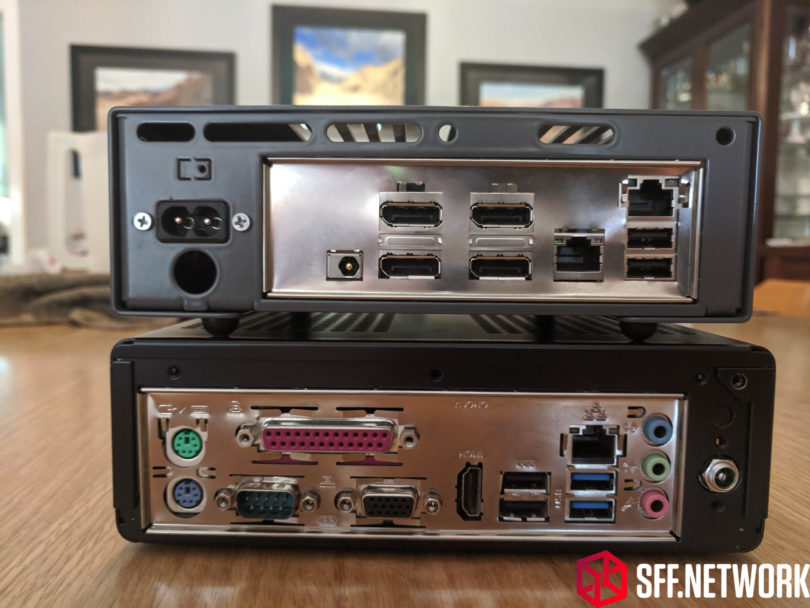
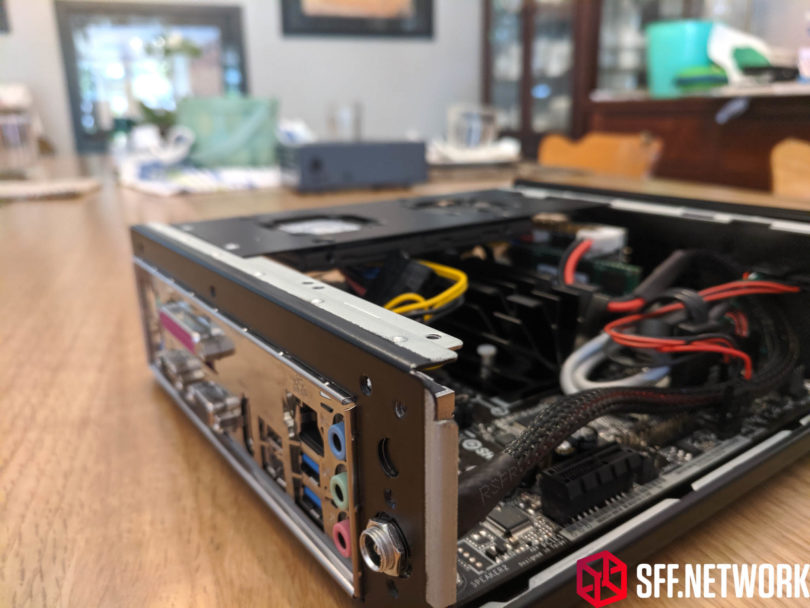
Around back, there is a hole (singular) for a WiFi antenna and another hole for a DC-In jack. It’s obviously intended for use with Mini-Box’s Pico lineup.
Its black finish (also available in silver) is smooth, and testing it with a knife reveals it to be a rather hard finish, and at this price, it’s great!
The U-shaped enclosure is built in a clever way that would conceal all screws, except for the fact that there are visible mounting point for some L brackets intended for wall mounting (there are also DIN mounting brackets as well as a VESA mounting kit, and VESA display bracket kit, so plenty of mounting options).
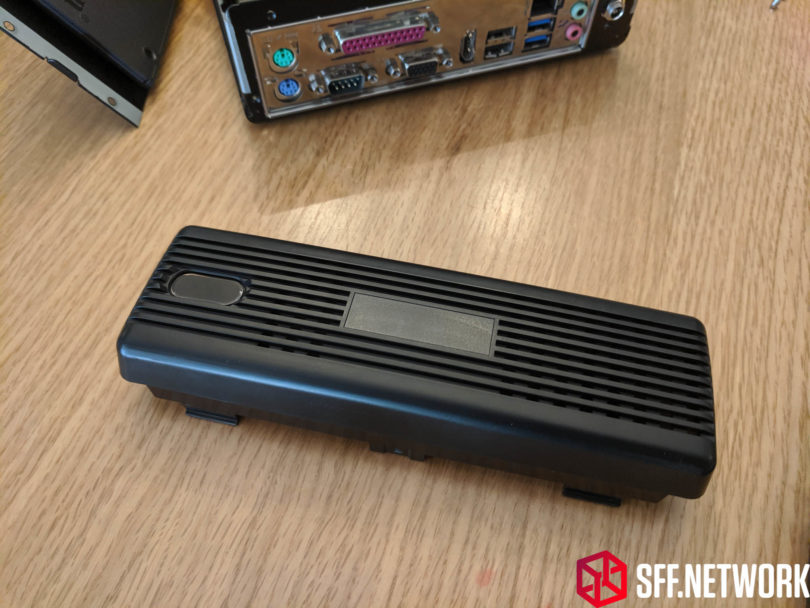
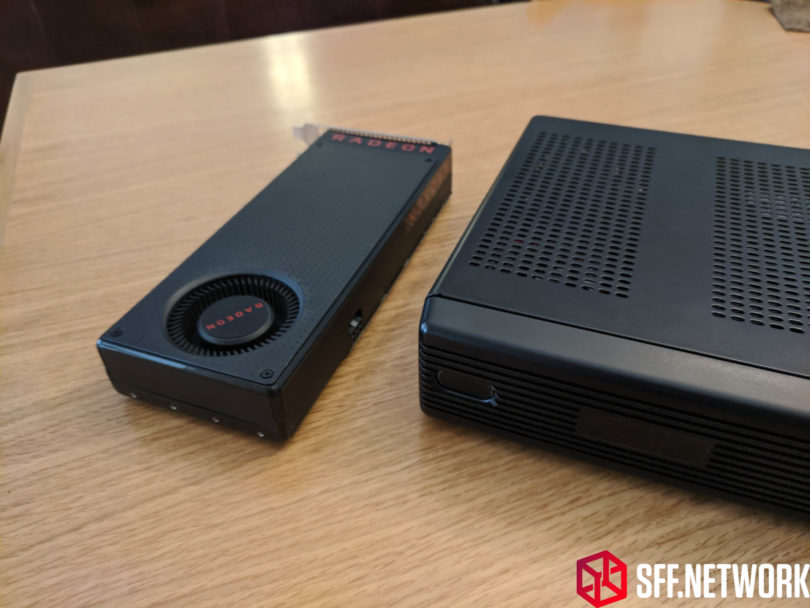
A plastic cover adorns the front: it’s simple, with some lines and some sections of small slotted vents on the front. It’s not flashy, but not too bland. Some may still see it as too industrial, and think it ugly, but I think it’s perfect!
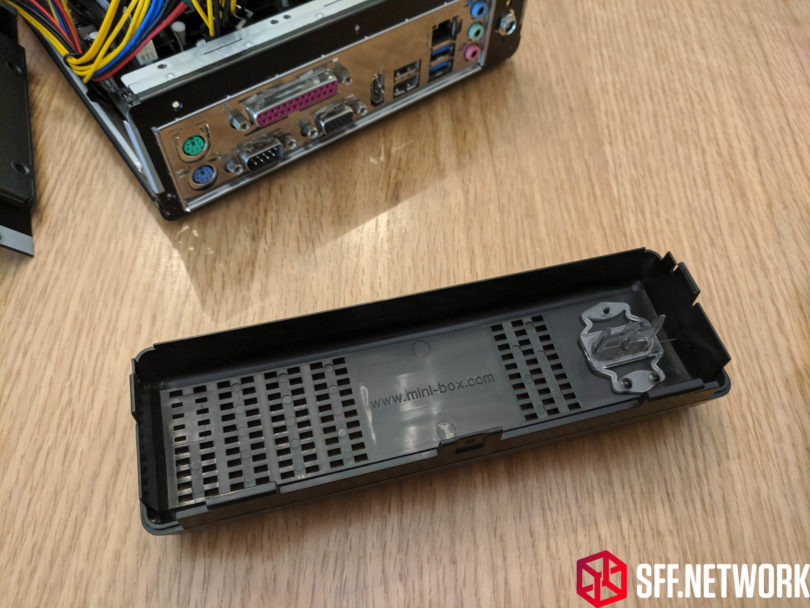
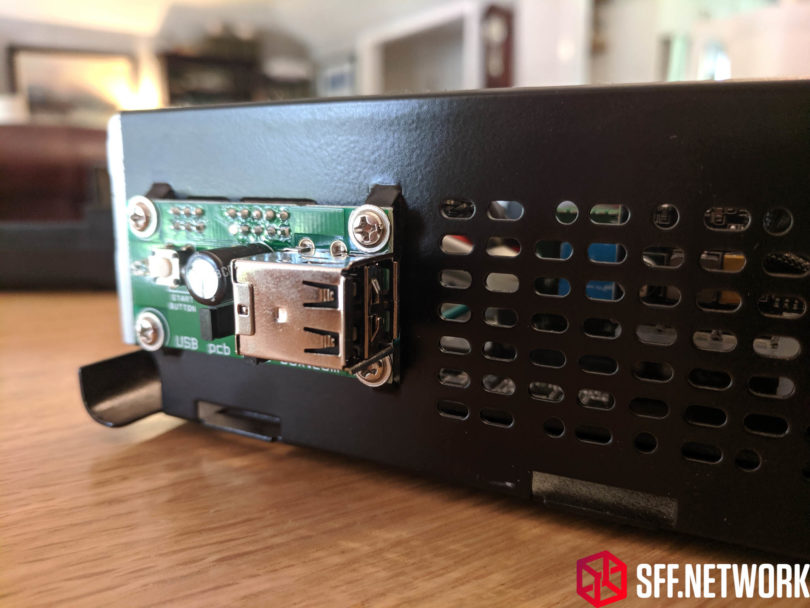
The cover is held by some very thin plastic clasps that actually broke when I was opening the case for the first time, and you have to remove the top shell to access the two USB 2.0 (sadly) ports. Thankfully, the service from MITXPC is exceptional, and they were happy to send out a replacement front panel.
There is a small indent for a logo, as it’s intended for re-branding by industrial PC companies. It has a small, Samsung home button style power switch.
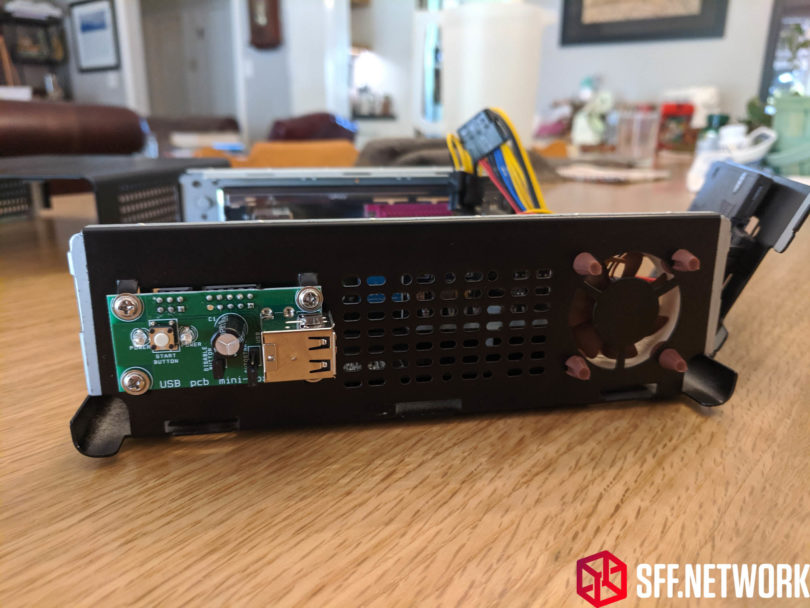
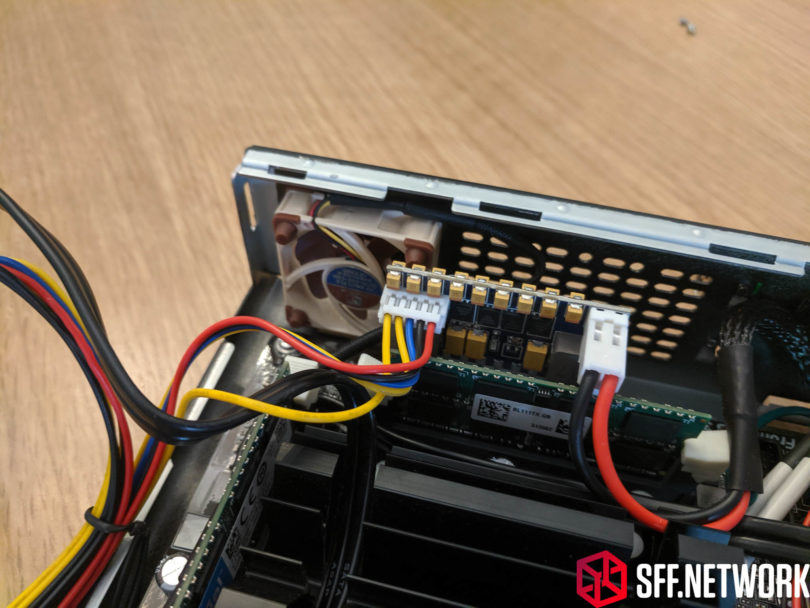
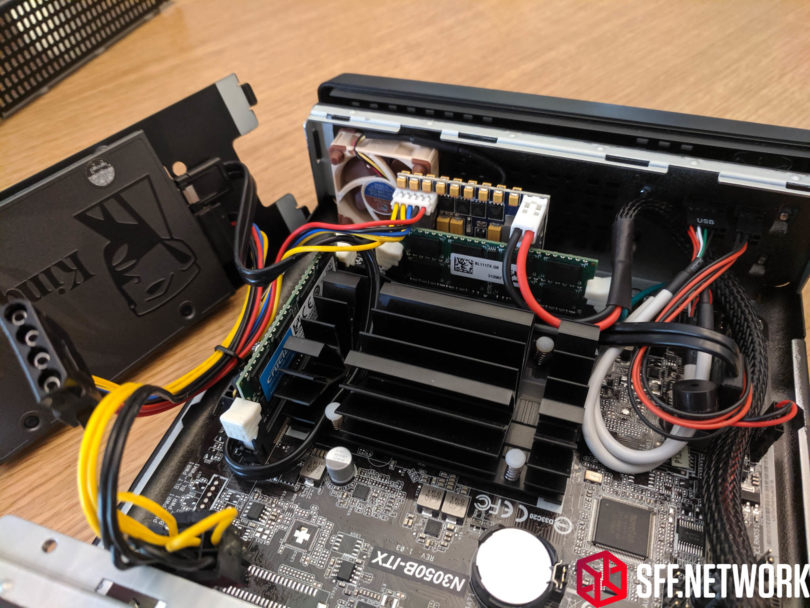
Also under the front cover is the one 40mm fan mount, which you could occupy with a baby 40mm x 10mm Noctua fan, or maybe this Noiseblocker (which may be too thick), giving you options to better cool 65W CPUs. Mini-Box also sells their own fan, of unknown quality.
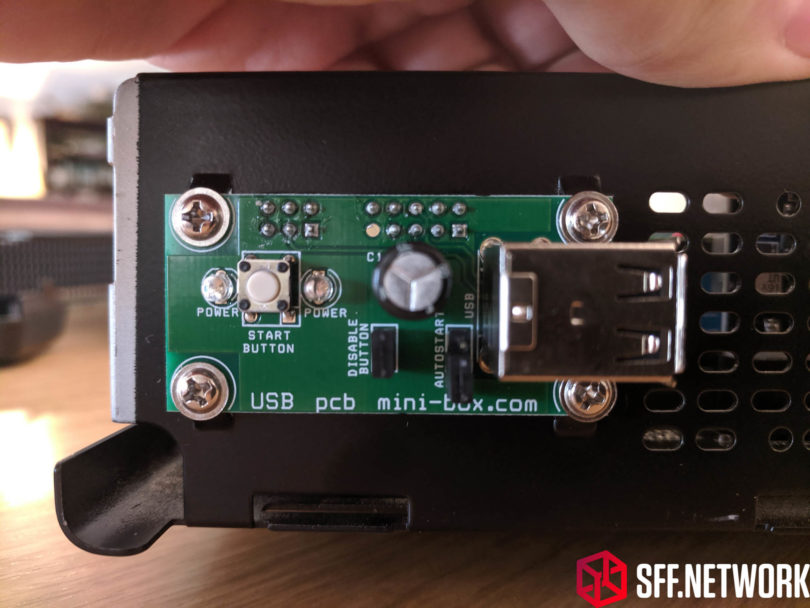
The Power Button/IO
Not in feel, you can’t match a proper vandal switch with plastic, but it has some other functions that make it unique, unique enough that vandal switches pale in comparison. Read this, pulled from the M350’s product page:
“Smart Power Button:
The M350 power button can be disabled by means of removing a jumper, thus preventing accidental ON/OFF actions. An additional jumper activates an “always ON after power loss’ automatic pulse generator that will startup your motherbaord* every time power is applied, regardless of BIOS setting!”
*they misspelled it on their site
The features listed there work, and I like it. In fact, I love it! The jumper to kill the switch works, and auto power on still works when the power button is off, which is nice for the mini NAS mine will house. No more bumping the power switch while plugging in and ethernet cable and killing my NAS. I plan to modify that board with hookups for a vandal switch, because having the best of both worlds would be amazing!
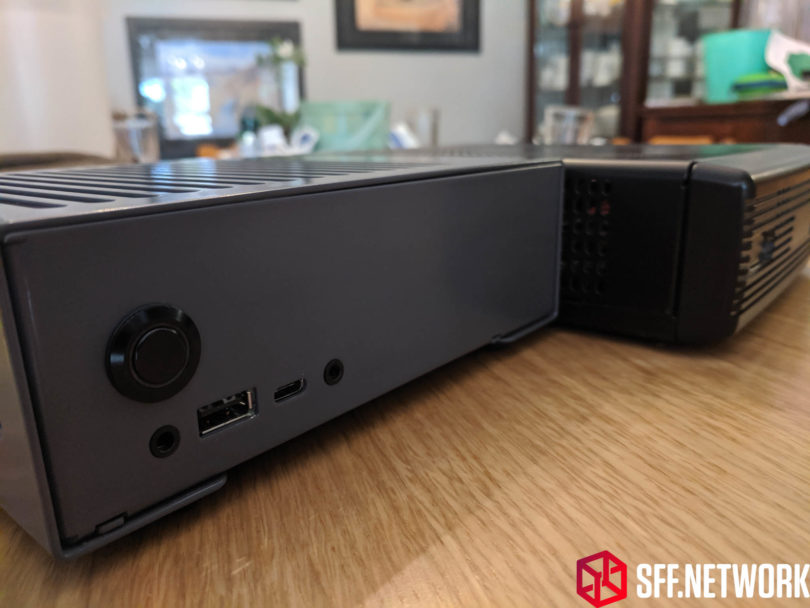
The board that the power switch is attached to also houses the USB ports. The USB ports are intended for semi-permanent use, such as booting from a USB drive and WiFi adapters. Mini-Box, we all want a USB 3/3.1/something newer option! Some audio IO would be nice, but from and industrial system, I’m not expecting it anytime soon.
Internal Overview
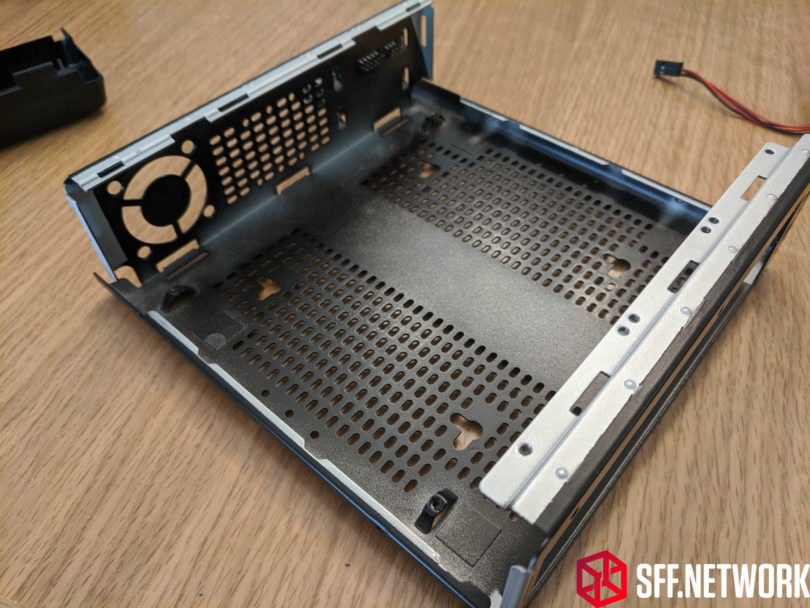
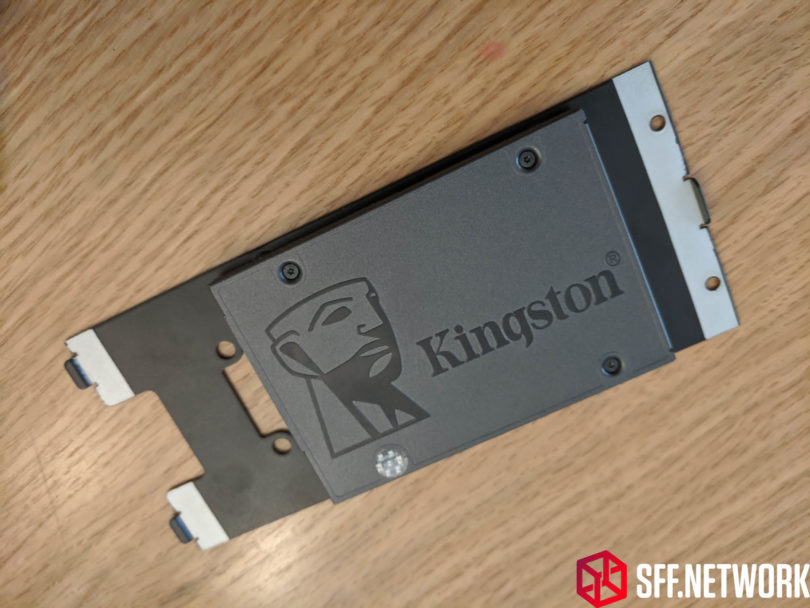
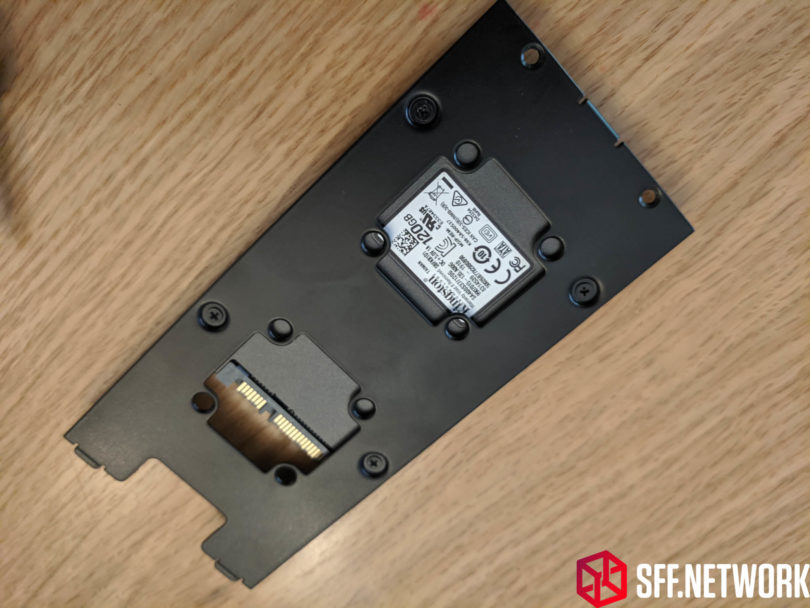
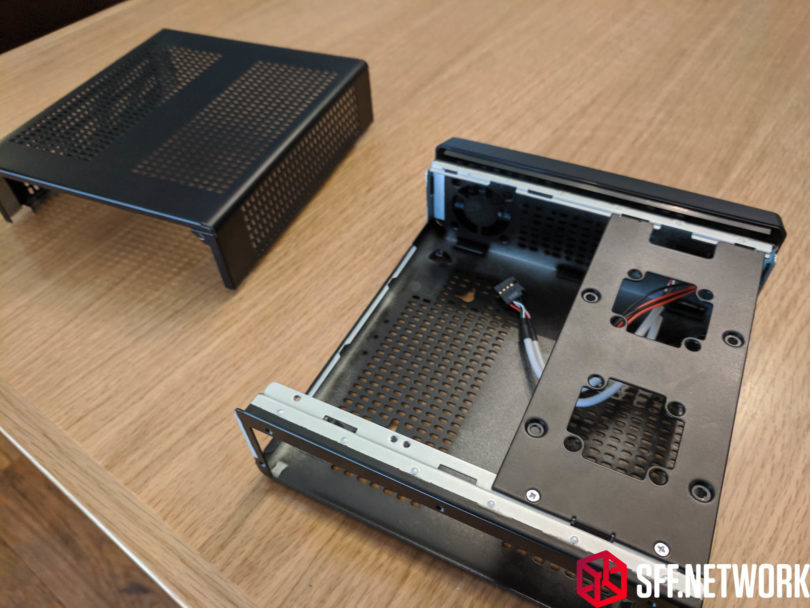
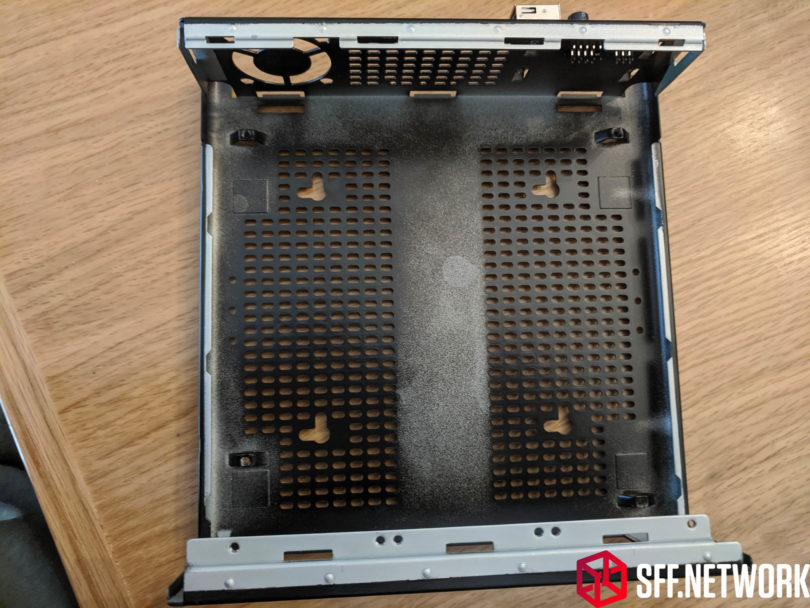
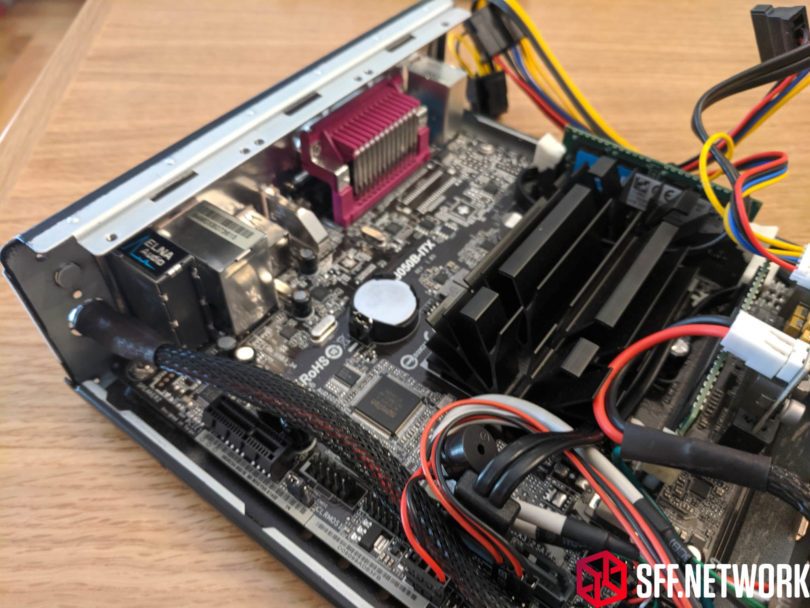
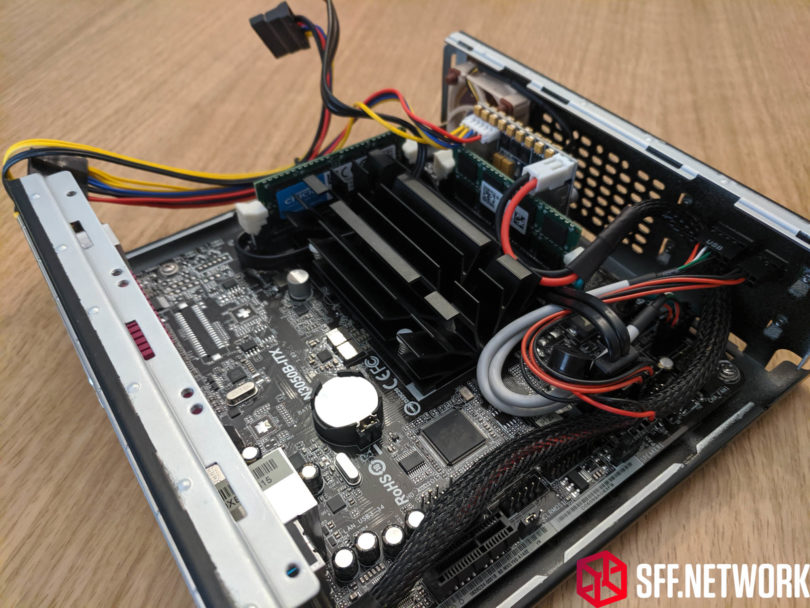
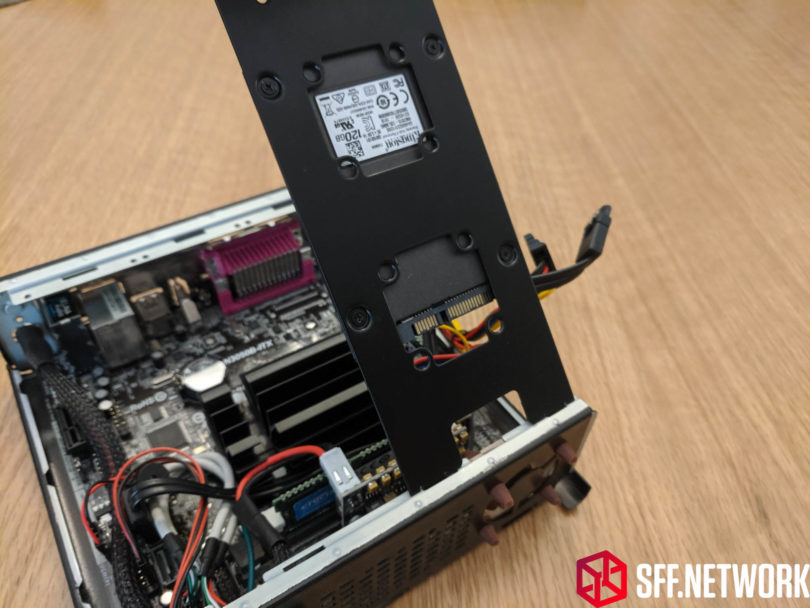
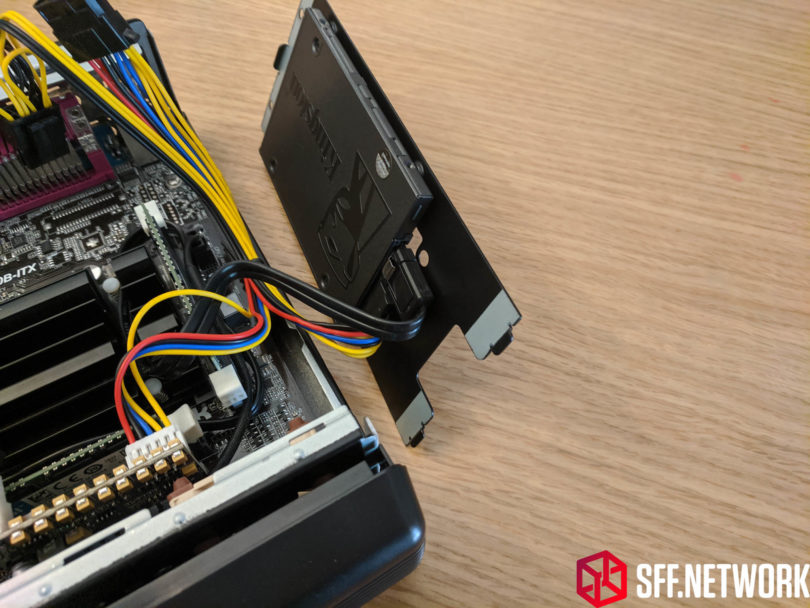
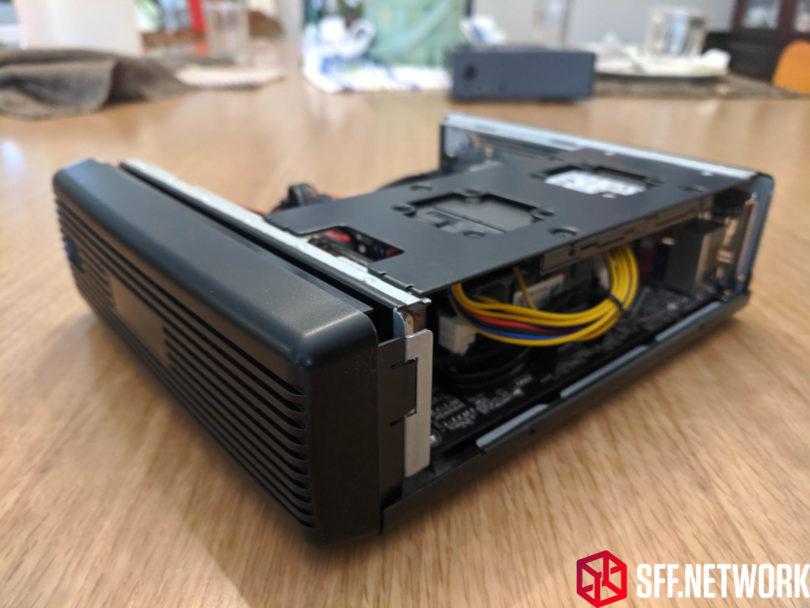
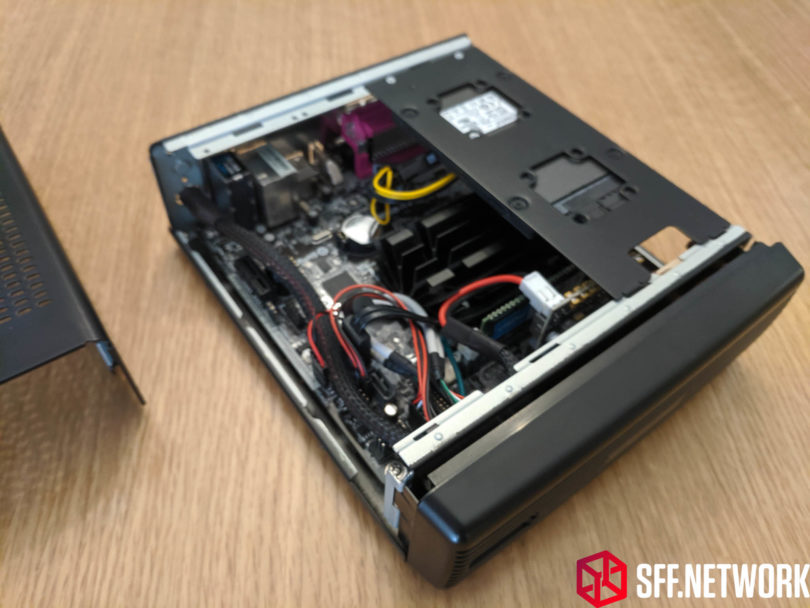
On the inside, the case is very minimal, but that doesn’t mean it lacks usability. The case ships with one top 2.5” drive/fan bracket, and it has room to hold a second one, should you need a lot of drives. This will limit cooler height, but it’s an acceptable trade-off.
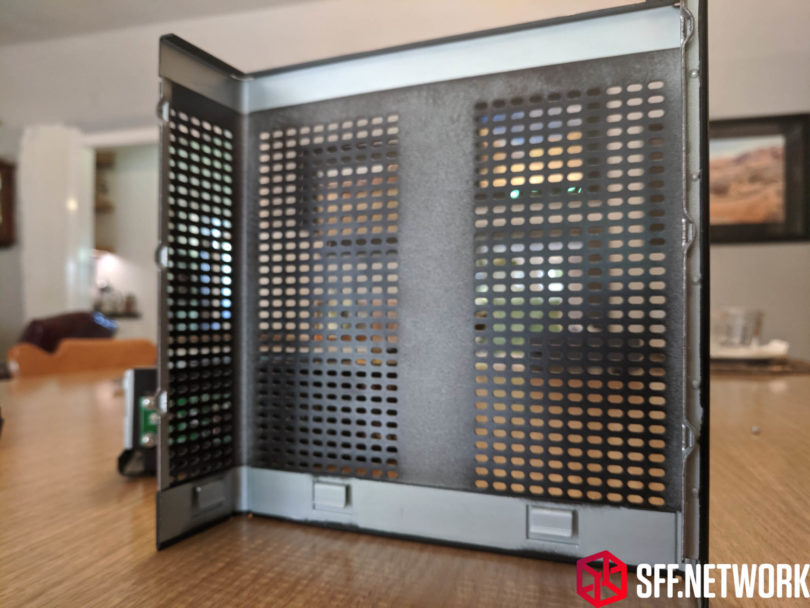
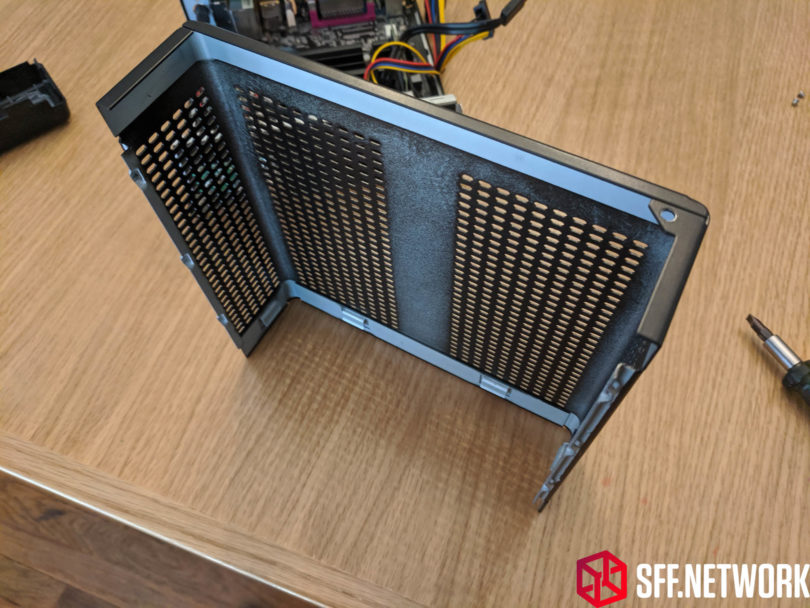
It seems that the cases come partially painted on the inside. Mine came like this, but either way the vent pattern is so tiny it really isn’t noticeable. In terms of cable routing, there isn’t much to mention. There is a small gap under the motherboard, but Mini-Box did it efficiently. There is room for a motherboard with an M.2 slot on the bottom, and it’s well ventilated, even on the underside. There are a few sharp edges, but not as bad as some cases in the same price tier. All the same, watch your fingers.
Final thoughts
The quality is above what you would expect from a 40 US dollar case, and it feels well thought out. It’s made of decently thick steel, and feels rather solid. The plastic cover doesn’t feel cheap, nor does it feel brittle enough to snap if you pulled it off the case too violently. Despite being early/mid 2000’s (USB 2.0, one antenna mounting hole), the features work as intended, and work well. Despite being $40, nothing about it feels cheap.
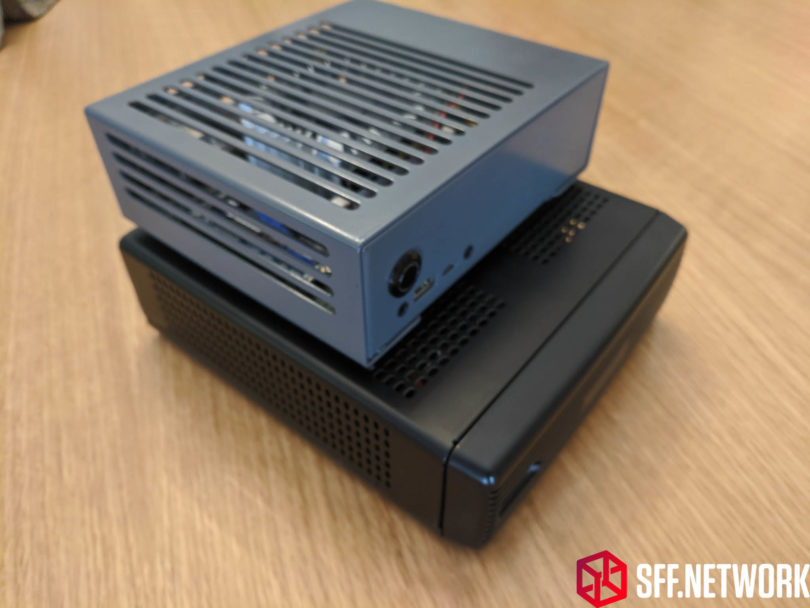
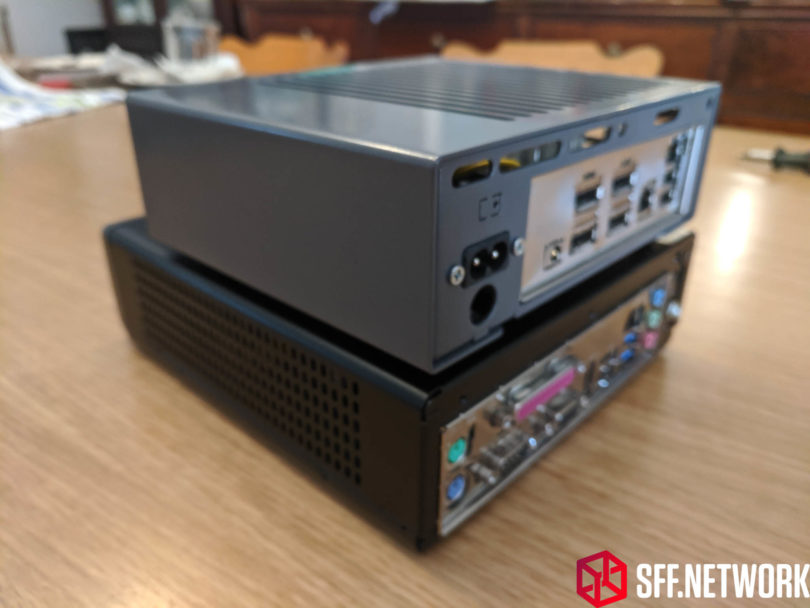
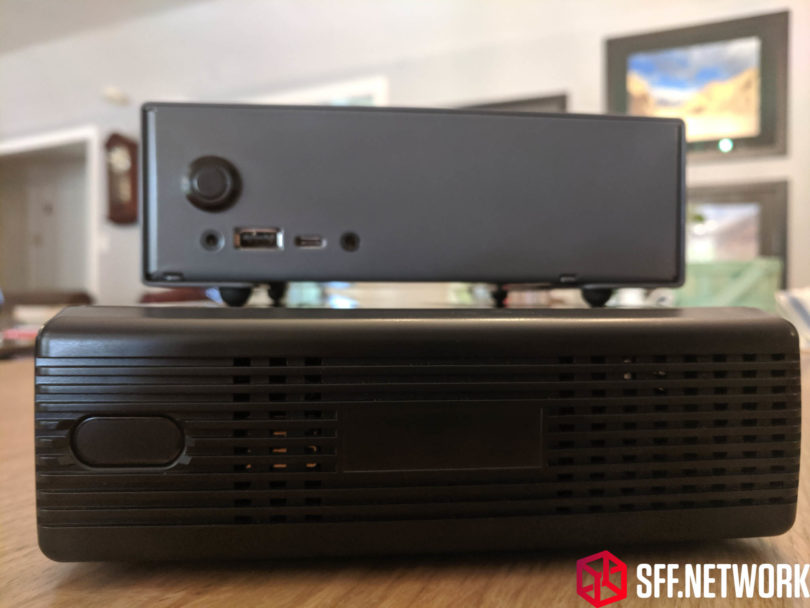
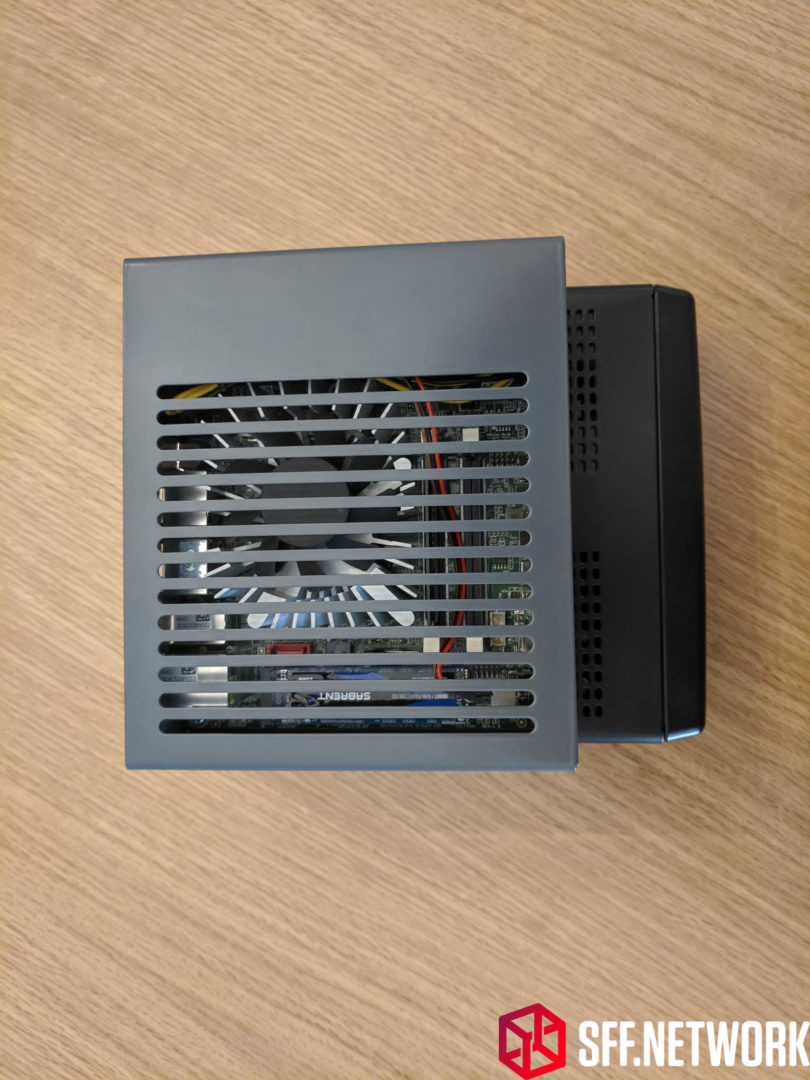
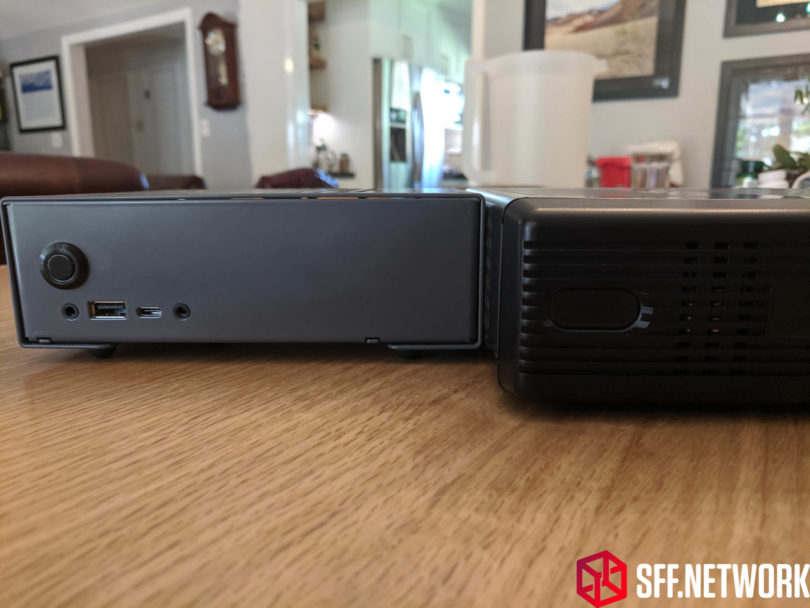
As an aside, the grey case in the images below is my STX case project – HTPC Micro.
My Build
I built the following system in the M350 for testing ease of building, and to a certain percent thermals, but I currently don’t have intensive hardware to test it:
⦁ ASRock Q1900B-ITX
⦁ Crucial 16GB (2x8GB) DDR3 1600
⦁ Kingston A400 120GB 2.5″ SSD
⦁ Noctua NF-A4x10 FLX 40MM Fan
⦁ RGEEK 250W 12V Pico PSU*
⦁ A generic 12V 90W Power Brick
*Normally, I wouldn’t at all use these cheap PicoPSU knockoffs, but this system will consume at most 20W under load, so I’m far from scared. Would not recommend for higher power builds though, and most definitely not up to its claimed “250W” capacity.
And if you are one of those that doesn’t want to build your own system, Mini-Box has configurable systems in the M350 and all their other cases.
Pros:
⦁ Very cool power switch functionality
⦁ Very minimal
⦁ Low-ish cost
⦁ Very configurable for its size.
Cons:
⦁ USB 2.0 (granted, it is an older case, but it would be easy to update it to USB 3.0)
Minor Annoyances:
⦁ One antenna mounting point
⦁ Not fully painted inside
Specs:
⦁ Size 192 x 210 x 62mm
⦁ Volume (Liters) = 2.5L
⦁ VESA, VESA Monitor, DIN-Rail, Wall Mount bracket options
⦁ One SMA antenna hole
⦁ Up to two 2.5″ drives, one bracket included
⦁ Standard PicoPSU DC-In support, plus
⦁ hole for 4PIN mini-DIN power cable compatible (you must tell them you want the hole enlarged or enlarge it yourself.
⦁ Cost:
Quantity: Price:
1 – 9 $39.95
10 + $37.50
*Includes free US shipping.
This review unit was purchased from MITXPC via Amazon by Windfall.
Here at SmallFormFactor.net we give manufacturers the ability to be part of the community. We offer a right to reply to our hardware reviews. If a manufacturer responds with any feedback or corrections, their comments will be posted here.

