
Comments on the ASRock DeskMini (non-GTX) line have been clear, the stock case that comes with the DeskMini line is pretty average – from the cheap plastic fascia to the mediocre tray style build. The plastic rails and hard-mounted front panel config just leaves a lot of room for that dreaded cables-stuck-in-fan situation.
SilverStone’s VT series of cases have existed as long as the DeskMini line of cases, but with little fanfare – these quiet achievers have sat out of the limelight. Part of why I asked for review samples (thanks SilverStone!) of both models, everyone loves an underdog. At US$43.99 at time of writing on NewEgg.com, it’s a steep investment after buying a DeskMini barebones, but with the possible impending stocking of the STX product line at SFFLab, it may be a palatable option over the budget orientated In-Win OEM chassis.
Let’s dive in!
Table of Contents
The Specs
| Model | SST-VT02B |
| Materials | Plastic front panel, 0.6mm SECC |
| Motherboard | Mini-STX |
| Drive Bays | 2.5″ x 2 (thickness≦9.5mm) internal |
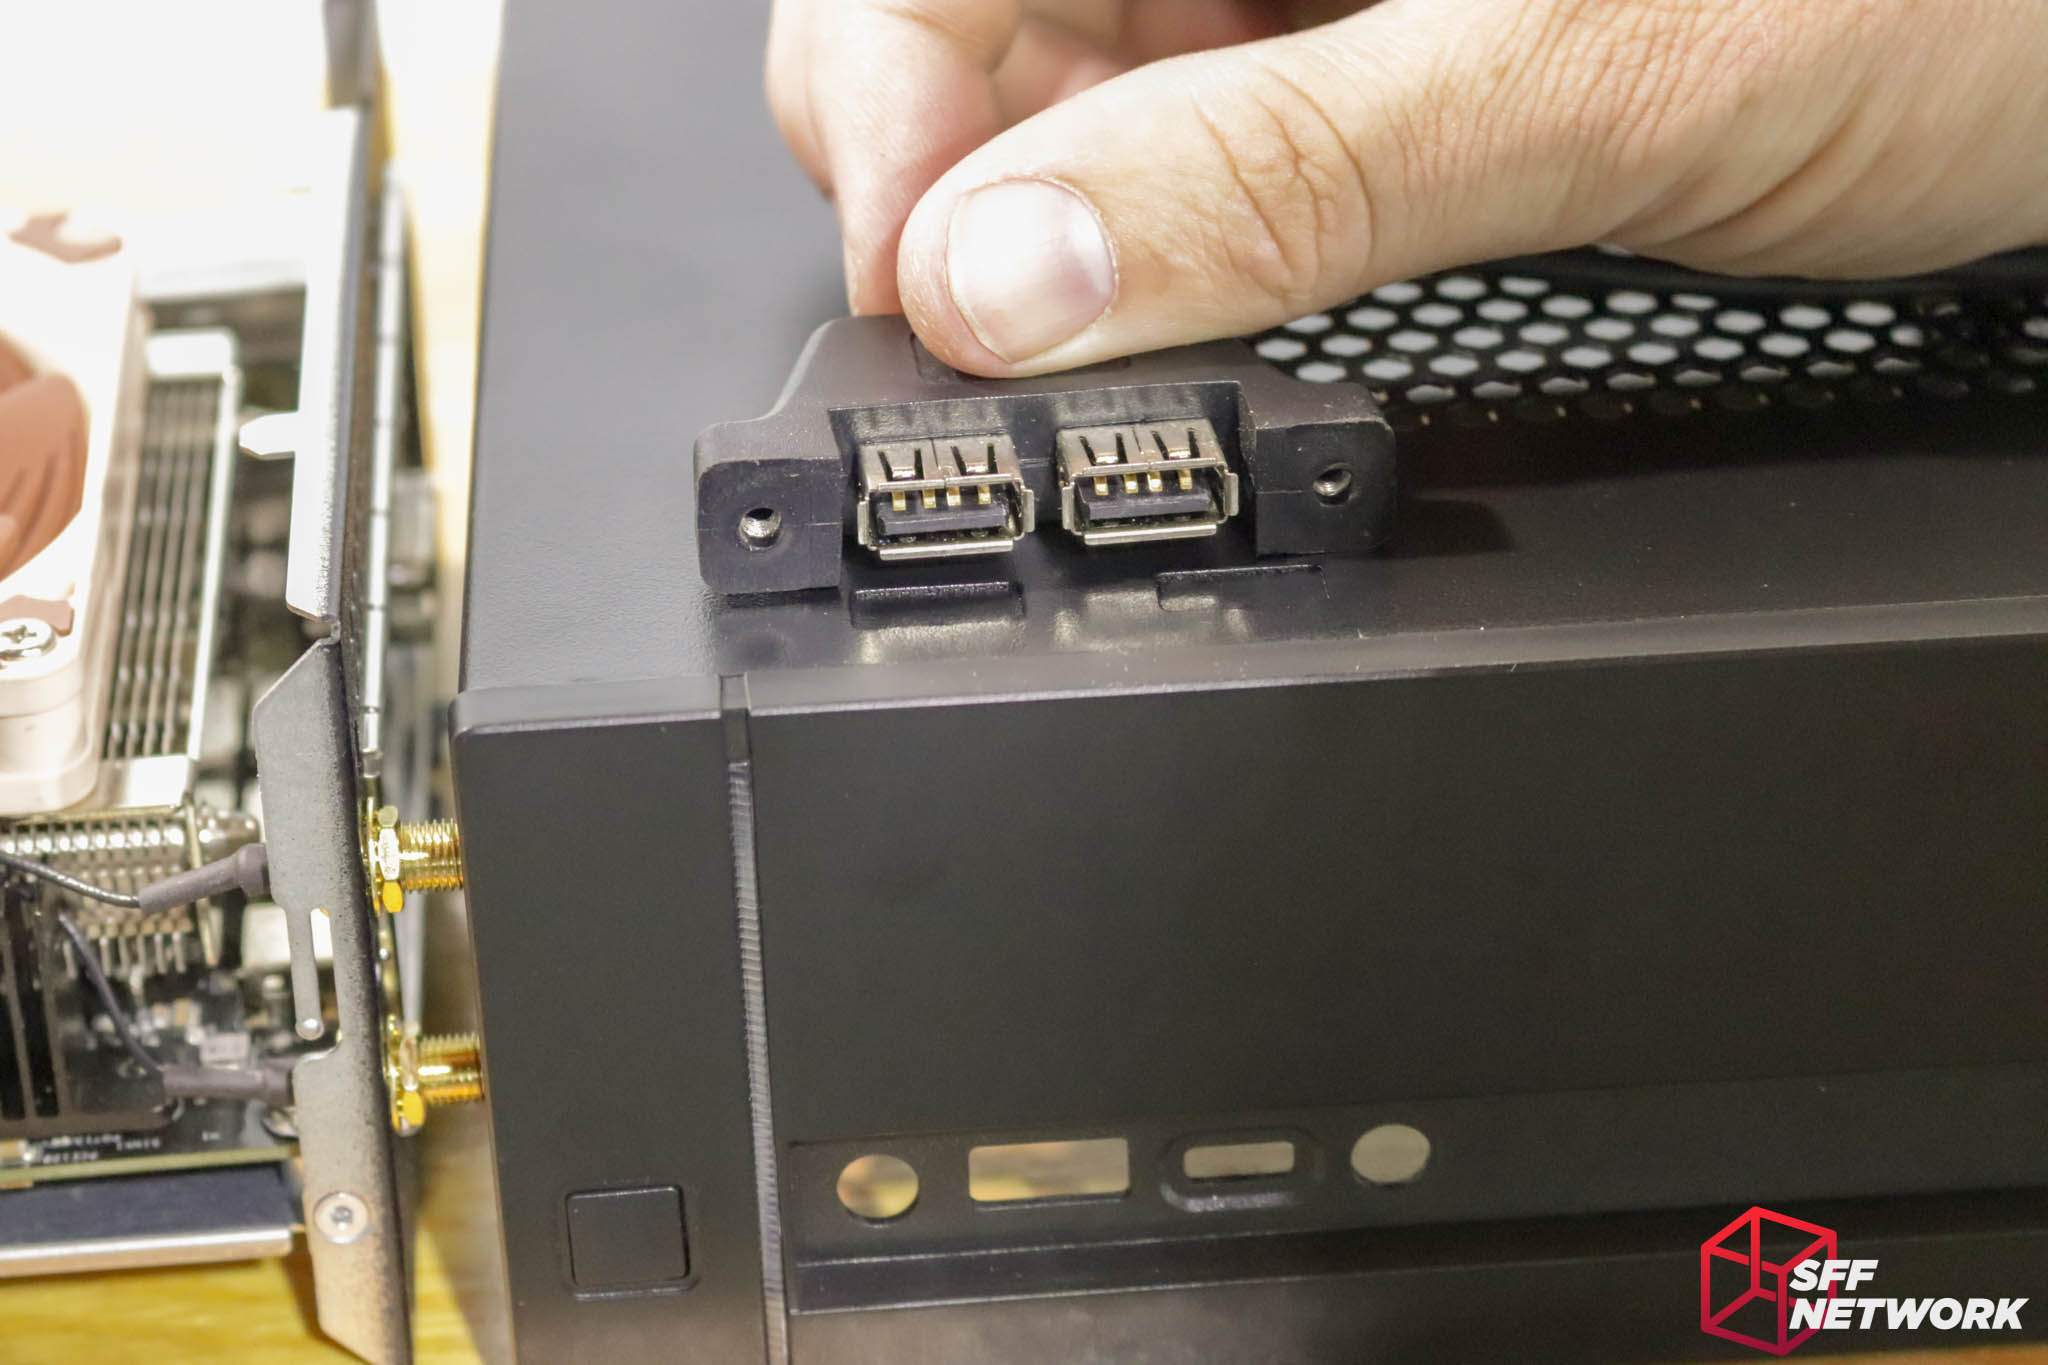
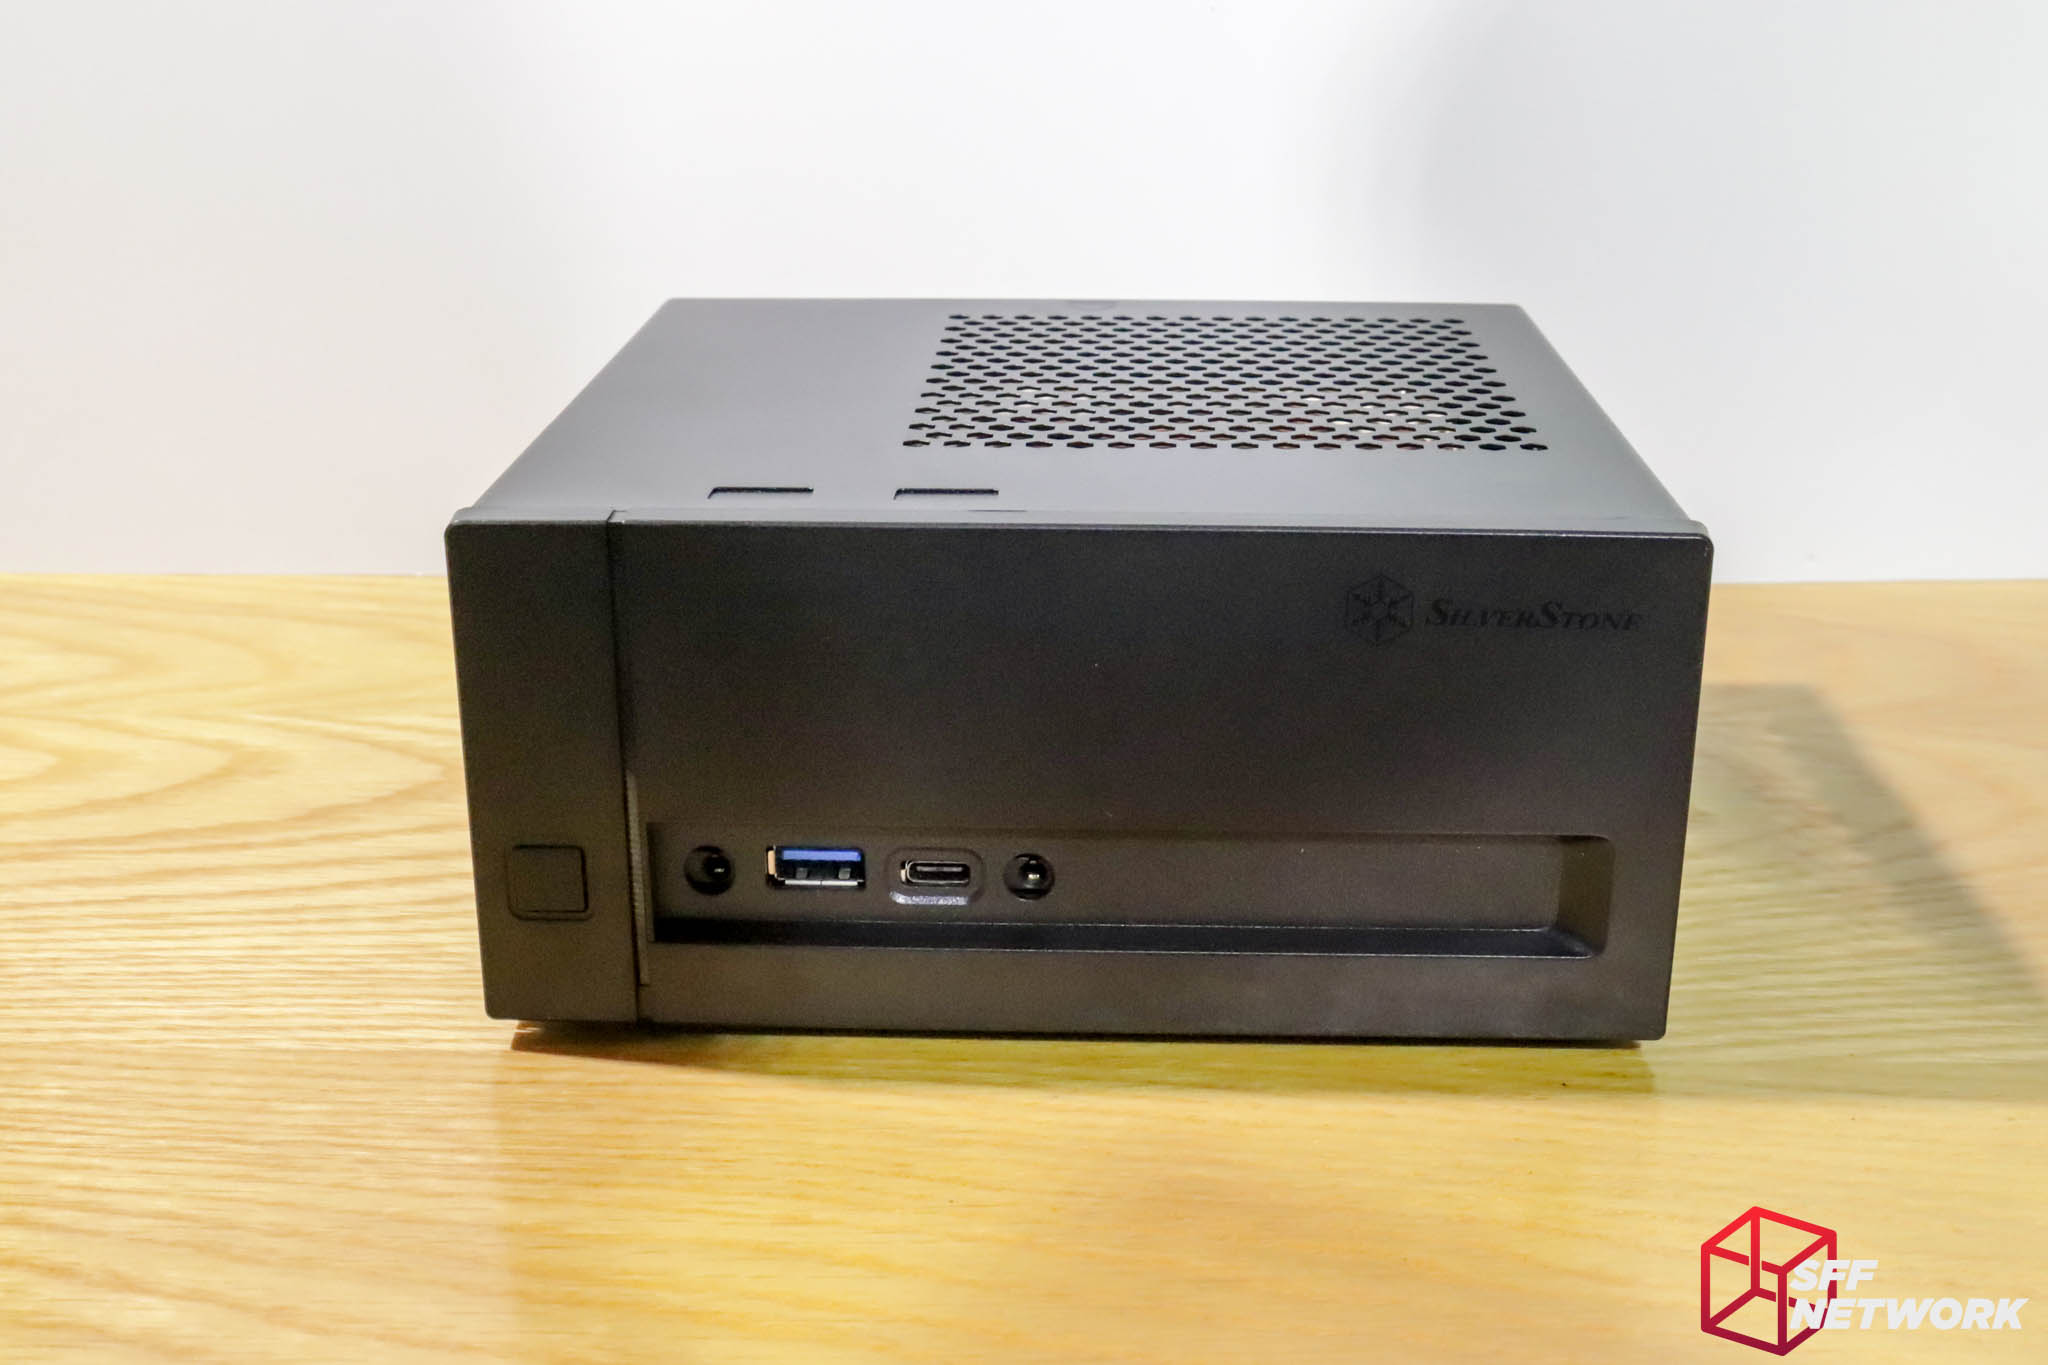
| Front IO | USB 3.0 (Type-A) x 1 USB 3.0 (Type-C) x 1 Audio x 1 MIC x 1 |
| CPU Cooler Limitation | 46mm |
| Weight | 493g |
| Dimensions | 165mm (W) x 73mm (H) x 156.5mm (D), 1.88 Litres |
| Features | Supports VESA Wall mount (MIS-D, 75) DIN rail mounting ready |
| Price at Time of Writing | US$43.99 at NewEgg.com, US$43.70 on Amazon.com |
The Unboxing
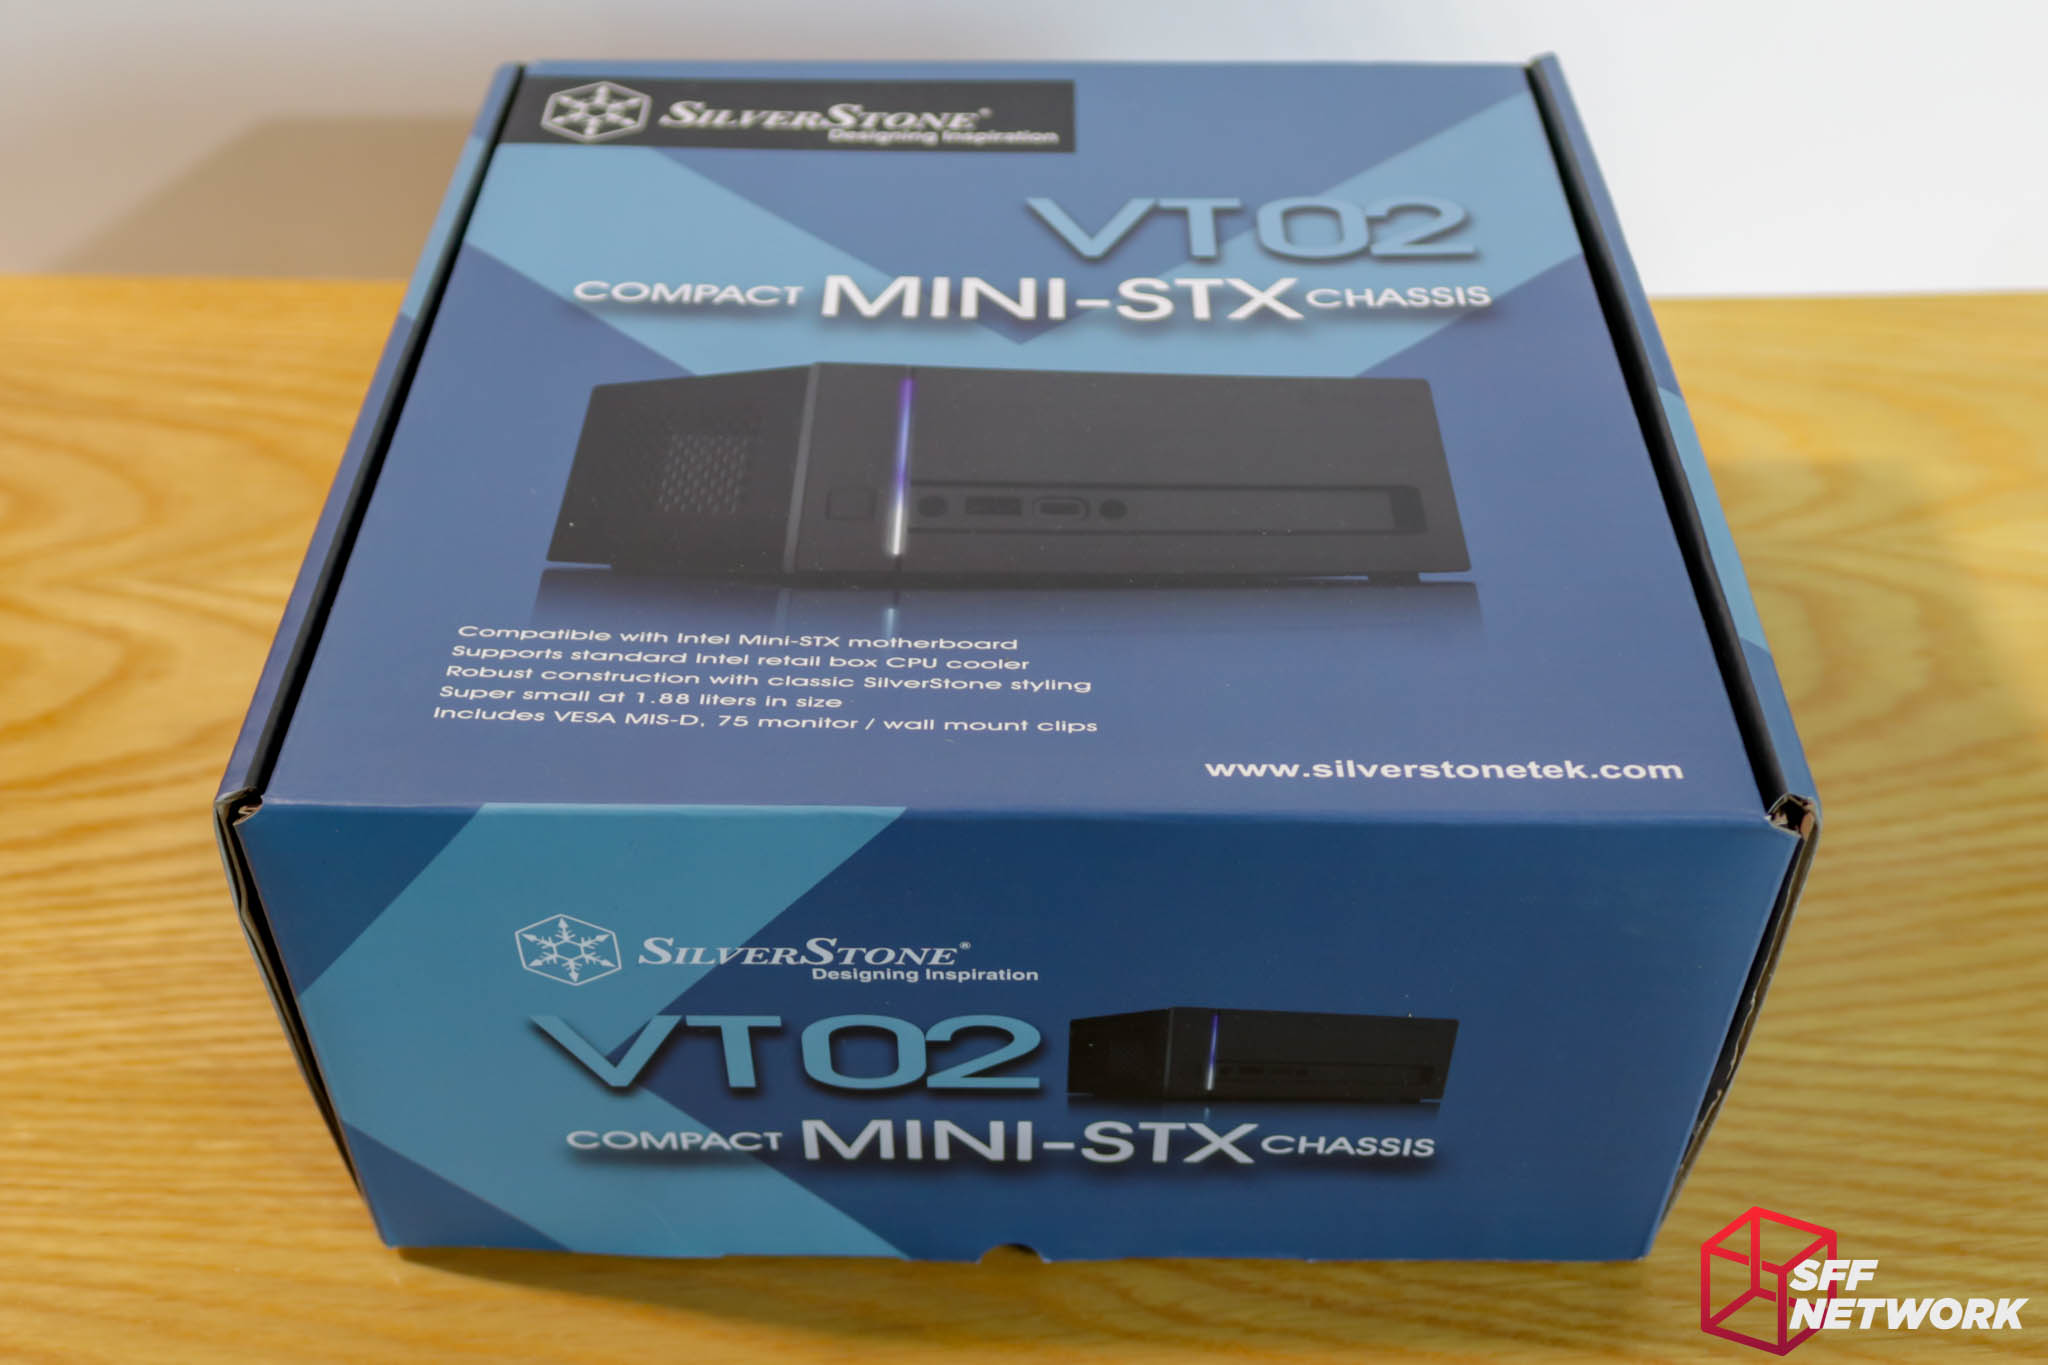
A little more flashy than the DeskMini’s packaging, the VT02’s box would stand out on a retail shelf in a sea of all-black boxes, as is the current norm. Proudly stating it’s Mini-STX form factor, the VT02 is slightly smaller than the stock DeskMini chassis.

The rear of the box hosts a spec list (reproduced above, as we do), as well as an image of the VESA mount capability.
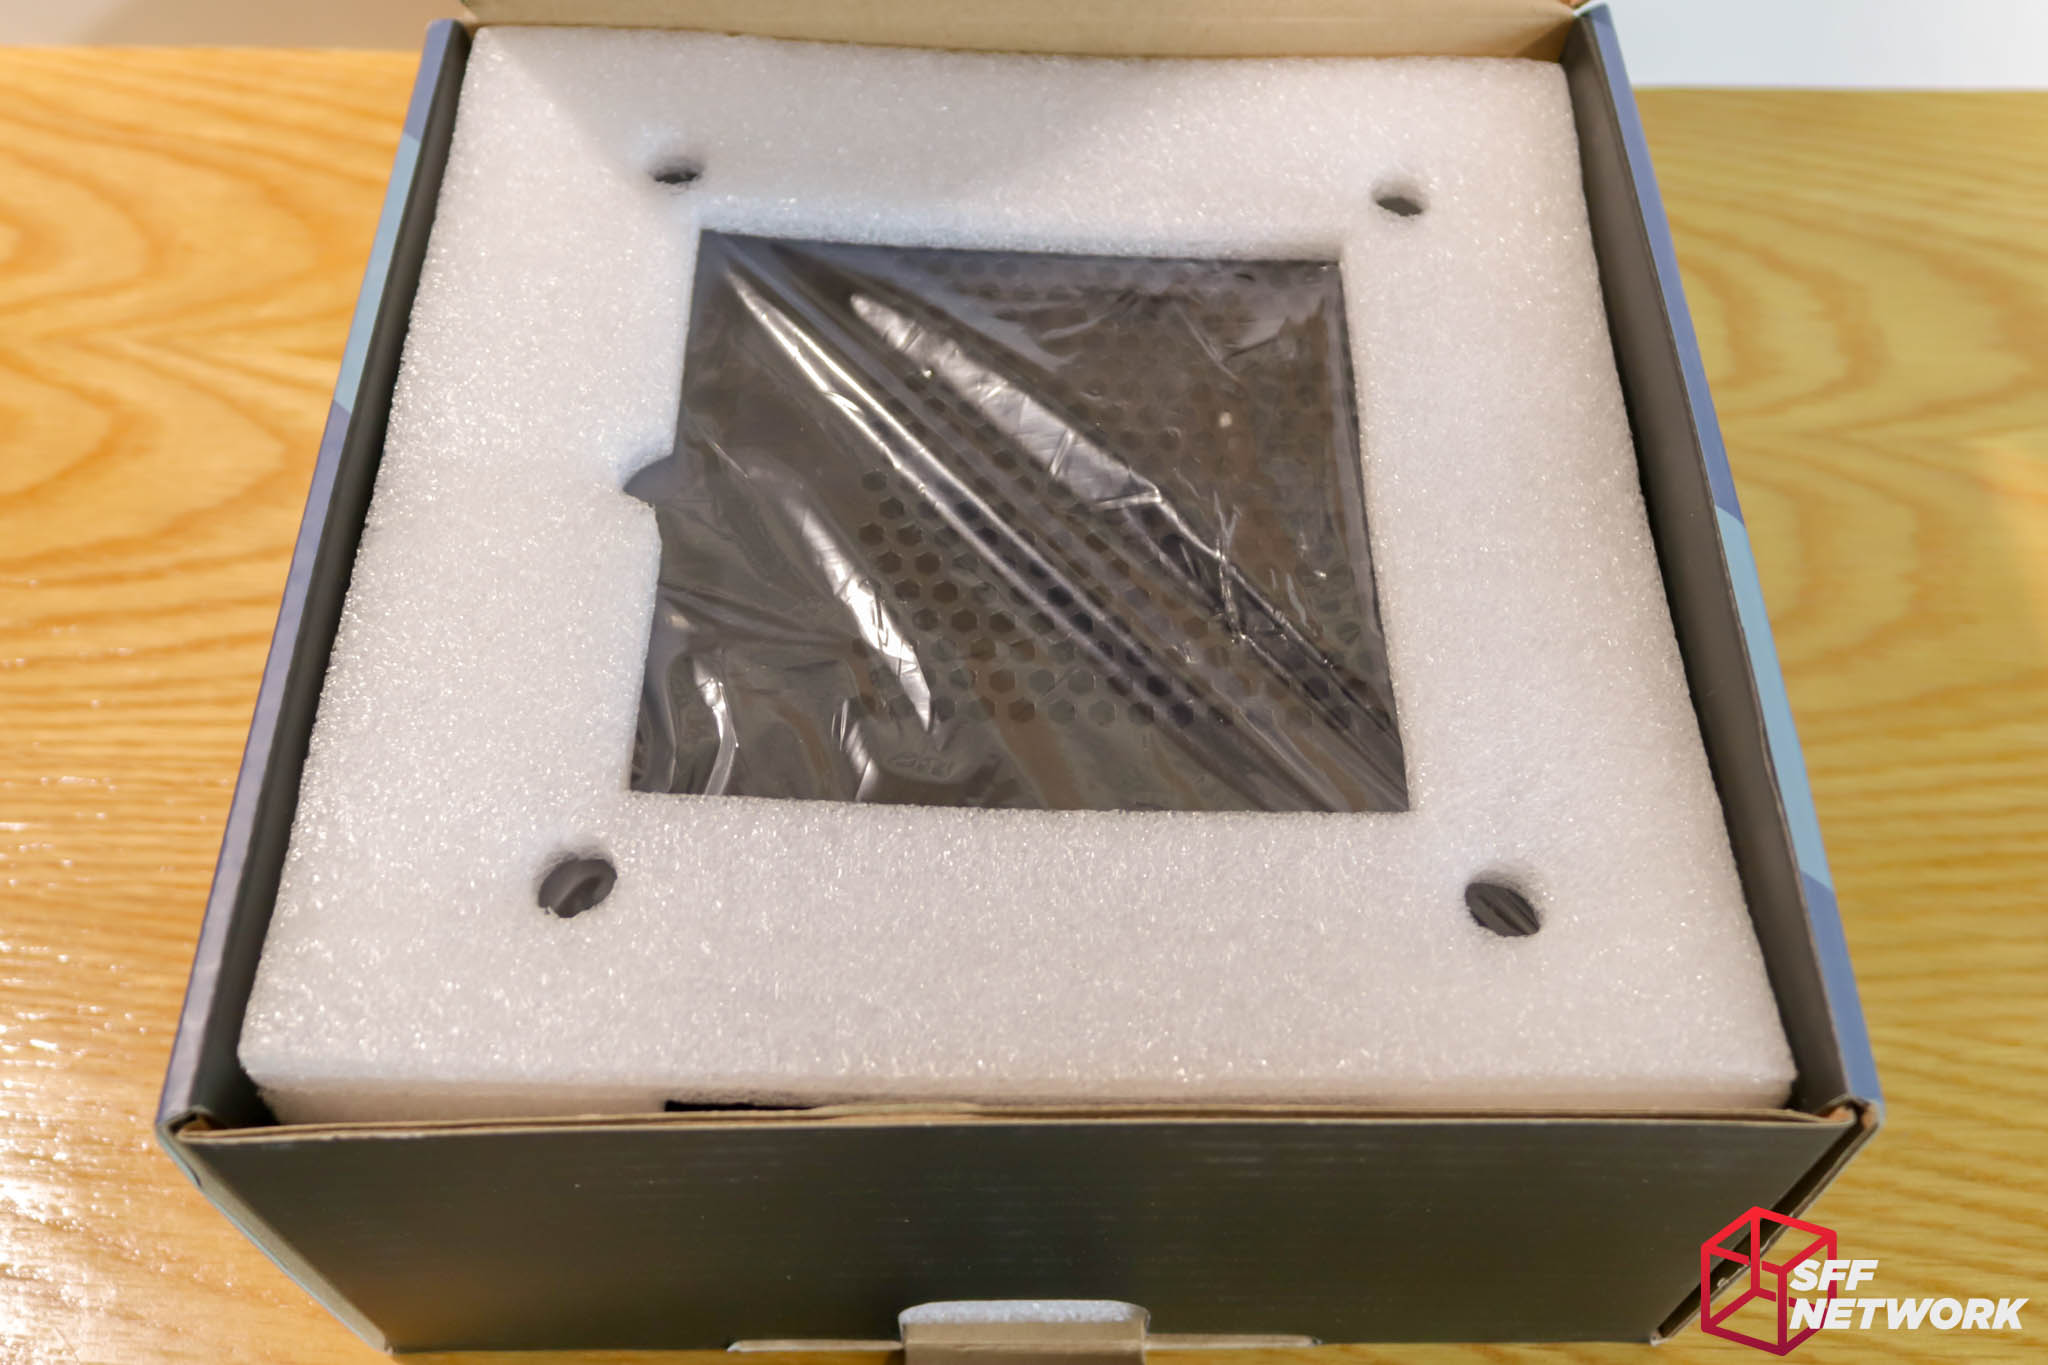
Time to unbox. Sigh, closed cell foam. Not easily recyclable – even the plastic bag the chassis is in is easier to recycle! I’ve said it before, I’d like to see manufacturers move to more recyclable packaging such as cardboard. As an example, the moulded pulp material I’ve seen used in various products such as Sapphire graphics cards is a great alternative.
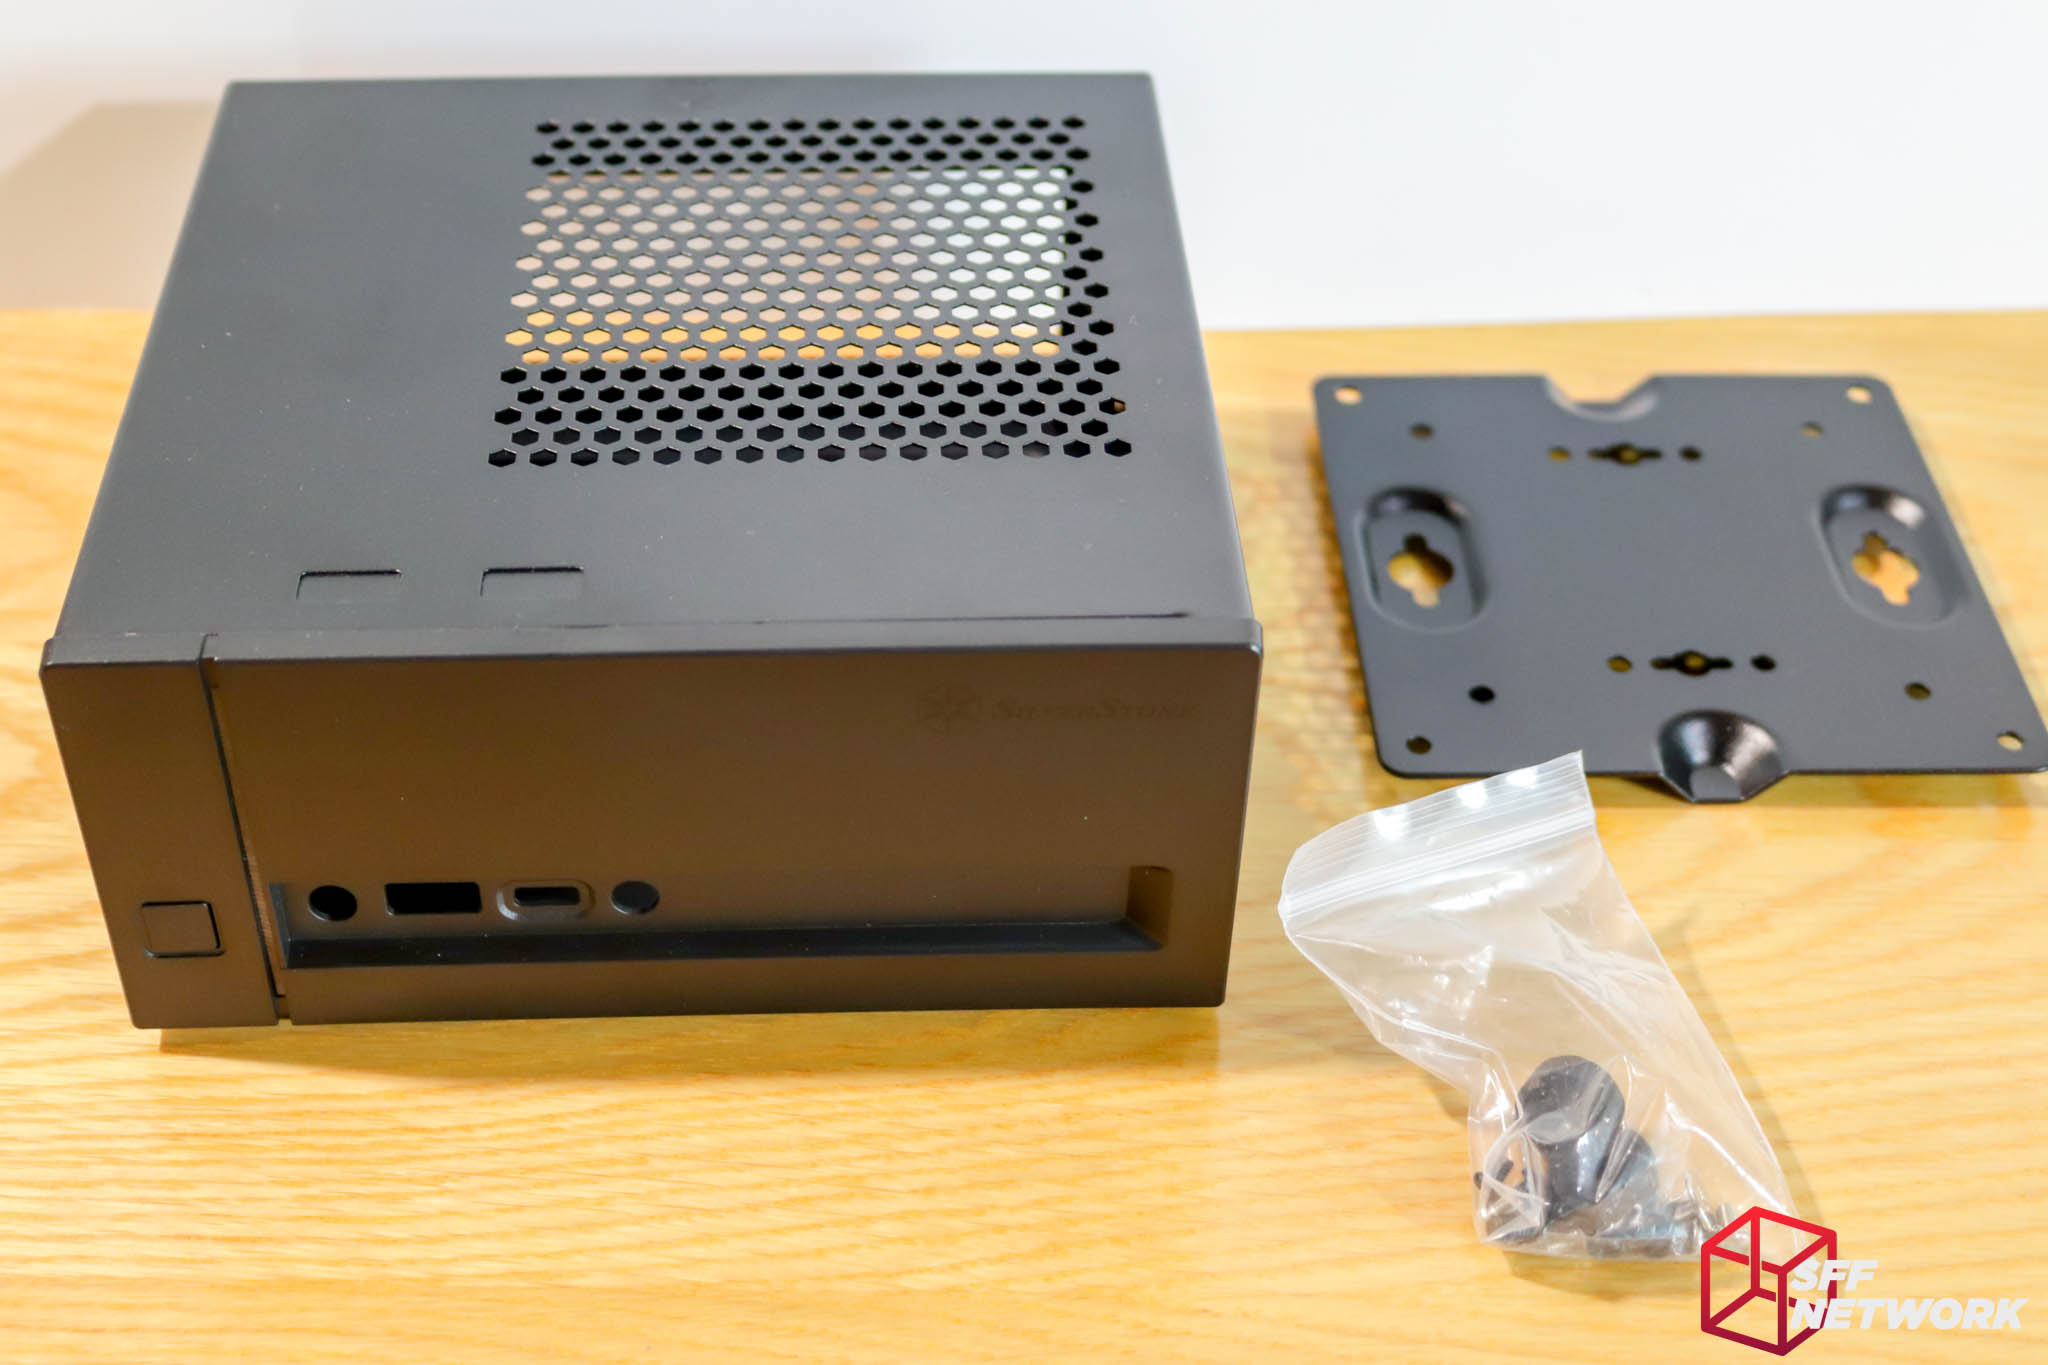
Inside the box – not much. The VT02, the VESA mount and a bag of screws. A printed manual isn’t included, but a clear manual is available online in PDF form.
The SilverStone Vital Series VT02

Along similar design lines to the standard DeskMini, the VT02 is clearly designed for office and corporate environments. The black powdercoating along with the matte black plastic, no flashy grilles, RGB lighting or branding. Subtle. Nice.
The air intakes are of a simple hex design, and in ample quantity to keep the system cool. Keep reading for thermal results!
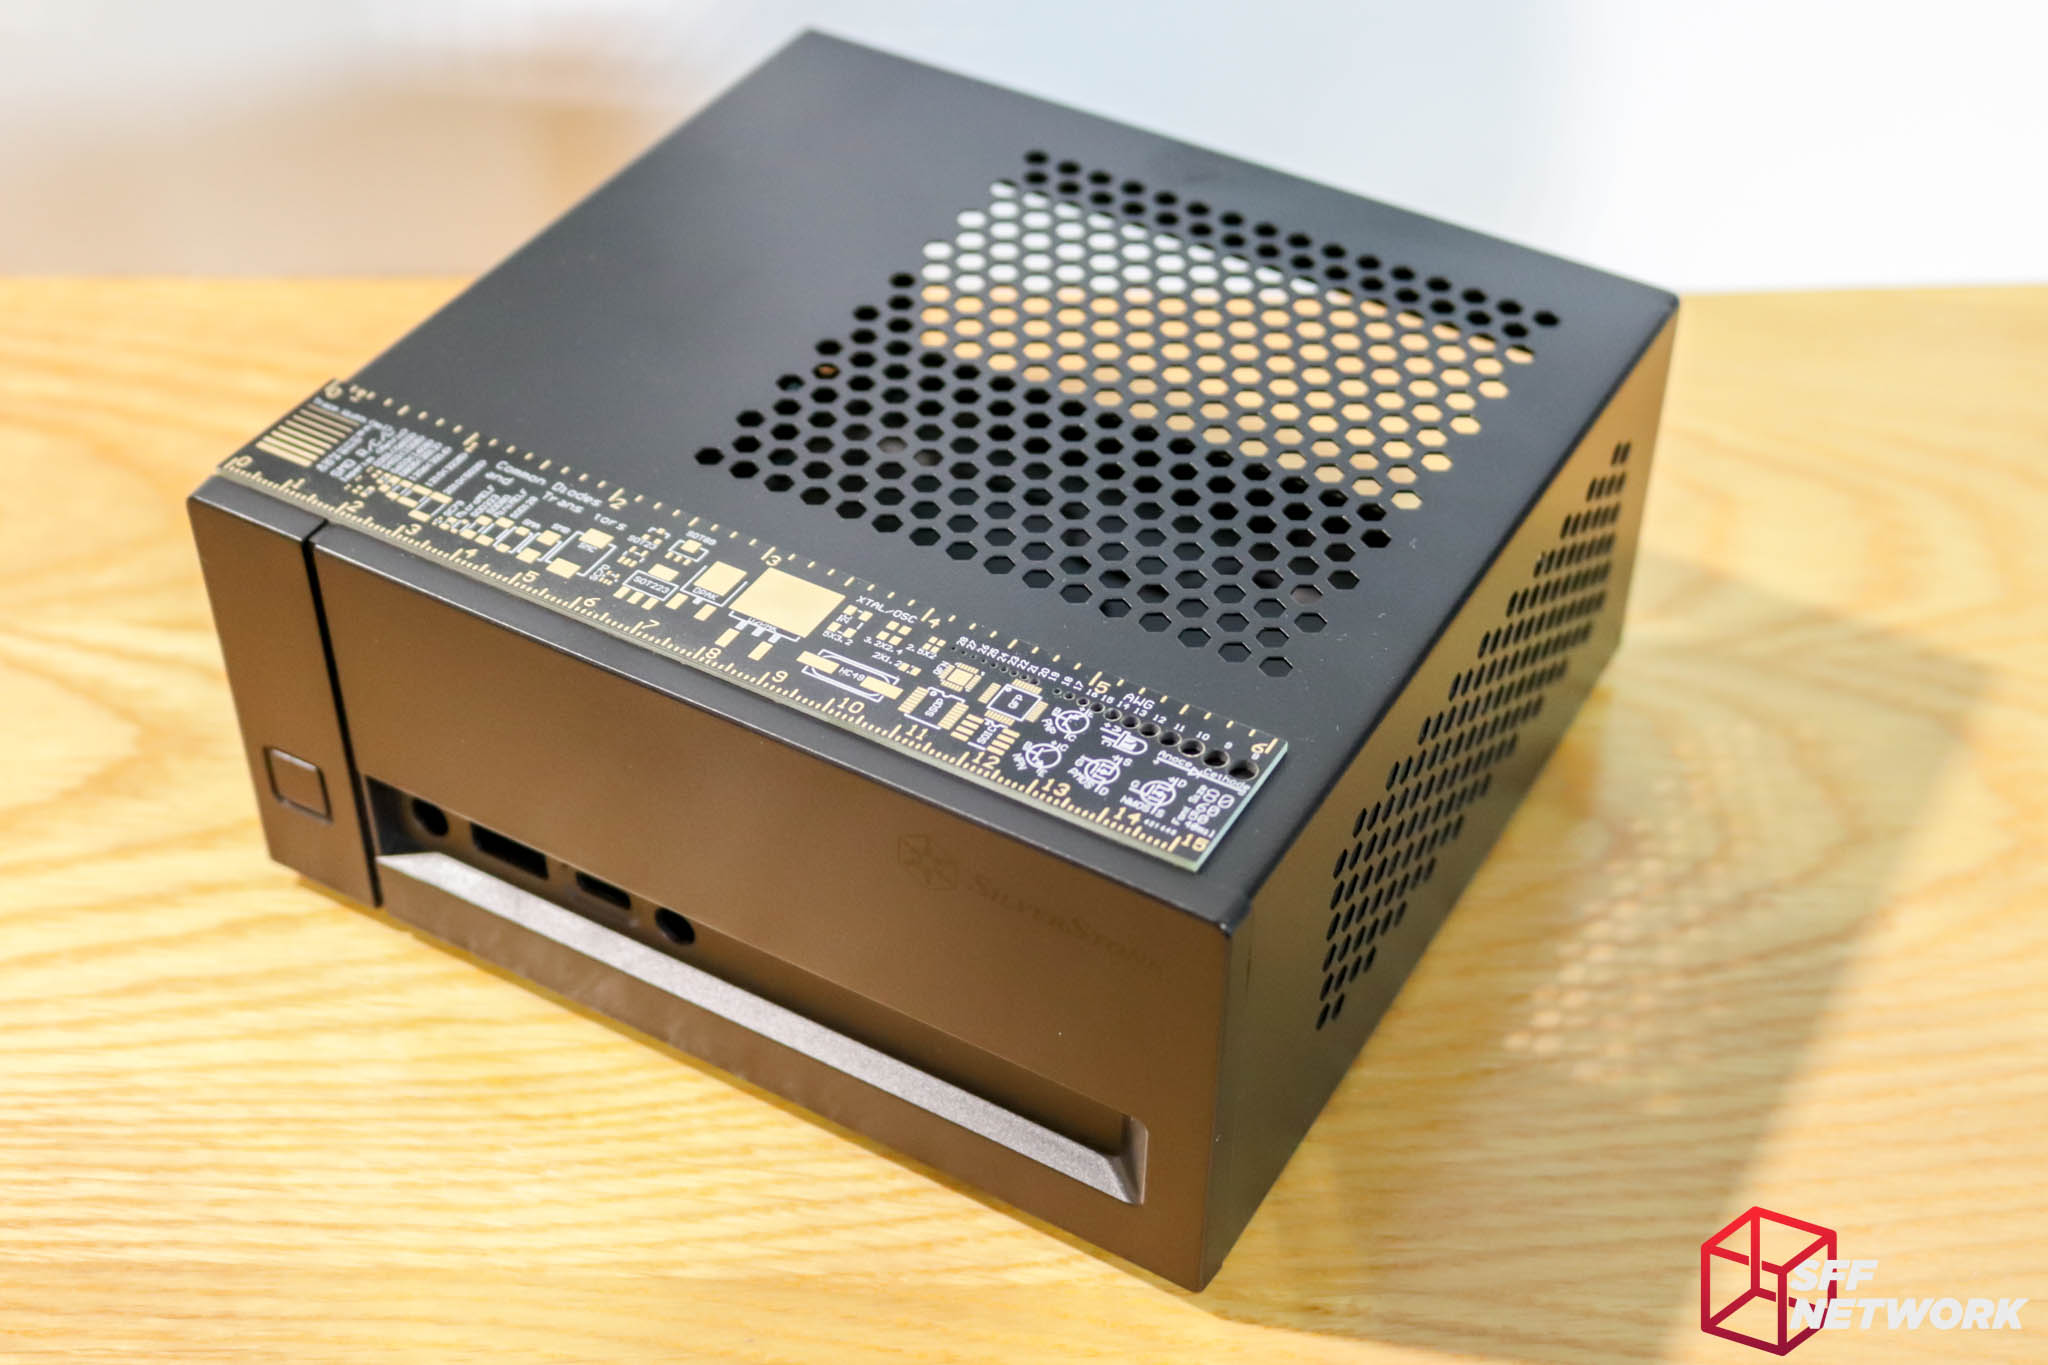
As shown by my funky PCB ruler, the case is just over 15cm wide – 165mm in fact. Coupled with a 73mm height and 156.5mm depth, the total volume is 1.88 litres, an improvement of 0.04L from the standard DeskMini chassis. It’s not much, but it does feel smaller, mostly due to the reduced thickness of the design, an artifact of not using the awful tray layout.
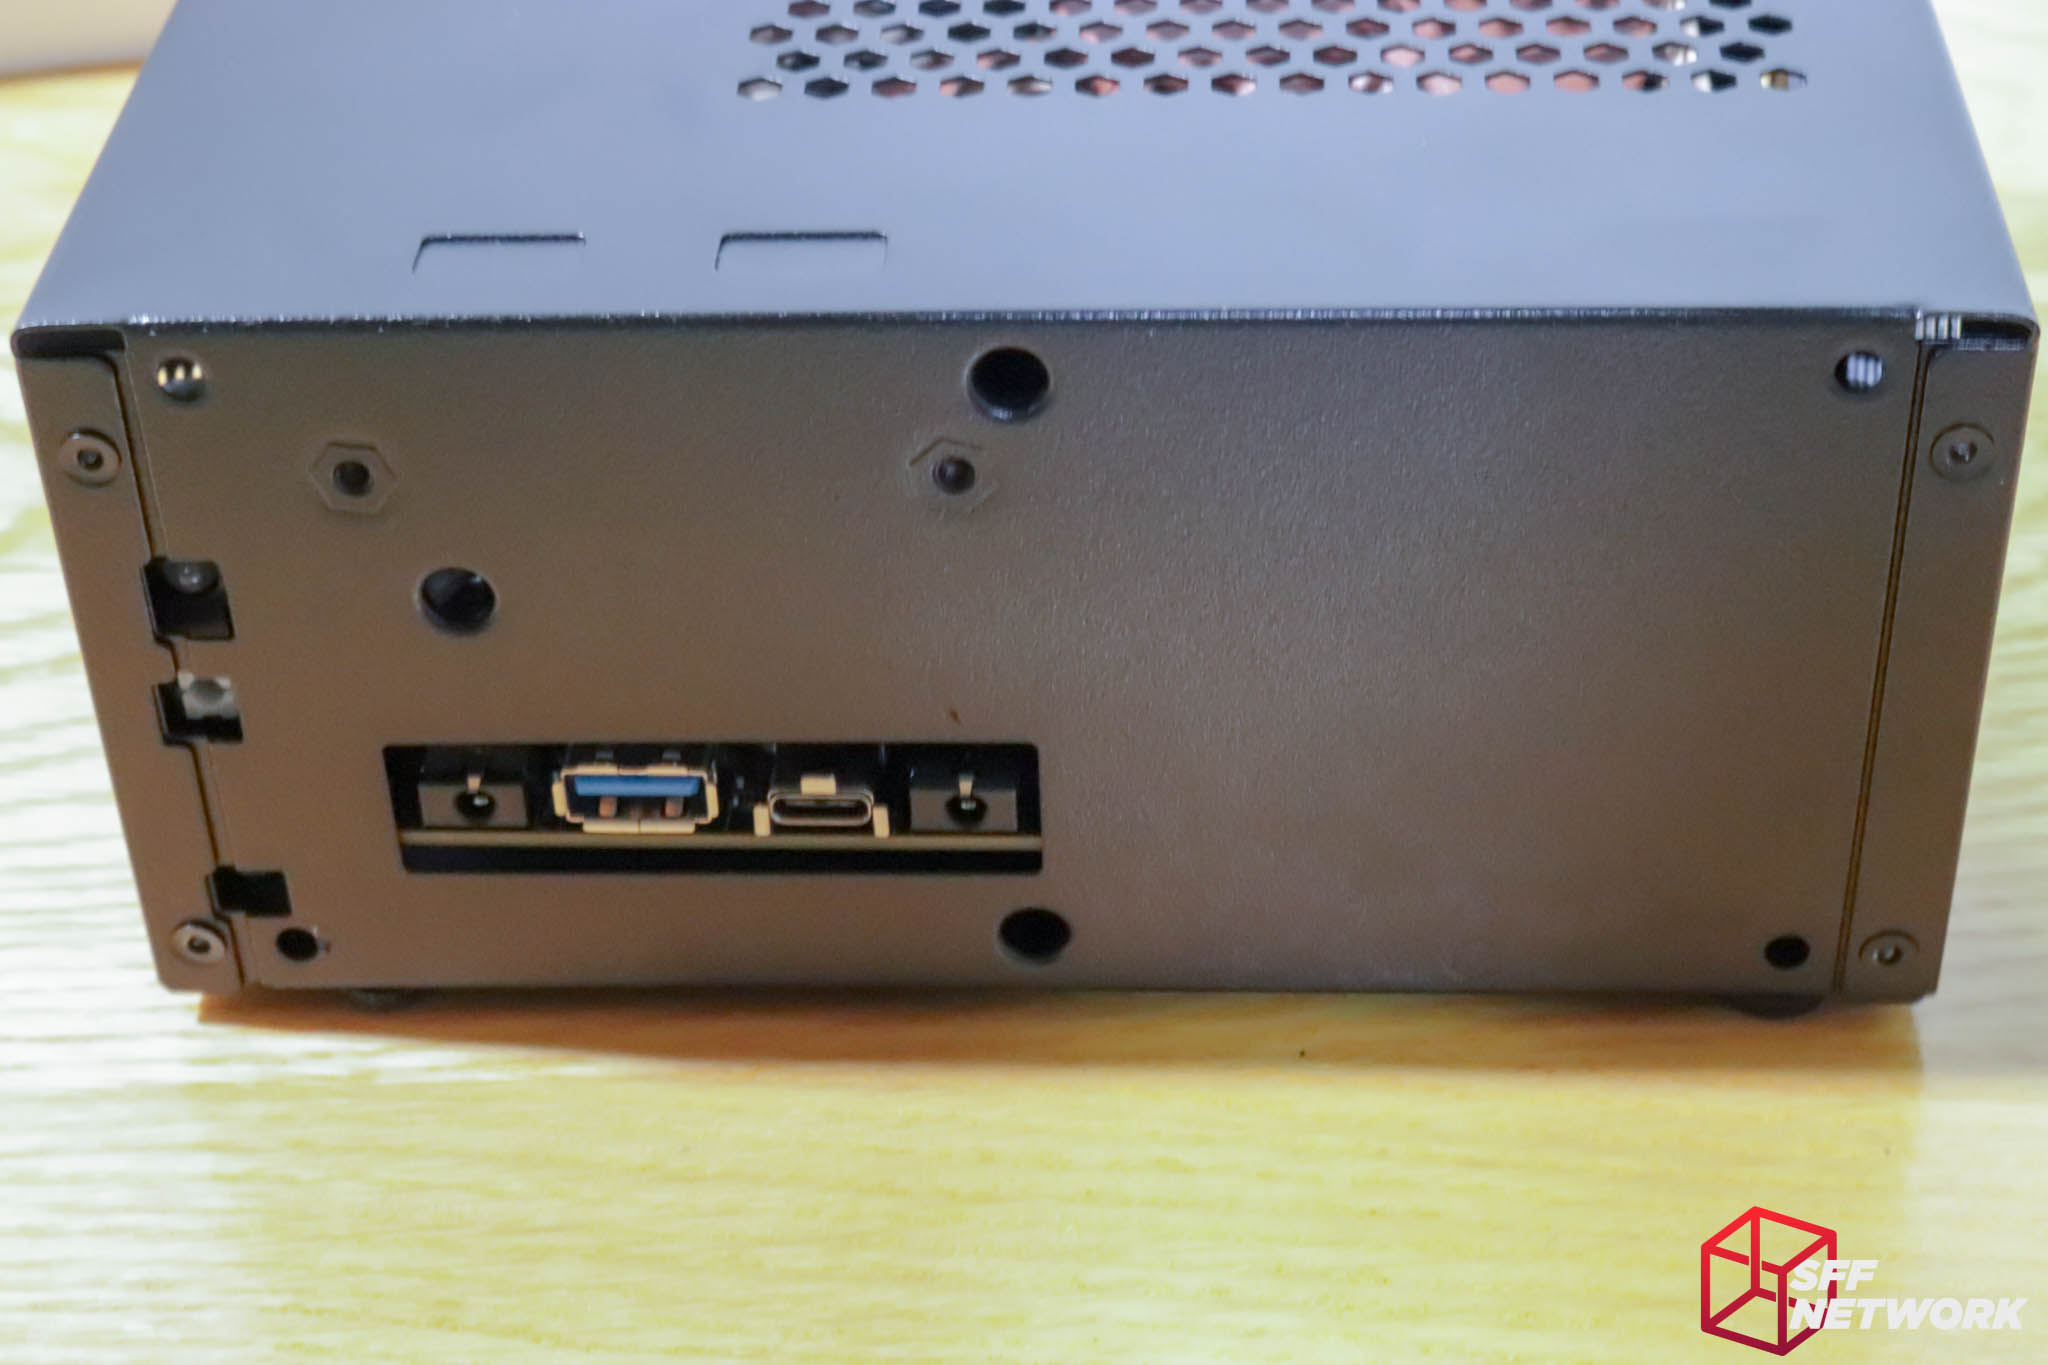
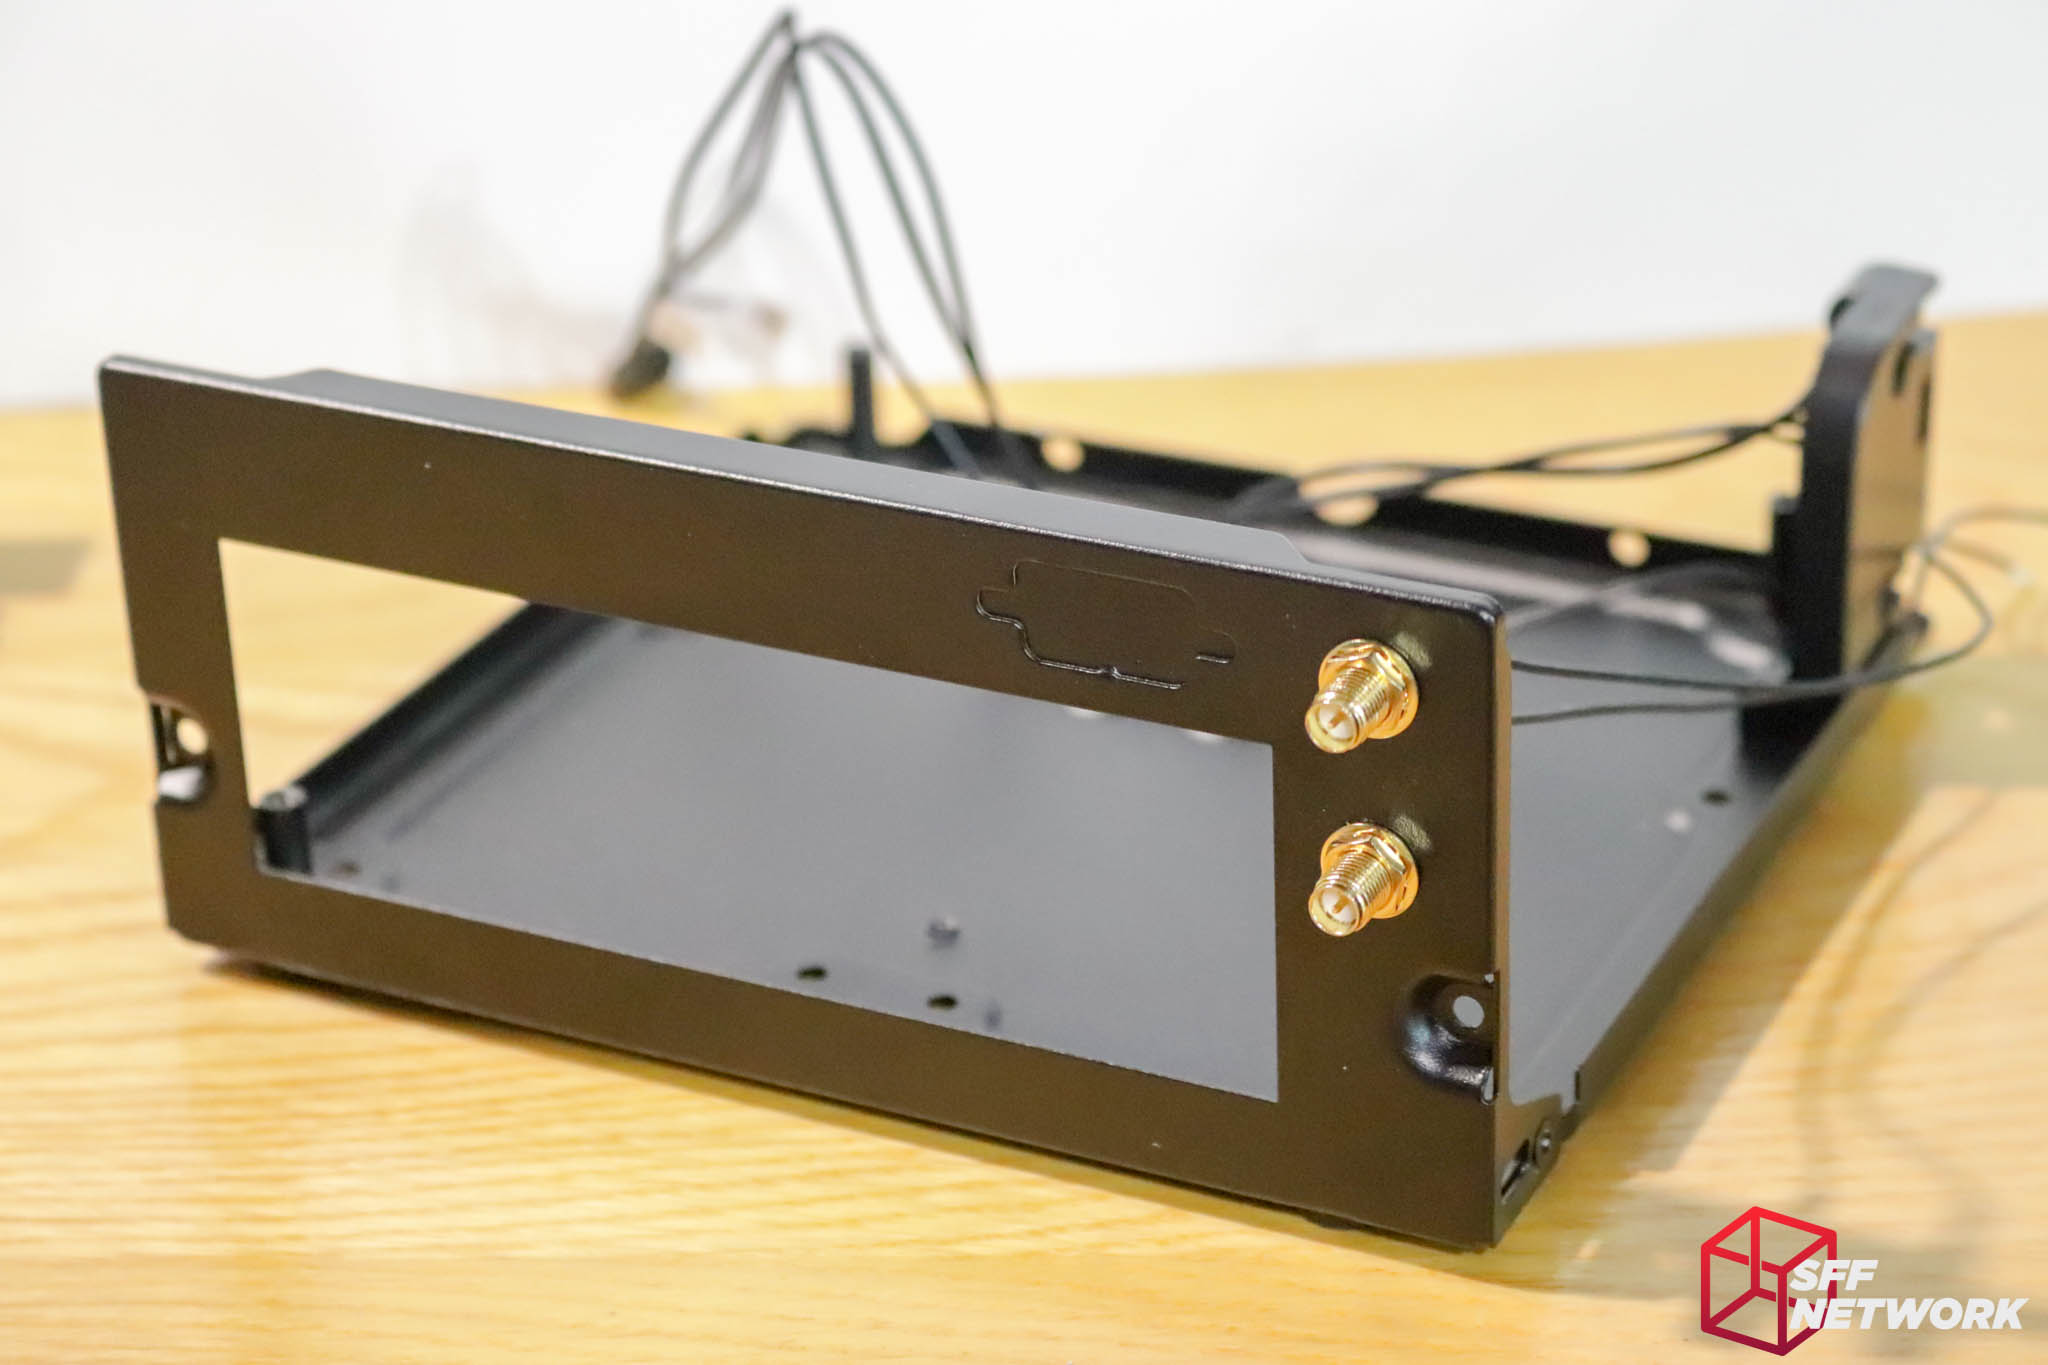
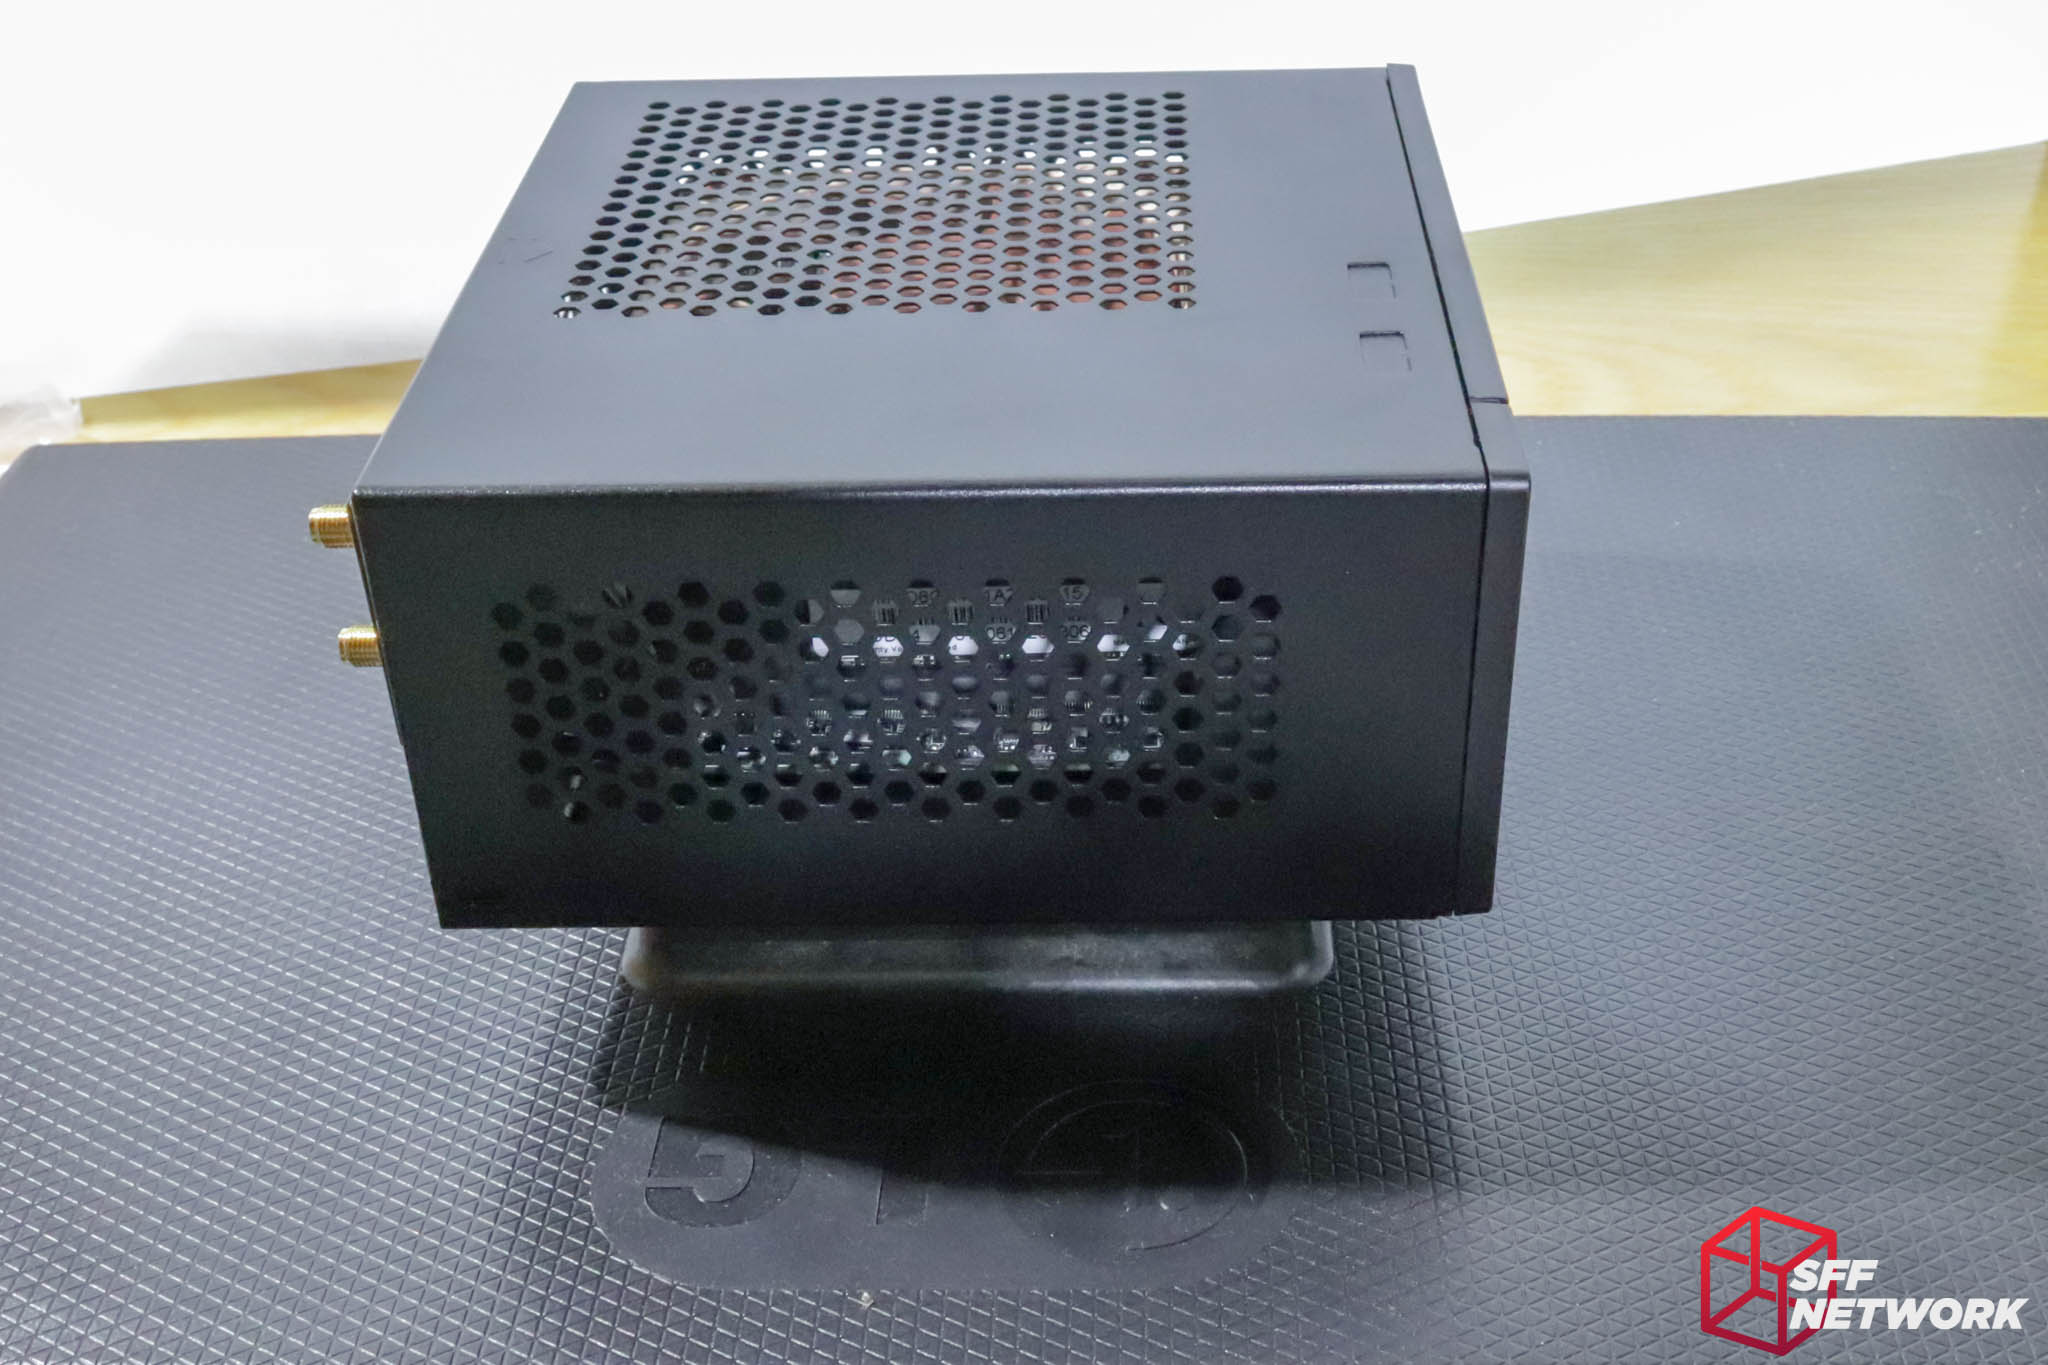
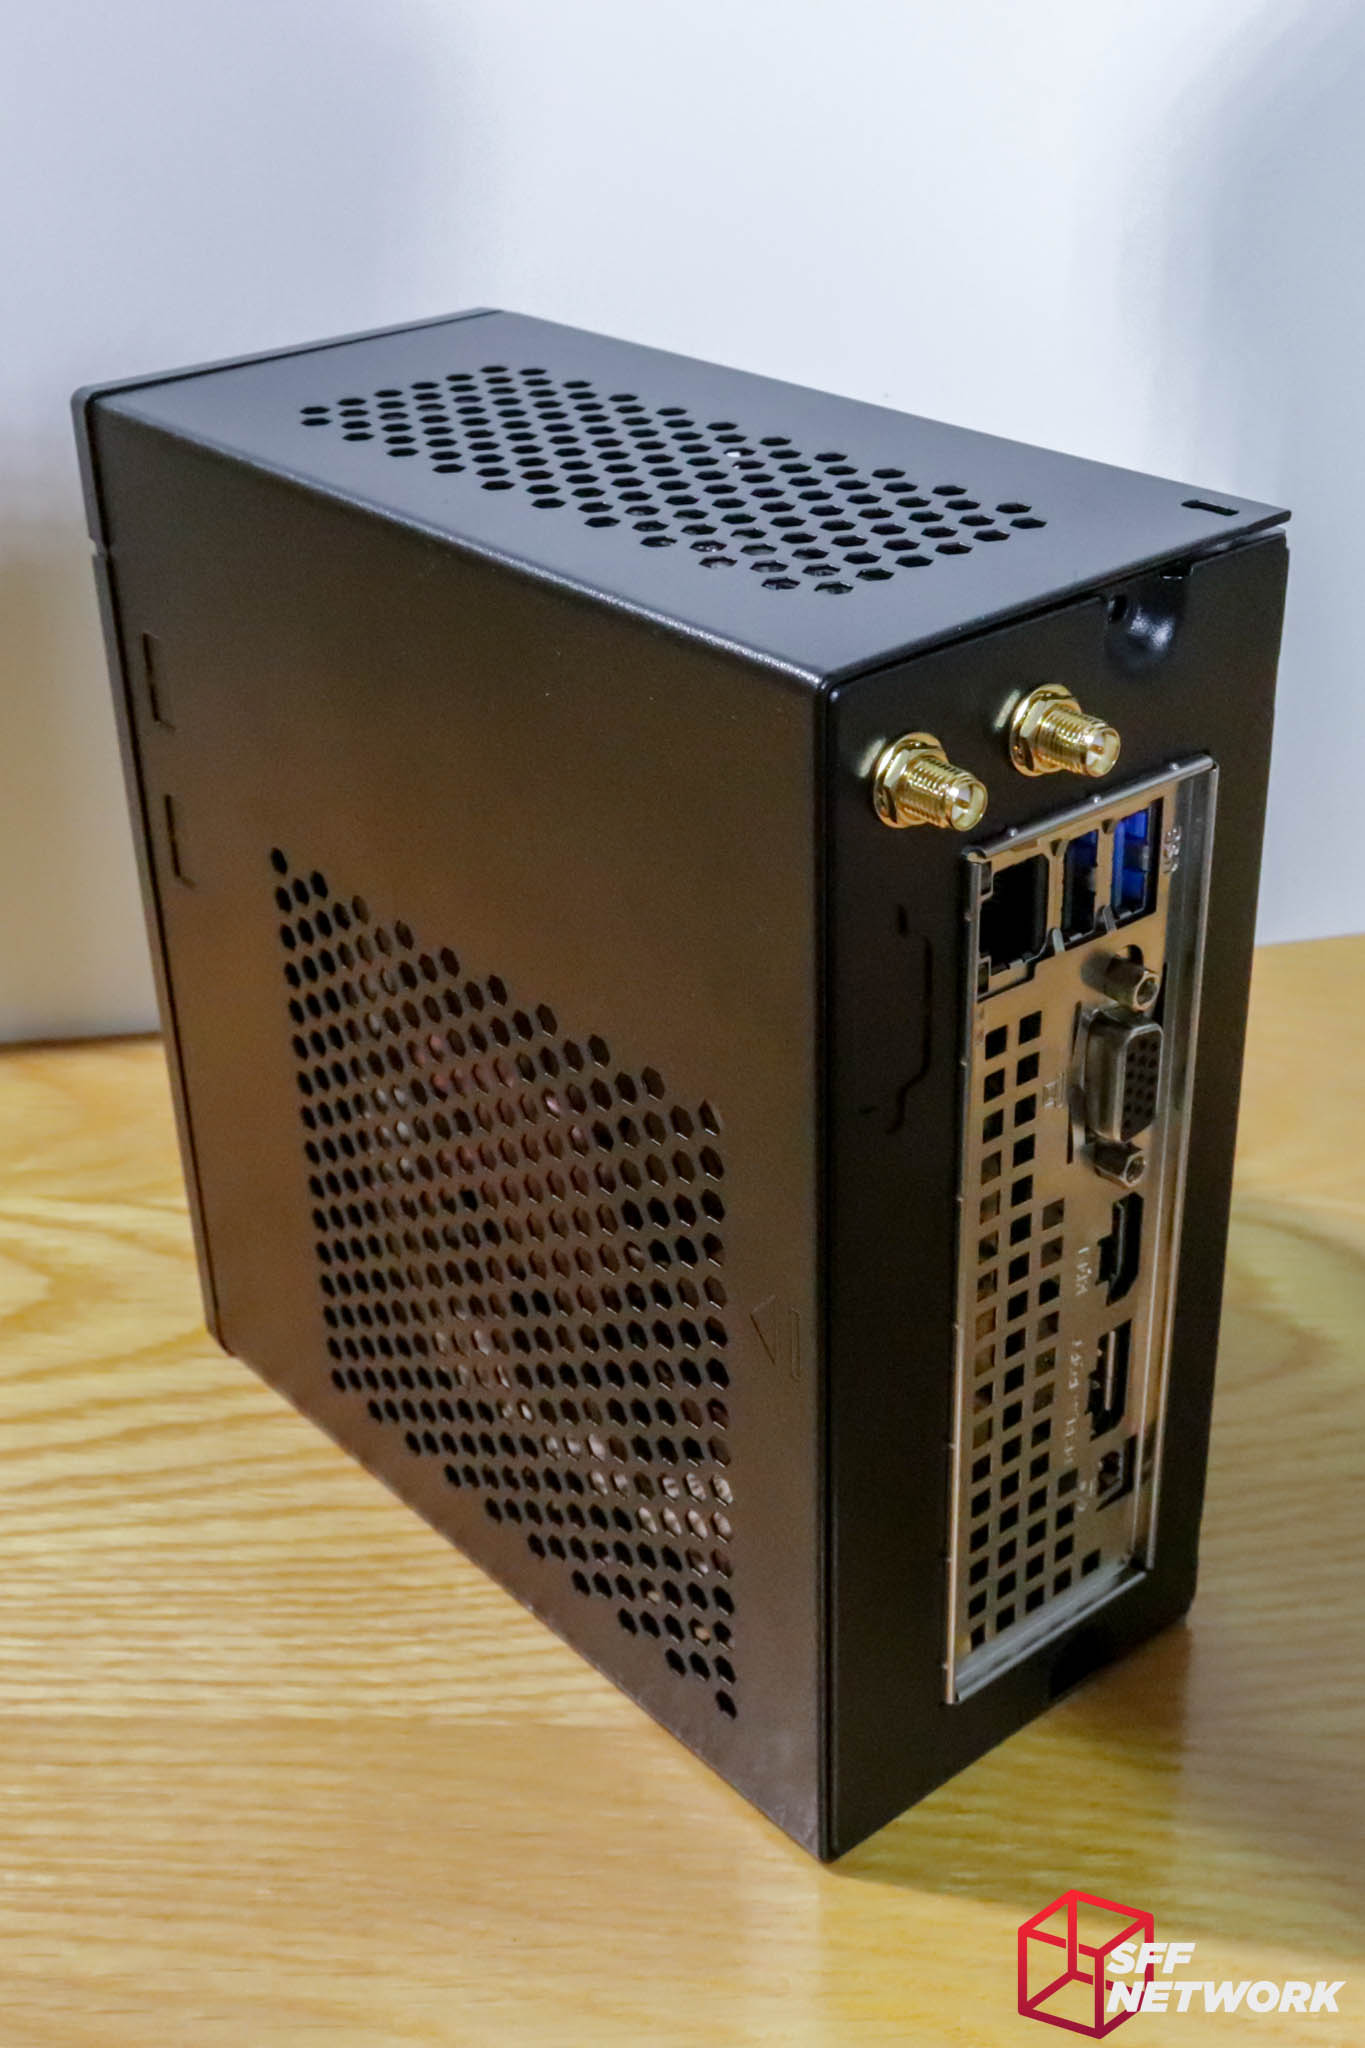
The simpler internal design is made obvious by the rear panel – the offset of the IO shield from the bottom is minimised. Also of note, two rather than three WiFi antenna punchouts – great for most, not so for those with triple band WiFi cards (although these are still relatively rarely used in desktops) or those who like their cases looking like a gaming router.
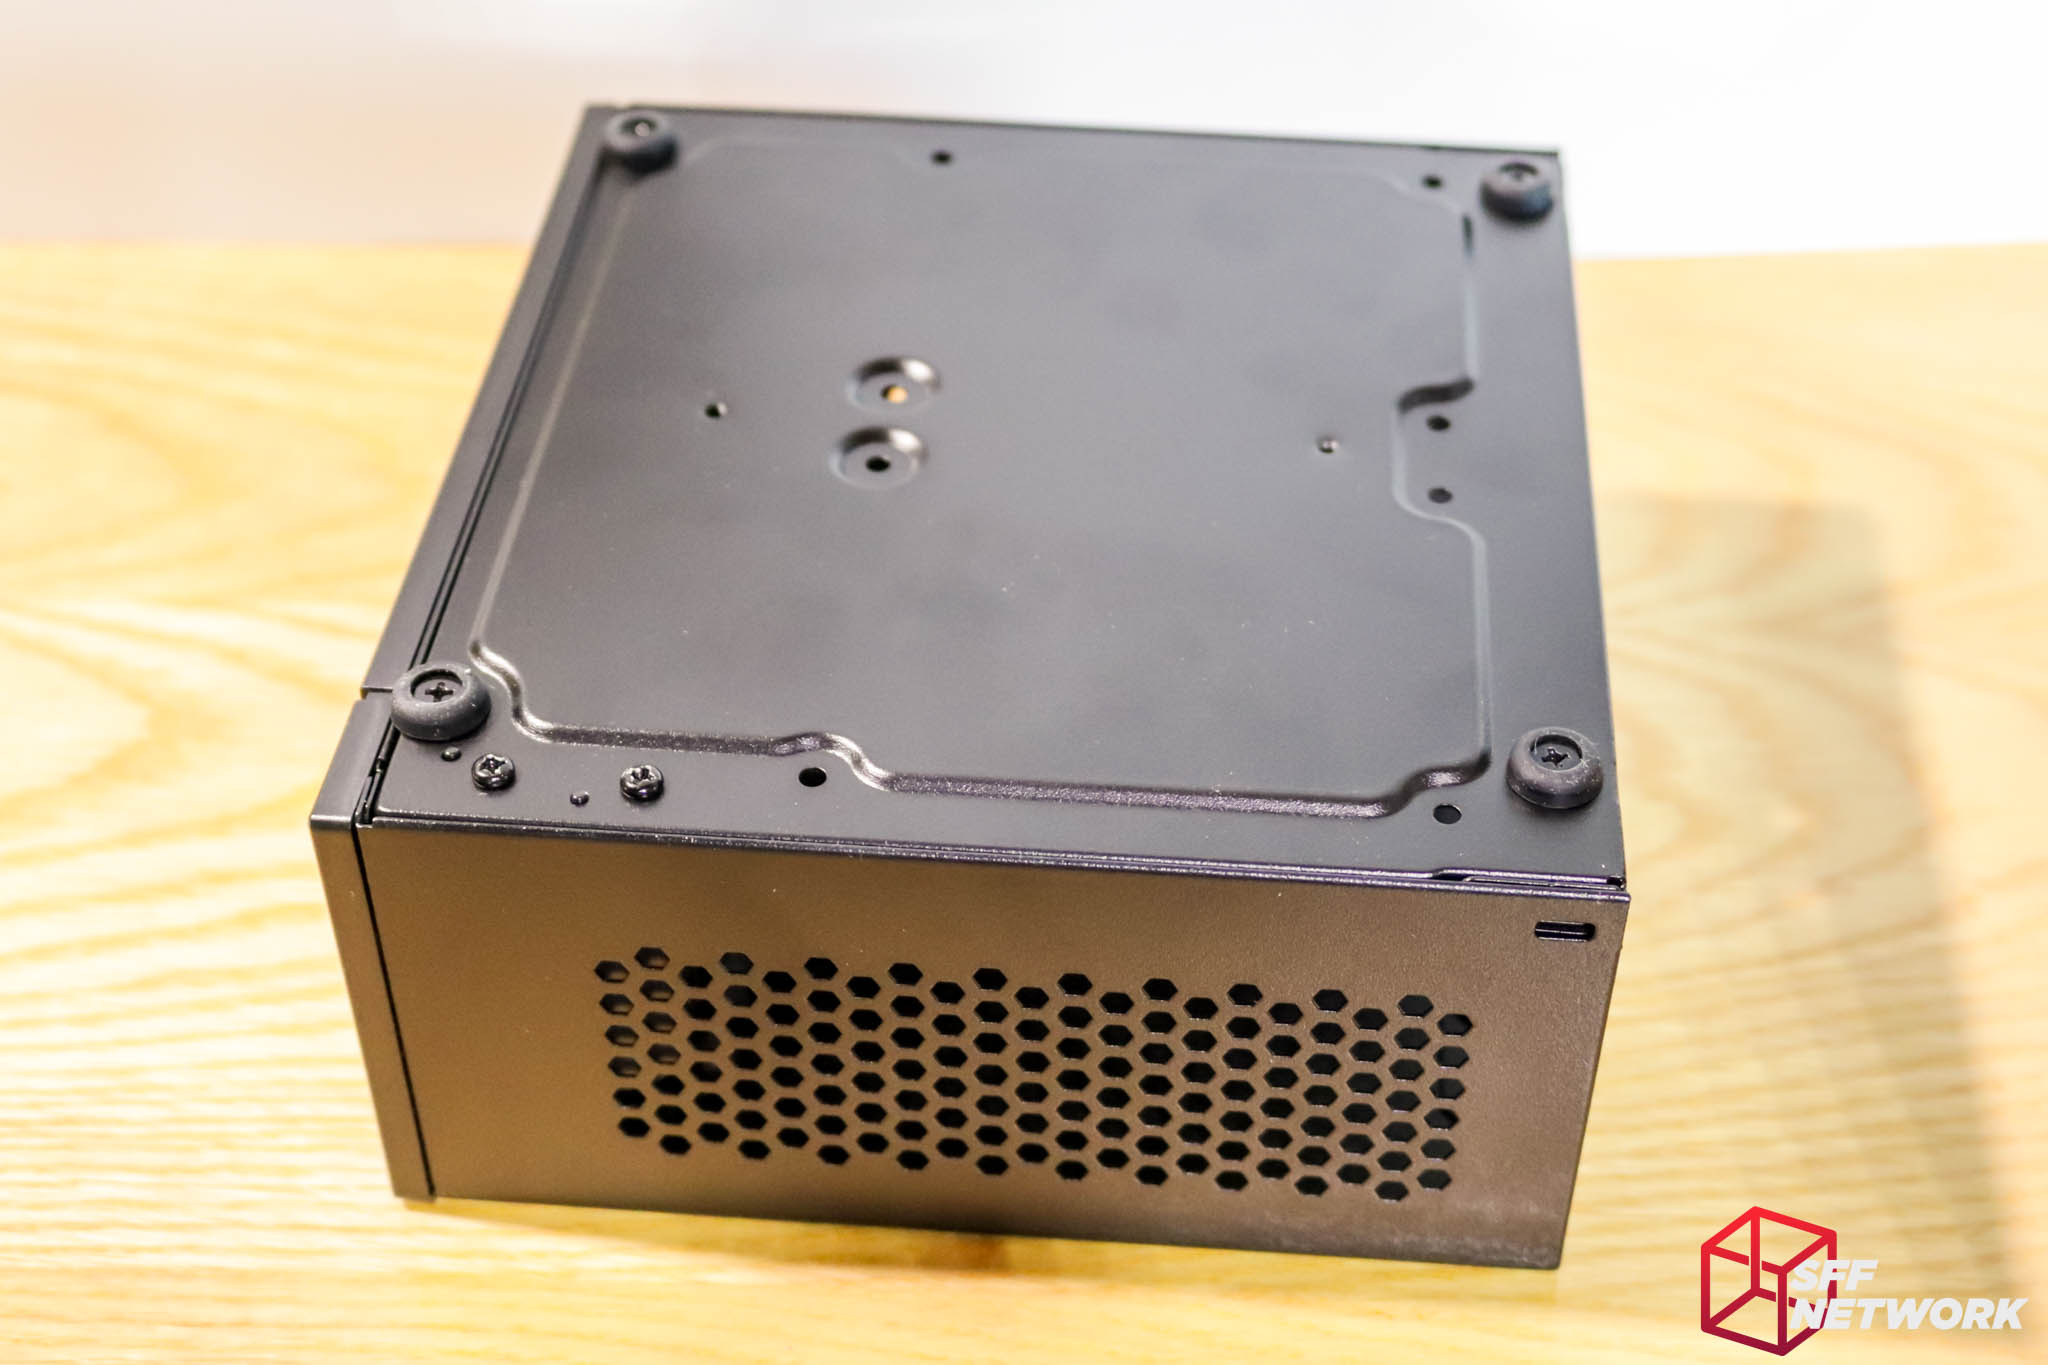
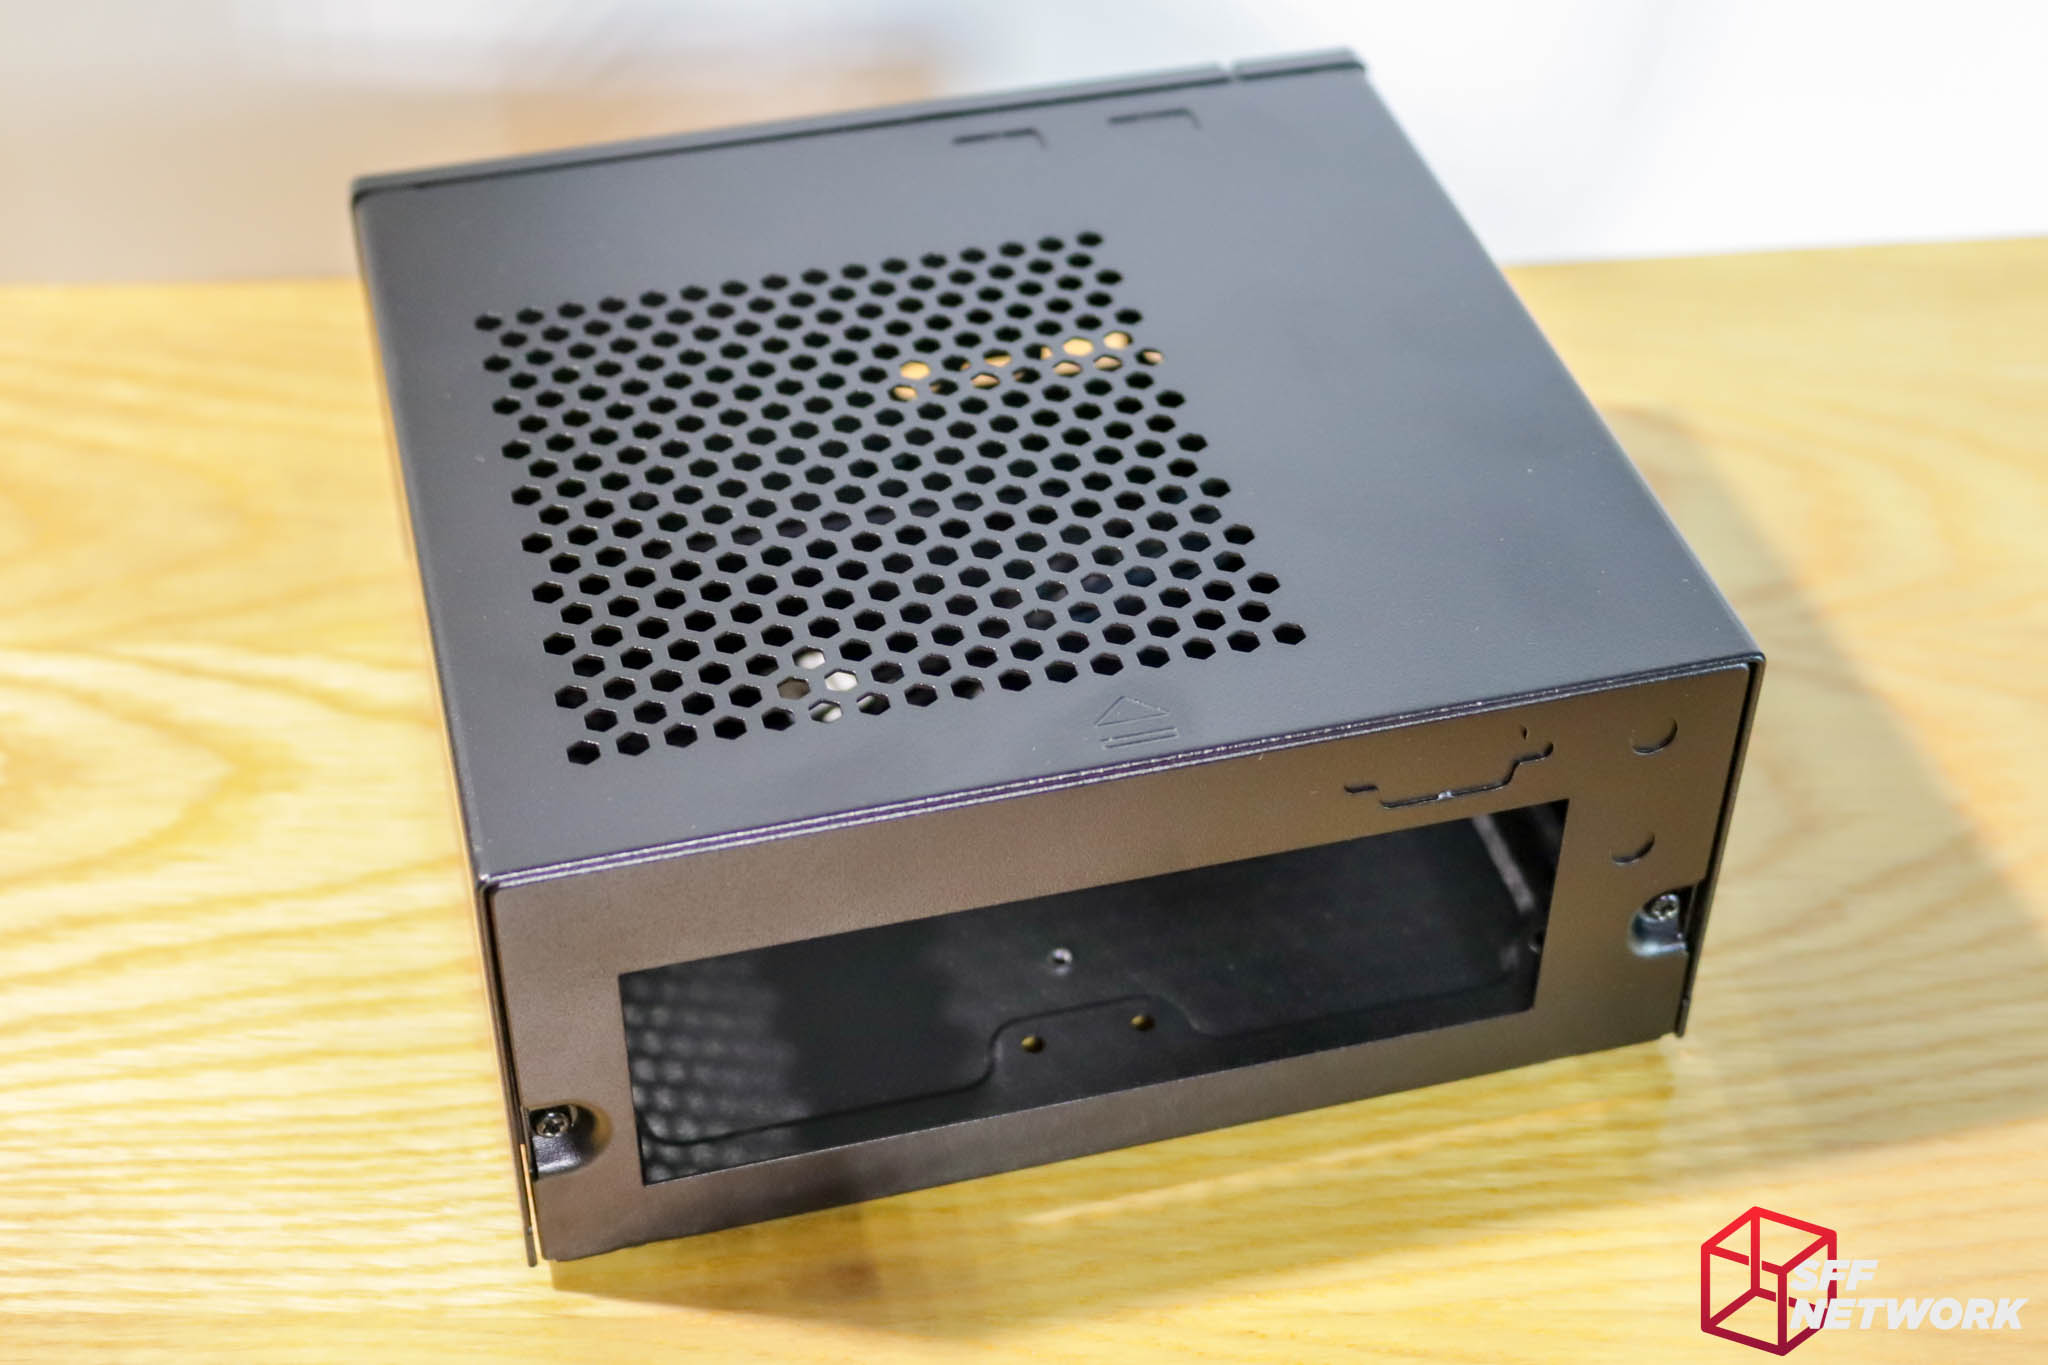
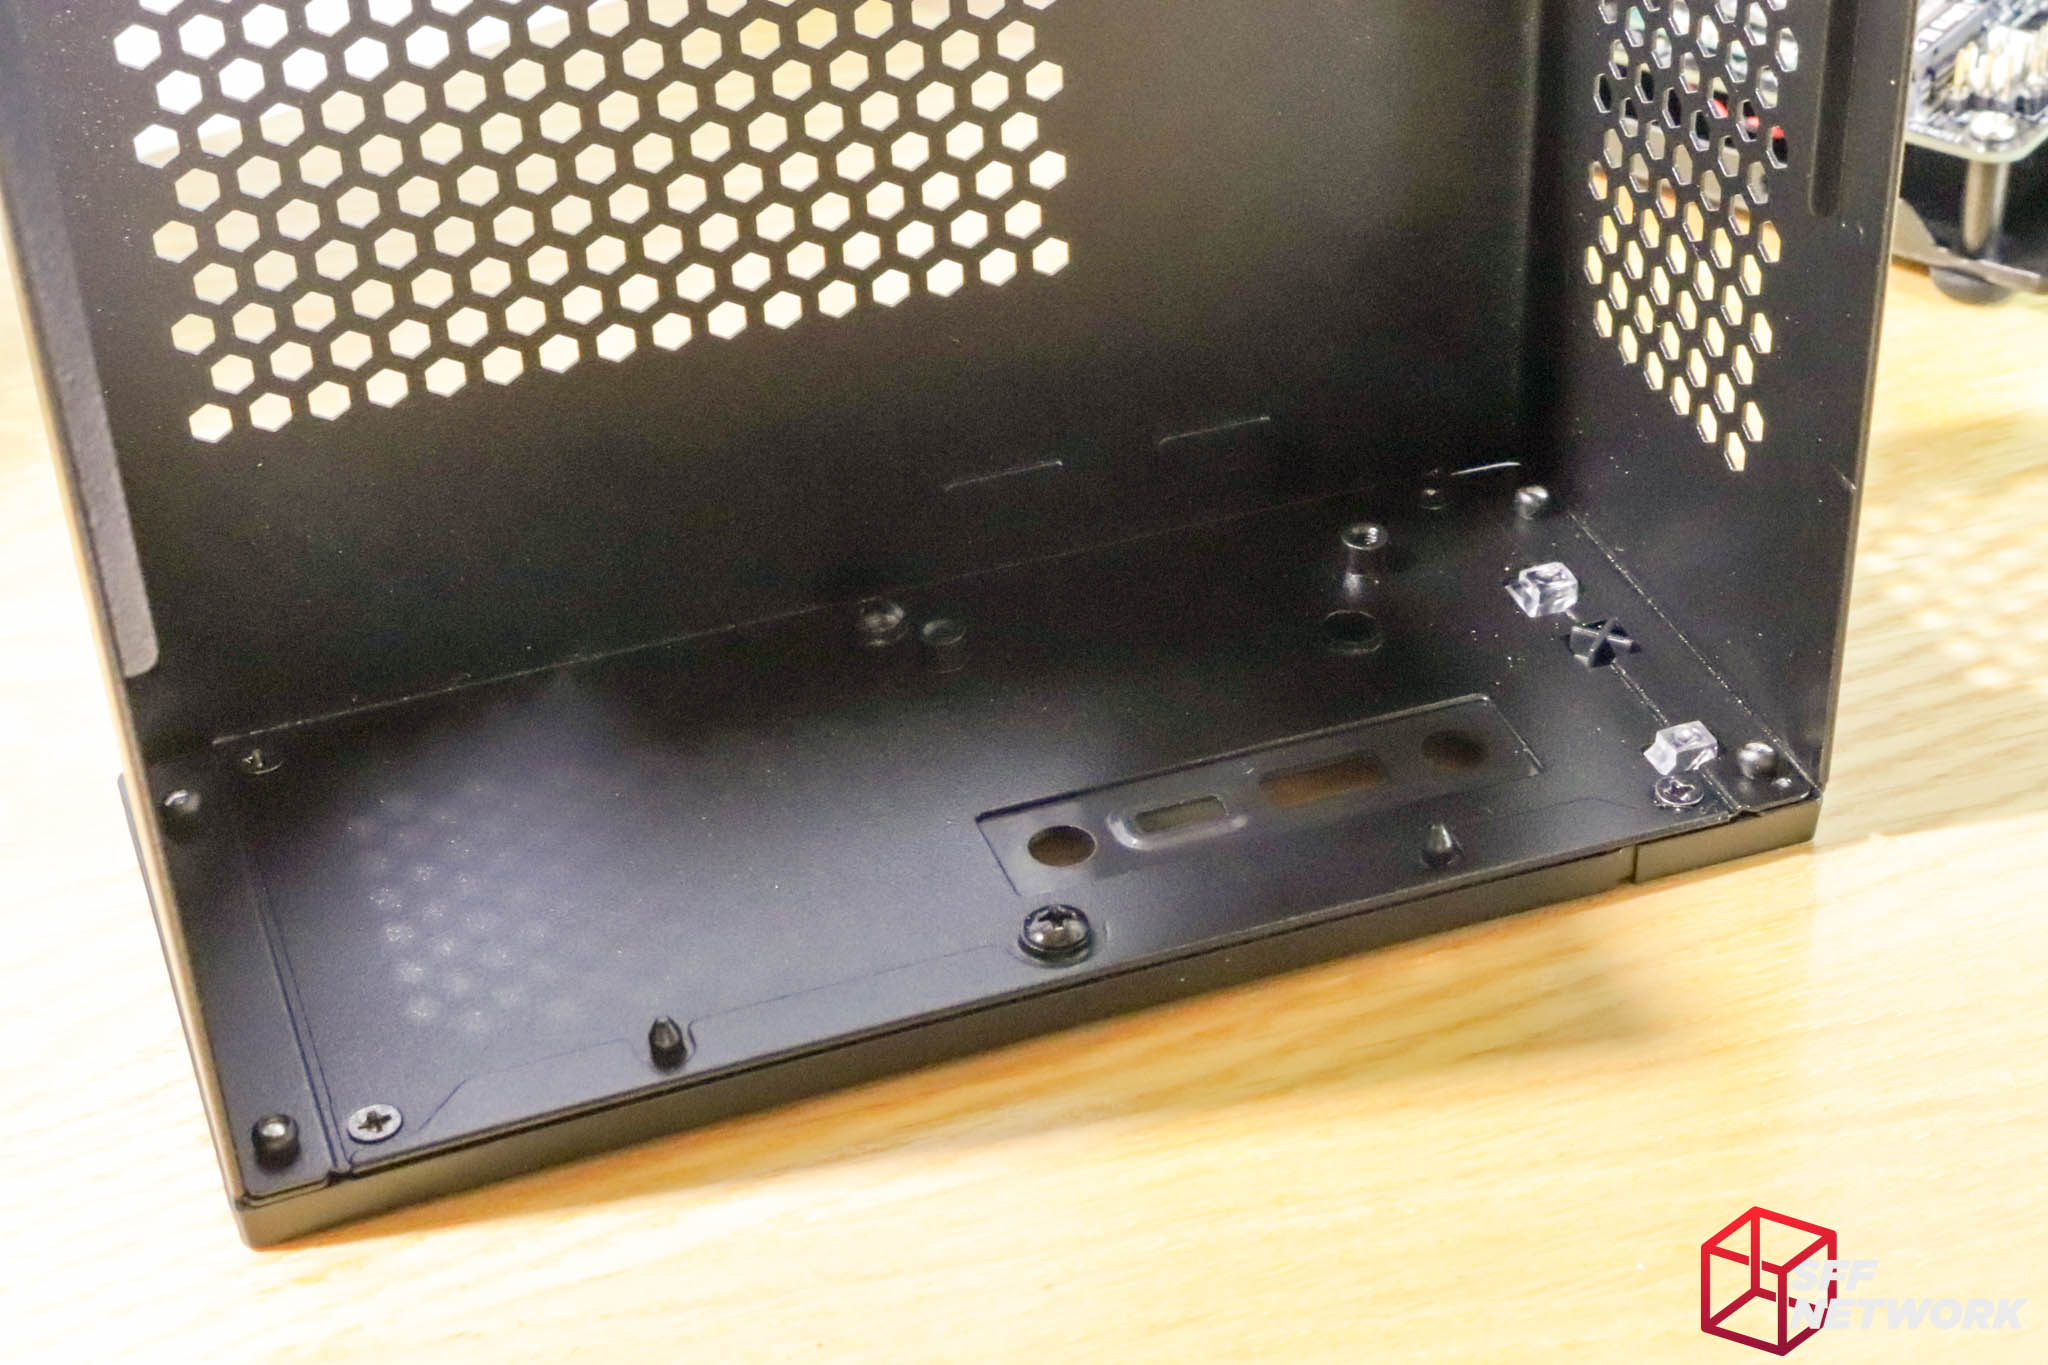
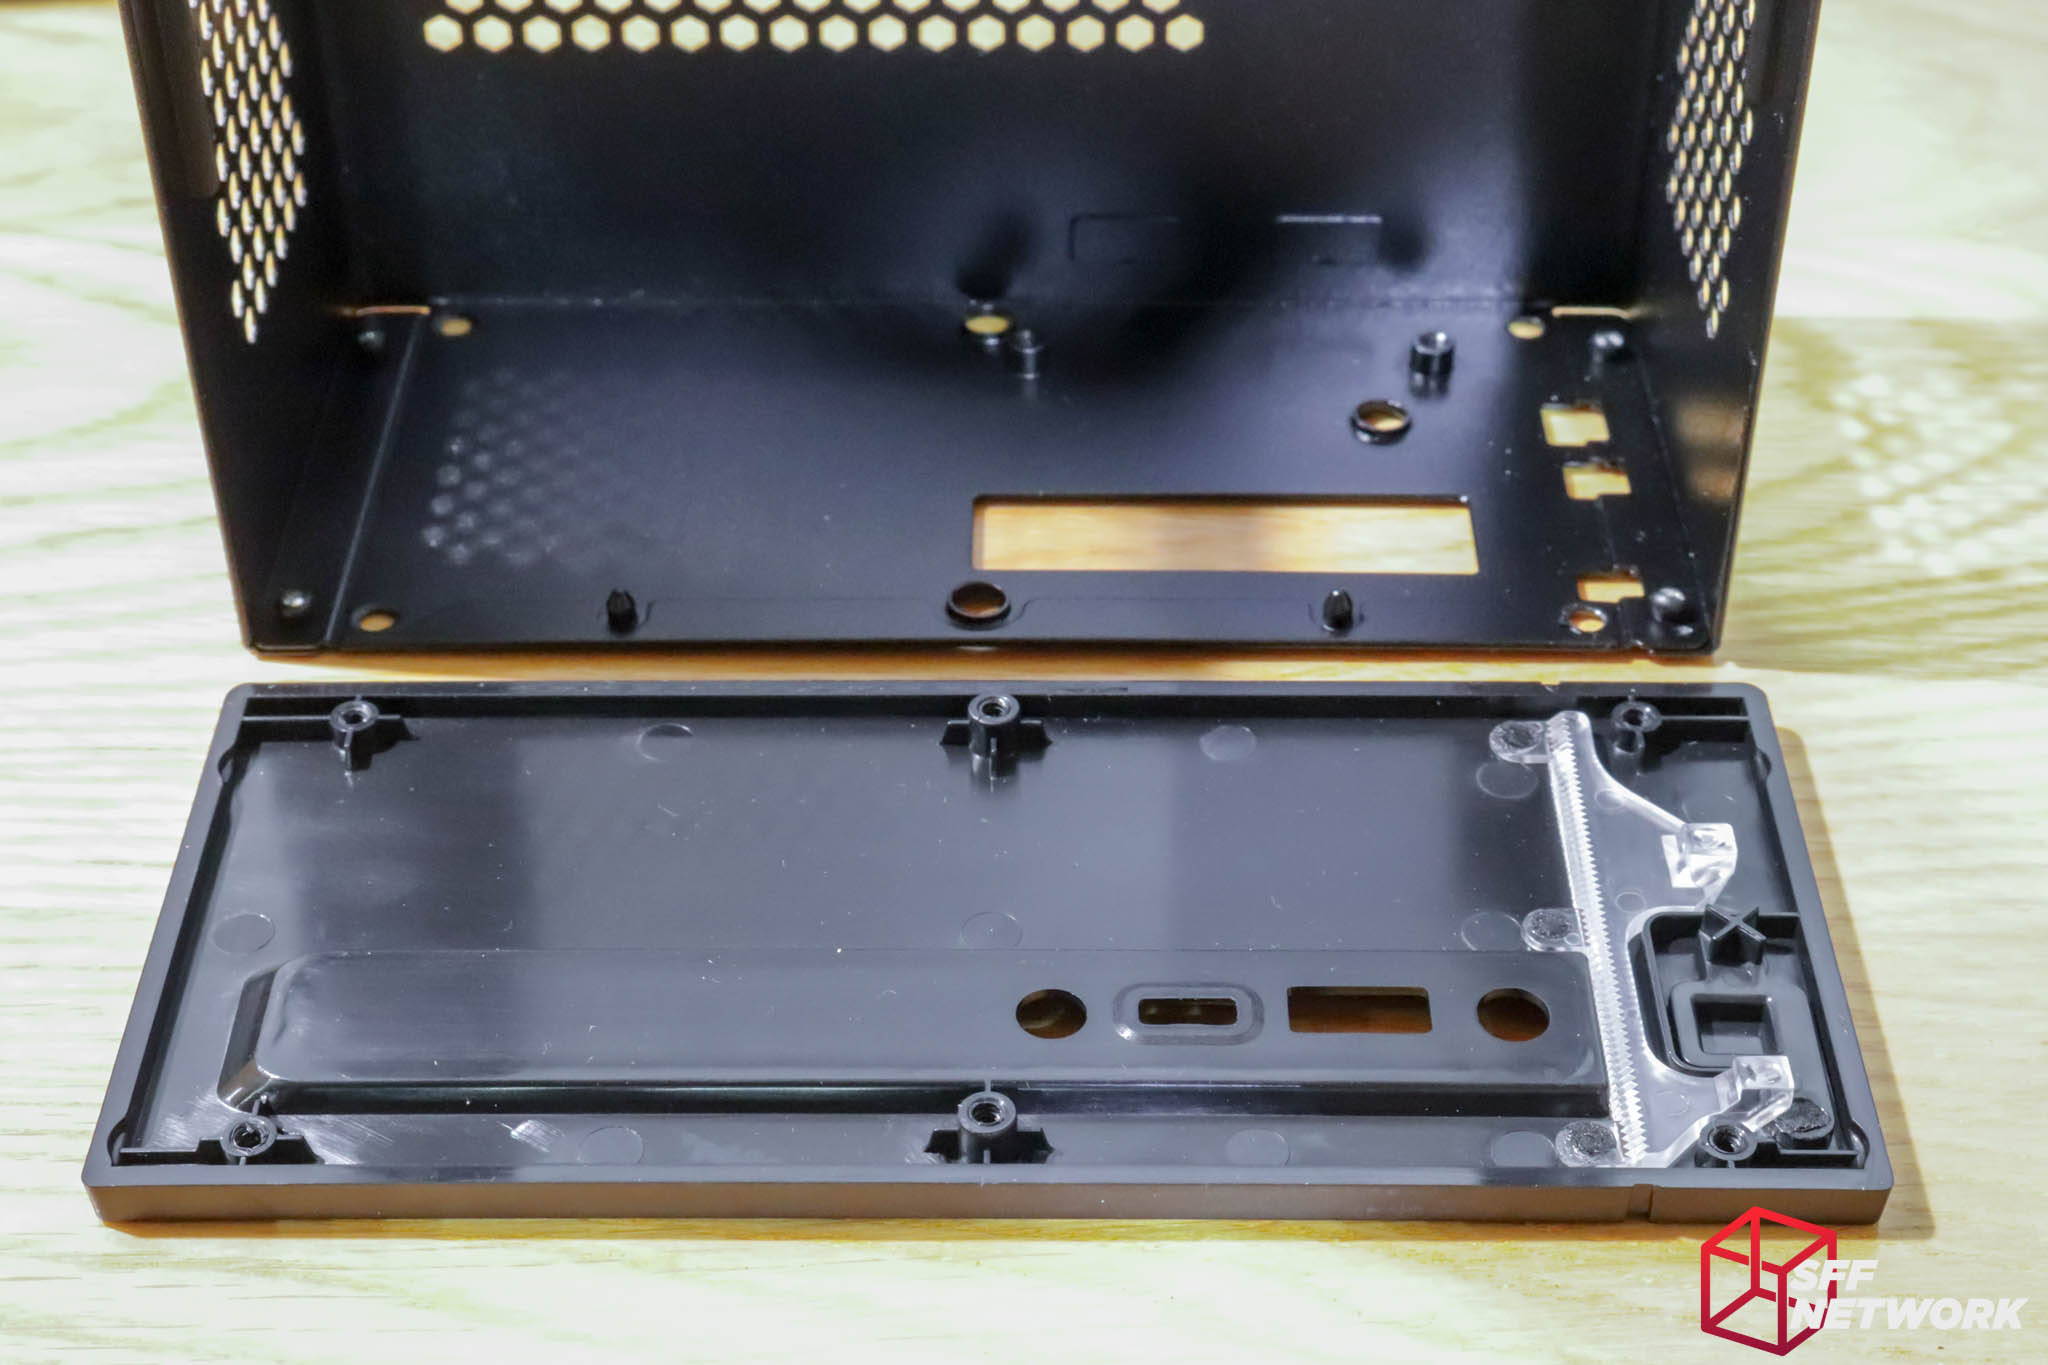
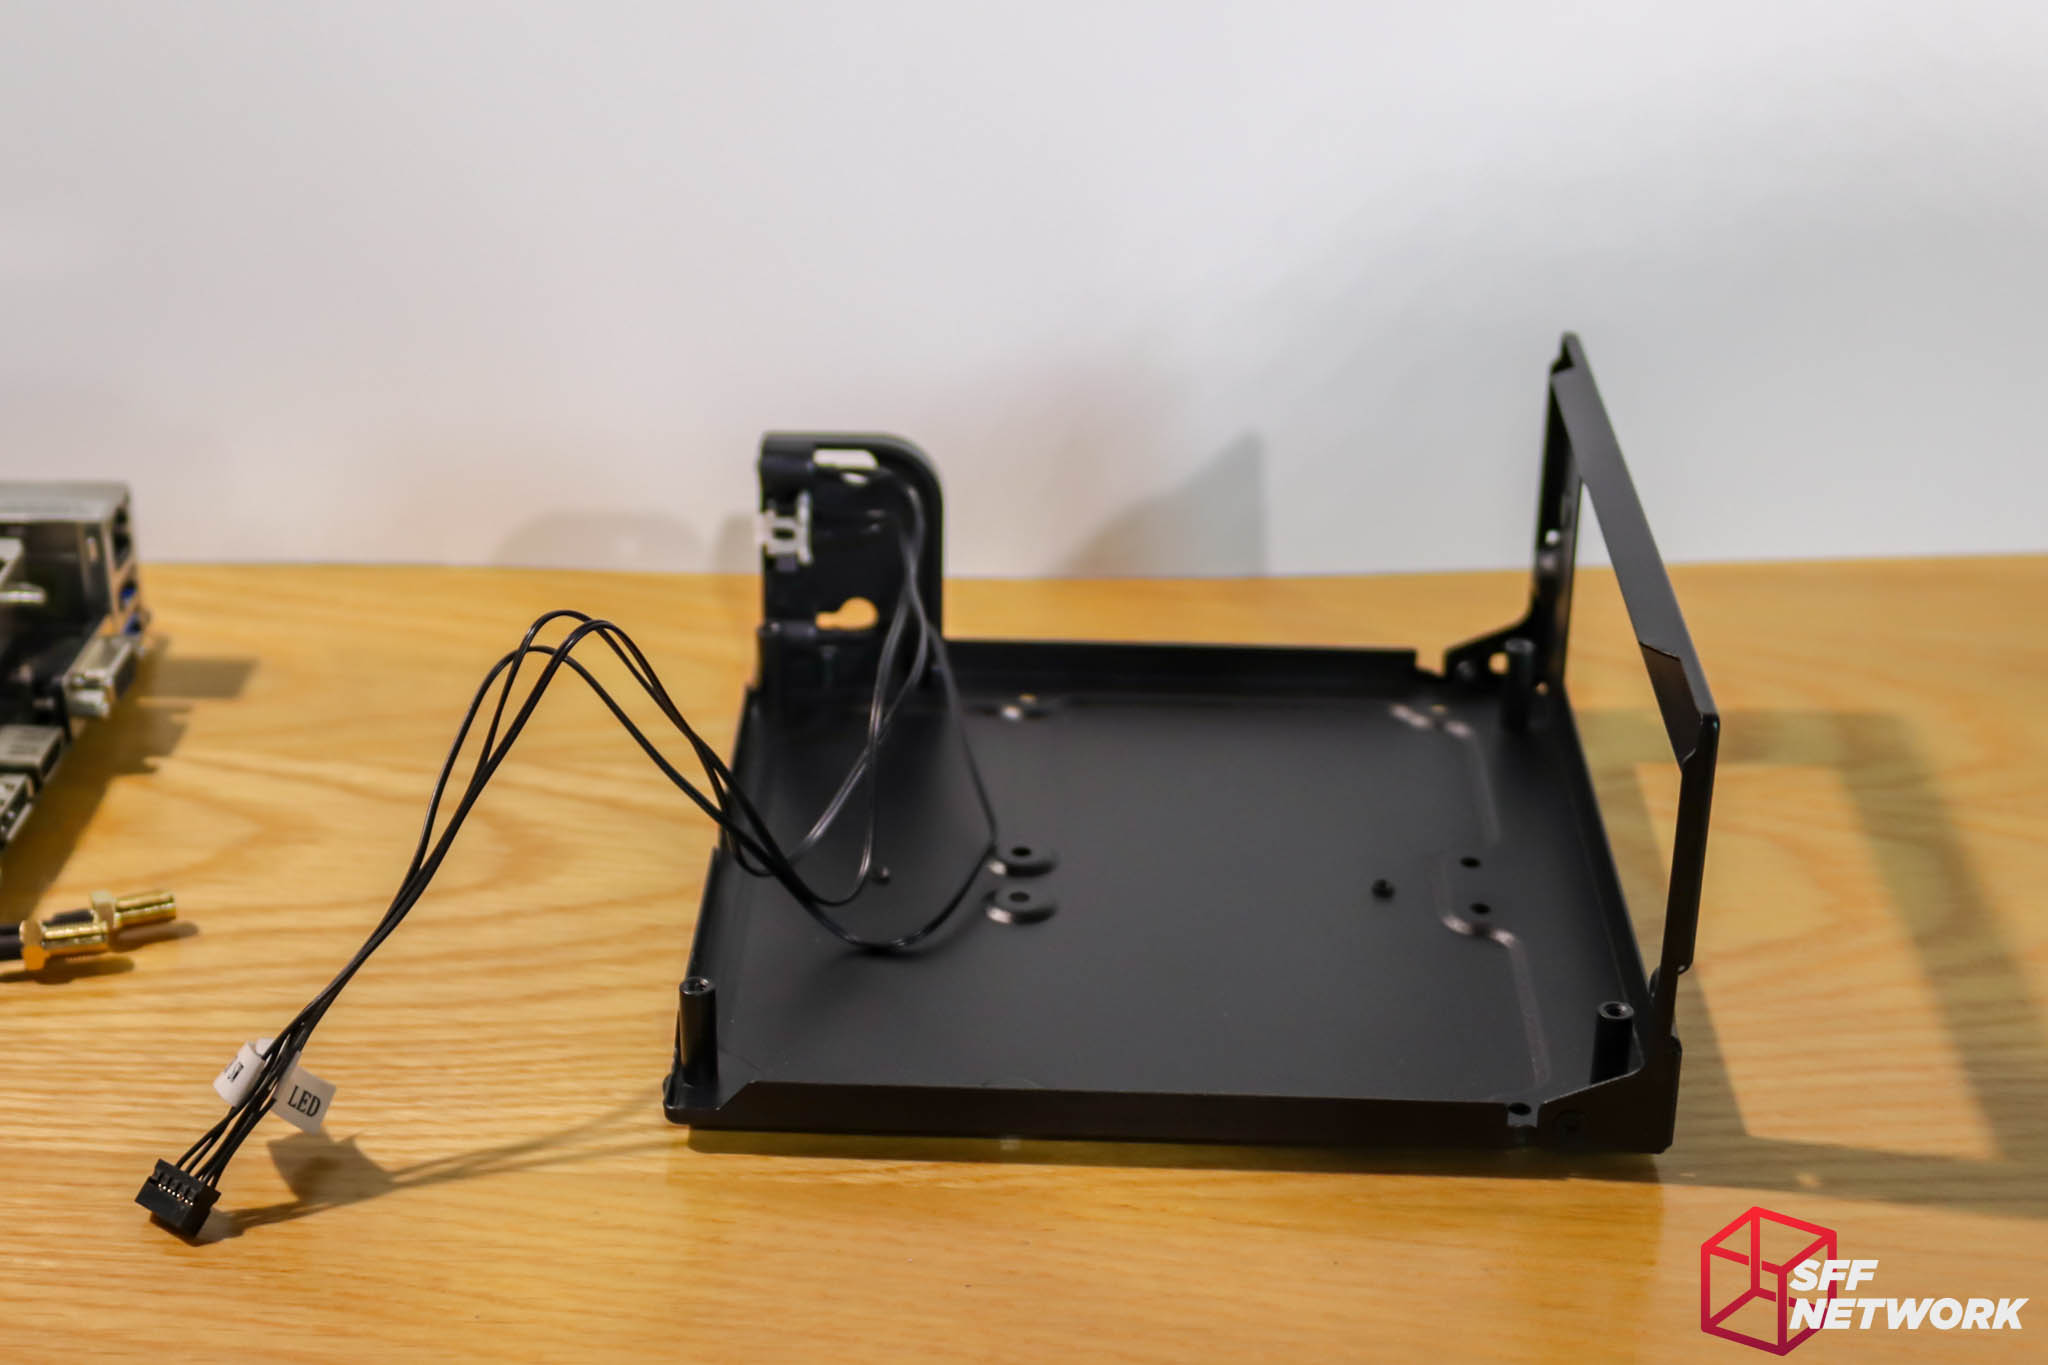
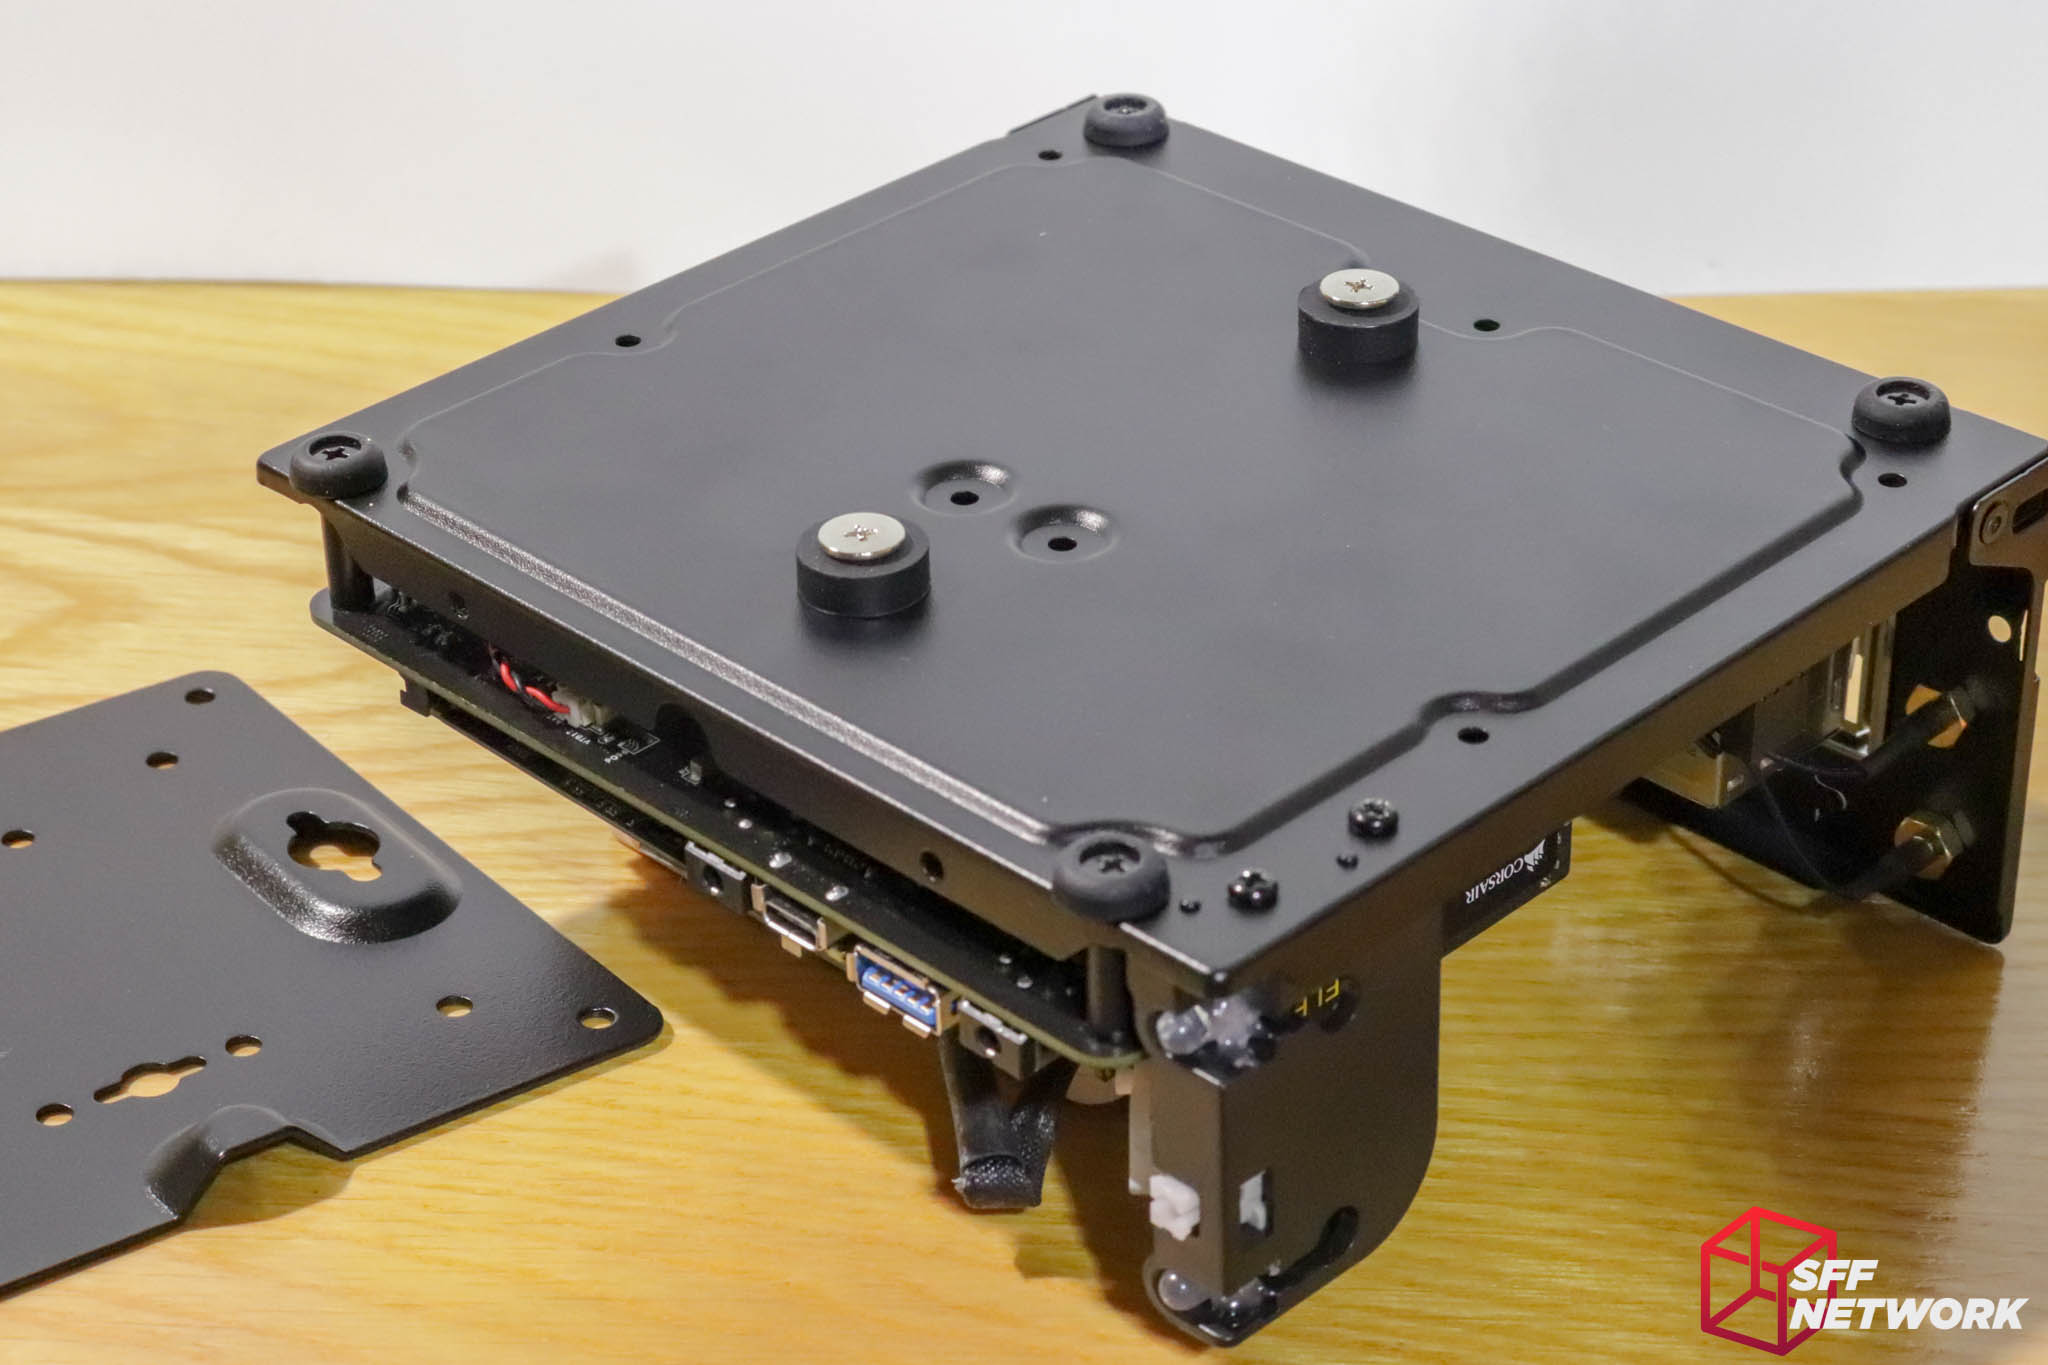
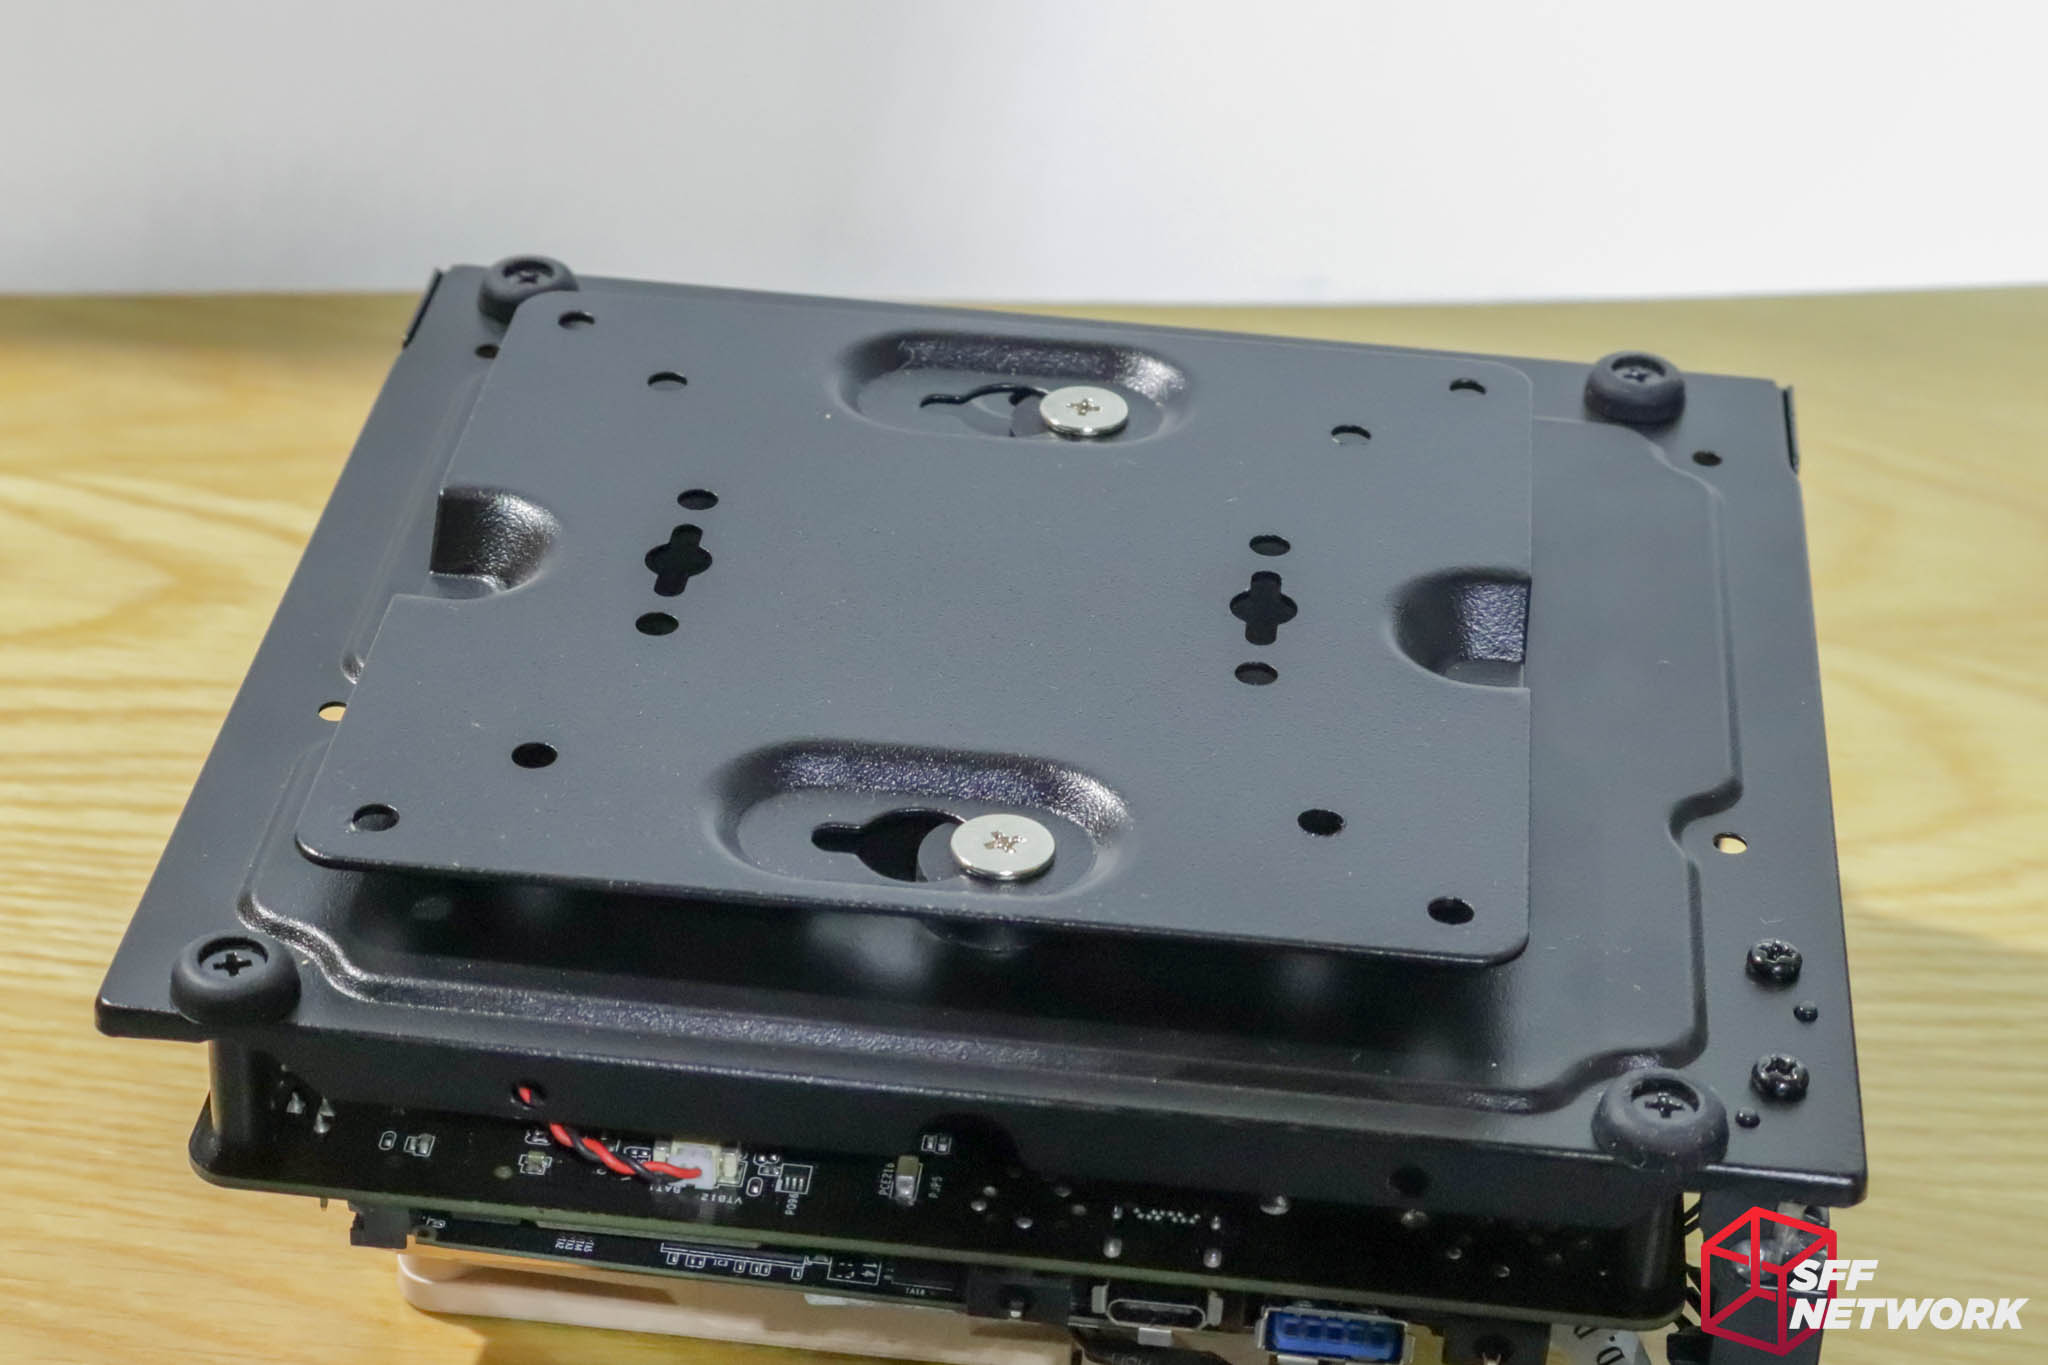
Underneath the chassis, we see a variety of holes and the basic rubber feet pre-installed. The simplified design means that the two 2.5″ drives you can connect to a Mini-STX board are mounted via the bottom of the chassis, rather than an internal tray. The other two unpopulated screw holes across the mid line are for the VESA mount.

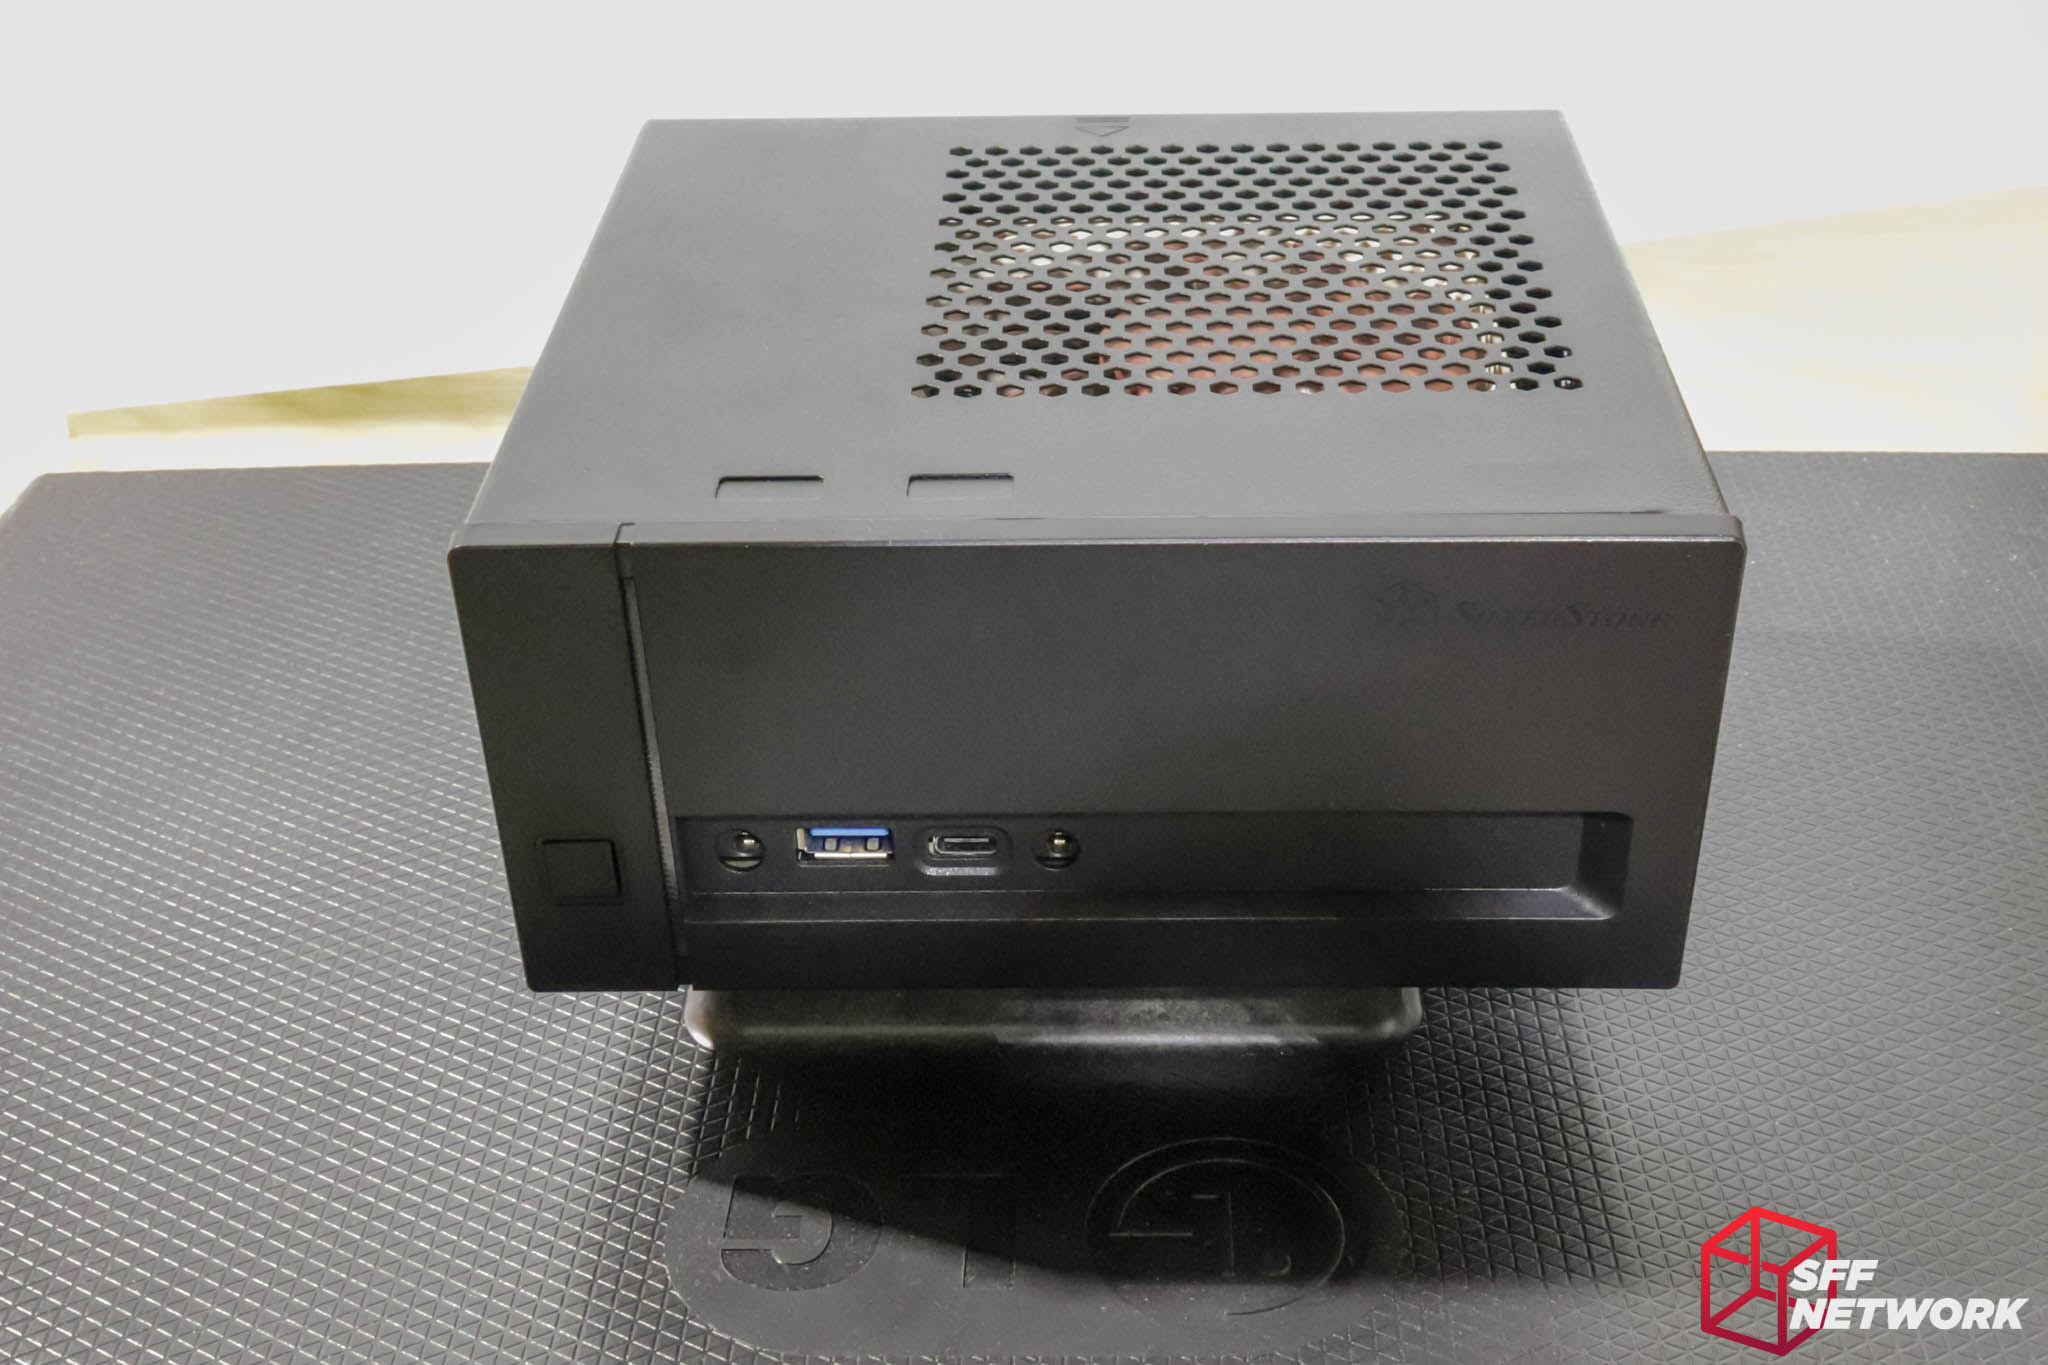
Separating the two shell halves is a simple spin of a pair of screws. The top half of the chassis only holds the USB2.0 module (warning, the ASRock one does not fit, see below), and not the front panel interface, so cable management is a lot easier than the DeskMini chassis.
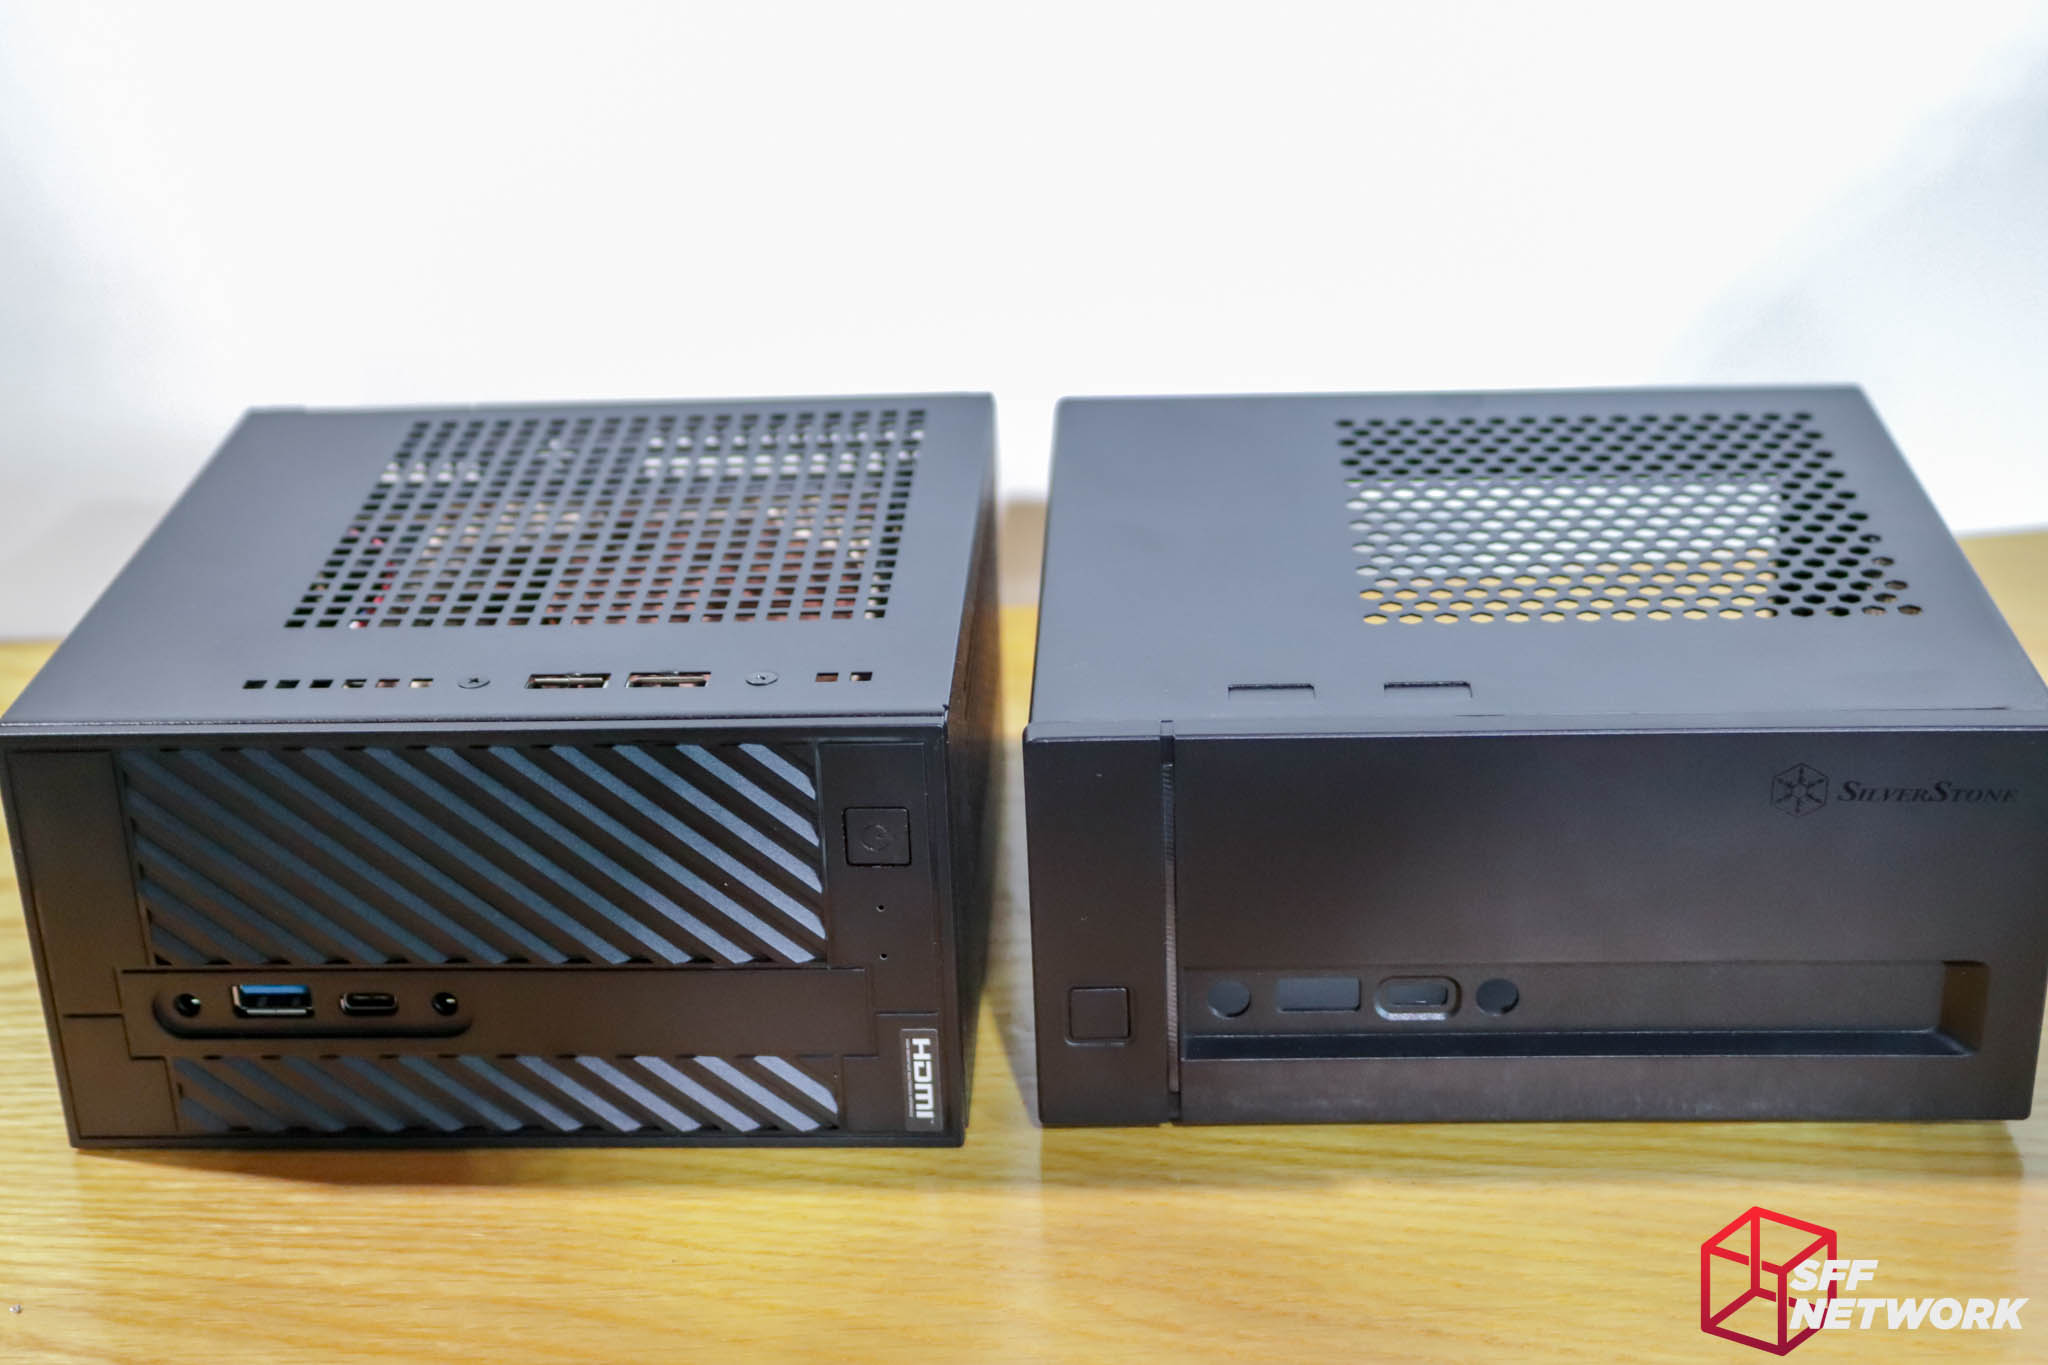
The styling differences are significant, with the VT02 much more at home in an corporate environment. Whilst there are no ventilation slots in the front of the chassis, on the original DeskMini chassis, these did hardly anything in any case.
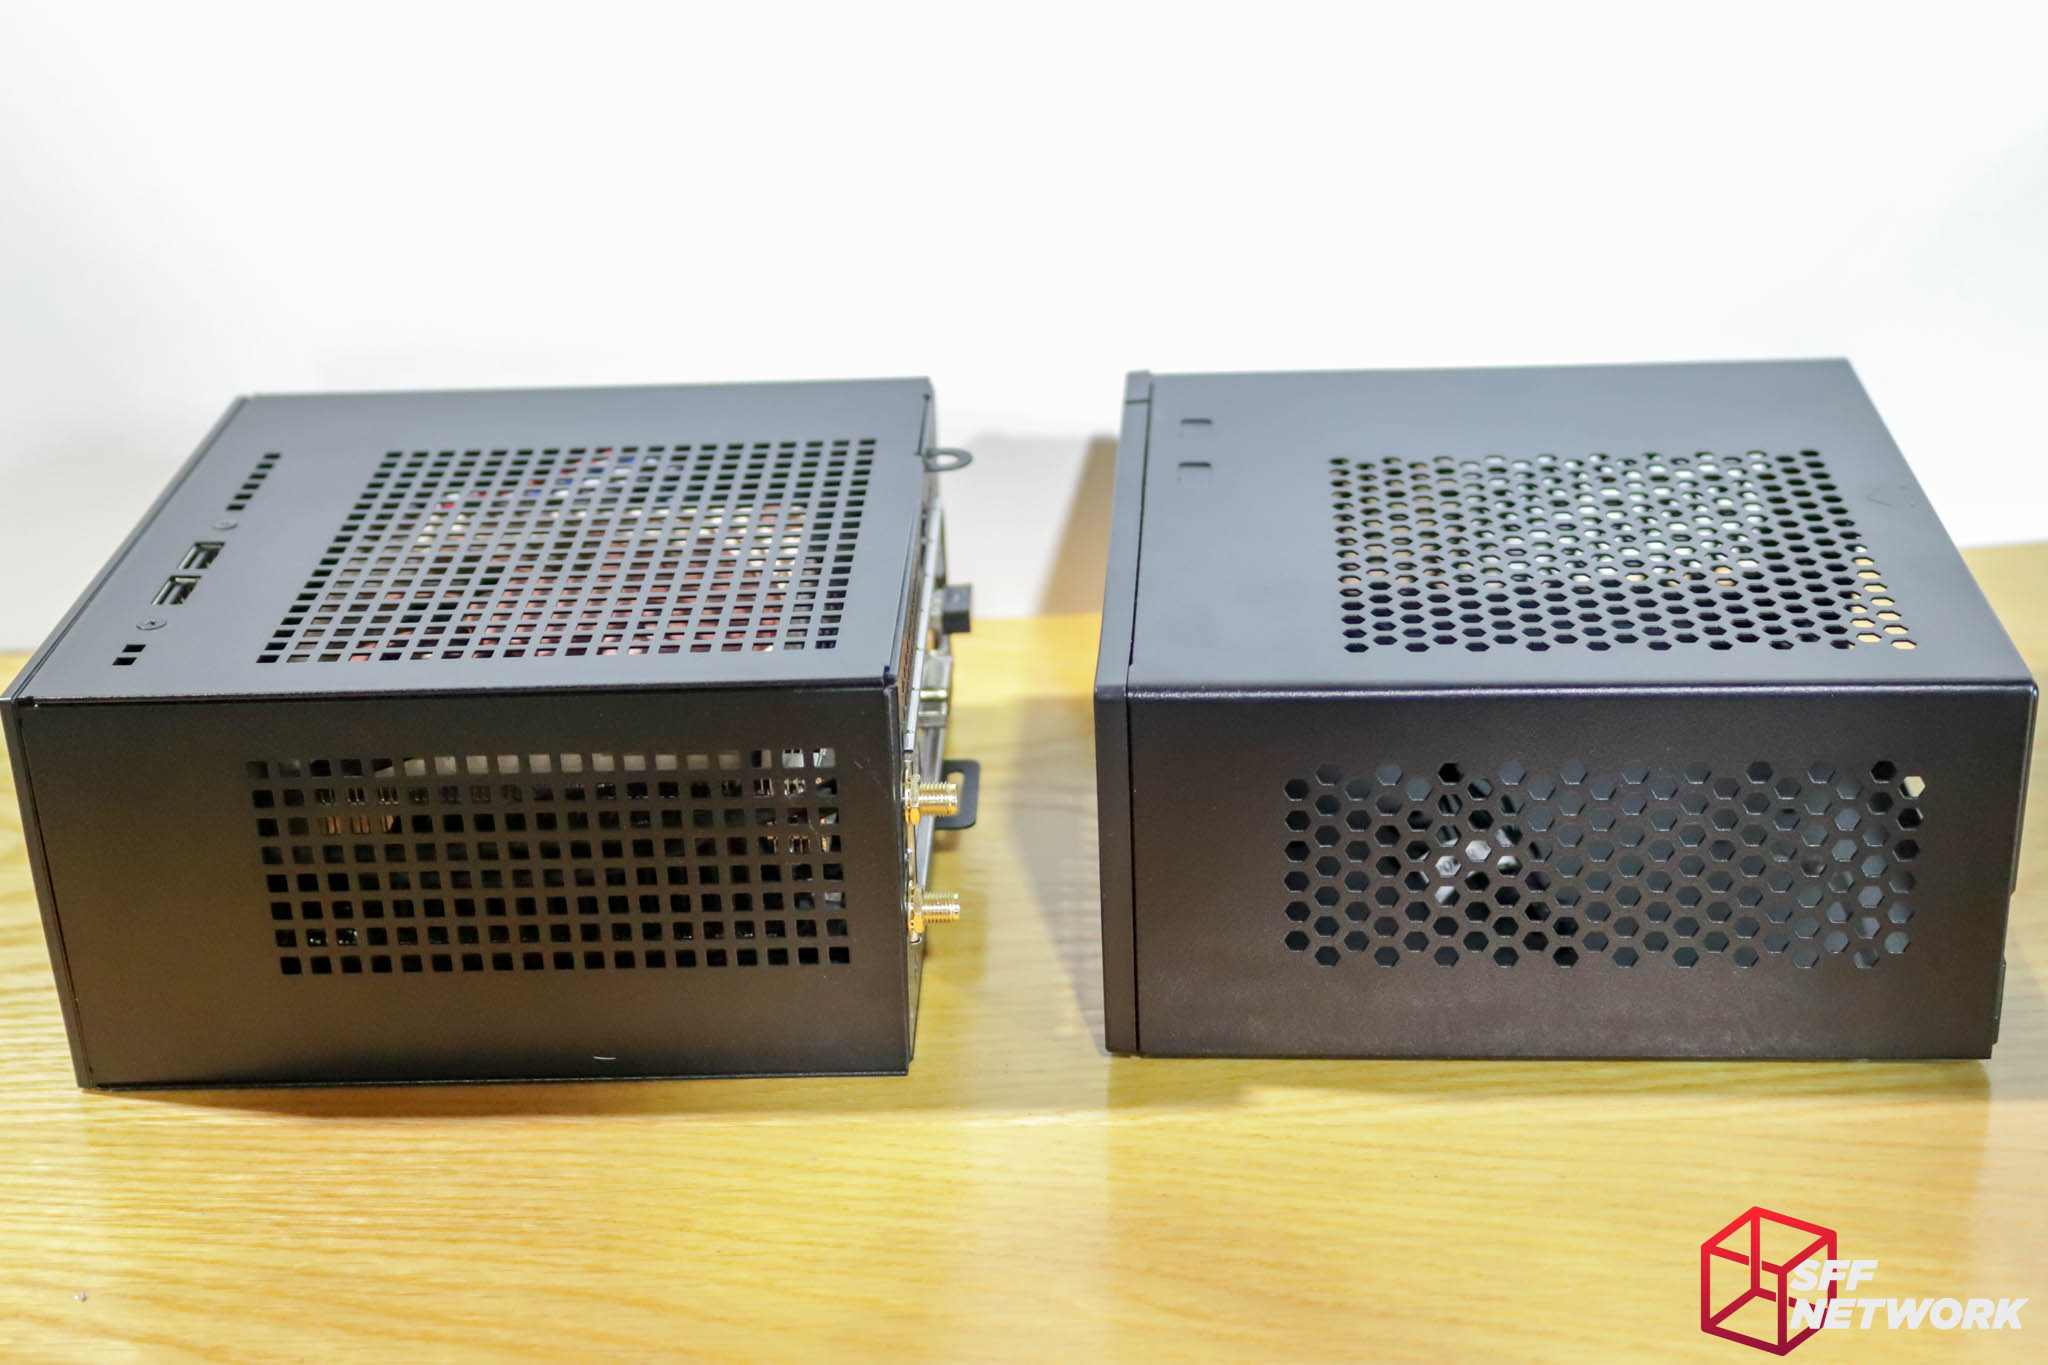
Squares versus hexagons. Fight!
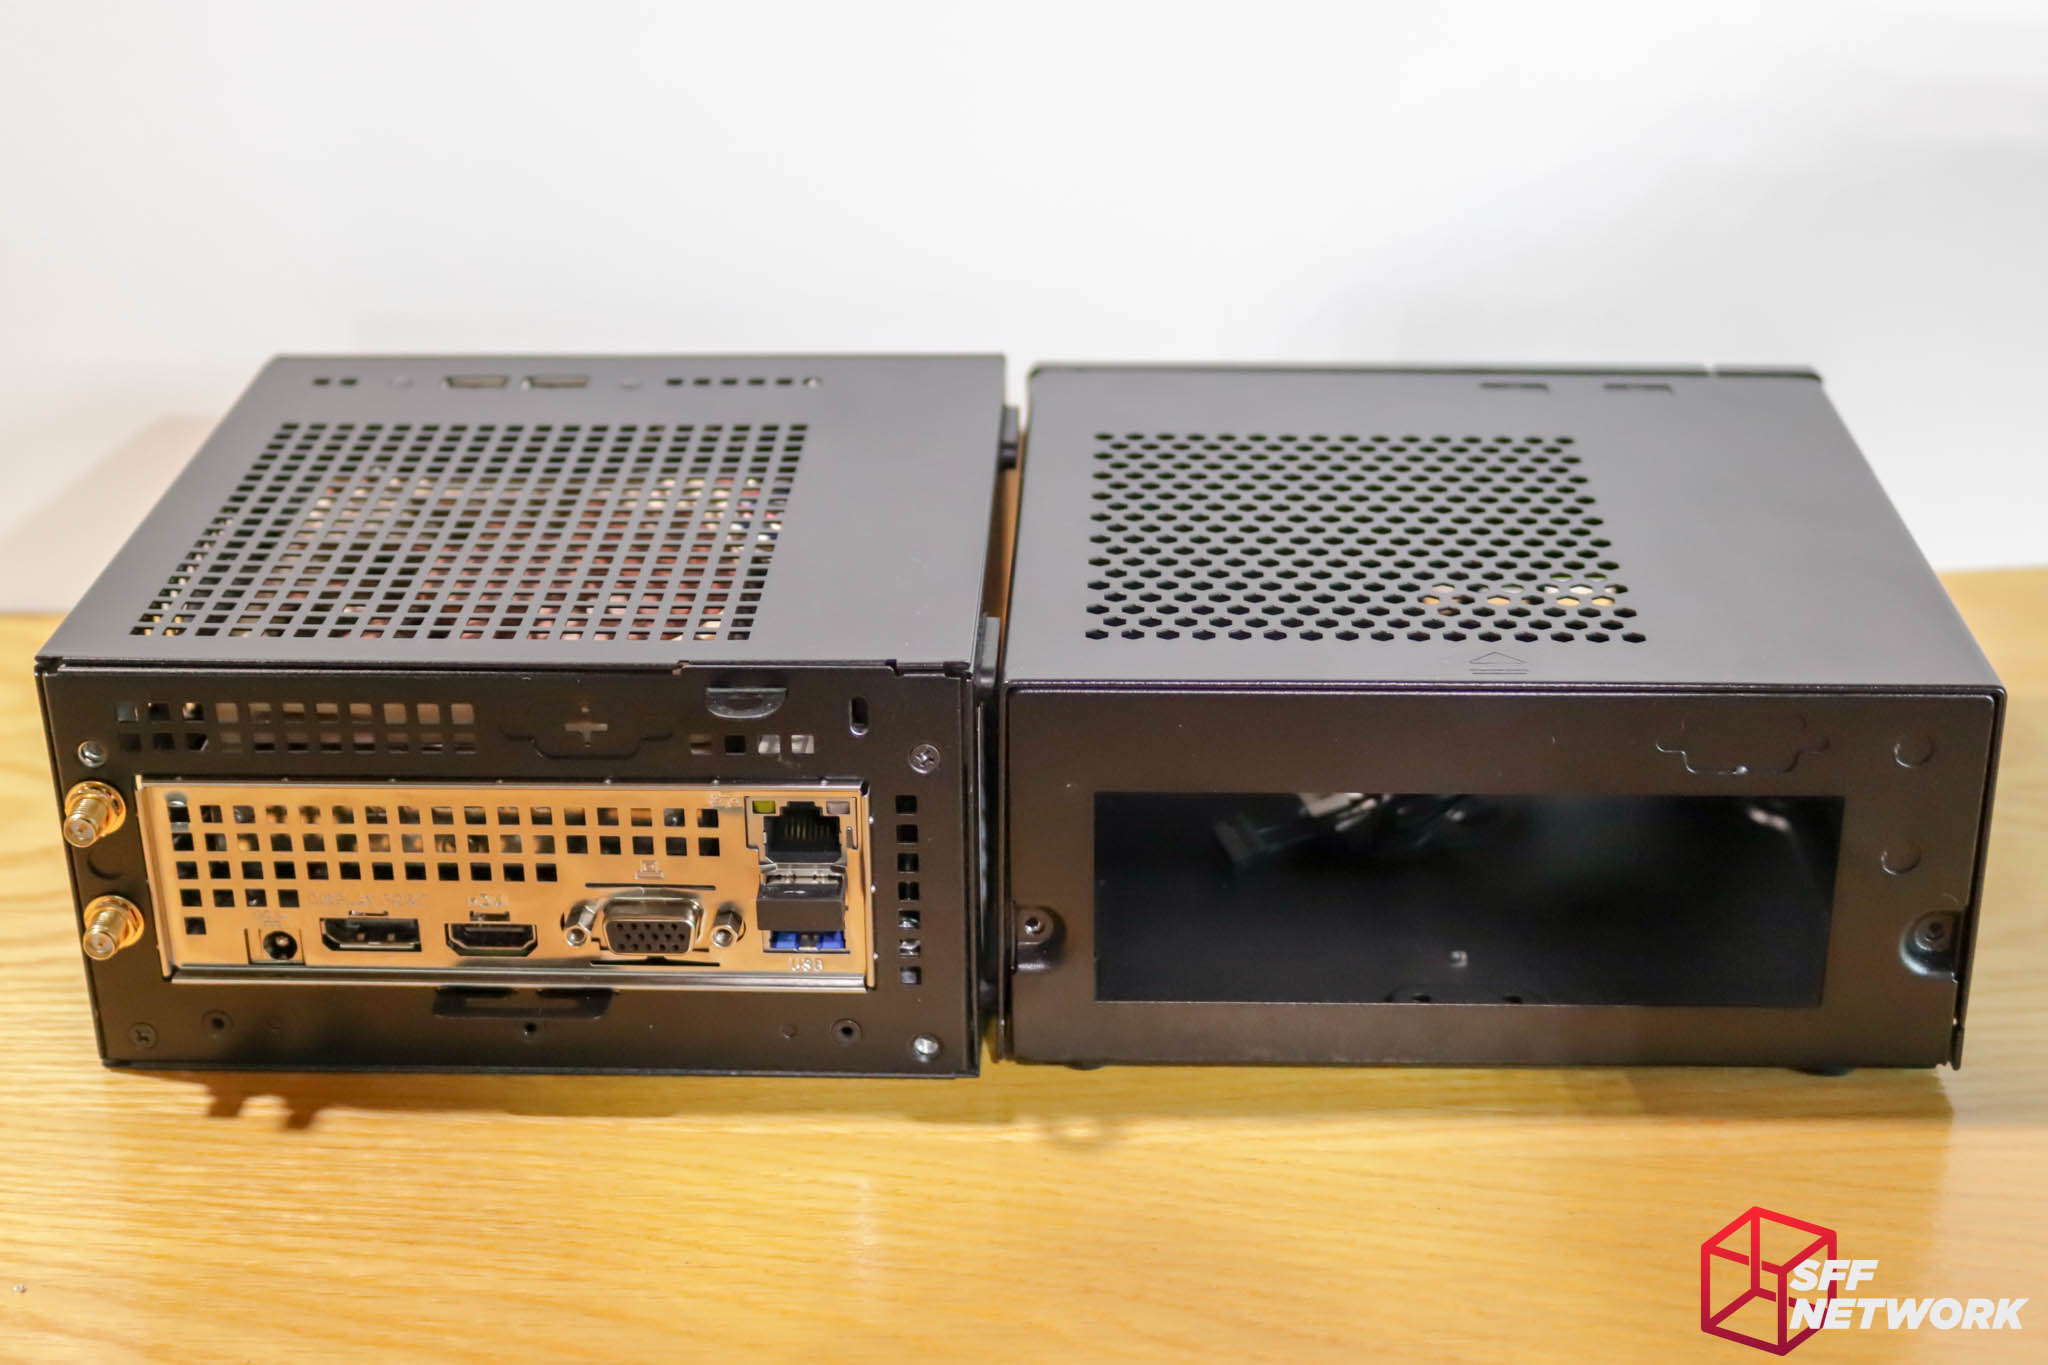
Of note, the WiFi antenna sit at the opposite side of the chassis. The VT02 also lacks a cable management loop and security padlock loop that the DeskMini chassis has, however, both have Kensington lock openings.
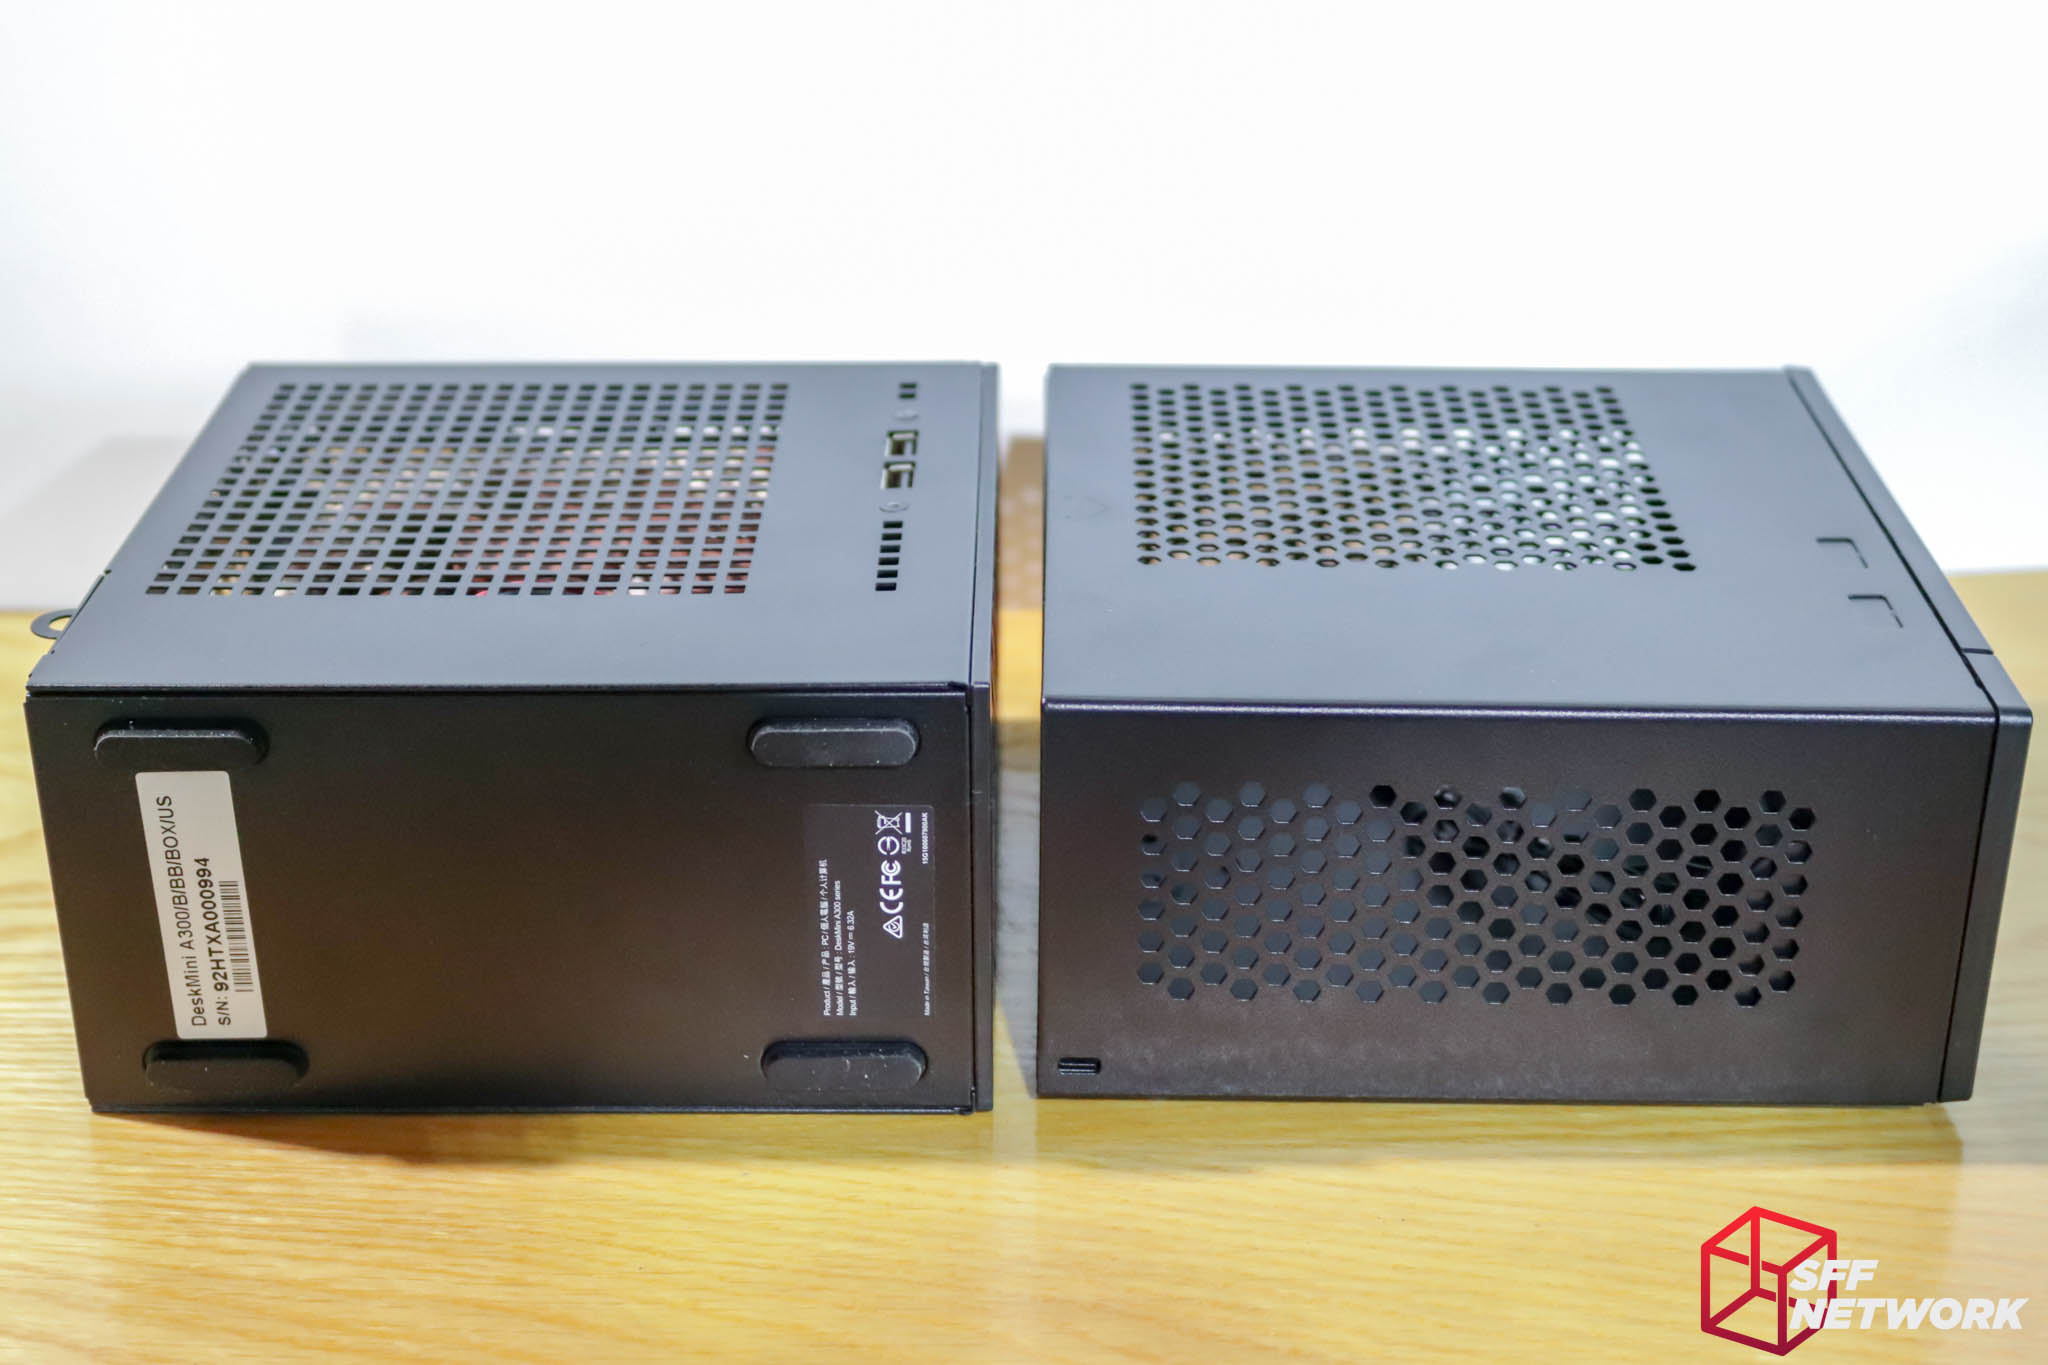
The original DeskMini can be configured to lay flat in a desktop orientation, or as a mini-tower (hence the feet installed in this location). The VT02 can only be orientated in a desktop layout, however, this has the advantage of adding extra ventilation space.
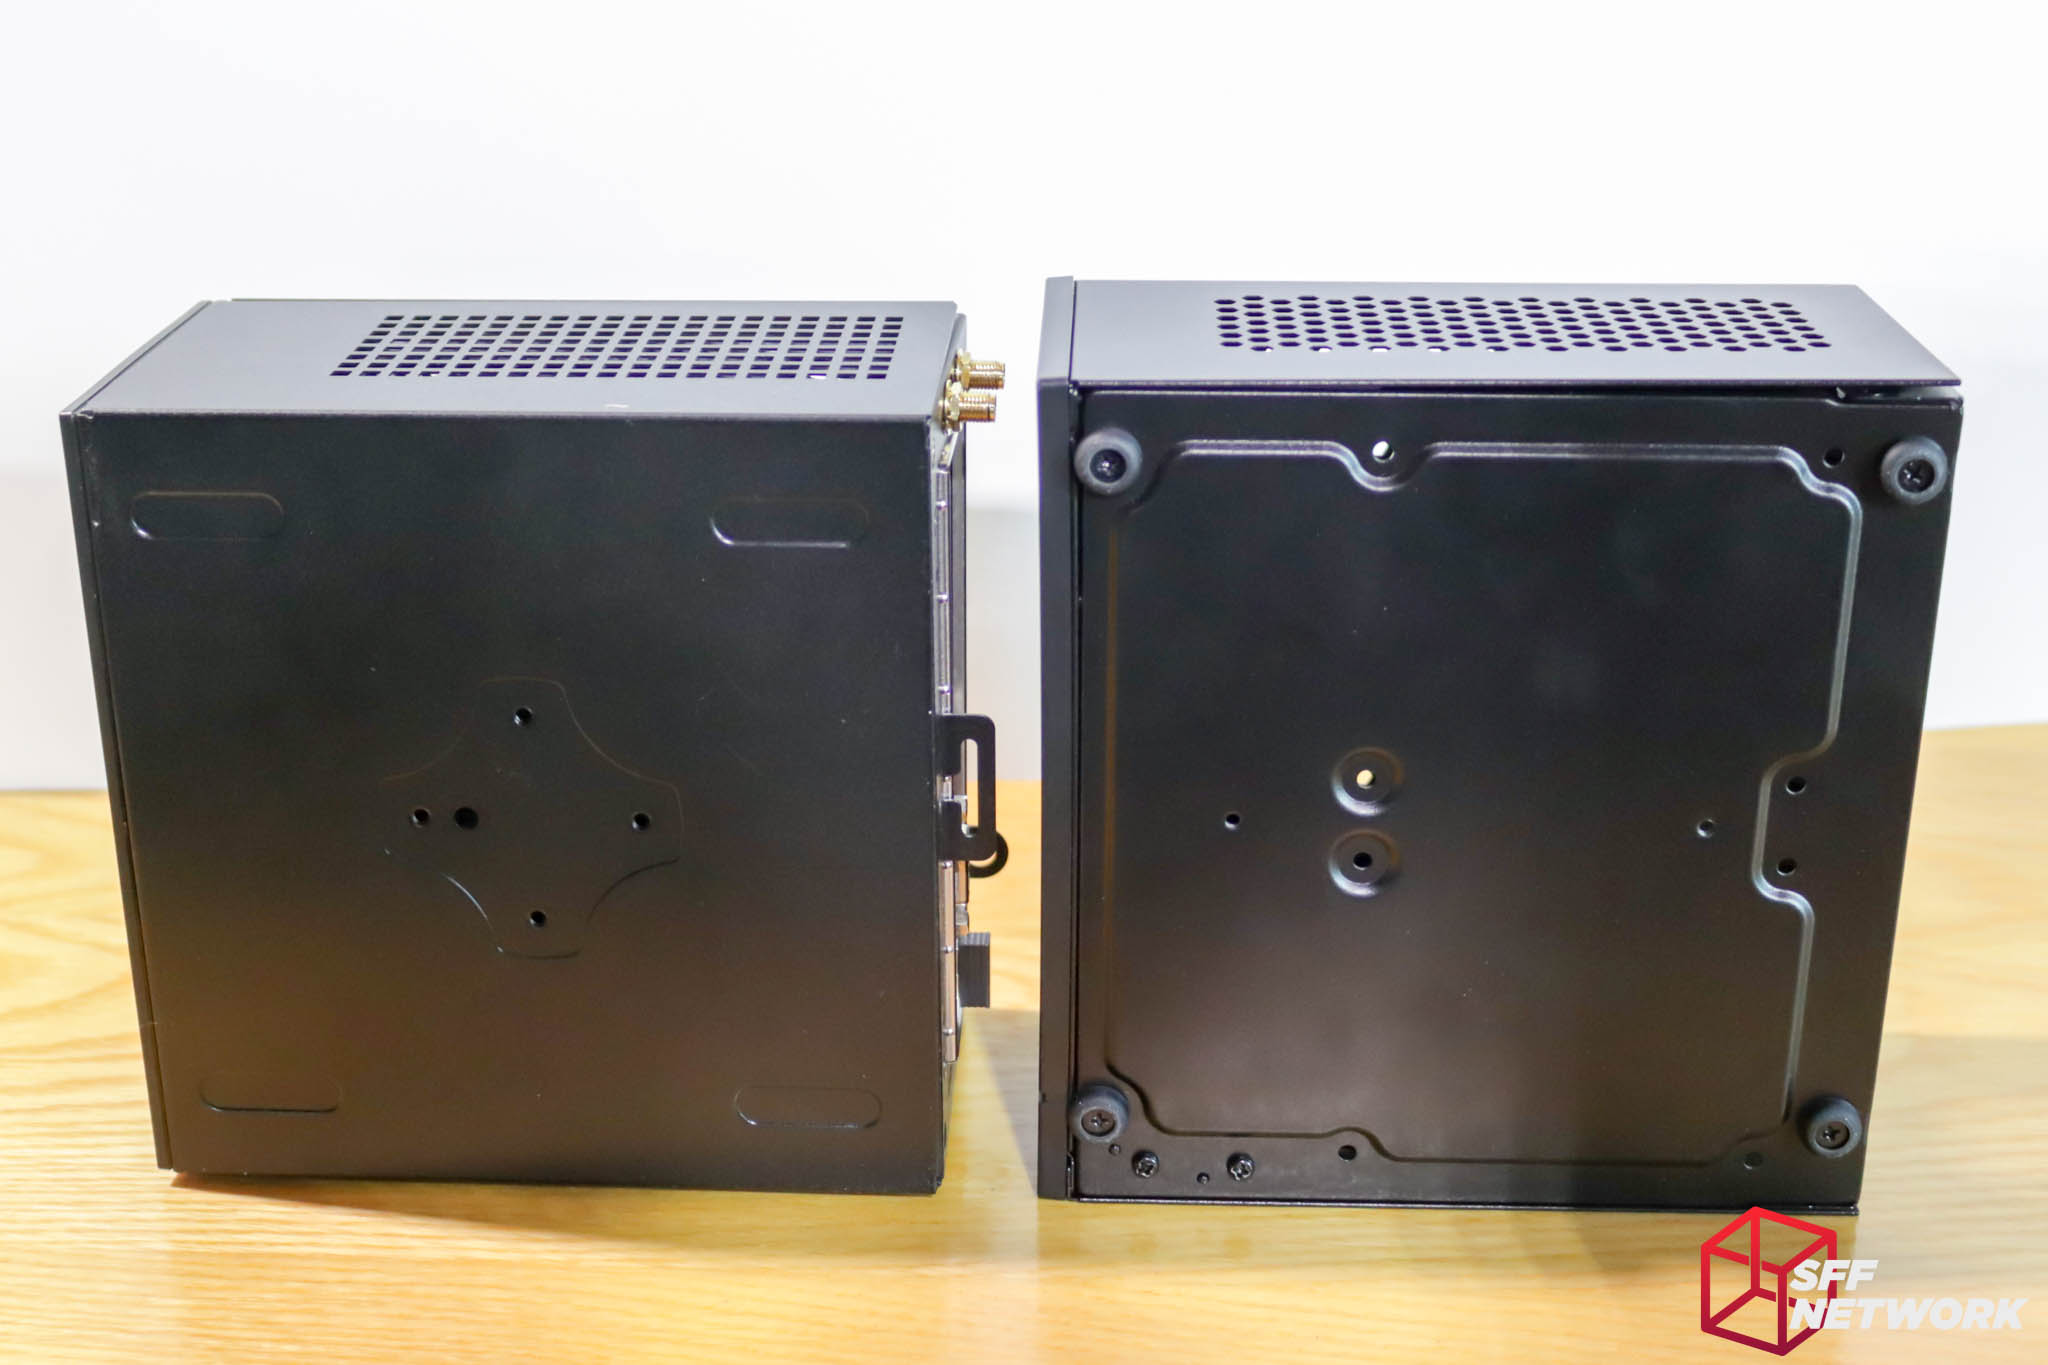
The VESA mount configuration is significantly different, but both mount to the panel under the motherboard for the best cooling.
The VT02 is built from 0.6mm SECC steel with a plastic front panel. The front panel is held on with a sextet of screws. Also of note here, are the two metal lugs at the bottom of the front panel. It is these, along with the two rear screws, that enable easy access to the internals of the case. A far cry, and a much better solution, than the stock DeskMini chassis.
Removed, the front panel is a simple plastic moulding. The plastic lightpipe assembly to the right blends the power and HDD LED lighting in a subtle way.

The internal side of the front panel is flat and smooth – an easy candidate for a custom front panel design from DIY’er.
Simple, no fuss. Nice.
The Build
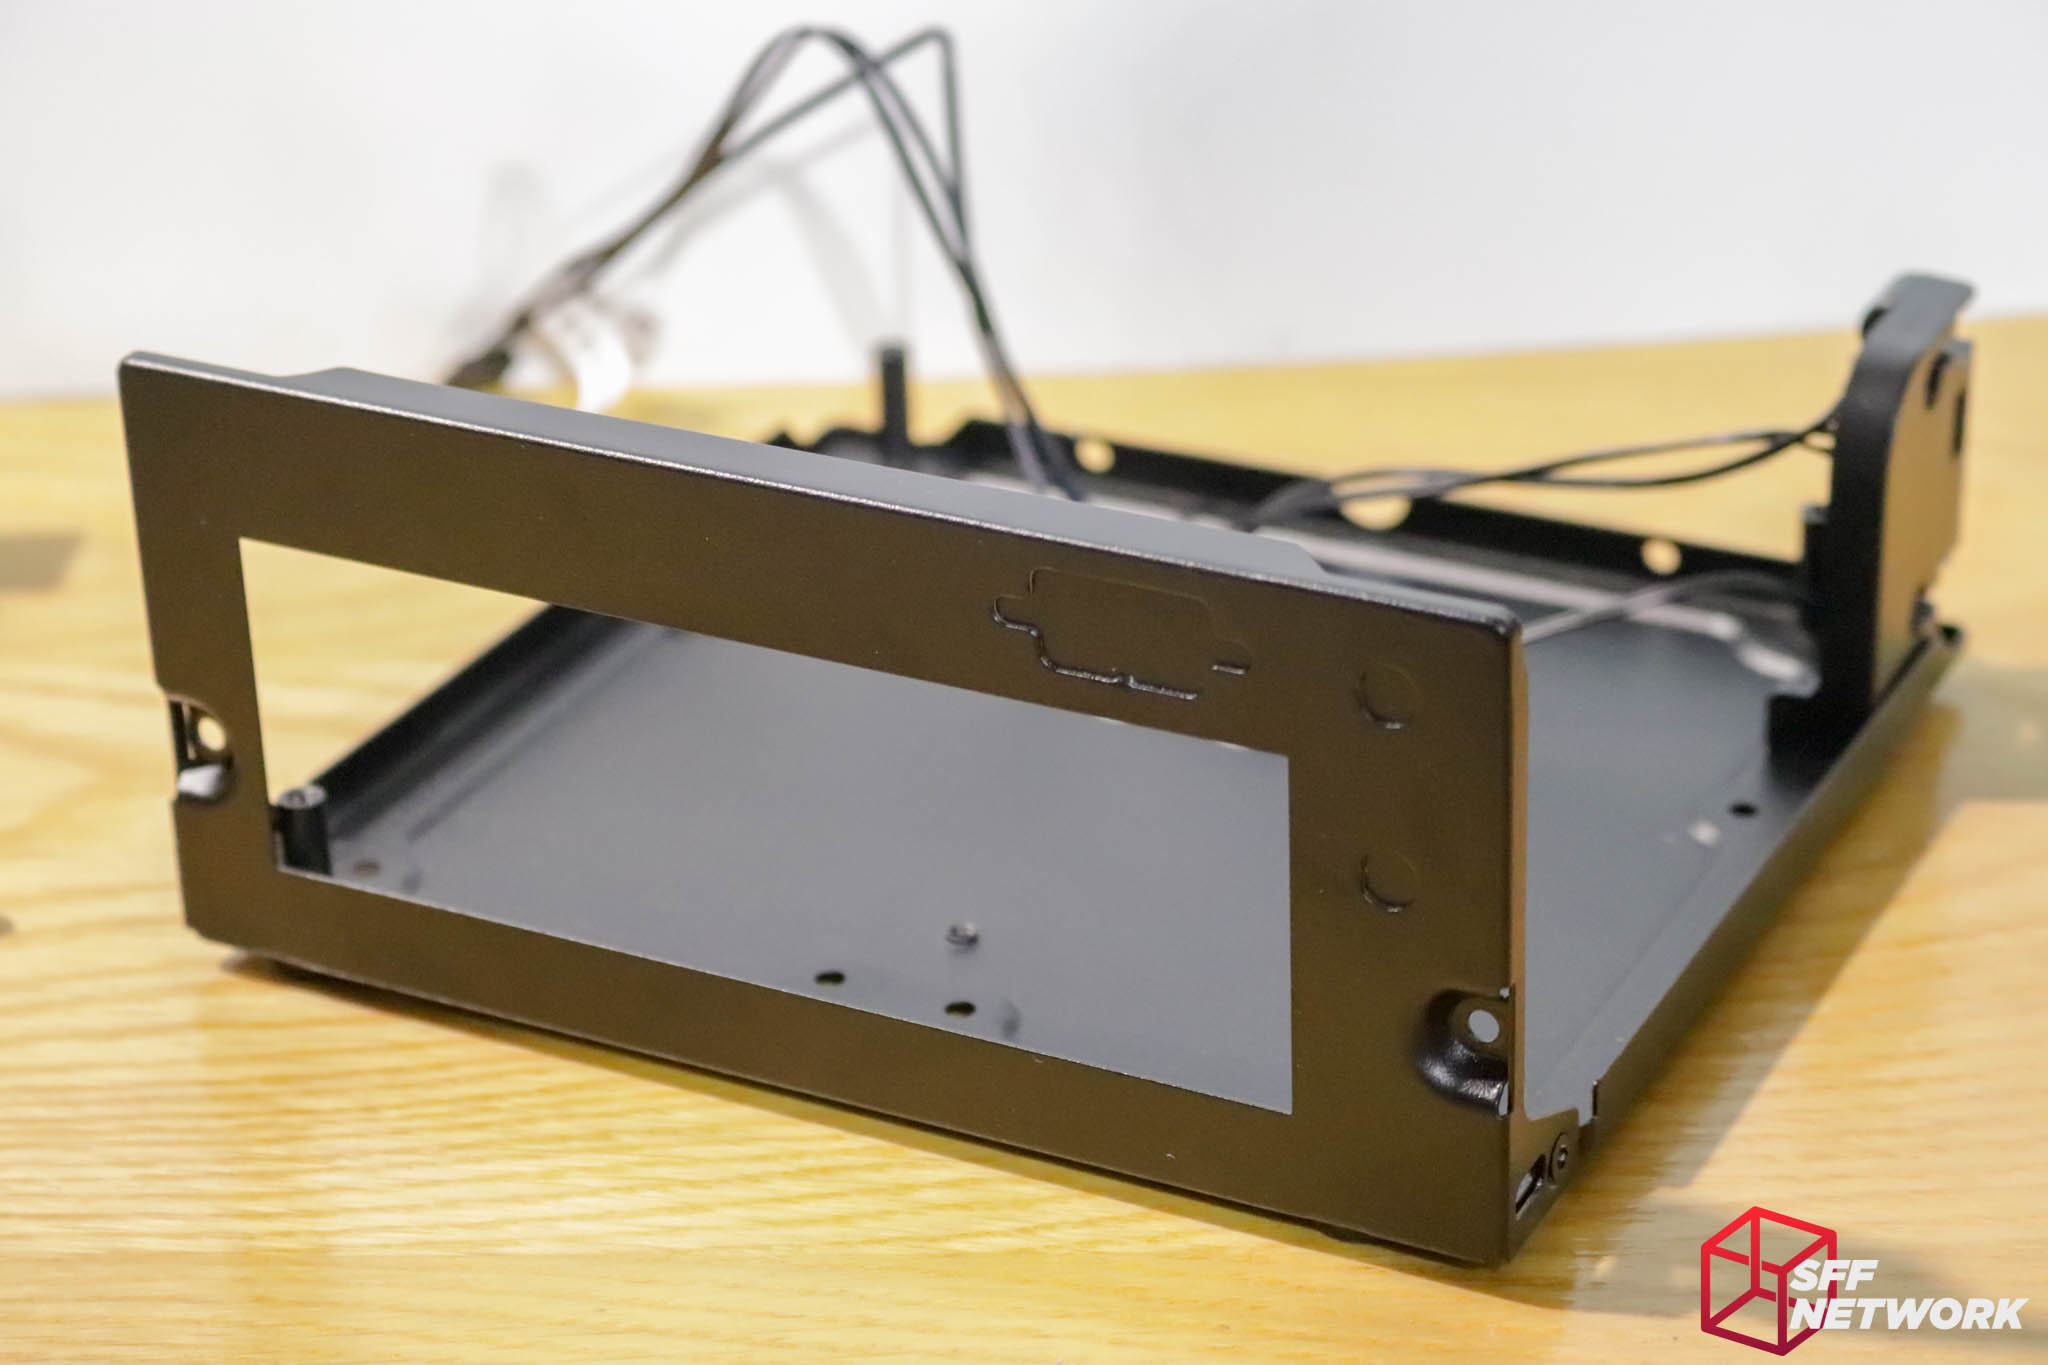
Firstly, the ASRock supplied USB2.0 front panel assembly won’t fit the VT02. The port spacing is not the same, and there are no matching screw holes. I have been unable to find a matching USB assembly for this position – a shame. There are a pair of mounting standoffs inside the front panel for such a unit, however.
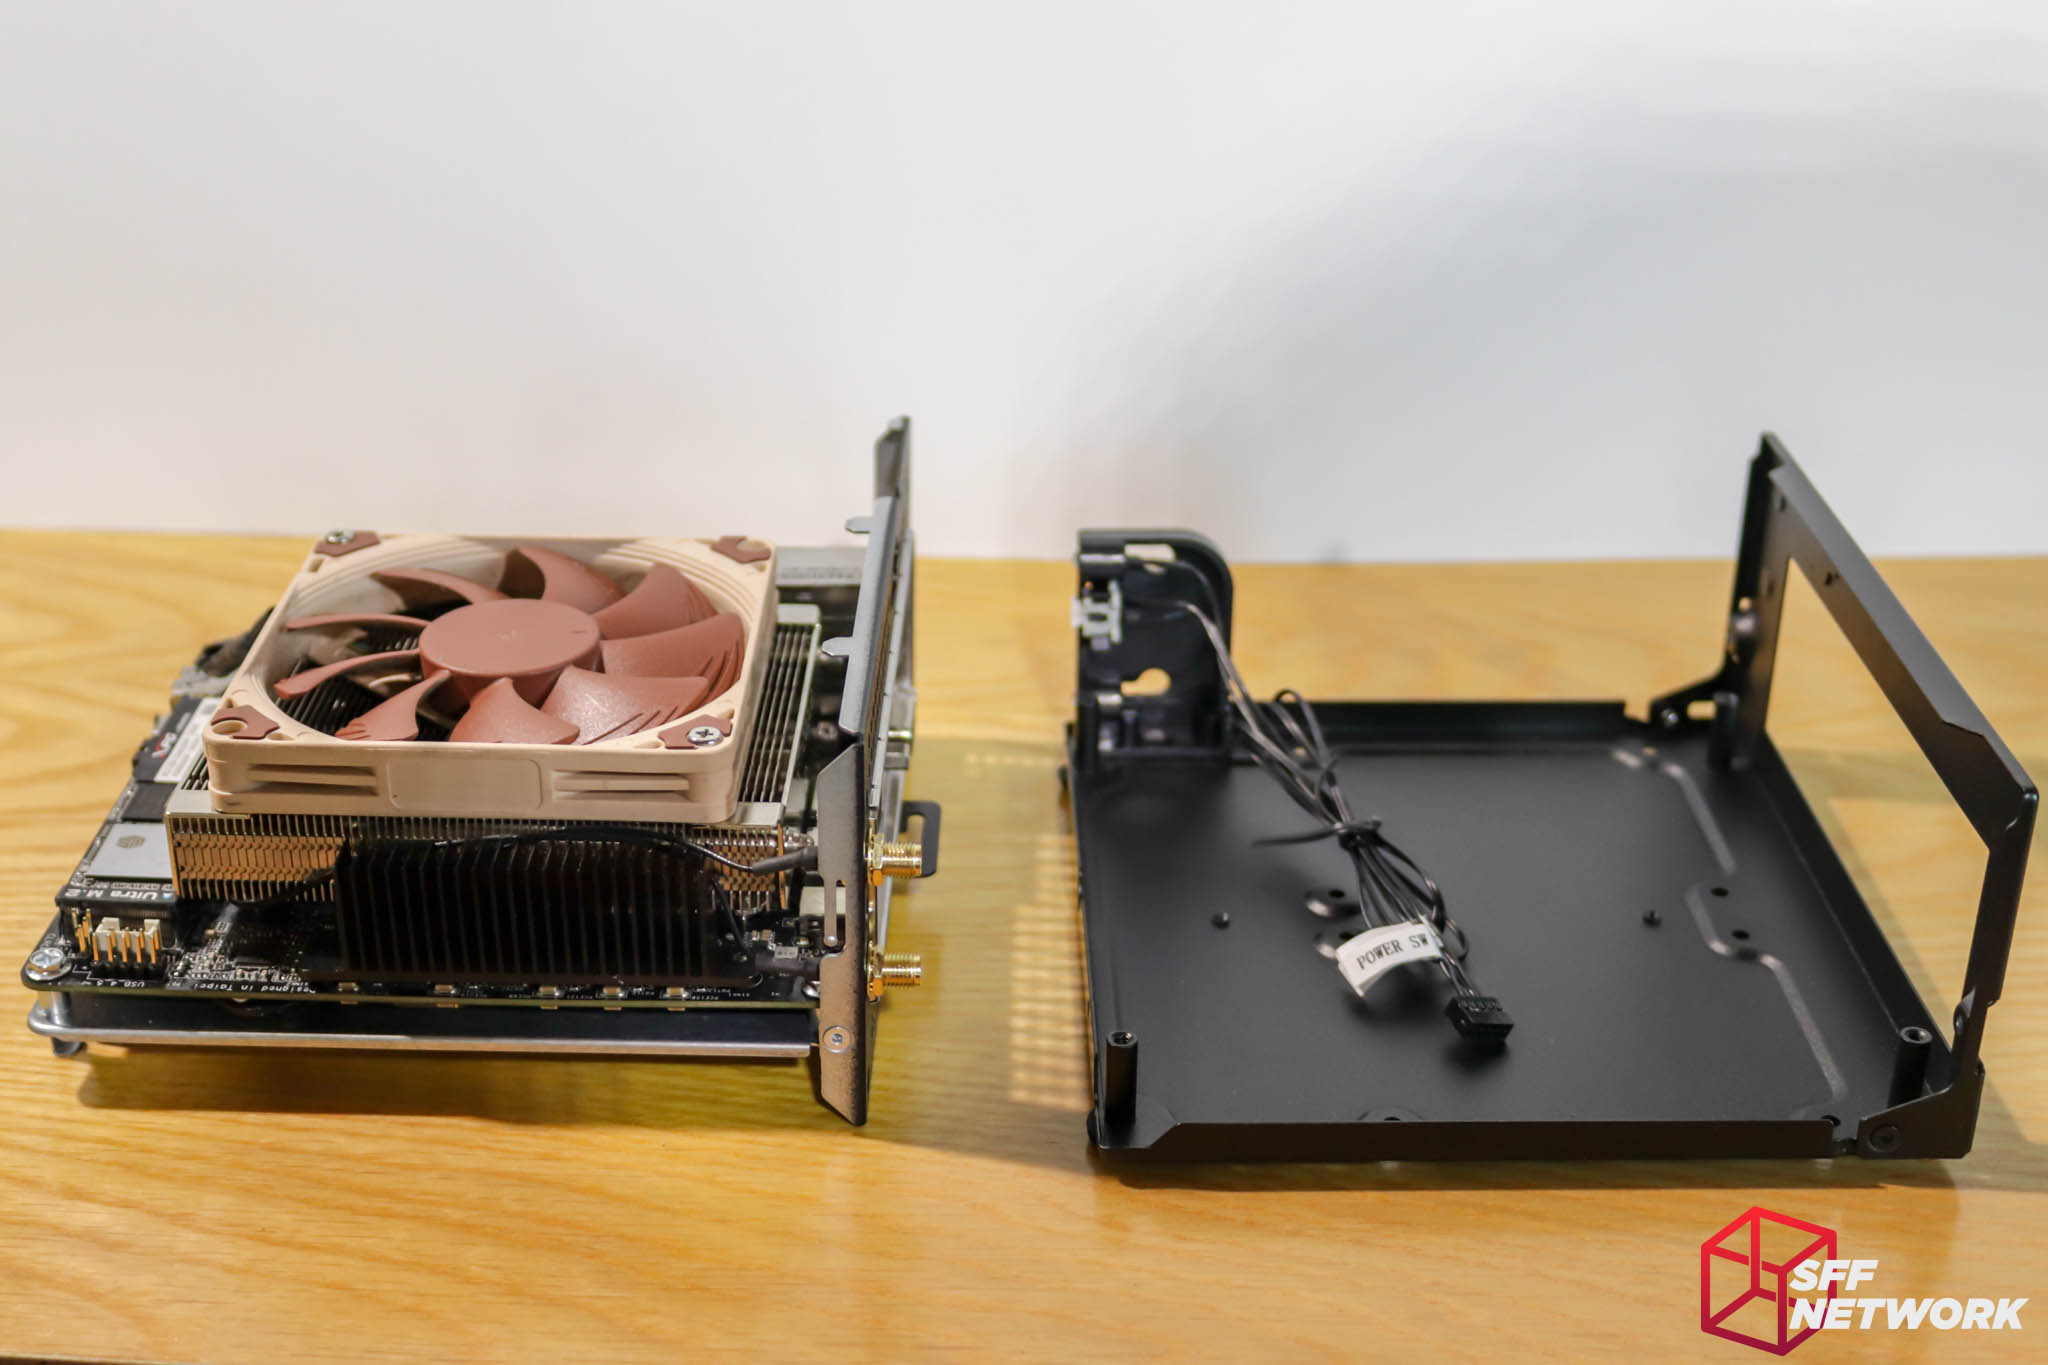
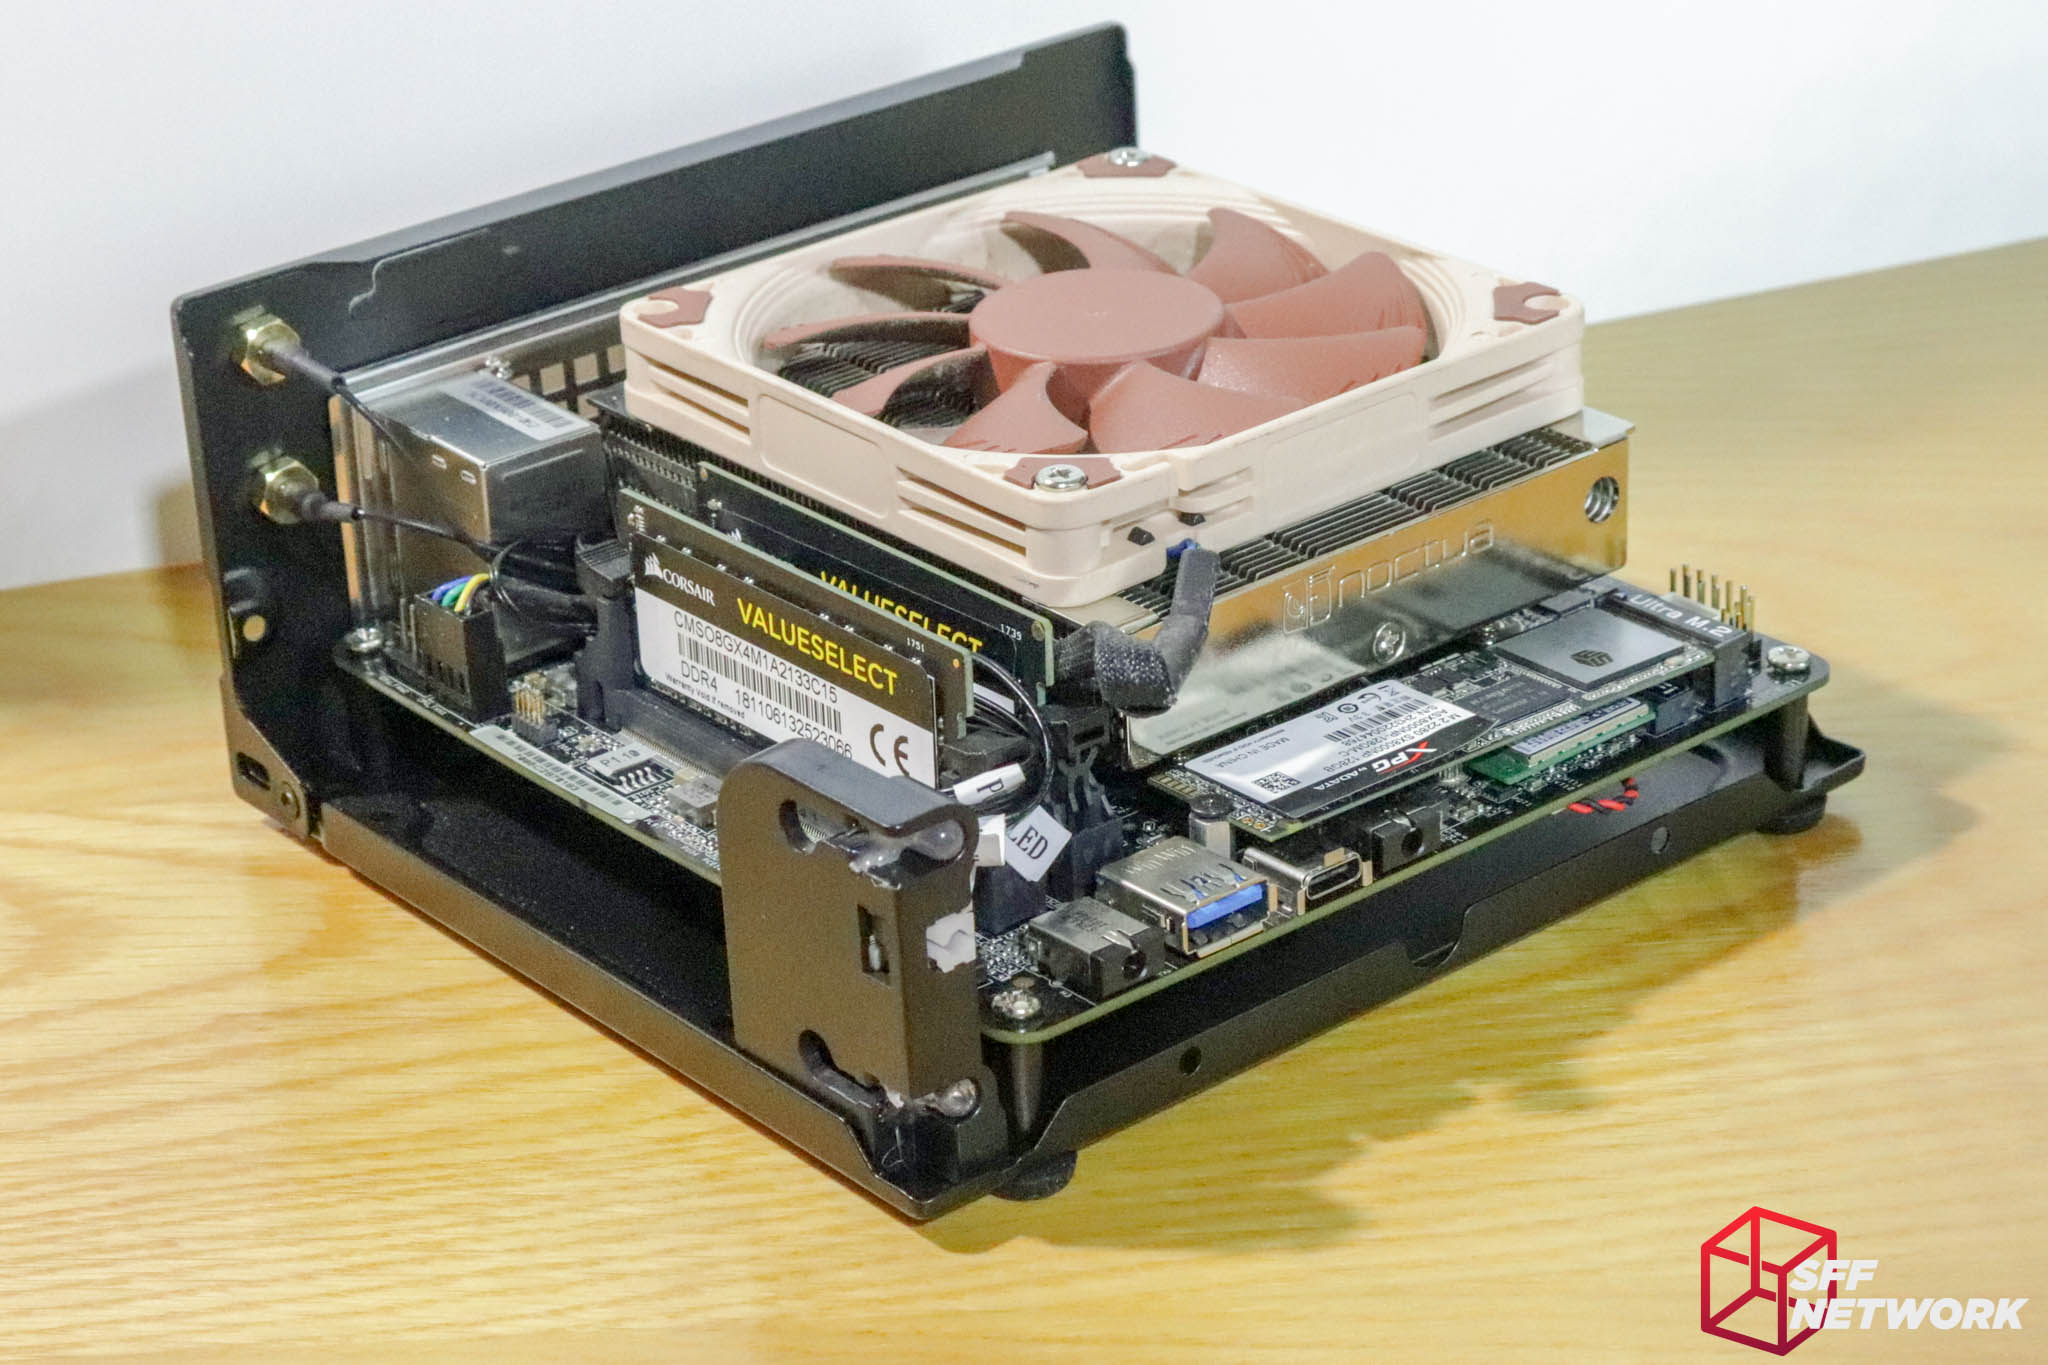
Time to get this party started. Tearing down the DeskMini A300 for this build – a powerhouse in such a small form factor.
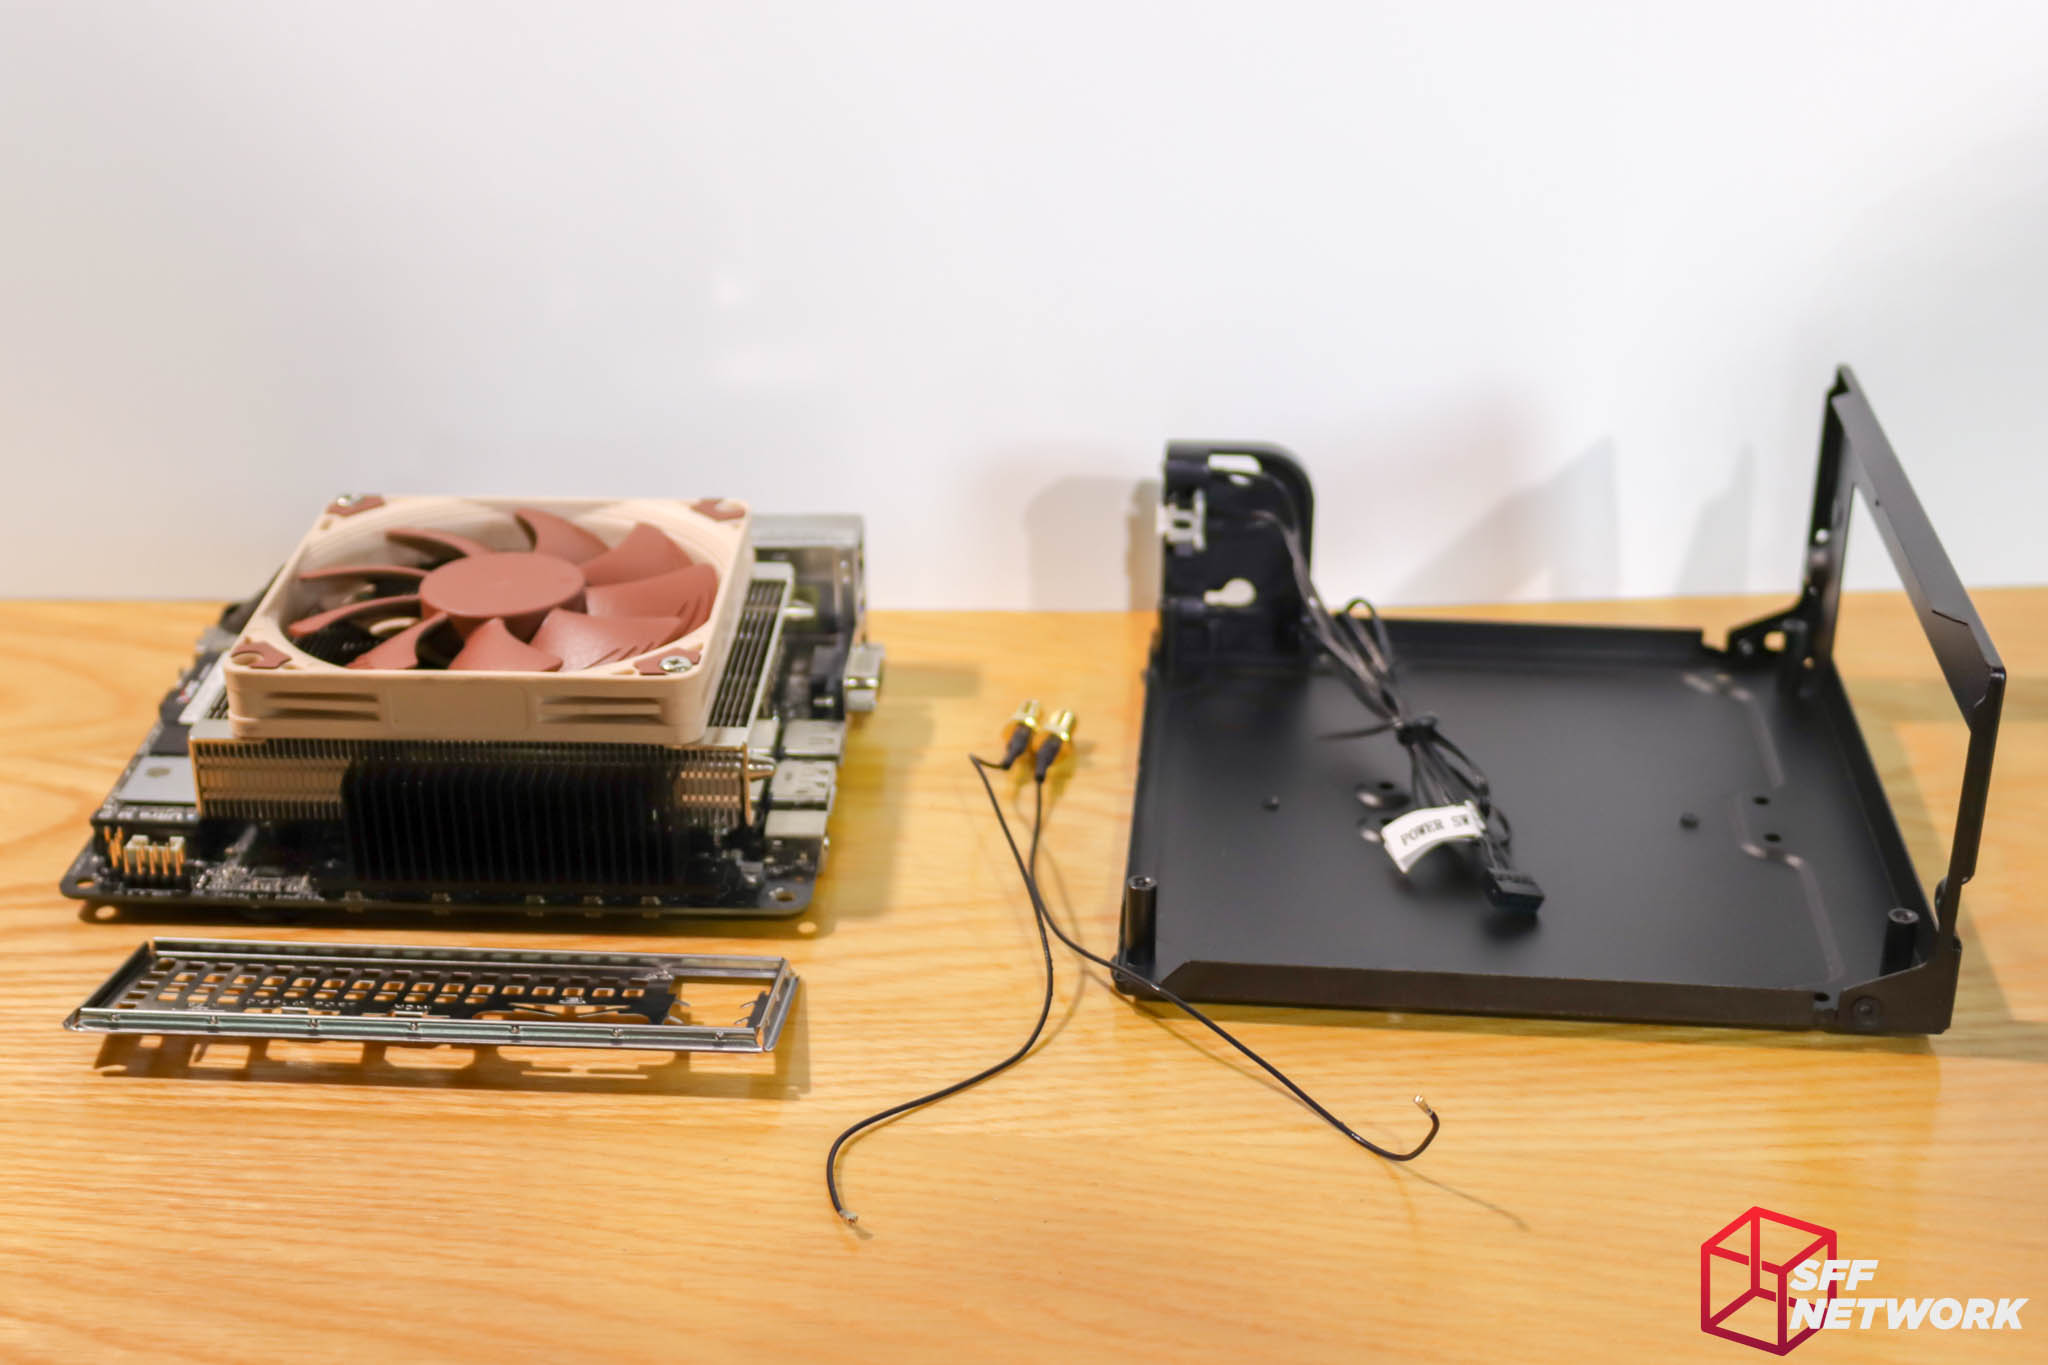
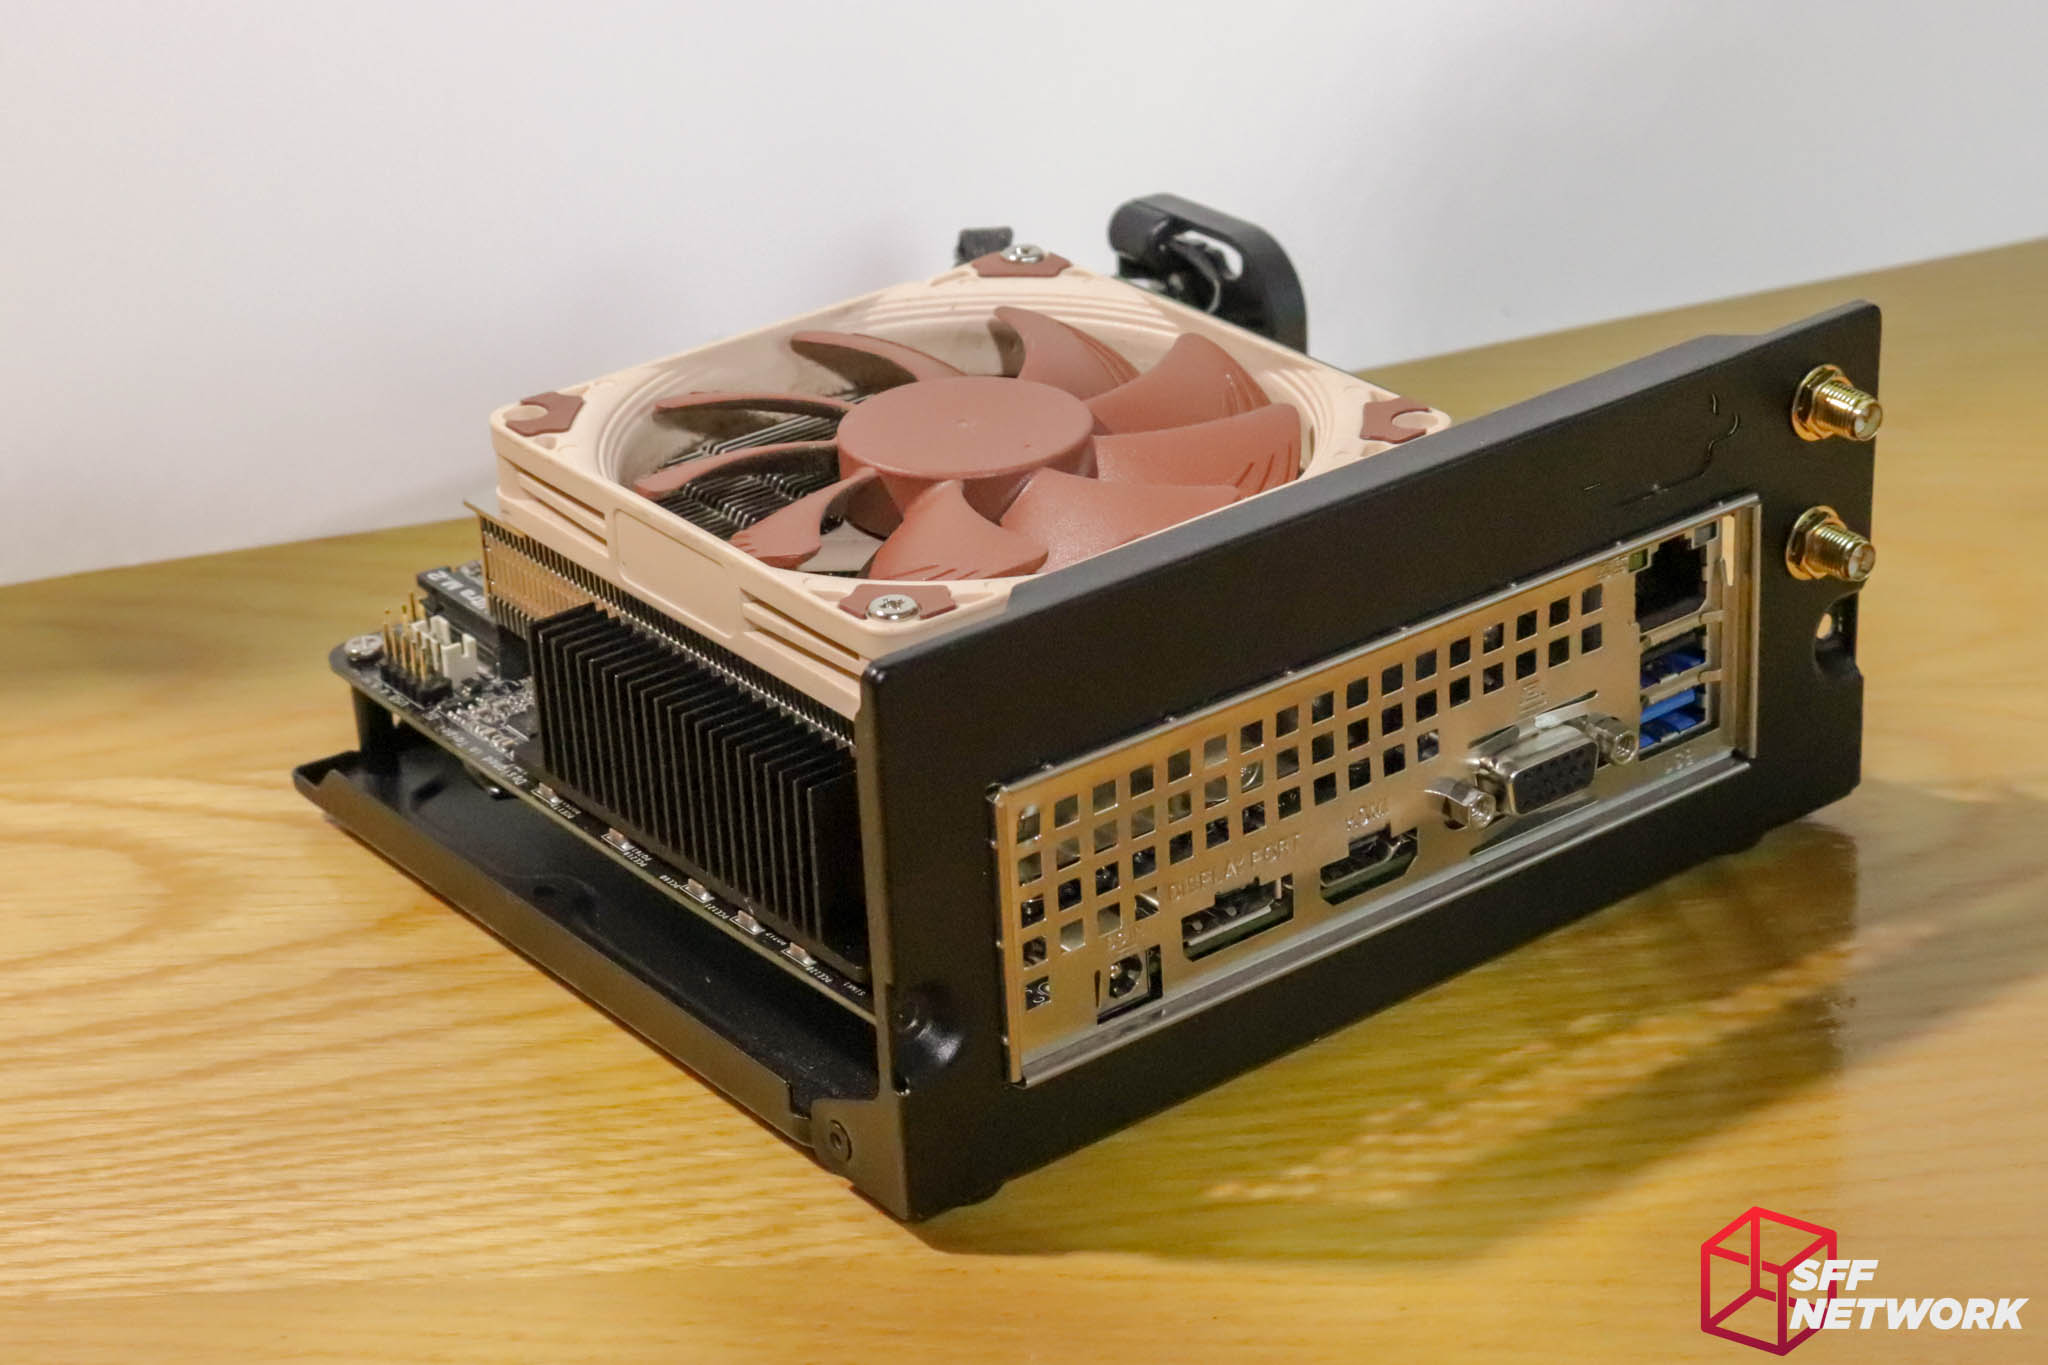
All the parts we need, liberated from their original home. Motherboard, IO shield, WiFi cables, CPU, CPU cooler, and M.2 NVMe SSD.
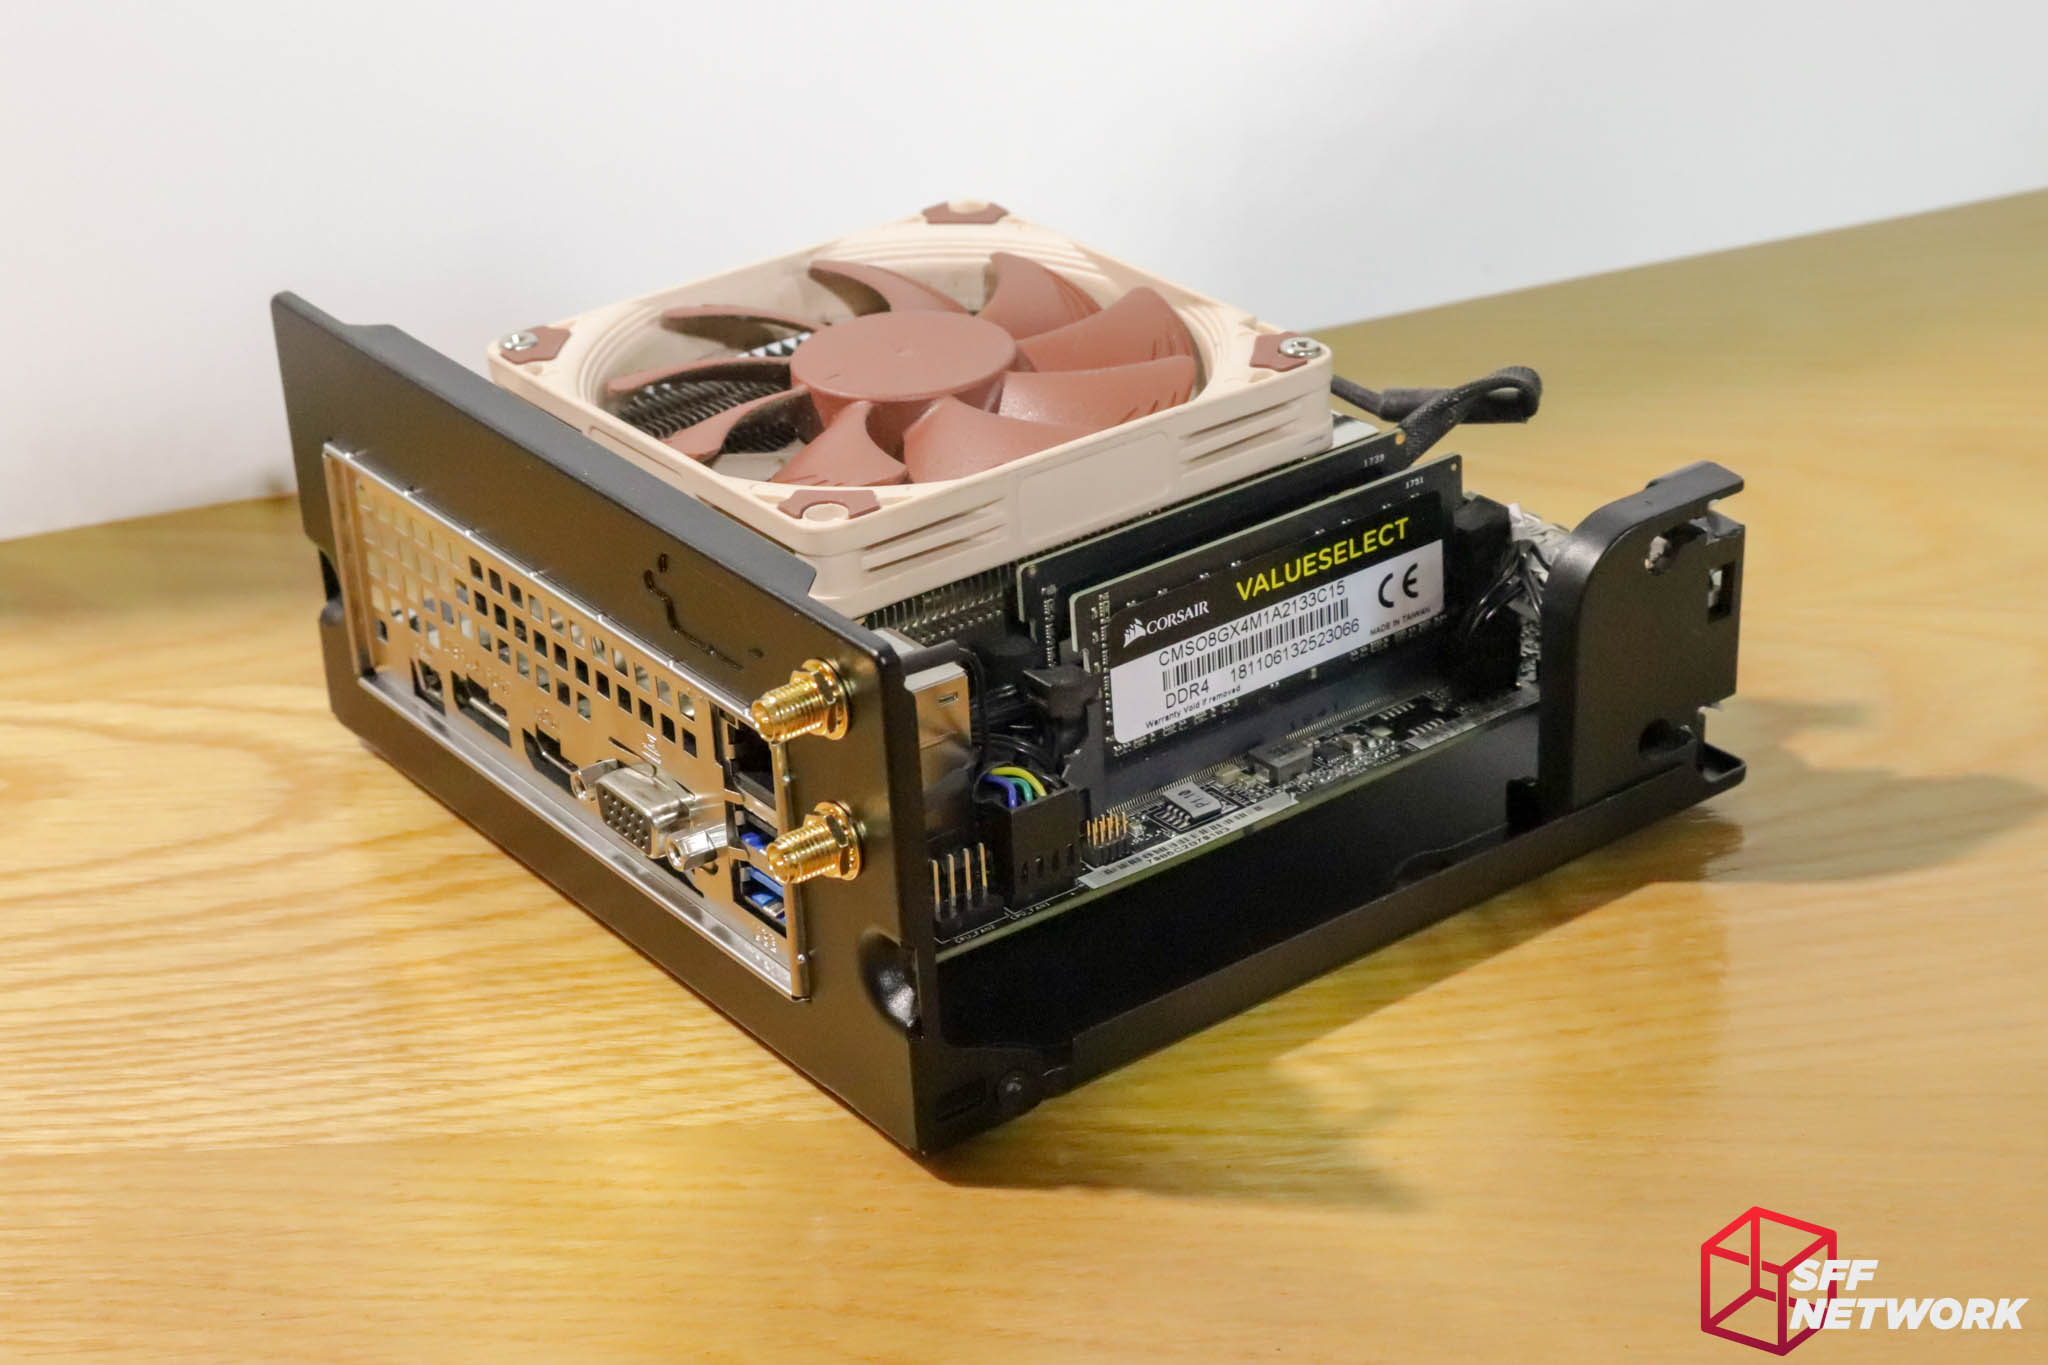
First up, the front panel cable. Way too long, SilverStone! All the existing Mini-STX boards on the market have their front panel header within 30mm of the location of the assembly here – the cable doesn’t need to be 200mm long!
WiFi antenna time. Punch these two out..
…and bolt these two in. Simples.
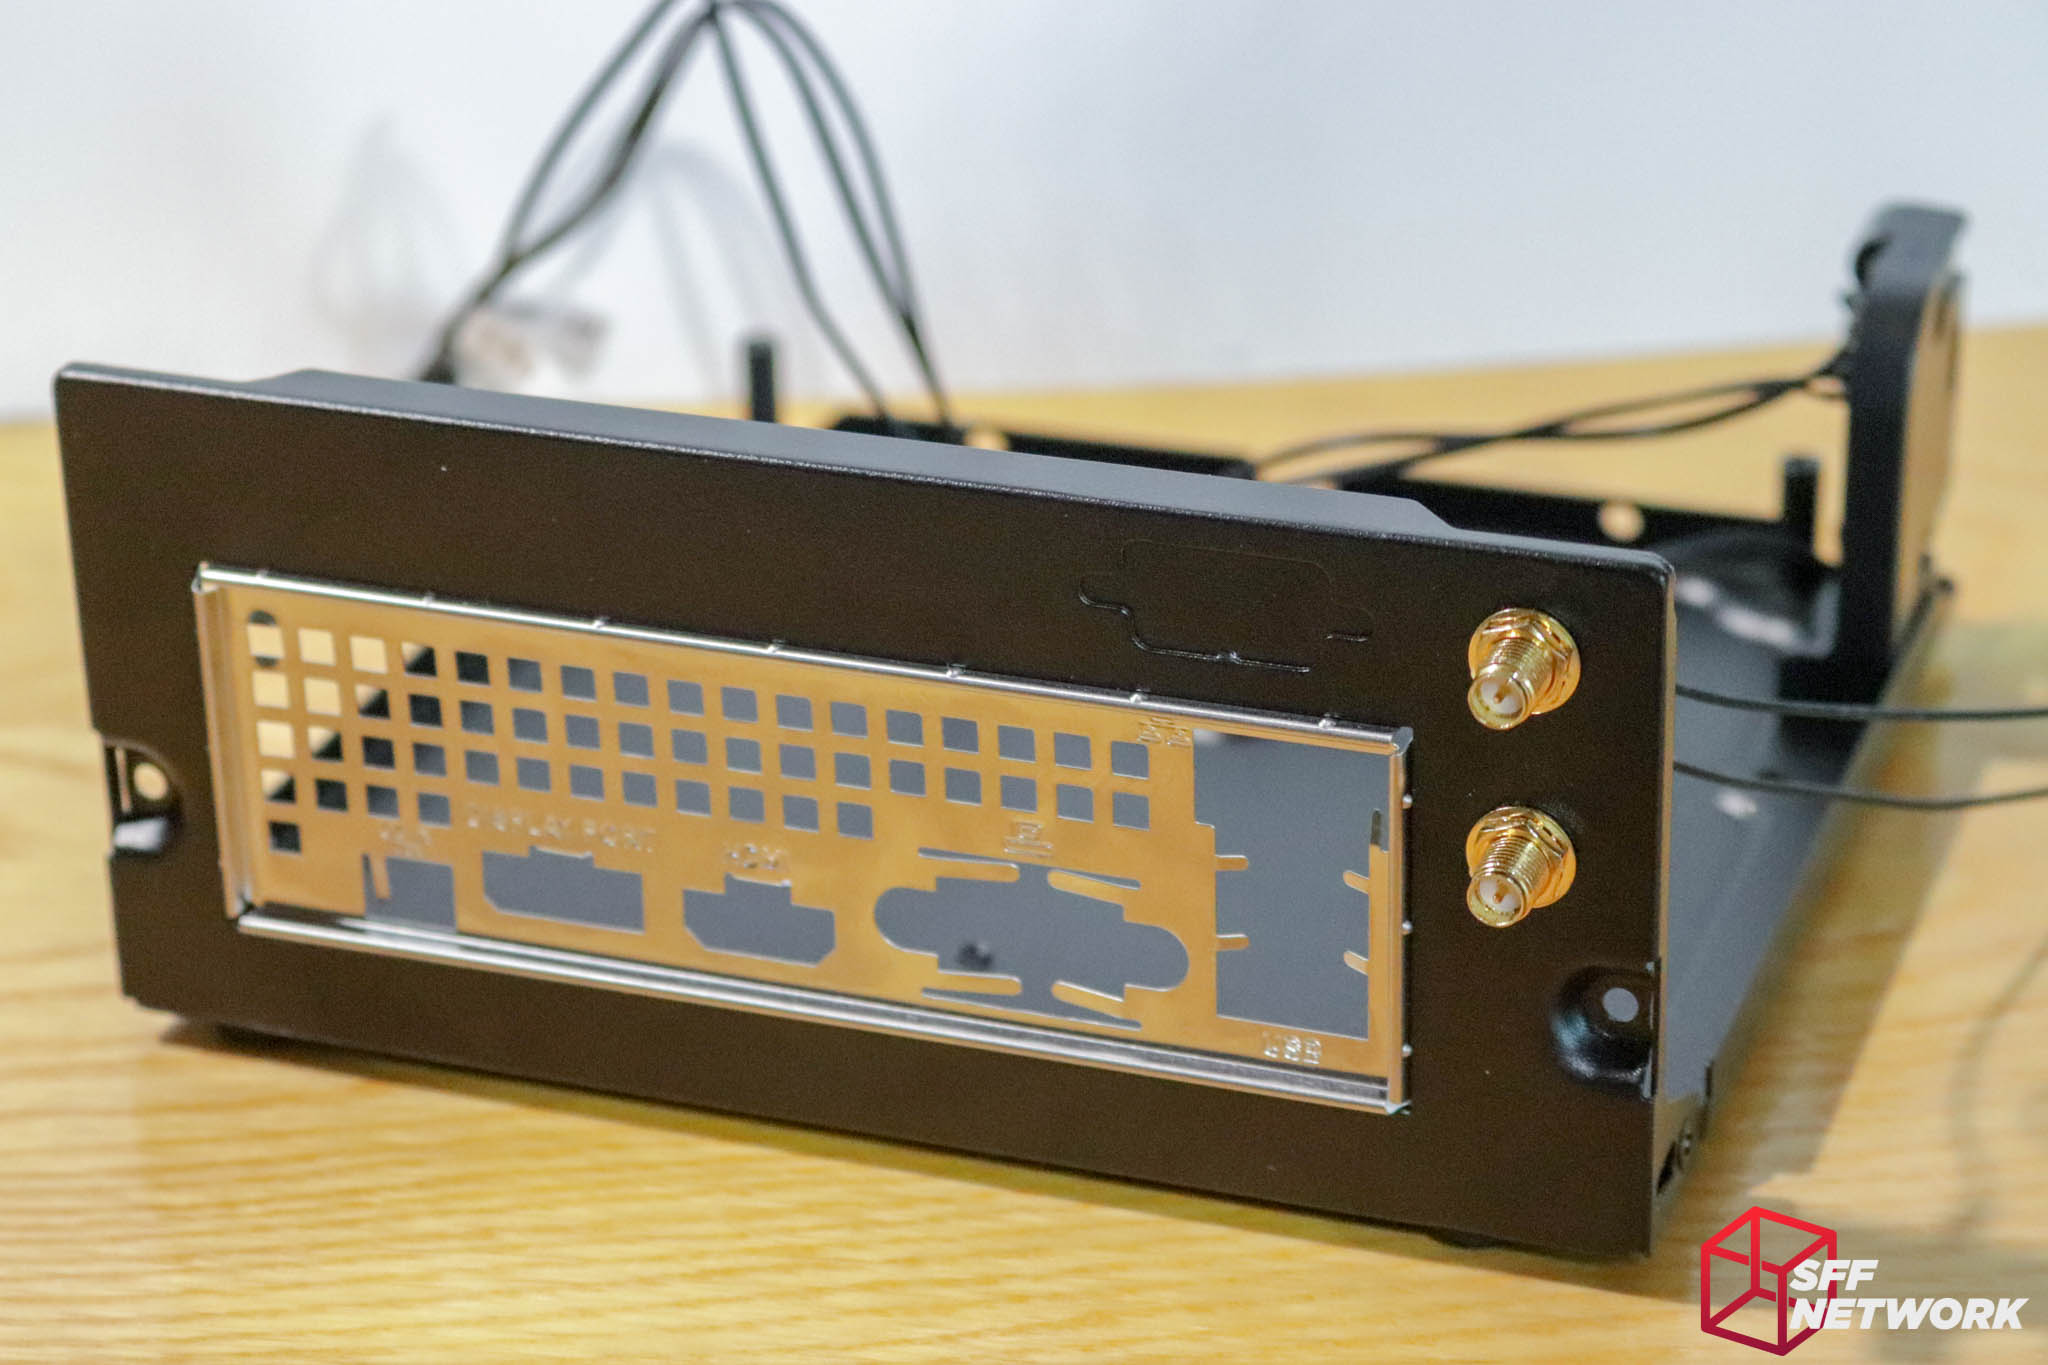
IO shield in, easy as.
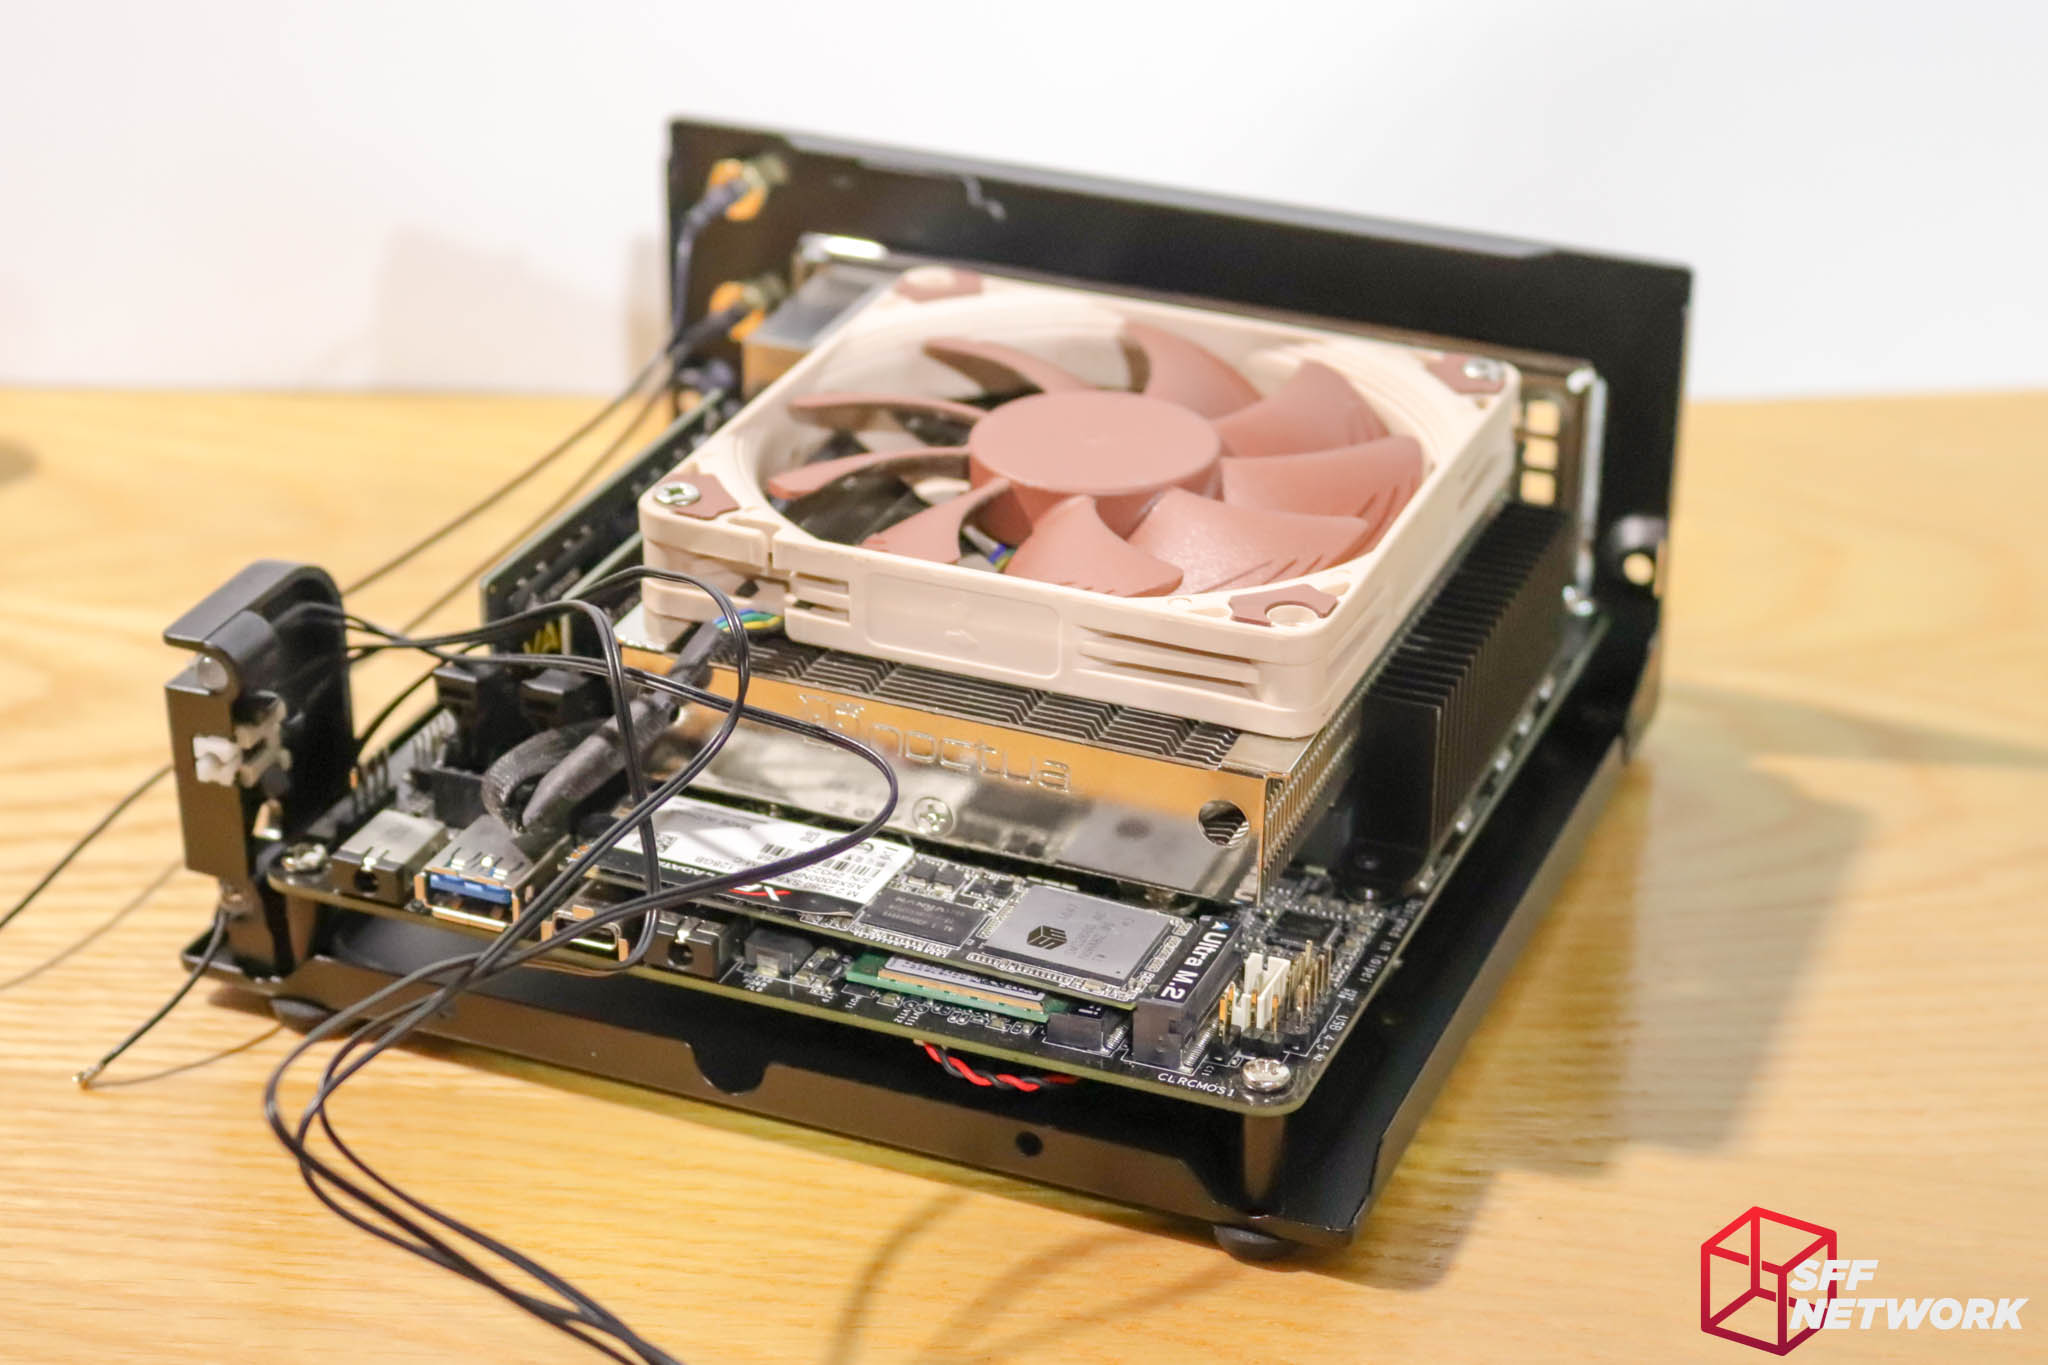
Board installed. Keep in mind that if you want to install 2.5″ drives, they need to be screwed in first, and the installation of the cables needs to be done before the board is screwed down.
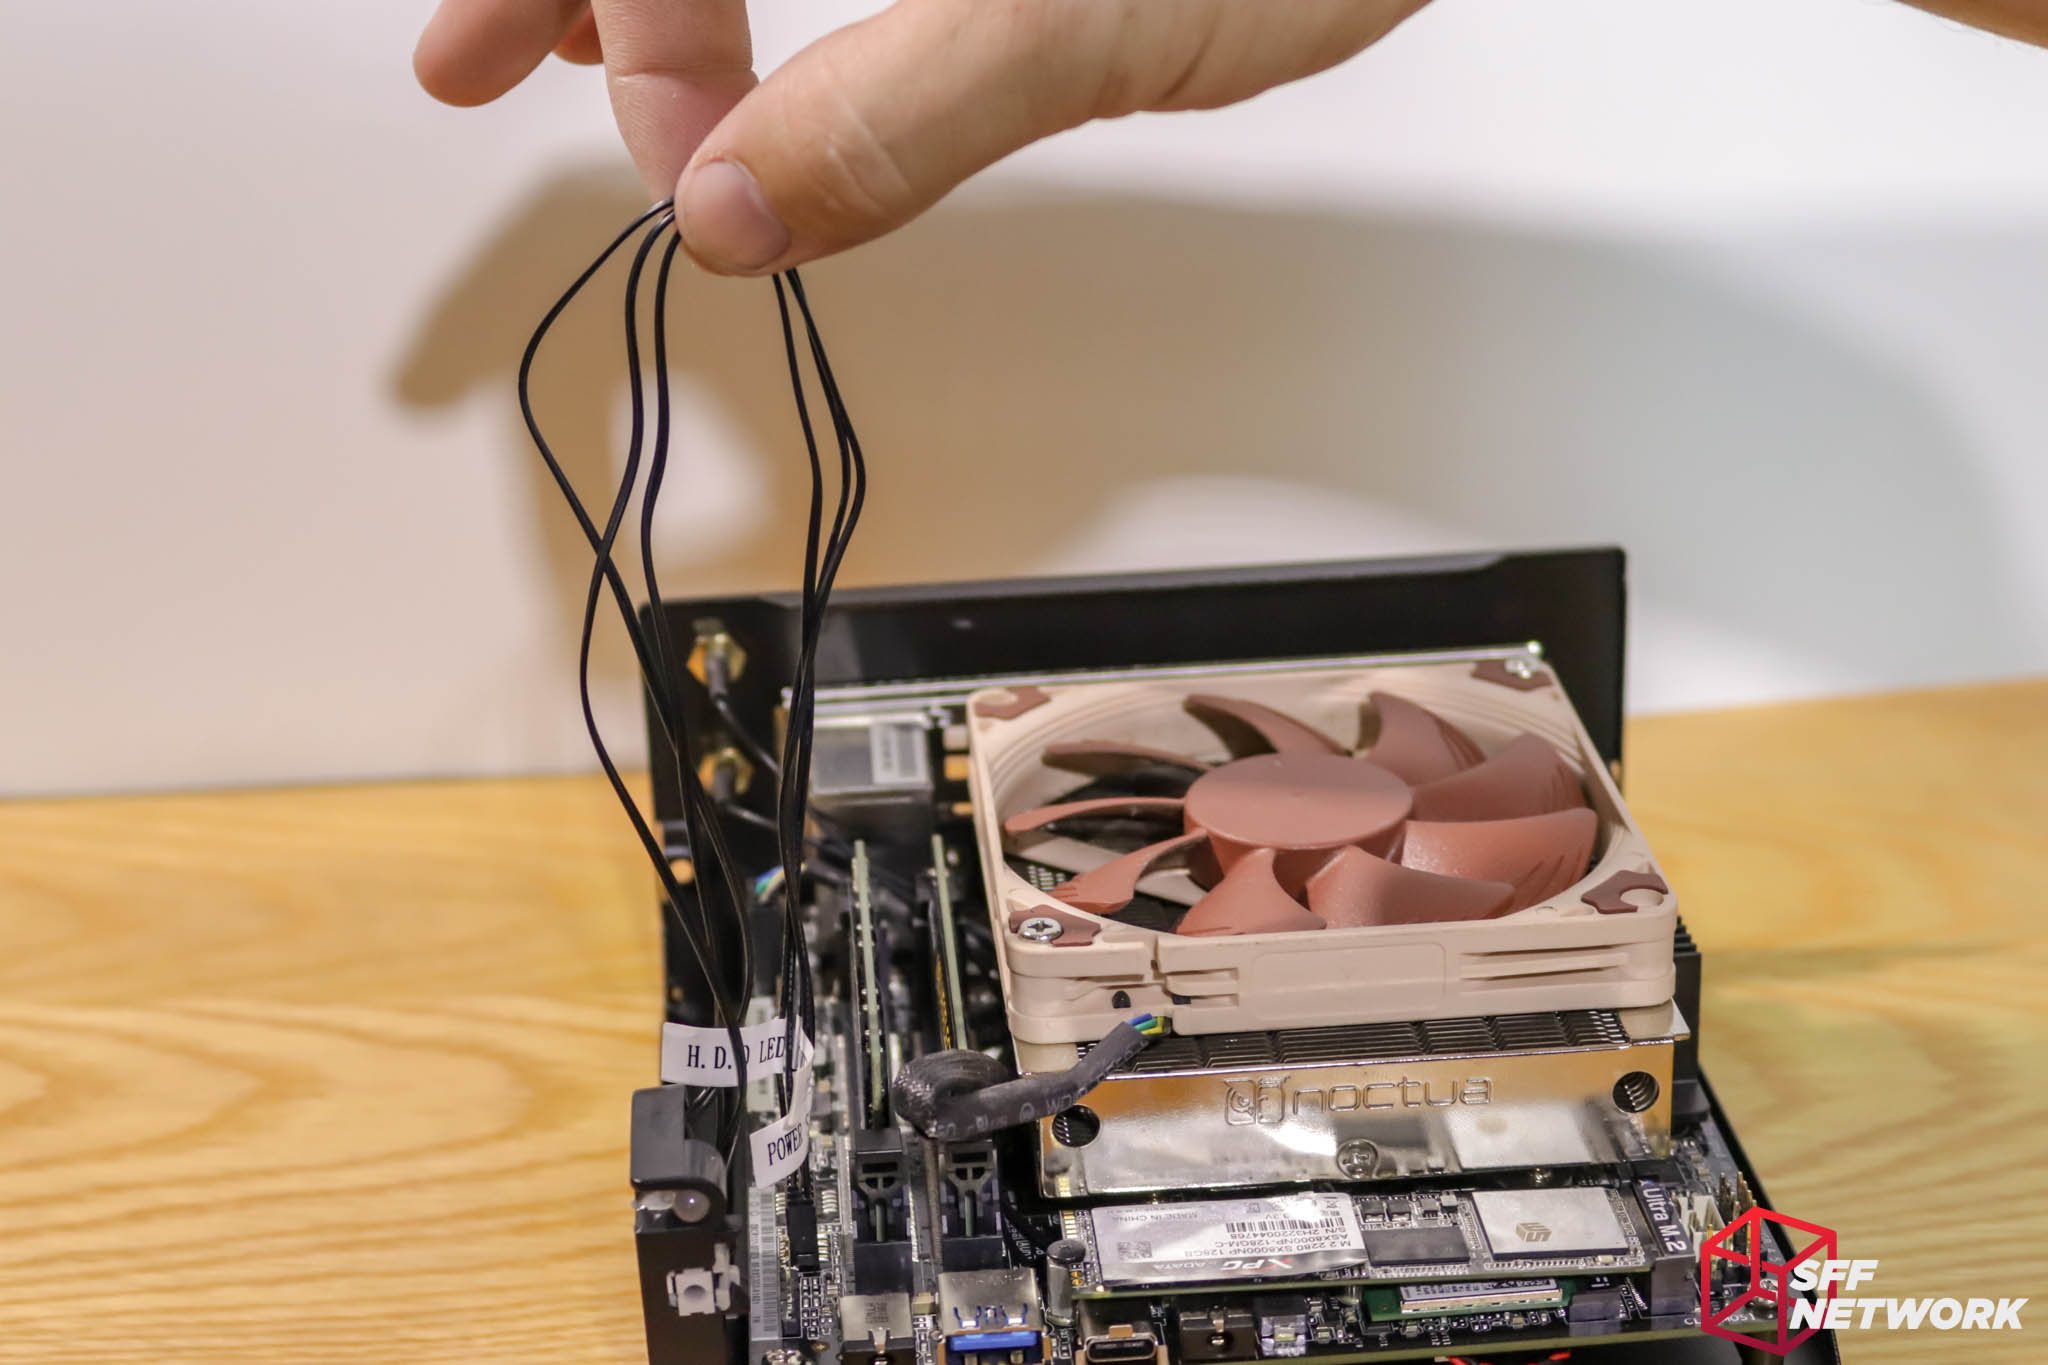
Yup, my disgust in the extra long cables is visible!

Everything installed and cable managed. Being able to cable manage the system in its entirety before installing the cover is so much nicer than the original DeskMini chassis! (the amount of times I got that front panel cable stuck in between the board and the case on the original unit.. sigh.
For those who truly want a minimalist setup, VESA mounting is the way to go. Installing the two supplied screws and rubber grommets enables the case to be mounted to the included panel.
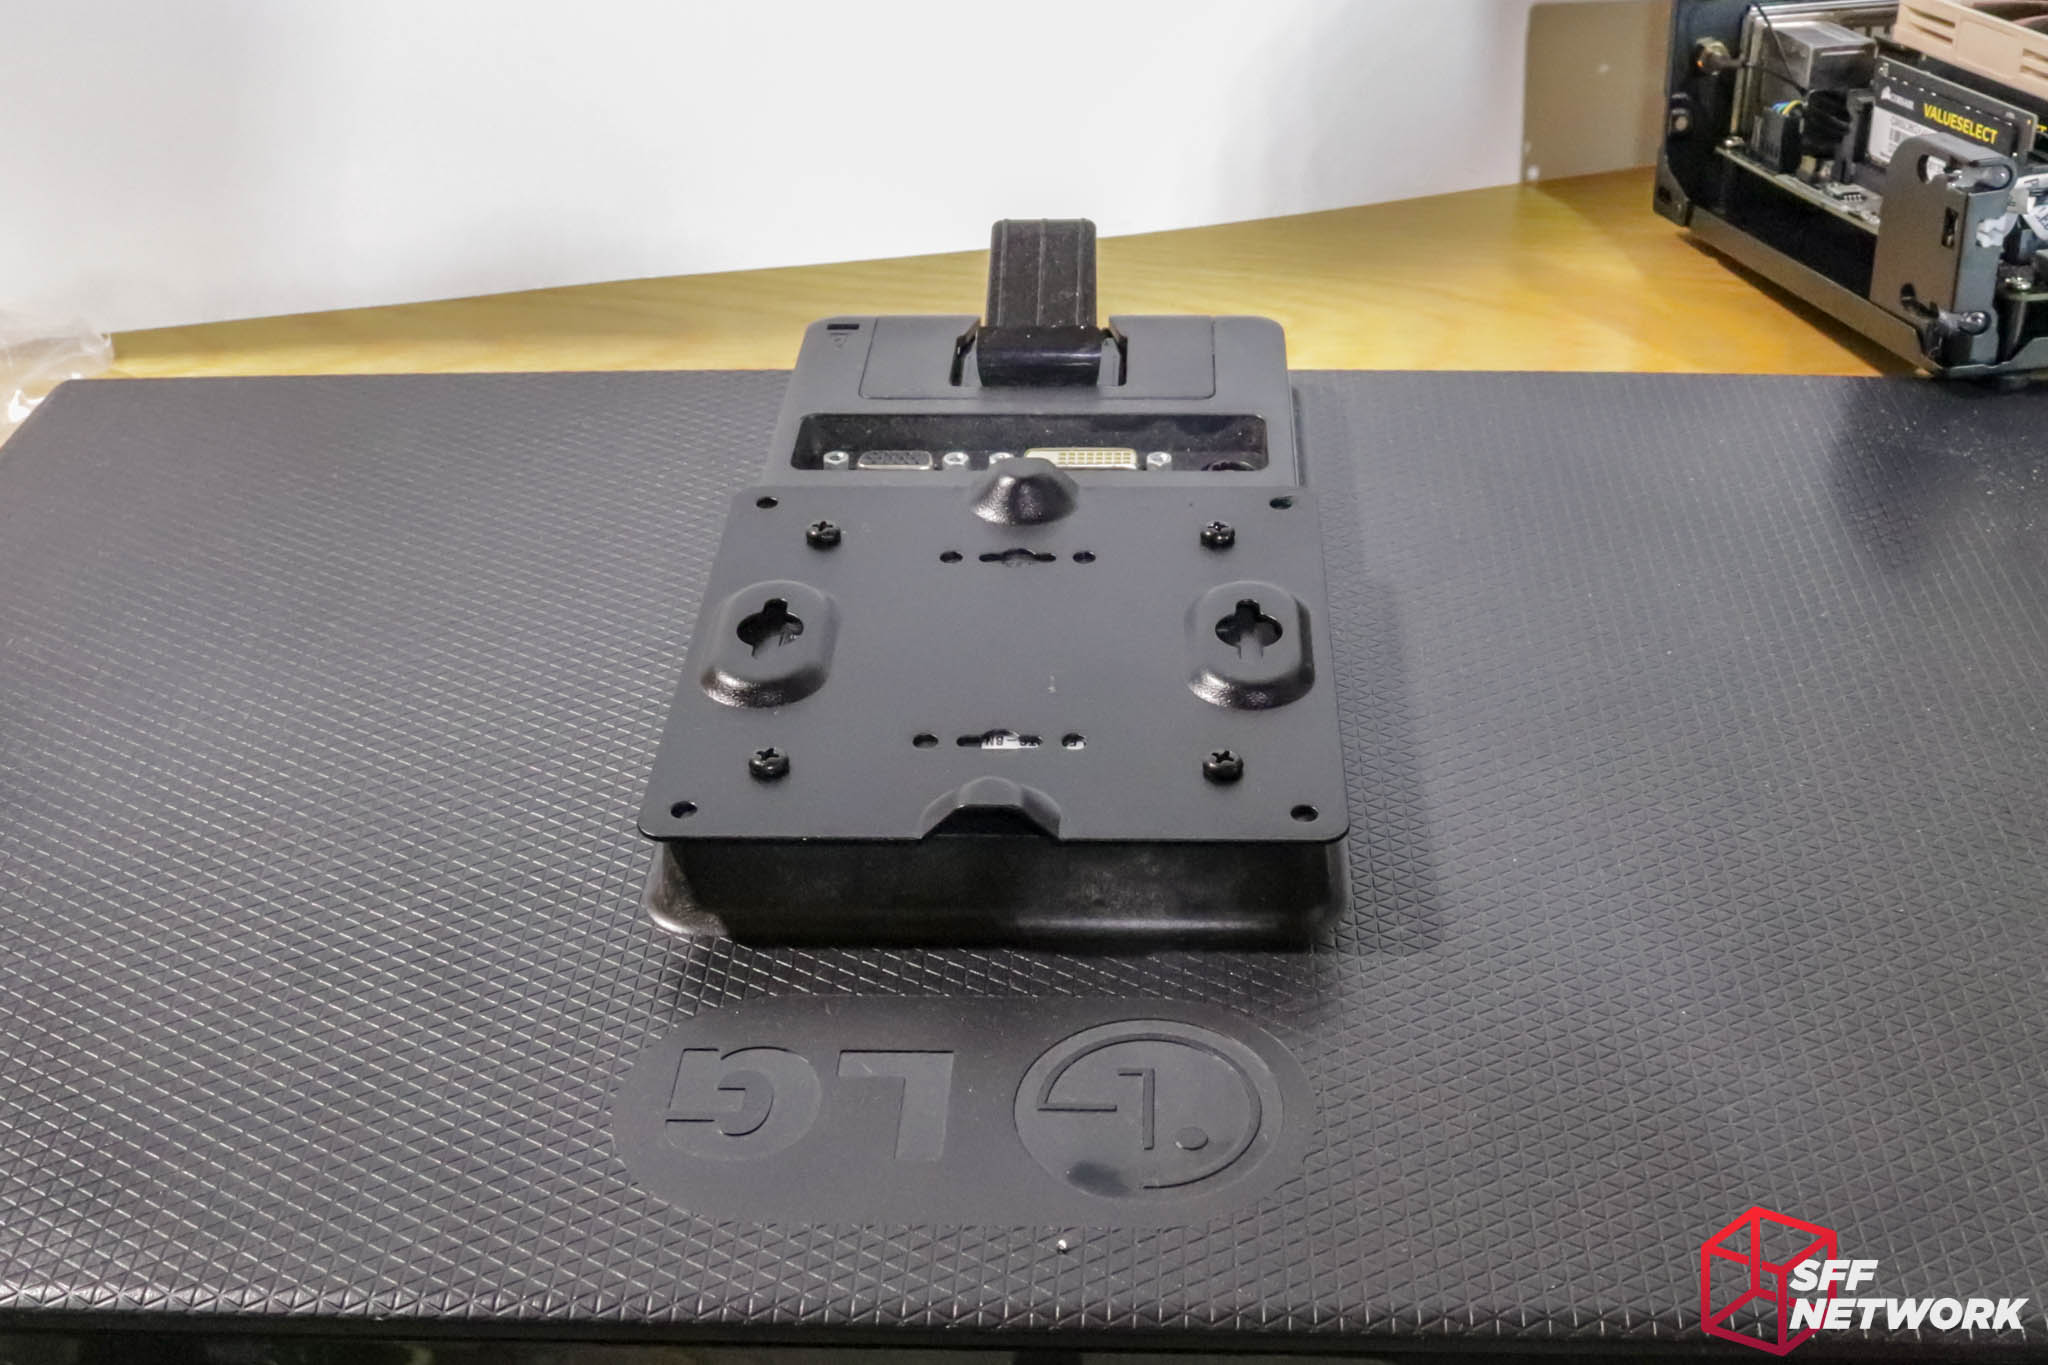
Like this. It helps to mount the panel to your monitor first though!
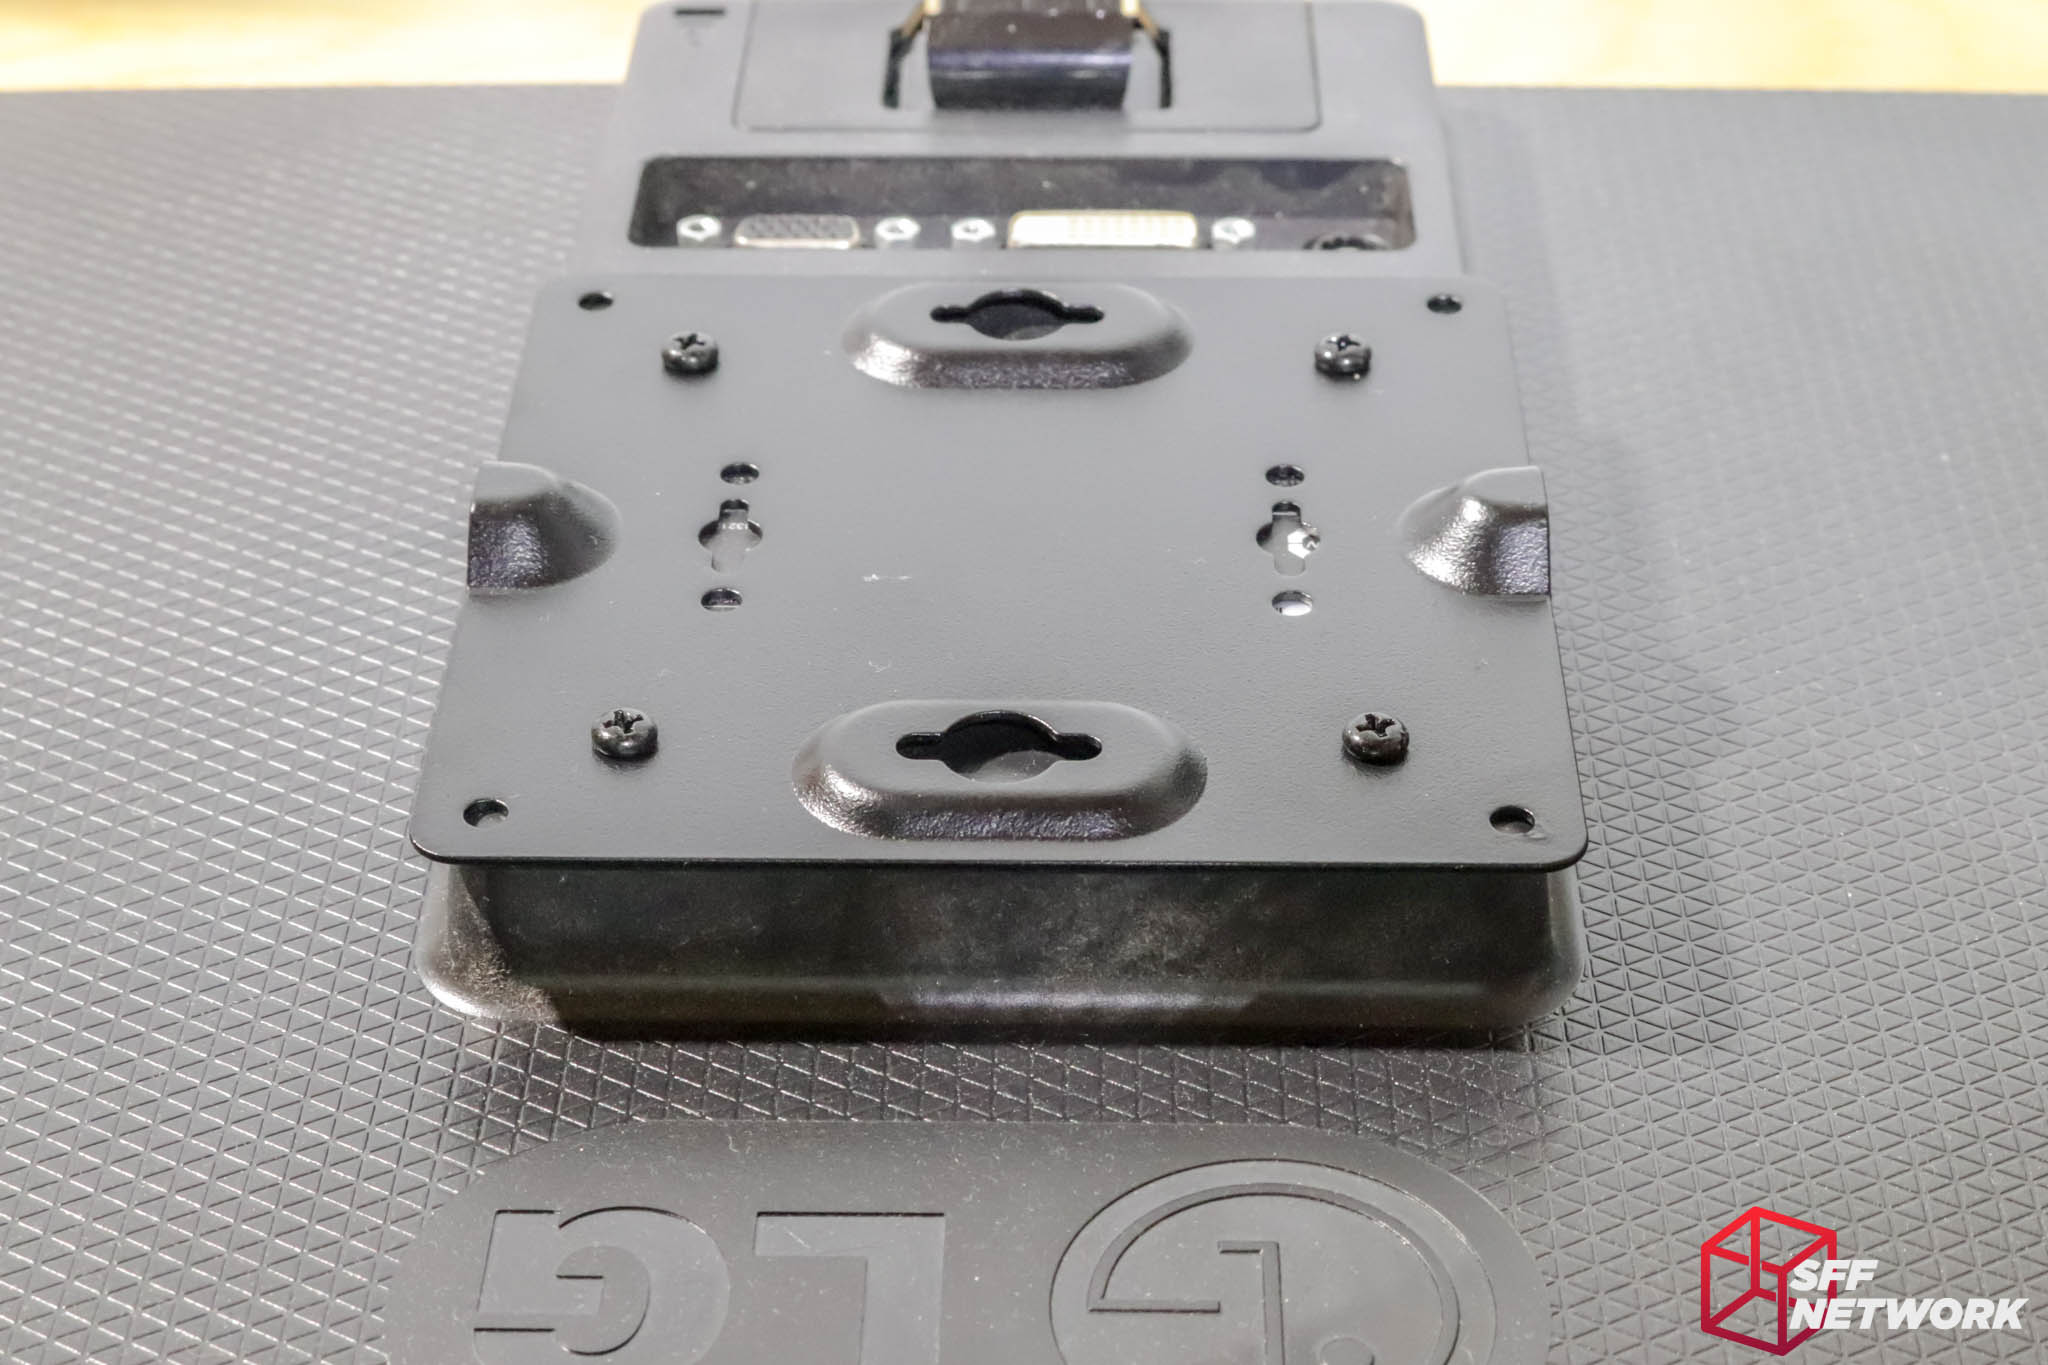
No, I didn’t pick the LG monitor because it’s what SilverStone used on the box art – it just happened to be the only spare monitor I had to hand! Four screws, and done. Because the VESA standard is of a square nature, you can rotate the plate 90 degrees if you desire the system to be orientated differently. Note that in this orientation, gravity is not helping the system stay in place, so be vigilant.
Another thing to note is that the plate has provision to be screwed to a desk, wall, you name it. Nice!
Mounted in the less ideal orientation, however cable management in this orientation is a dream.
Rotating 90° means that gravity will keep the system in the bottom of the slots – meaning it can’t slide off.
And mounted. Not as pretty for cable management, I have to admit.

A few glory shots before we close the build up for testing!
Tidy.
Closed up, just need to add the two screws to align the case assembly.
The matte black plastic is a bit of a fingerprint magnet.

Power LED!
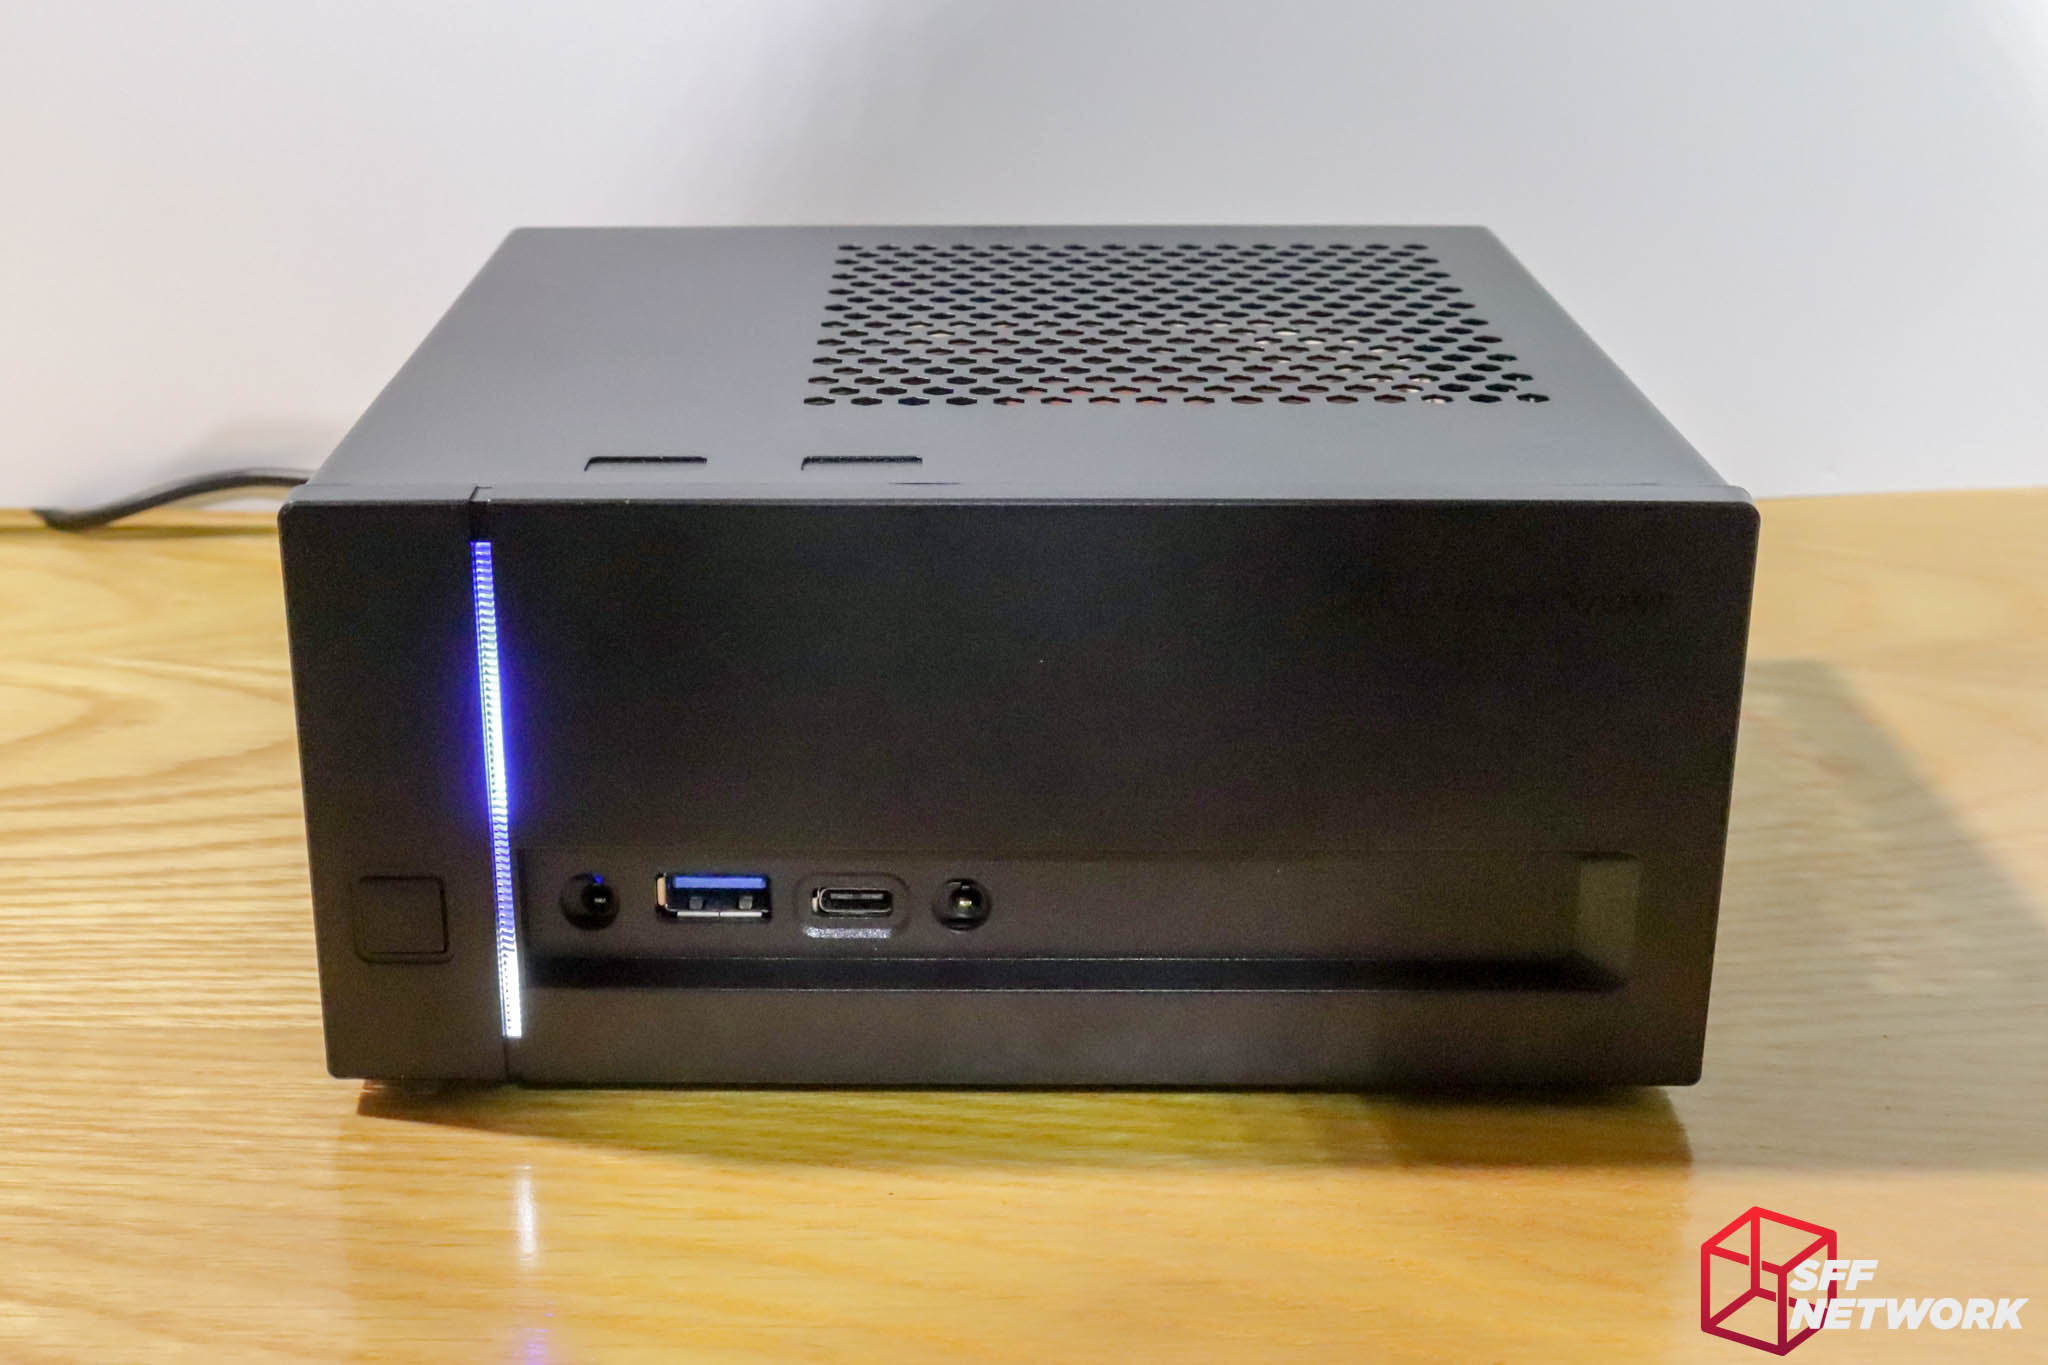
And drive activity LED! I really like the way these are done. They’re bright enough to see what’s going on, but not OMG FLASHY GAM3R.
The Testing
For such a small chassis, there’s only really one test to be done – crank the GPU and CPU to full load and see what happens.
| Motherboard | ASRock A300-STX |
| CPU | AMD Ryzen 5 2400G |
| CPU Cooler | Noctua NH-L9a-AM4 |
| Memory | ADATA DDR4 @ 2400MHz, 2x8GB |
| Storage | ADATA 128GB XPG |
| Ambient Temperature | 18°C |
| CPU Cooler mode | Quiet (what am I, inhuman?!) |
To thermally load the system, I set Unigine Heaven to the “Extreme” preset and ran with it, and doubled the stakes with CPU-Z’s CPU stress mode. I let the tests run until the system became heat soaked – where the temperatures stabilised for 5 minutes.
Results? Result. Compared to the original DeskMini chassis, the SilverStone VT02 registered in at 56C above ambient on the CPU, and 26 on the “Sys” temp reported in HWMonitor. Both temperatures were 2 degrees cooler than in the DeskMini’s original chassis.
The aural profile was the same, with both configurations reporting in around 2400 RPM fan speed.
The Conclusion
I wish ASRock went with Silverstone as an OEM for the DeskMini. Cable management and building in the VT02 was a breeze compared to the In-Win OEM’d chassis, with no rails to fuss with, cable management made easier, and the ability to test the system build with just the tray. I’m not sure what the value proposition between the two products were, but I feel there is value in functional design, especially in a DIY or barebones system.
The real question is, is the VT02 a good value proposition for you, an end user? If you have a bare Mini-STX motherboard, yes! The case offers a great enclosure for the price, and is the more subtle of the Mini-STX cases available. Bare Mini-STX motherboards are available on the market, at NewEgg and other retailers.
If you have to buy a barebones DeskMini to source the motherboard (for example, for the Ryzen A300 or Intel H310 variants), you’re adding an extra cost to your system build that you don’t need, unless aesthetics are critical. That decision is more subjective than objective, so I’ll leave that one to you.
SilverStone does offer another Mini-STX chassis, the even smaller VT01 – which I will check out in the near future.
Pros
- Better looking than the original case
- Easier to build in
- Better cooling
- Flexible VESA Mount
Cons
- That front panel cable
Niggles
- Difficult to recycle packaging
Thoughts? Discuss them in the forum.
This review sample was provided by SilverStone.
Here at SmallFormFactor.net we give manufacturers the ability to be part of the community. We offer a right to reply to our hardware reviews. If a manufacturer responds with any feedback or corrections, their comments will be posted here.