
When AMD released the new Ryzen processors back in March, the enthusiasts amongst us were pleasantly surprised by the capabilities and efficiencies introduced by the new platform. One major thing (well, two, if you count enthusiast M-ATX) missing from the launch, however, was any real M-ITX offering for the new chip.
Months passed, and at CES 2017 we heard that M-ITX was indeed incoming, now that Ryzen had proven itself as a market player that had enough sales volume to placate board partners. We were told that three companies had boards incoming, but not who these companies would be. Eventually, though, Biostar, ASRock and Gigabyte came forward with their offerings. It is the latter’s offering we are looking at today – the Gigabyte AB350N-Gaming WIFI motherboard.
Whilst this isn’t the first AM4 M-ITX board announced, it’s the one I was most interested in personally, as it is the spiritual successor to the board in my own rig – the F2A88XN-WIFI. Before I go into too much depth, however, let’s get the formalities out of the way…
Table of Contents
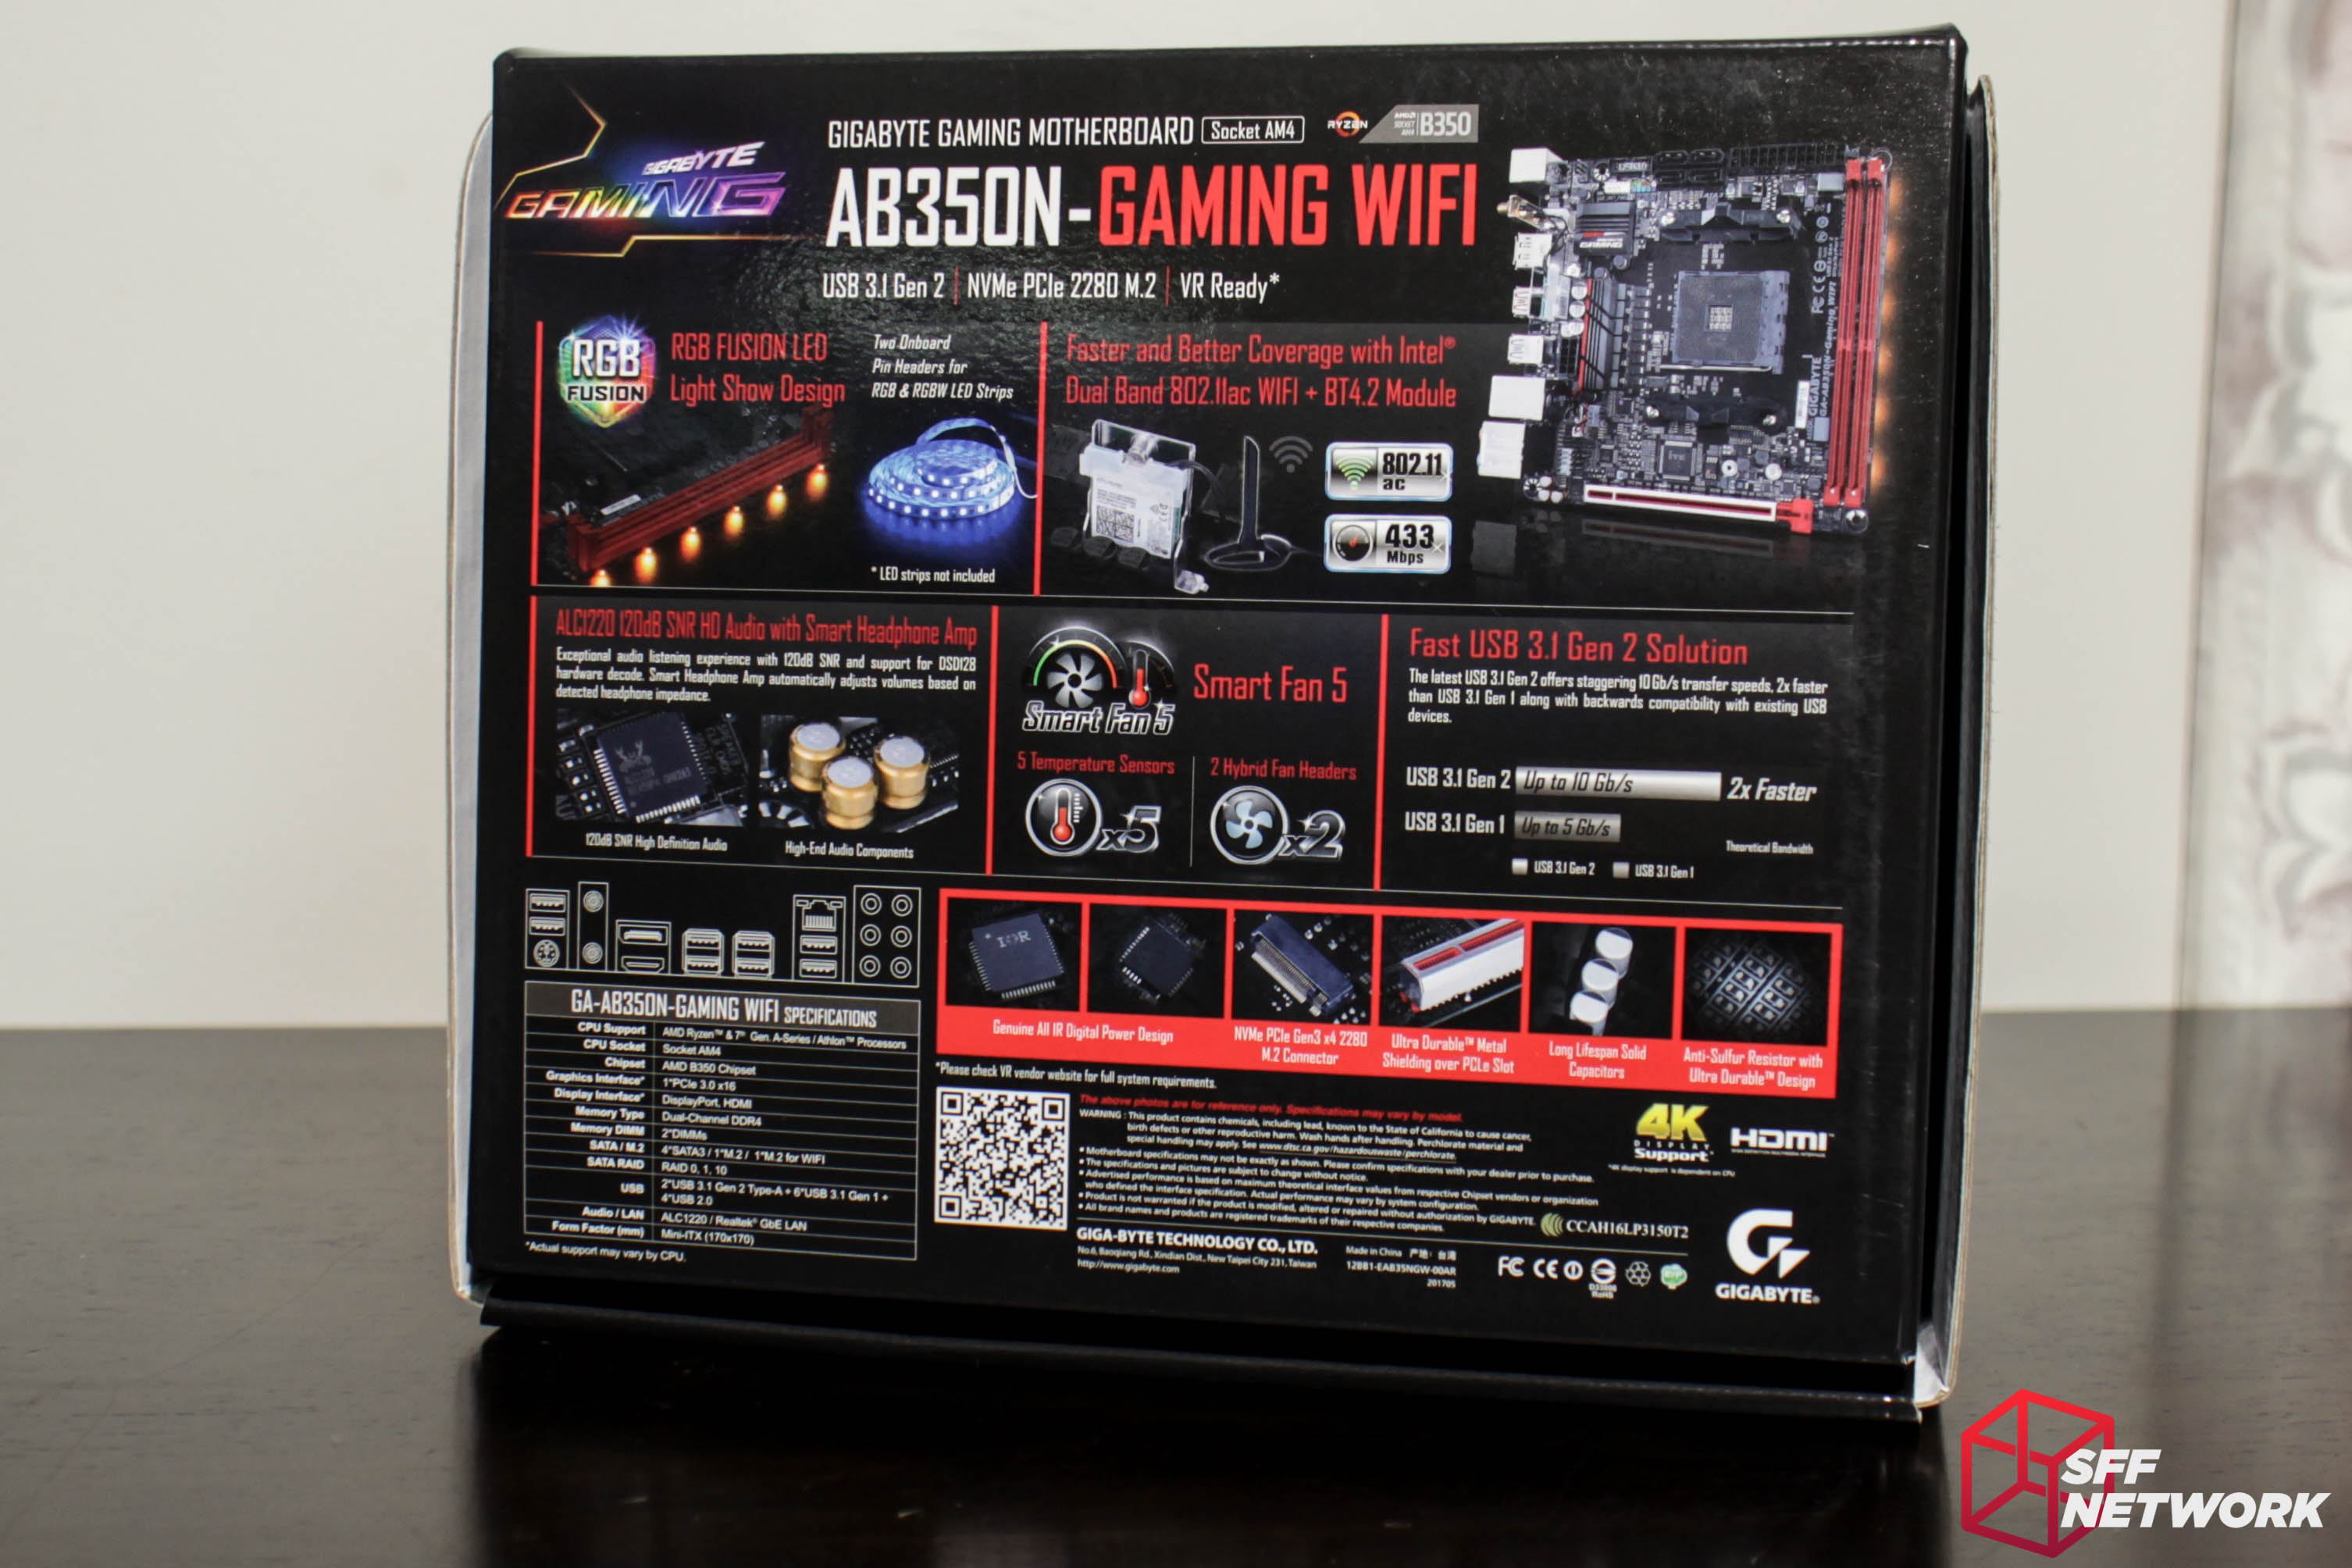
The Specifications
| Model Name | AB350N-Gaming WIFI |
| Socket | AM4 |
| Chipset | AMD B350 |
| Memory | 2x DDR4 DIMM Slots Supporting up to 32GB |
| Memory Speed | DDR4-2133/2400/2667 in normal mode, 2933/3200 in OC mode |
| Memory Misc | ECC supported, XMP supported |
| Onboard Graphics | 1x Displayport 1.2, 1x HDMI 1.4 port (dependent on installed processor) |
| Audio | Realtek ALC1220 codec, 2/4/5.1/7.1 channel audio |
| LAN | Realtek GbE 10/100/1000 MBit |
| Wireless | Wi-Fi 802.11 a/b/g/n/ac, 2.4 and 5GHz dual band |
| Bluetooth | 4.2, 4.1, BLE, 4.0, 3.0, 2.1, 2.1+EDR |
| Expansion Slots | 1 x PCIe 3.0 x16, 1 x M.2 Socket 1 connector for WiFi module |
| Storage | 4 x SATA 6Gb/s with support for RAID 0, 1, 10, and 1 x M.2 Socket 3, Type 2260/2280 SATA and PCIe x4/x2 |
| USB |
Chipset based: 2 x USB 3.1 Gen 2 Type-A ports on rear panel (red) CPU based: 4 x USB 3.1 Gen 1 ports on rear panel (blue) |
| Internal IO |
1 x 24-pin ATX main power connector 1 x 8-pin ATX 12V power connector 1 x CPU fan header 1 x system fan header 4 x SATA 6Gb/s connectors 1 x M.2 Socket 3 connector on the back of the motherboard 1 x front panel header 1 x front panel audio header 1 x USB 3.1 Gen 1 header 1 x USB 2.0/1.1 header 1 x CPU cooler LED strip/RGB LED strip extension cable header 1 x RGB (RGBW) LED strip extension cable header 1 x Trusted Platform Module (TPM) header 1 x S/PDIF Out header 1 x speaker header 1 x Clear CMOS jumper 1 x chassis intrusion header |
| Rear IO |
1 x PS/2 keyboard/mouse port 2 x SMA antenna connectors 1 x DisplayPort 1 x HDMI port 2 x USB 2.0/1.1 ports 2 x USB 3.1 Gen 2 Type-A ports (red) 4 x USB 3.1 Gen 1 ports 1 x RJ-45 port 6 x audio jacks (Center/Subwoofer Speaker Out, Rear Speaker Out, Side Speaker Out, Line In, Line Out, Mic In) |
[mks_separator style=”blank” height=”2″]
The Unboxing
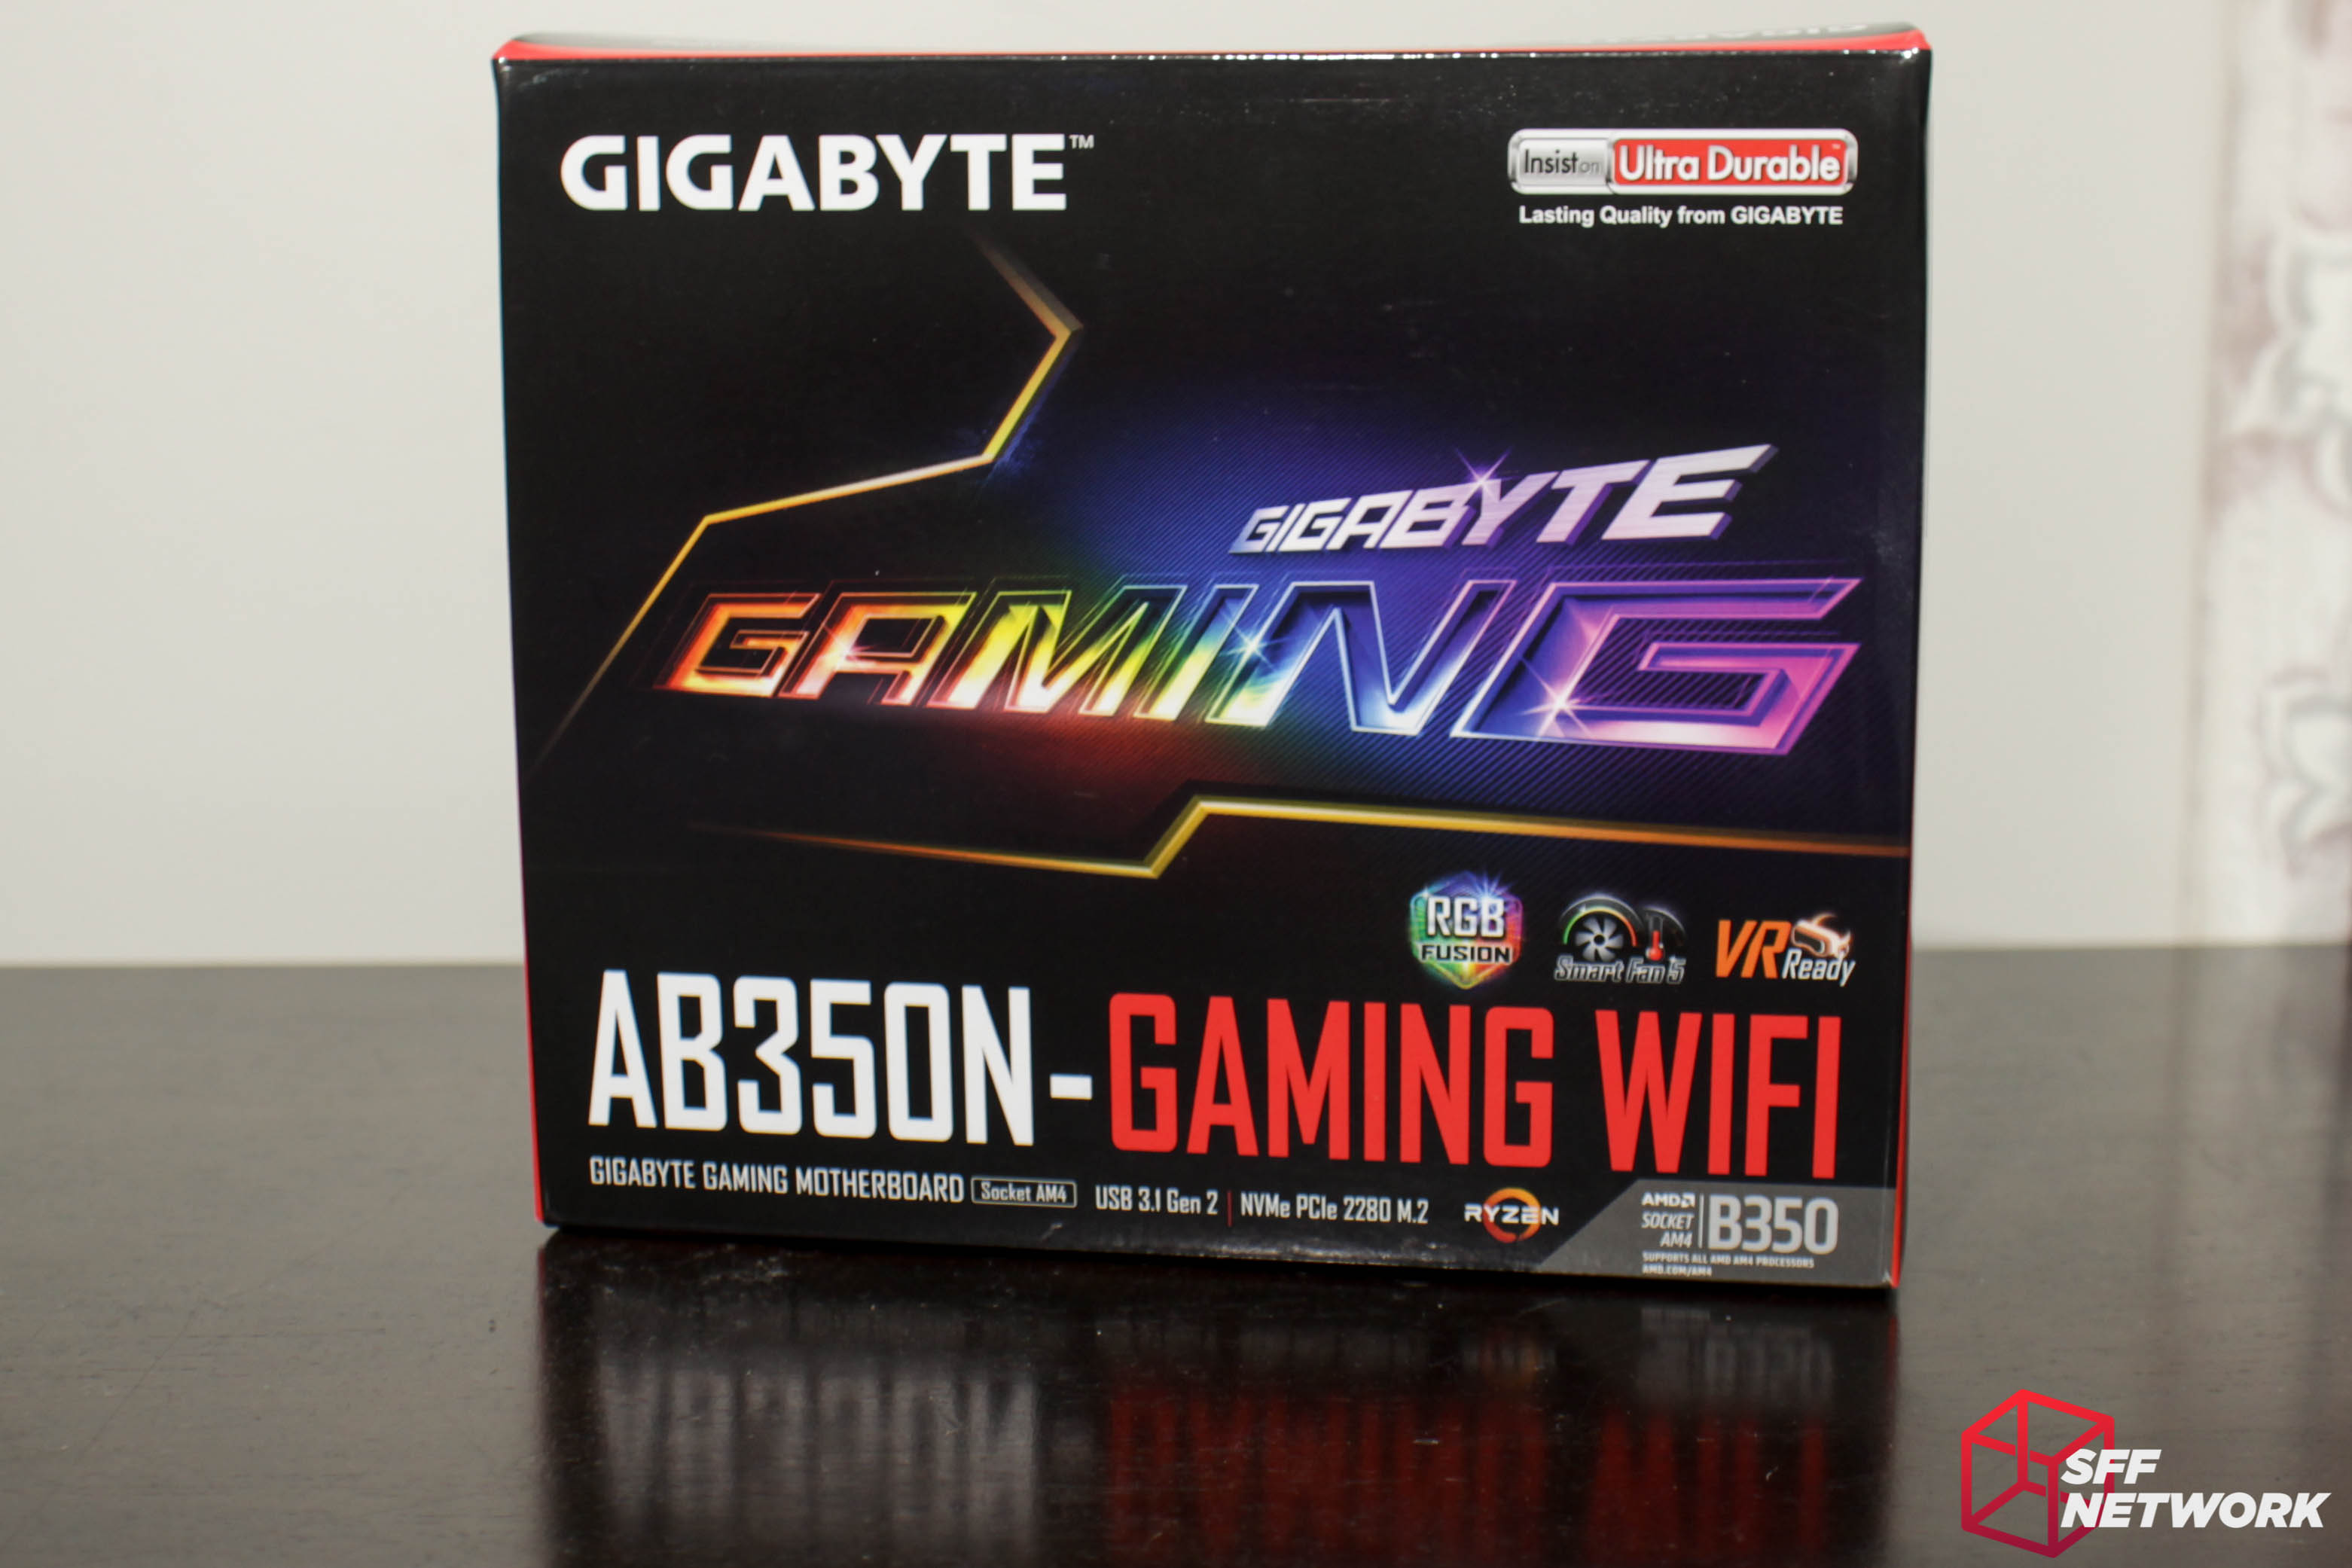
Gigabyte’s gaming branding is thrown at you on the box lid, bold, bright and in… RGB. The RGB continues into the first feature badge – Gigabyte’s RGB Fusion platform, which we will talk more about later on.
Next in line, Gigabyte’s ‘Smart Fan 5’ software is promoted. Finally, the other ‘must have’ to go along with RGB – a ‘VR Ready’ badge to show that you can build a VR rig with this board. (You could build a VR rig with any decently performing hardware, ‘VR Ready’ or not, but I digress).
All of the features! We’ll cover most of this as we go along.
SFF is a world-wide kind of thing!

The side that retailers will be interested in – the info they need to inventory and sell the board. Otherwise, not really much to see here.
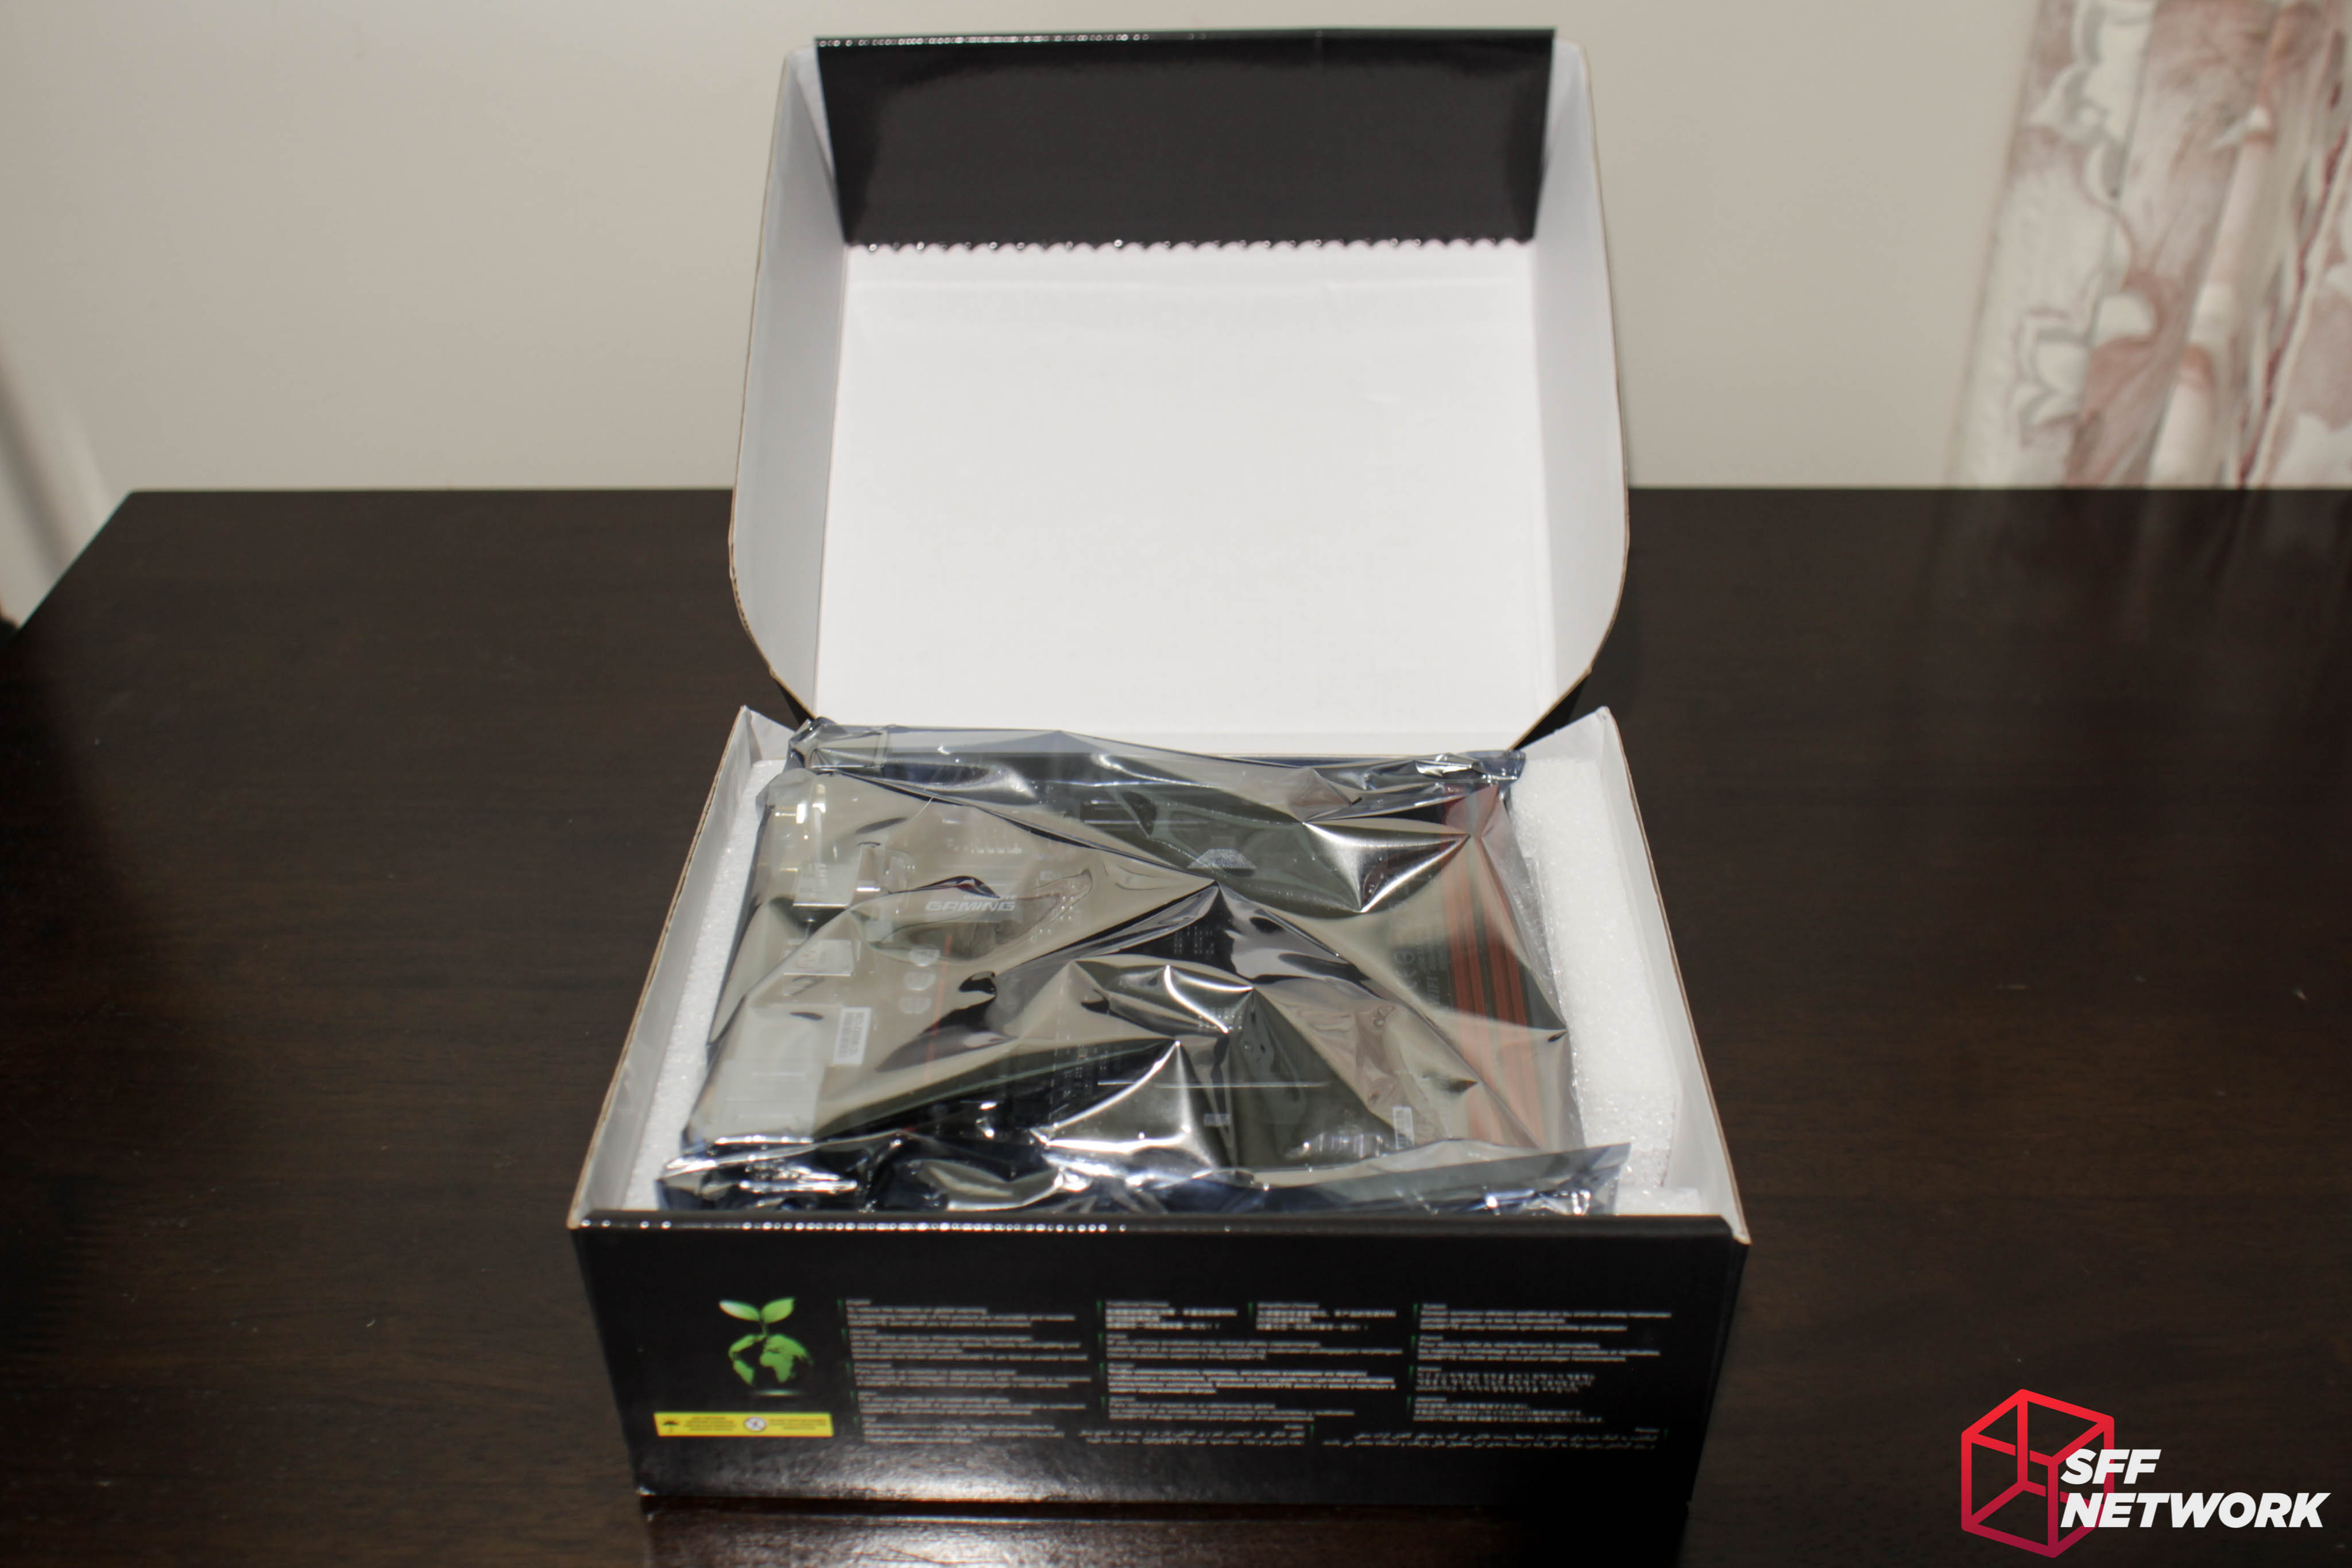
Time to see what’s inside! No super special unboxing experience with this board, just open the box and… there it is!
The board is semi protected by foam at the sides, but nothing on top. Thankfully, my unit arrived unscathed.
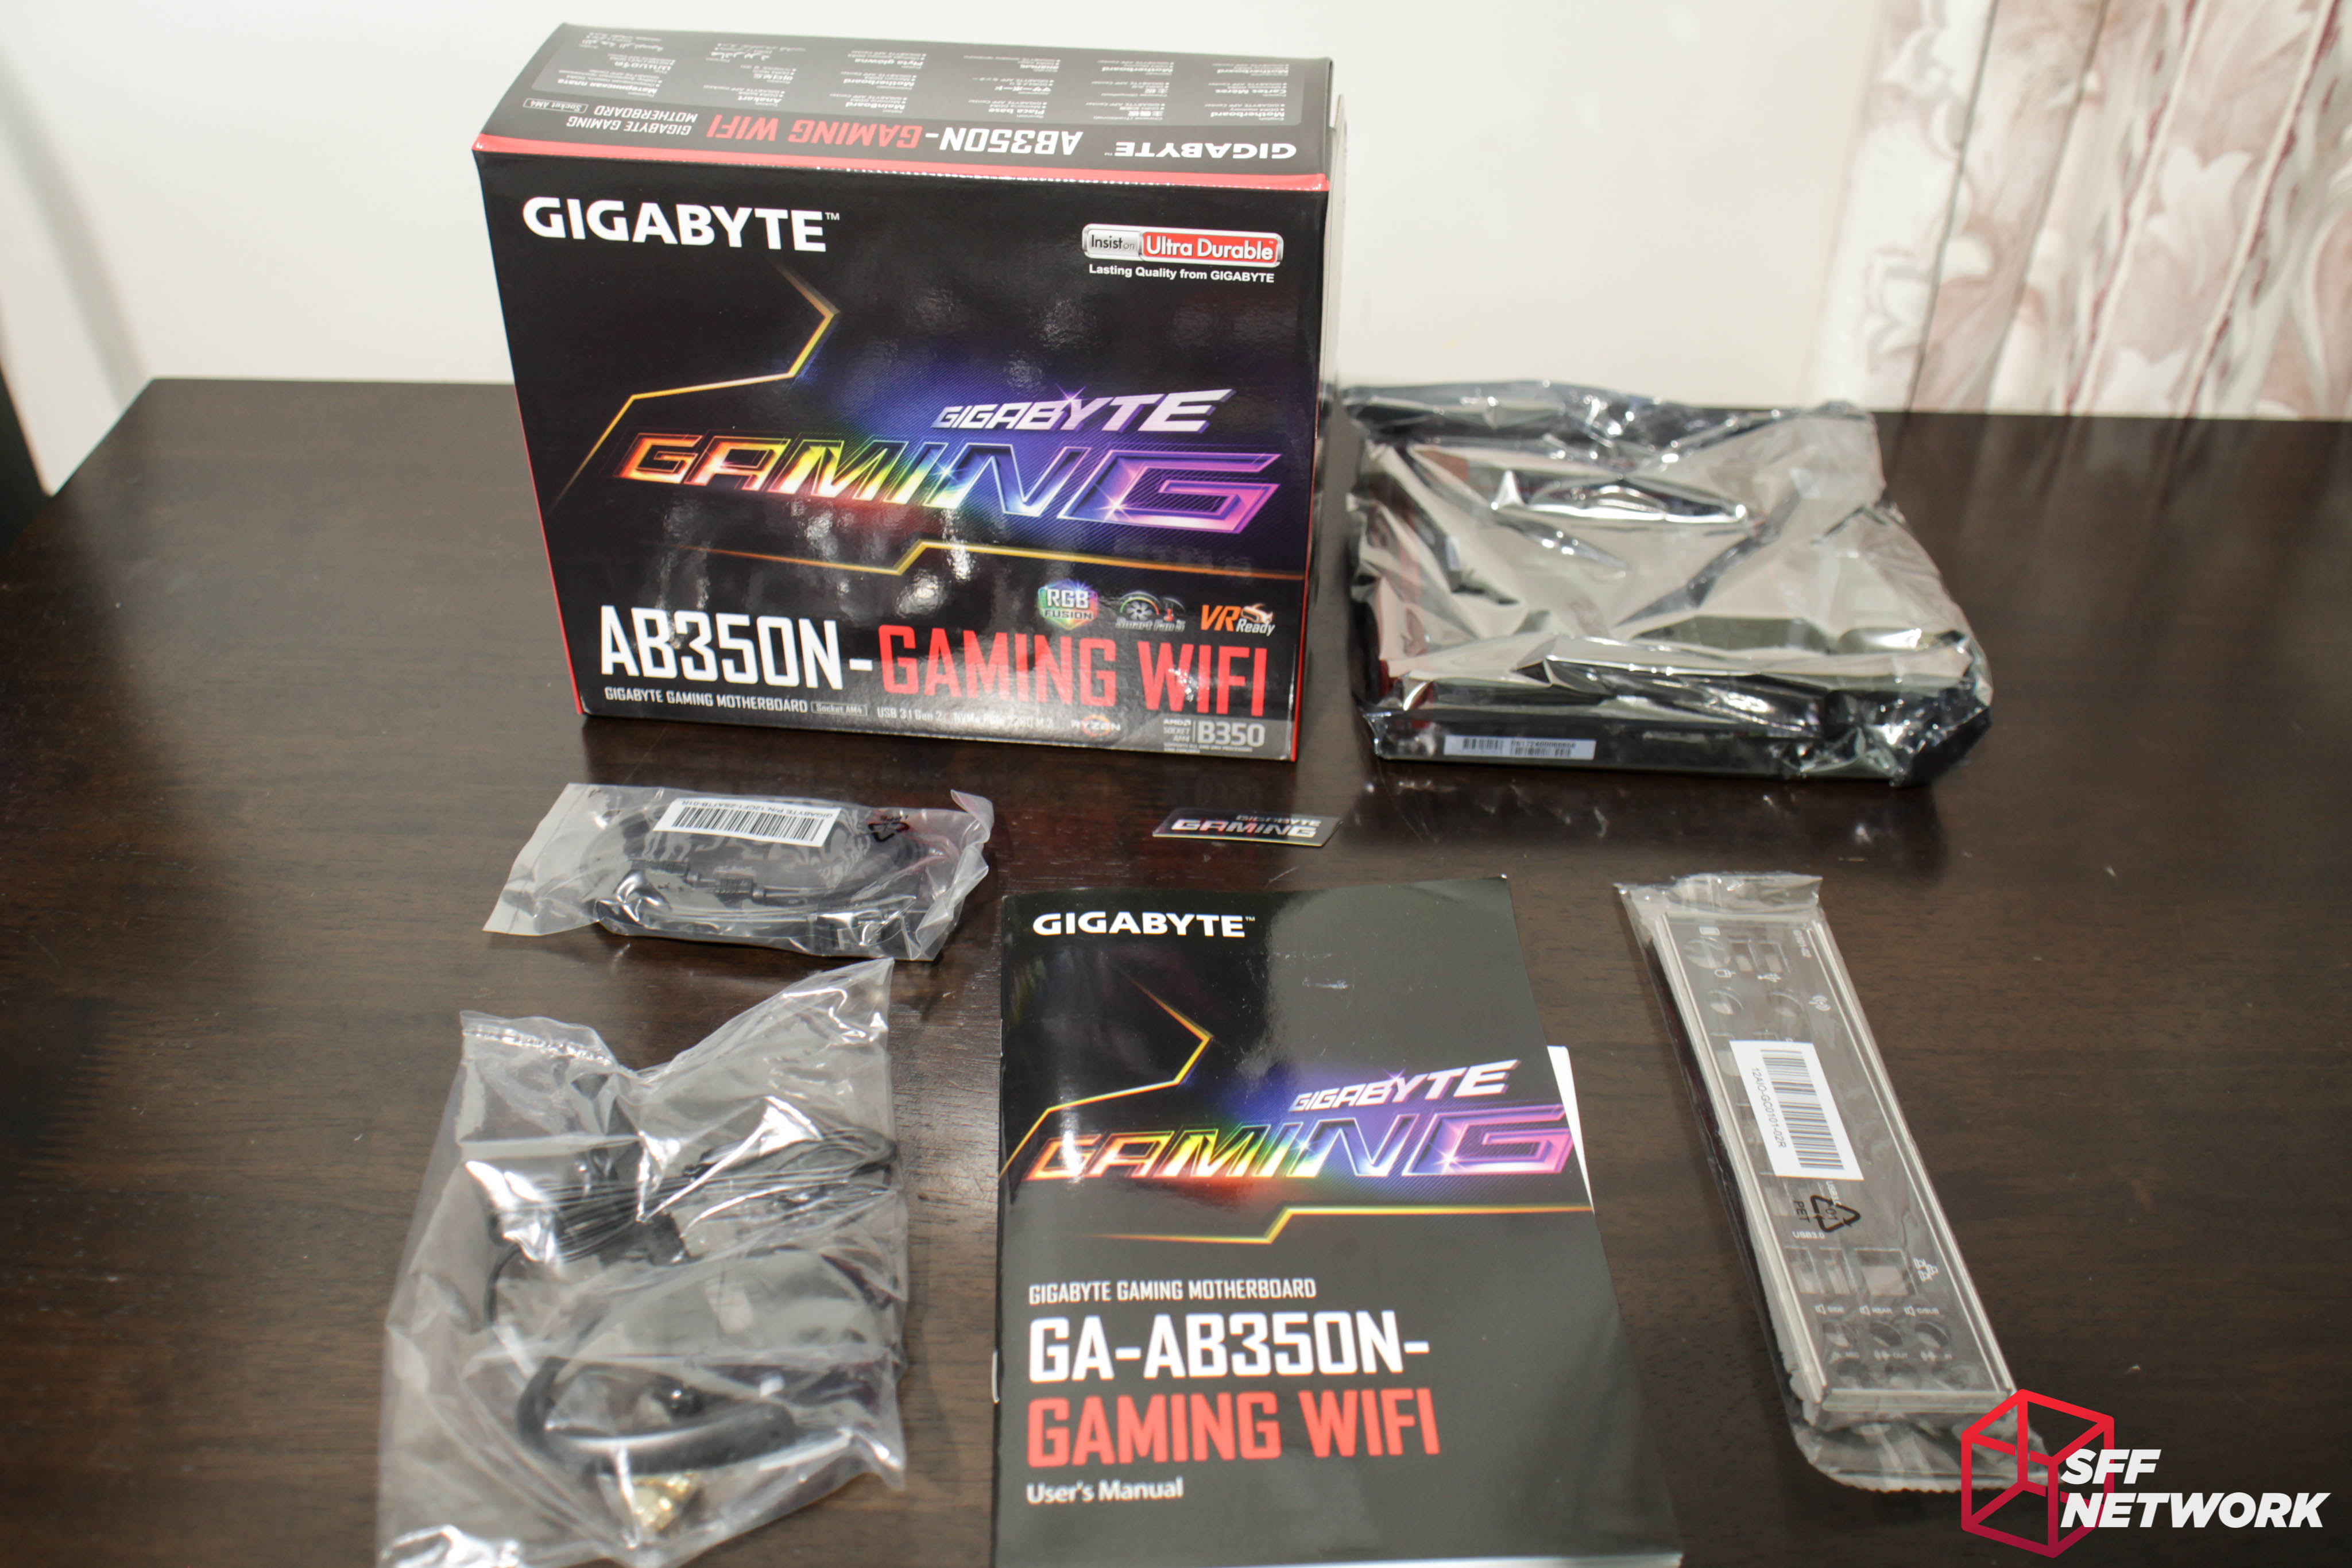
All of the box’s innards strewn about for us to see. Clockwise from the box, we have the motherboard, the IO shield, the manual (and driver CD…), the WiFi antenna, and 2 x black SATA cables.

And finally, the motherboard. I’m a big fan of the subtle design of this board – no flashy bling, bright colours or unnecessary trinkets like some other ‘gaming’ motherboards. Just simple black, red and white. I would have preferred an all-black scheme, but that is a personal preference.
The board’s layout has been a source of controversy in the forum, with some denouncing the location of the power connectors. While the ATX 24 pin connector is in an acceptable position (actually in a preferred spot for me), the CPU power connector is in a challenging location, having been jammed in between the rear IO and the VRM heatsink. This connector will most likely be inaccessible once a CPU heatsink is installed, so the order in which you build your system based on this product is critical. For those who are wondering, I have successfully built a stable system with an identically laid out FM2+ board in an In-Win Chopin, one of the more challenging chassis to build in!
The chipset heatsink is a simple affair in black. The logo is screenprinted on, so could possibly be removed if desired.
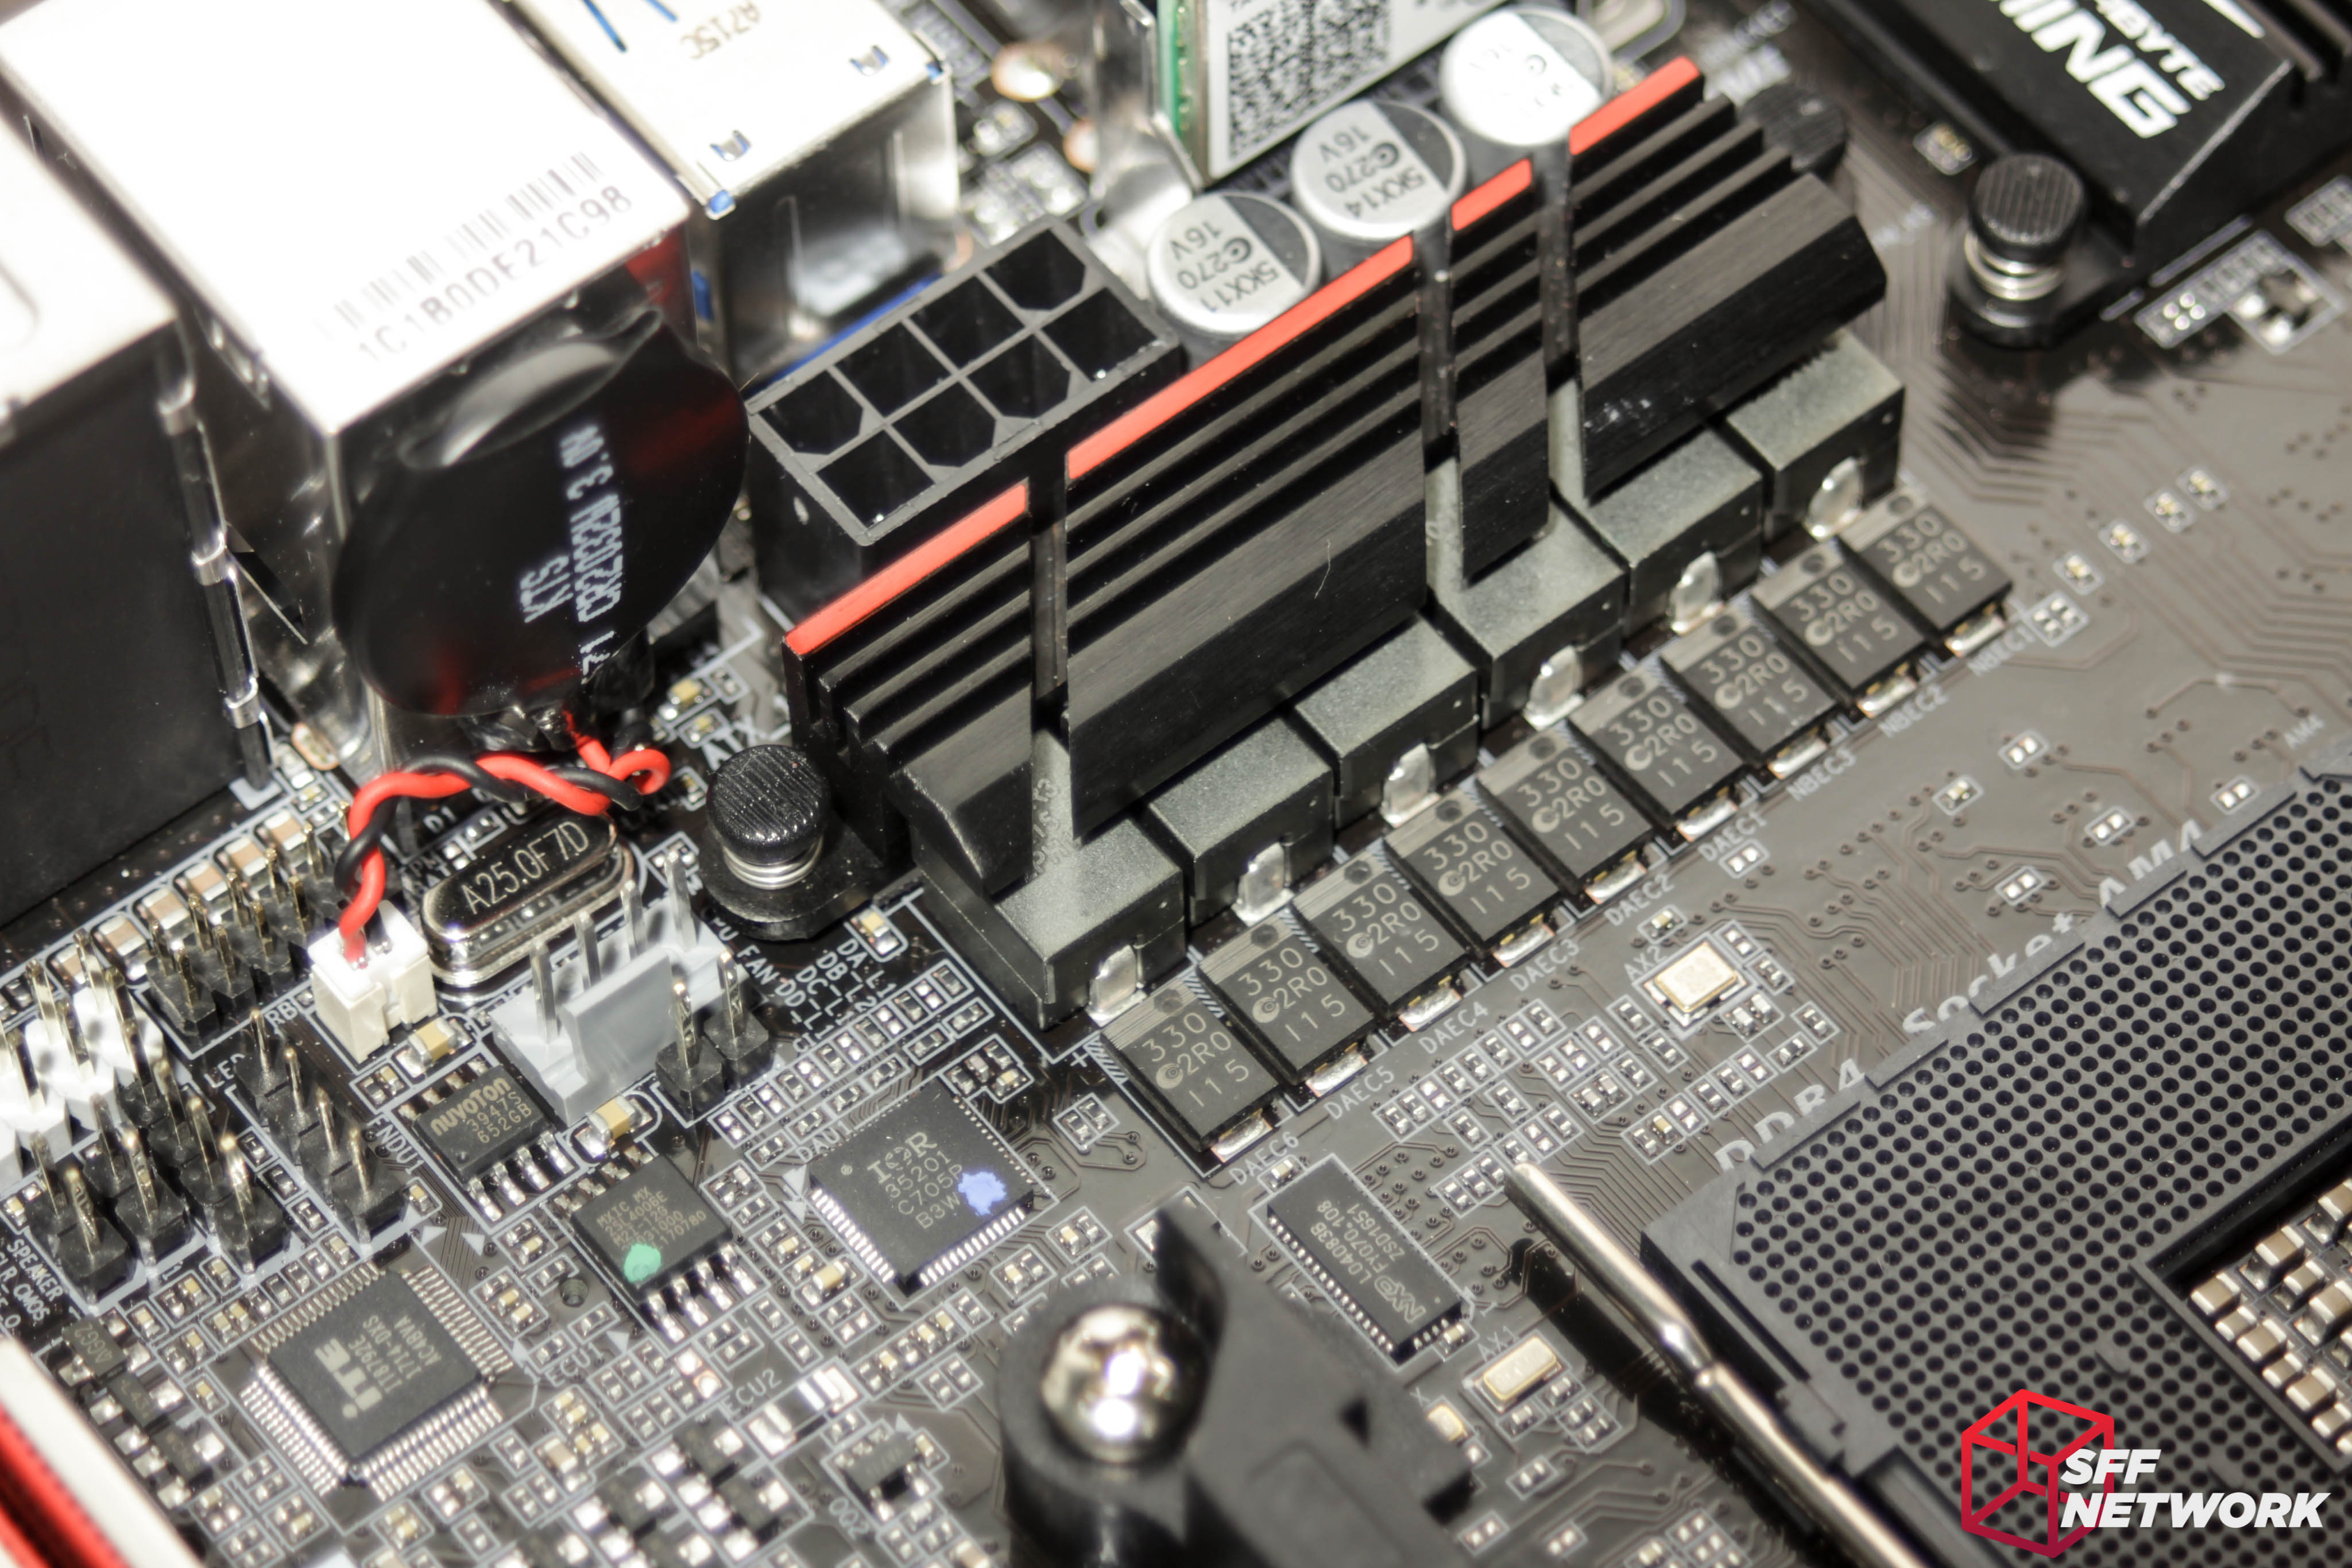
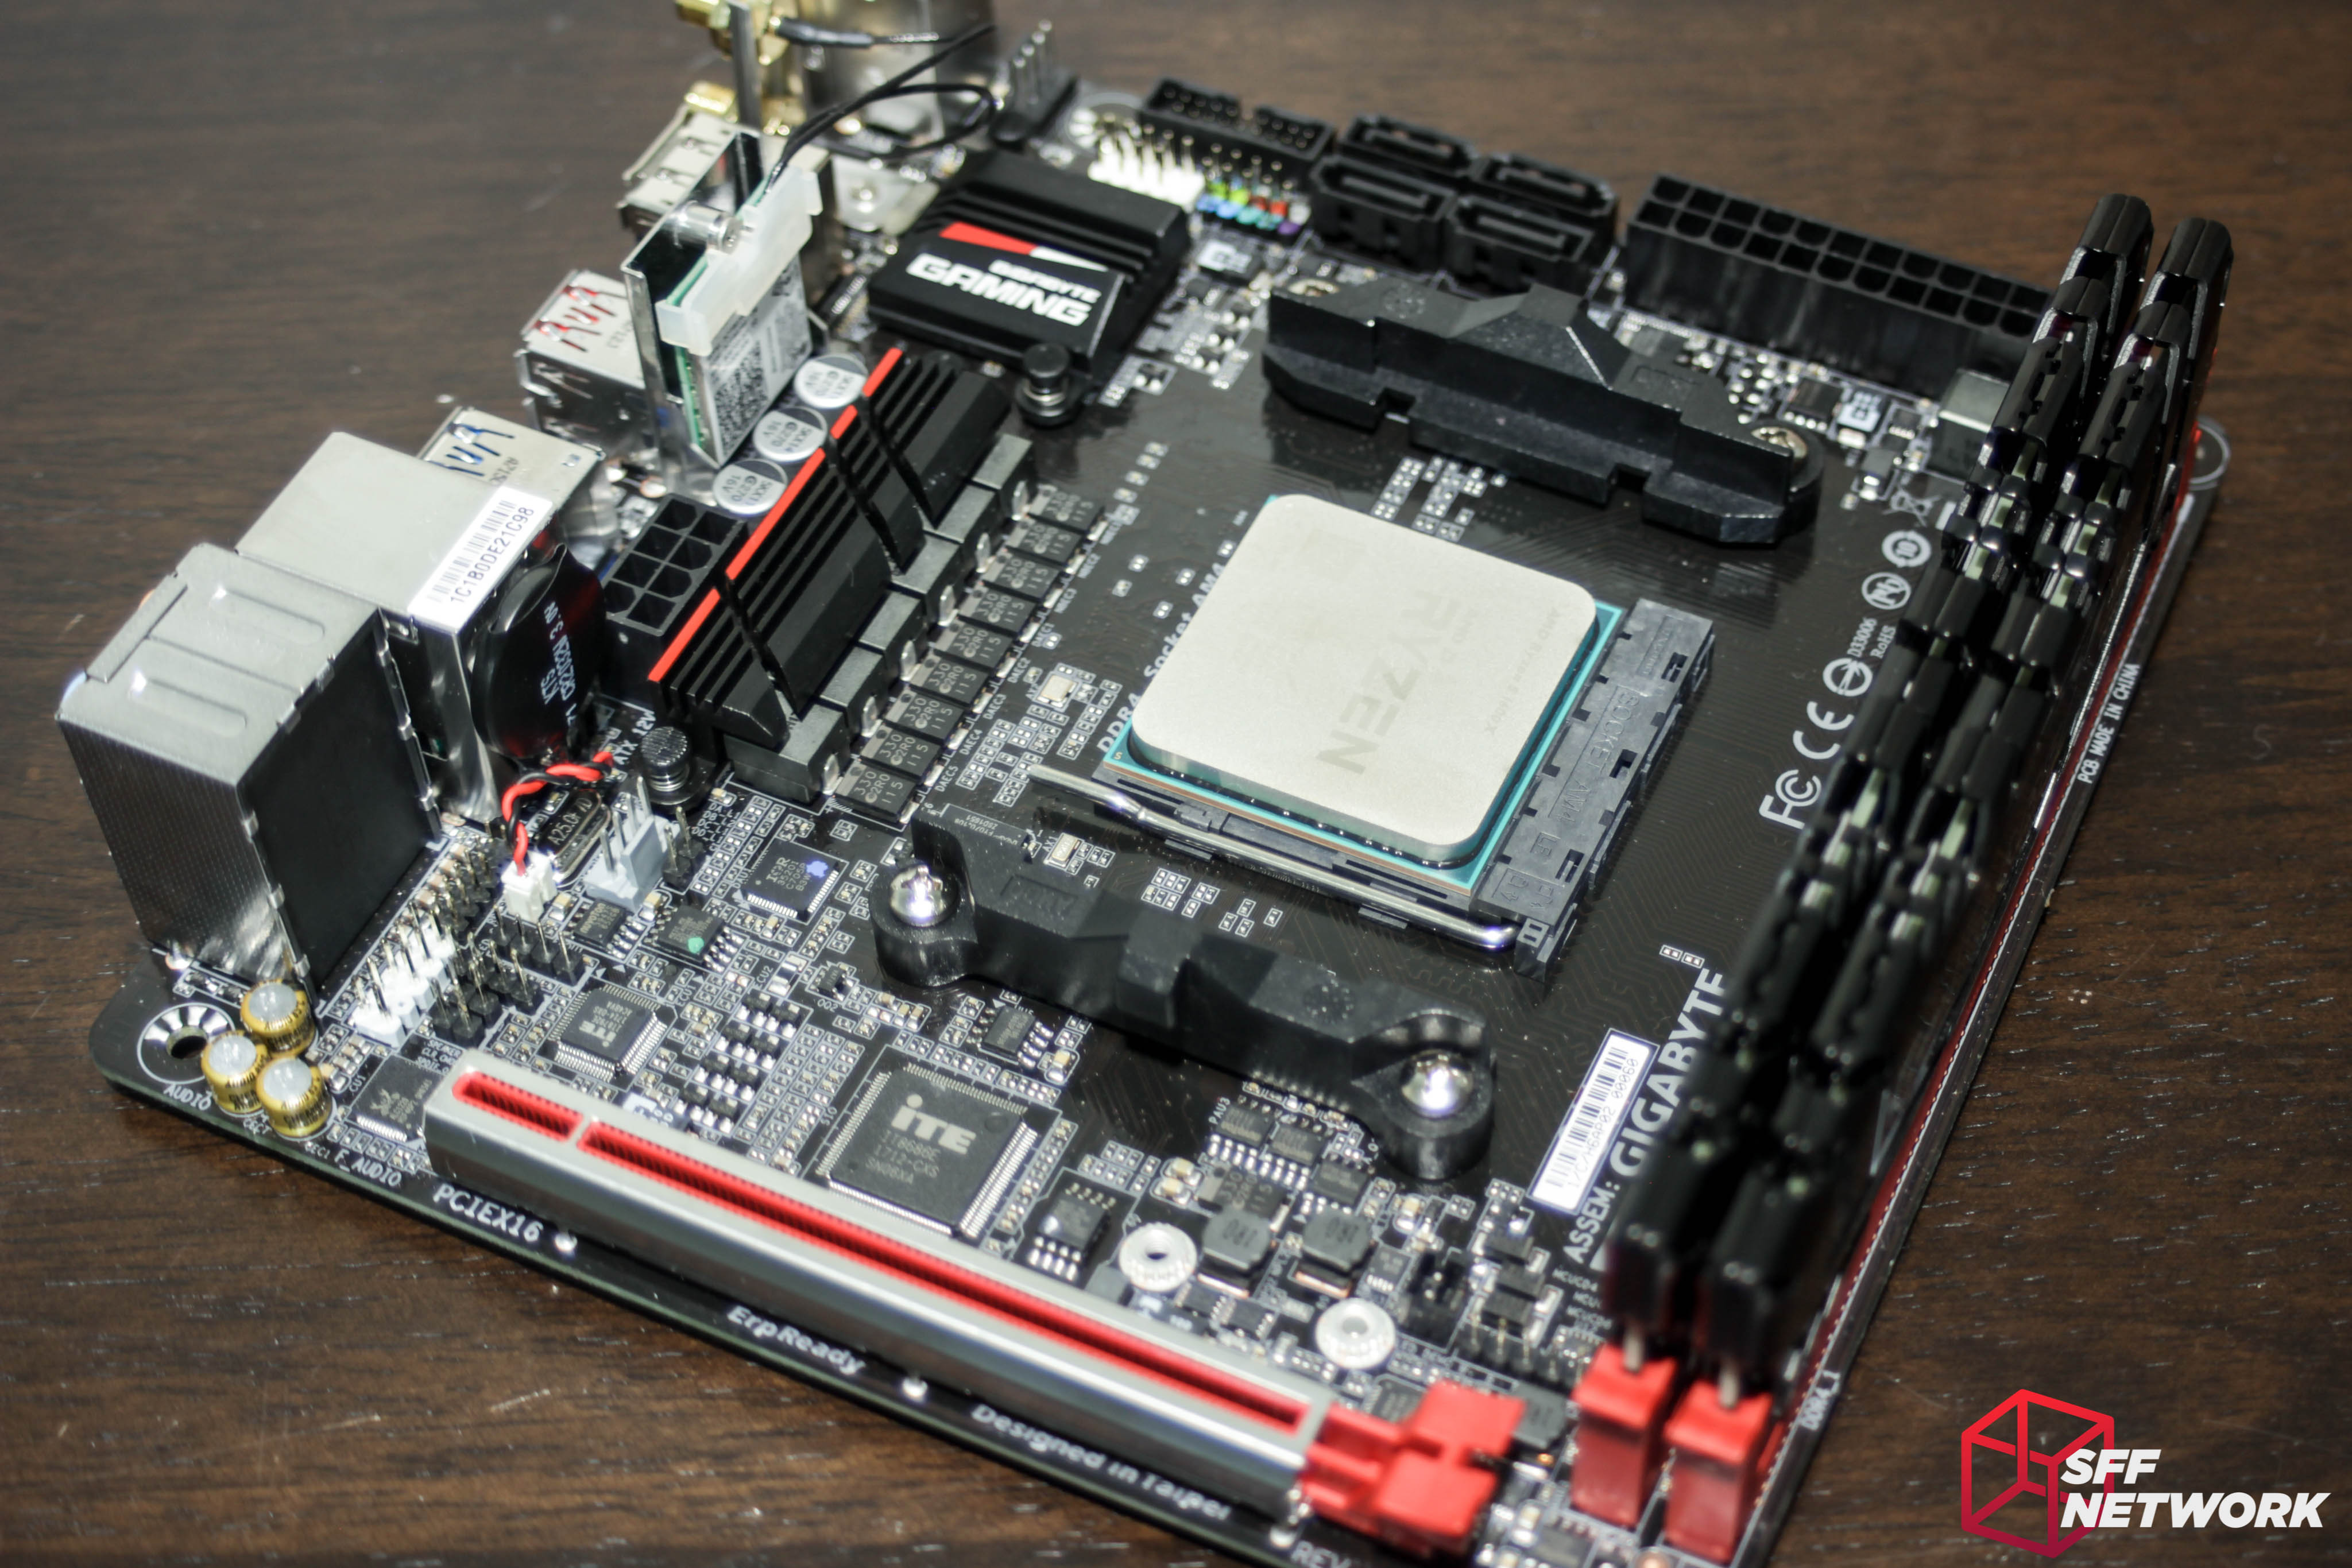
The VRM section is well appointed, with a simple but somewhat effective heatsink covering the voltage regulators and partially covering the inductors.

The voltage regulators are International Rectifier (IR) 3556M series chips. These units are rated for an input voltage of 4.5-15V (in this case, 12V is the input) and a current rating of 50 Amps. Gigabyte claims they are using industrial/server grade power ICs, and they mean it.
The power phases are split into groups, with each phase denoted either DAEC and 1-6 or NBEC, 1-3.
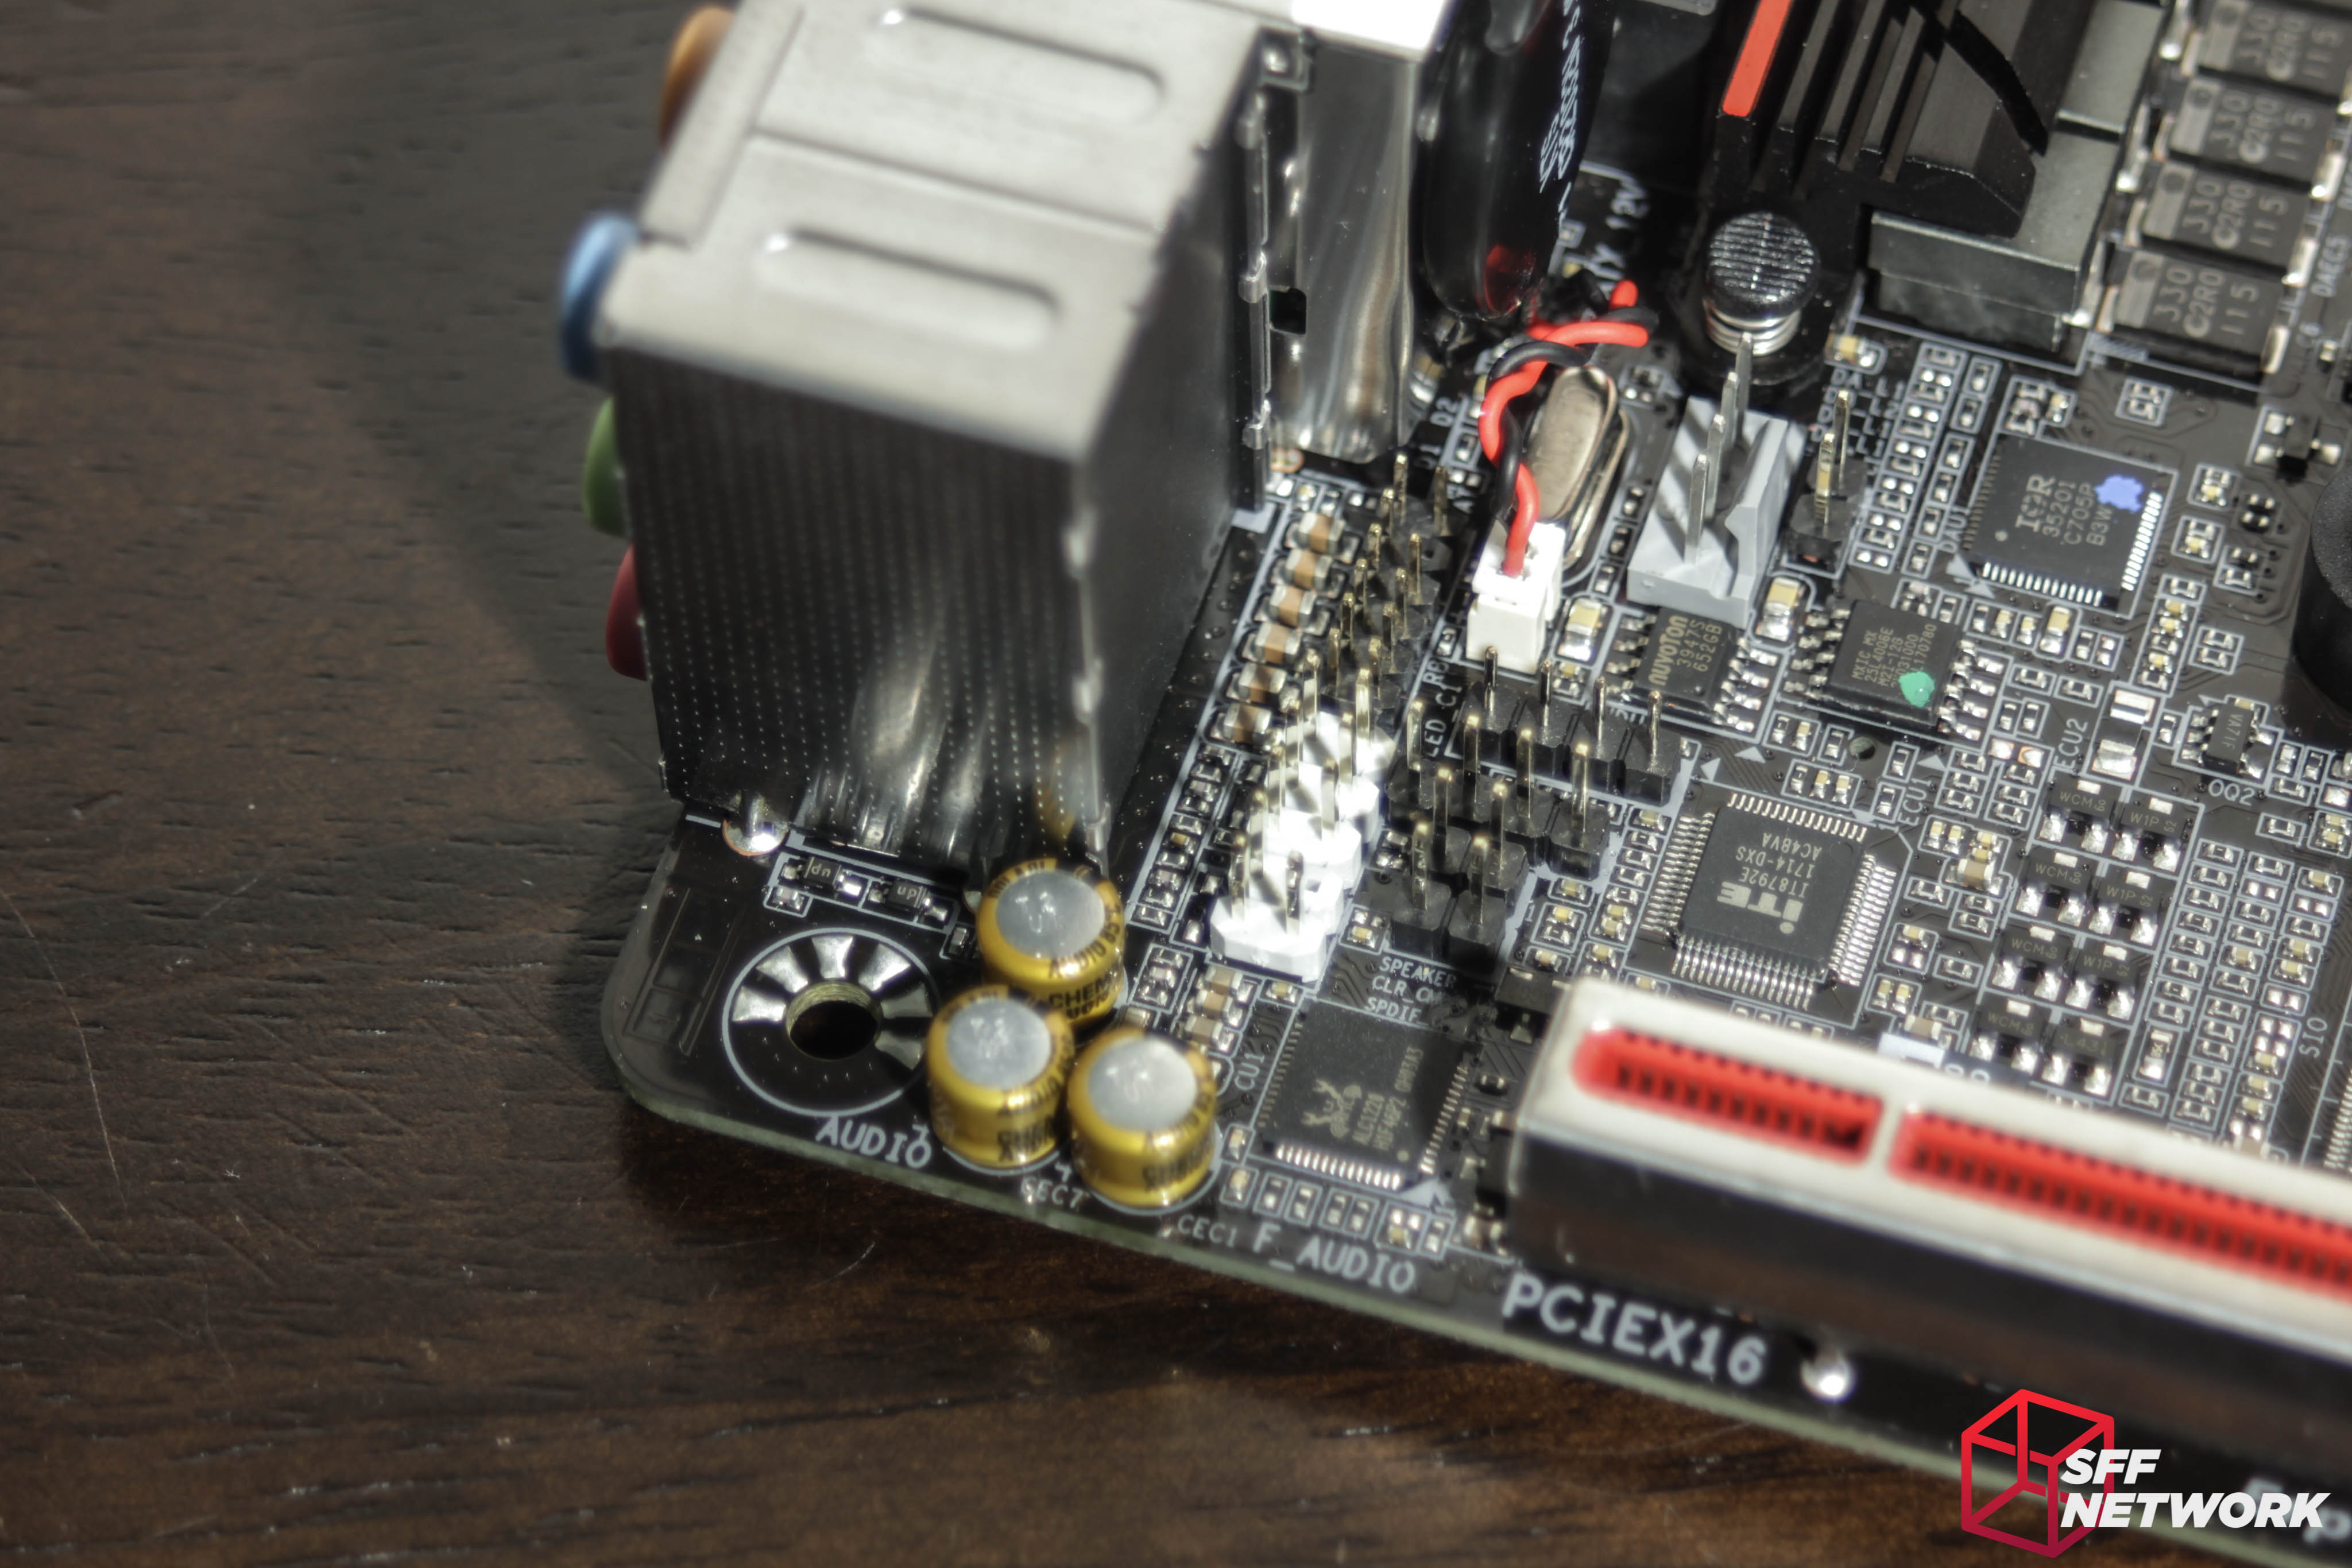
Whilst many of us use USB DAC audio solutions, some are still happy with onboard audio. In this case, the audio is provided by the Realtek ALC1220 solution, with a claimed SNR (signal to noise ratio) of 120 Db. Gigabyte has integrated impedance detection in the audio circuitry, enabling the best (bearing in mind the limitations of the total solution here) results no matter what type of headphones you use. Nearby, many headers are soldered to the board. To clarify:
Most of this should be relatively self-explanatory, however the LED_C1 header may be of interest to those who desire to run LED strips in their case. This header is designed to enable compatibility with 4 pin RGB strips and CPU coolers. The header supports strips which comply with the 5050 type.
This is one of two LED headers on the board – with a 5 pin header over by the RAM slots.
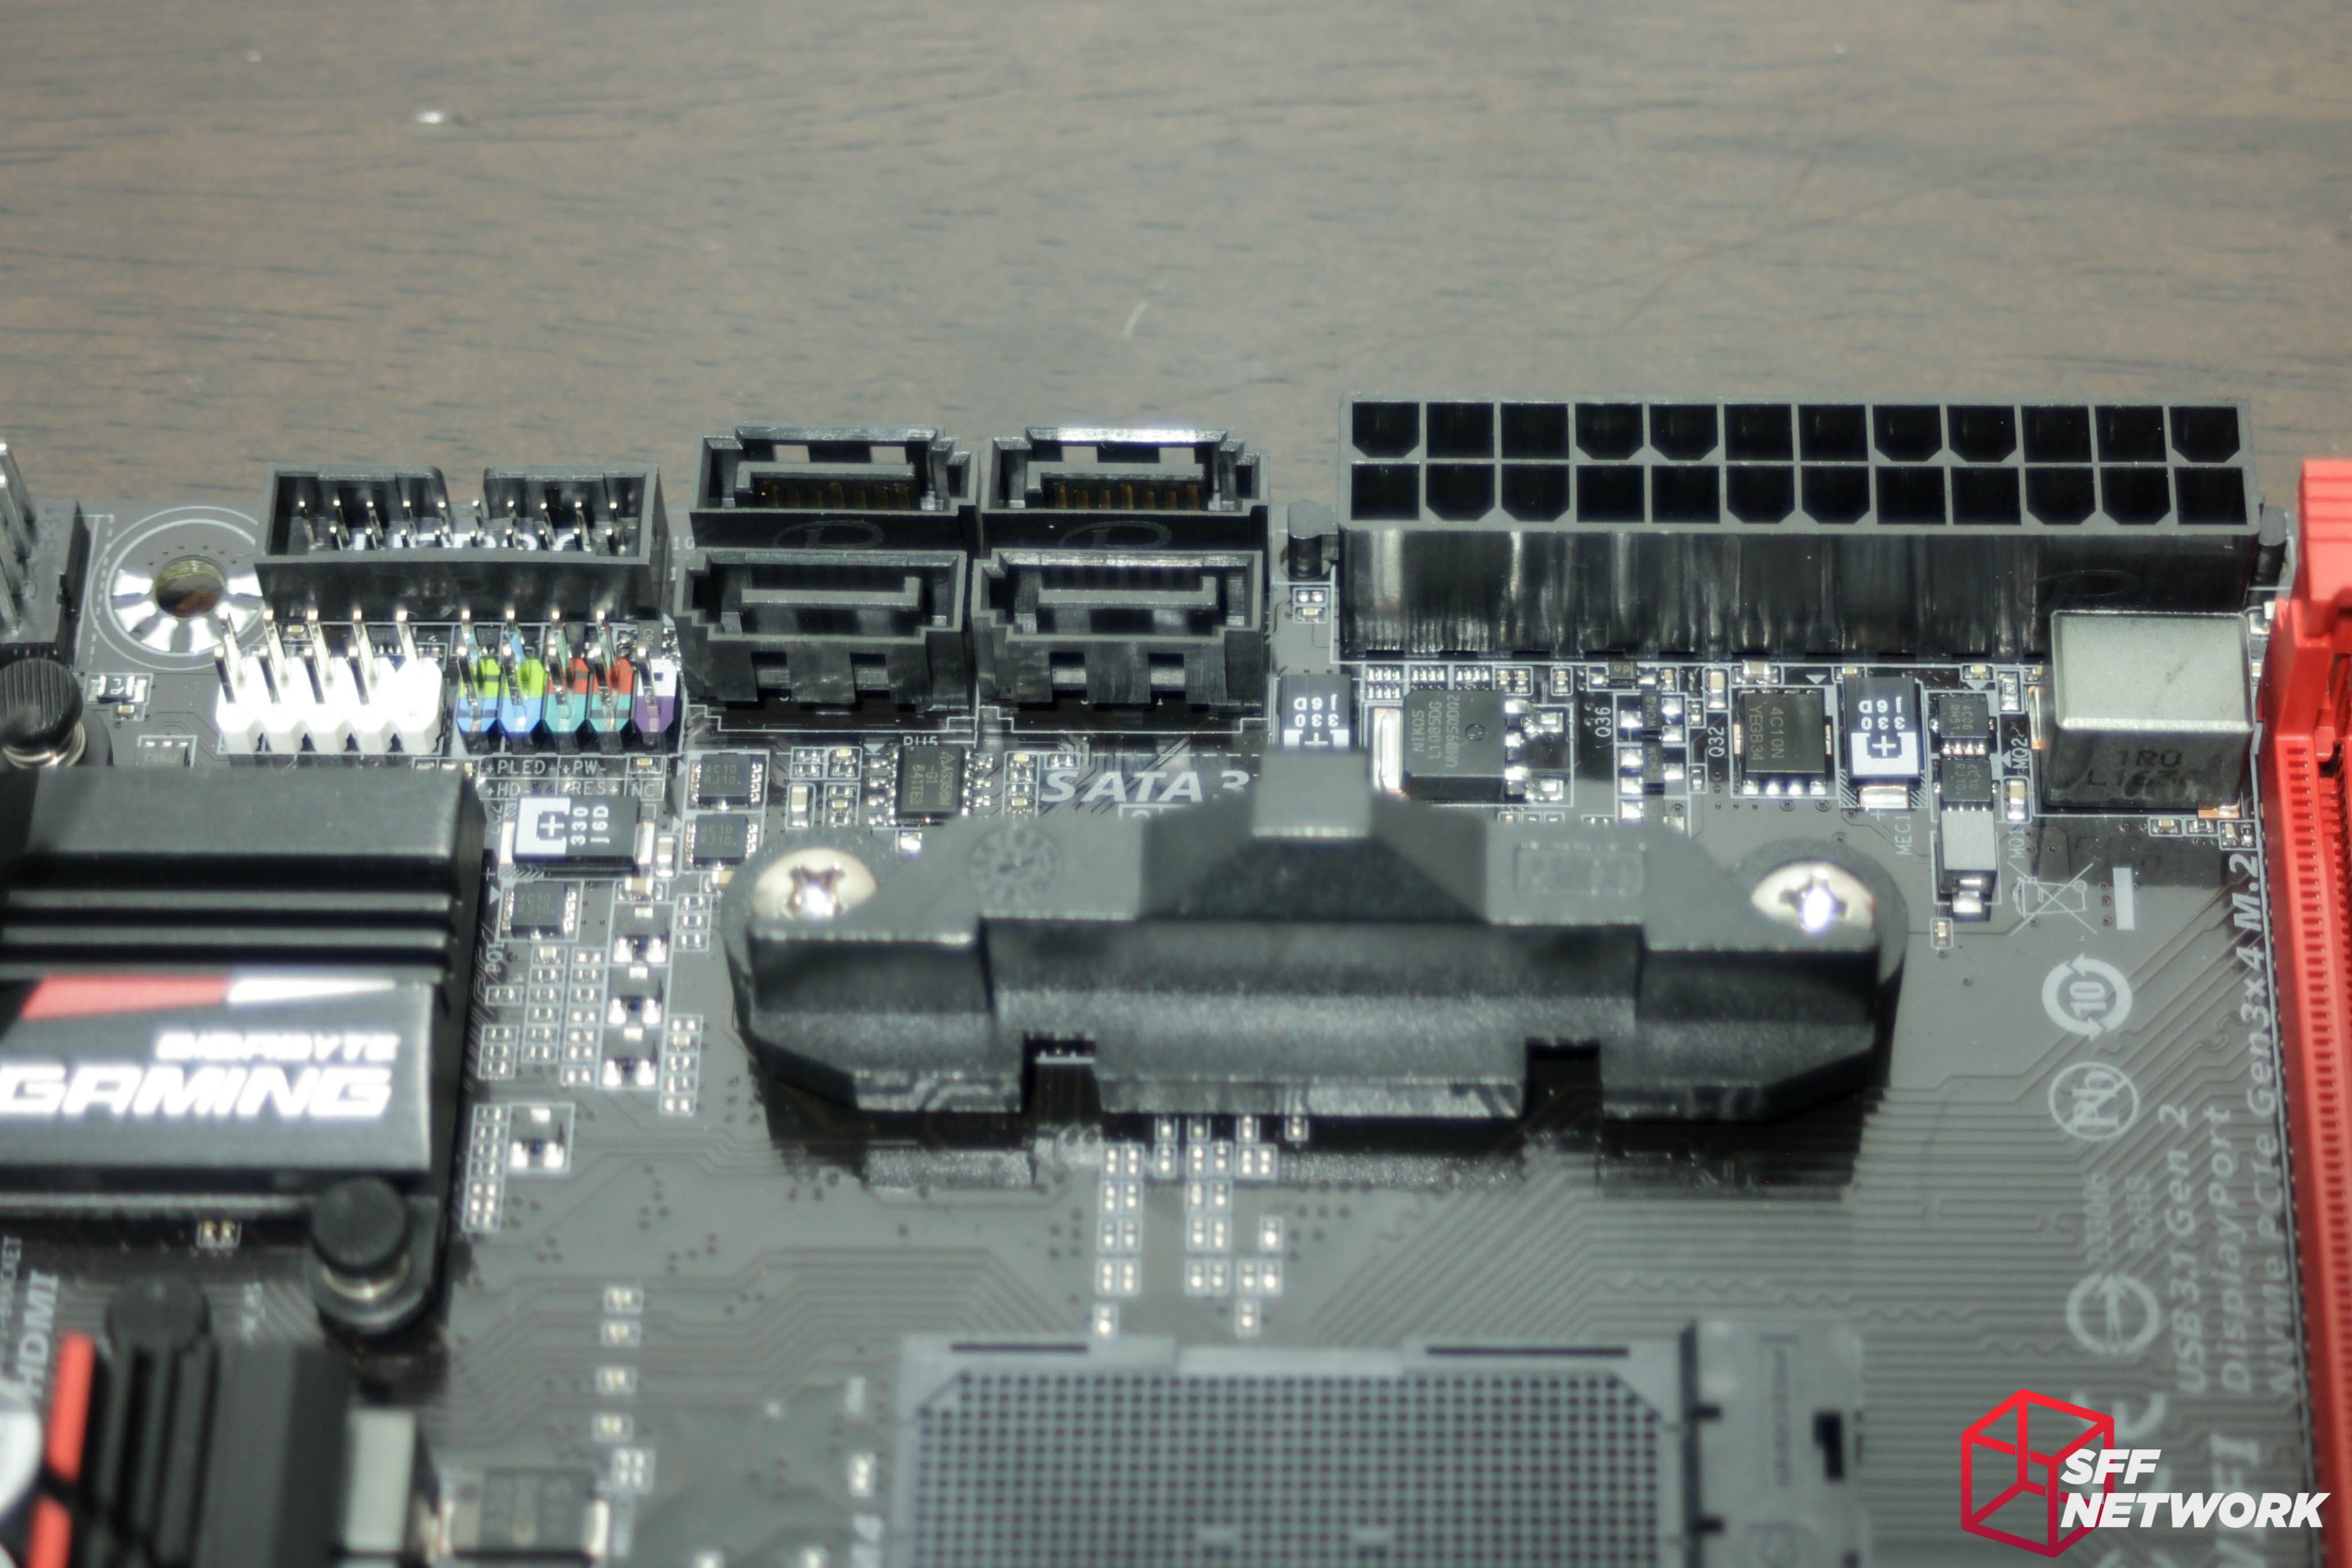
The front panel IO (USB headers and FP_Header), SATA ports and system fan header sit along the top of the board, which may cause issues in cases in which the clearance along this edge is minimal. However, in cases that have sufficient room in this area, cable routing will be able to be done in a very clean manner, with all cables running along in a single bunch!

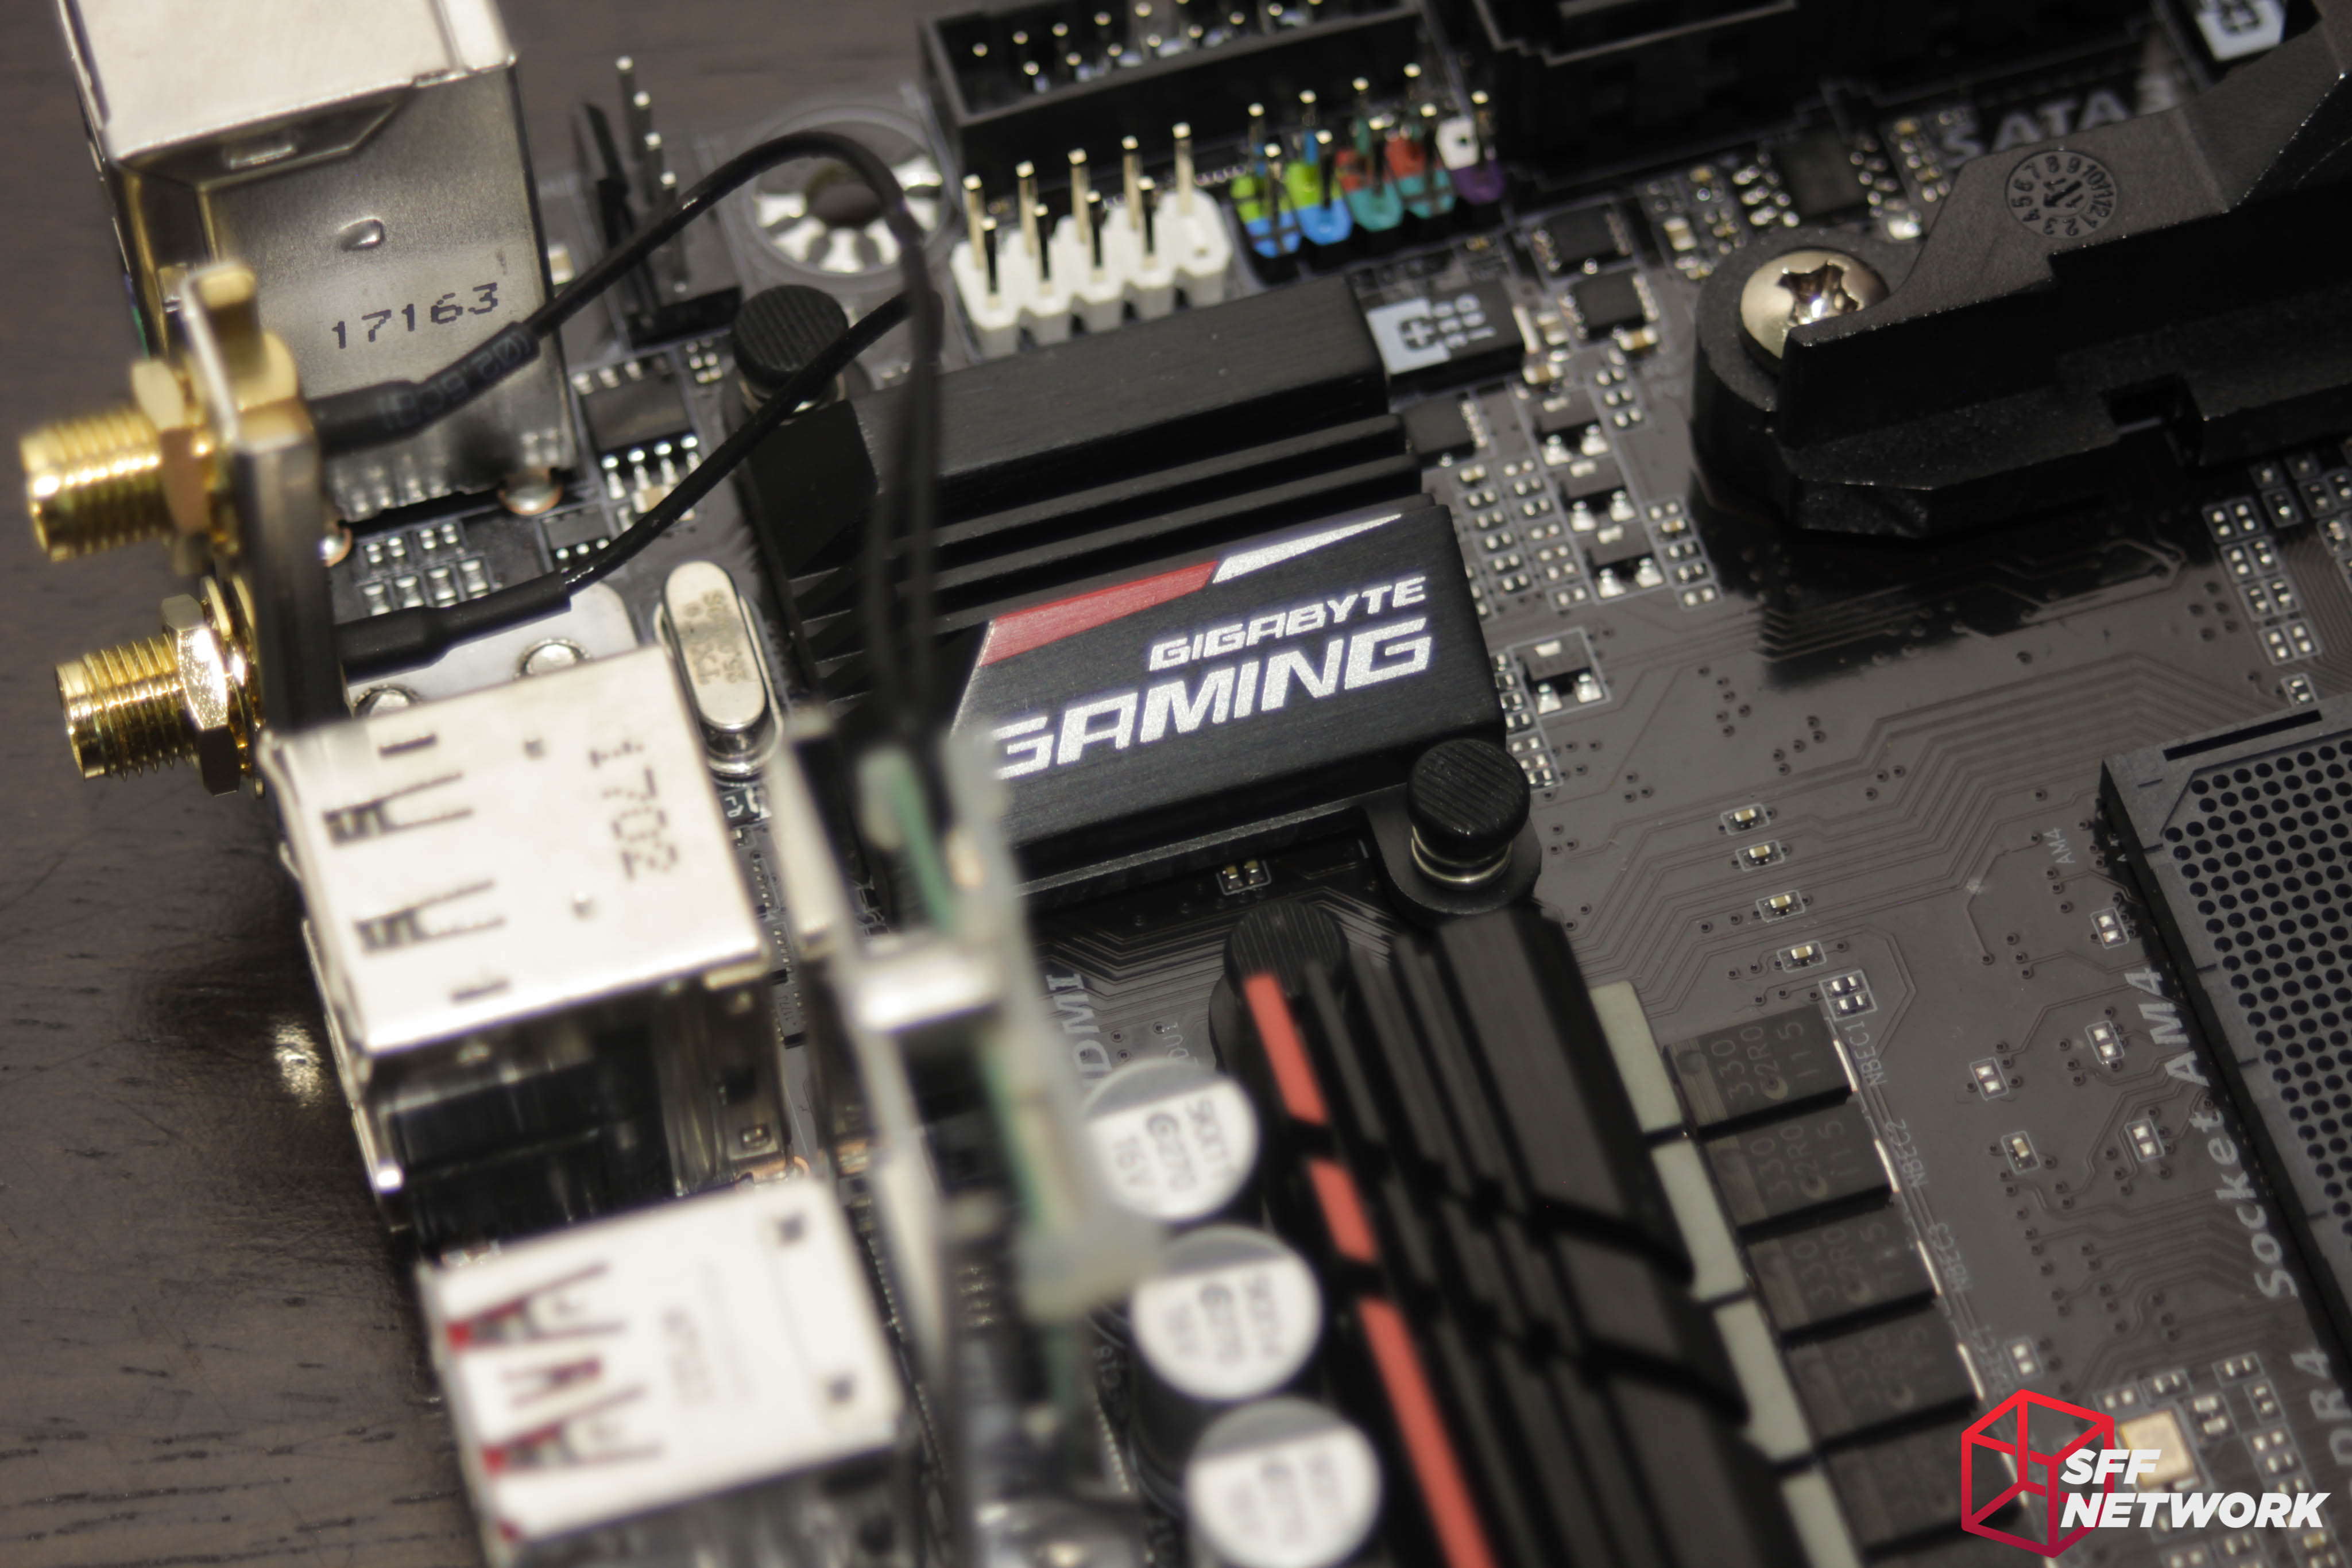
Hiding just behind the rear IO area, the Intel (yup, this board has AMD and Intel living together in harmony) WiFi and Bluetooth card sits vertically. Intel’s Wireless-AC 3165 solution was chosen for this board, in the M.2 2230 form factor.
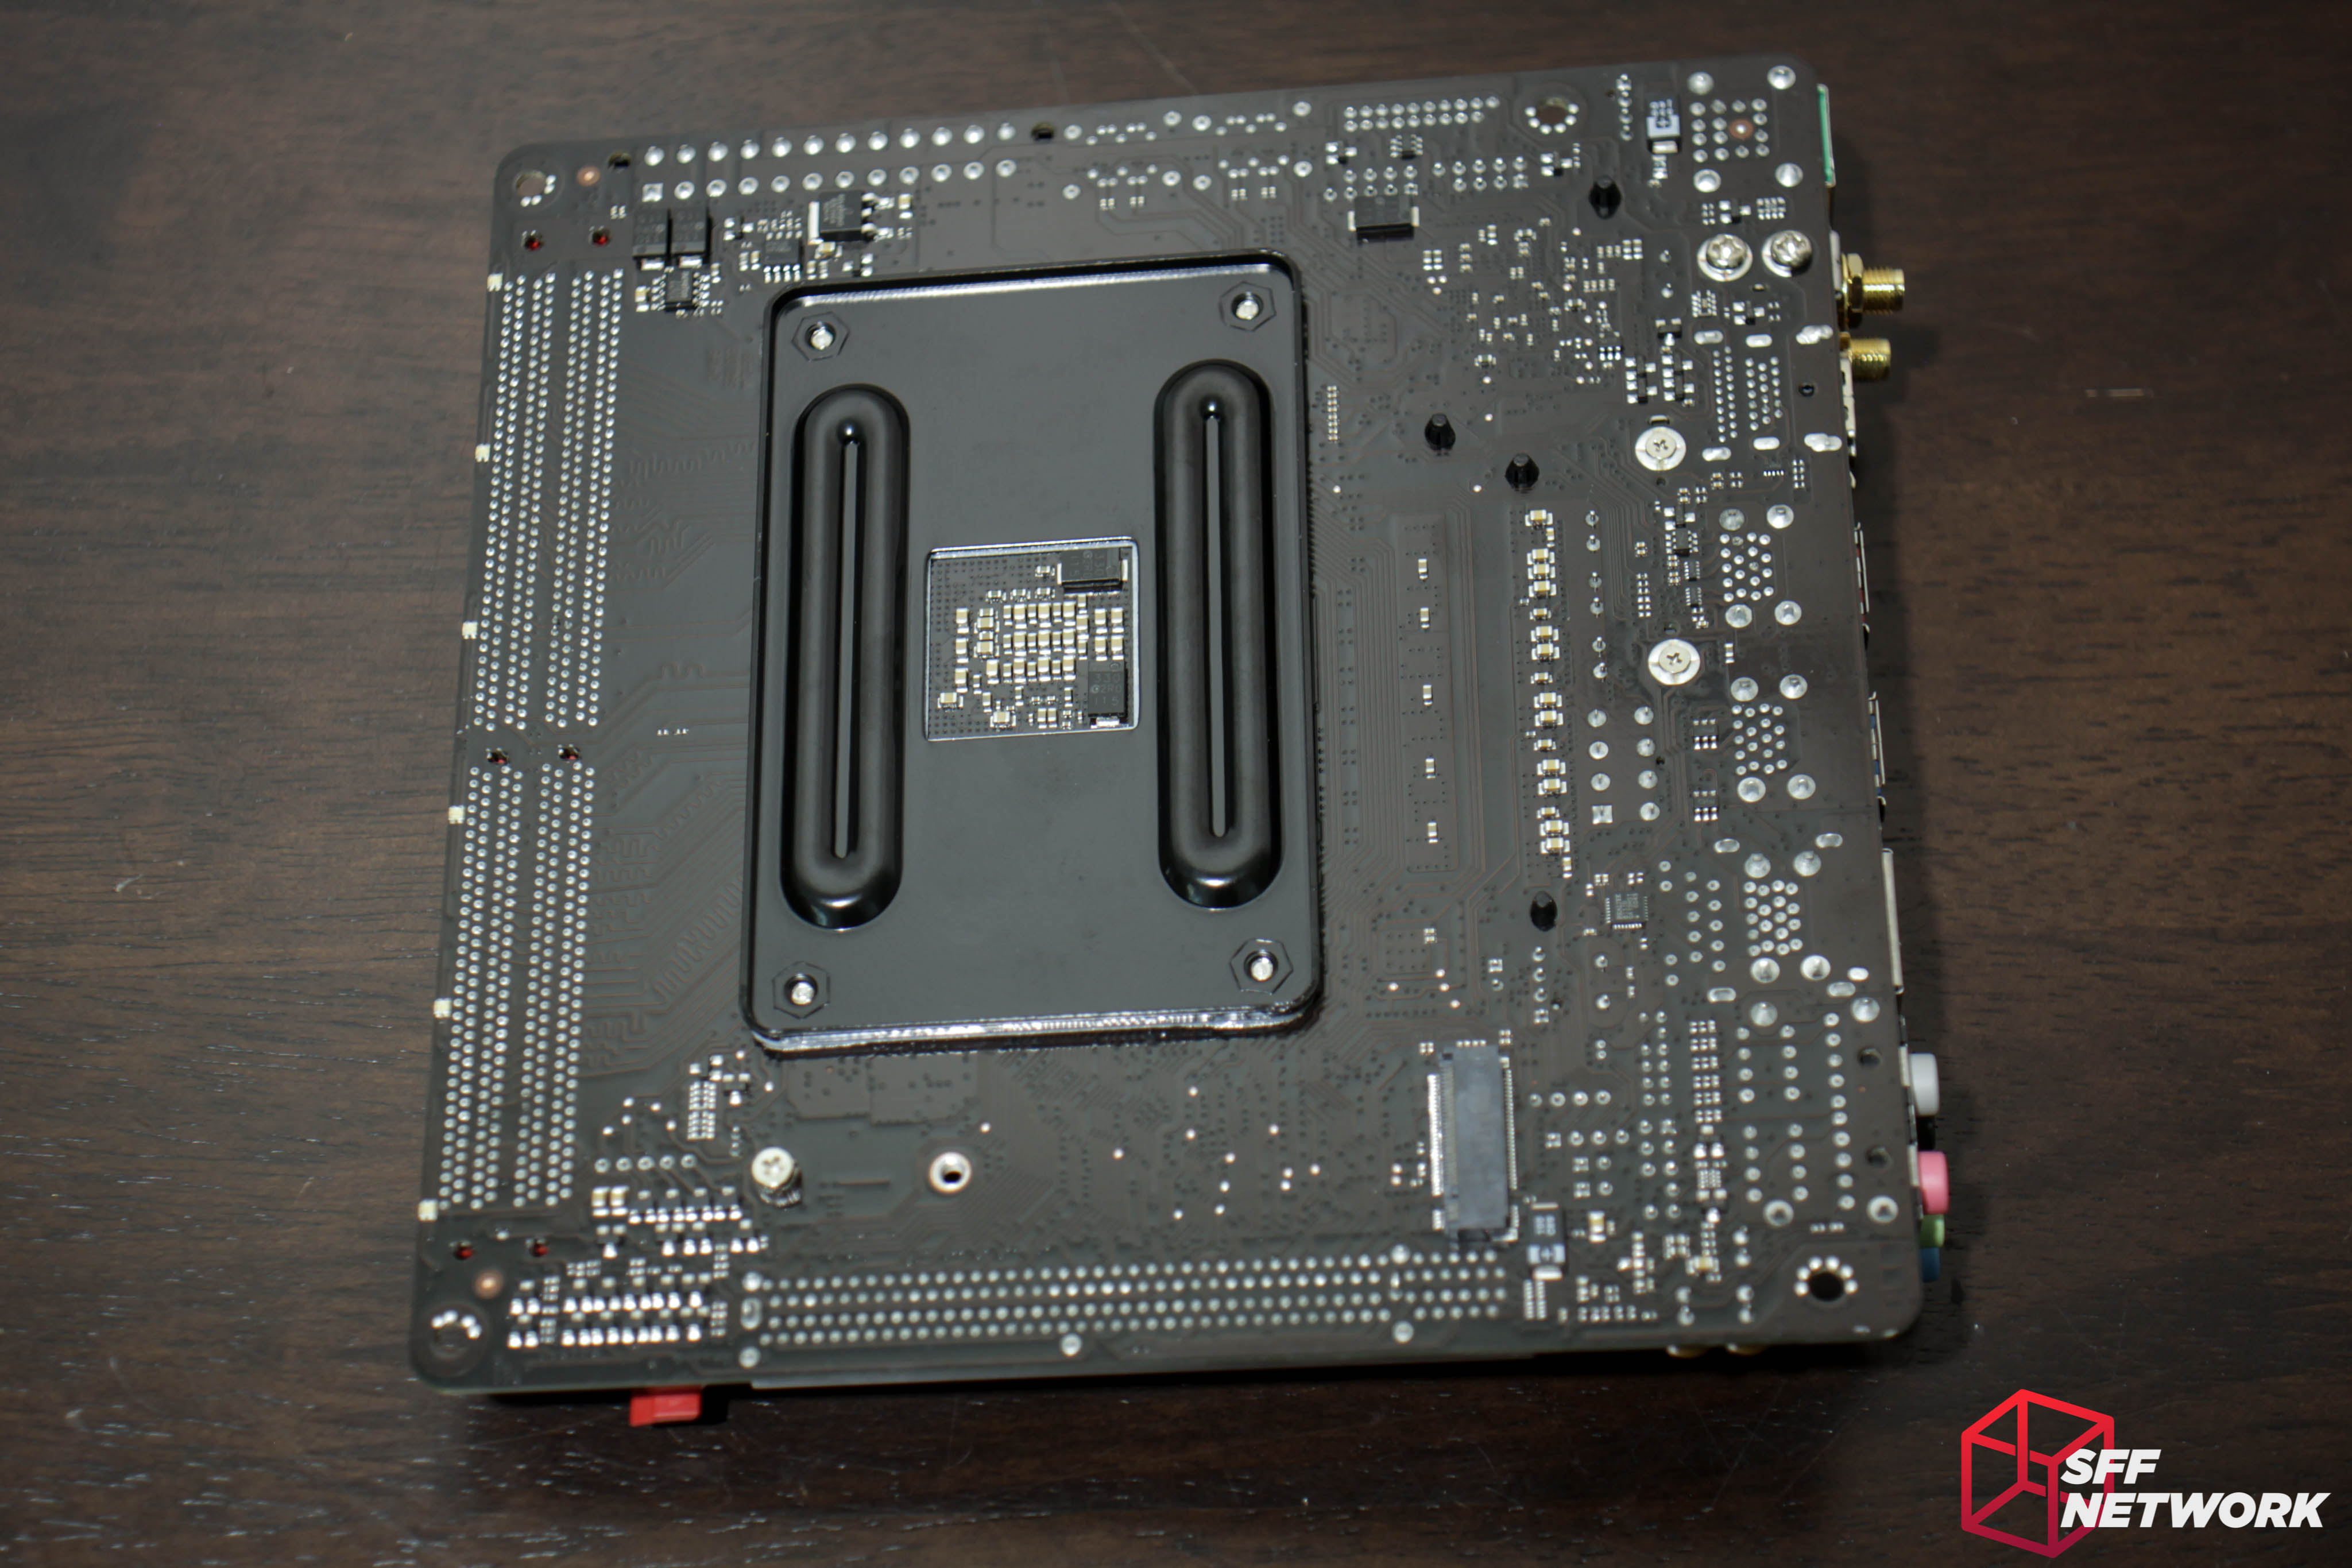
A slightly angular look at the underside of the board reveals the included CPU cooler backplate, a lone M.2 slot, and not much else.
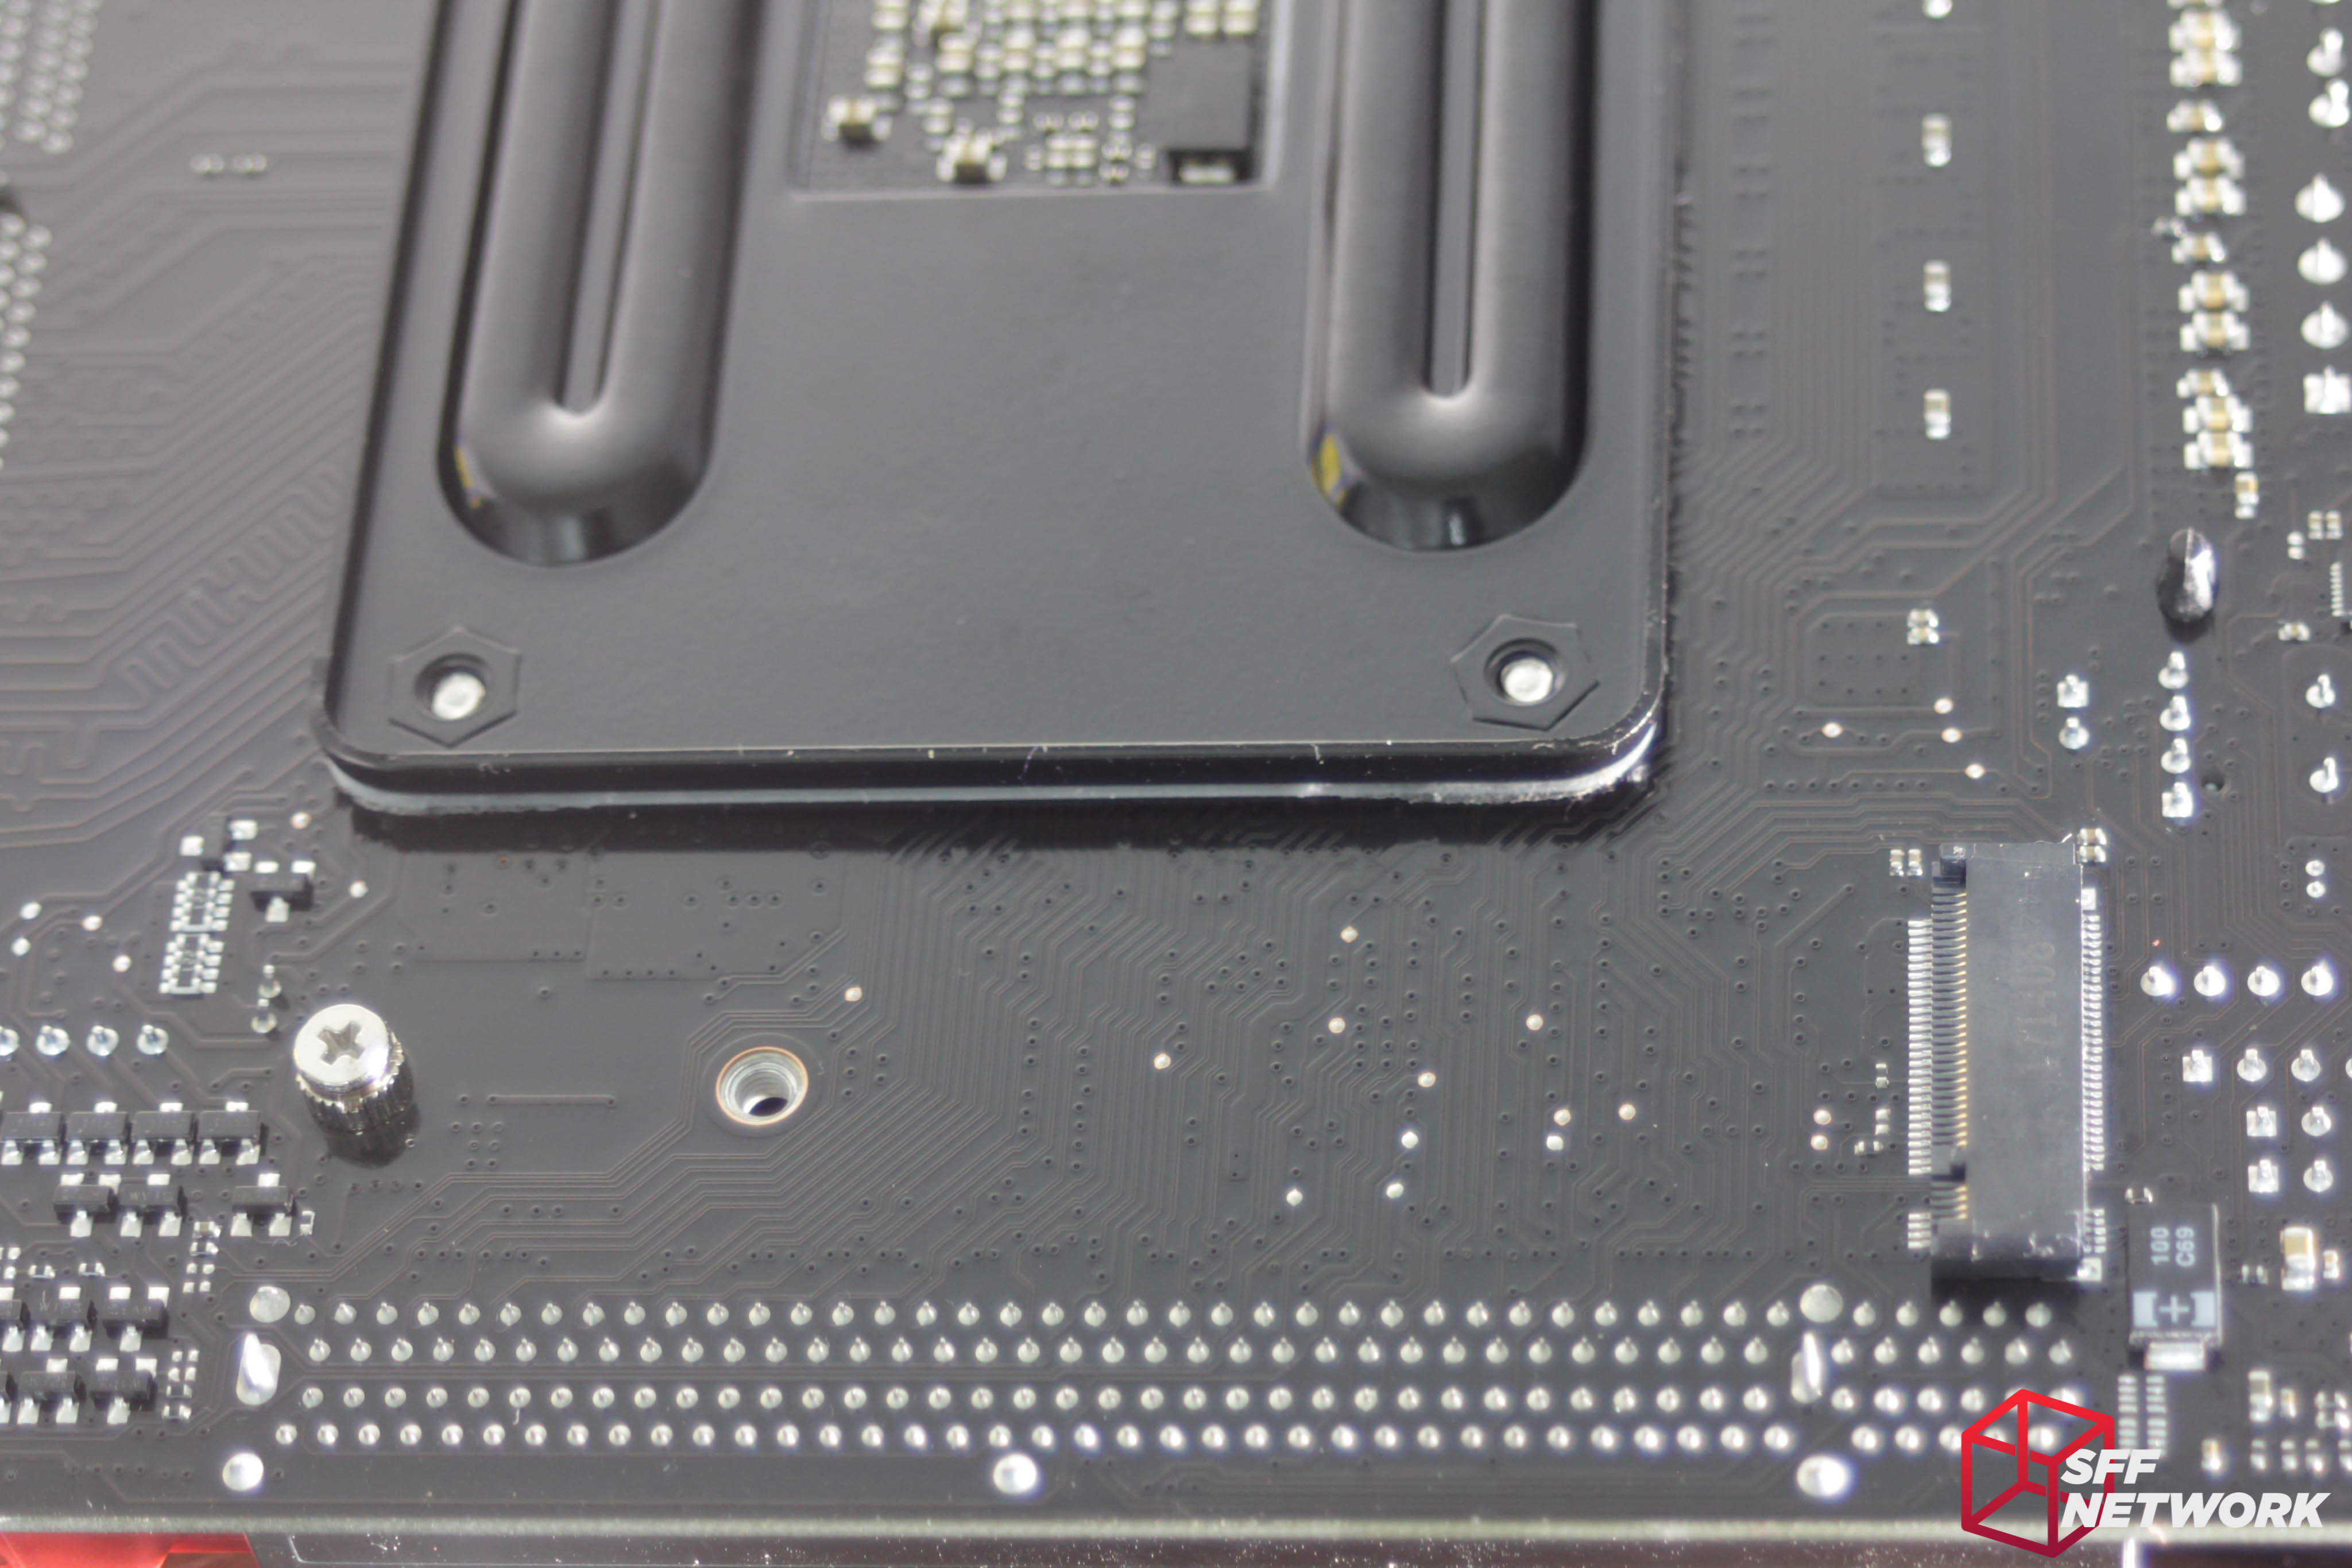
The single M.2 slot provides support for 2260/2280 drives at PCIe x4 / x2 speeds, depending on the drive. Or, you know, a flexible riser and a second graphics card… just saying…
Overall, the board layout is to my liking, but that’s one of those pesky personal preference deals. Of note, nested in the corner between the RAM and the PCIe slot, is a 5 pin RGBW header. This header can be reconfigured in software if your particular RGB(W) strip doesn’t have the same pinout as this header – namely 12v-G-R-B-W.
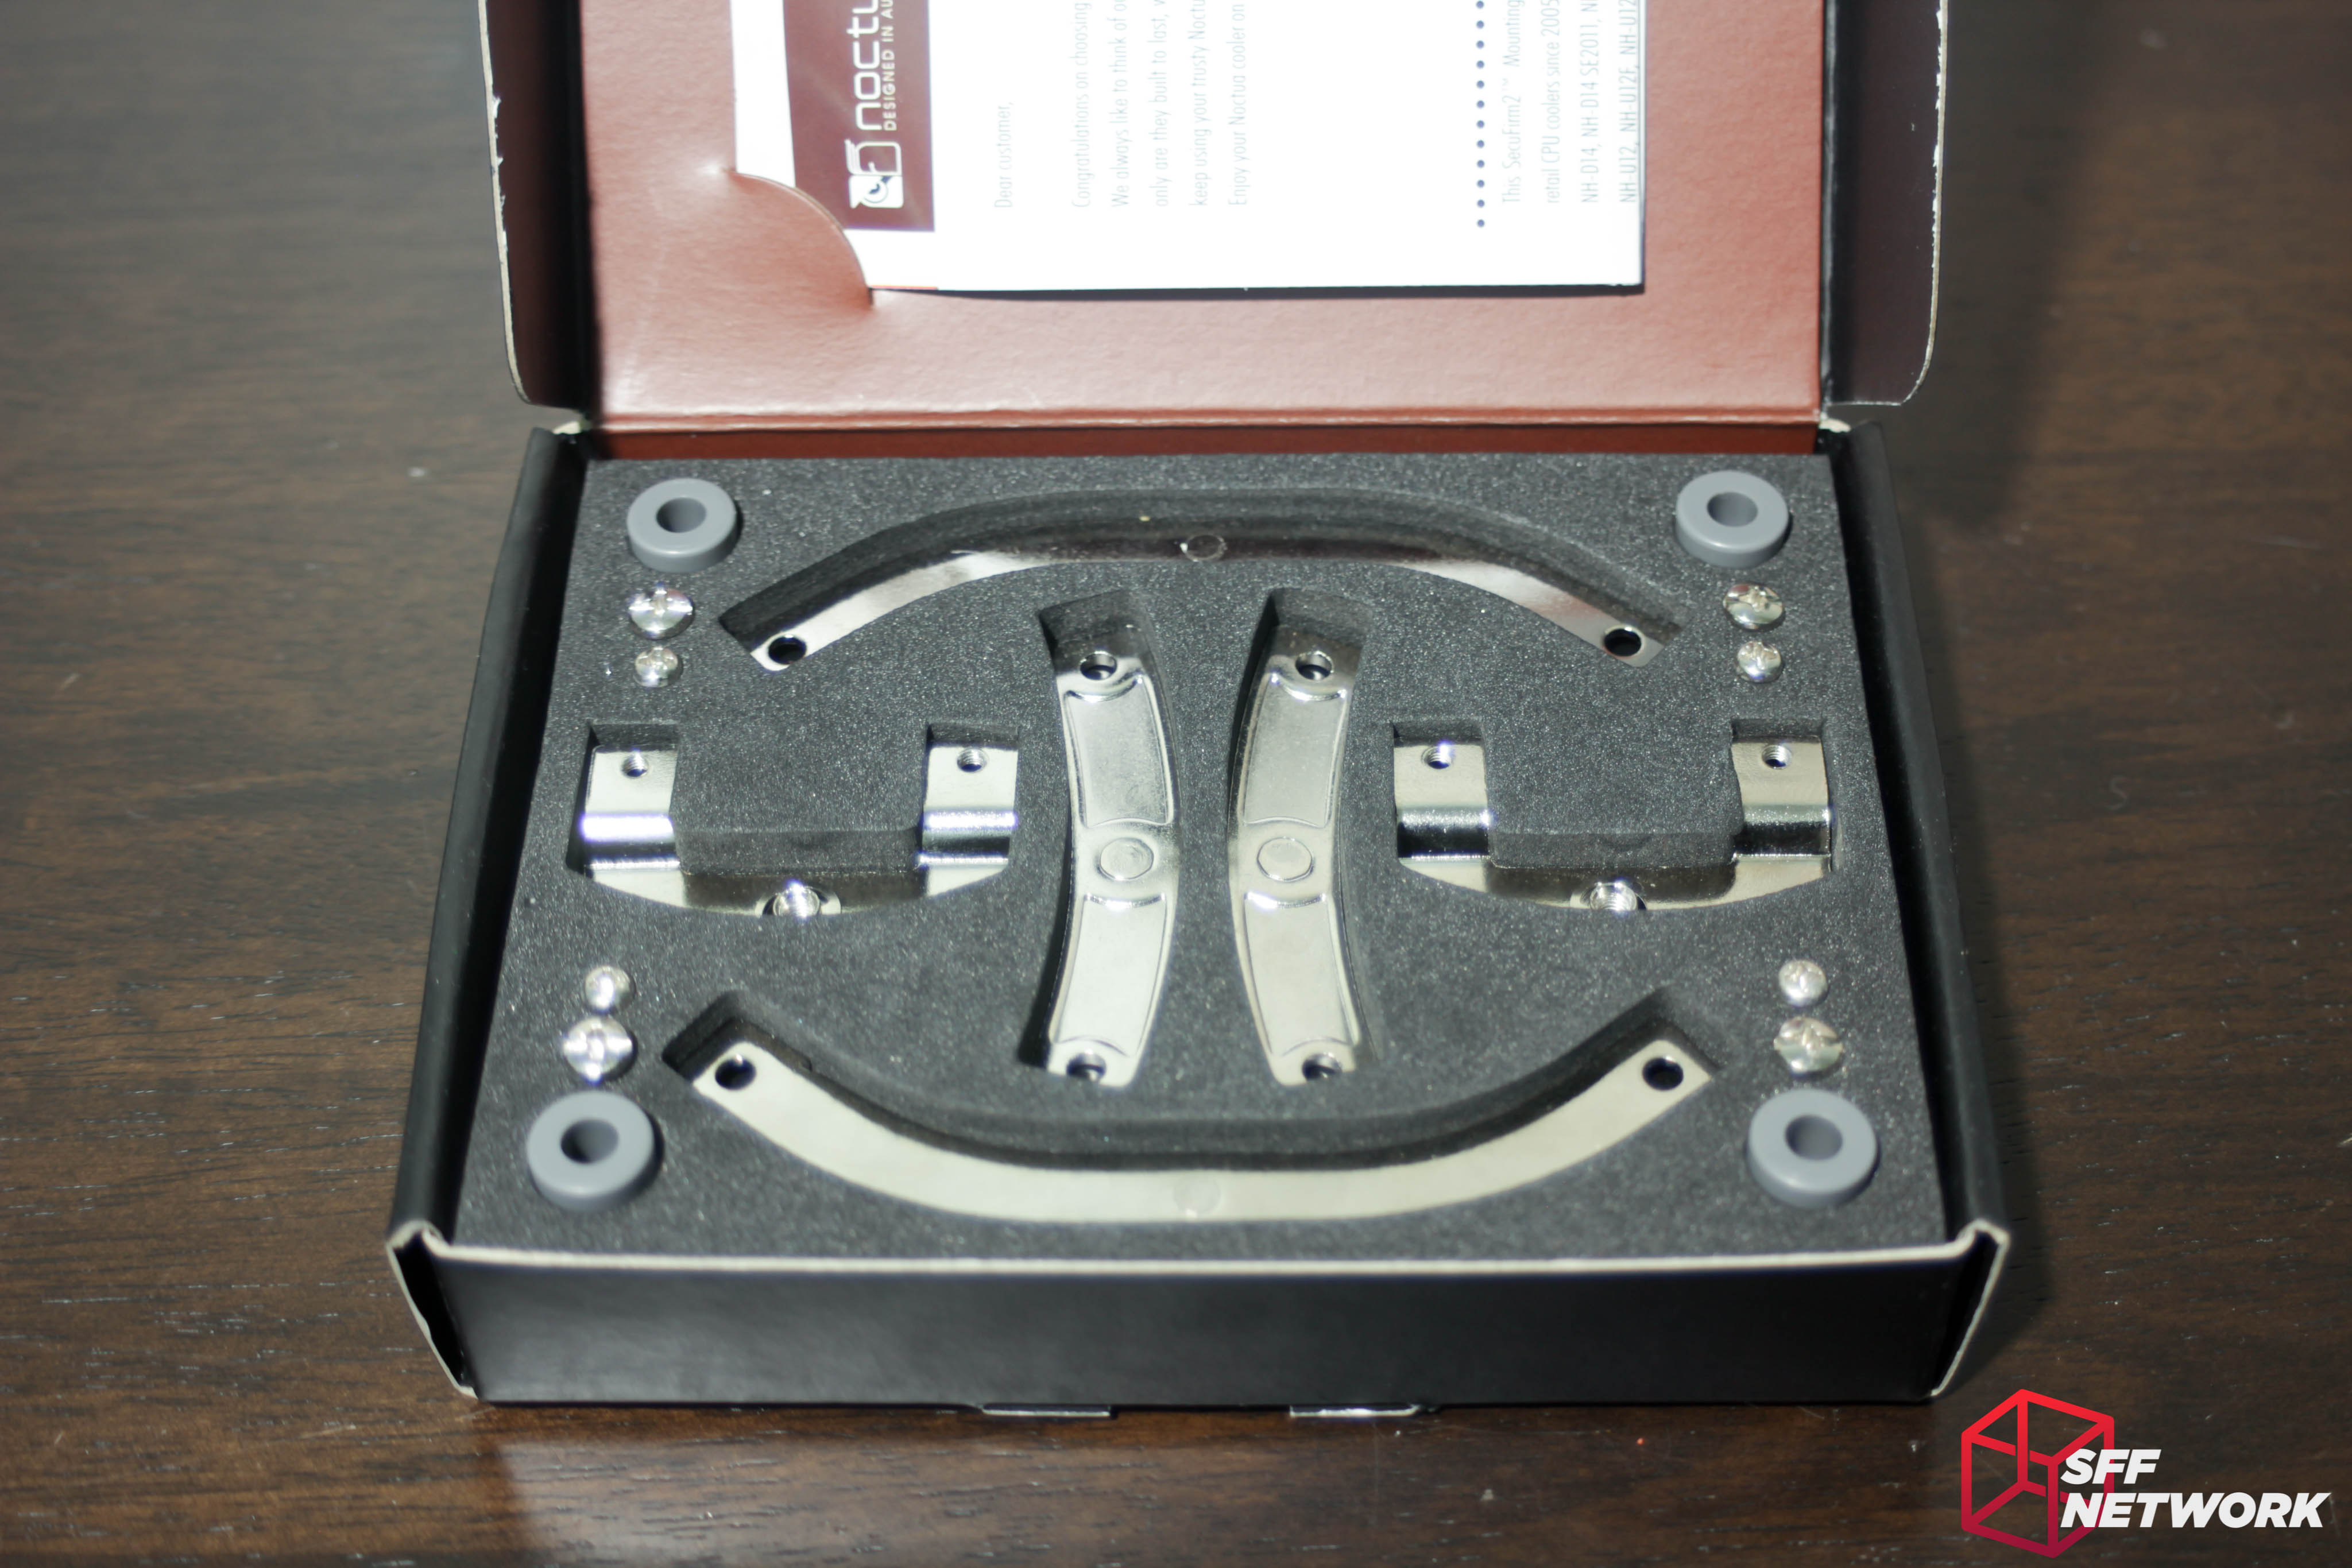
An aside! Noctua’s AM4 mounting kit will be joining us today to attach a NH-L12 cooler to this motherboard. I’m loving Noctua’s product presentation here!
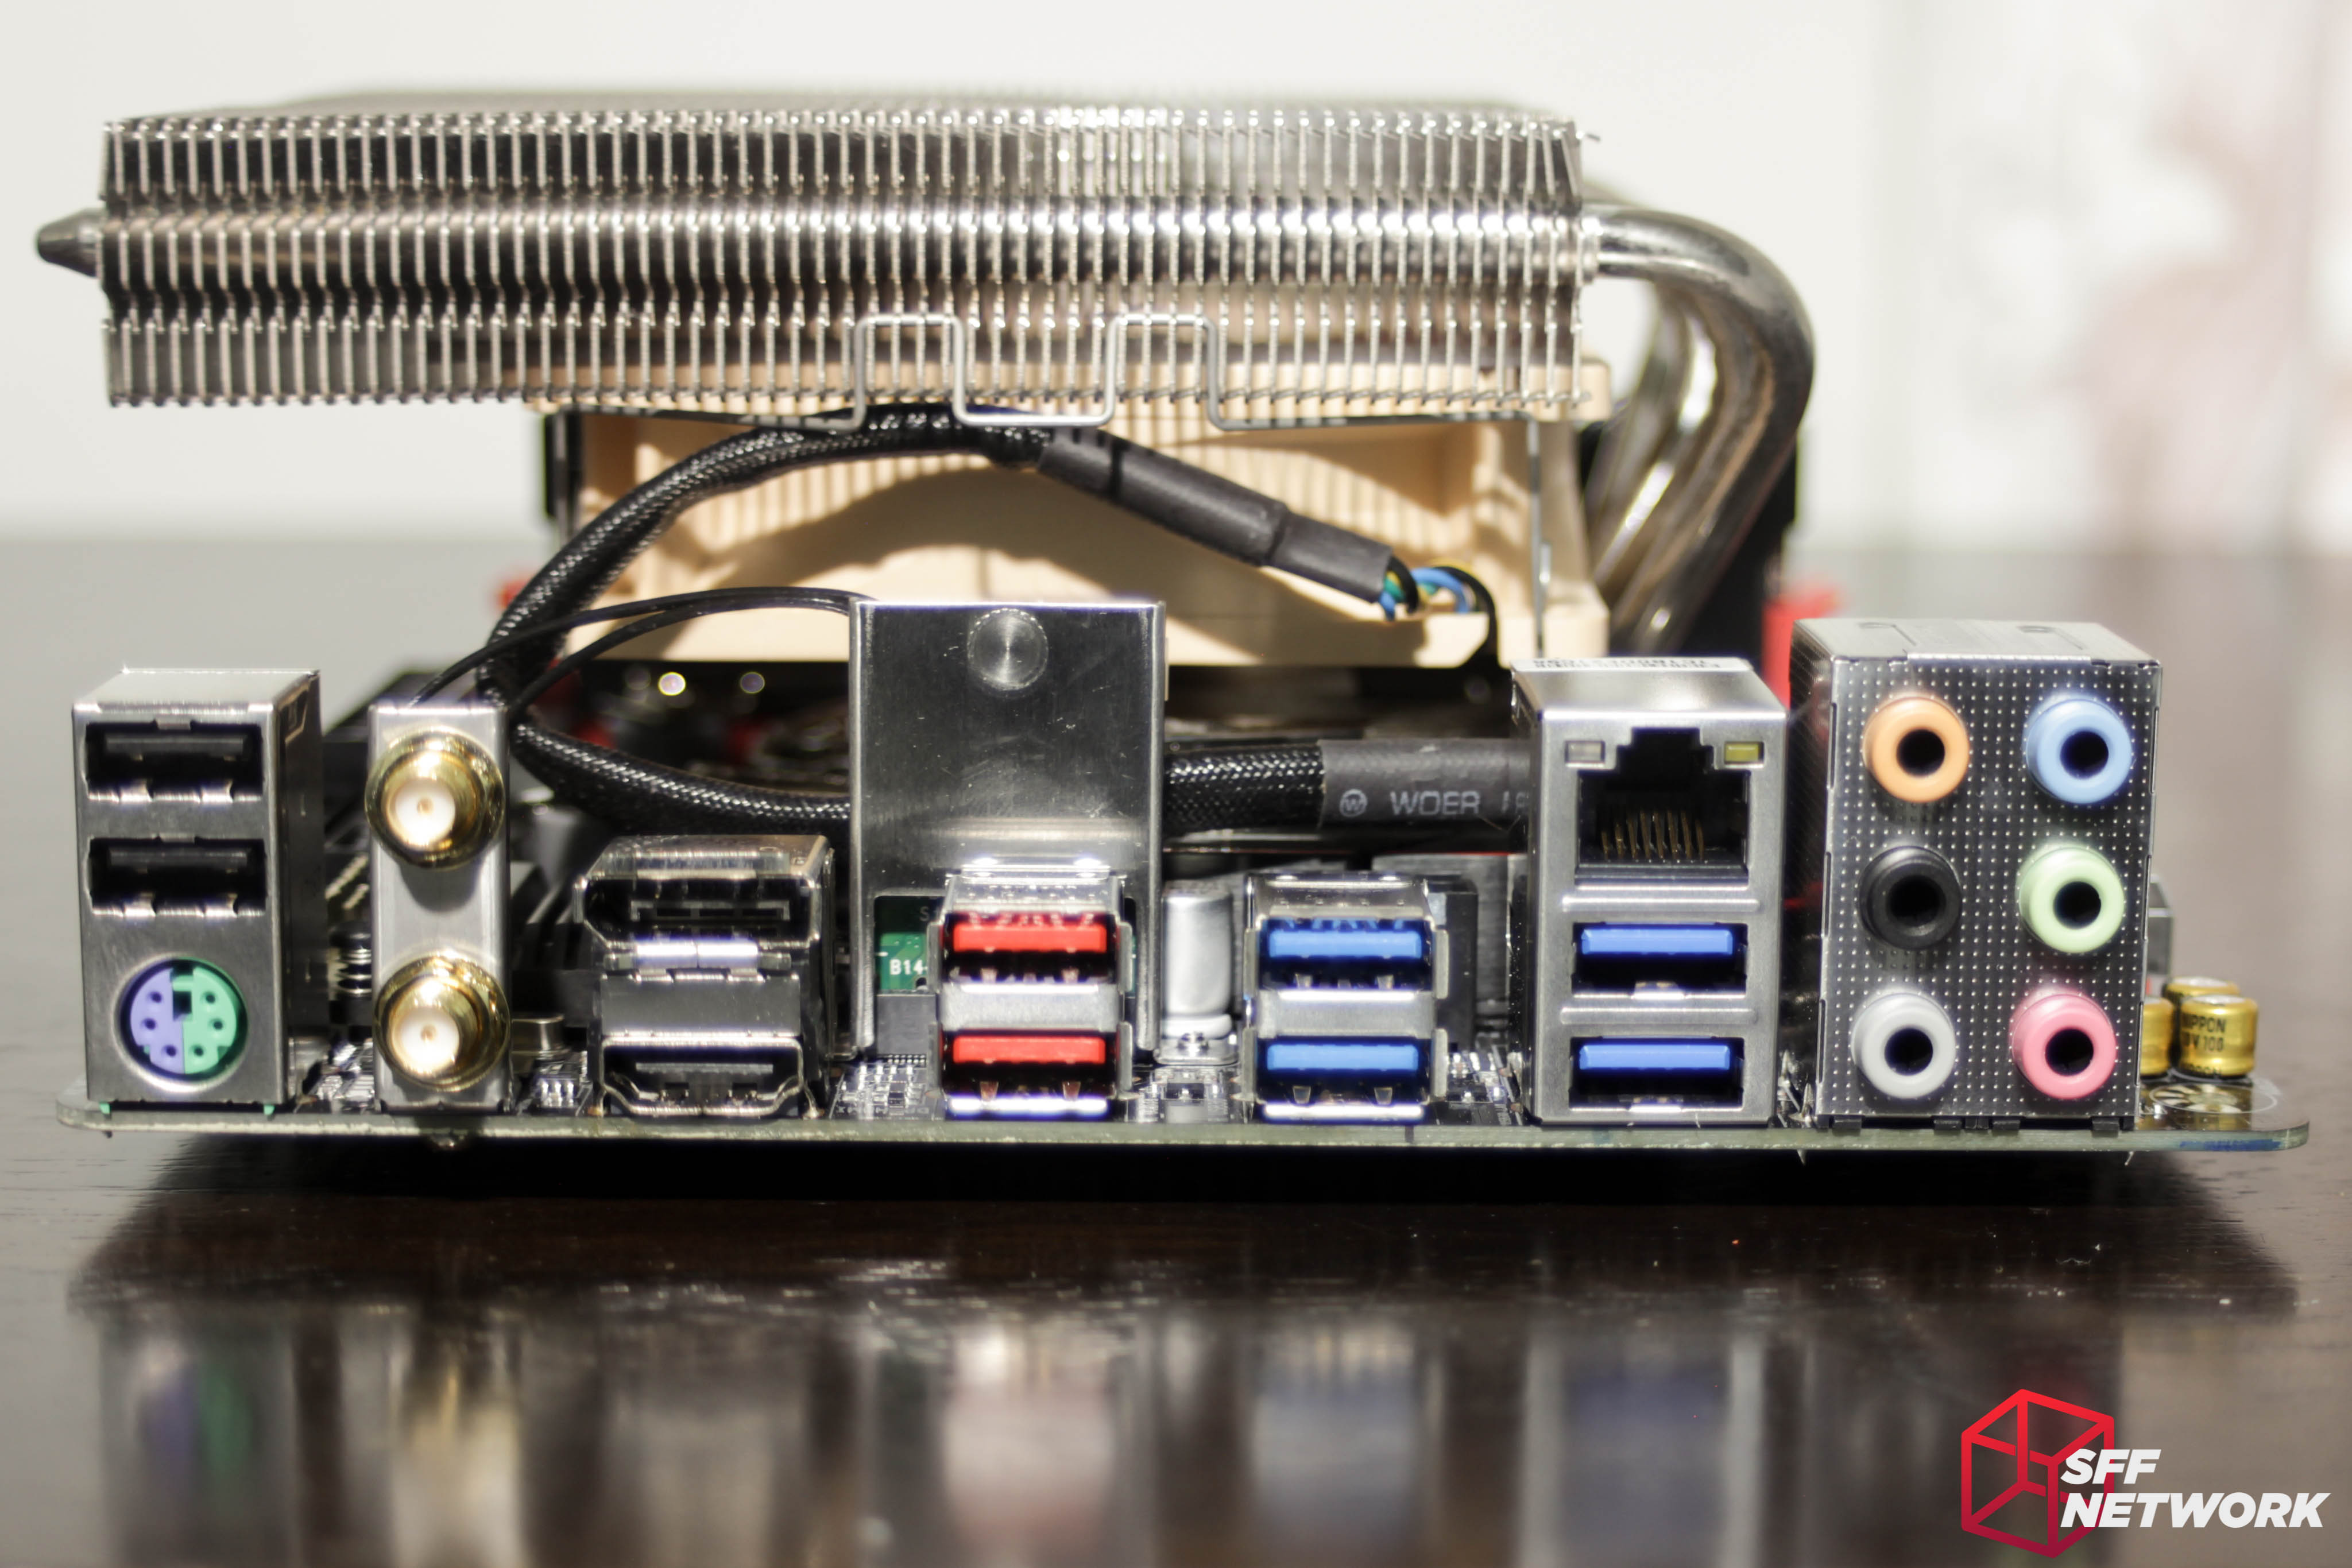
It fits! Better than it does on my FM2+ ITX board, which is handy. And, in a two-birds-one-stone scenario, we get a good shot of the rear I/O. A good variety is included, with USB 3 Type C being the only notable exclusion.
The twin DDR4 RAM slots sit right at the edge of the board, giving as much room as possible to the CPU socket area. As usual for M-ITX, one end of each RAM slot is a fixed retainer, with the other end having the lever that retains and releases the DIMM. As an aside, The NH-L12 cooler doesn’t conflict with PCIe slot in this orientation!
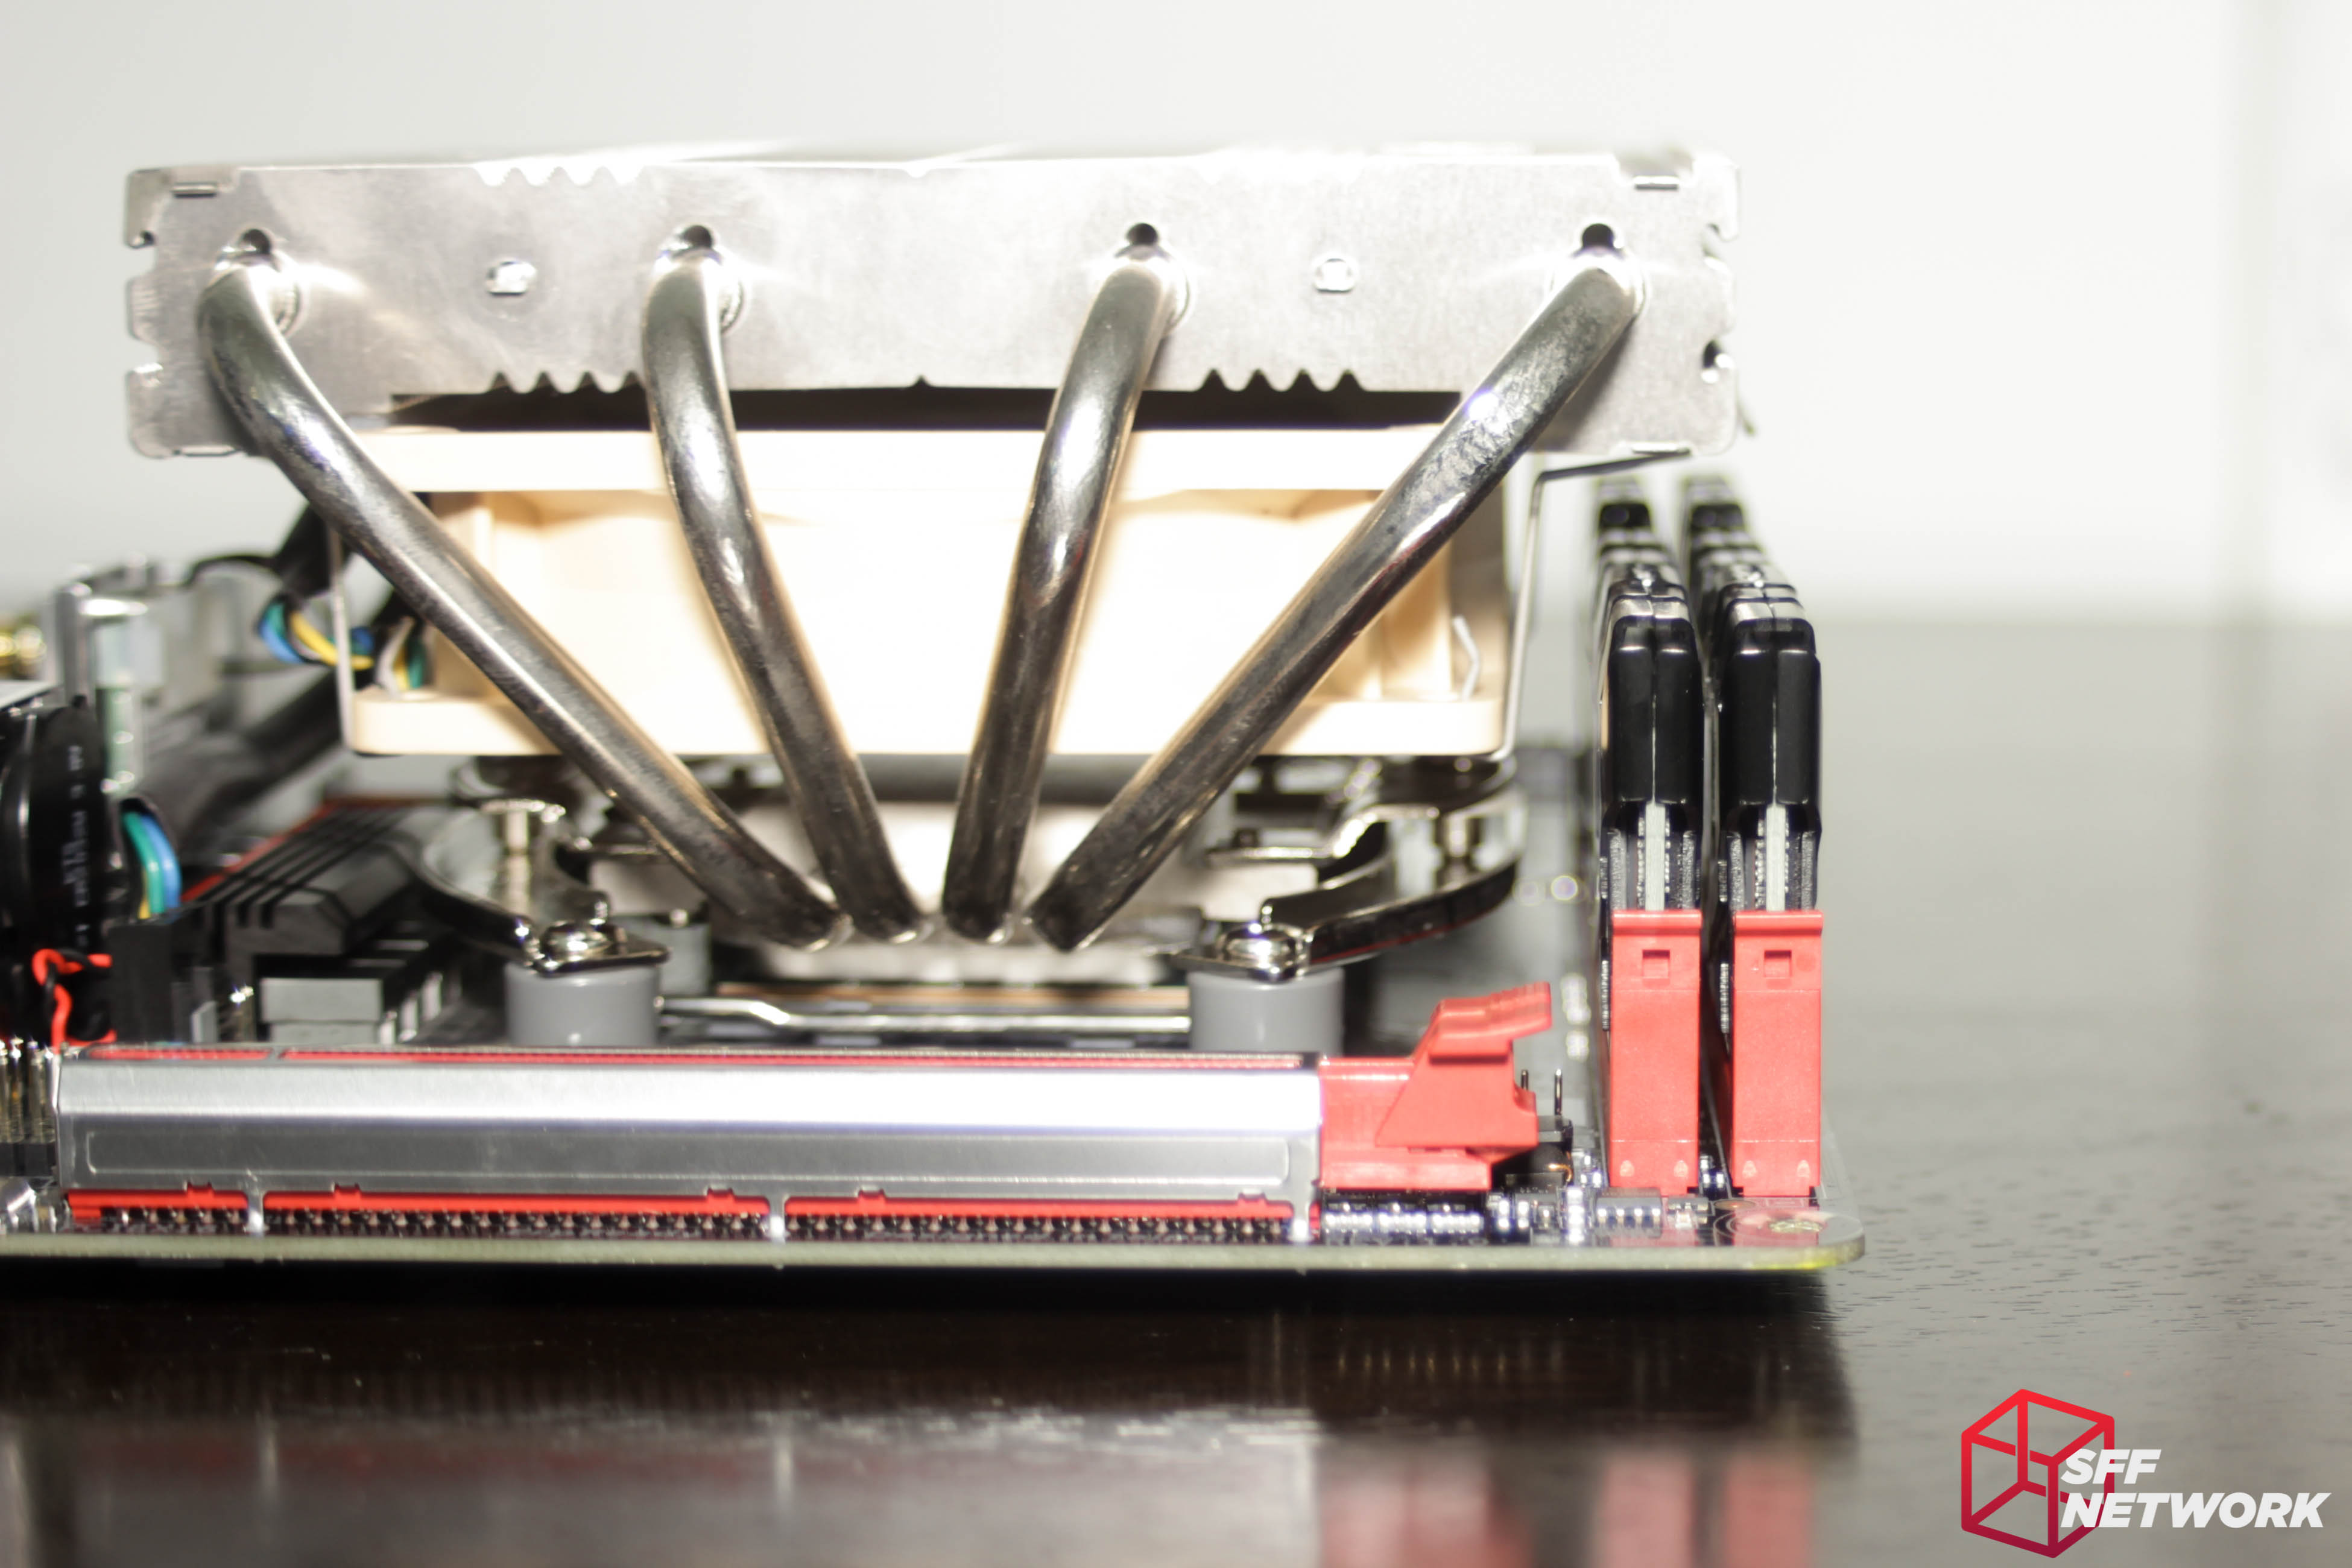
The NH-L12 gives ample room for regular profile RAM (RIP Low Profile RAM). The CPU socket location seems to be a good choice for cooler compatibility with all components on the board. Gigabyte’s Ultra Durable PCIe Armo(u)r is installed on the PCIe slot, adding strength to the slot for portable rigs. This is important when travelling, especially if your system gets inspected by my past employer…
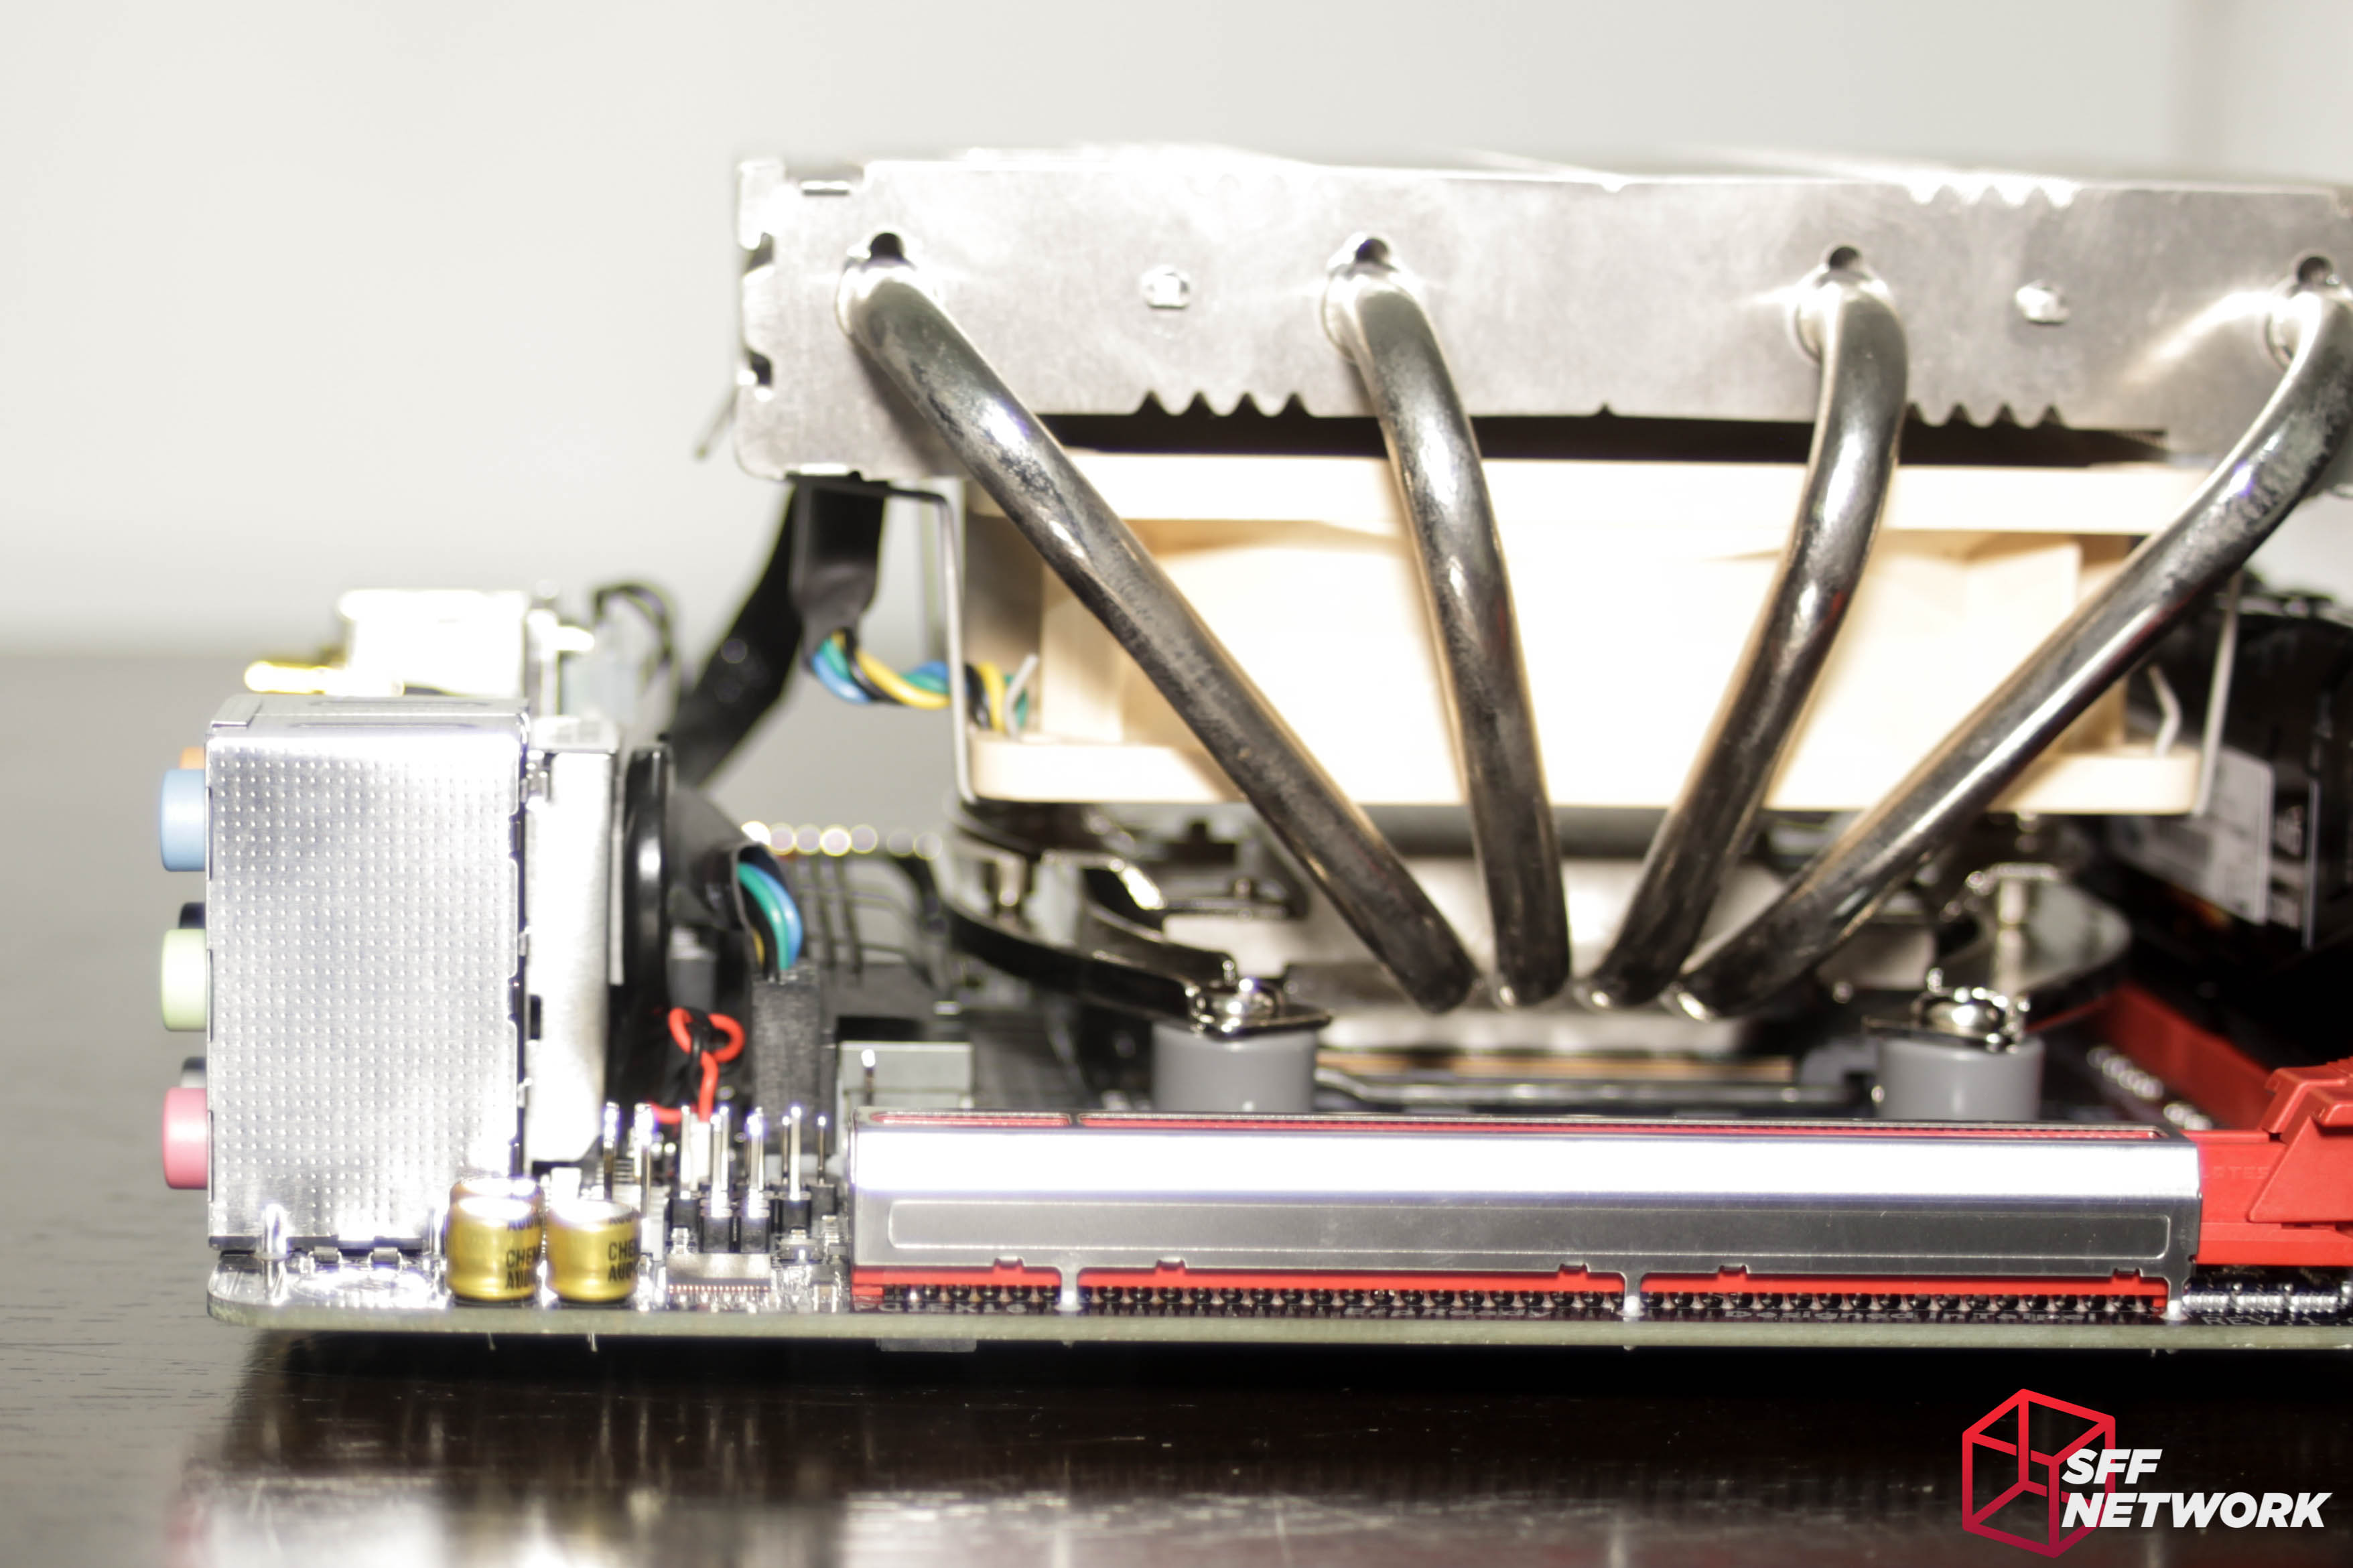
Great clearance all around. The VRM heatsink is smaller than the one on my F2A88XN-WiFi motherboard, but still seems to provide some cooling. In my testing, I will see how this actually performs!
[mks_separator style=”blank” height=”2″]
The BIOS
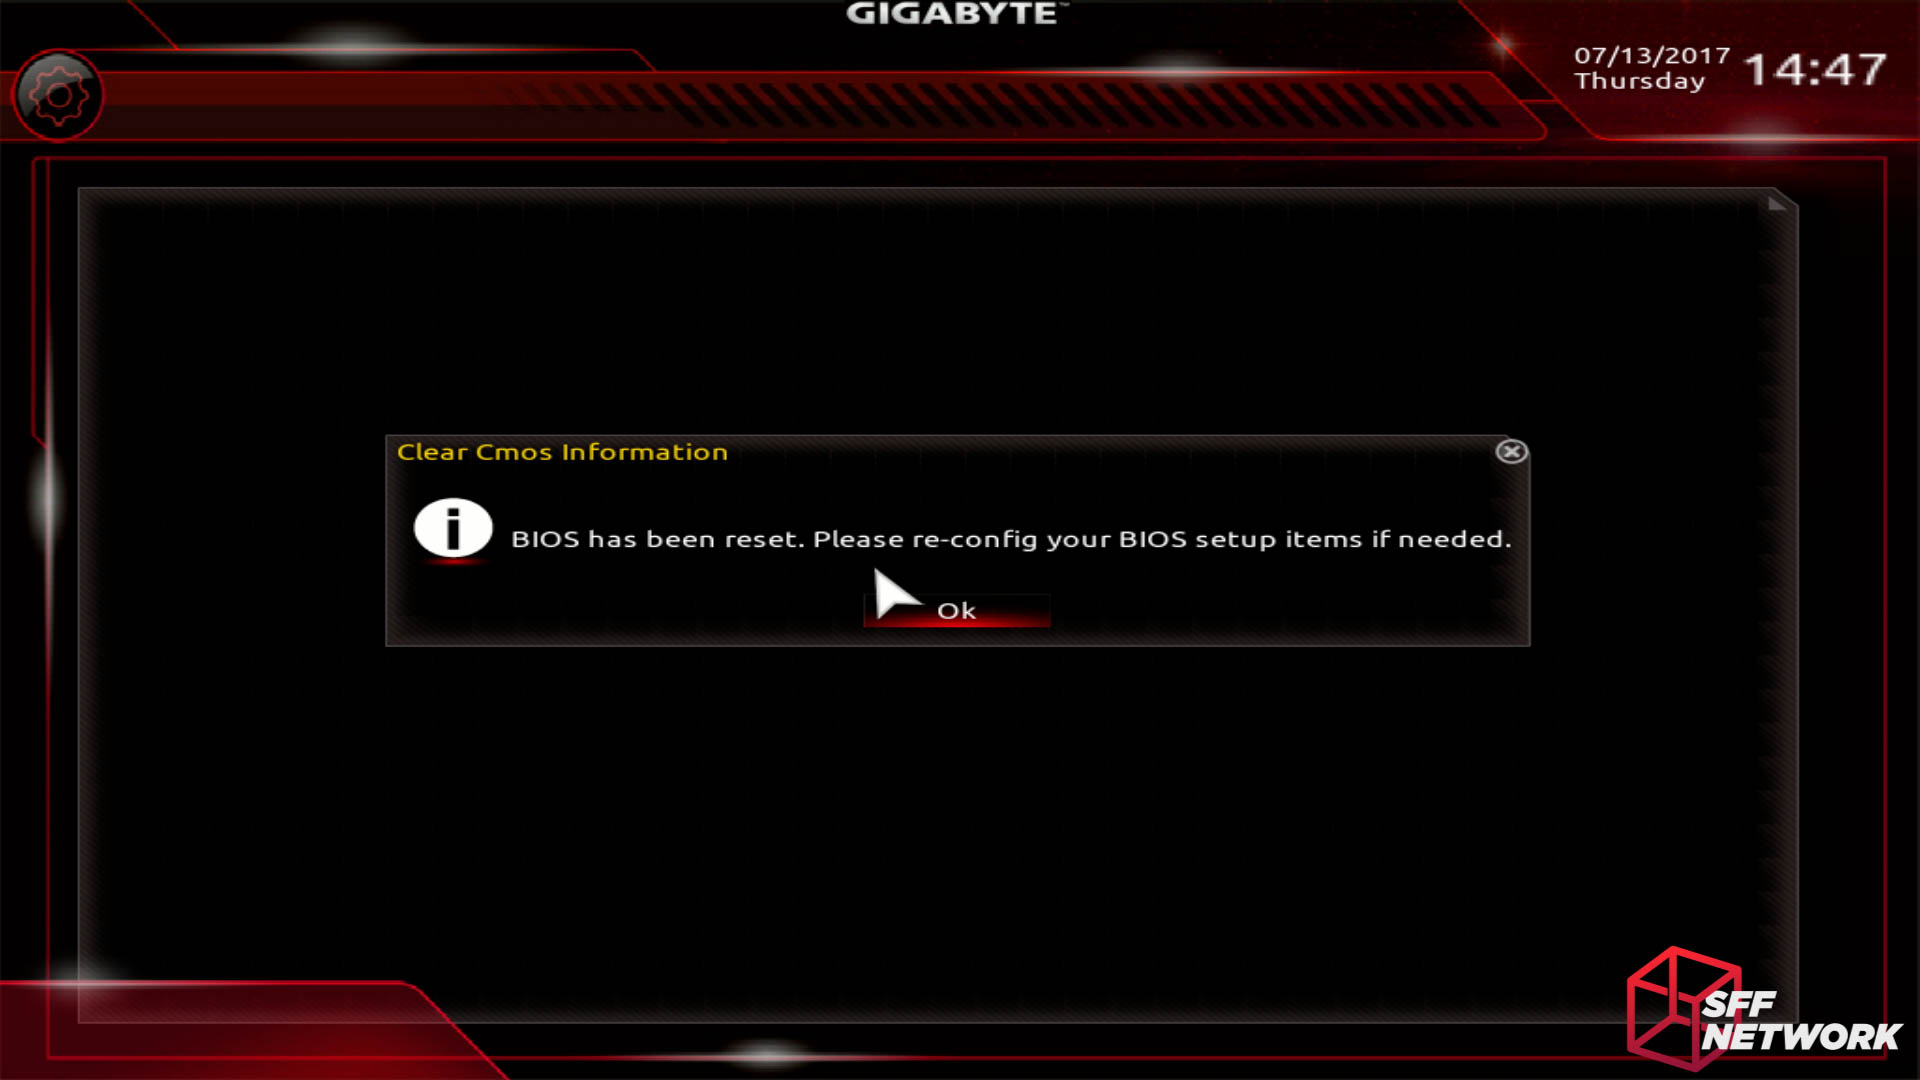
Woops! In reality, this is the first BIOS screen you will see when first setting up your AB350N-Gaming WIFI based system.
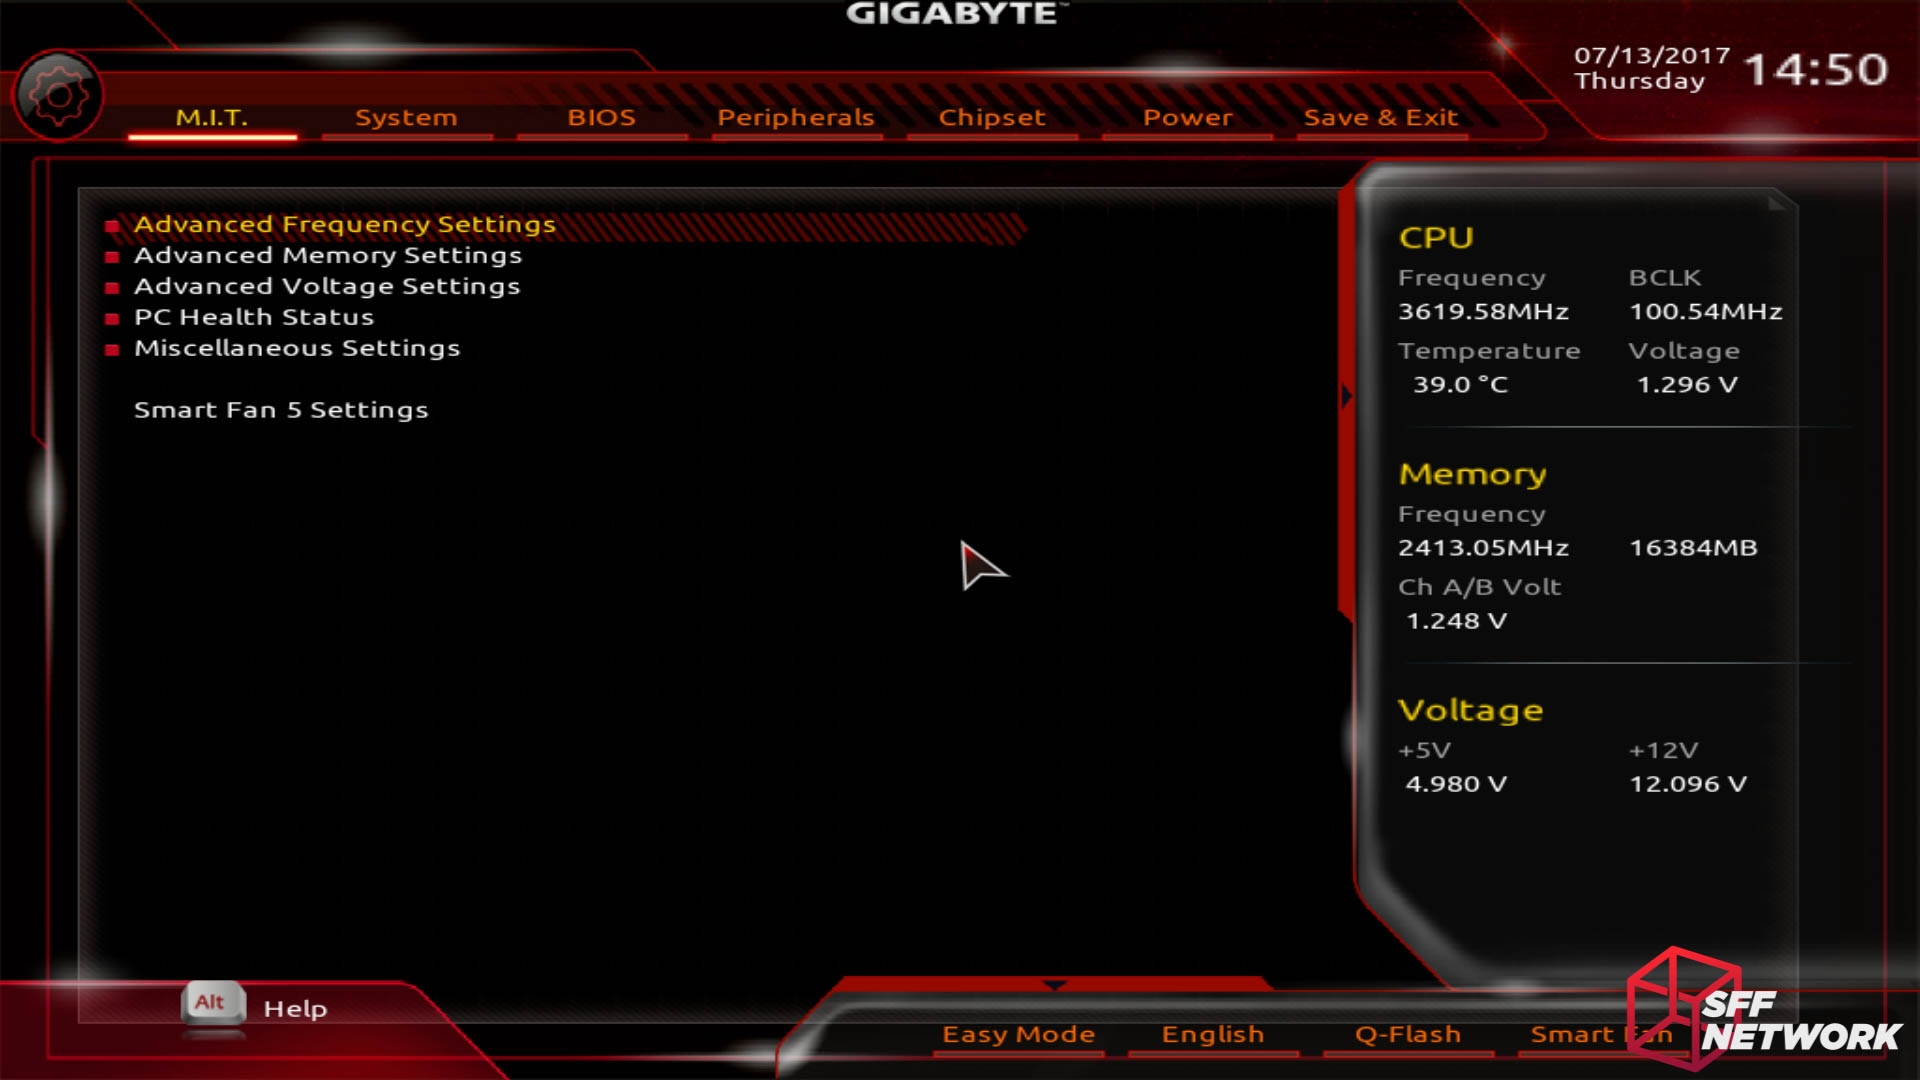
This is more what we are used to! As you can see from the slider on the right, we are running the Ryzen 1600X at 3.6 GHz, with a BLCK of 100.54 MHz, at 39C, 1.296V. The RAM is running at a default of 2413.05 MHz, down from it’s rated 3200 MHz. We will fix this later! Also notable is that the RAM totals 16384MB and is running at 1.248V. Oh, and the FSP Dagger 600W PSU rails seem to be within spec!
With that, we move away from the right slider and into the bottom slider, which offers a few modes and language selection.
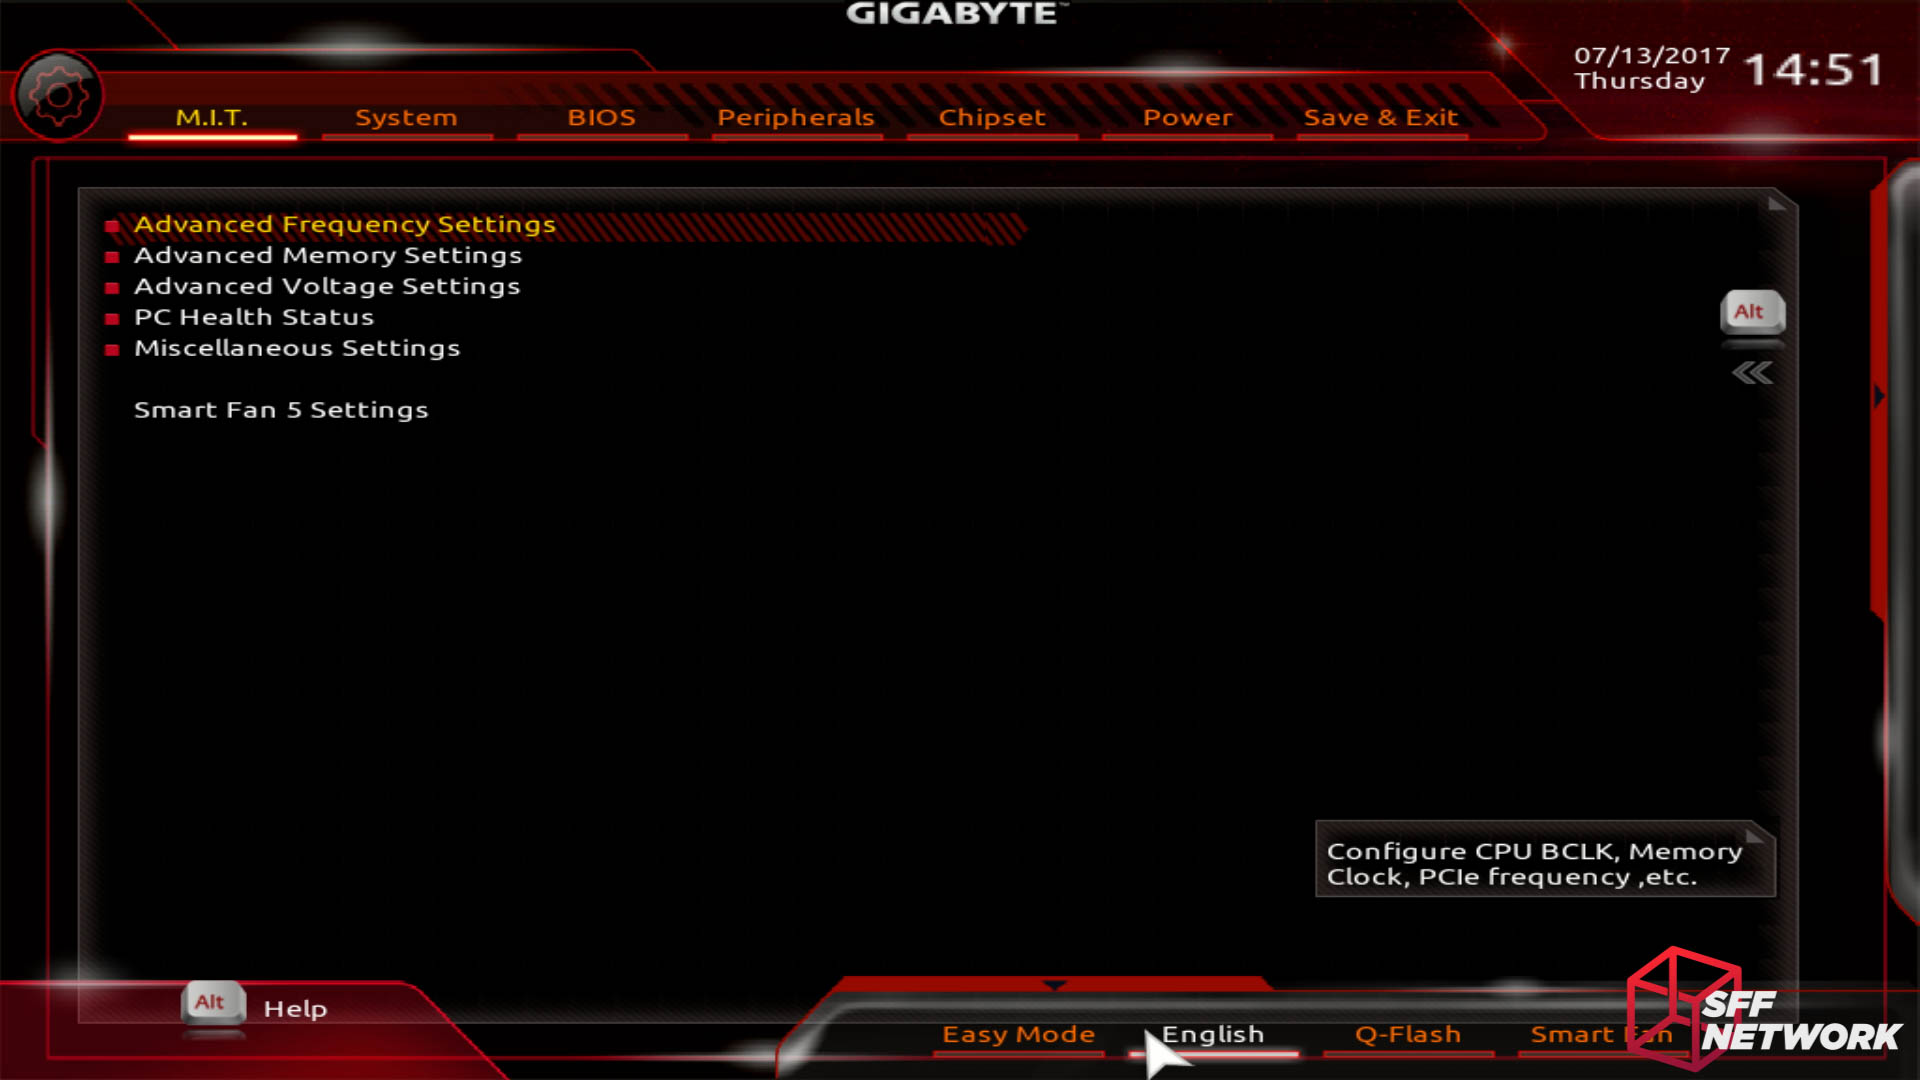
This is where the fun is at, overclocking settings. Only the most basic settings are shown on this parent menu, we have to dive deeper to get any real tweaking settings. Of note here is that it has detected the XMP settings for this kit of RAM, it just hasn’t applied them as this is the first boot of the system. It was about here during taking these screenshots that I became very annoyed with the slow mouse response, with laggy input being an understatement. I reverted to keyboard input, which was very smooth. Why can we not get proper, smooth, fluid, mouse support in UEFI? I’ve yet to have hands on experience with a mouse experience within a UEFI environment that I felt was actually even usable.

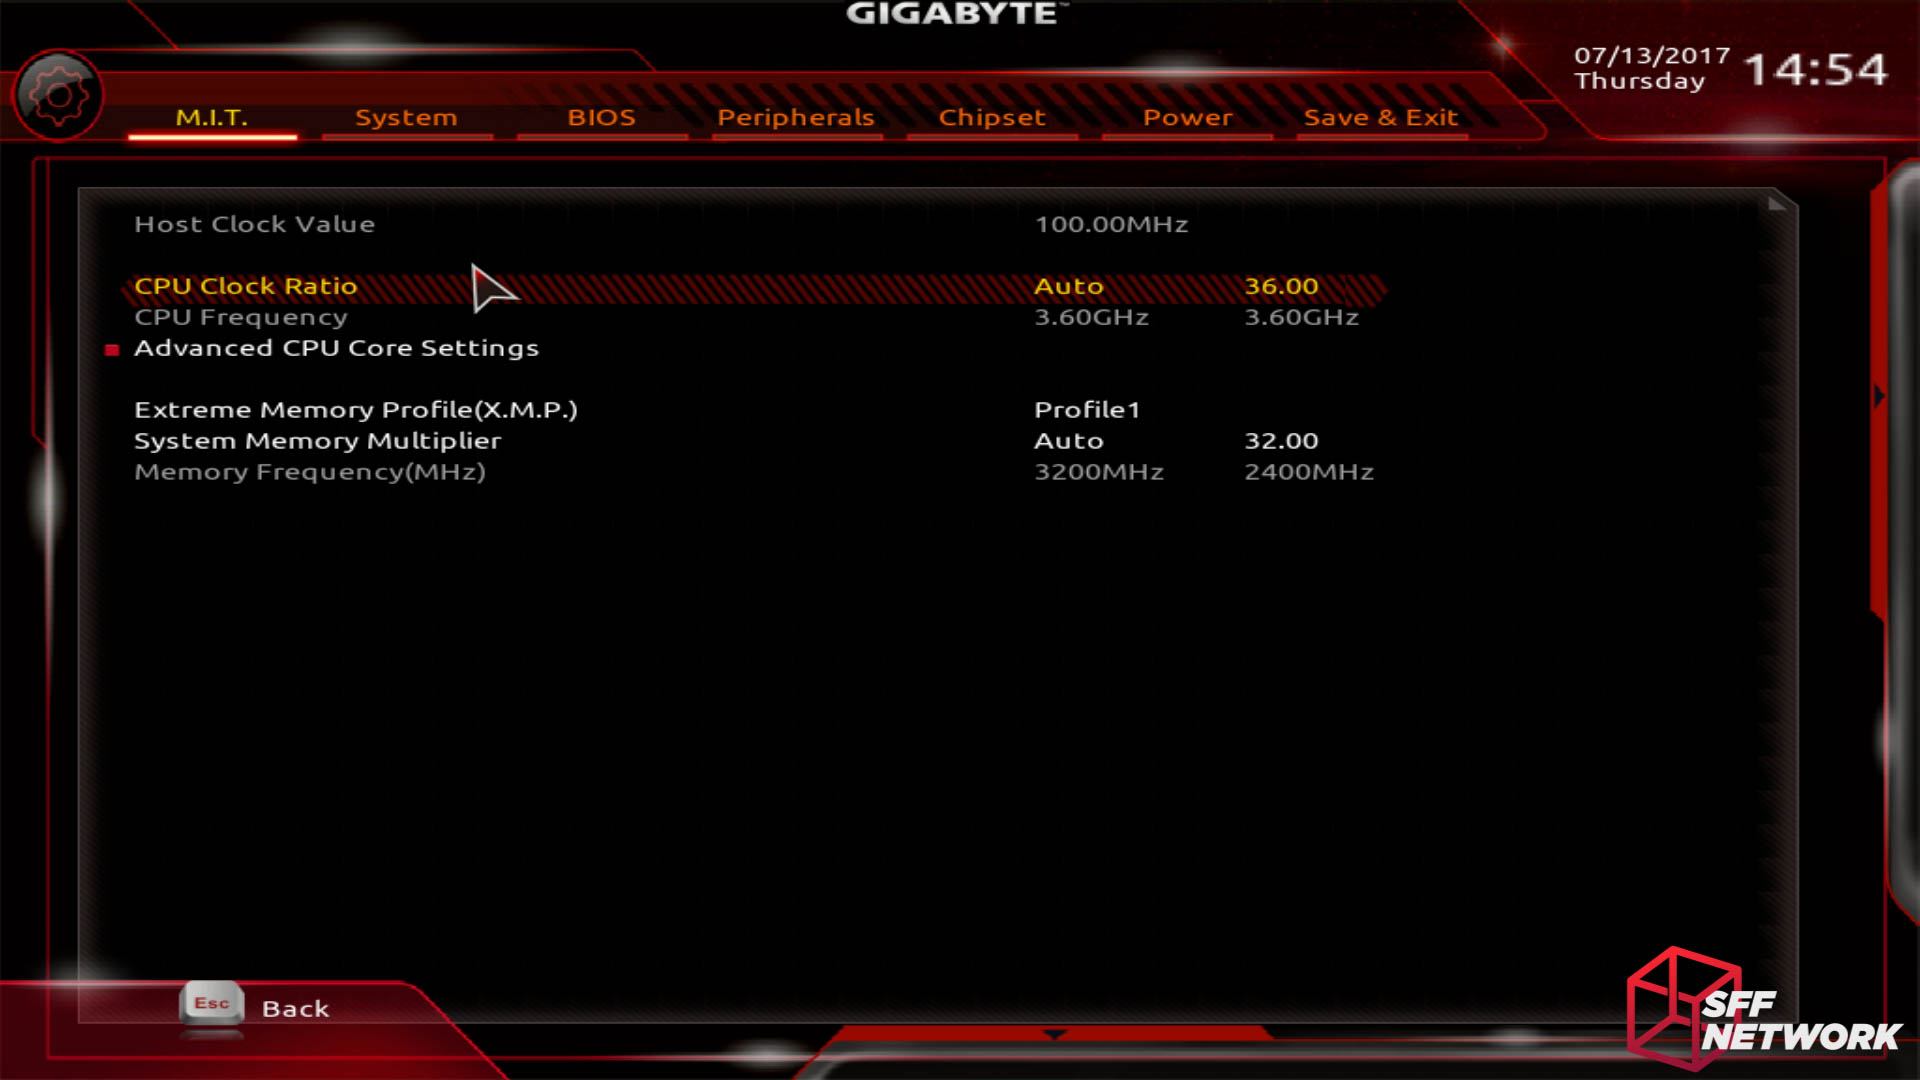
In the Advanced CPU Core Settings menu, we uncover some more tasty options. I would prefer Gigabyte to include CPU voltage settings in this menu, to enable a ‘one stop shop’ CPU overclocking menu. Instead, the voltage settings are under a different MIT sub menu. Argh!
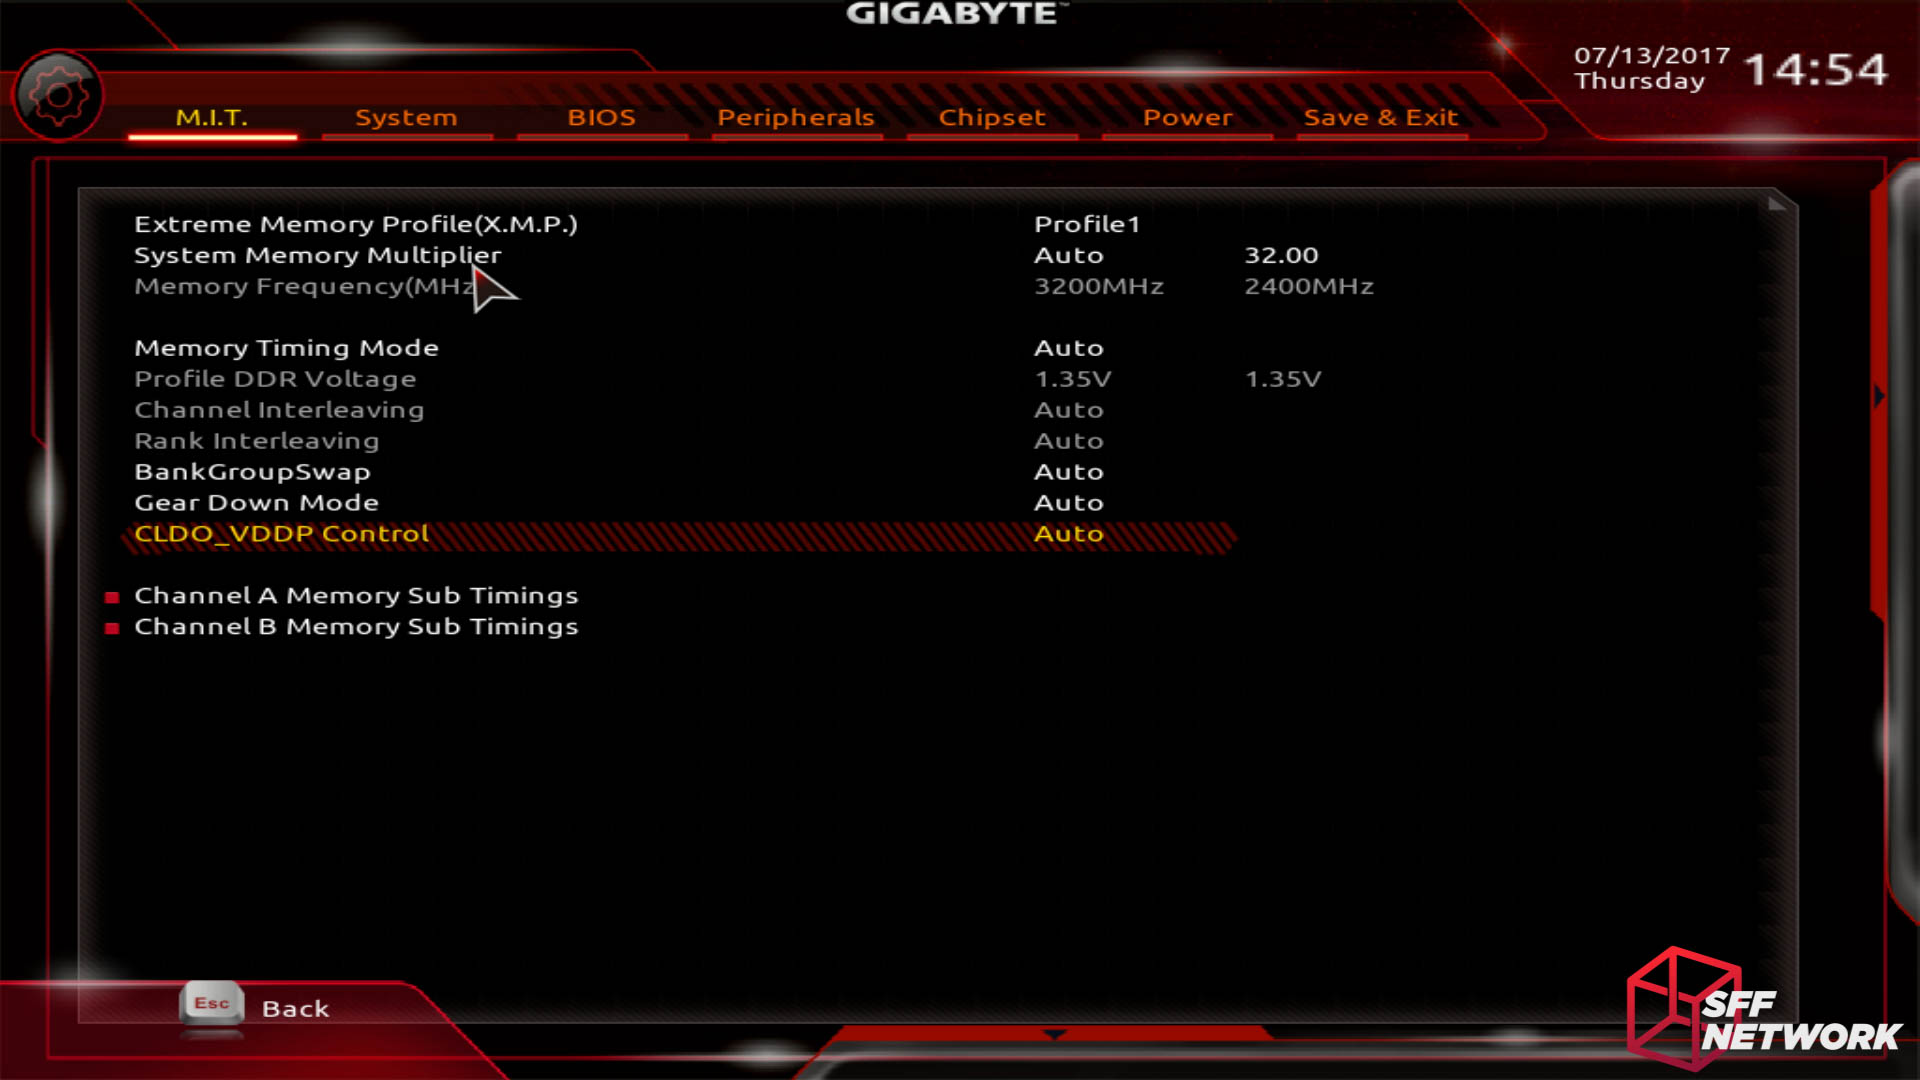
Under the Advanced Memory Settings menu, we have a moderate amount of control over our RAM modules. The usual XMP setting is here, as well as manually setting the memory multiplier. Through the bottom two menus, we can dig even deeper into RAM overclocking, into the realms of dark magic.
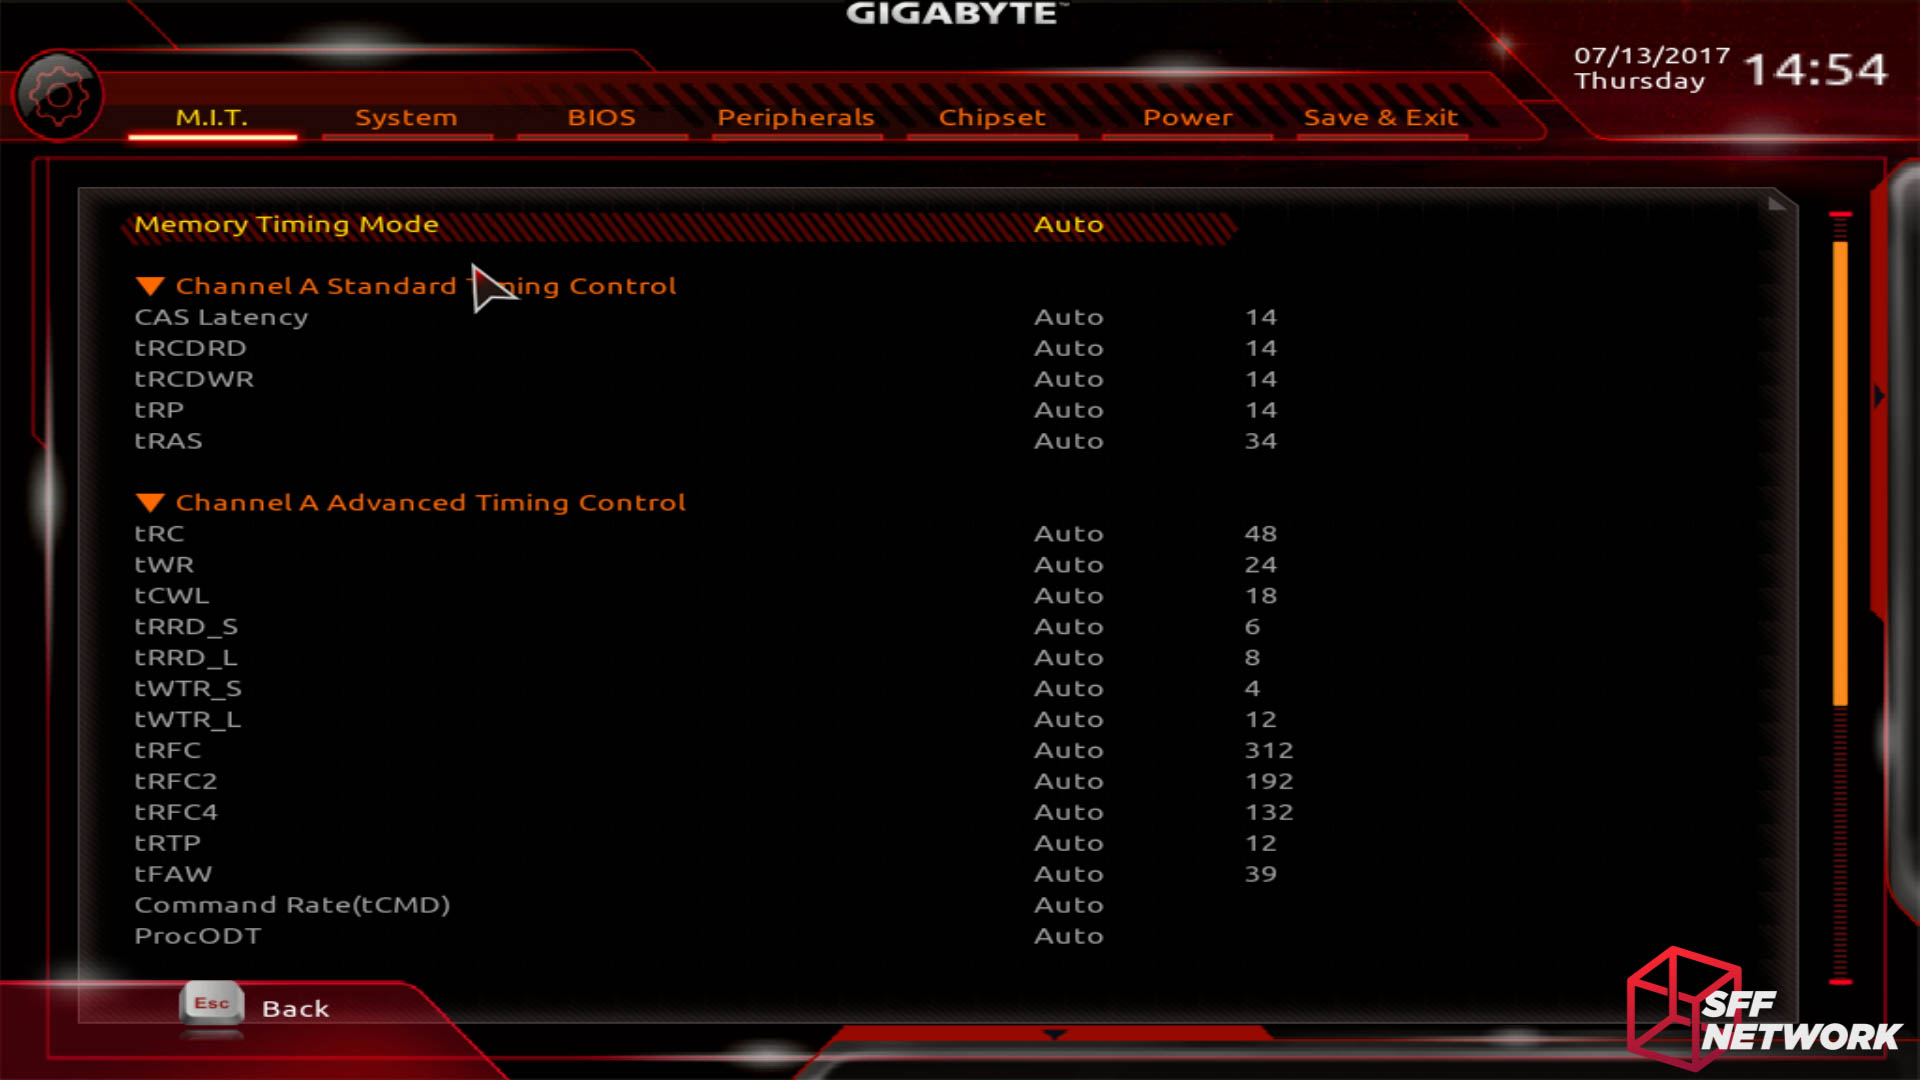
So. Many. Options. I’m still struggling to understand the ‘standard’ timing controls – the ‘advanced’ settings are just beyond me. The auto detected timings are correct for the RAM kit I am testing with, which is handy.
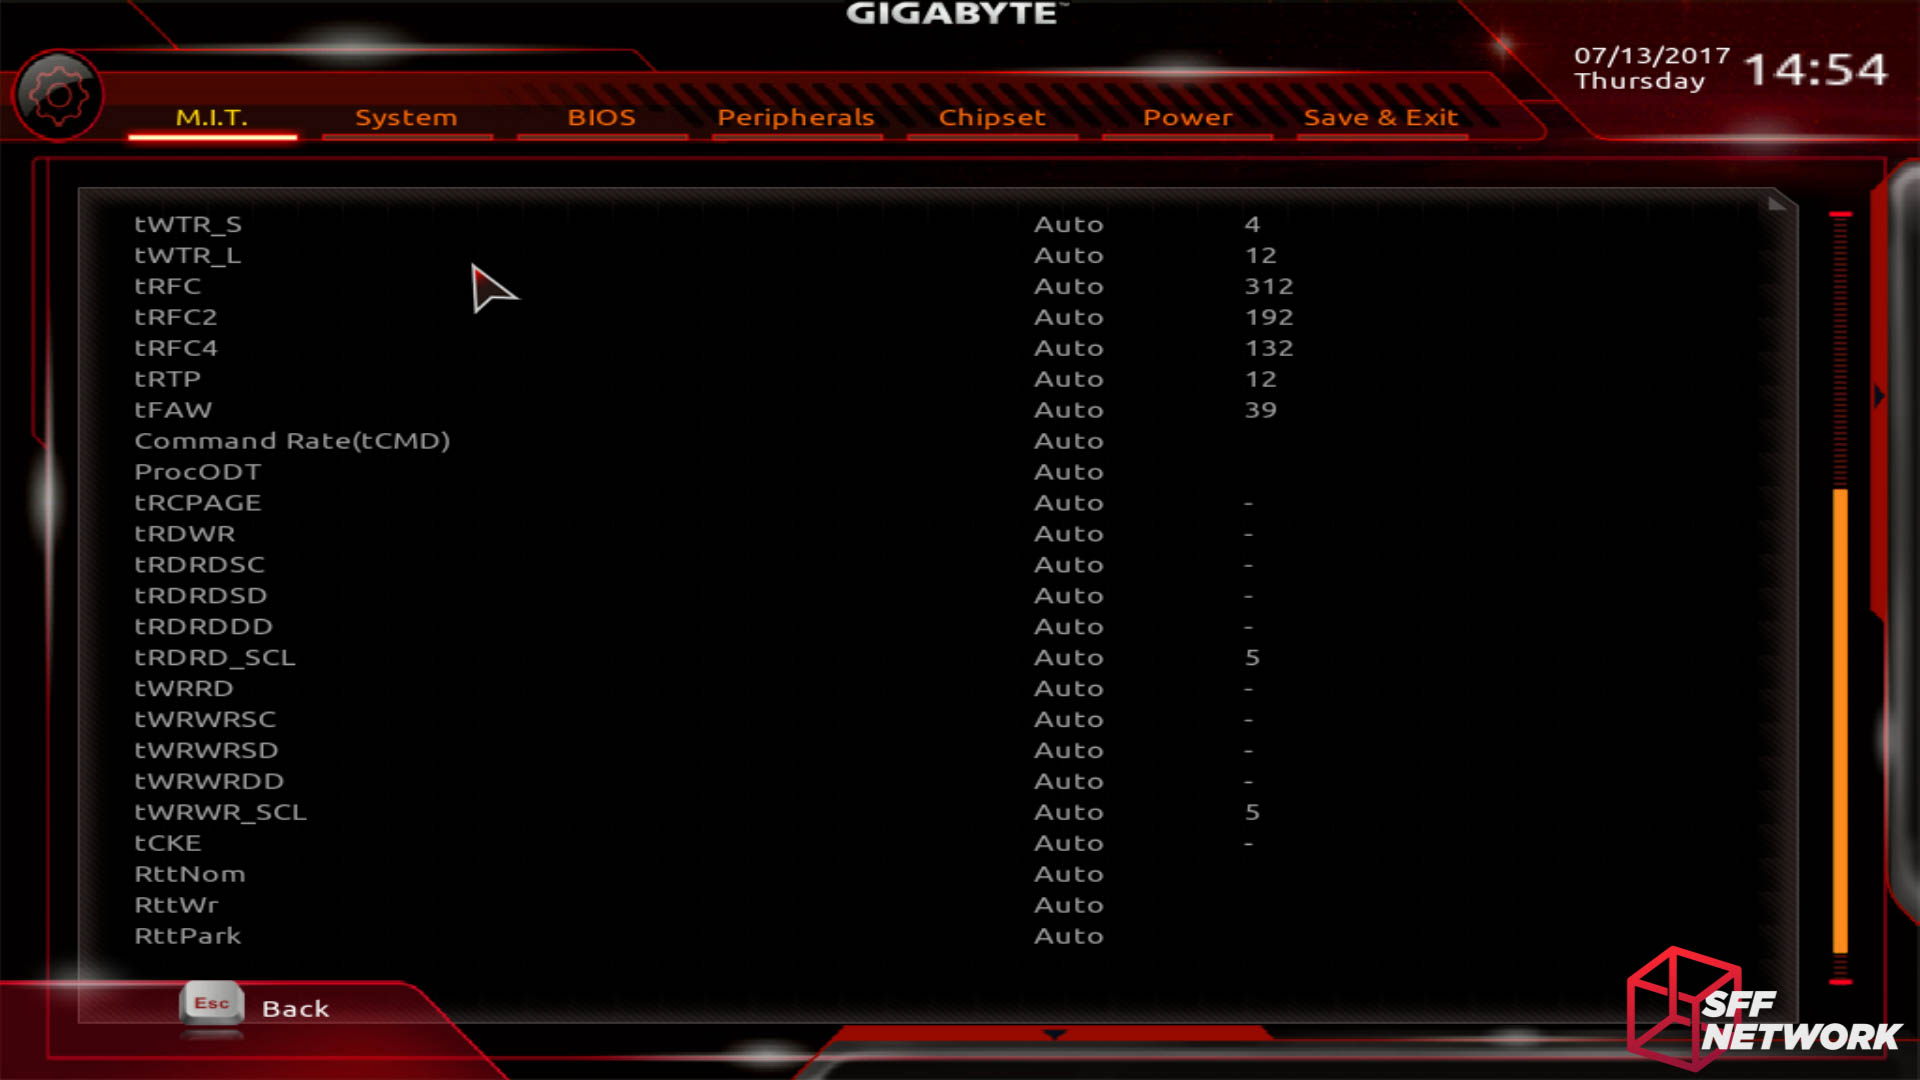
Mind. Blown.

Voltages, under the Advanced Voltage Settings menu. I really do wish these were available via the clock settings menus, it seems a little obtuse going into separate submenus for modifying the settings for a particular component.

PC Health Status shows you what you’d expect. Except temperatures, fan speeds… hmmm.
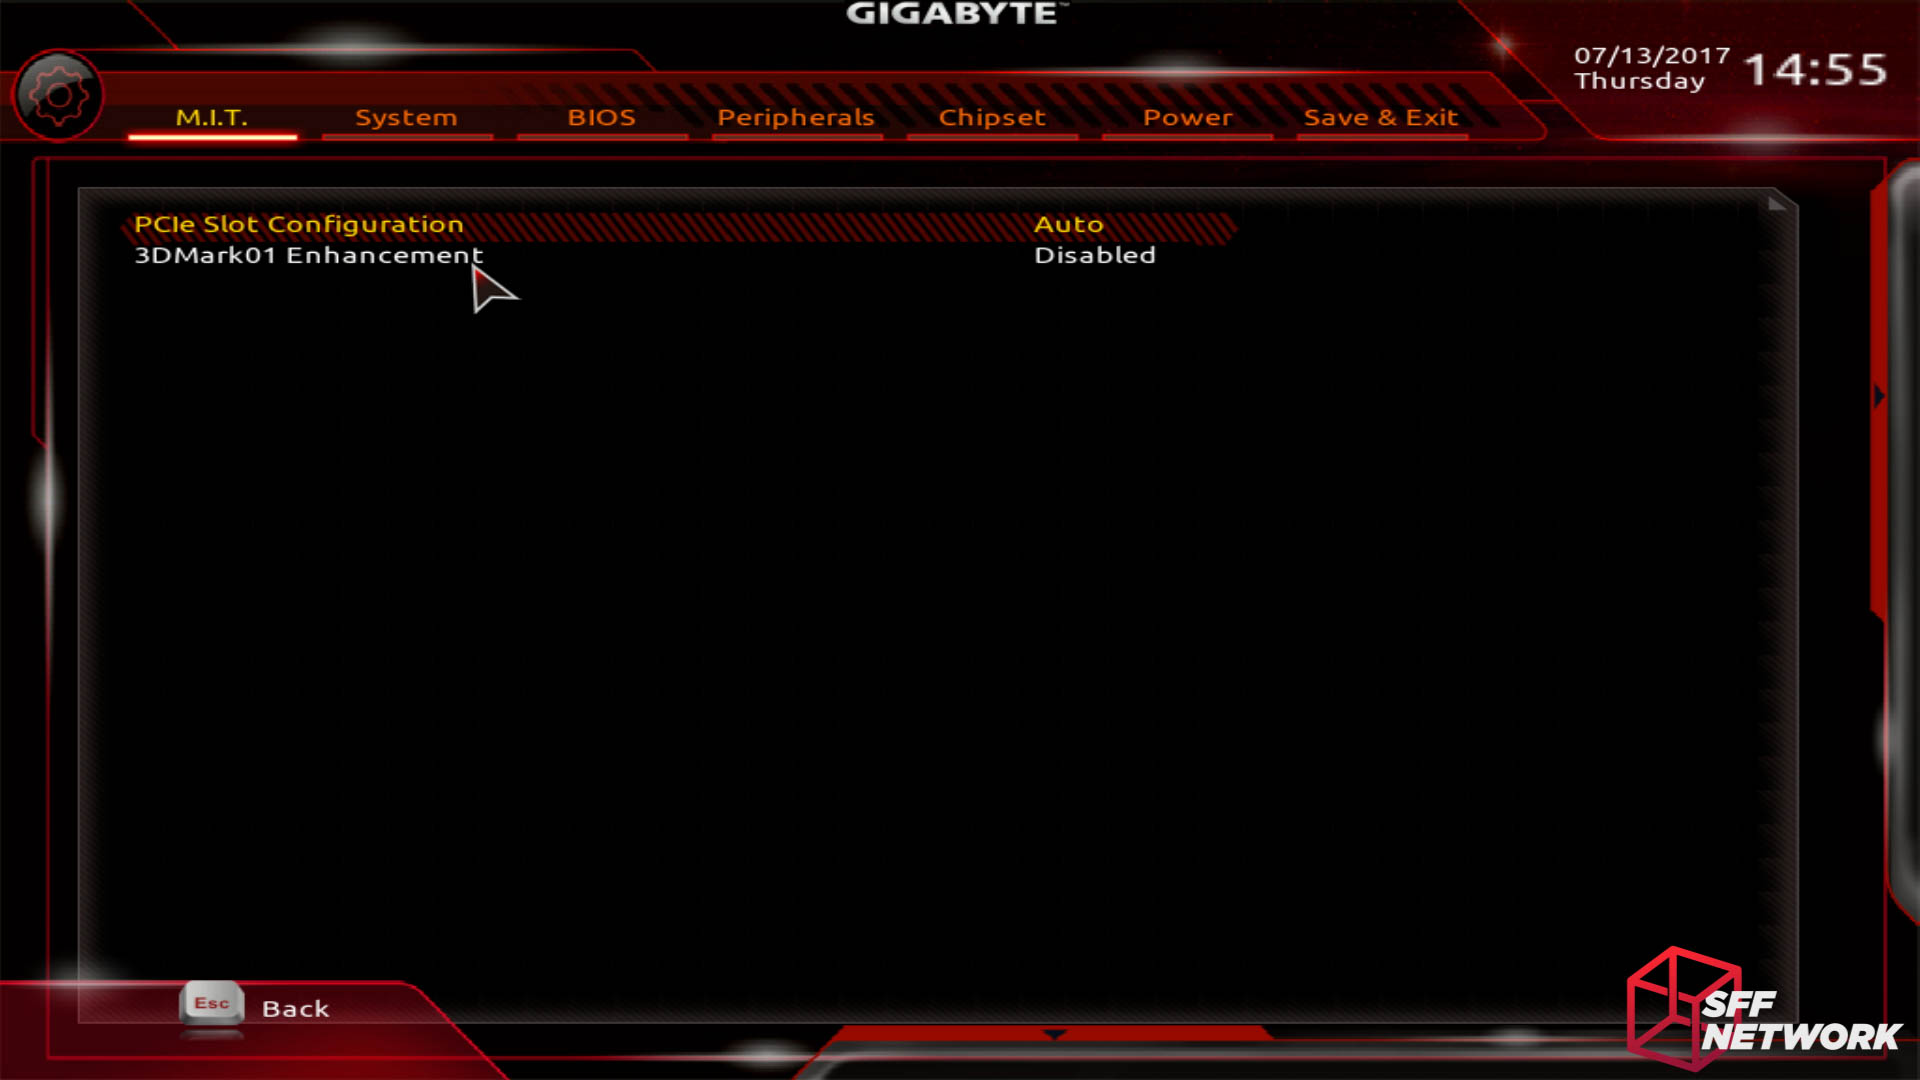
Miscellaneous Settings holds only a couple of options, including the cheeky 3DMark 01 Enhancement setting!
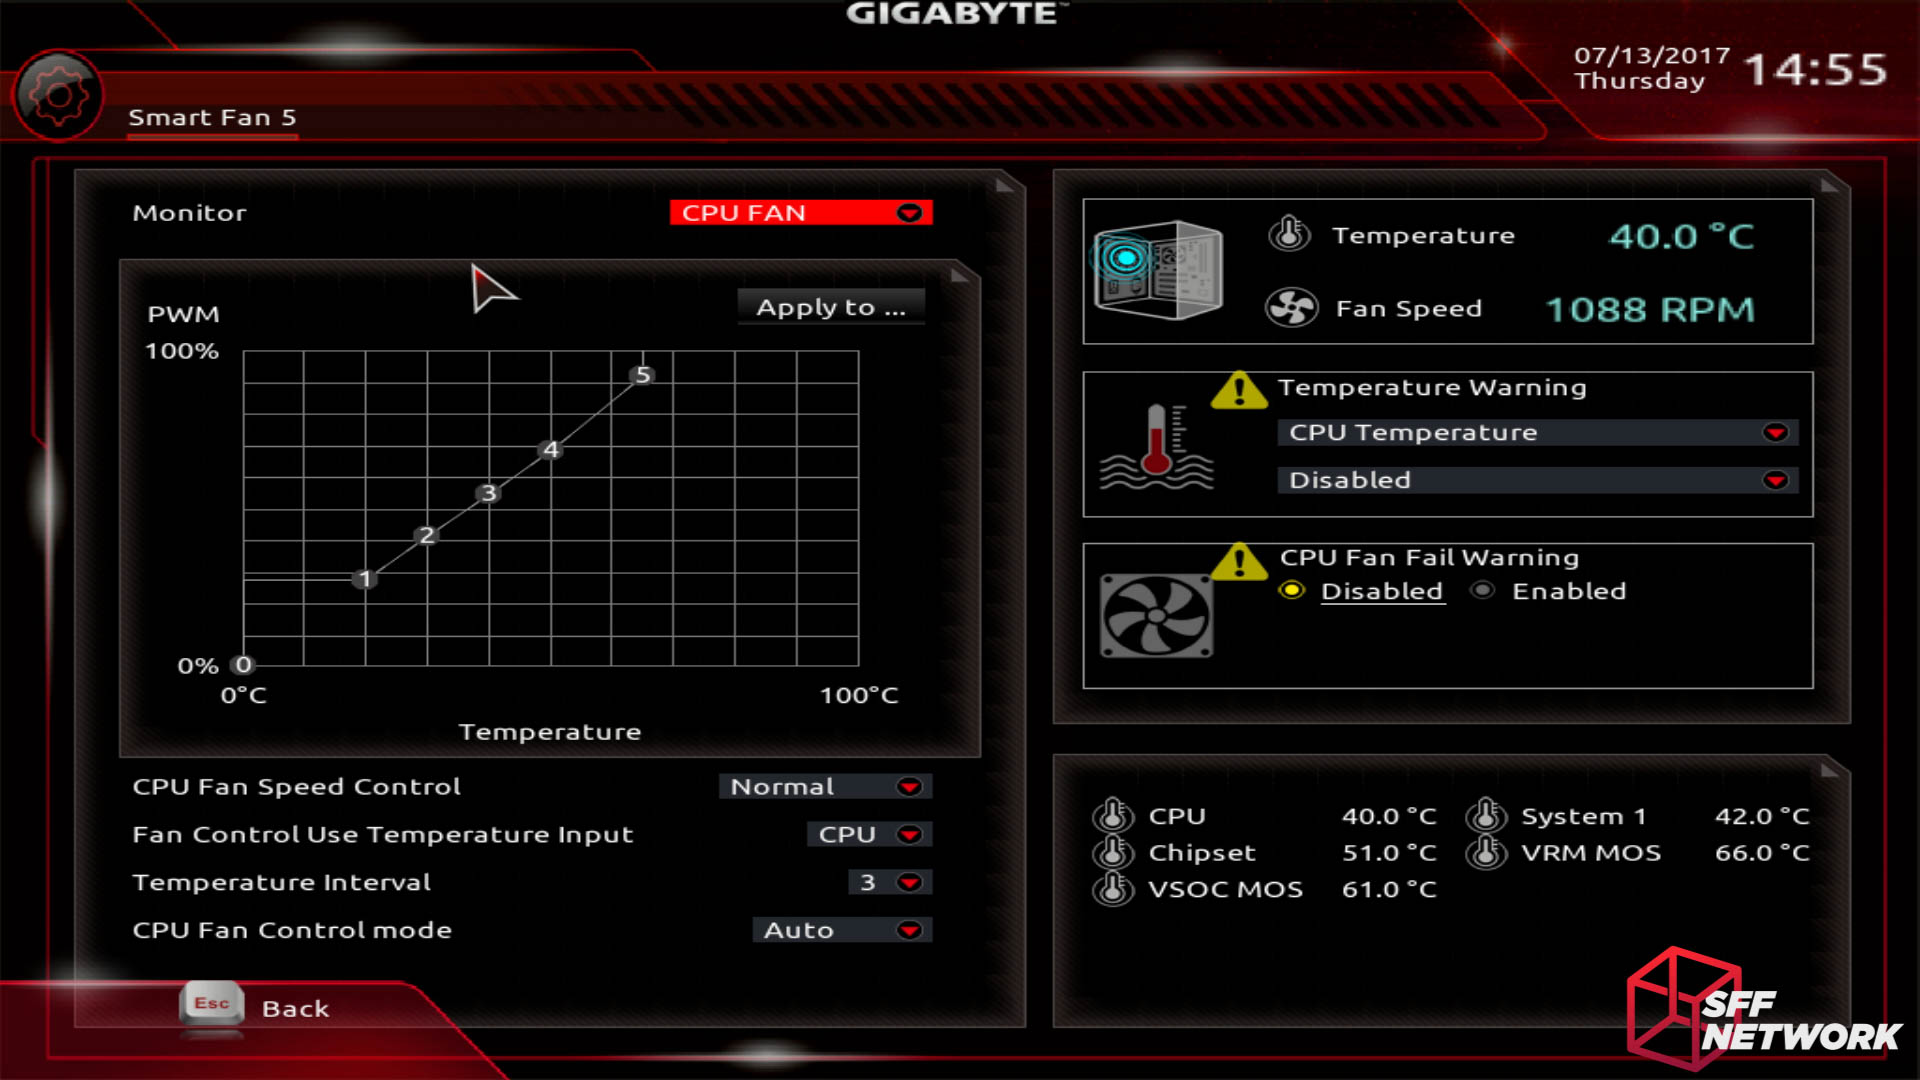
The Smart Fan 5 menu is where we find the aforementioned temperature records, along with fan speed controls, profiles and warning options. This submenu is a nightmare to control, with the mouse issues I mentioned above, and the lack of keyboard shortcuts and simple flow of controls. I chose to play with these settings in software, rather than in BIOS, as I didn’t have the patience to tweak things here.
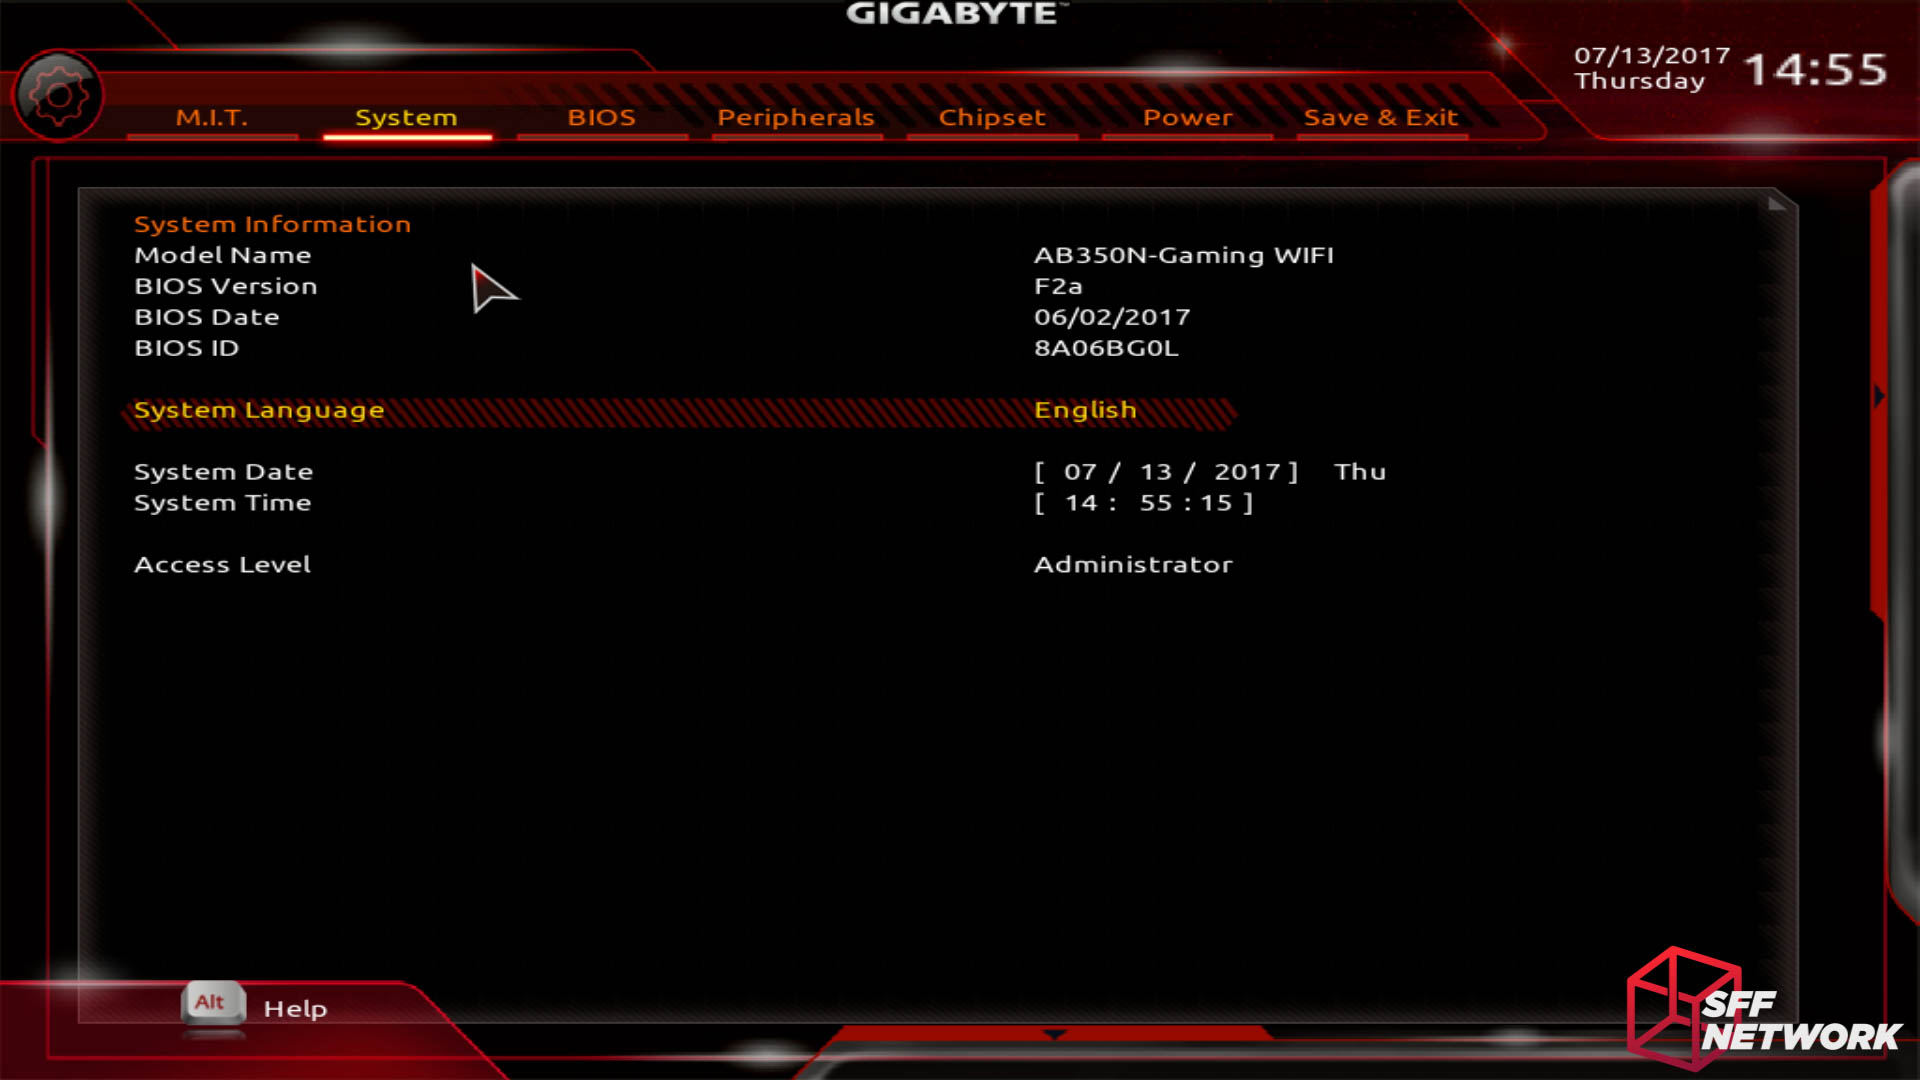
Ahh, the screen we used to have as the default welcome screen to the old BIOS Setup menus. Basic system information and the time/date settings. Feels like home, but with a renovation into a muddy red paint scheme!
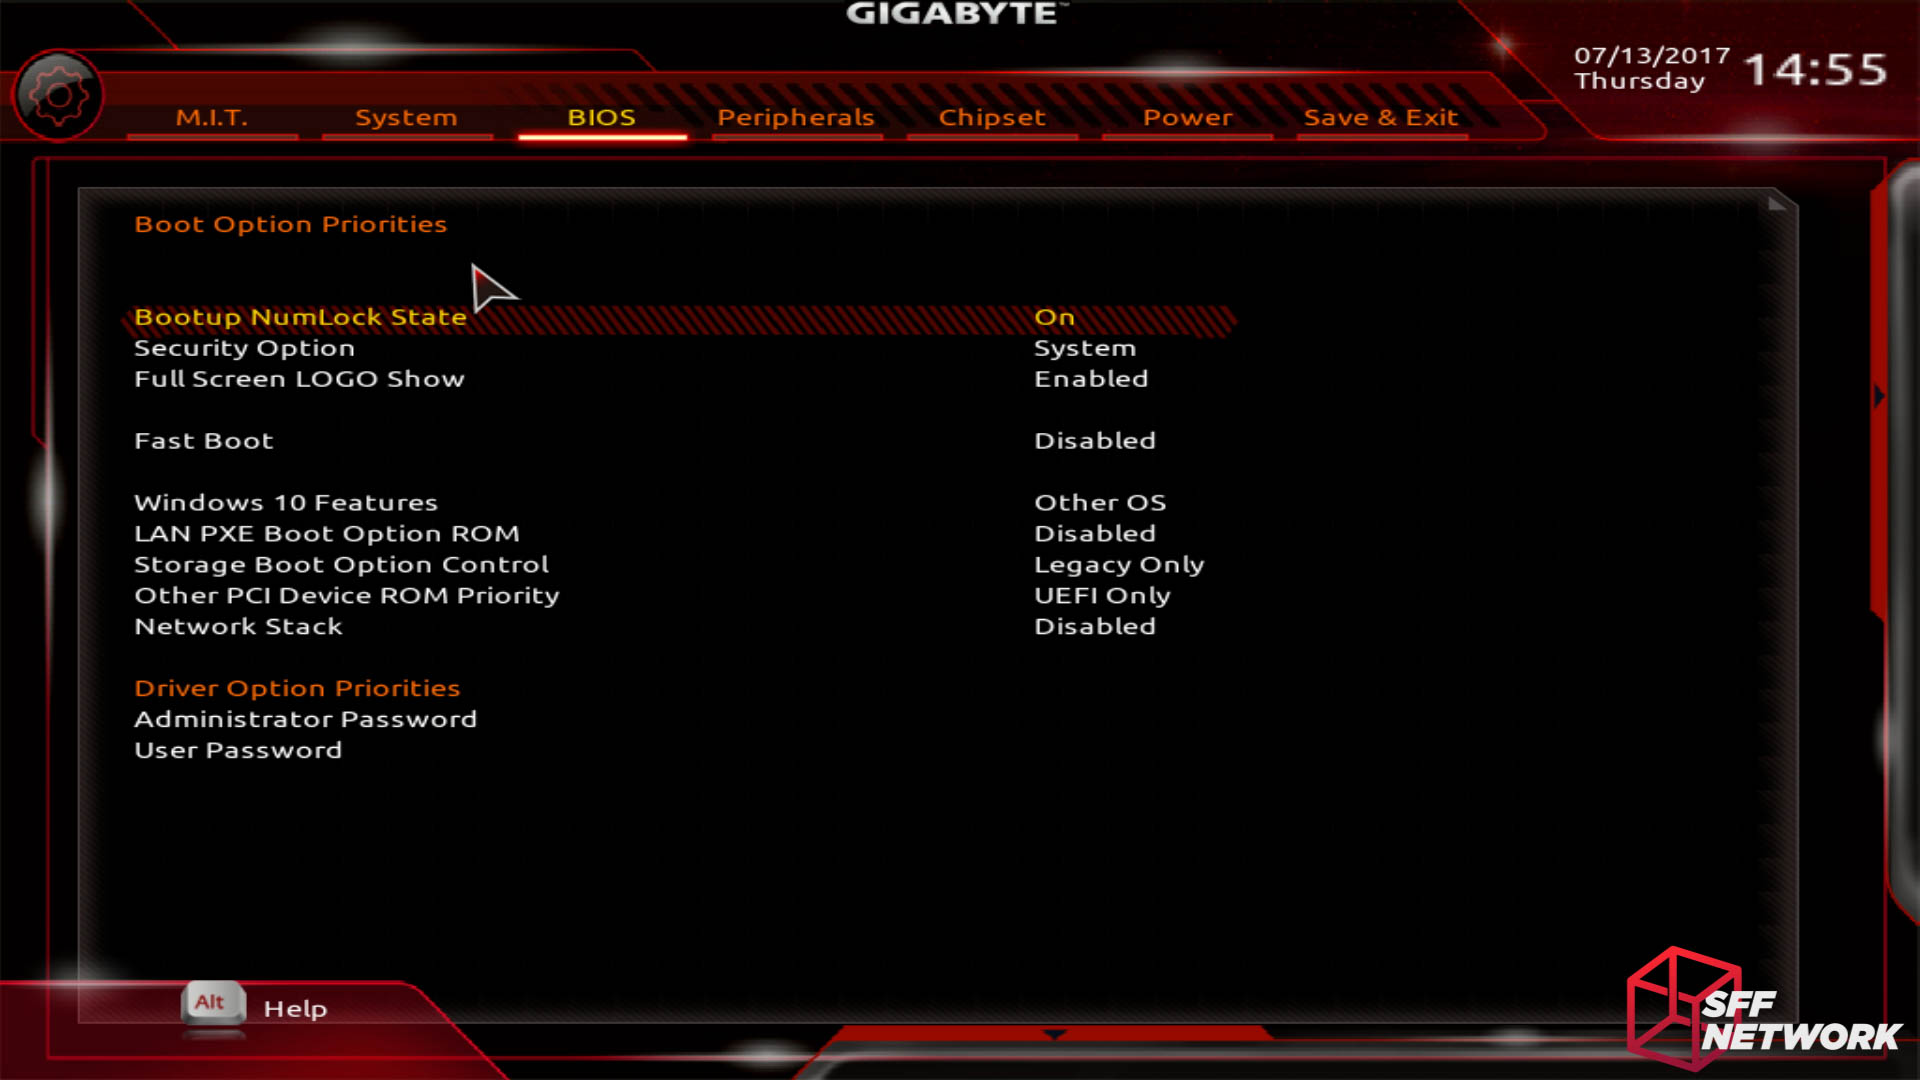
Here we see the settings that pertain to the BIOS/Boot environment. Usually only useful in special cases – although Fast Boot is handy once you’ve got everything configured correctly!

AMD fTPM.. What is that?! fTPM is AMD’s competitor to Intel’s TPM – the Trusted Platform Module, a hardware module that enables certain security and encryption options. No dongle needed on the Ryzen platform! Rumours had it that this option was only available for Ryzen Pro processors, however, this option does work on our Ryzen 5 1600X test processor.
LED_C Connect is an option that configures.. . RGB Fusion is a submenu for setting LED modes within the UEFI environment. However, as with the fan control menu above, the experience is suboptimal due to the limitations of mouse support within the UEFI GUI.
Also included in this menu is a submenu for the TPM settings (Trusted Computing), NVMe config and offboard SATA controller configuration.
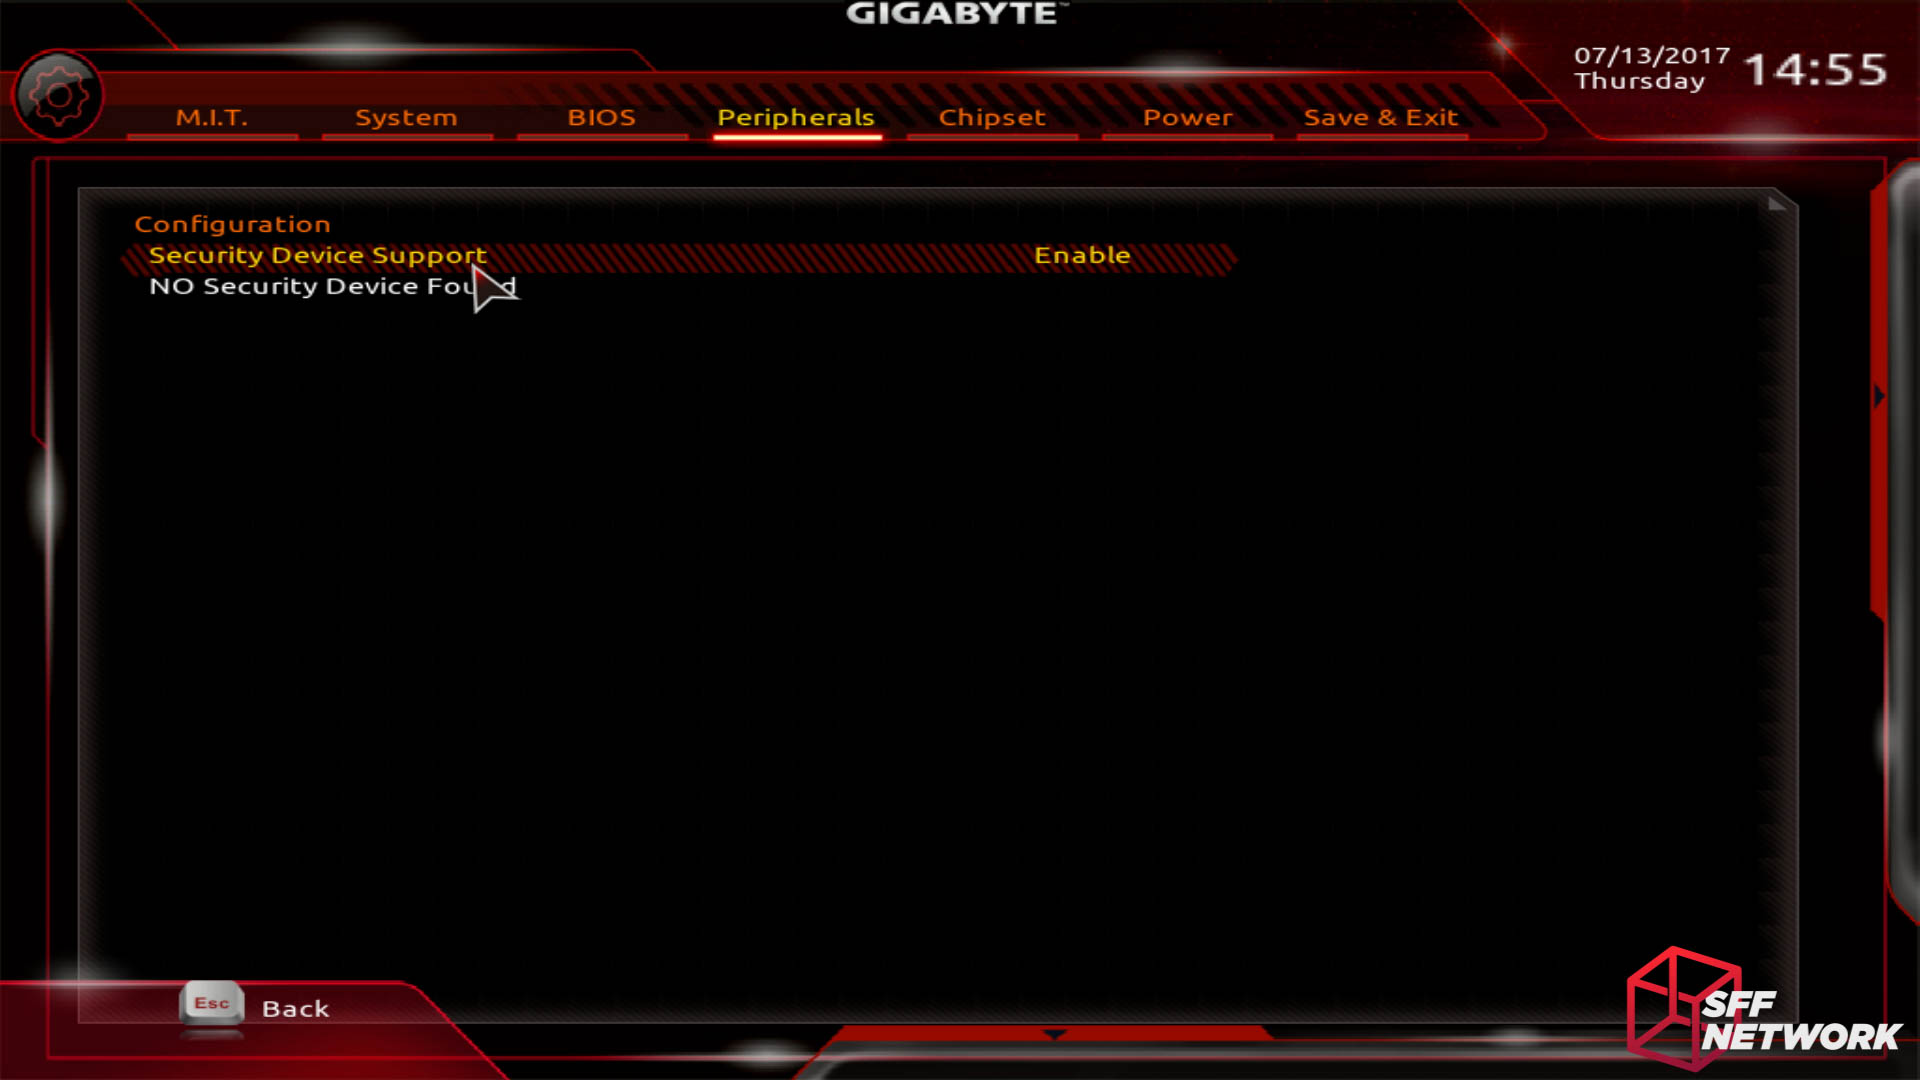
Here lies some basic config for a discrete Trusted Platform Module.

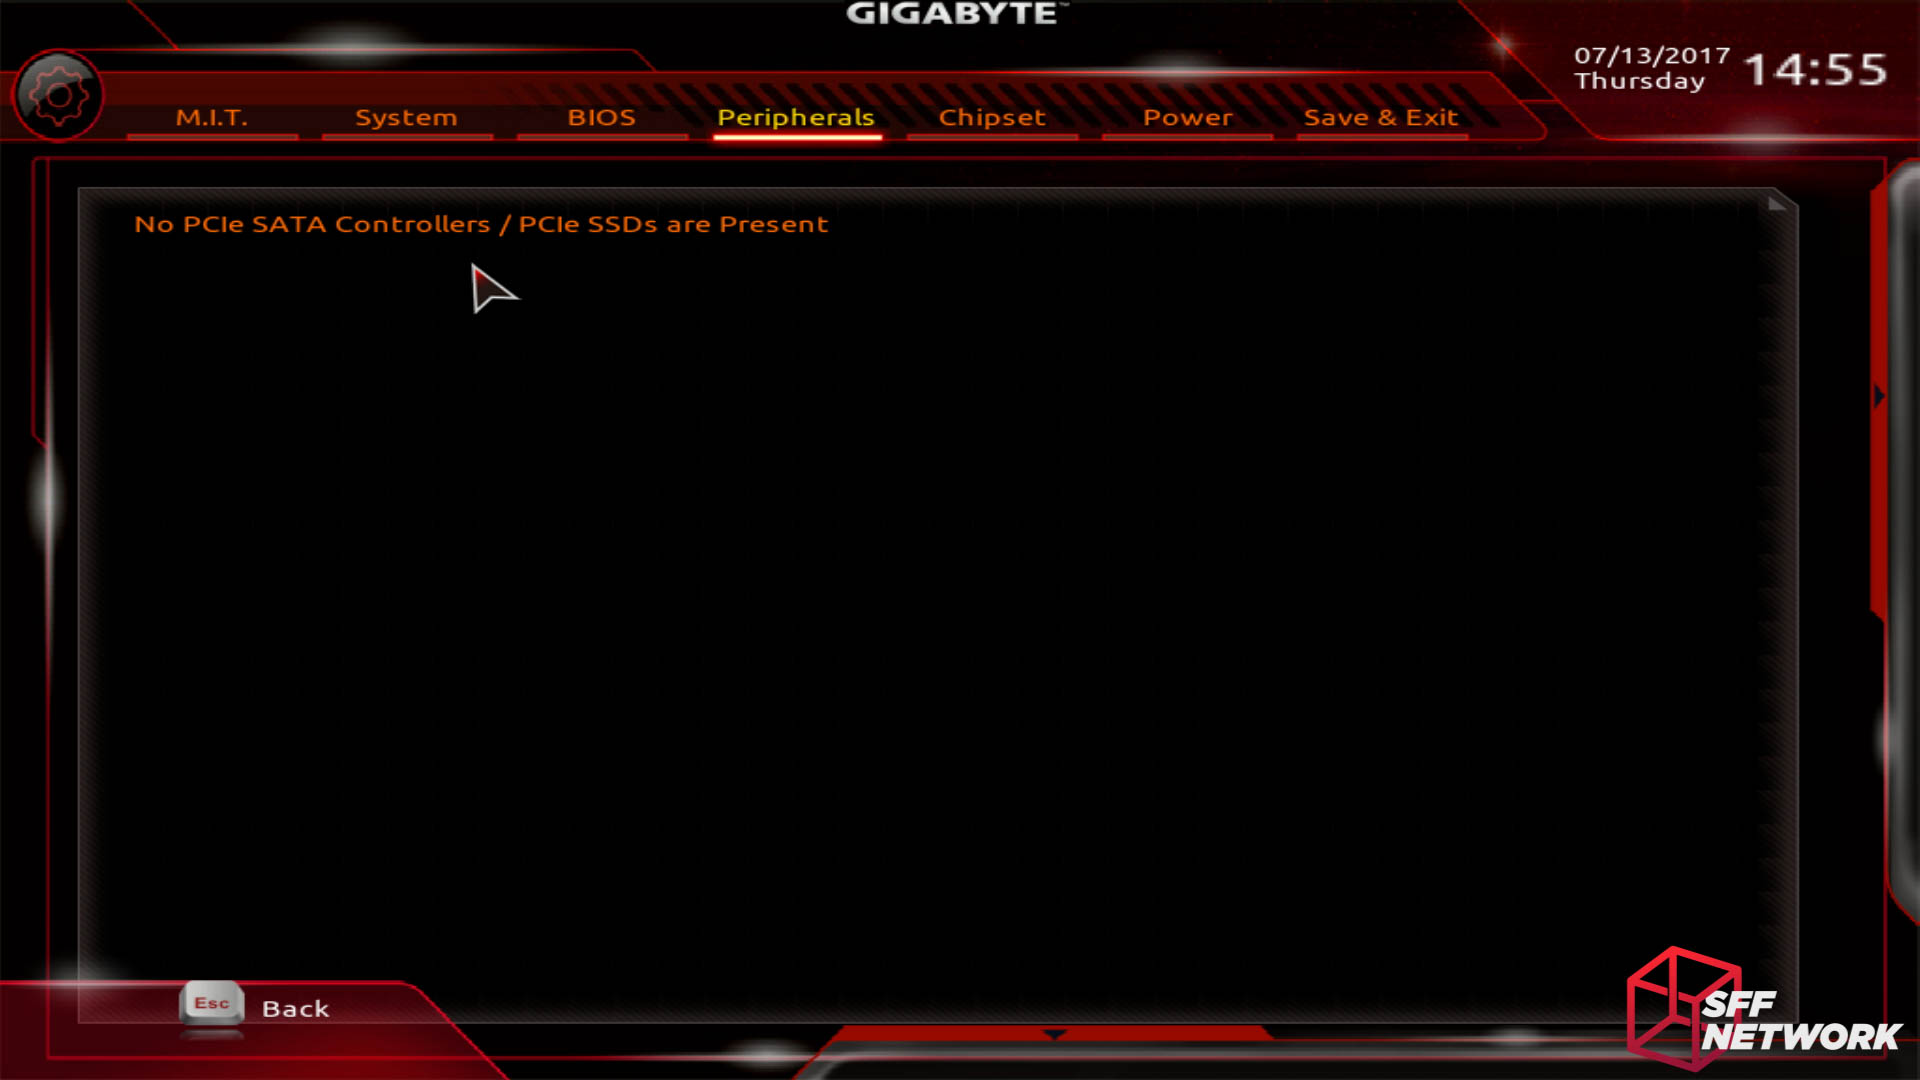
If I had a NVMe drive, I’d be able to config it here. Aww..
Pretty self explanatory, this one.
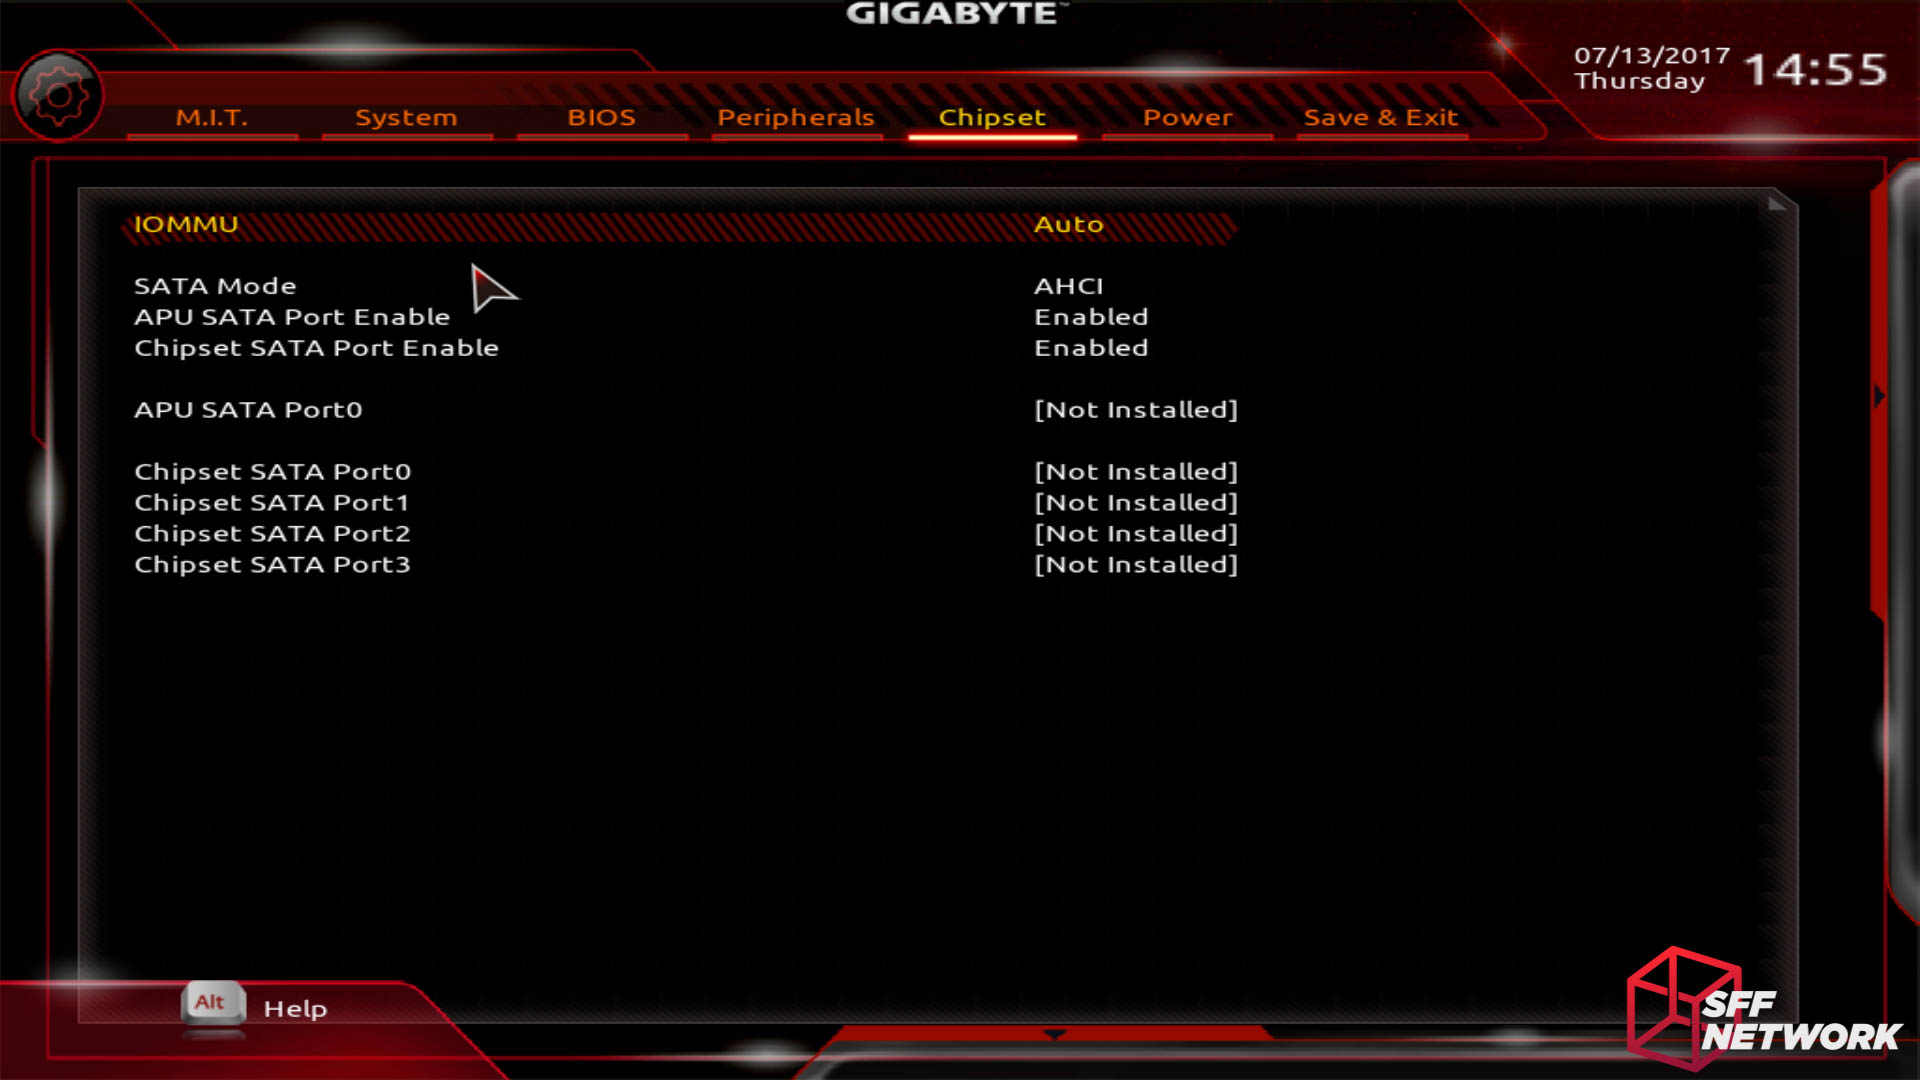
Chipset settings. This is a blend of the controllers inside the CPU/APU (when those arrive), and the discrete B350 chip on the motherboard,
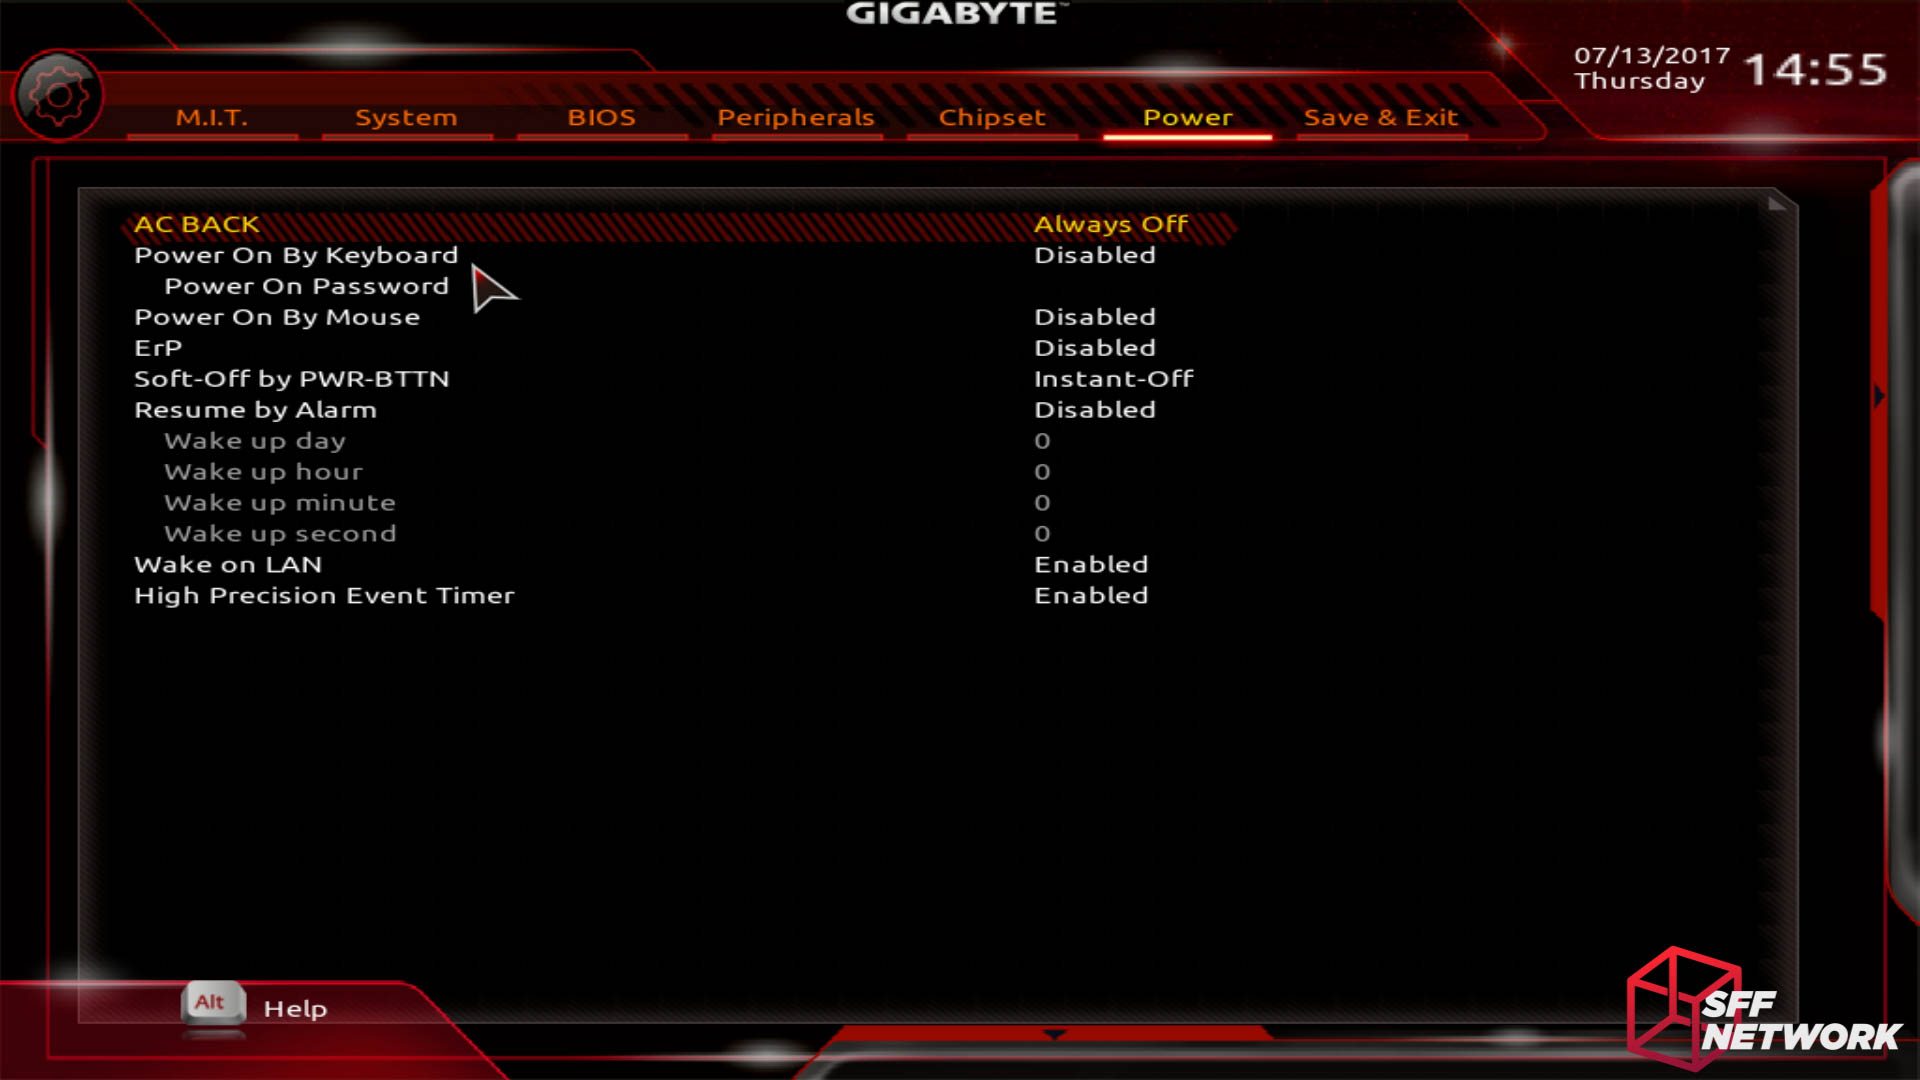
This is where you can set the likes of whether or not your system boots after a power cut, whether your keyboard or mouse can trigger a power on, and the like. Pretty normal stuff.
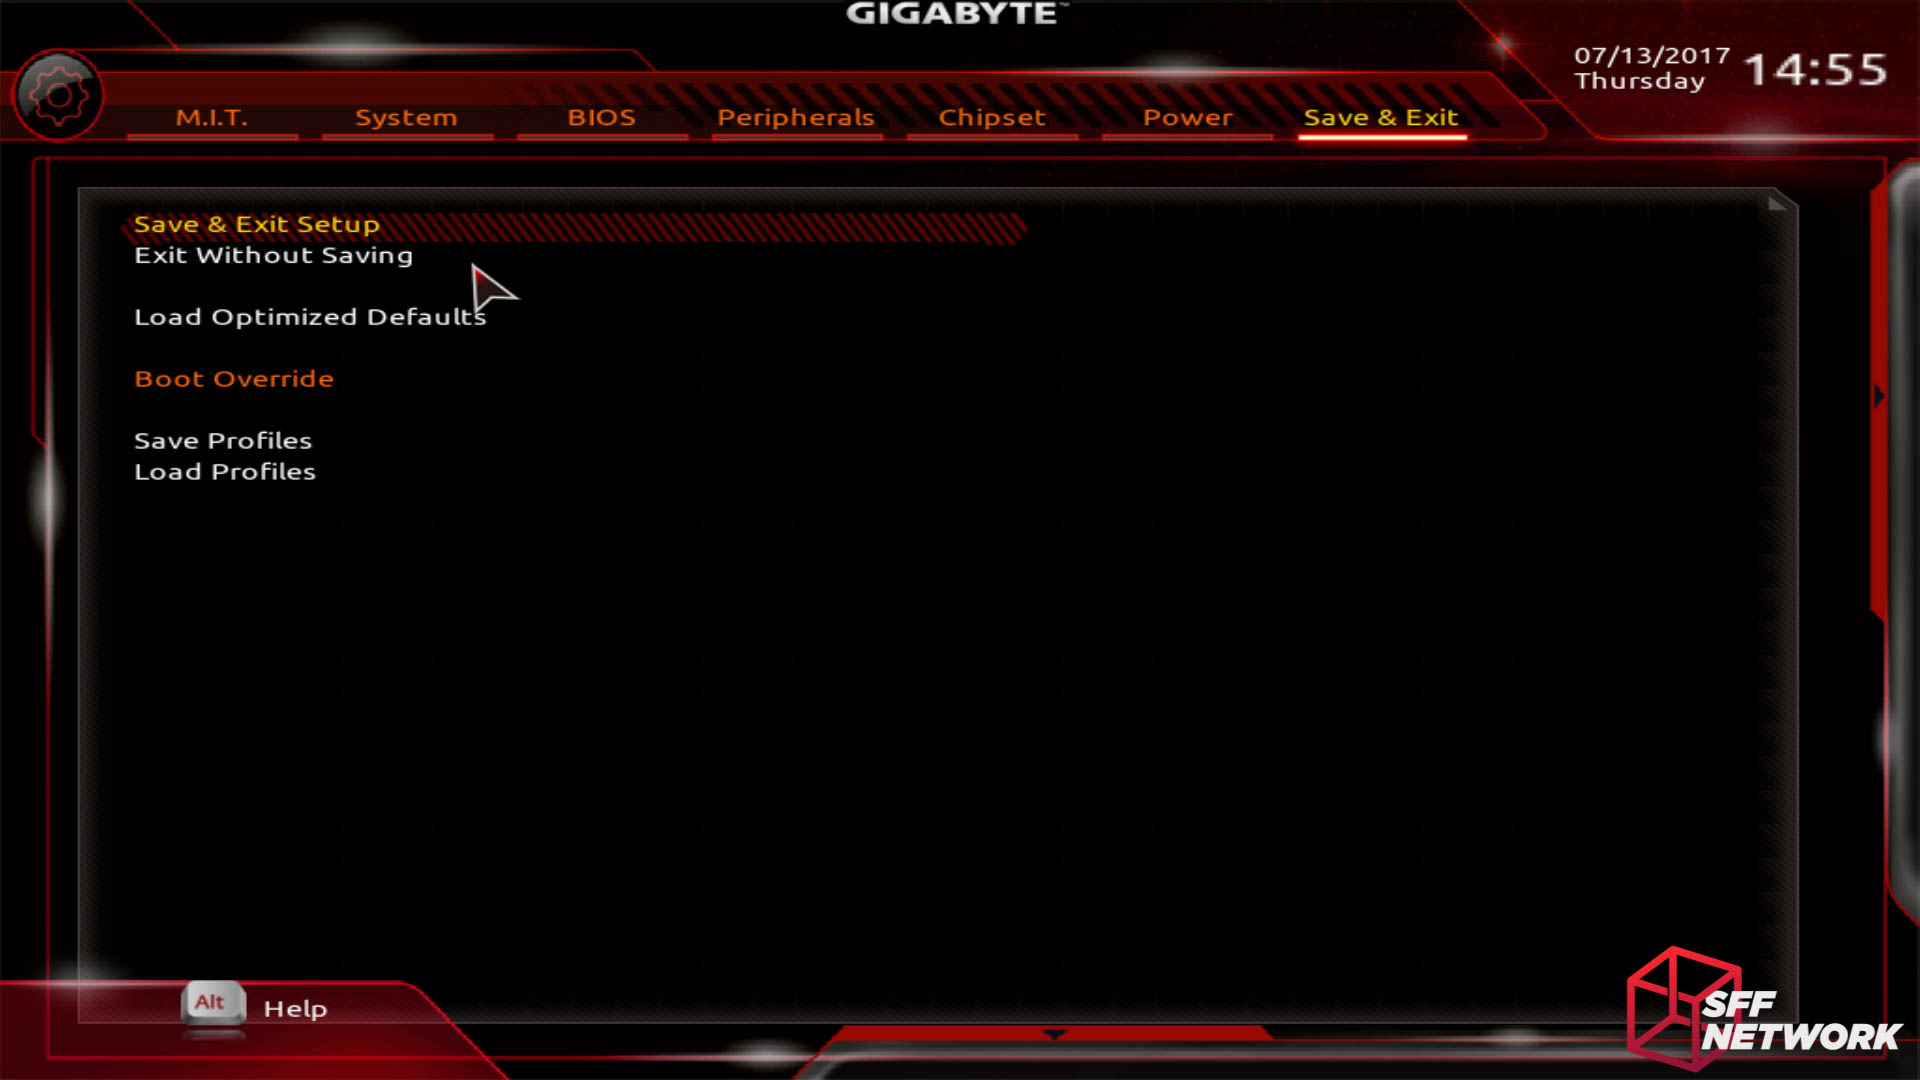
Let’s save what we’ve done and move on! The boot override option here lets you select a different boot device than otherwise set in your configuration – handy for diagnostic systems or (re)installing an operating system.

After saving and rebooting, I re-entered the BIOS environment to ensure the RAM options stuck – and happily they did. This 3200MHz at 14-14-14-34 config is rock solid!
[mks_separator style=”blank” height=”2″]
The Build
To test the Gigabyte AB350N-Gaming WIFI, we used the following hardware and configuration;
| Motherboard | Gigabyte AB350N-Gaming WIFI |
| Case | Open bench |
| CPU | AMD Ryzen 5 1600X |
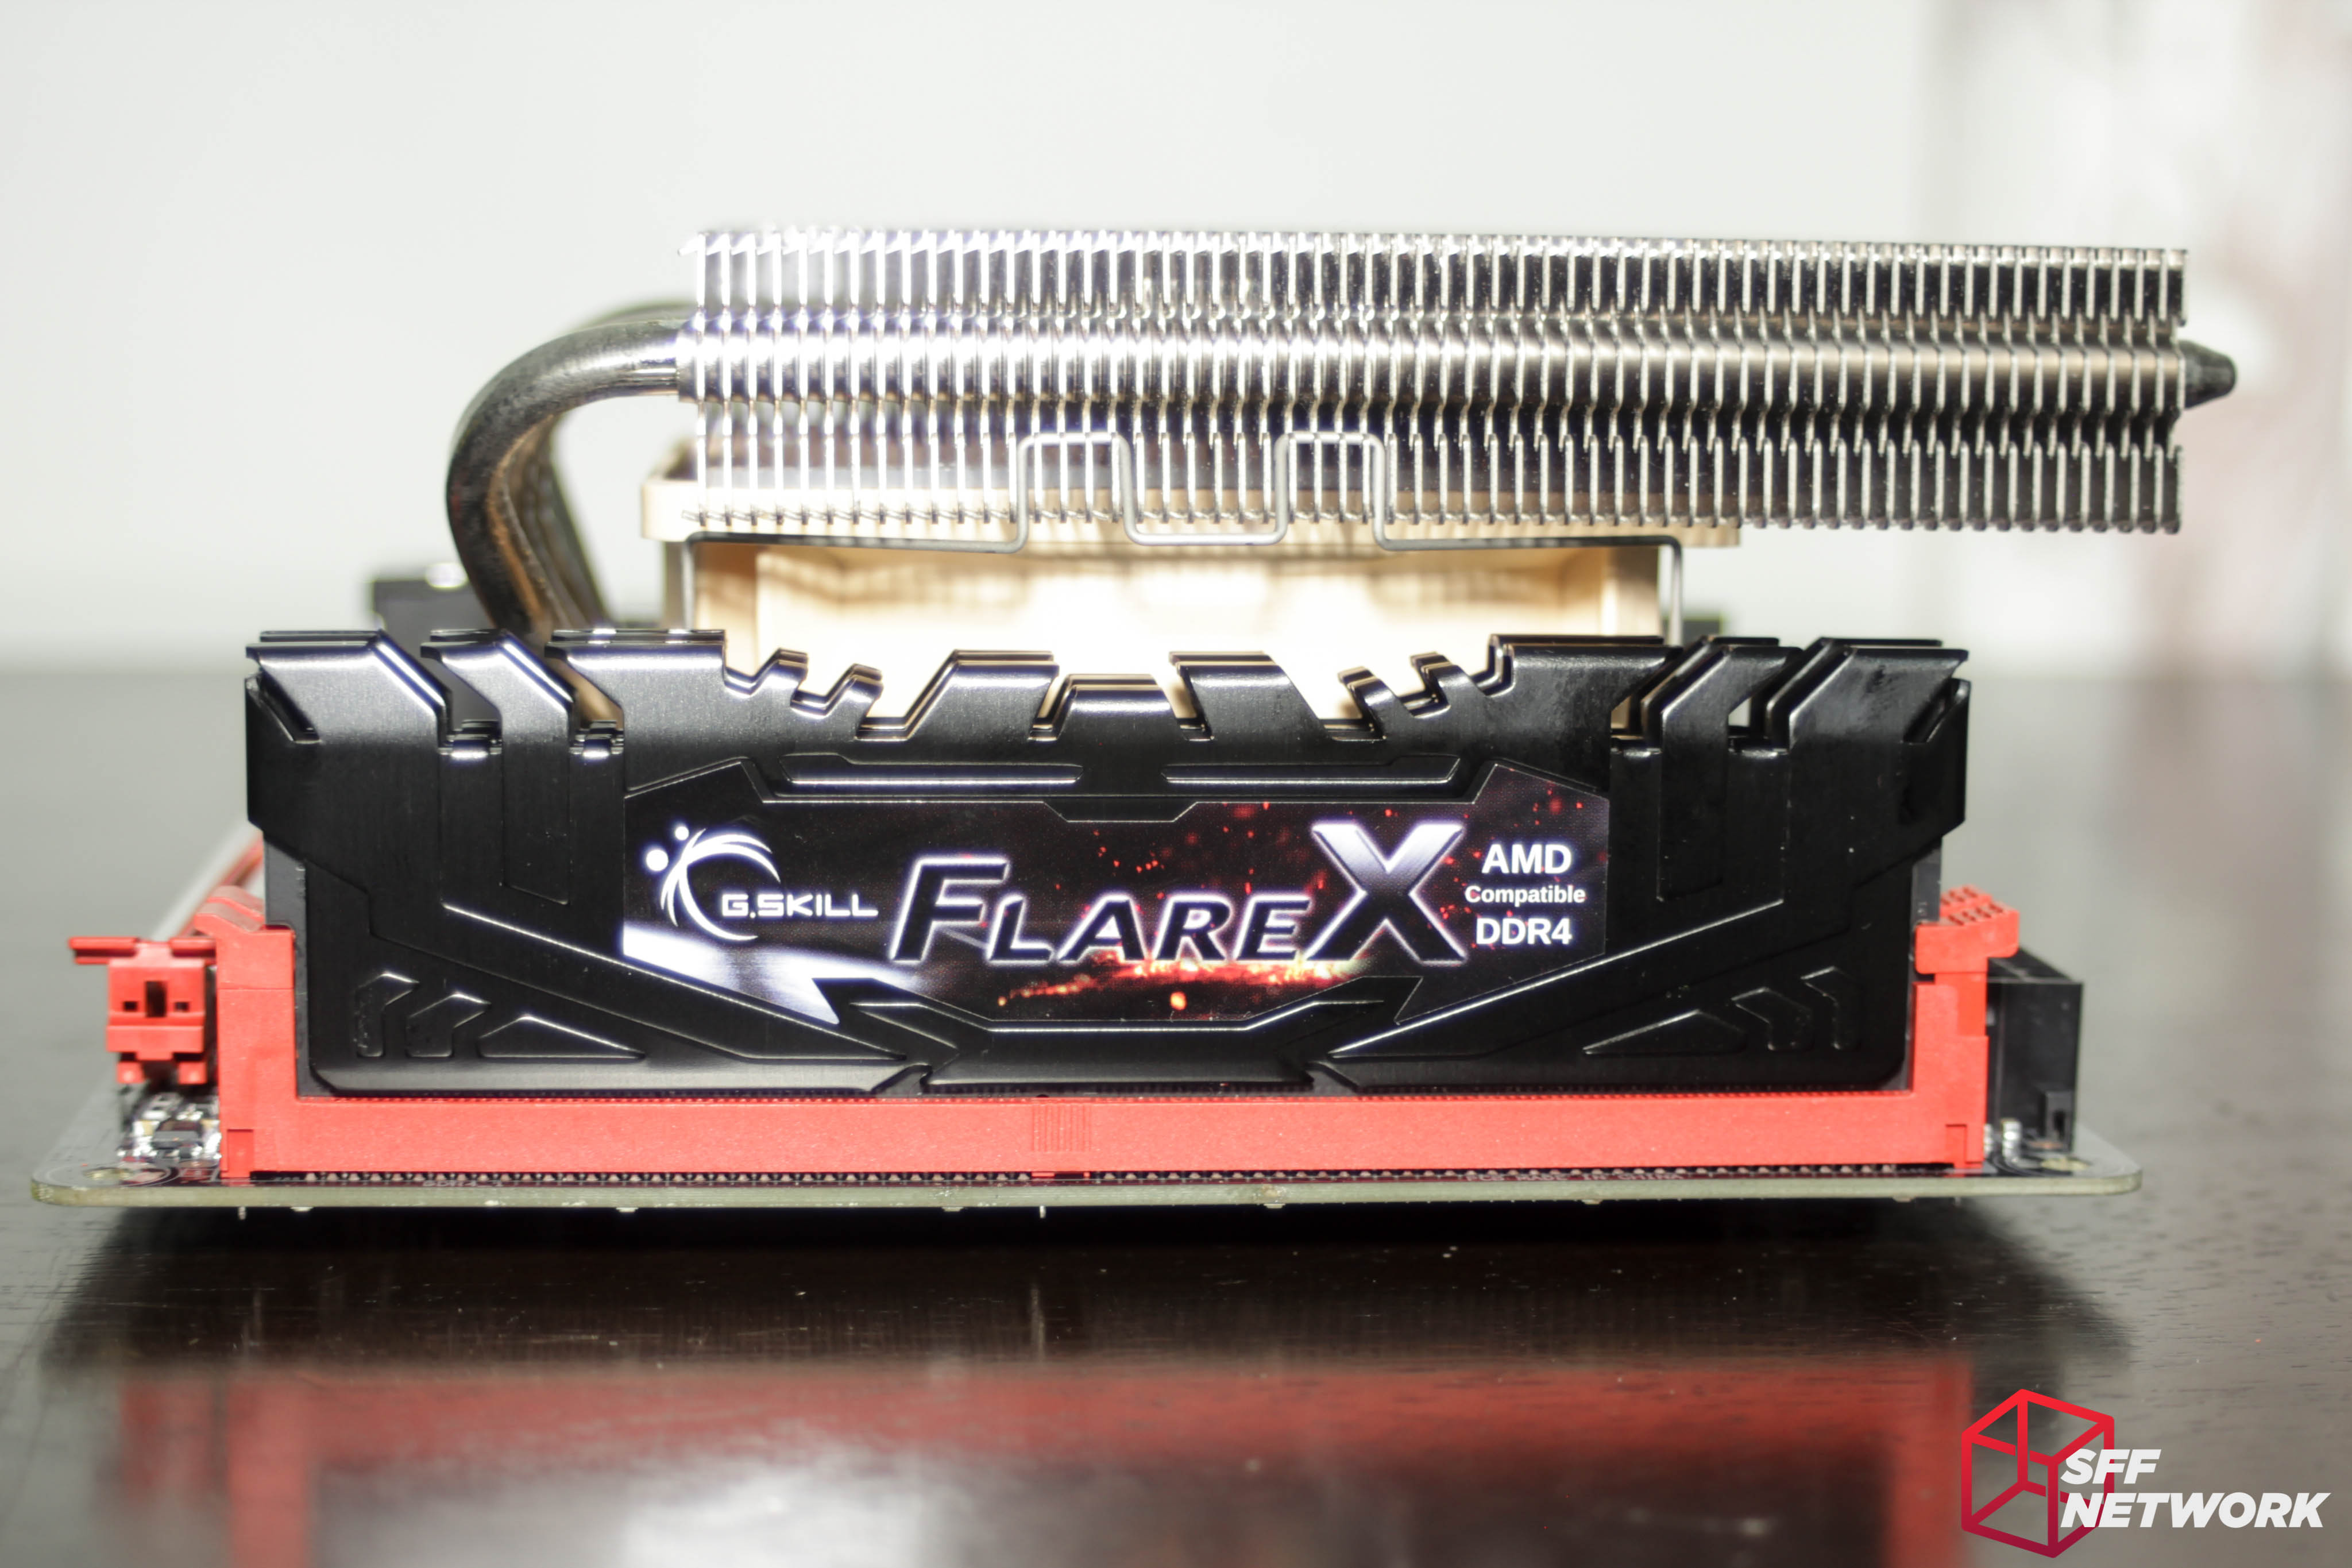
| RAM | G-Skill Flare X 16GB 3200 MHz F4-3200C14D-16GFX |
| SSD | Samsung 800 Series 128GB |
| GPU | Gigabyte GTX 750TI 2GB OC LP |
| Power Supply | FSP Dagger 600W |
| CPU Cooler | Noctua NH-L12 |
| Display | Black Magic Intensity Pro capture card, 1080i |
| BIOS Version | F2 |
The build went very smoothly – no issues apart from the aforementioned order of installation of wiring and CPU cooler. There were no compatibility or fitment issues – perfect. After connecting everything, I hit the power button, and the system booted right up, inspiring confidence in the system, and in my skill (it would be pretty embarrassing if it didn’t work!). The default values in BIOS were pretty close to ideal, however, after installing Windows 10, I decided to do some overclocking.. and stream it to YouTube!
With that, lets see some results from my testing!
[mks_separator style=”blank” height=”2″]
The Results
As performance results are useless without a control, or the very least, an alternate motherboard, I only went for outright overclocking limits on this round of testing. In the future, once we have looked at numerous AM4 motherboards, I will look at a performance roundup of sorts.
Firstly, the RAM overclocking, as that’s what the big issue with the Ryzen platform seems to be at the moment. A lot of folks seem to be maxing out below 3,000 MHz. Running the memory at the specs on the box (plastic tray!), the system was happy at 1.35V, 3200 MHz, 14-14-14-34 timings. Yay! Courtesy of a faster kit’s timing specs, I was also able to get 3600MHz, 16-16-16-36 to run stable. This is exciting!
I then kept pushing, pushing and eventually managed to get 3733MHz to boot into Windows. This held stable at 20-20-20-40 and 1.39v through some 3DMark testing, however, it is not completely stable.
Time for the CPU overclock. The stock speed for our Ryzen 5 1600X is 3600MHz. Let’s see how far I can push that! Through trial and error, I managed to overclock the processor to a maximum of 4GHz. I’m afraid we lost out in the silicon lottery, as this overclock matches the turbo speed of this processor, albeit on all 6 cores rather than the 3 that the turbo mode boosts.
At no point during testing the board did it exhibit any undesirable behaviour out of what is to be expected with overclocking.
[mks_separator style=”blank” height=”2″]
The Software
Like most motherboard manufacturers, Gigabyte supplies custom software to add to the experience of your new system – utilities such as overclocking tools, customisation utilities and other configuration programs.
For most of the software provided for the board, the installation of the Gigabyte App Centre program, a launcher of sorts, is required. Once that is done, further utilities can be installed.
@BIOS
Because of the known issues with the early BIOS software for Ryzen, I decided that the first port of call was installing Gigabyte’s @BIOS software – an application designed to update your motherboard’s BIOS from within Windows. Unfortunately this was of no help – the AB350N-Gaming WIFI I received shipped with BIOS revision F2, and the only option within @BIOS was to downgrade to F1. A week before trialing the software, revision F3 was release on Gigabyte’s product support page. The F3 revision isn’t marked as beta software, so I have no idea why it was not available through Gigabyte’s own software. As a FYI, the F1 BIOS revision definitely hampered RAM speed, maxing out at 3200MHz (no higher option is available!). I found the F3 revision helped RAM overclock stability in a small way – allowing my previously only barely bootable 3733MHz overclock to remain stable throughout 3DMark testing.
RGB Fusion
This program controls the RGB LEDs on the board and any connected LED strips connected via the onboard headers. It also has the ability to be controlled via an Android or iOS app, however, the phone app wouldn’t connect on my network, and I was unable to solve this problem. Also, the app is limited in functionality, in areas I would consider useful, such as modifying the colours used for the temperature gradient.
Cloud Station
A suite of apps bundled into one, including remote control software, file sharing software and remote overclocking software.
Easy Tune
Basically Gigabyte’s overclocking software for the Windows OS. Most motherboard manufacturers supply similar software with their boards, but they vary greatly by functionality and ease of use. Gigabyte’s EasyTune is among the better utilities I have used, with simple options for the novices, and more granular control for those of us who are more experienced.
Fast Boot
Does what it says on the tin – modifies the settings in BIOS regarding Fast Boot and behaviour after powerloss.
Game Boost
Simply kills most system processes that aren’t essential to try and enhance gaming performance. Unless your system is struggling to run a game, I don’t see this really making any perceivable difference.
Auto Green
Utilising a connection to a bluetooth device (for example your phone), you can use this application to automatically lock or put your computer to sleep when you walk away from your desk.
USB Blocker
A handy tool for those who want to set up a system for a family member, child, or business – you can select certain types of USB devices (flash drives, printers, etc) and block them from being recognised by Windows. Not a defence against USB Killers, but at least the system’s end user won’t enable infection by plugging in that flash drive they found on the side of the road..
On/Off Charge
Charge your USB devices while your PC is off. Enough said.
Smart Keyboard
Assign your own macros to your existing keyboard!
Smart Backup
A software RAID utility. Let me say it now – RAID is not a total data security solution. RAID and regular, off site if possible, backups are the minimum!
Smart Time lock
A parental control tool mostly – enables an administrator to control the hours the system is powered on. Also useful for saving the last few cents in a business by shutting down user’s PCs overnight.
3D OSD
A screen overlay application that can display vital information during full screen applications. Parameters such as temperatures and fan speeds can be displayed on the overlay provided.
Smart Cam
While this is advertised as a free utility, it is actually a 1 month trial to TriDef® SmartCam software, which is a modern equivalent of using a green screen background – it can remove any static backgrounds for the likes of game streaming and Skype conversations. The full version of this software costs US$14.99 from the publisher.
XSplit
A streaming software package, provided, like Smart Cam above, as a trial installation. The trial is valid for 14 days for this package. The software is licenced periodically after your trial ends. I suggest OBS instead, a free, open source alternative.
[mks_separator style=”blank” height=”2″]
The Bifurcation
PCIe bifurcation is a major discussion point within our community, with the possibility of splitting up your single PCIe slot into dual (or more) expansion slots. This can be achieved on boards that support it, by either a passive or active riser, depending on the situation and board support.
To test support, I use an Ameri-Rack ARC1-PELY423-CxV3 riser, which is an active riser, using the P16C20400SLE chip, some passives, and a flexible ribbon cable. In addition to this, I install an EVGA GT210 GPU and a RAID card (PCIe x4 card) or a Realtek NIC (PCIe x1) in the two slots on the riser. I test in both configurations (hence using the single slot card!).
On the Gigabyte AB350N-Gaming WIFI, the results were not positive. While the GPU worked in the lower slot, the RAID card or the NIC was not detected in the upper slot. I reversed the card configuration with the GT210 and NIC, but Windows 10 was still having none of it and still refused to see the NIC. Running the x4 RAID card, the system refused to even POST.
Bifurcation is a bust on this board, sorry folks.
[mks_separator style=”blank” height=”2″]
The Experience
Overall, the initial installation and booting experience left me happy with the package provided by Gigabyte. Just enough material is supplied by the manufacturer to get started for all but the most inexperienced of users. The box included enough accessories to build a basic system, albeit limited in drive quantities. I would have preferred the box to include 4 SATA cables, enough to fully populate the system. Maybe include this instead of the shiny coaster they call the driver CD?
I did have to enable the RAM XMP profile in BIOS to get the full performance out of the system, which may be an issue to a more inexperienced system builder who may be afraid of modifying BIOS settings outside of date, time, and boot device. All devices other than RAM configured correctly.
I experienced no issues installing Windows 10, with no missing essential hardware drivers. Configuring all the hardware to work was a non-issue, and it was a smooth, seamless experience.
[mks_separator style=”blank” height=”2″]
The Conclusion
My experience with the Gigabyte AB350N-Gaming WIFI was overall a positive one, with only minor niggles getting in the way of an extremely positive experience. Gaining the Ryzen 5 1600X RAM overclock record was icing on the cake – something to taunt the large form factor proponents with!
Overclocking on the board was a dream, as was building on the platform. My preferences aside, I would recommend this board to anyone looking at Ryzen M-ITX, as from my testing and others, it is one of the better ones. In the future we will test the other offerings, however, this is a fantastic start to our AM4 experience.
Pros
- Great RAM overclocking board
- Good layout (in my opinion!)
- Good I/O configuration
- Great feature set for M-ITX
- Replaceable WiFi card
- Industrial quality power circuitry
- Good VRM cooling
Cons
- Poor layout (in other’s opinion)
- RGB Fusion doesn’t work on my network
- PCIe bifurcation support is non-existent in testing
- Minimal included accessories
- Can’t adjust the failed overclock reboot count (to save it rebooting three times each time an OC fails)
Niggles
- Driver CD included – why is this still a thing?
The Forum
Discuss this review in the ongoing discussion thread in our community forum.