
History lesson time folks! Back in the early 2000’s, a FPS shooter player, Johnathan ‘Fatal1ty’ Wendel, was dominating the competitive gaming scene, earning attention from not only the gaming fraternity, but mainstream media also. Soon enough, a company, ABit, approached Fatal1ty with a brand deal. ABit would build Fatal1ty branded hardware, cementing his name in the minds of the gamers and hardware enthusiasts of the era.
ABit unfortunately fell, along with DFI, BFG and a few other contemporaries. What once were glorious hardware manufacturers, became relegated to history. Some retreated to OEM only production, while others were stripped for any valuable parts, carcasses torn asunder in the brutal PC hardware market. In the time around this period, ASRock picked up the Fatal1ty brand, and has kept building on it, with Johnathan still supporting the development and marketing with his own company, Fatal1ty Inc.
The Fatal1ty branding is a love it or hate it situation, with some PC enthusiasts considering it a gimmick, while others consider it a mark of quality gaming hardware. Which is it? Let’s have a look at two Fatal1ty branded product, the ASRock Fatal1ty X370 Gaming-ITX/ac M-ITX and the ASRock Fatal1ty AB350 Gaming-ITX/ac motherboards.
Table of Contents
The Specifications
| Model Name | Fatal1ty X370 Gaming-ITX/ac, Fatal1ty AB350 Gaming-ITX/ac |
| Socket | AM4 |
| Chipset | AMD X370/ B350 |
| Memory | 2x DDR4 DIMM Slots Supporting up to 32GB |
| Memory Speed | DDR4-2133/2400/2667 in normal mode, 2933/3200/3466+ in OC mode |
| Memory Misc | ECC not supported, XMP supported |
| Onboard Graphics | 2x HDMI 1.4 port (dependent on installed processor) |
| Audio | Realtek ALC1220 codec, 2/4/5.1/7.1 channel audio |
| LAN | Intel GbE 10/100/1000 MBit, Intel I211AT |
| Wireless | Wi-Fi 802.11 a/b/g/n/ac, 2.4 and 5GHz |
| Bluetooth | 4.2/3.0 + High Speed Class II |
| Expansion Slots | 1 x PCIe 3.0 x16 (x8 with Bristol Ridge APU), 1 x M.2 Socket (Key E) connector for WiFi module |
| Storage | 4 x SATA 6Gb/s with support for RAID 0, 1, 10, and 1 x M.2 Socket 3, Type 2260/2280 SATA and PCIe x4/x2 |
| USB |
1 x USB 3.1 Gen 1 Type-A port on rear panel 2 x USB 3.0 Gen 1 ports, internal header 4 x USB 2.0/1.1 ports (2 on rear panel, 2 available via internal header) 2 x USB 3.1 Gen 1 ports on rear panel (blue) 1 x USB Type C on rear panel |
| Internal I/O |
1 x 24-pin ATX main power connector 1 x 8-pin ATX 12V power connector 1 x CPU fan header 1 x System fan/ waterpump header 4 x SATA 6Gb/s connectors 1 x M.2 Socket M key connector on the back of the motherboard 1 x front panel header 1 x front panel audio header 1 x USB 3.1 Gen 1 header 1 x USB 2.0/1.1 header 1 x CPU cooler LED strip/RGB LED strip extension cable header 1 x Trusted Platform Module (TPM) header 1 x Speaker header 1 x Clear CMOS jumper 1 x chassis intrusion header |
| Rear I/O |
1 x PS/2 keyboard/mouse port 2 x SMA antenna connectors 1 x Optical S/PDIF Out Port 2 x HDMI port 2 x USB 2.0/1.1 ports 1 x USB 3.1 Gen 1 Type-A port 1x USB Type-C Port 2 x USB 3.0 ports 1 x RJ-45 port 6 x audio jacks (Center/Subwoofer Speaker Out, Rear Speaker Out, Side Speaker Out, Line In, Line Out, Mic In) |
[mks_separator style=”blank” height=”2″]
The Unboxing
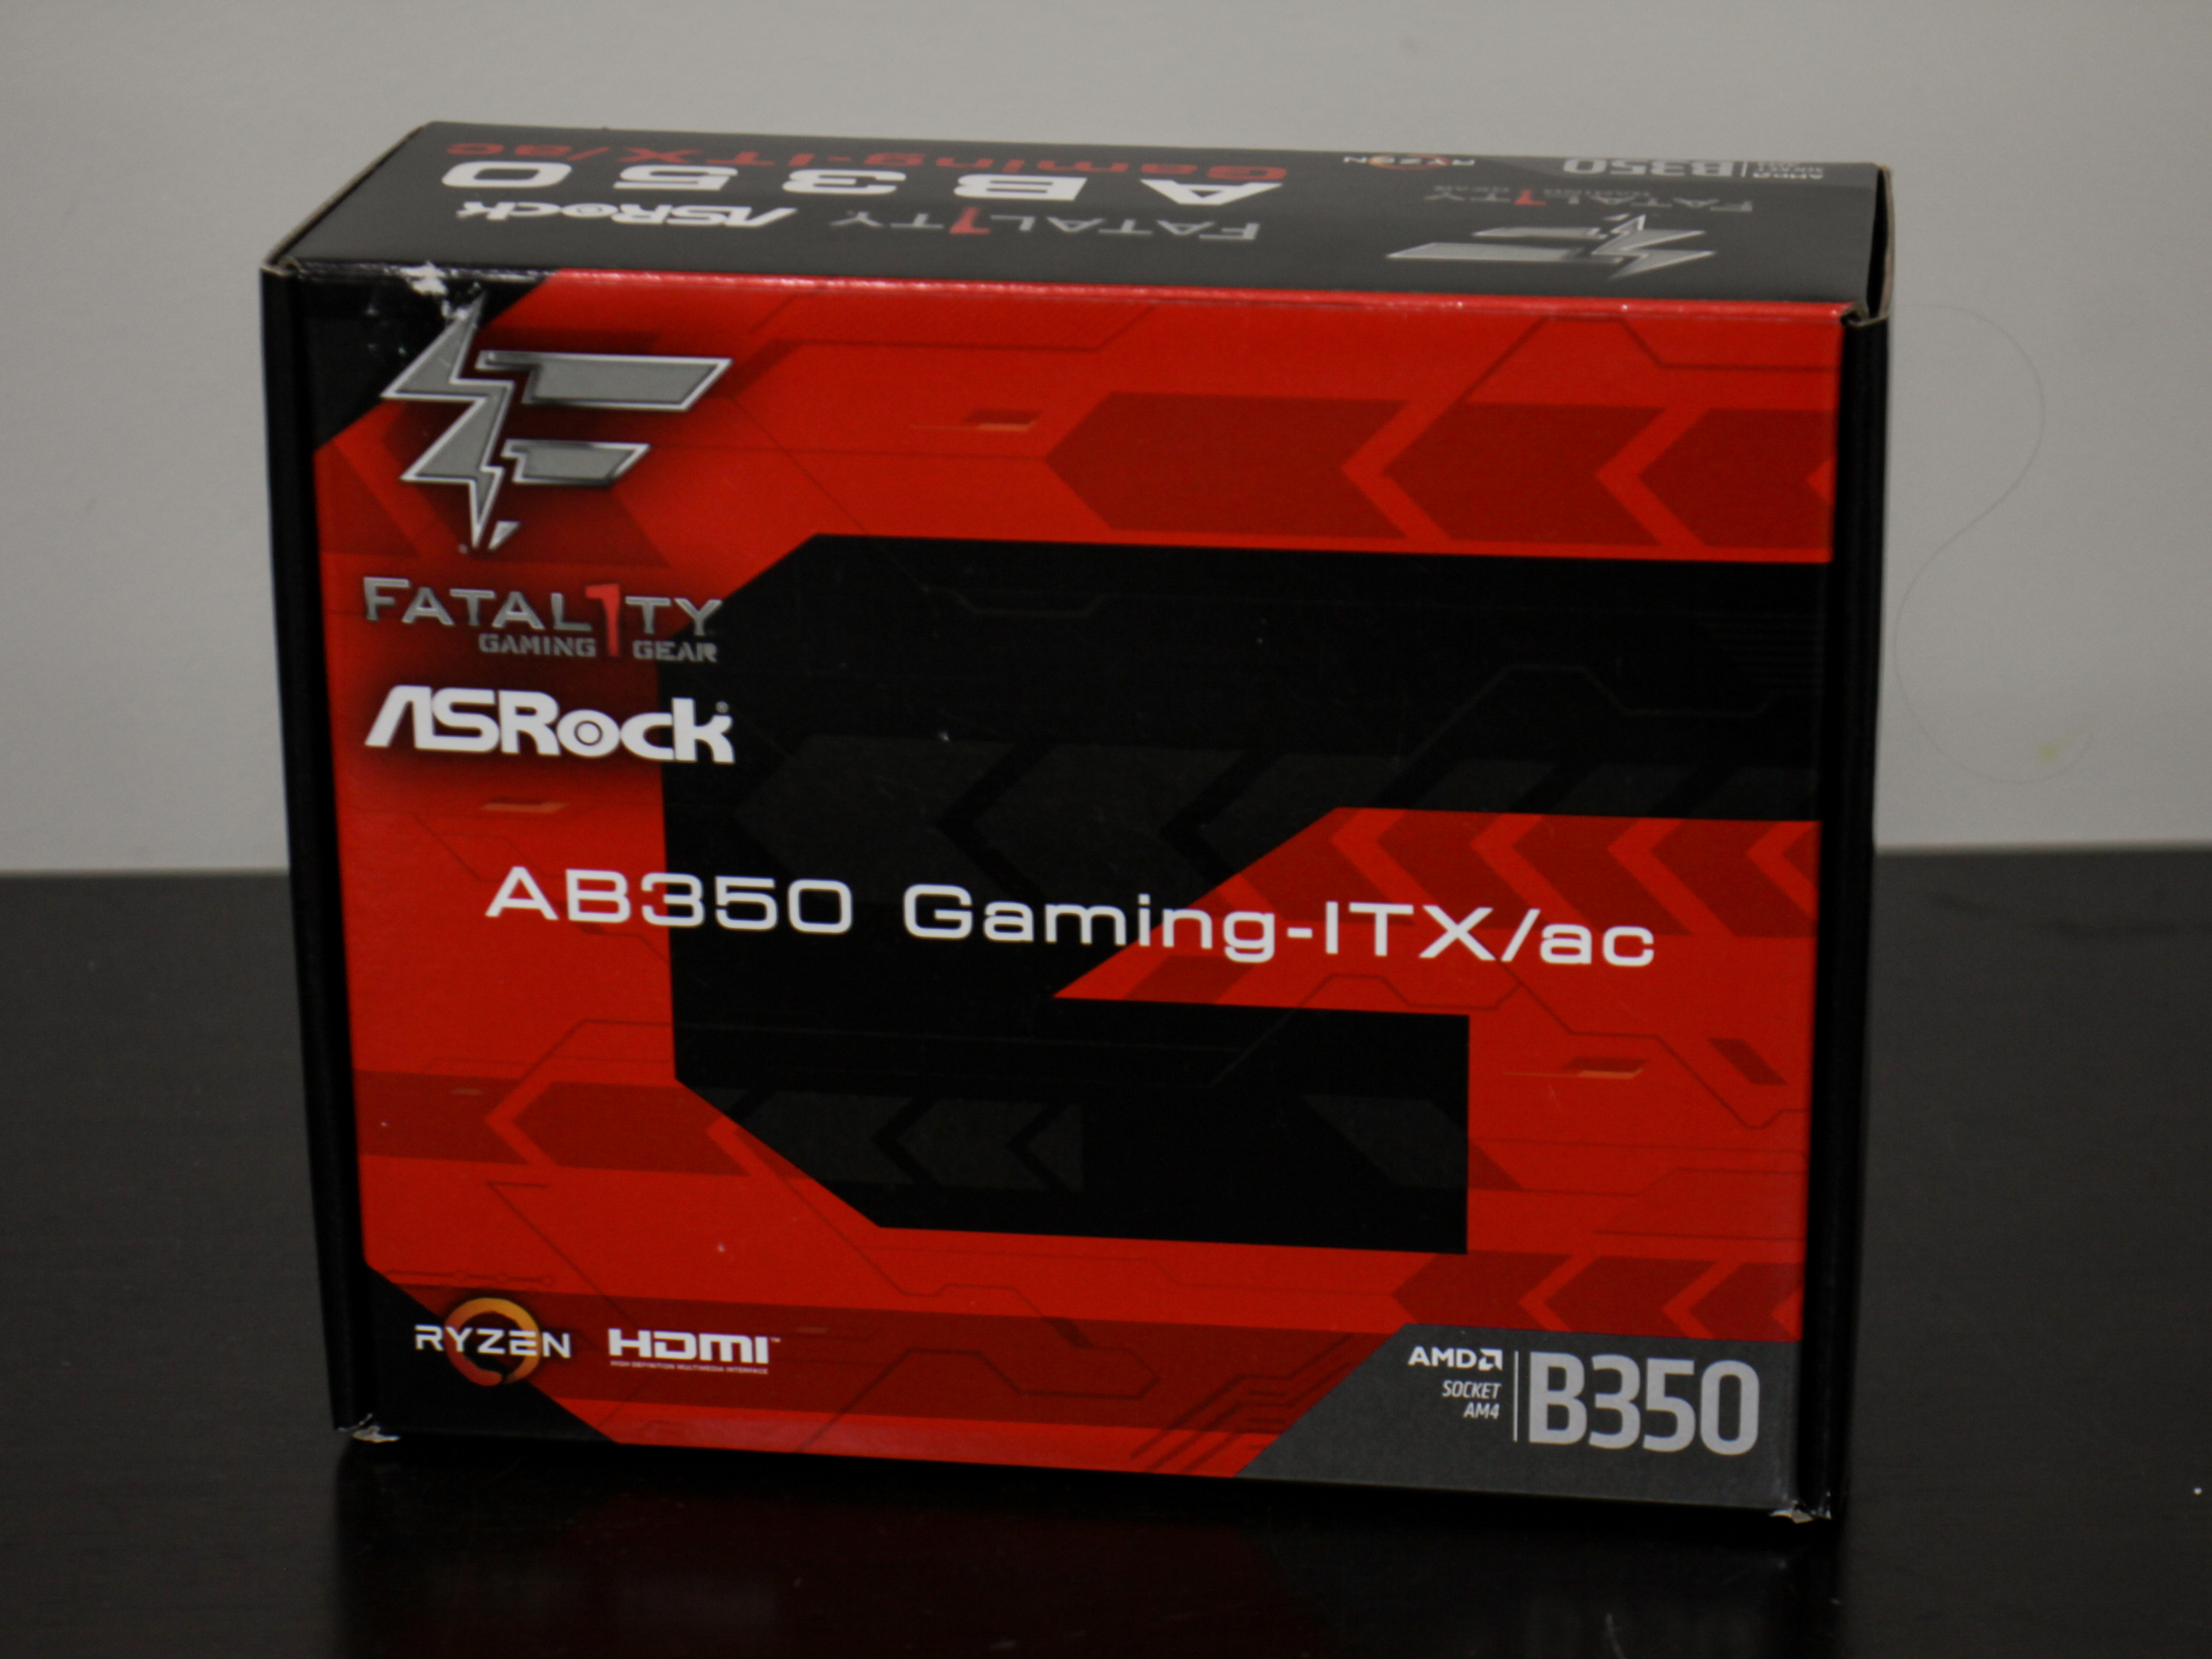
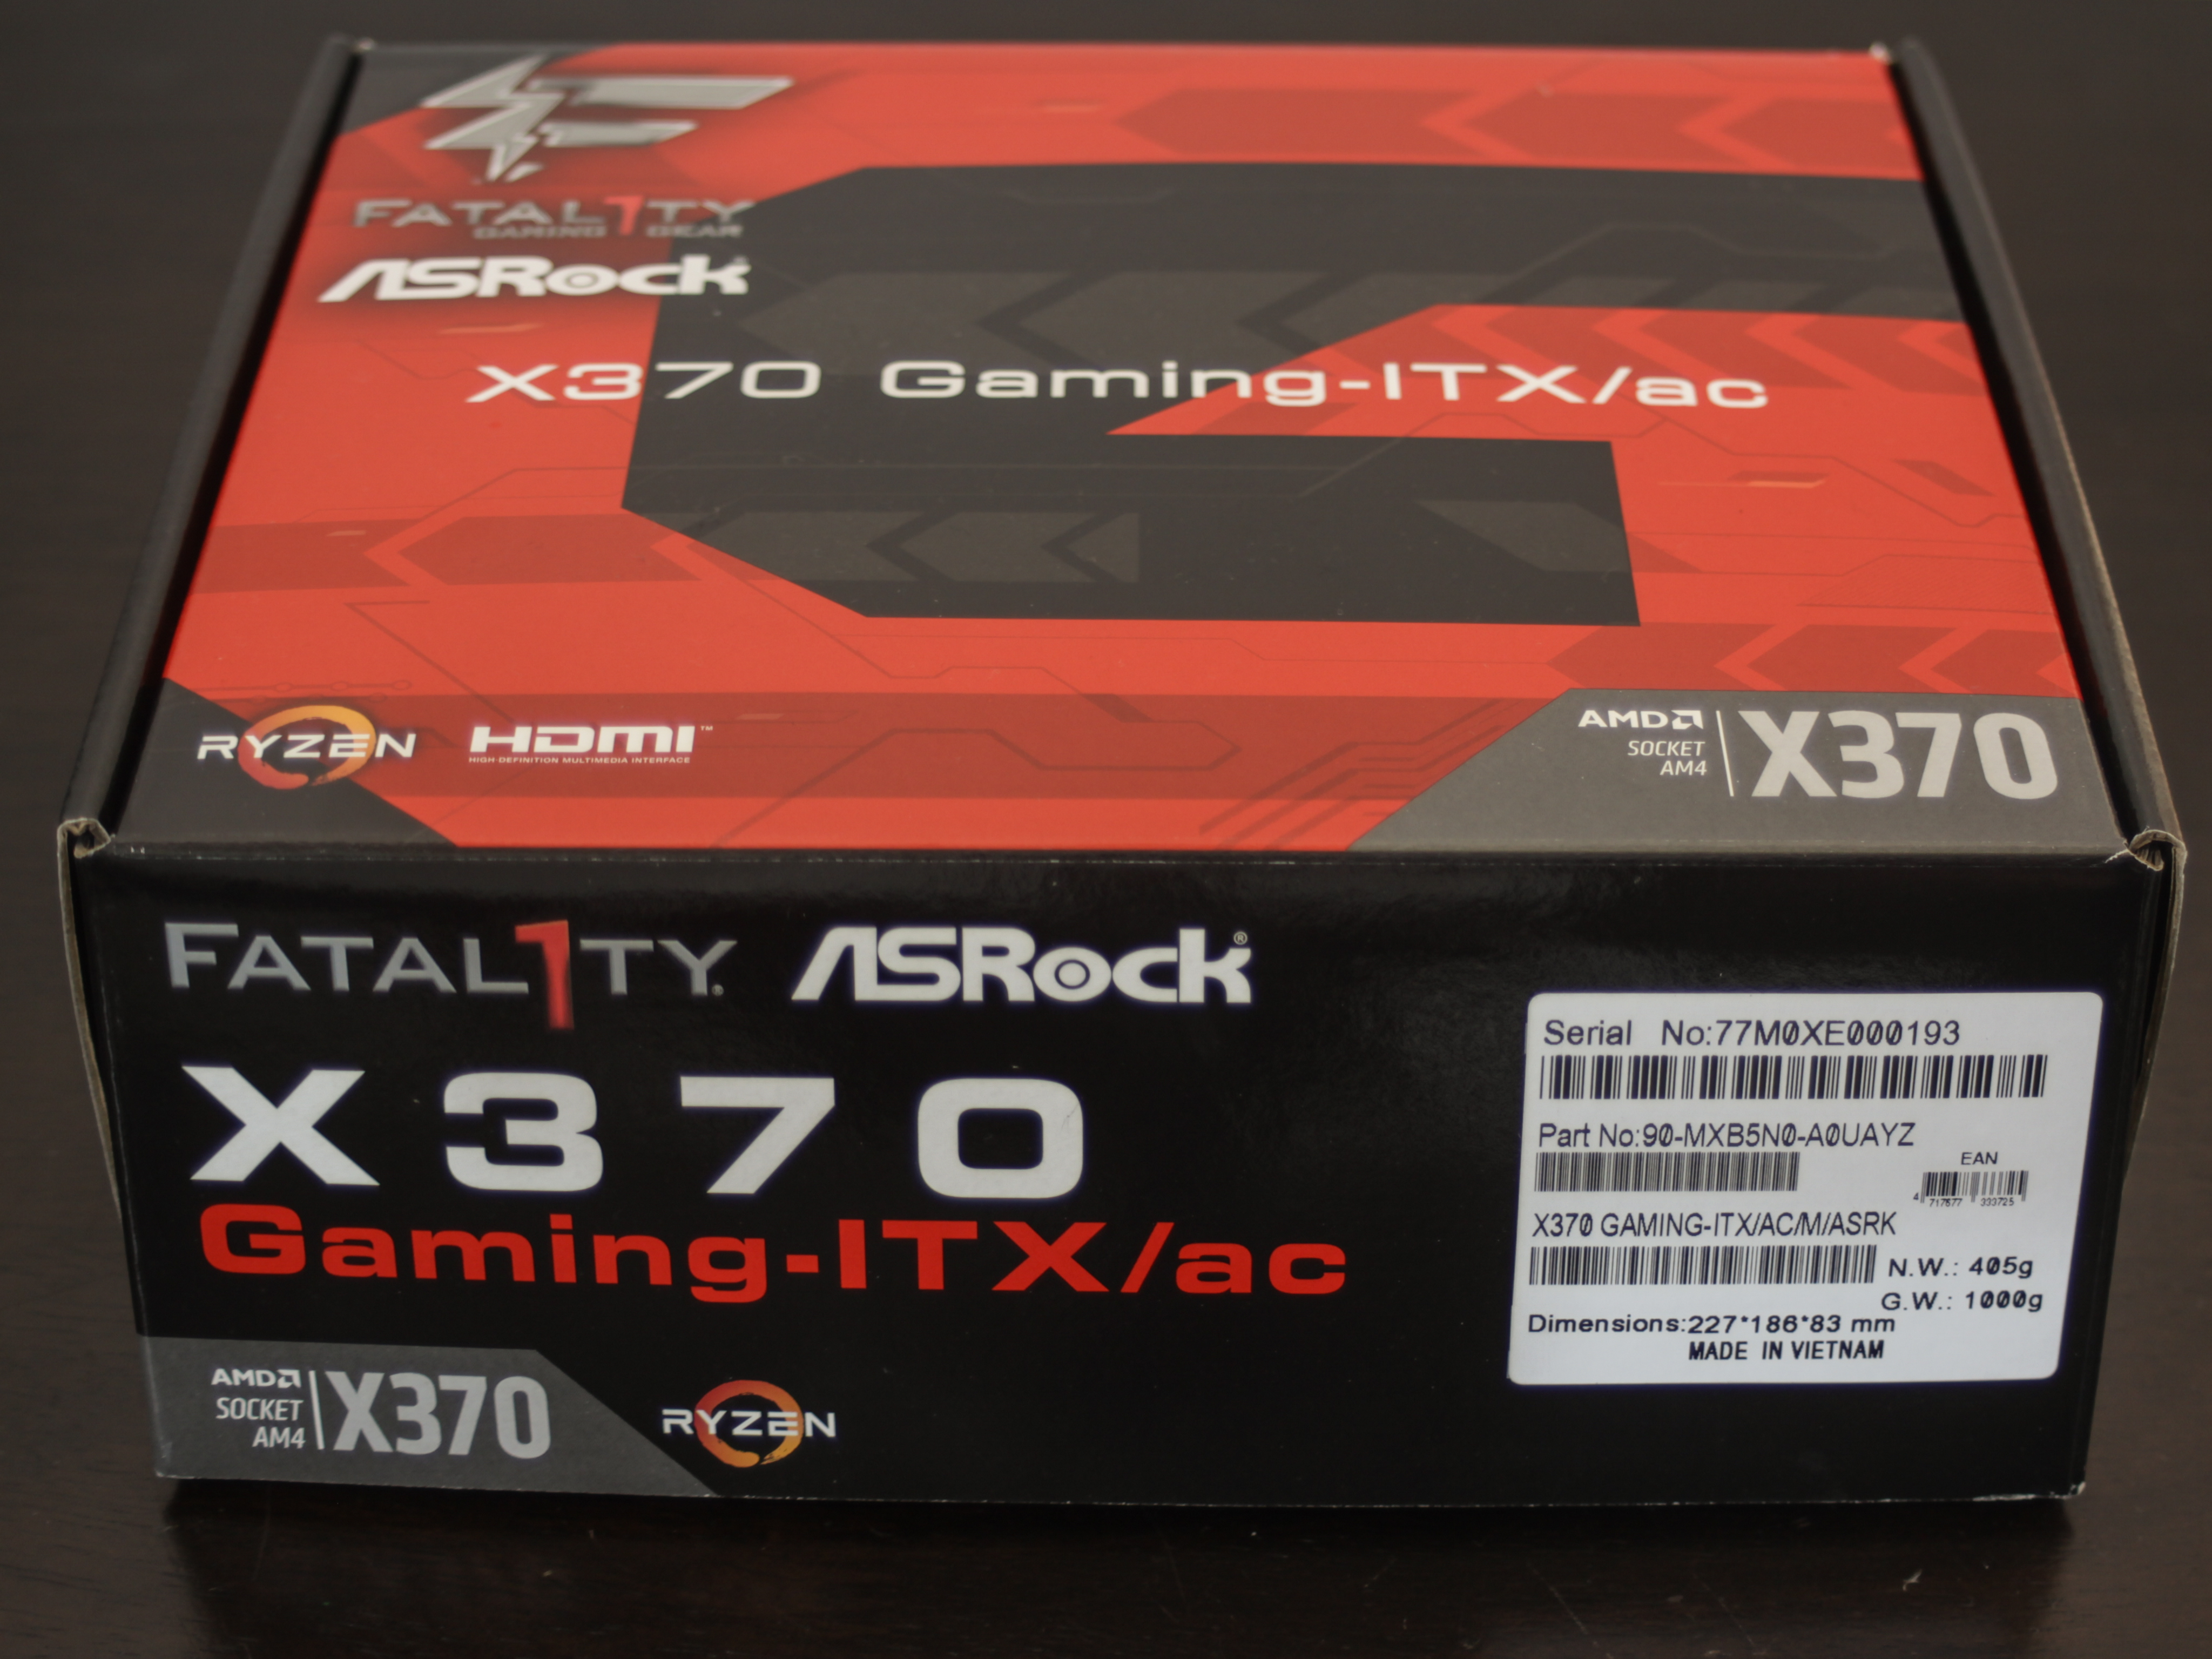
The branding is strong with this one – the Fatal1ty marketing takes centre stage on both the X370 and AB350’s boxes. Apart from the chipset moniker, it appears that the boxes are practically identical!
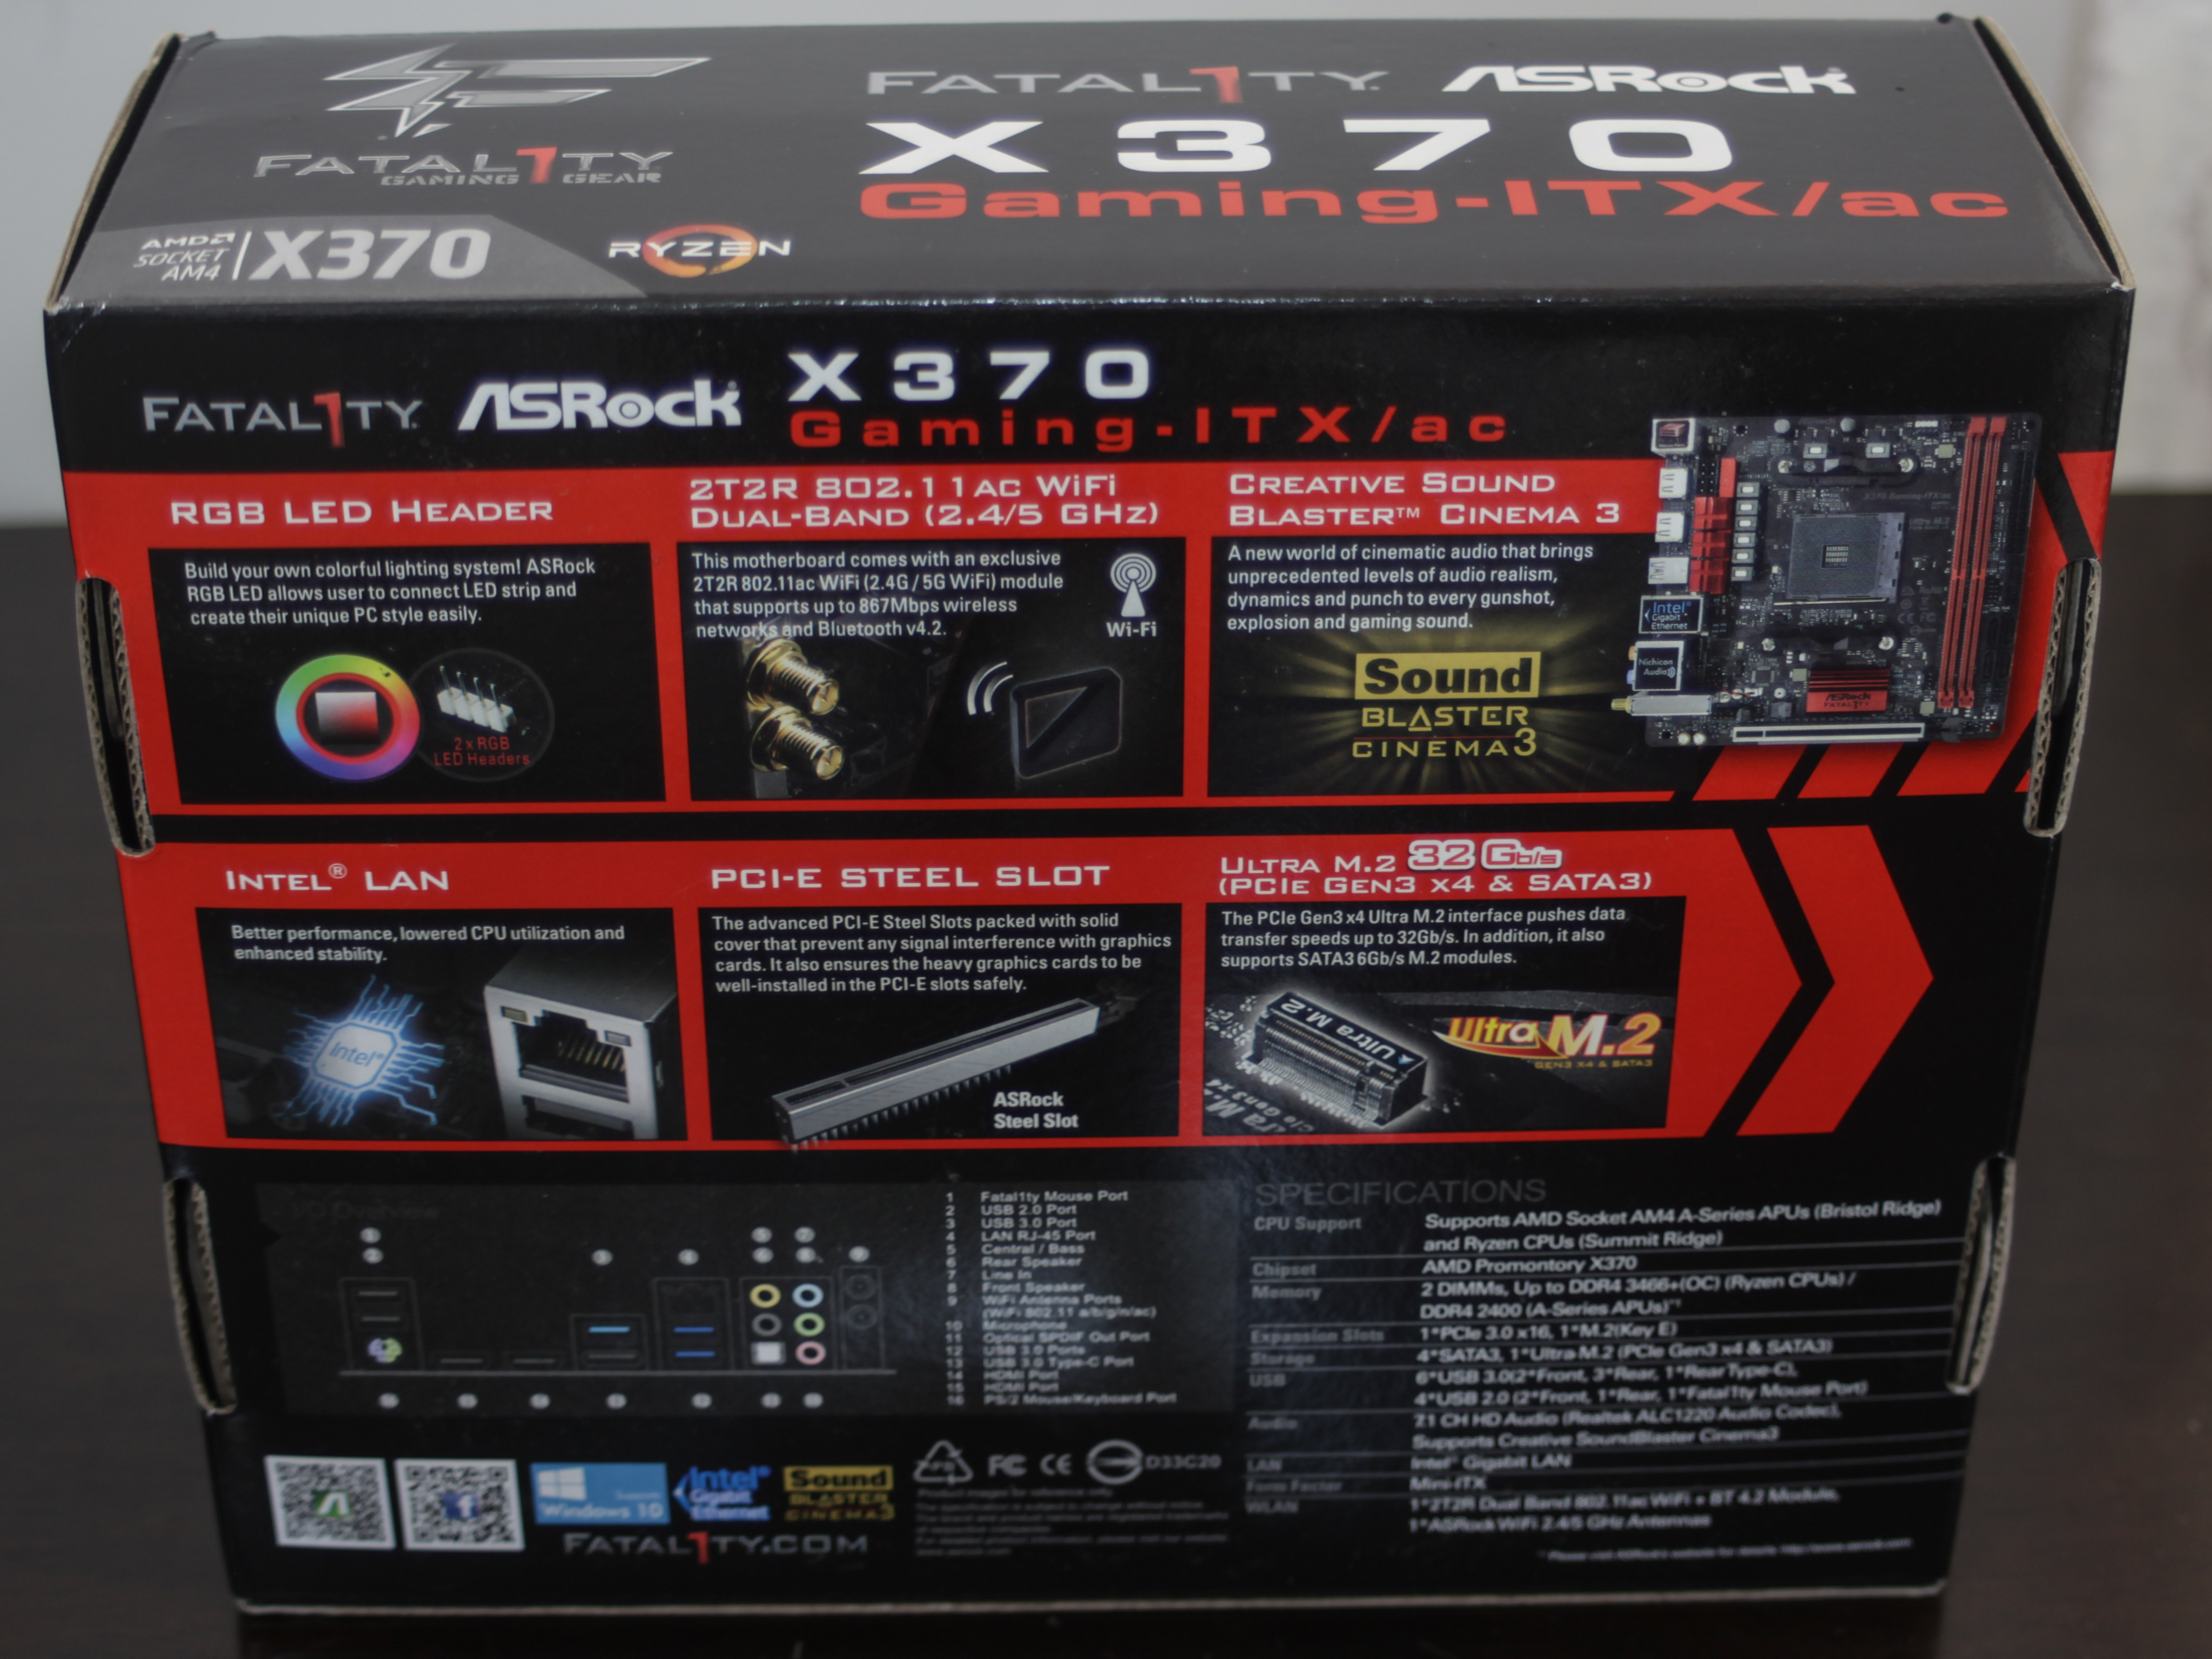
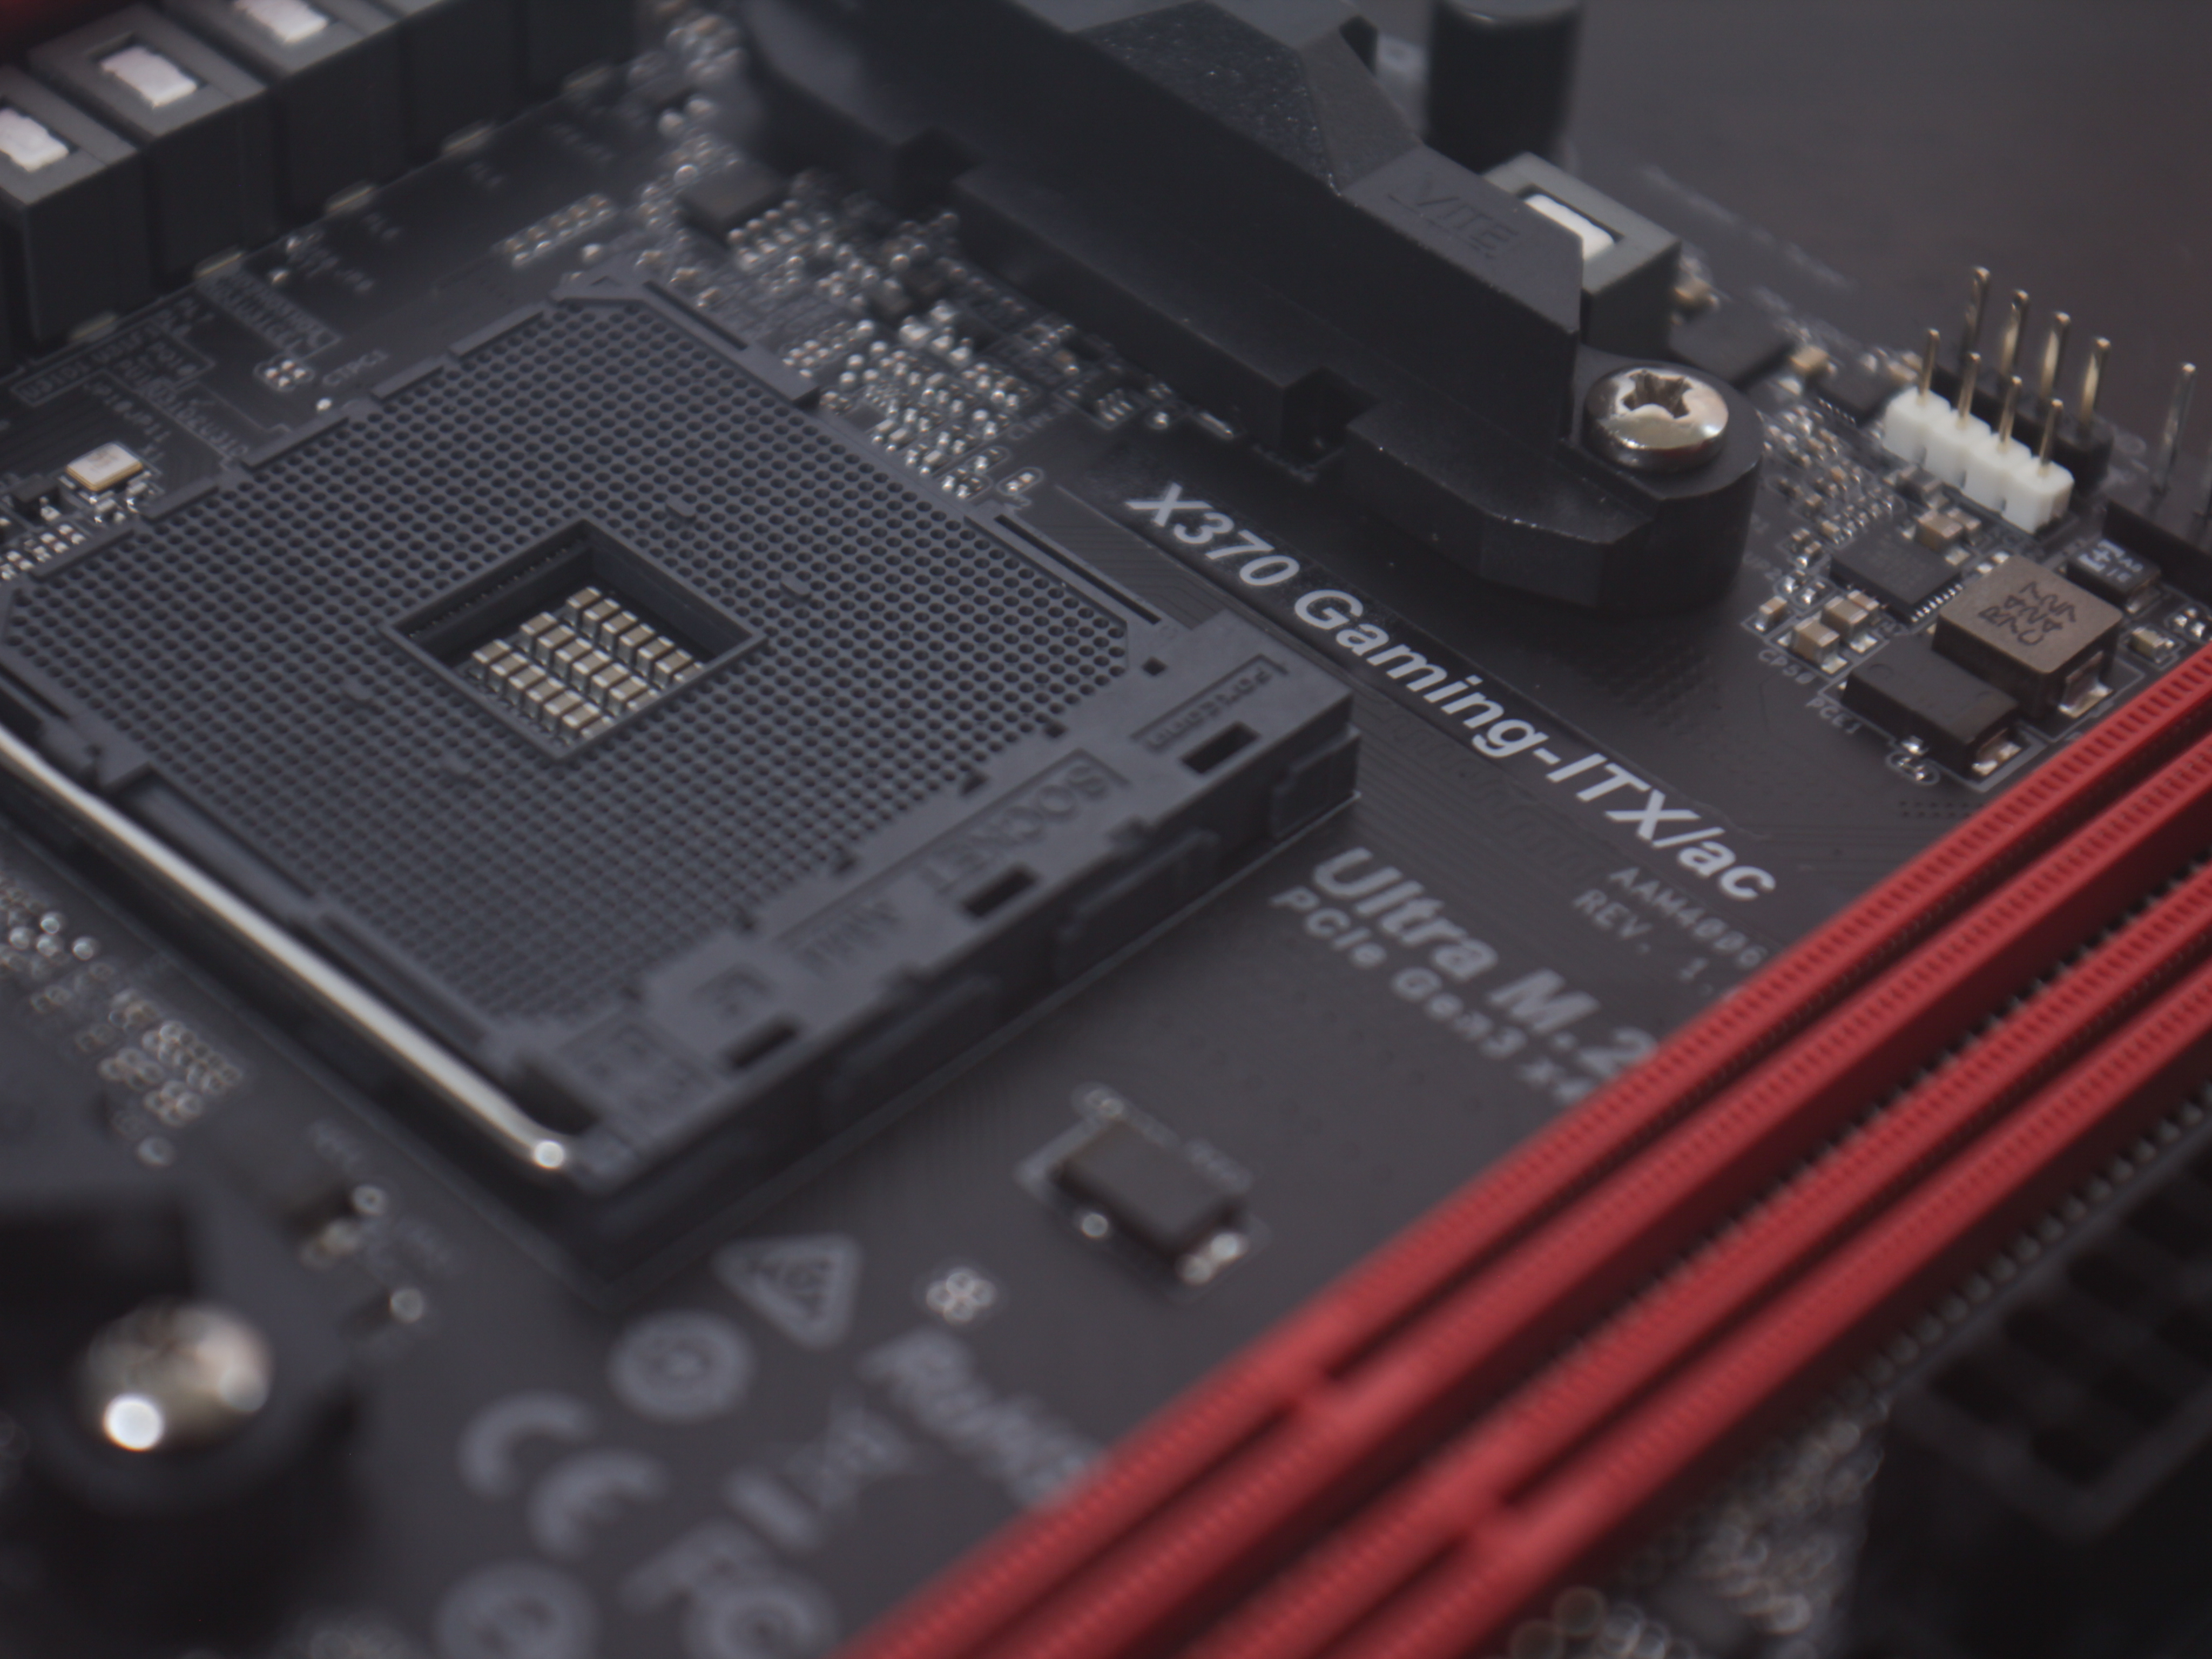
A quick overview of the features of the motherboard – RGB LED header (but of course!), dual band WiFi, Sound Blaster Cinema3 audio solution, Intel LAN, the PCI Express steel slot (ASRock’s version of the ‘armour’ present on other brands’ boards), and the Ultra M.2 slot – a 32Gb/s PCIe Gen 3 x4 slot for your M.2 SSD.
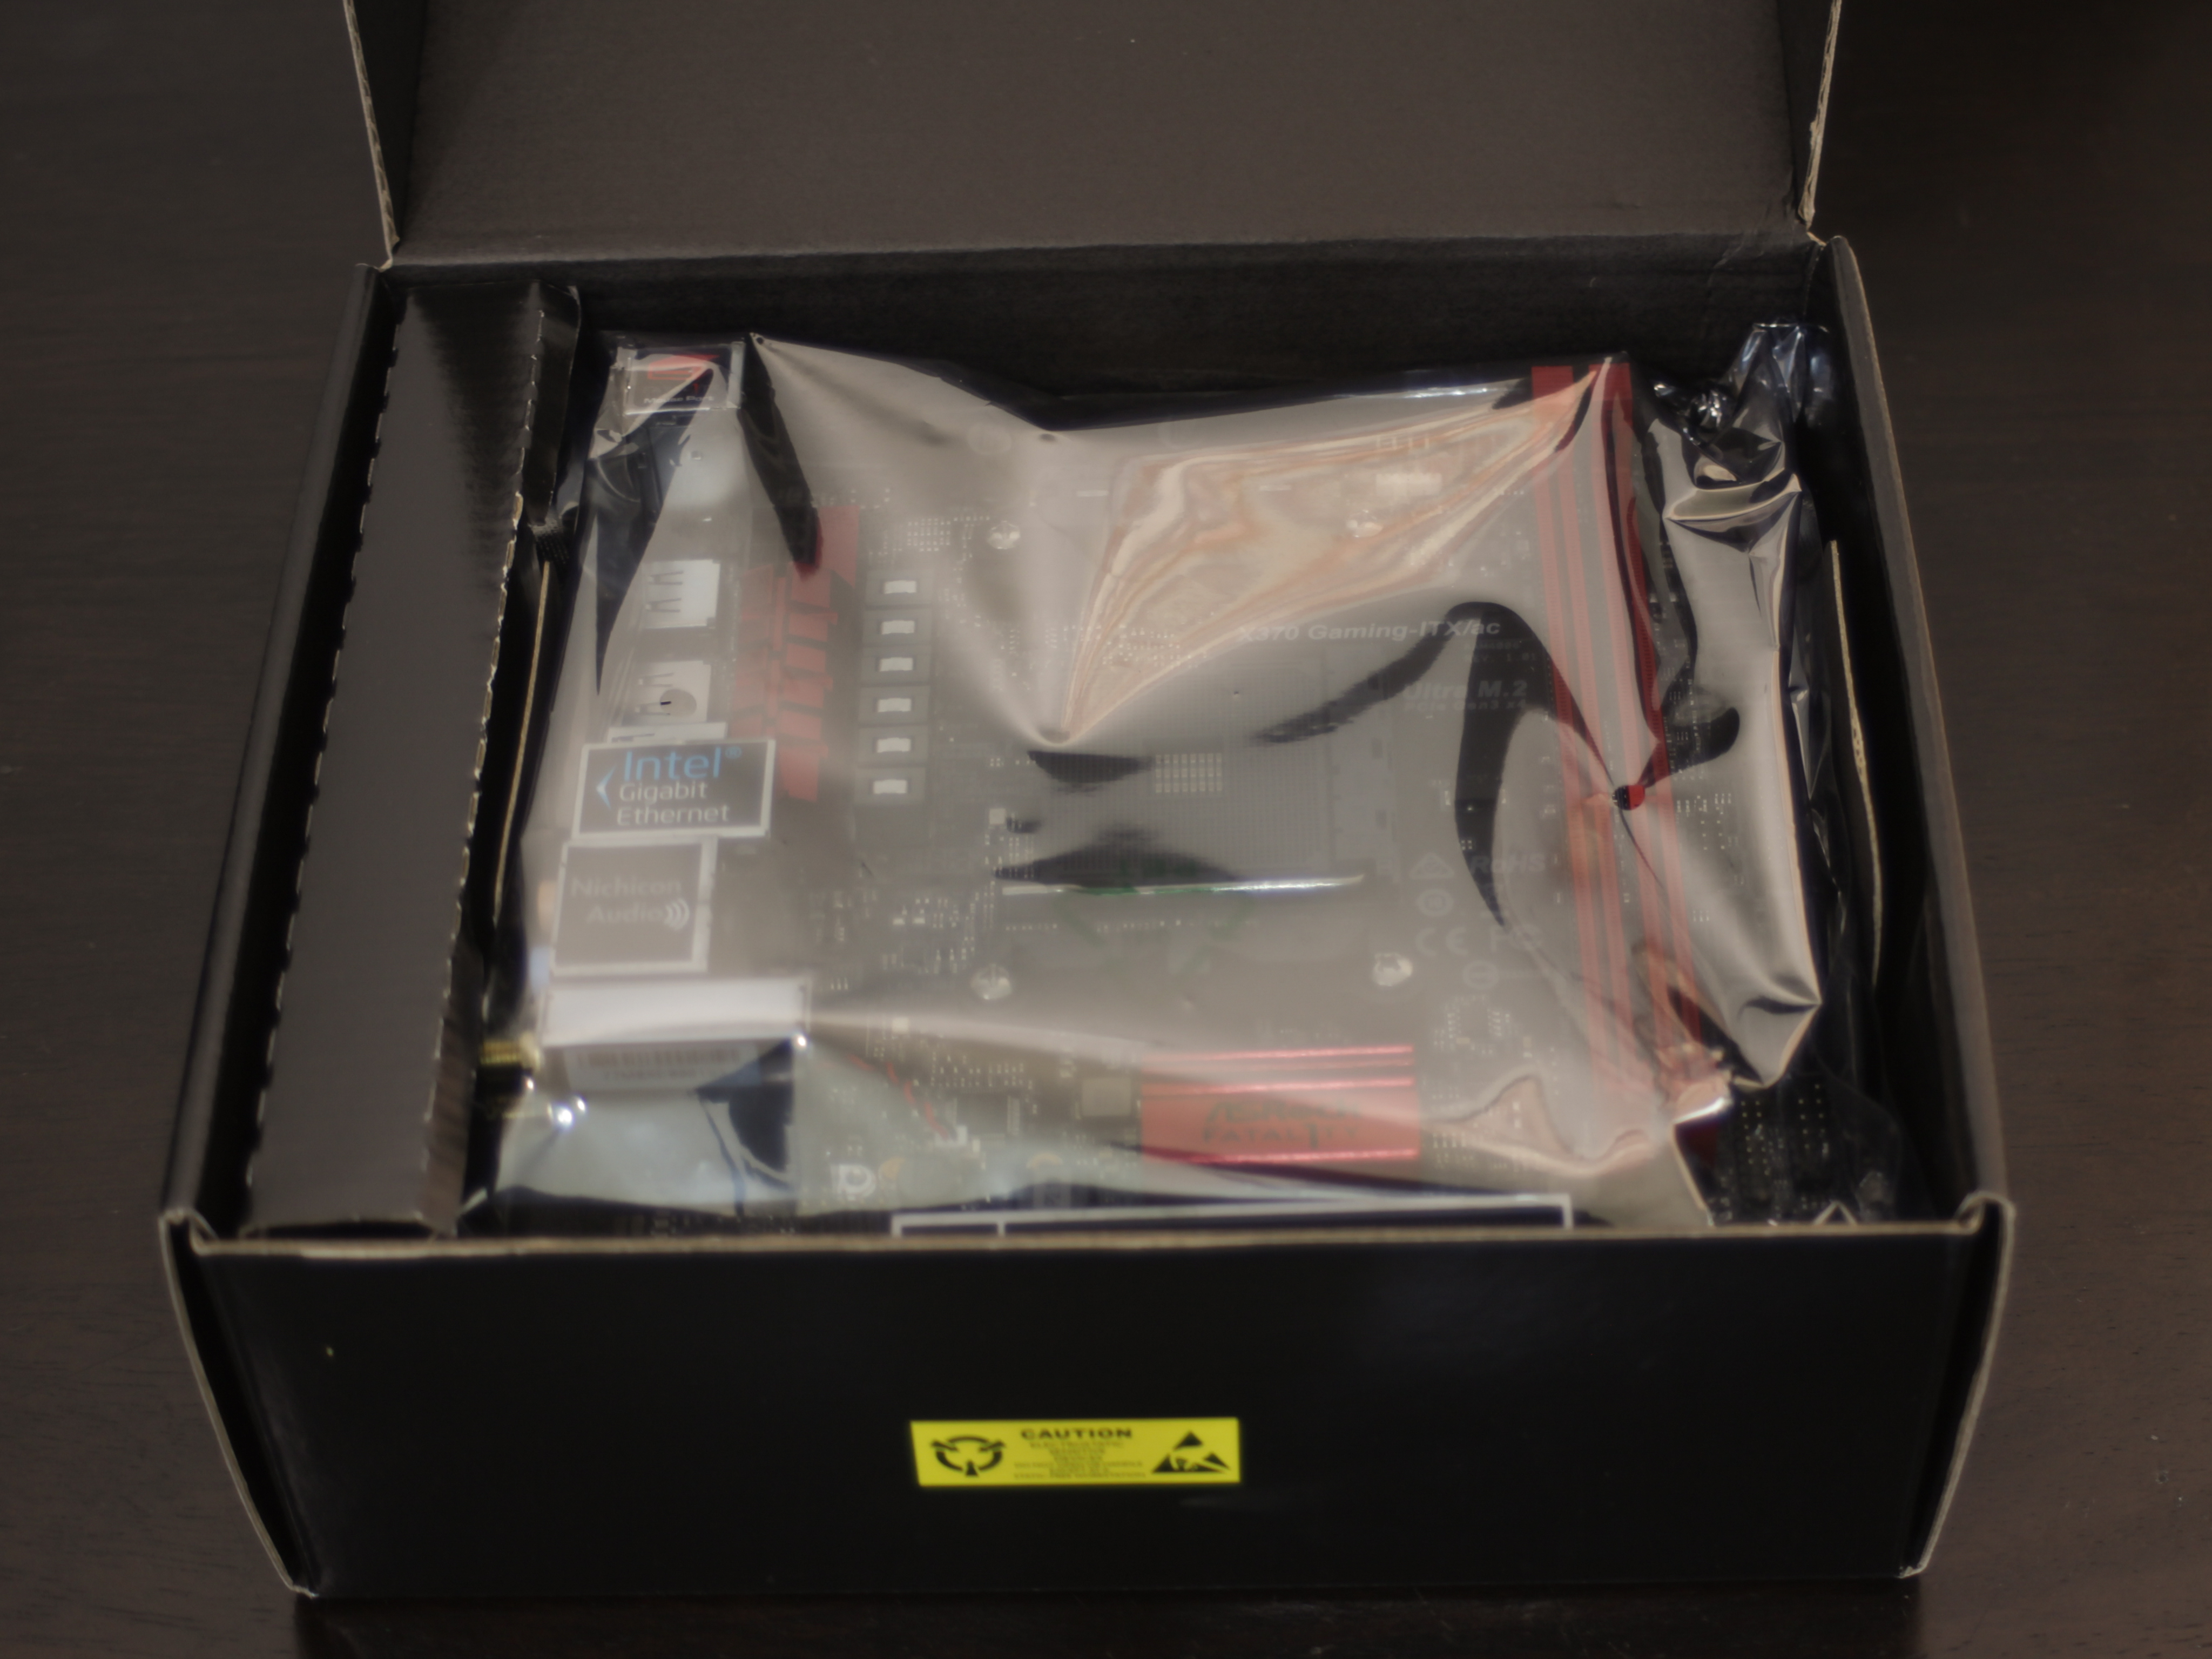
The packaging is a simple affair, with no gimmicks inside, just the board right at your fingertips as you open the box. Neither board arrived damaged, a testament to modern packaging design.
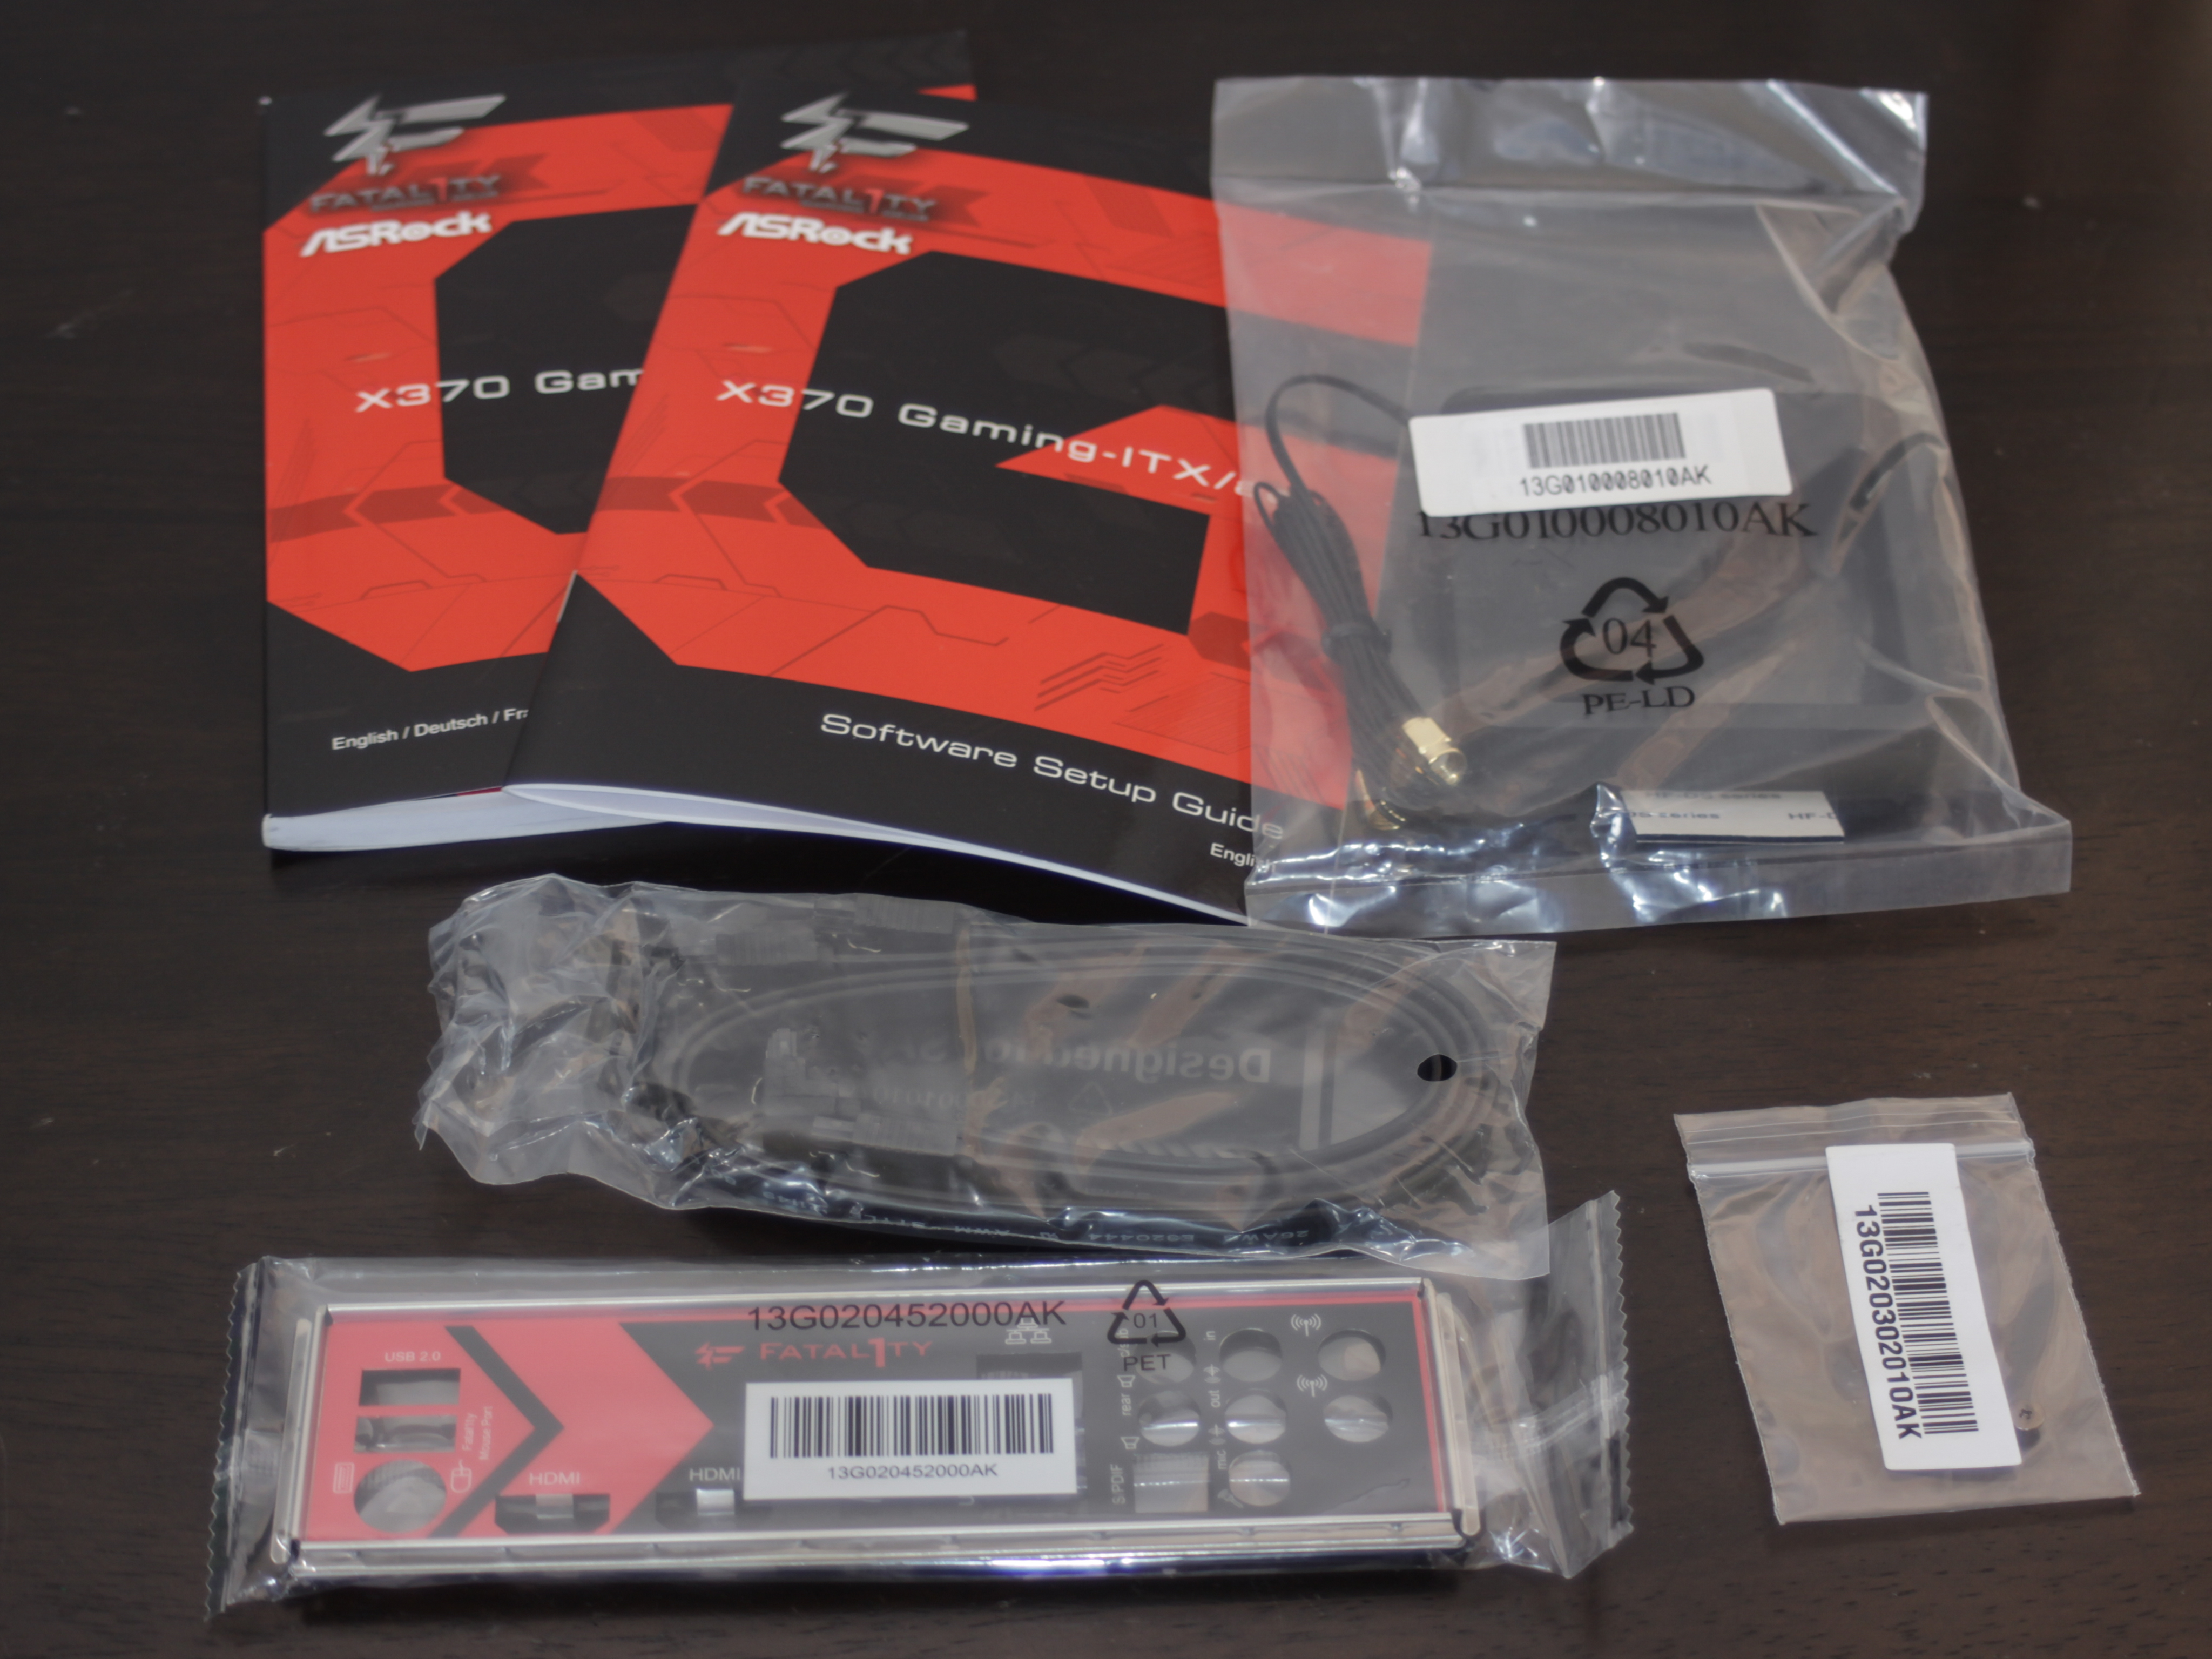
The accessory pack is relatively well featured, with two(!) manuals – a software setup guide in English, as well as a multi-language quick start guide. Also featured with the X370 is a dual band antenna, while the AB350 model comes with a single traditional style WiFi antenna. Both boards come with two black SATA cables, a M.2 retention screw and a Fatal1ty branded I/O shield.
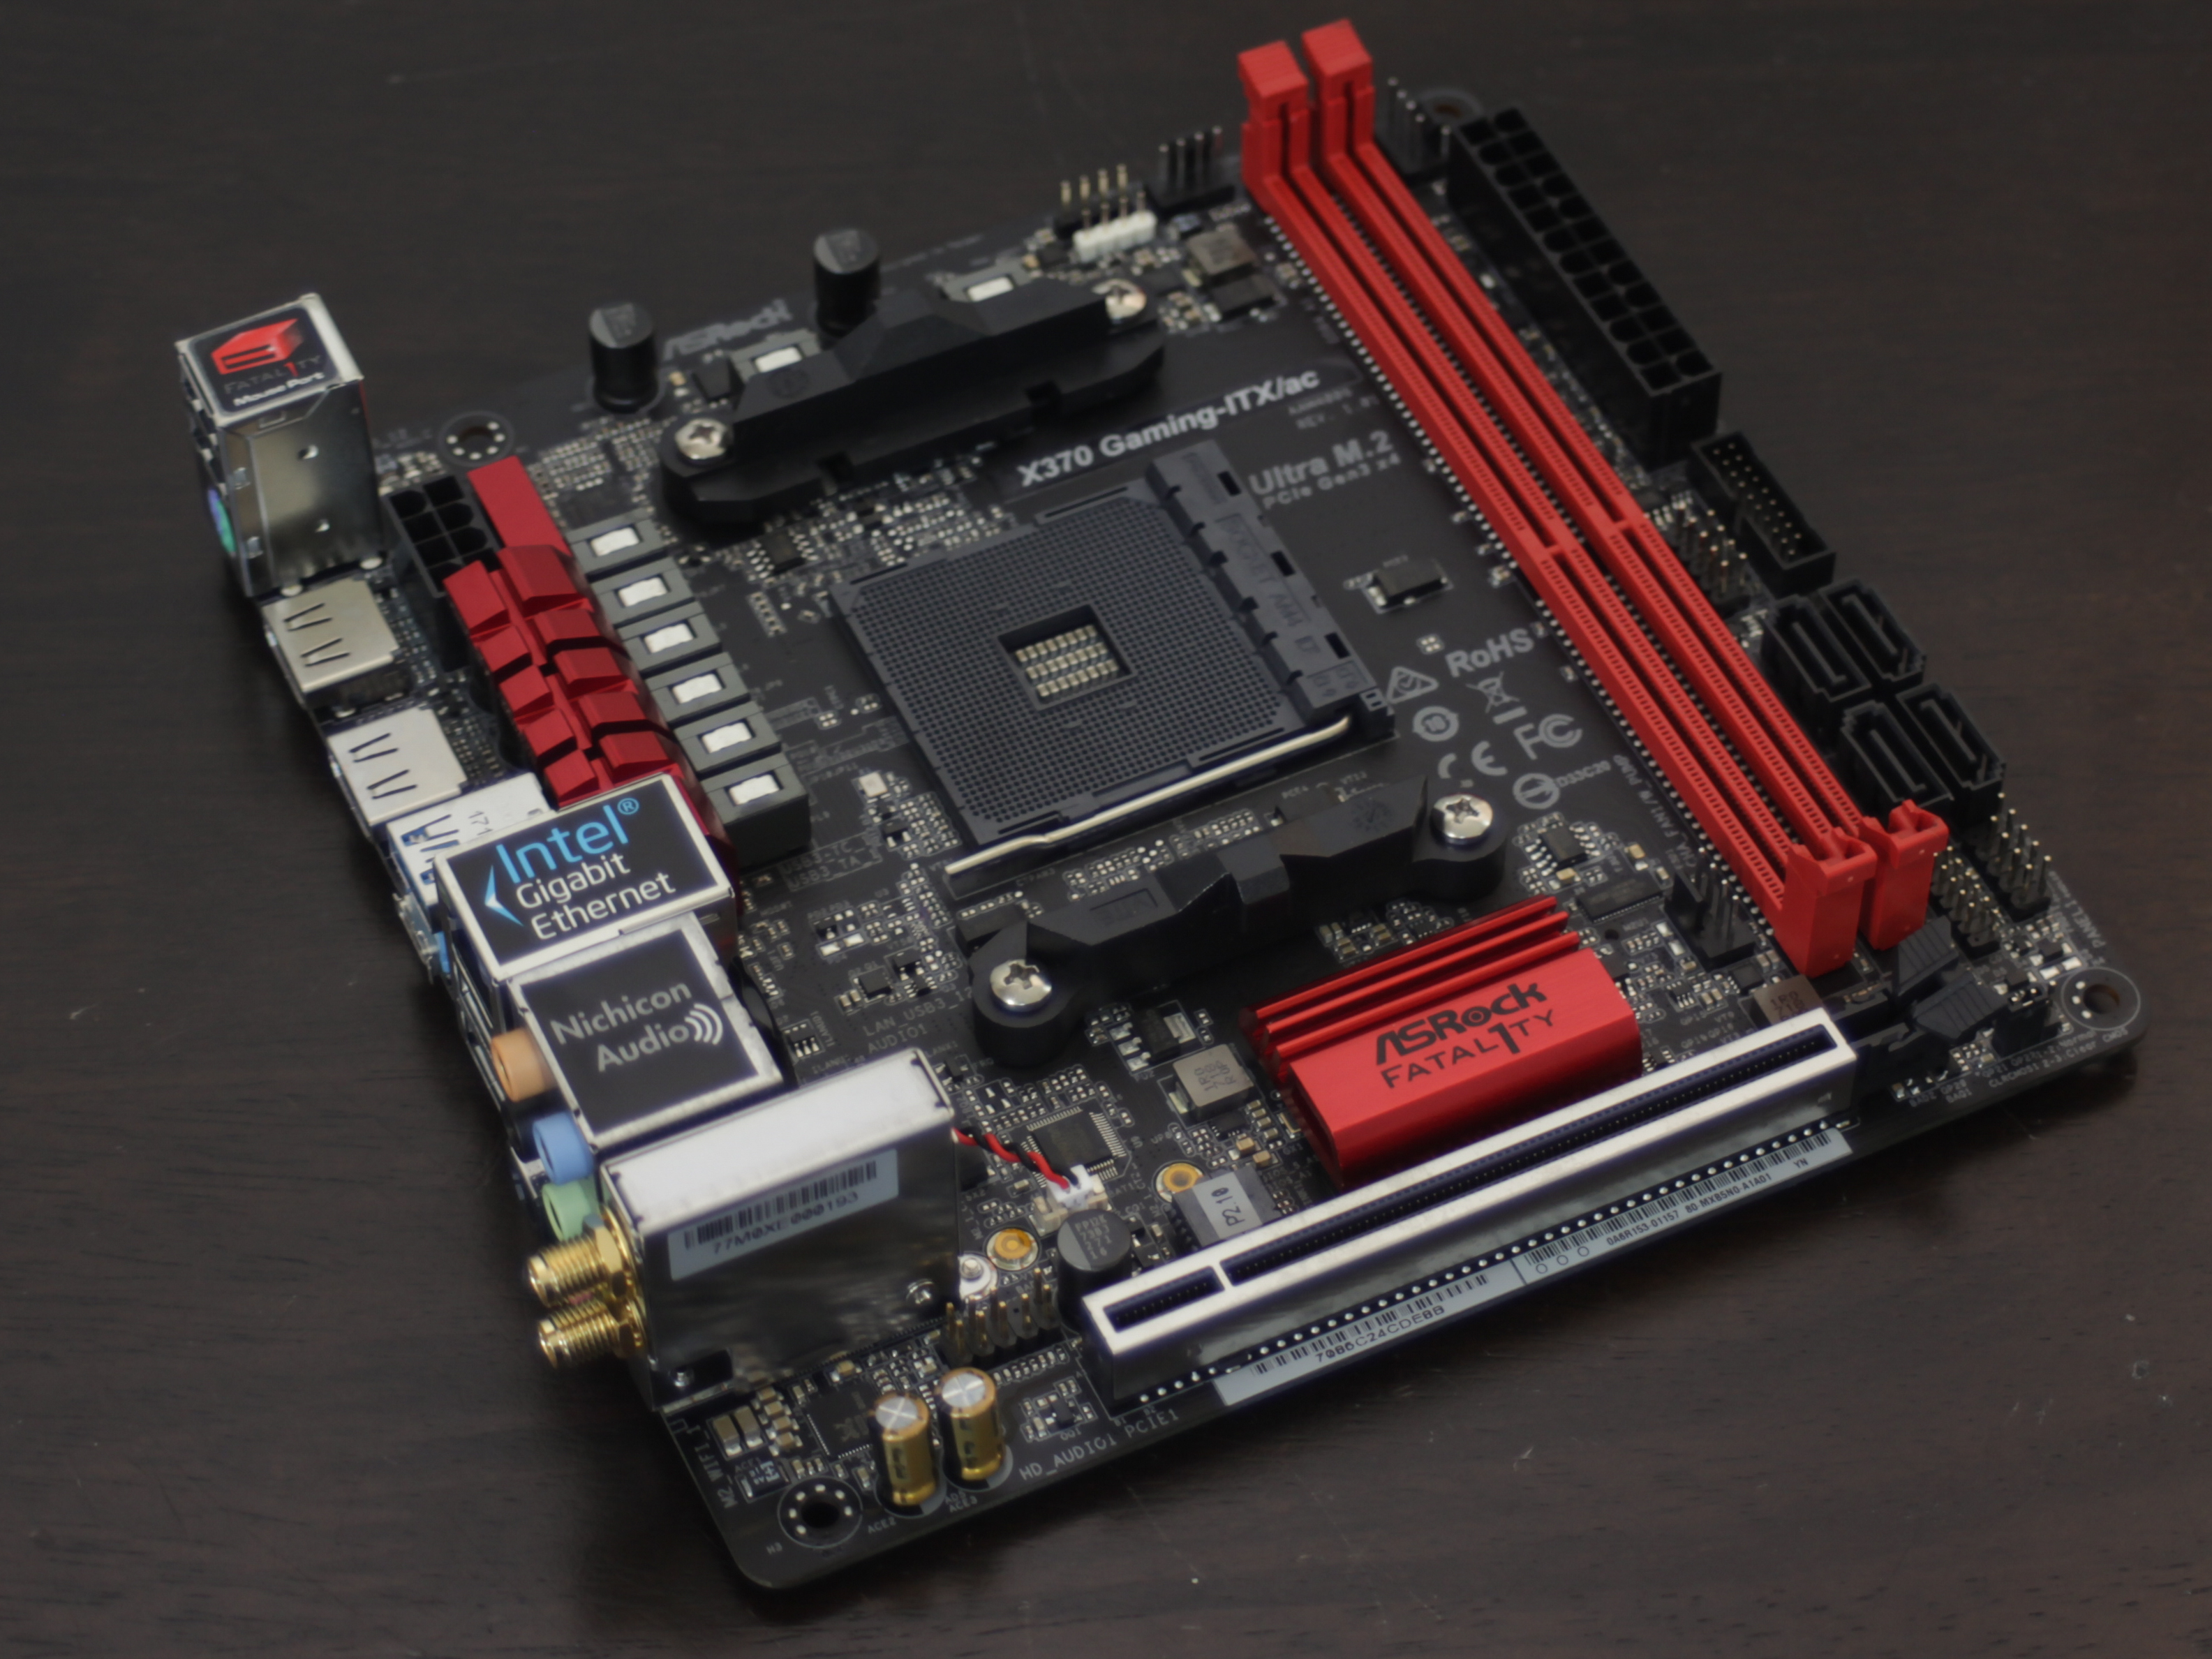
A quick overview of the boards – as far as I can see, the only differences between the boards are the chipset and the WiFi solution. This is great for reducing cost – multiple PCB SKUs add cost to the final product. The overall layout of the boards is good – although the tighter CPU socket clearance may cause issues with cooler installation – more on this later.
One of the first things to note is the location of the power connectors – the ATX 24 pin is nestled along the front side of the board, alongside the USB 3 header, the 4 SATA ports, and a few headers. This pushes the RAM slots inwards, congesting the CPU socket area. An advantage of this layout is the ability to push the RAM slots towards the top of the motherboard, gaining clearance for expansion cards with backplates.
The VRM section is pushed well into the rear I/O area, counteracting the loss of CPU socket clearance from the RAM slots. ATX 8 Pin power is easily accessible, nestled into the VRM heatsink, but not so much so to prevent access. It’s great to see 8 pin connectors on the current crop of AMD M-ITX boards, enabling good overclocks and full CPU support – too often older boards had limits on the CPU TDP, meaning an otherwise good board was limited to only lower performance levels.
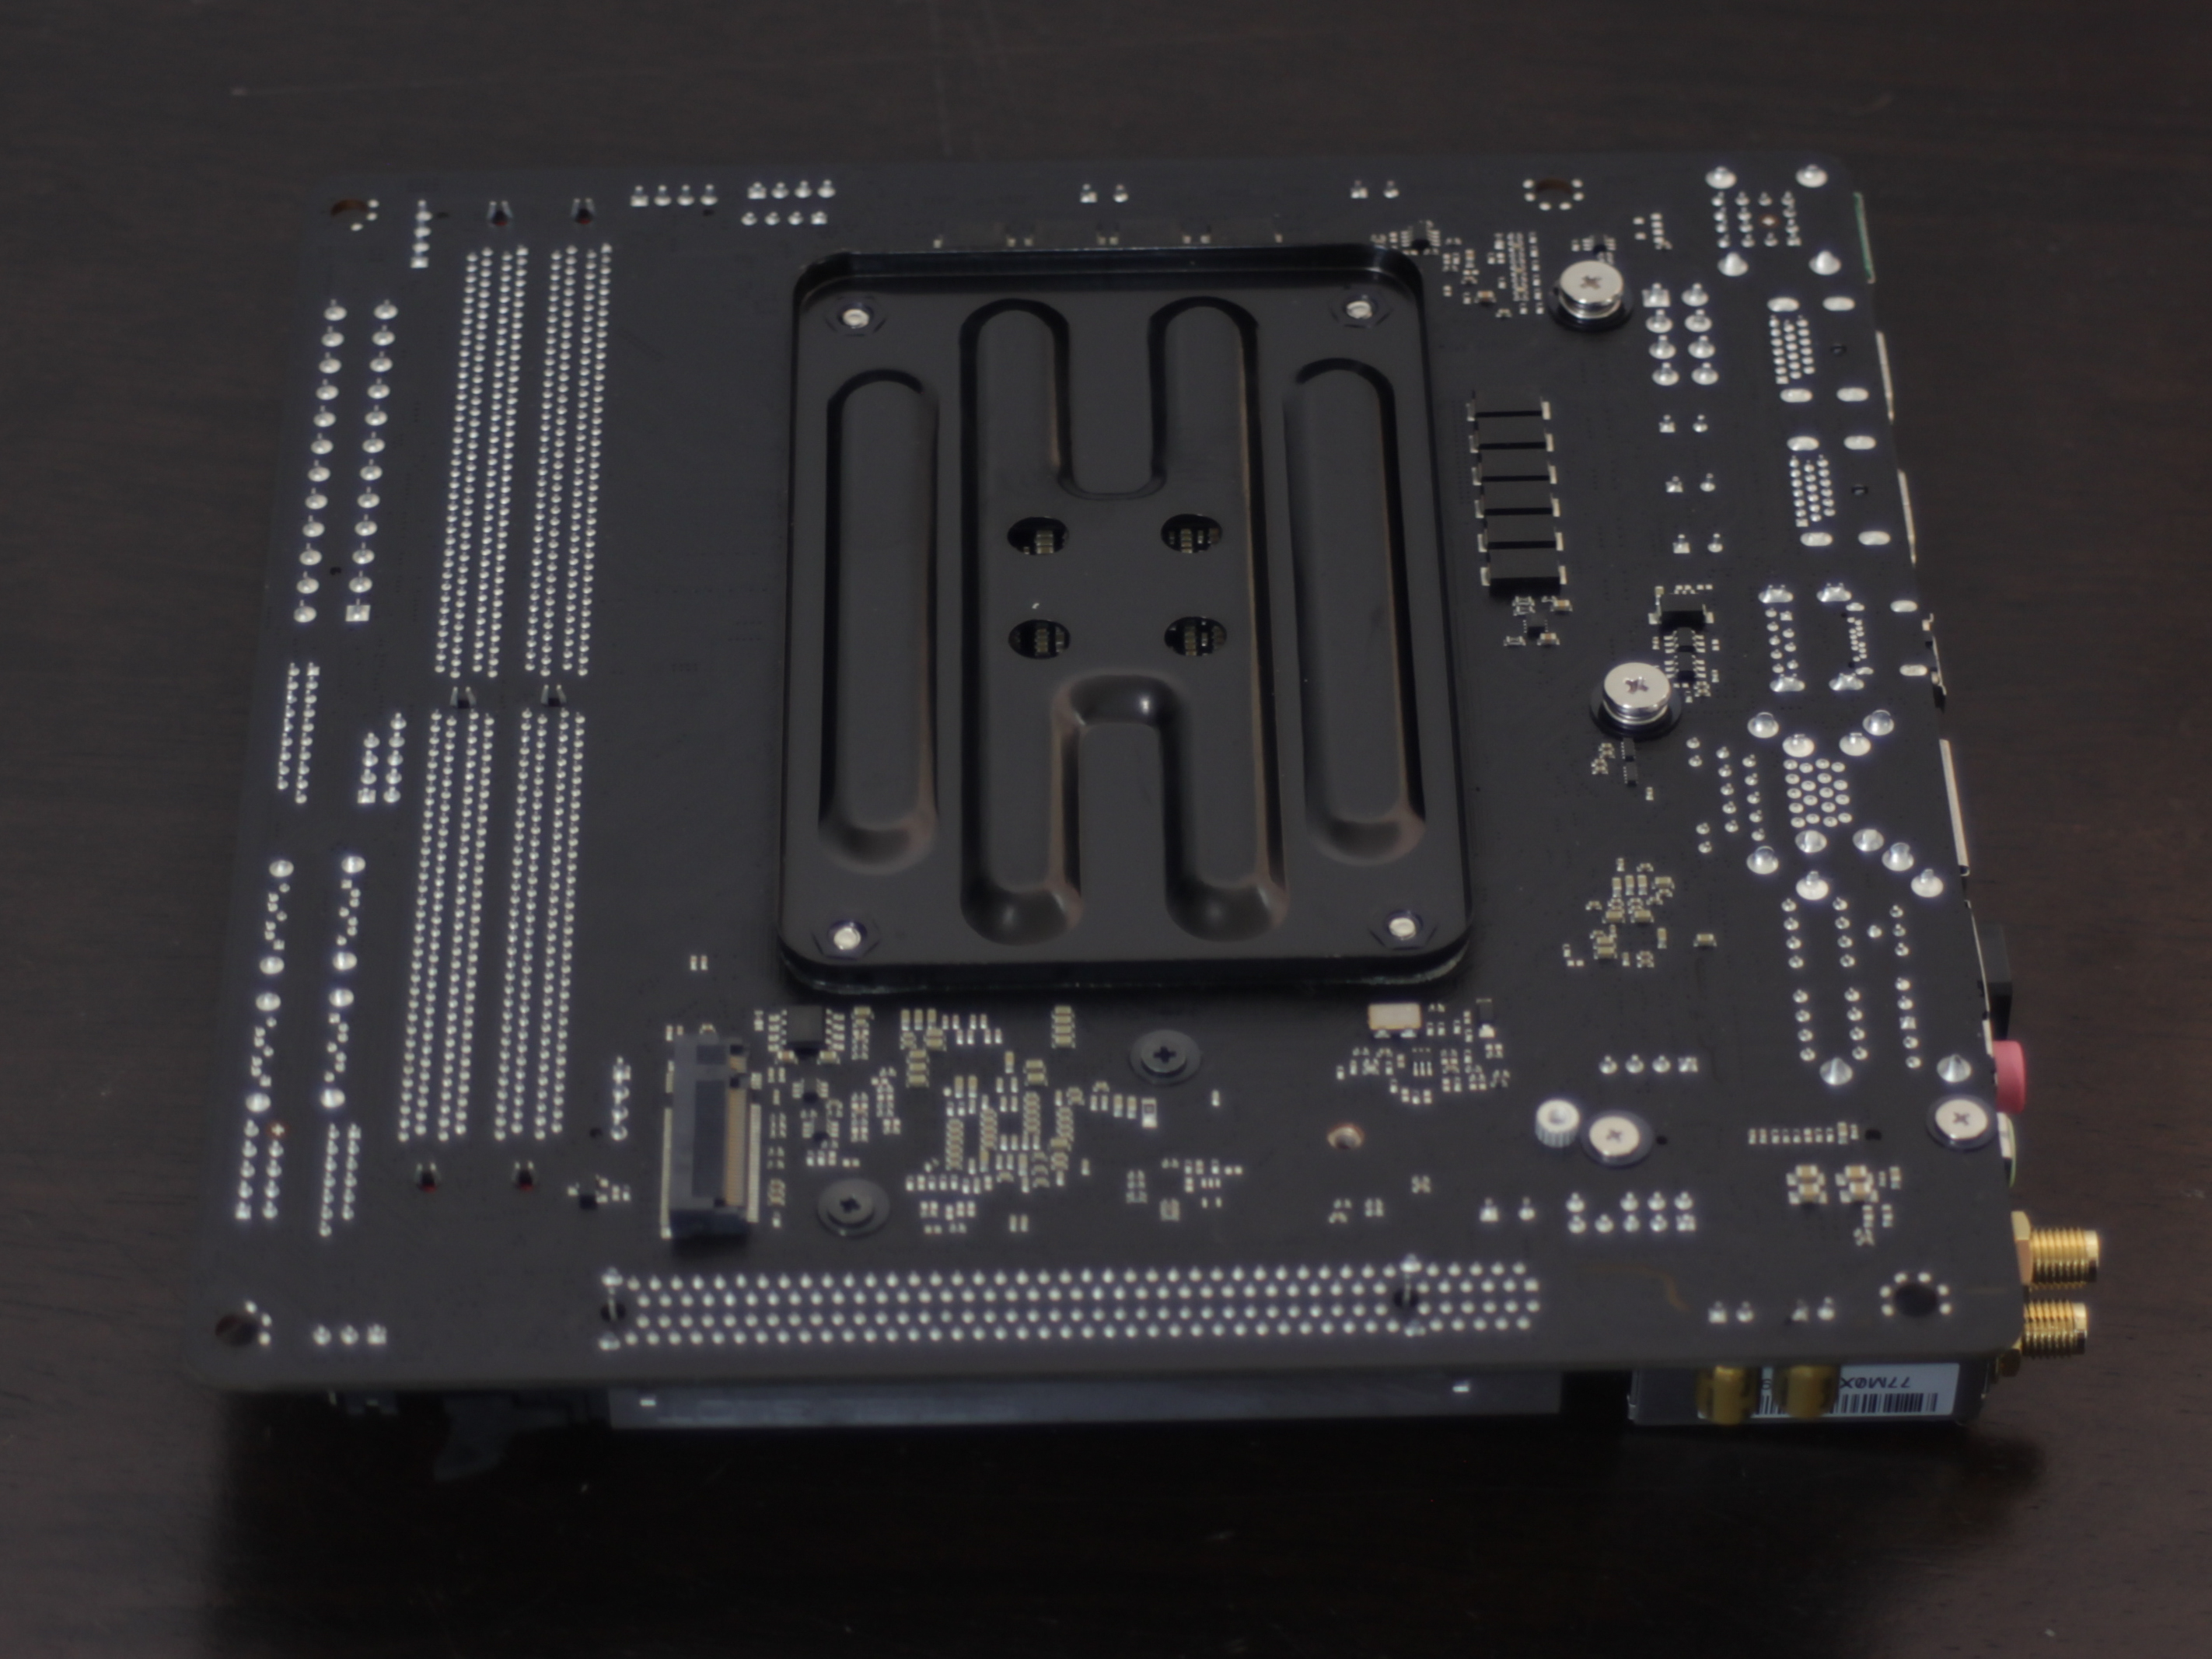
On the back side of the board lies the single M.2 PCIe Gen 3 4x slot. Good for that tidy no-wires look.. oh and performance! It’s nice to see the VRM and chipset heatsink screwed in, rather than using pushpins. I hate pushpin mounting! The WiFi module can is also screwed in, awesome.
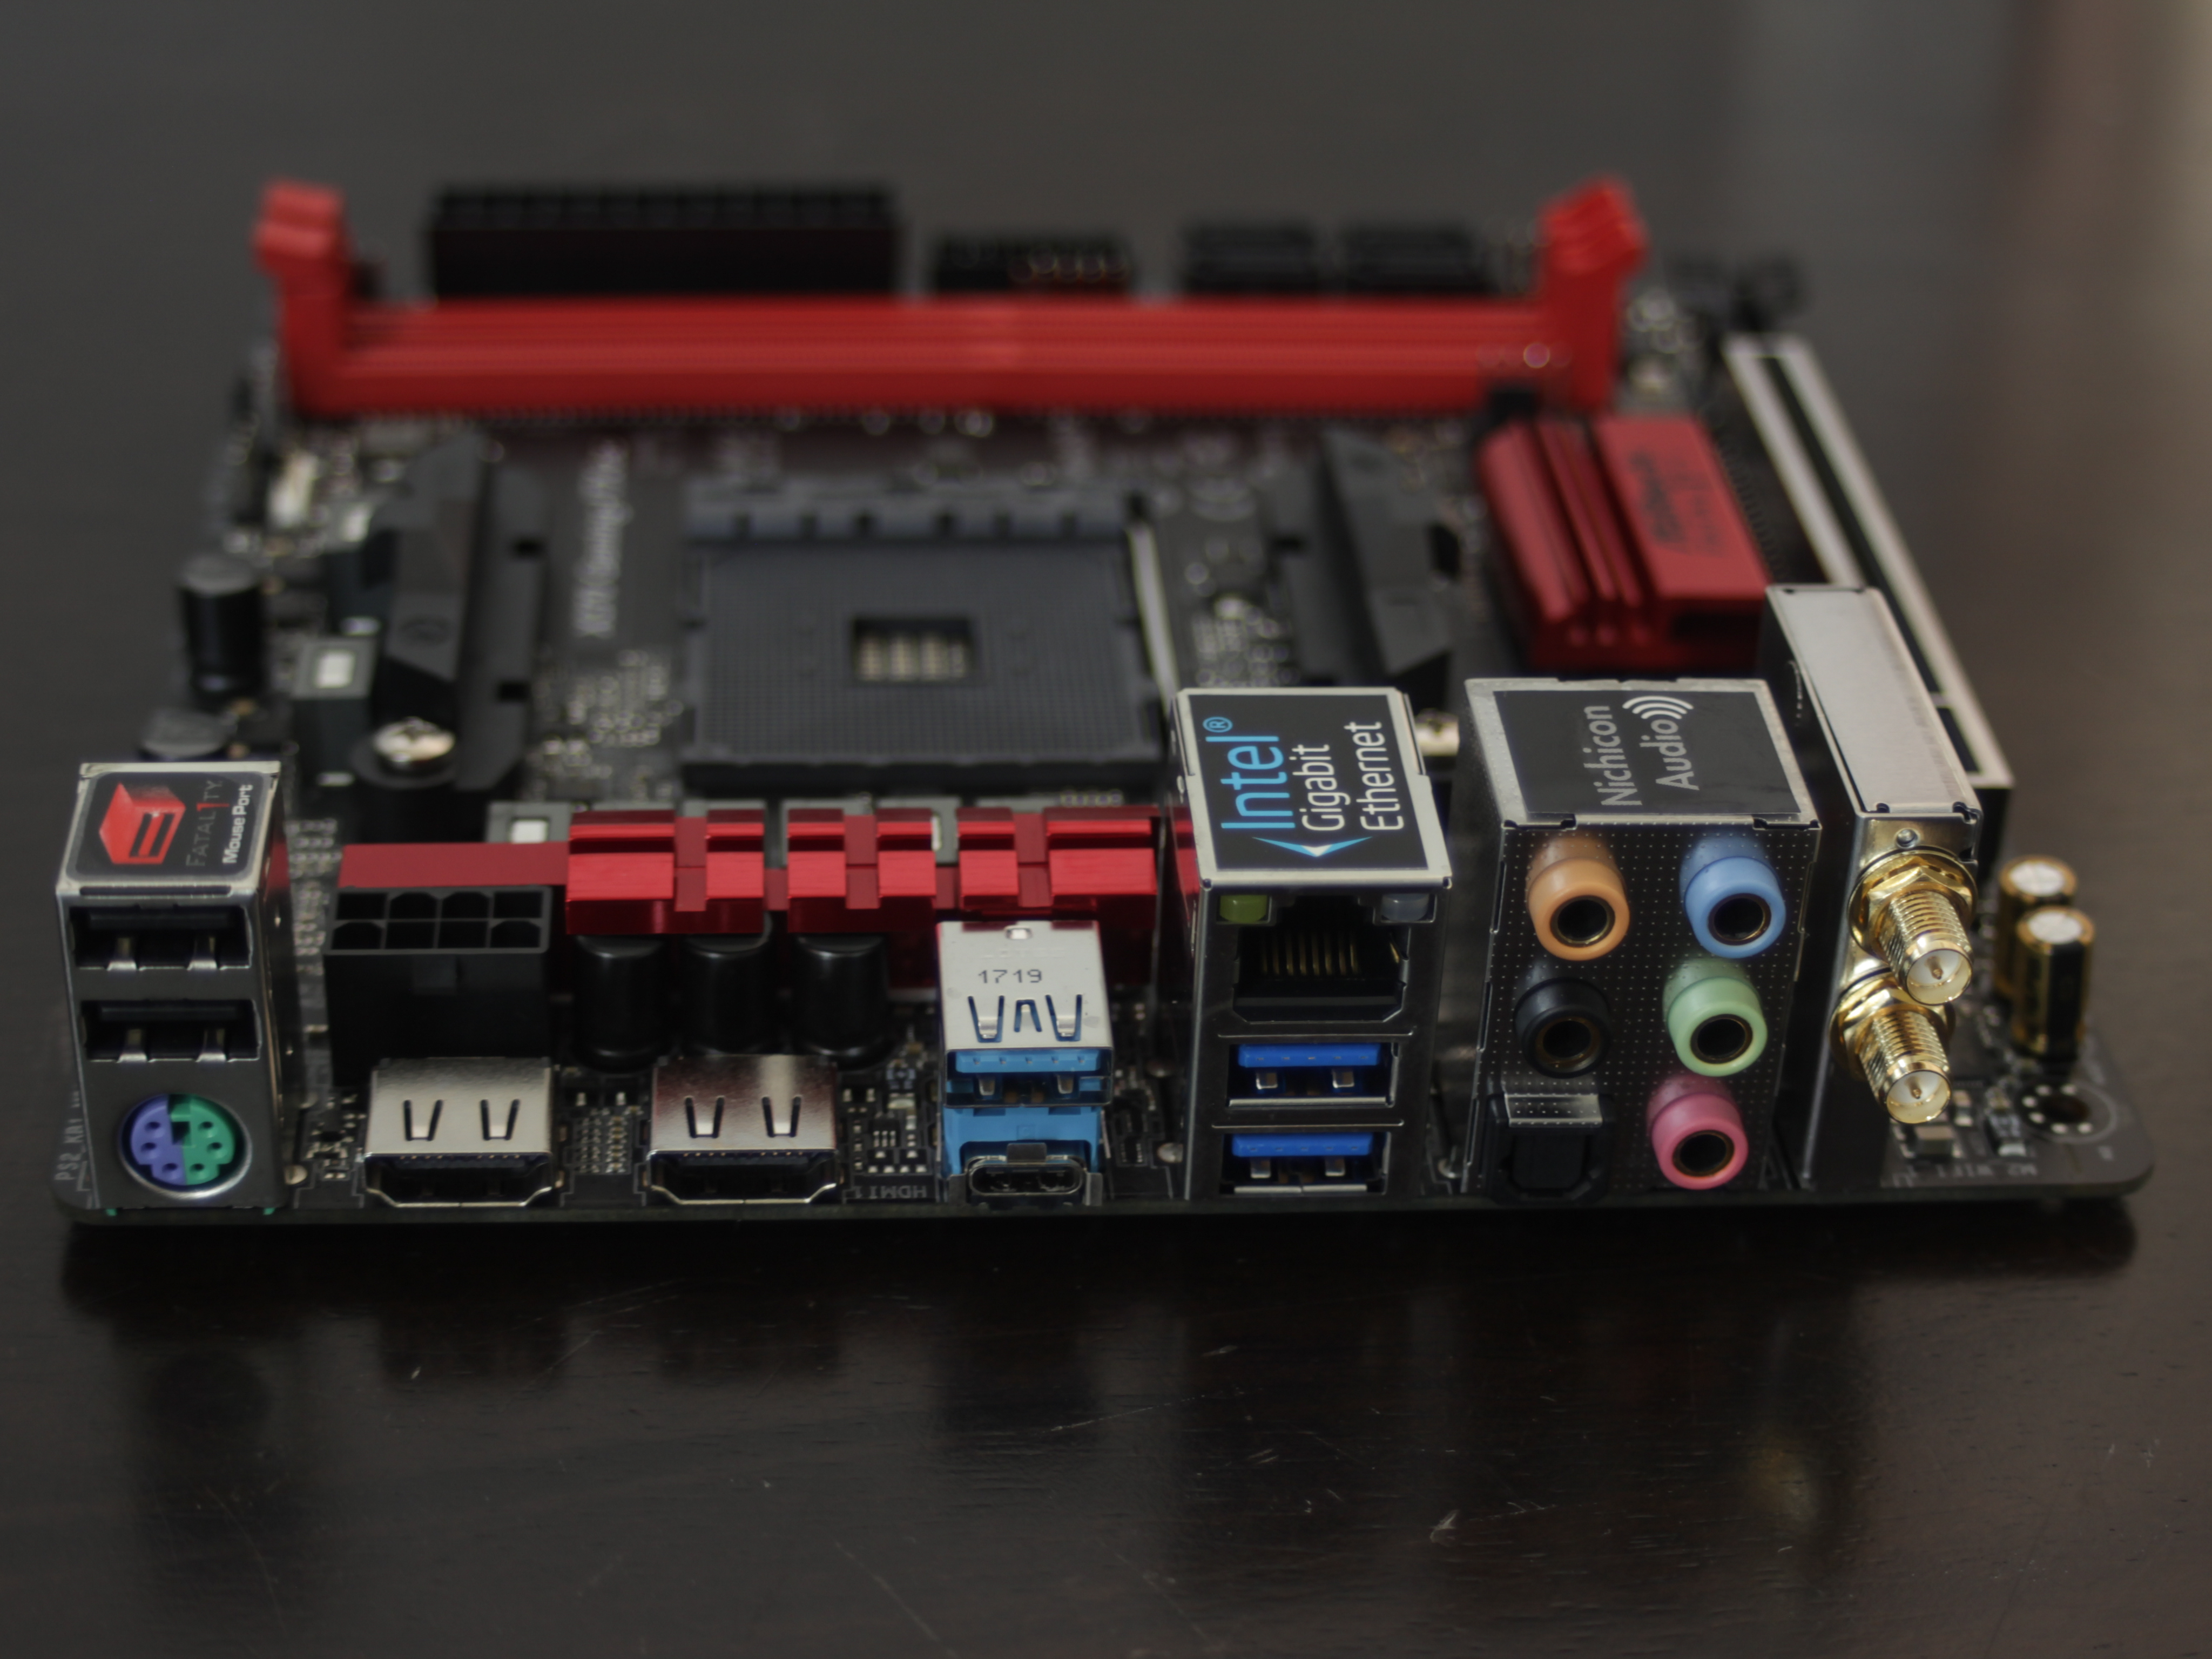
The rear I/O is relatively well endowed, albeit with a large hole above the HDMI ports. From the top left we have;
- A Fatal1ty USB mouse port – more on this later
- A regular USB 2.0 port
- A PS/2 port for mouse or keyboard
- Two HDMI ports (handy for when the incoming Ryzen APUs get here!)
- USB 3.0
- USB Type-C (not Thunderbolt)
- Intel Gigabit RJ45 port
- 2x USB 3 ports
- 7.1 channel audio
- Optical S/PDIF
- and the WiFi antenna connectors
That large hole above the HDMI ports seems to be quite a waste – there are many more USB3 ports available from the CPU and chipset – for a high end board I would have liked to see this filled with extra ports. Even a DisplayPort connector would be handy once Raven Ridge arrives! No VGA or DVI though, please.
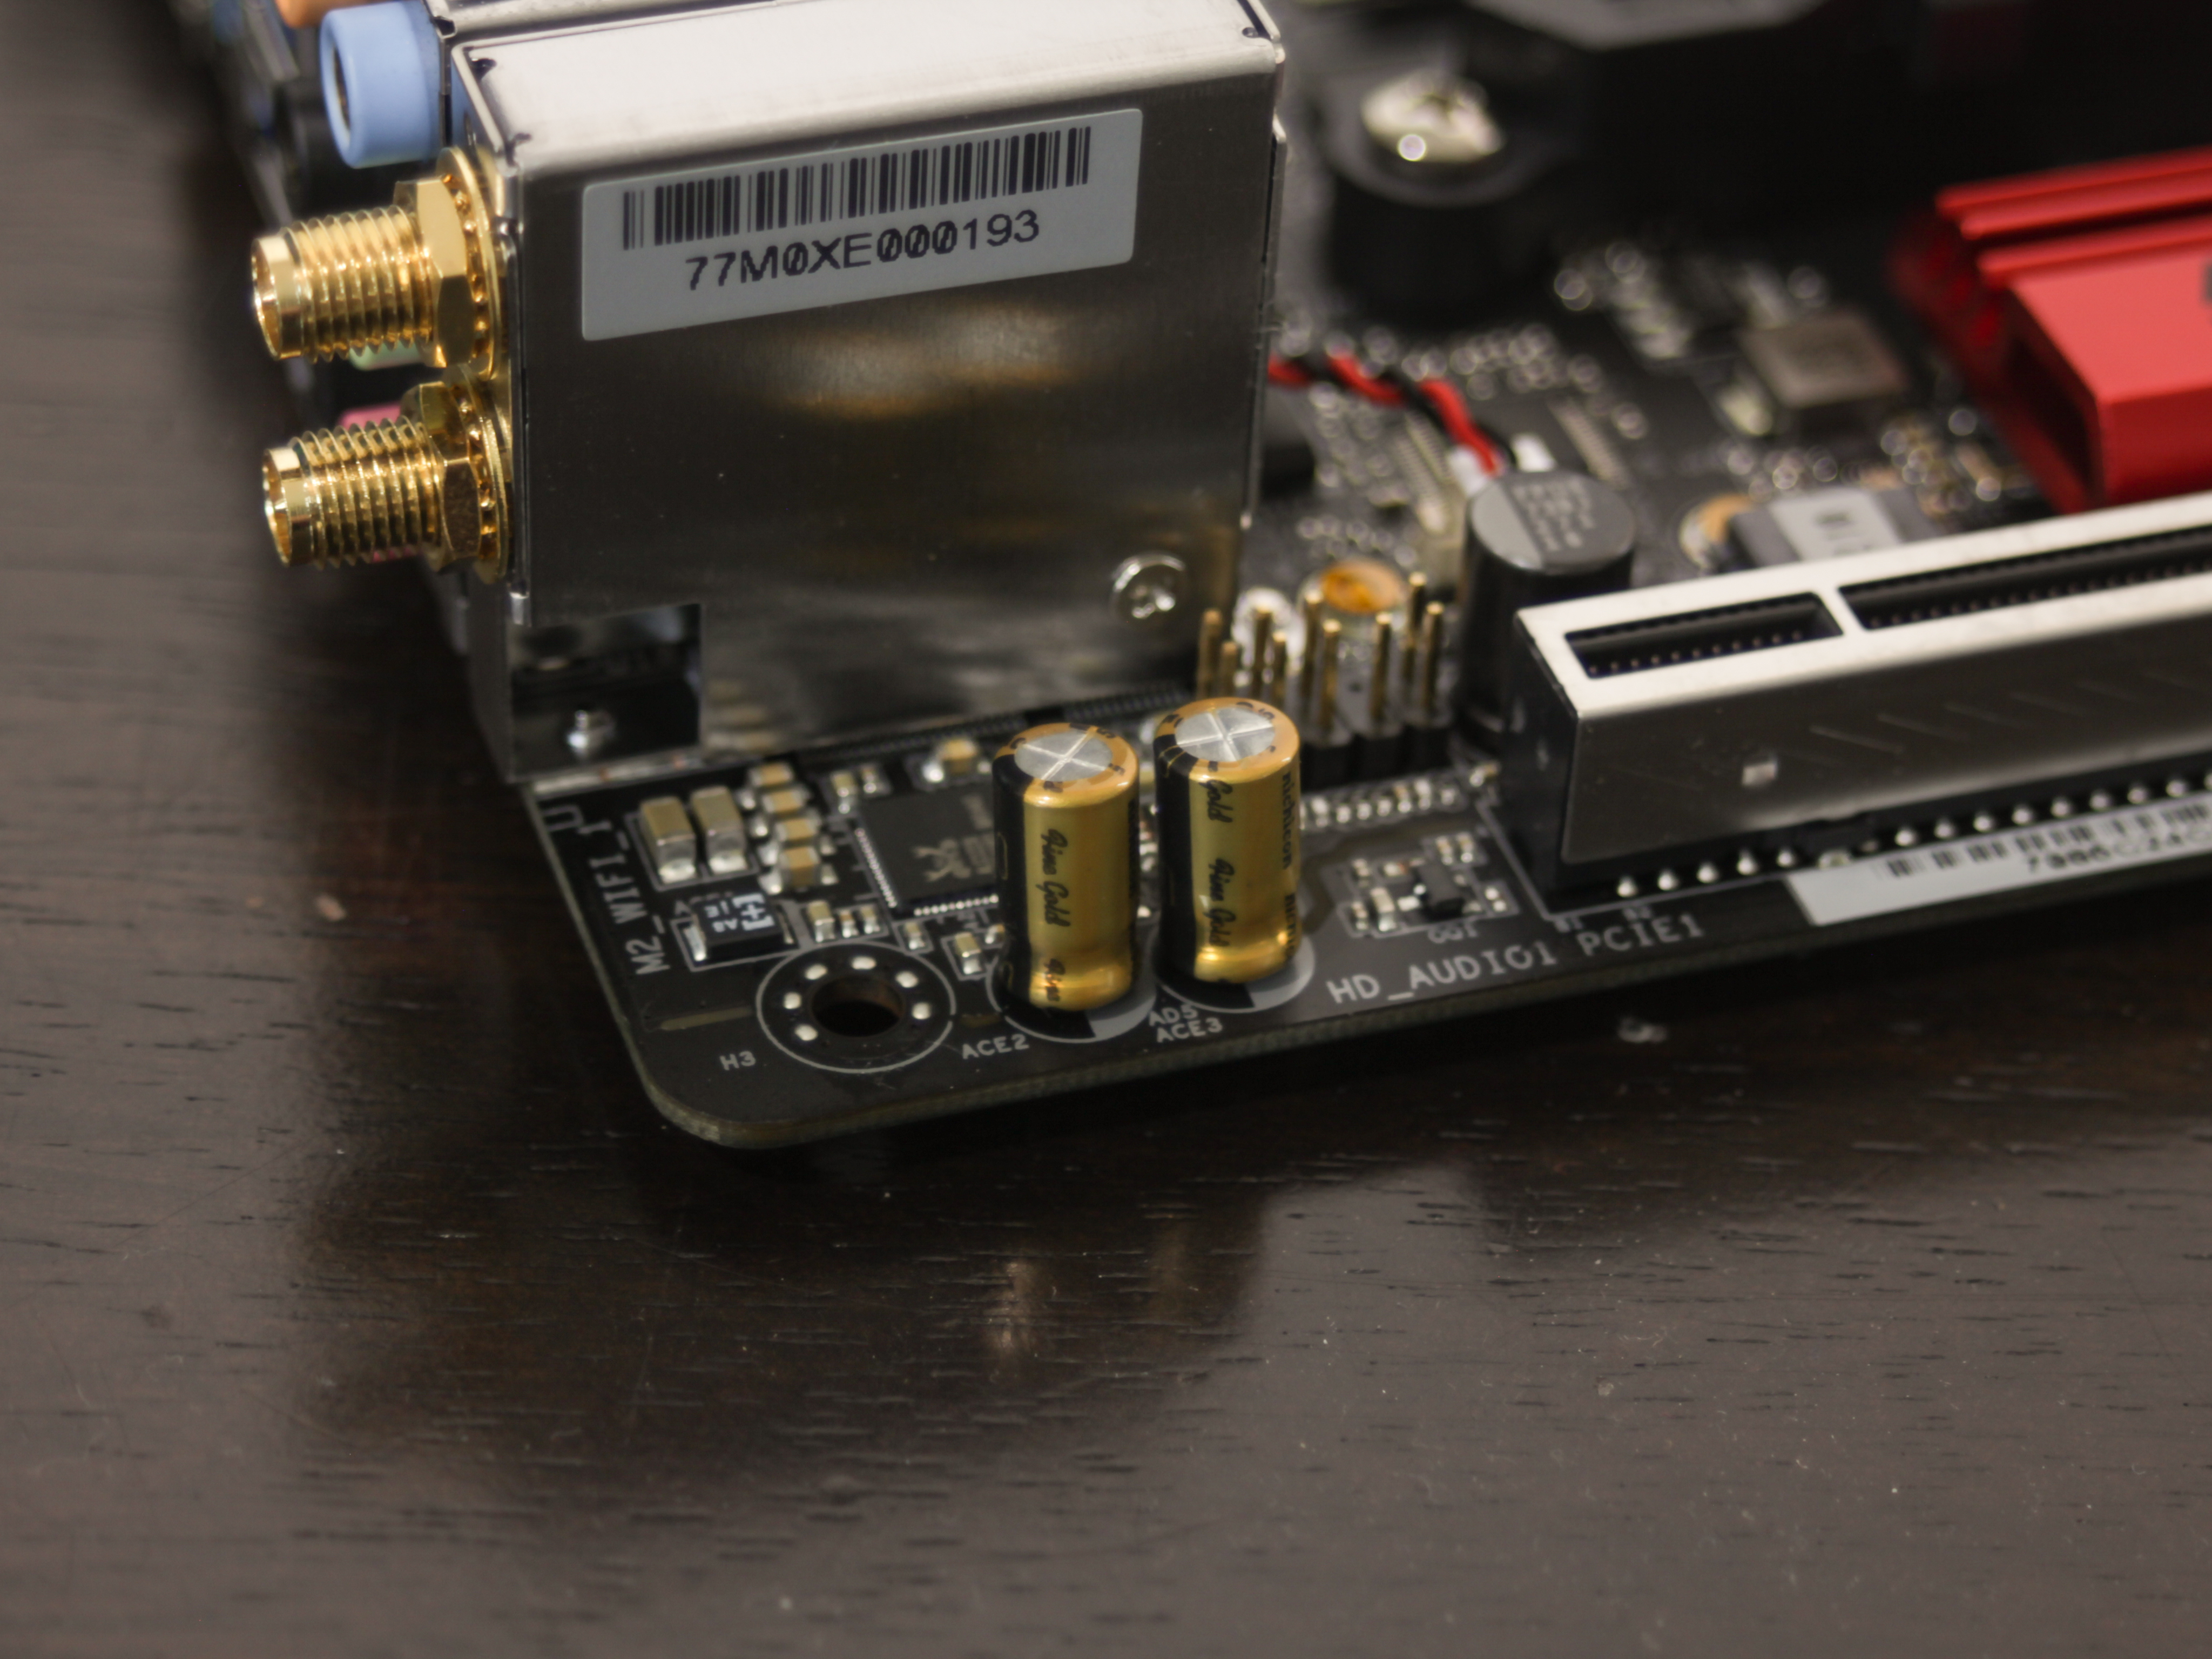
The audio solution on these boards is the Realtek ALC1220, paired with a couple of Nichicon Fine Gold caps – instead of the Nichicon Black 12K caps found on the rest of the board.
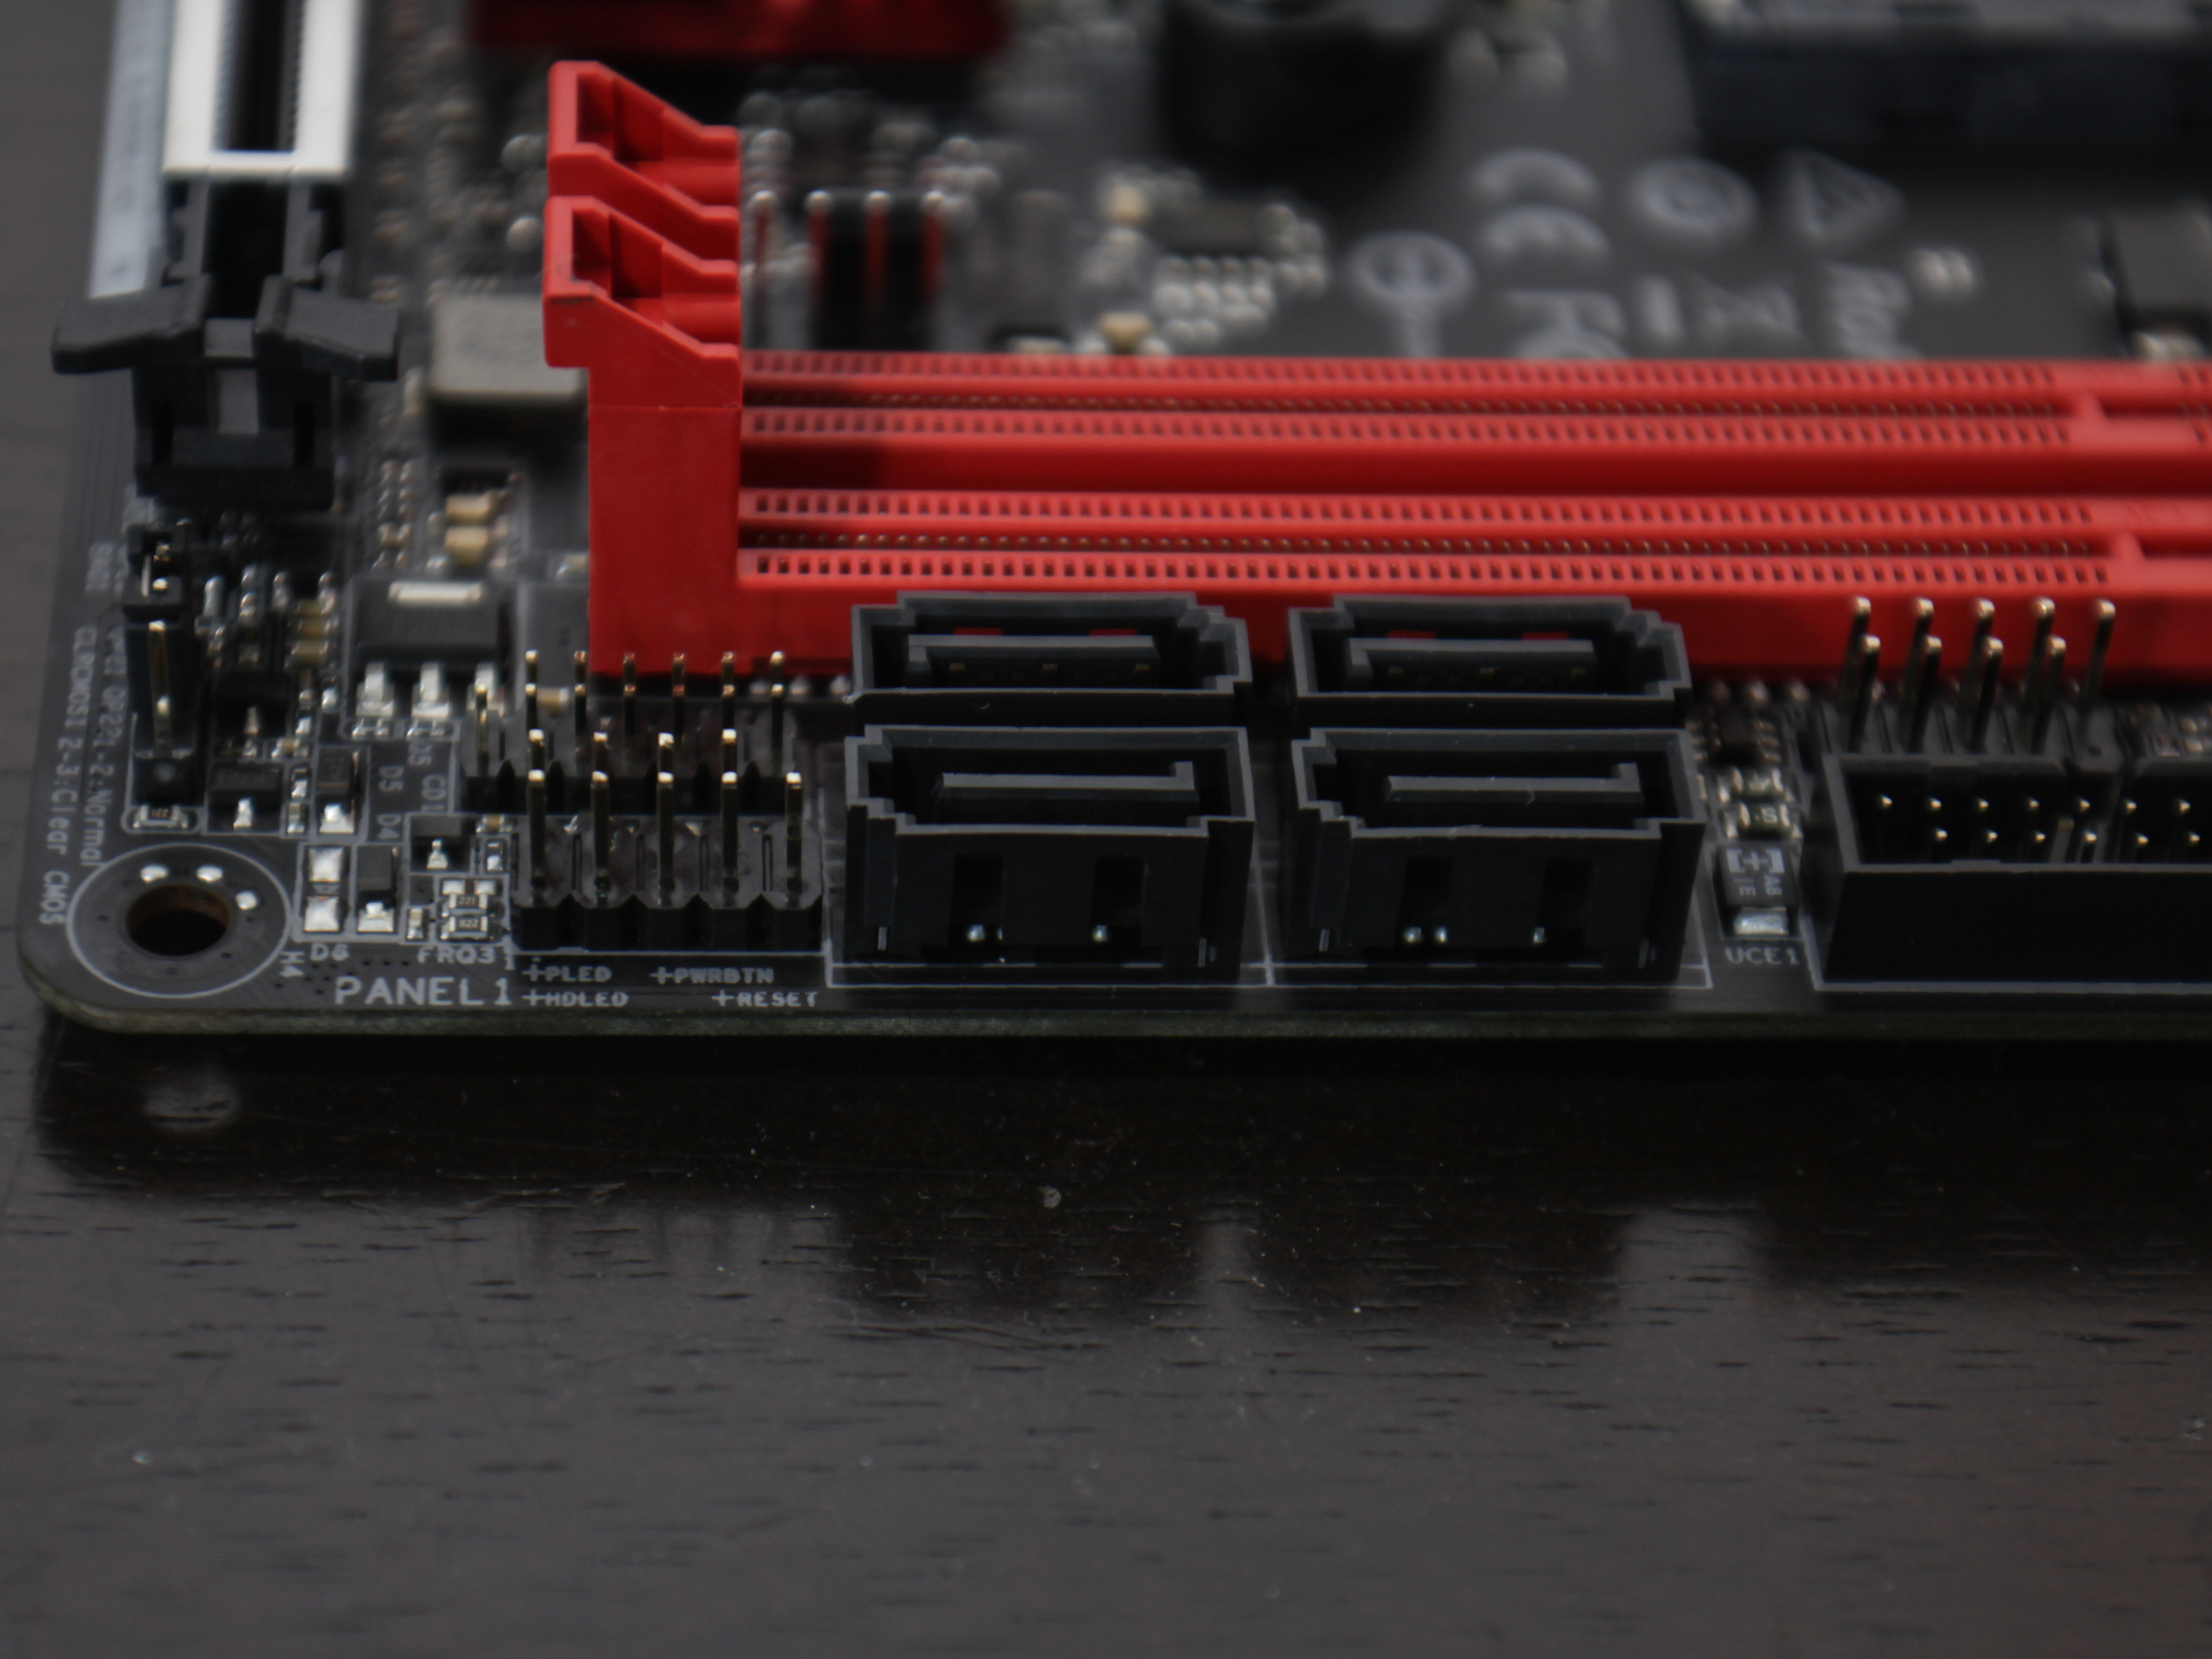
To the front of the board! Here we find the front panel header, and the 4 SATA 6Gb/s ports. To the far right we have the USB 3.0 header and the USB 2.0 header. Nestled between the FP header and the RAM is the TPM header – for those who need that extra layer of security.
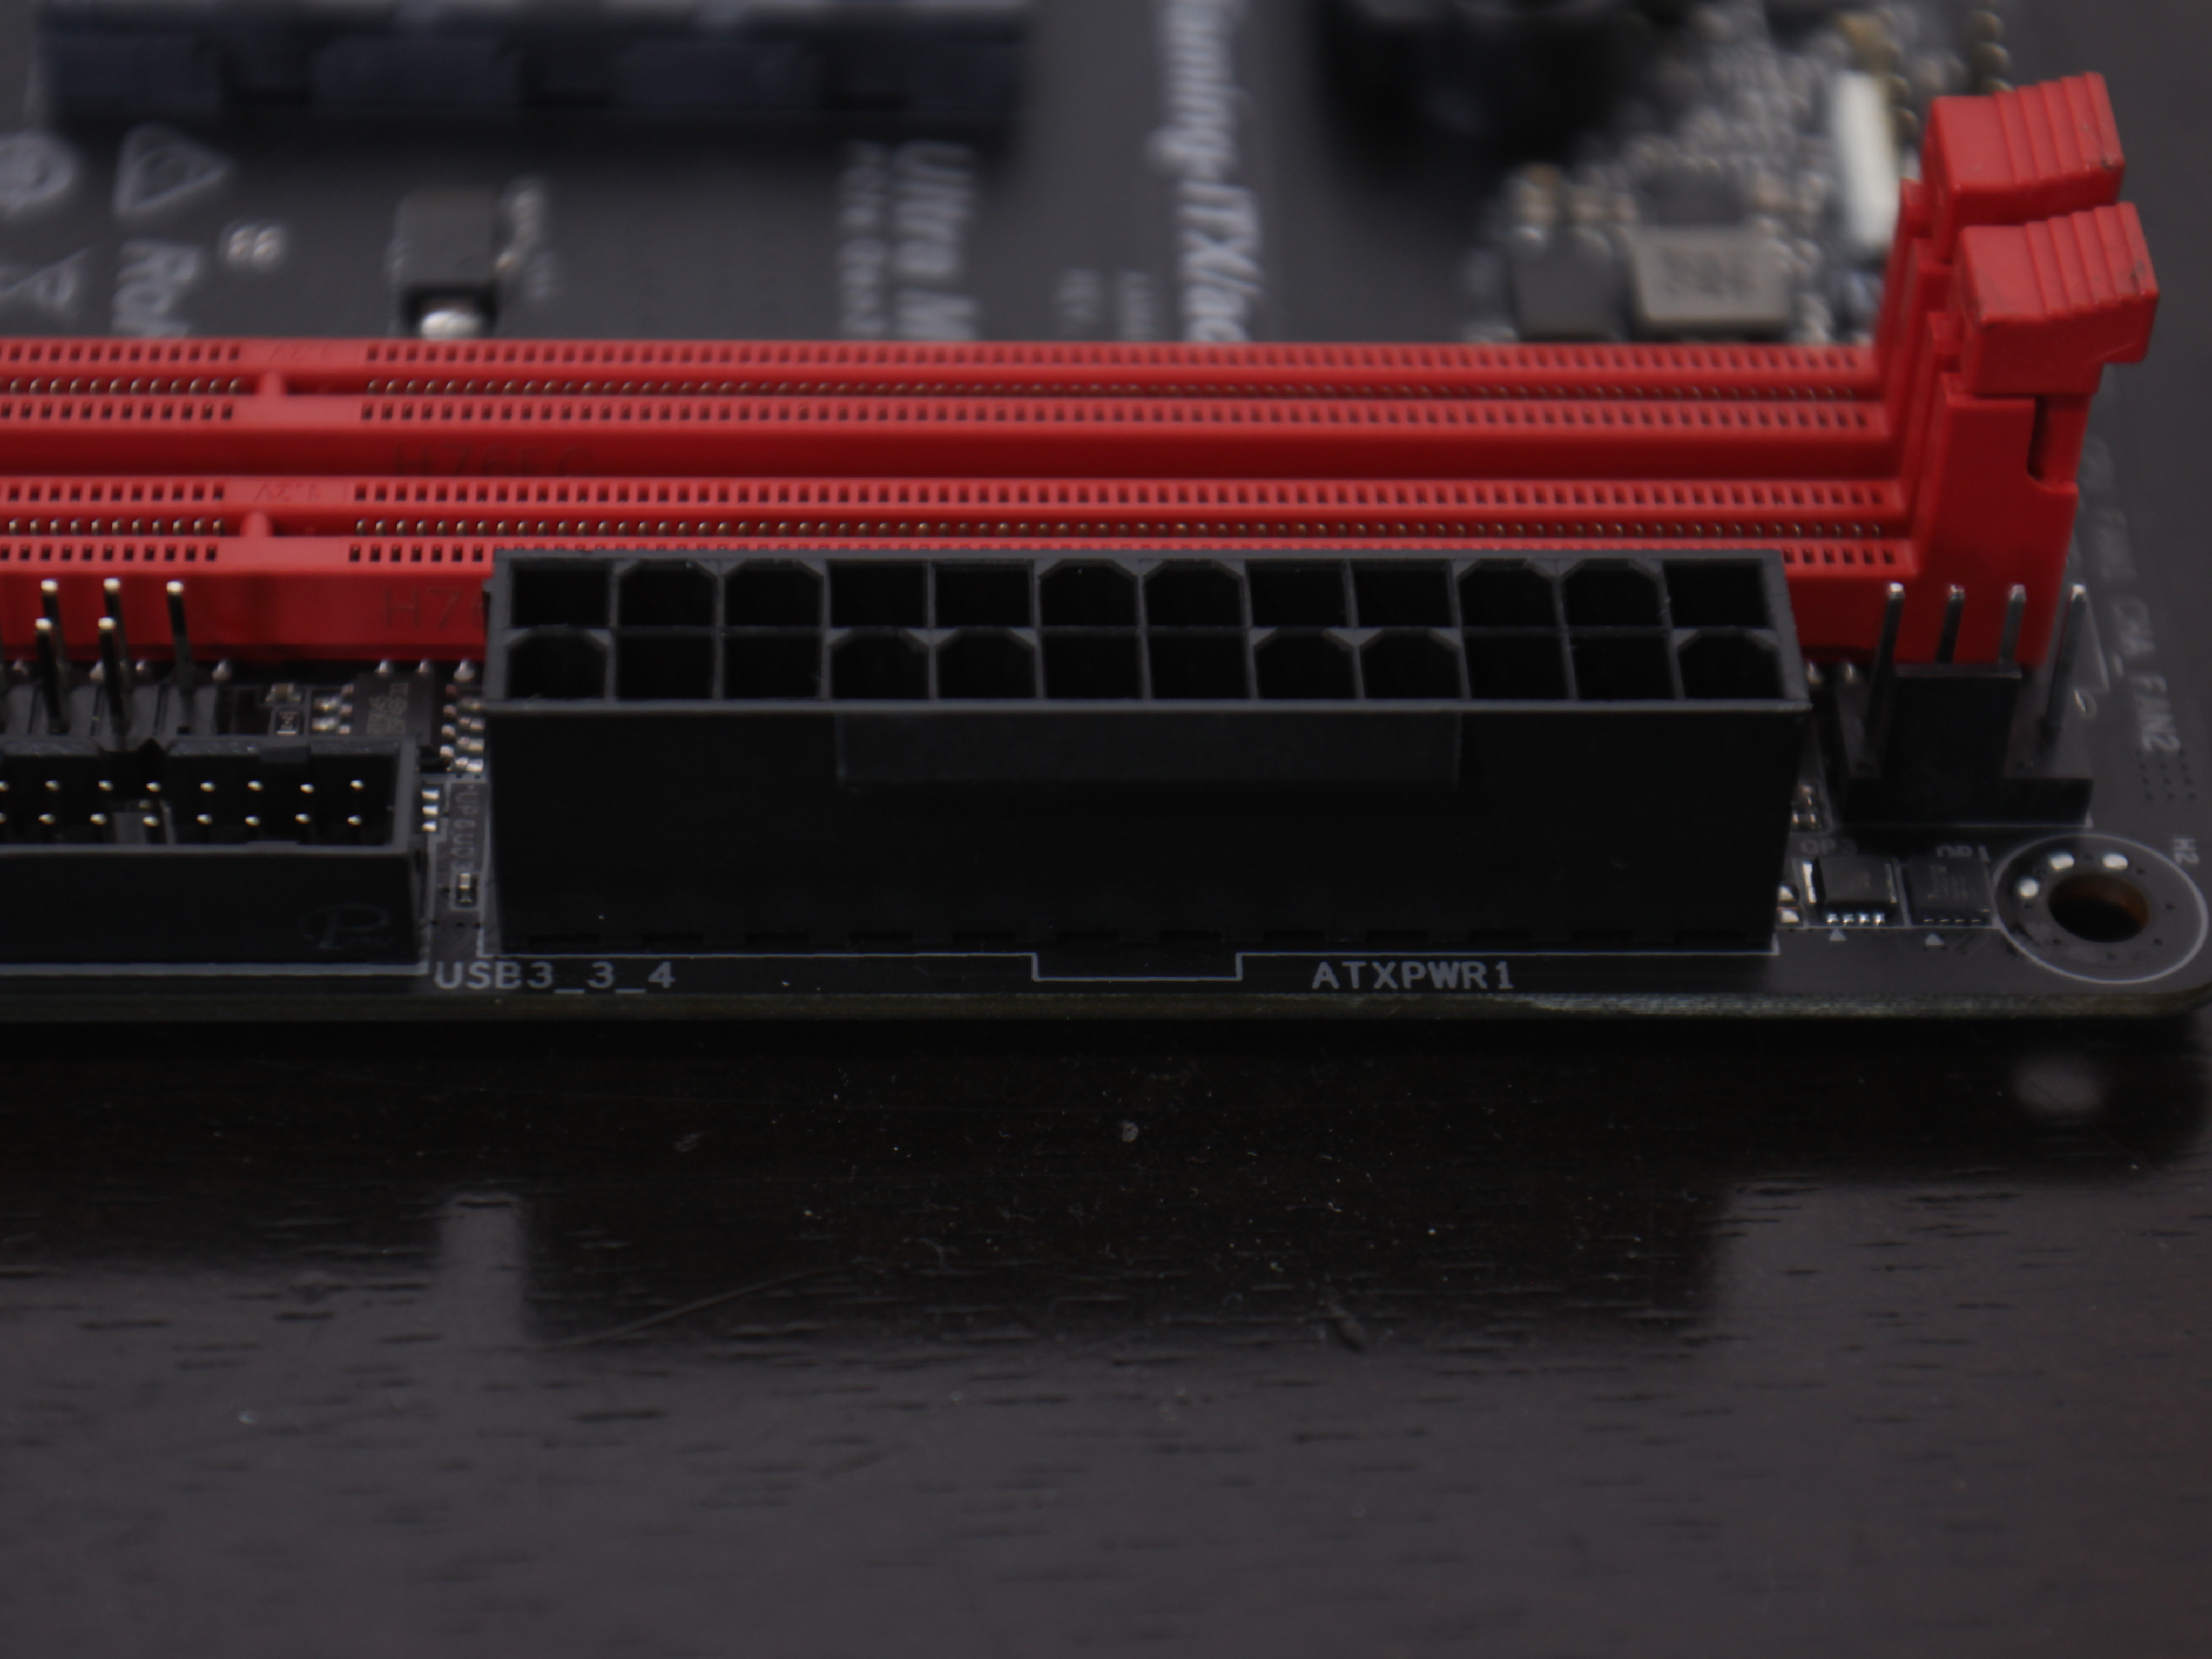
The antiquated ATX power connector. We need to kick this one into the past!

At the top of the board, we have fan headers, namely the chassis fan header (#2) and the CPU fan header. To the right of these, we have the AMD LED Fan USB Header (USB_5) and the AMD Fan LED Header (AMD_FAN_LED1).
Both the X370 and AB350 variants have identical PCBs, even down to the revision number! The model number is applied as a sticker after the specific components are installed – namely the chipset, VRM solution and WiFi card.
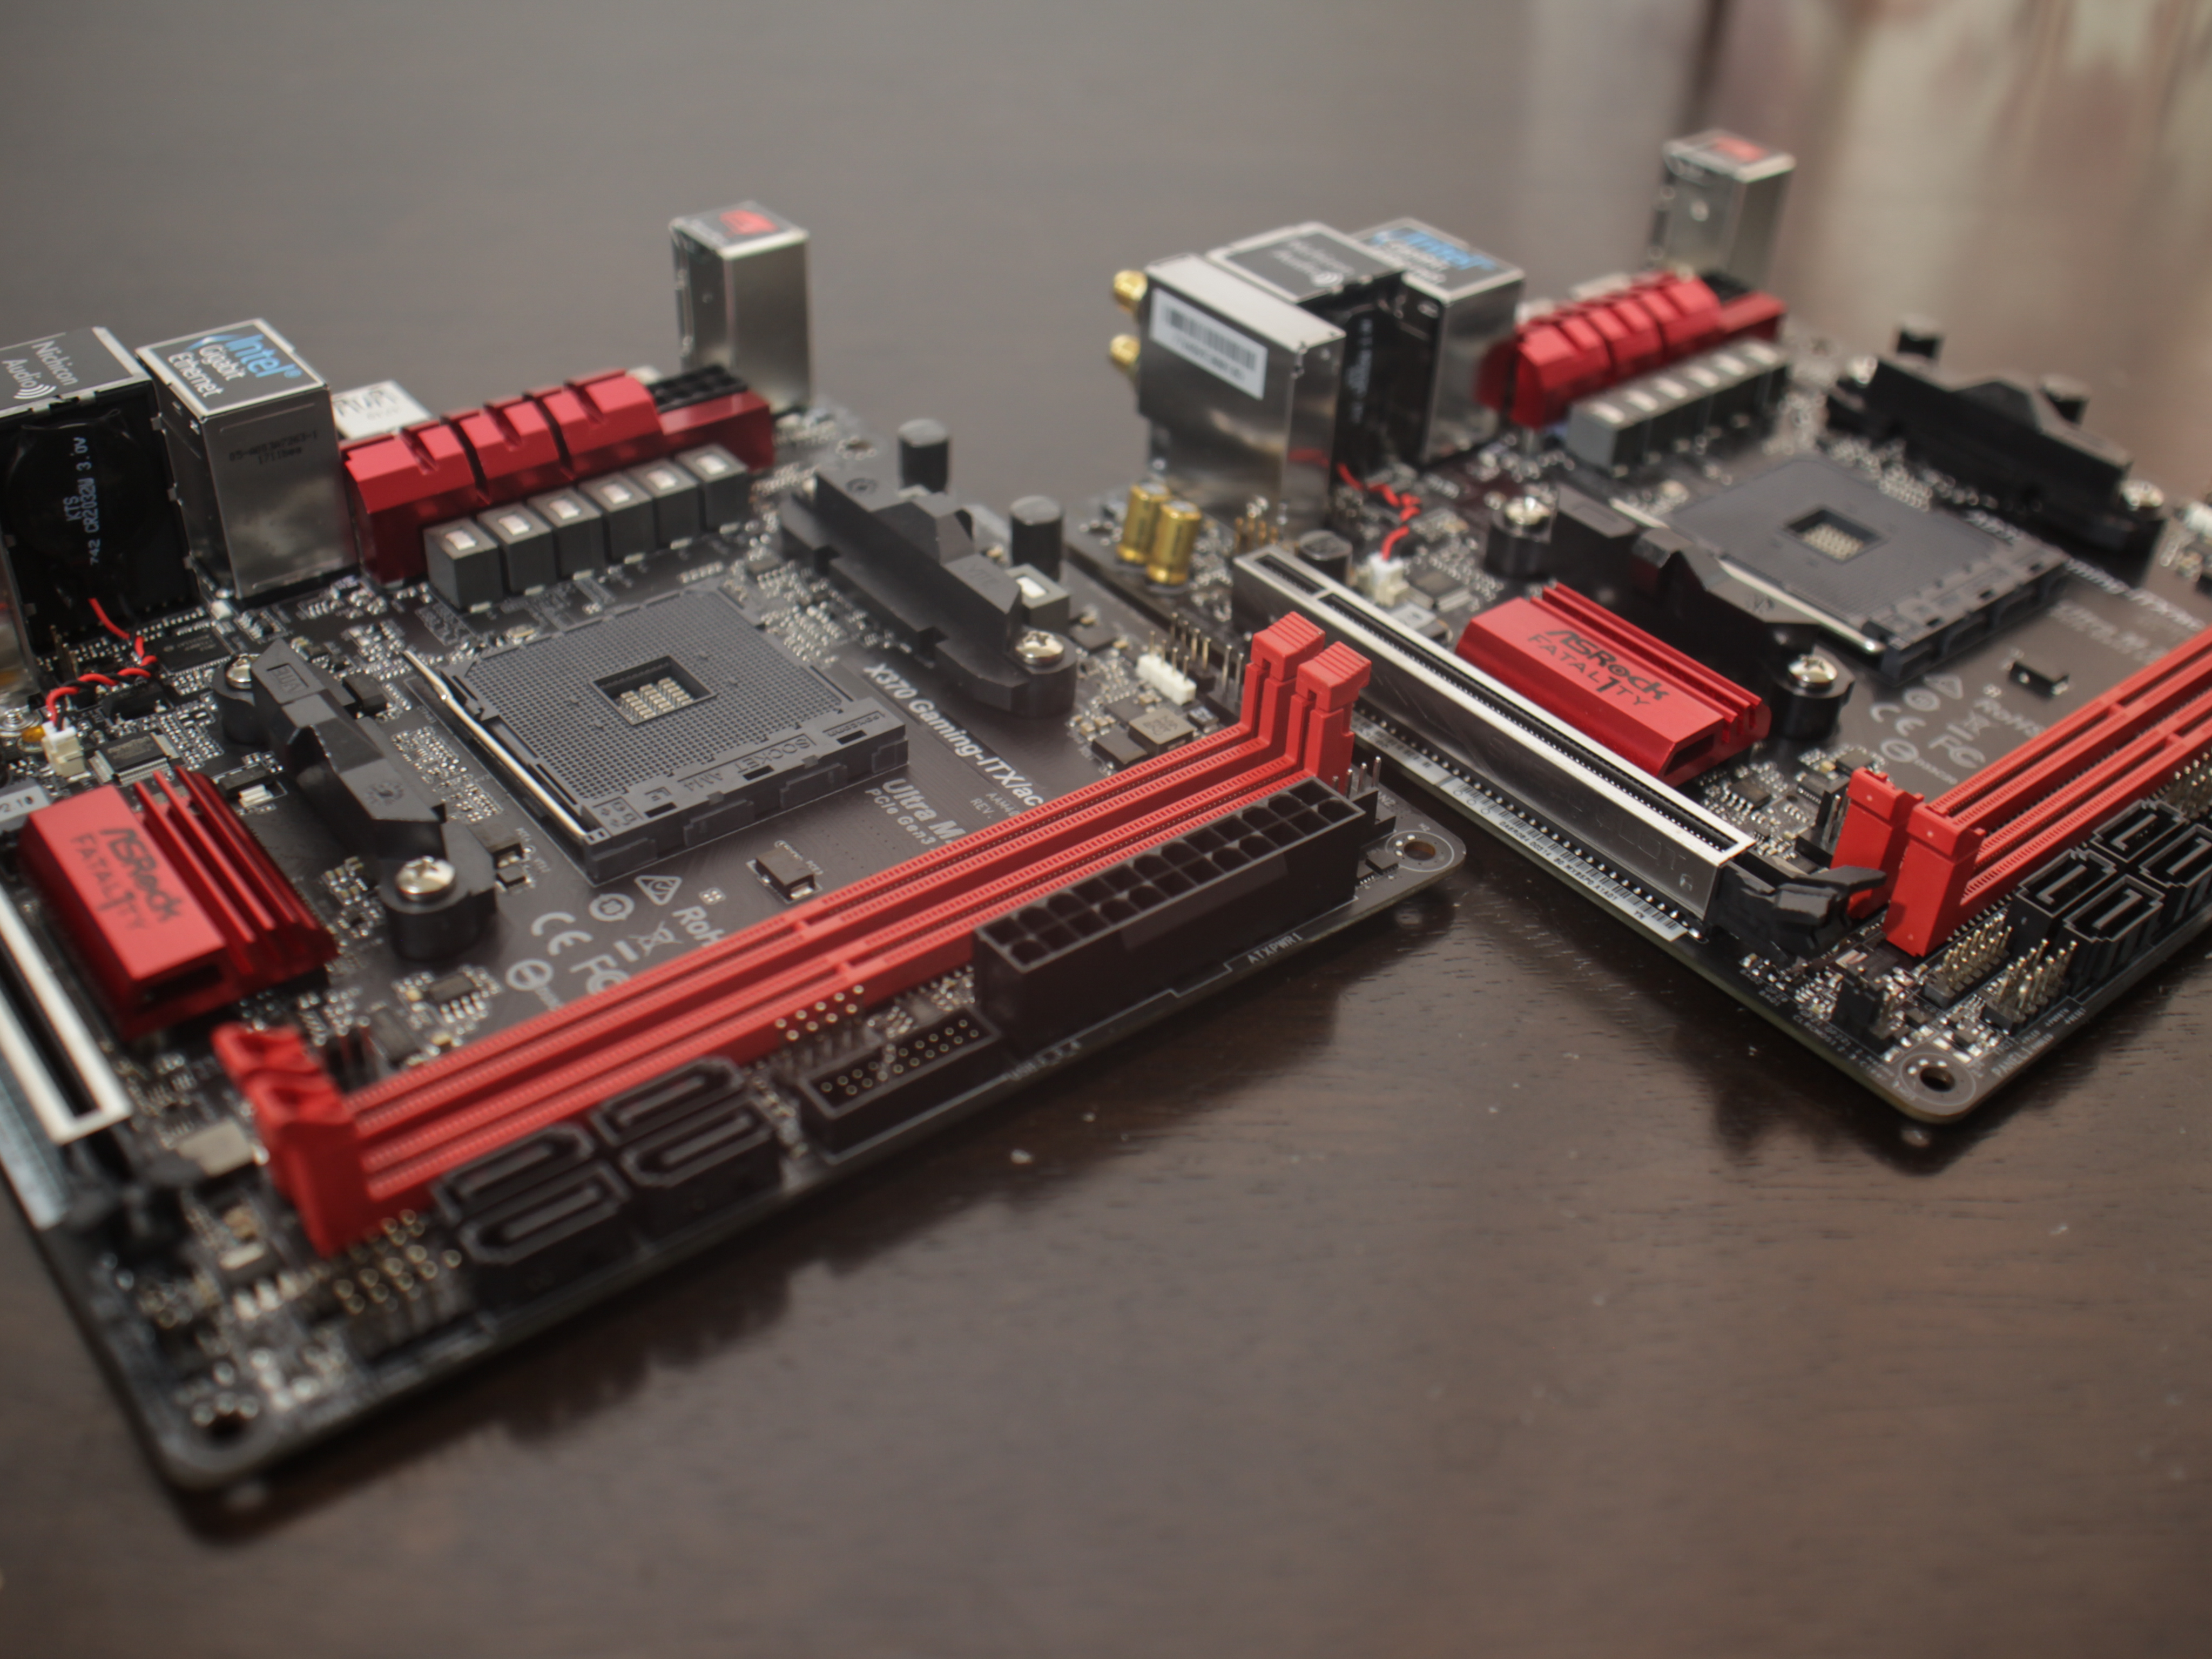
(Almost) identical twins! Wait.. those VRM heatsinks look different. Let’s dig deeper.
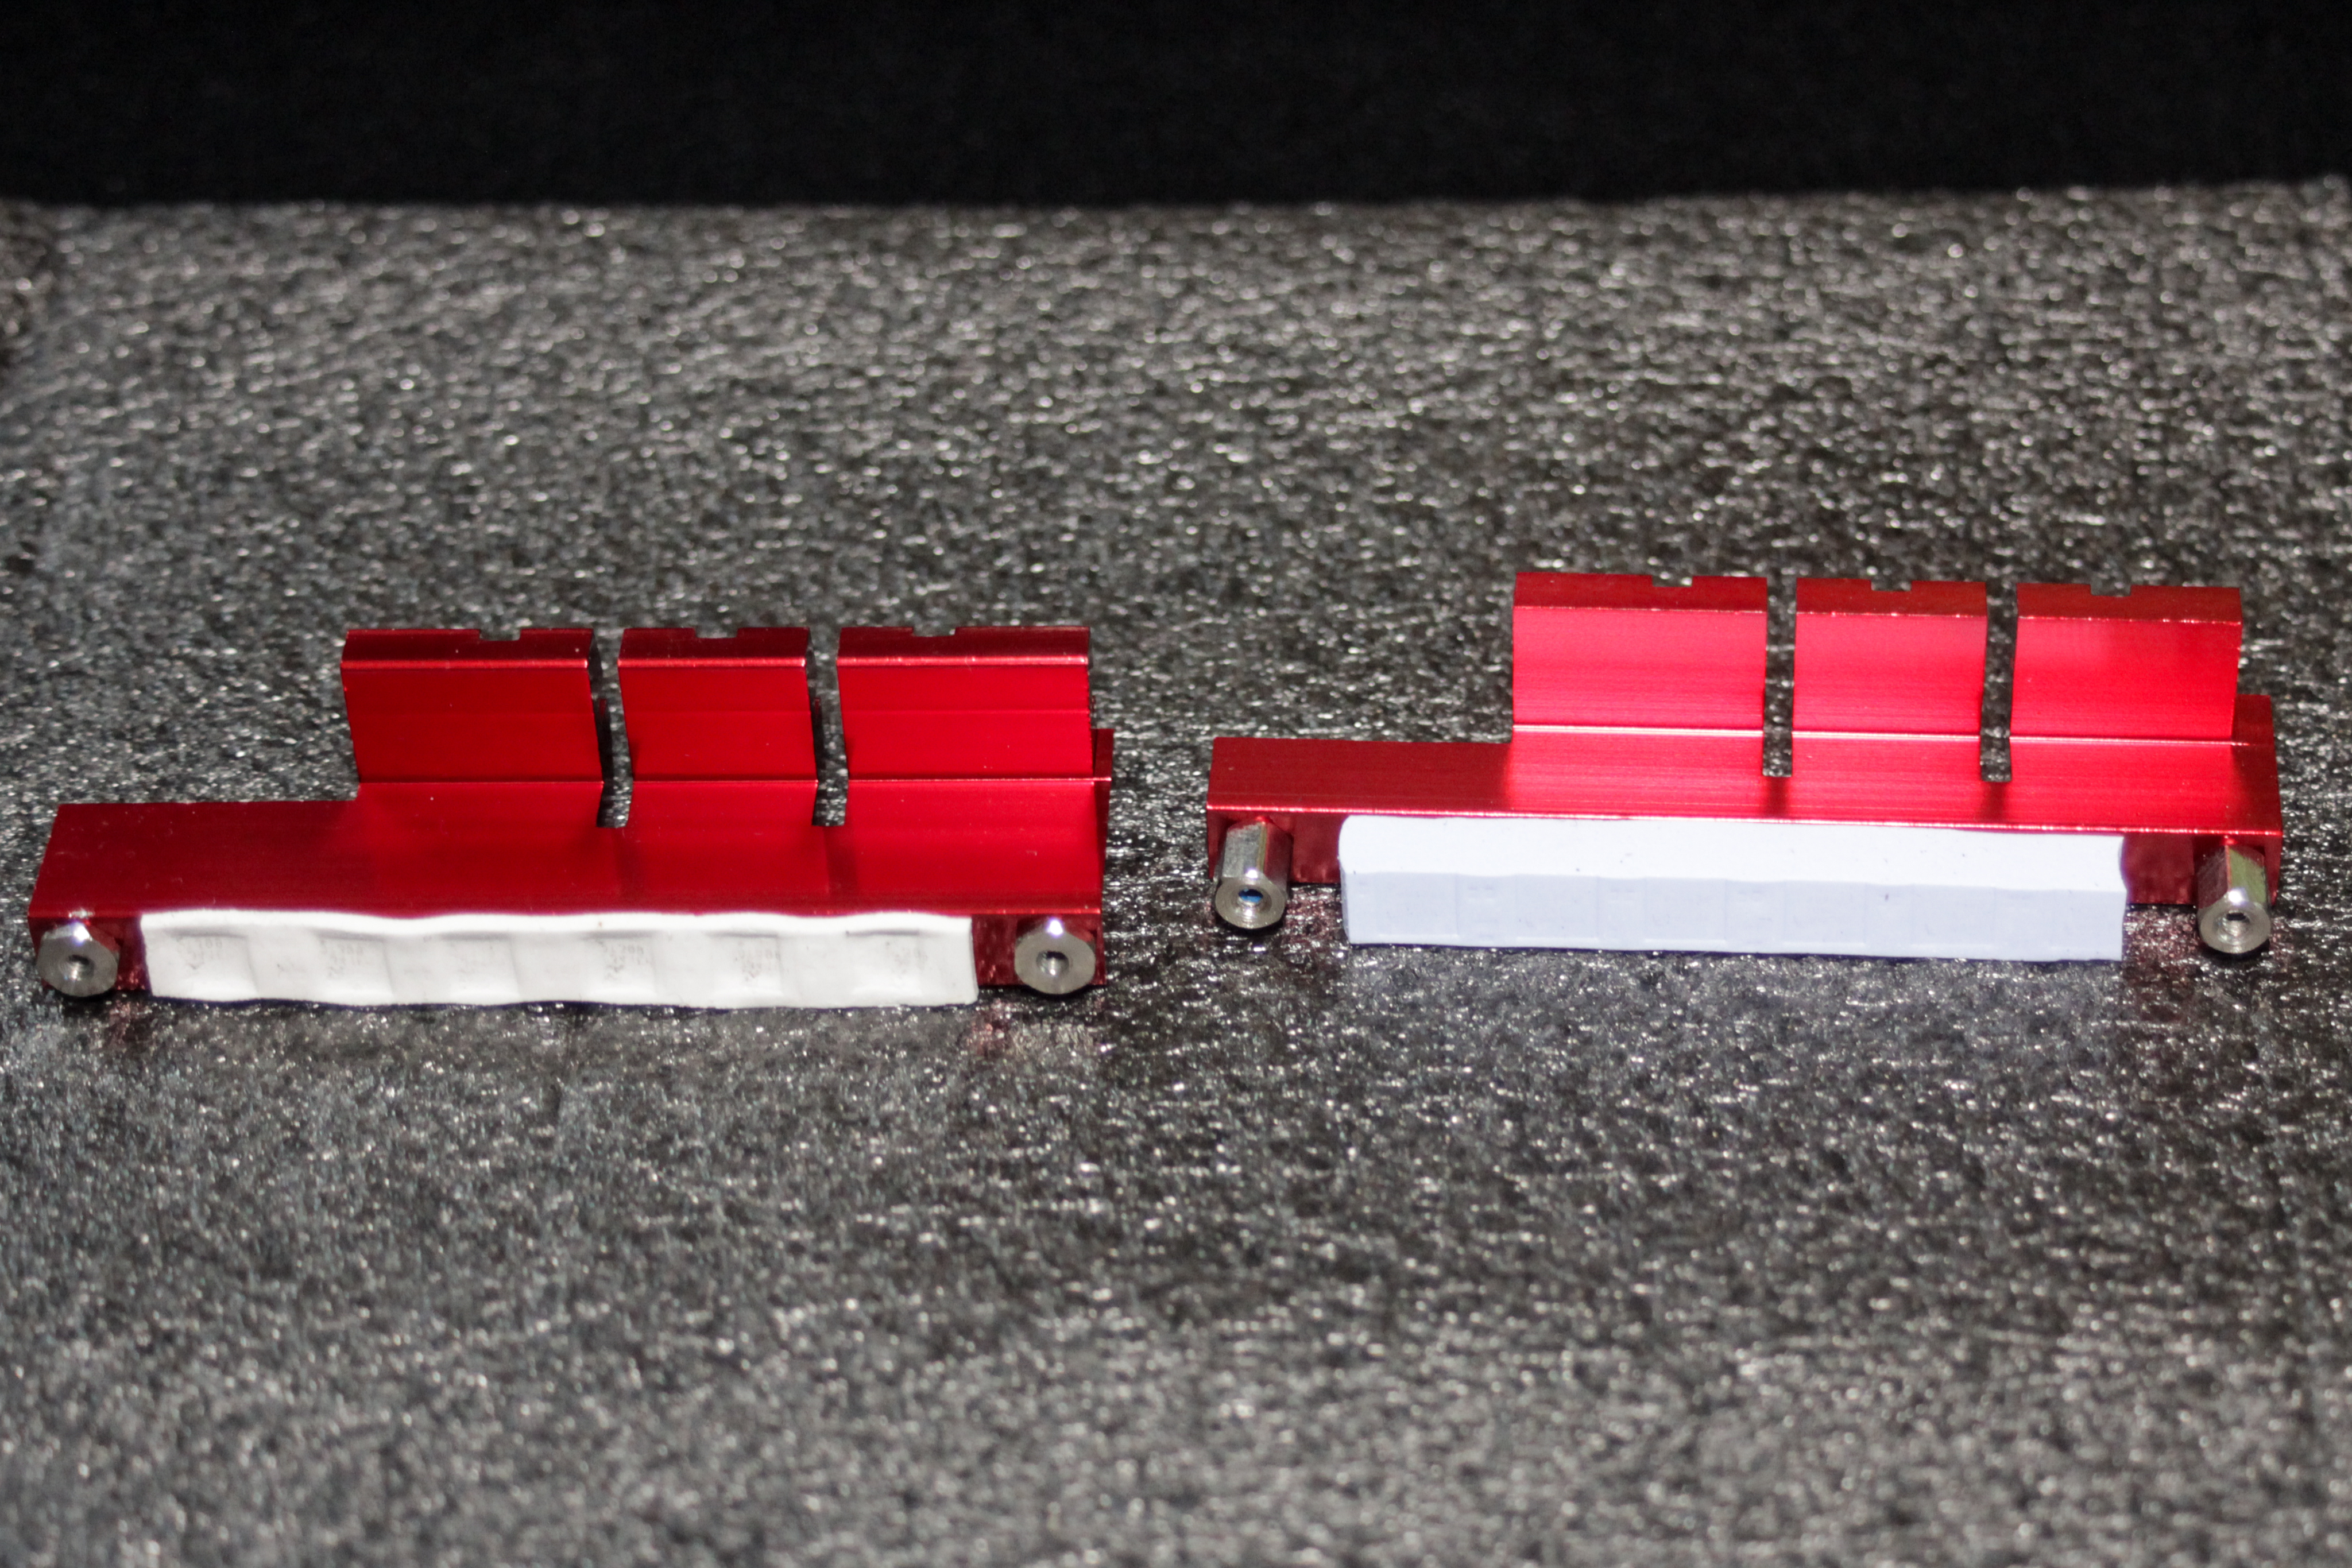
Yup, the heatsinks are very different! On the left, we have the heatsink from the Fatal1ty X370 Gaming-ITX/ac, and on the right, the AB350 variant.
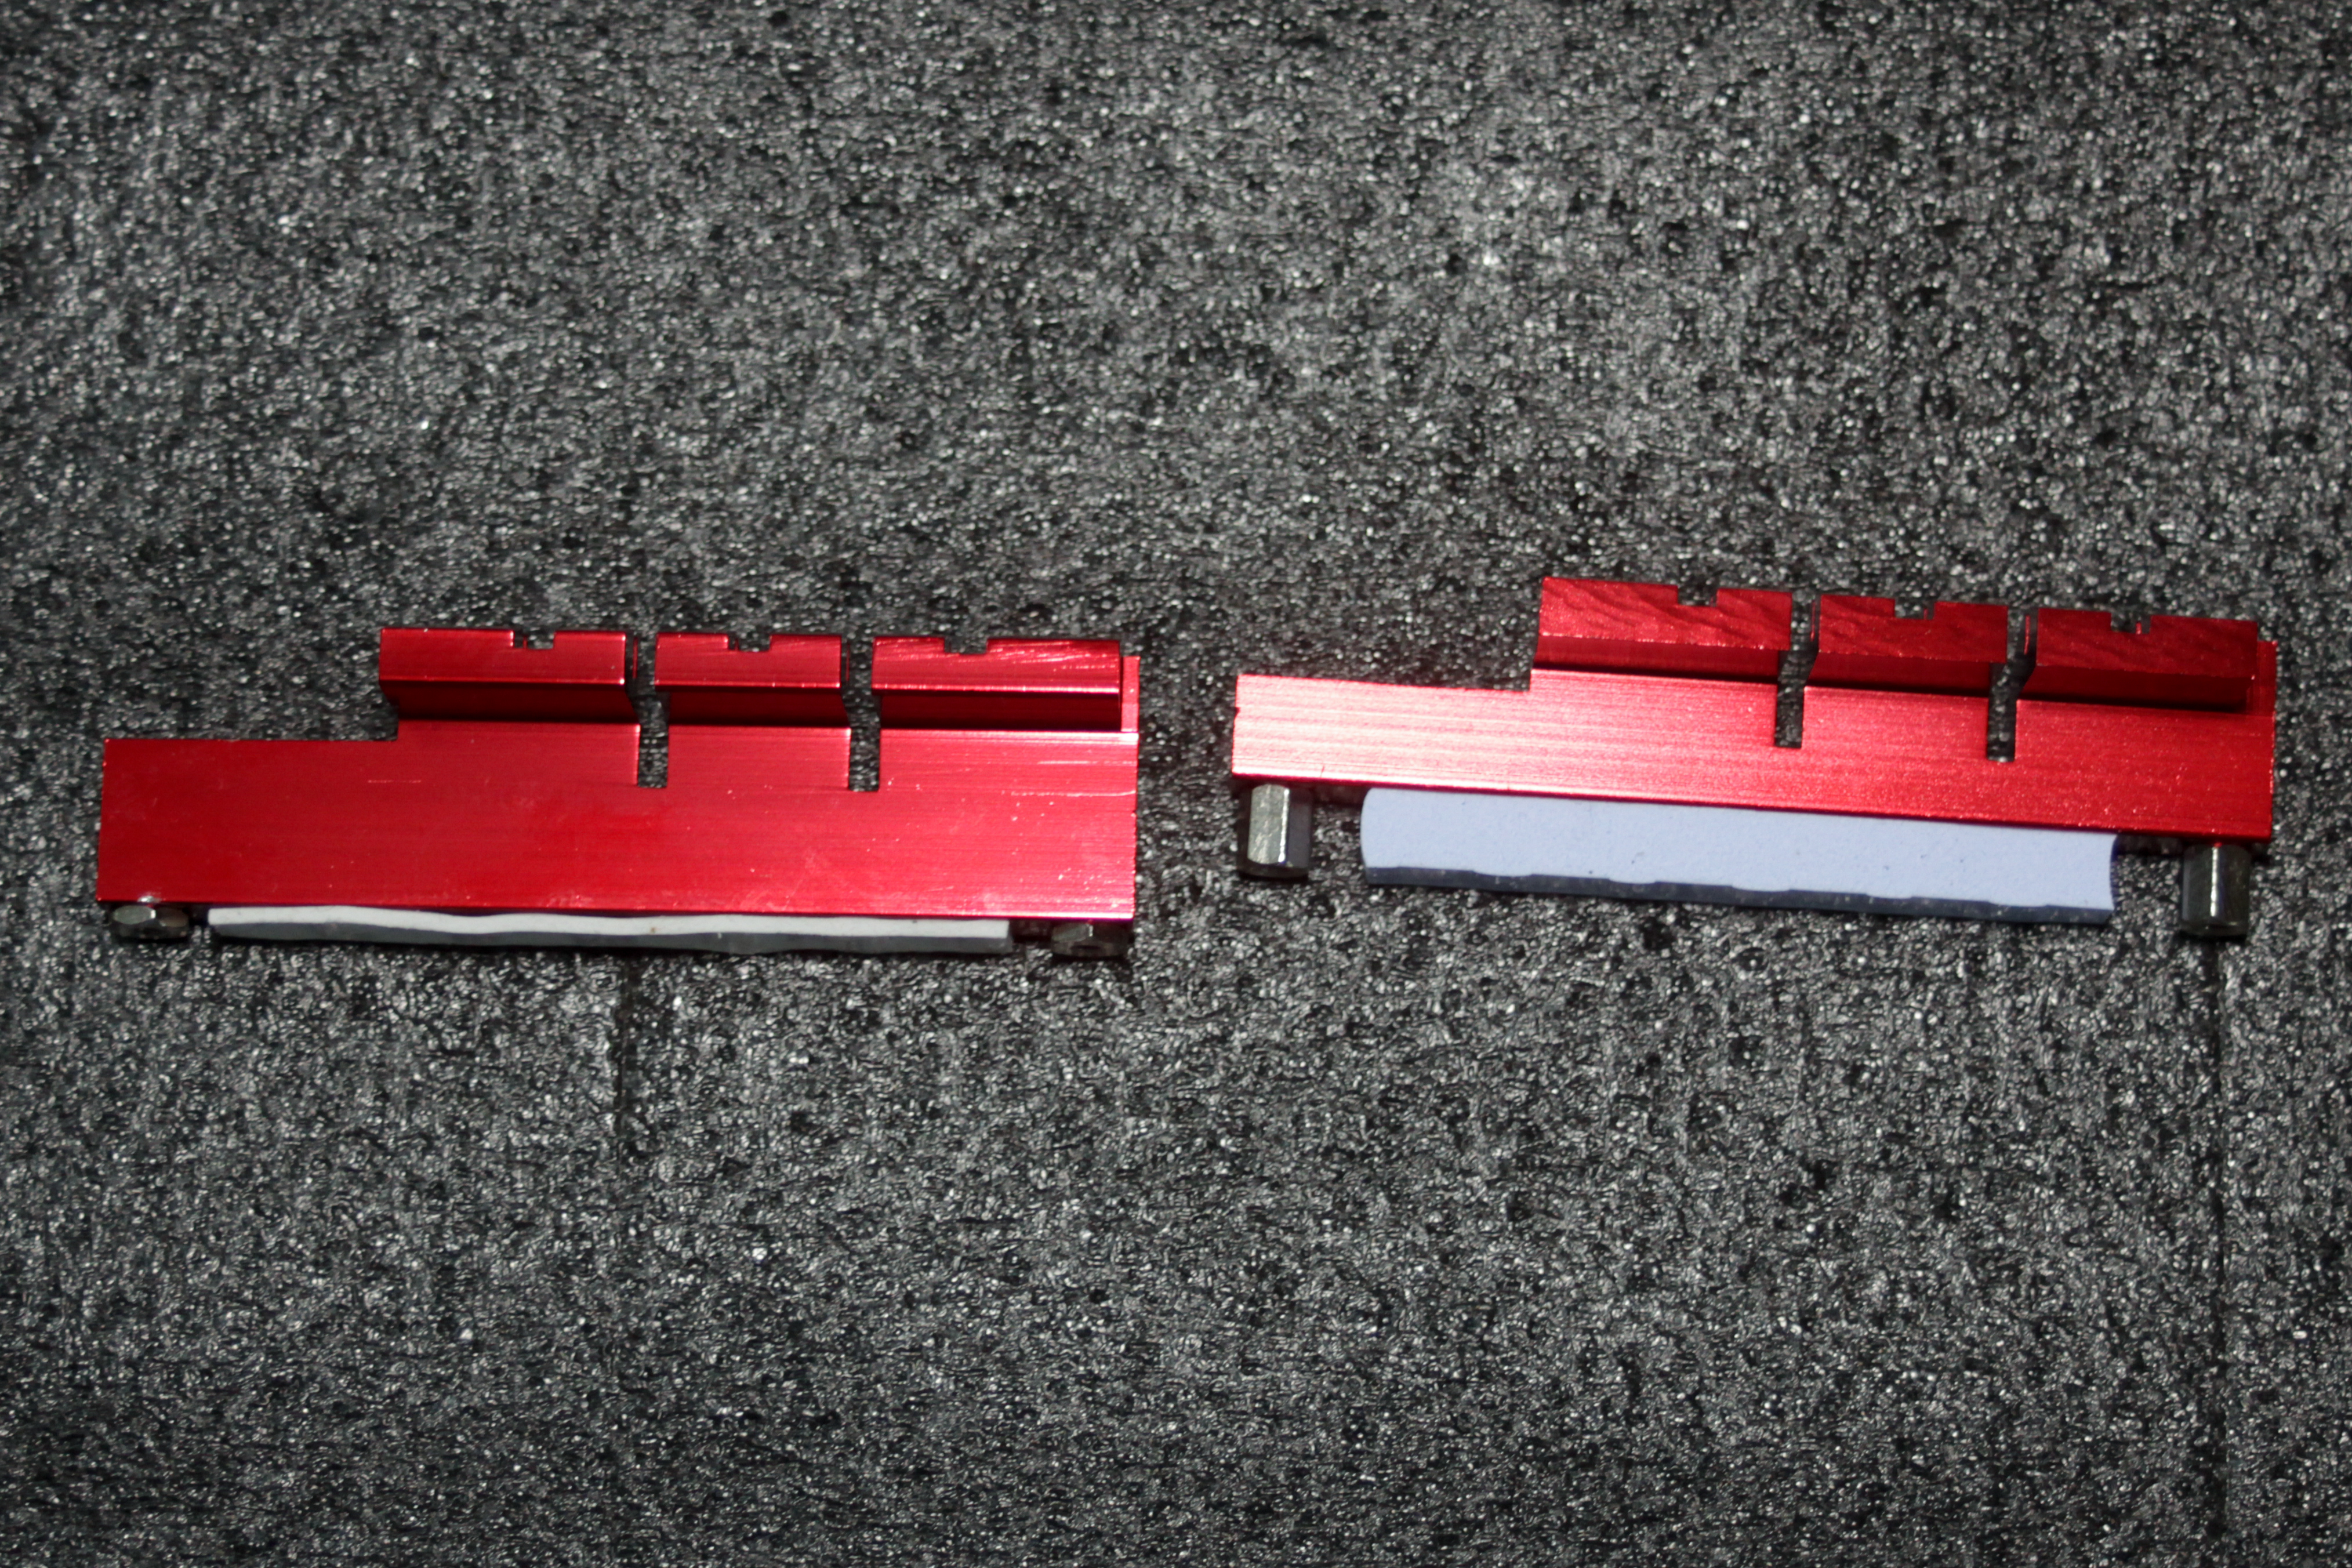
Noticeably, the thermal pad on the AB350’s cooler is significantly thicker, which would lead to poorer sustained stability under overclocking – but would be fine at stock clocks. This is a known inconsistency with the product range, and it’s interesting that I received one of each! Some users have had luck contacting ASRock directly to get a replacement, thicker, cooler, but your results may vary.
EDIT: ASRock has stated that all new batches of both boards include the better VRM heatsink – the one with the thinner thermal pad.

The AB350’s MOSFETS are Fairchild Semiconductor FDPC5030SG 30V Asymmetric Dual N-Channel MOSFETs. They are rated to 84 Amps at 25°C ! More realistically, they can channel 53 Amps at 100°C – closer to reality for a VRM MOSFET.
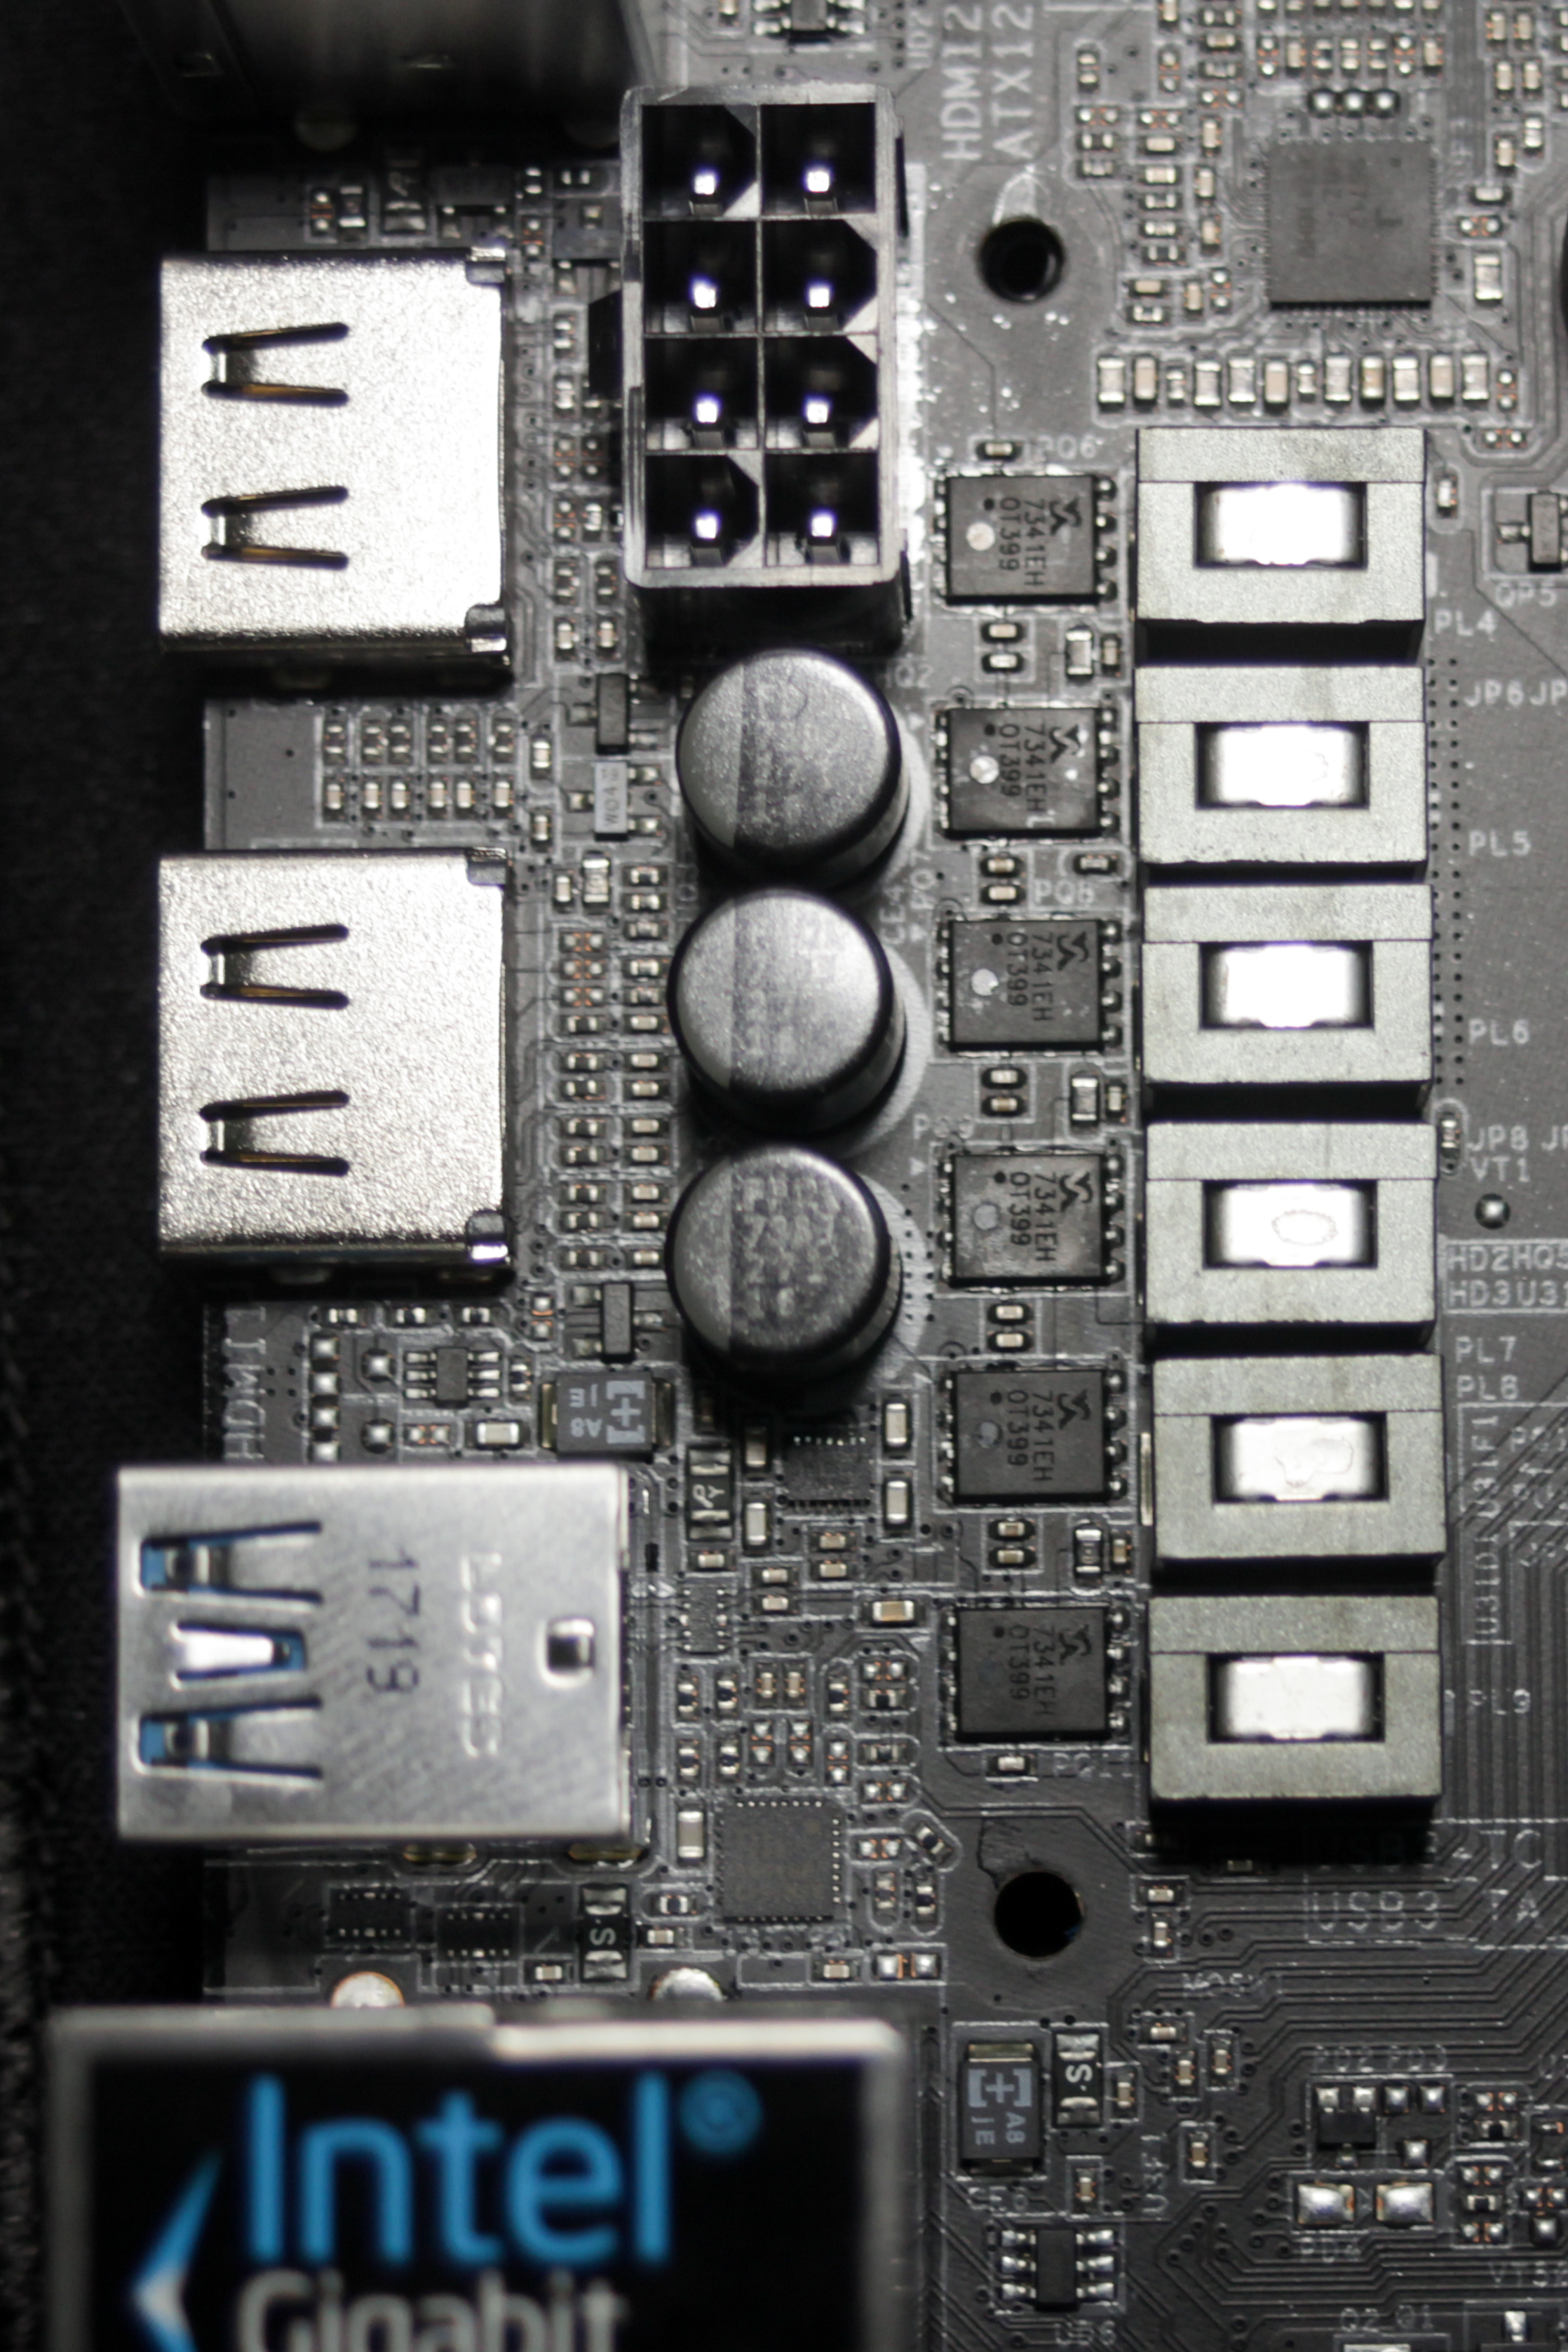
On the X370 side, we see Sinopower SM7341EH MOSFETs, rated for a lower 44A but both are within range of being interchangeable parts. To ensure production can keep up with demand, manufacturers will often source similar components from multiple manufacturers to make sure they have enough on hand. In fact, AMD became a bigger player in the market when they started producing x86 processors to help Intel keep up with demand in the early boom of personal computing. As a second source supplier, they enabled many more systems to be built – and enabled AMD to gain the knowledge needed to produce their own processors.

The X370 chip in all it’s naked glory. AMD’s chipsets for the Ryzen platform sit around 6W each – we’re looking at something that doesn’t really need a heatsink, but would look, well, naked without one.
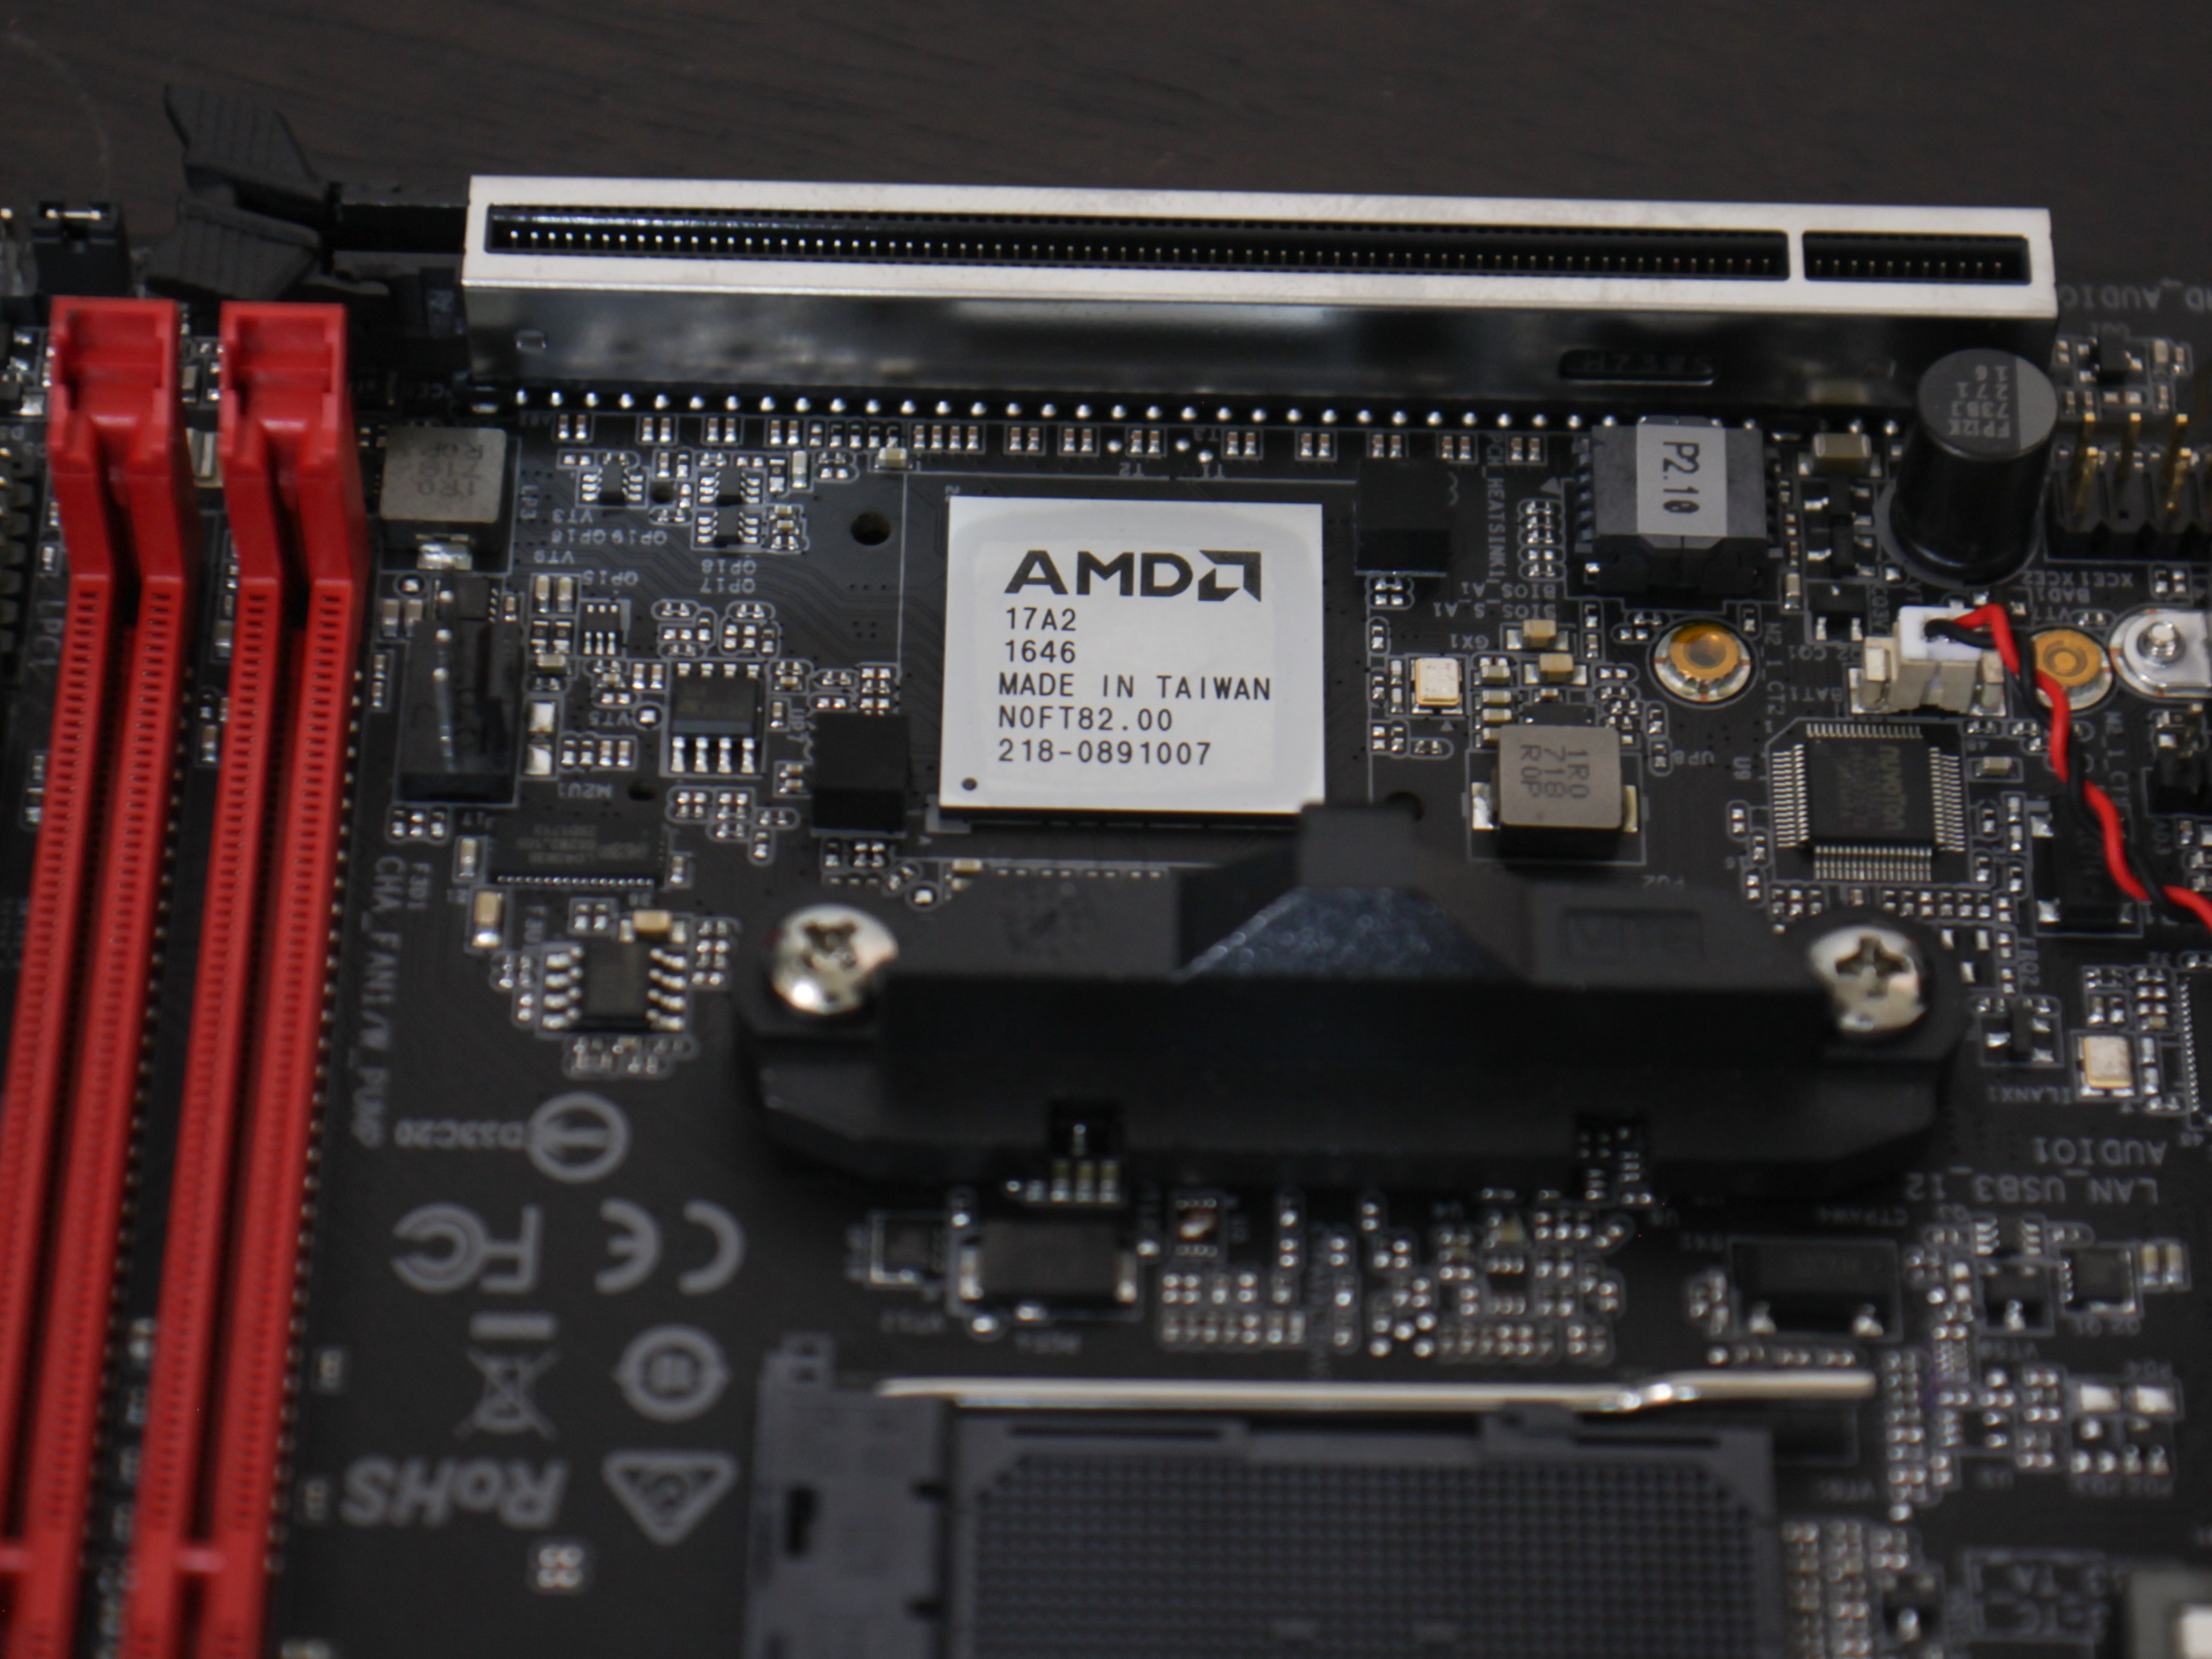
And the B350 chip. Yes, B350 – AMD doesn’t actually make an AB350 chip, the moniker is being used by motherboard manufacturers to ensure that when Intel gets to their 300 series, they can also have a B350 chipset – but the “IB350” moniker will be available to differentiate the products.
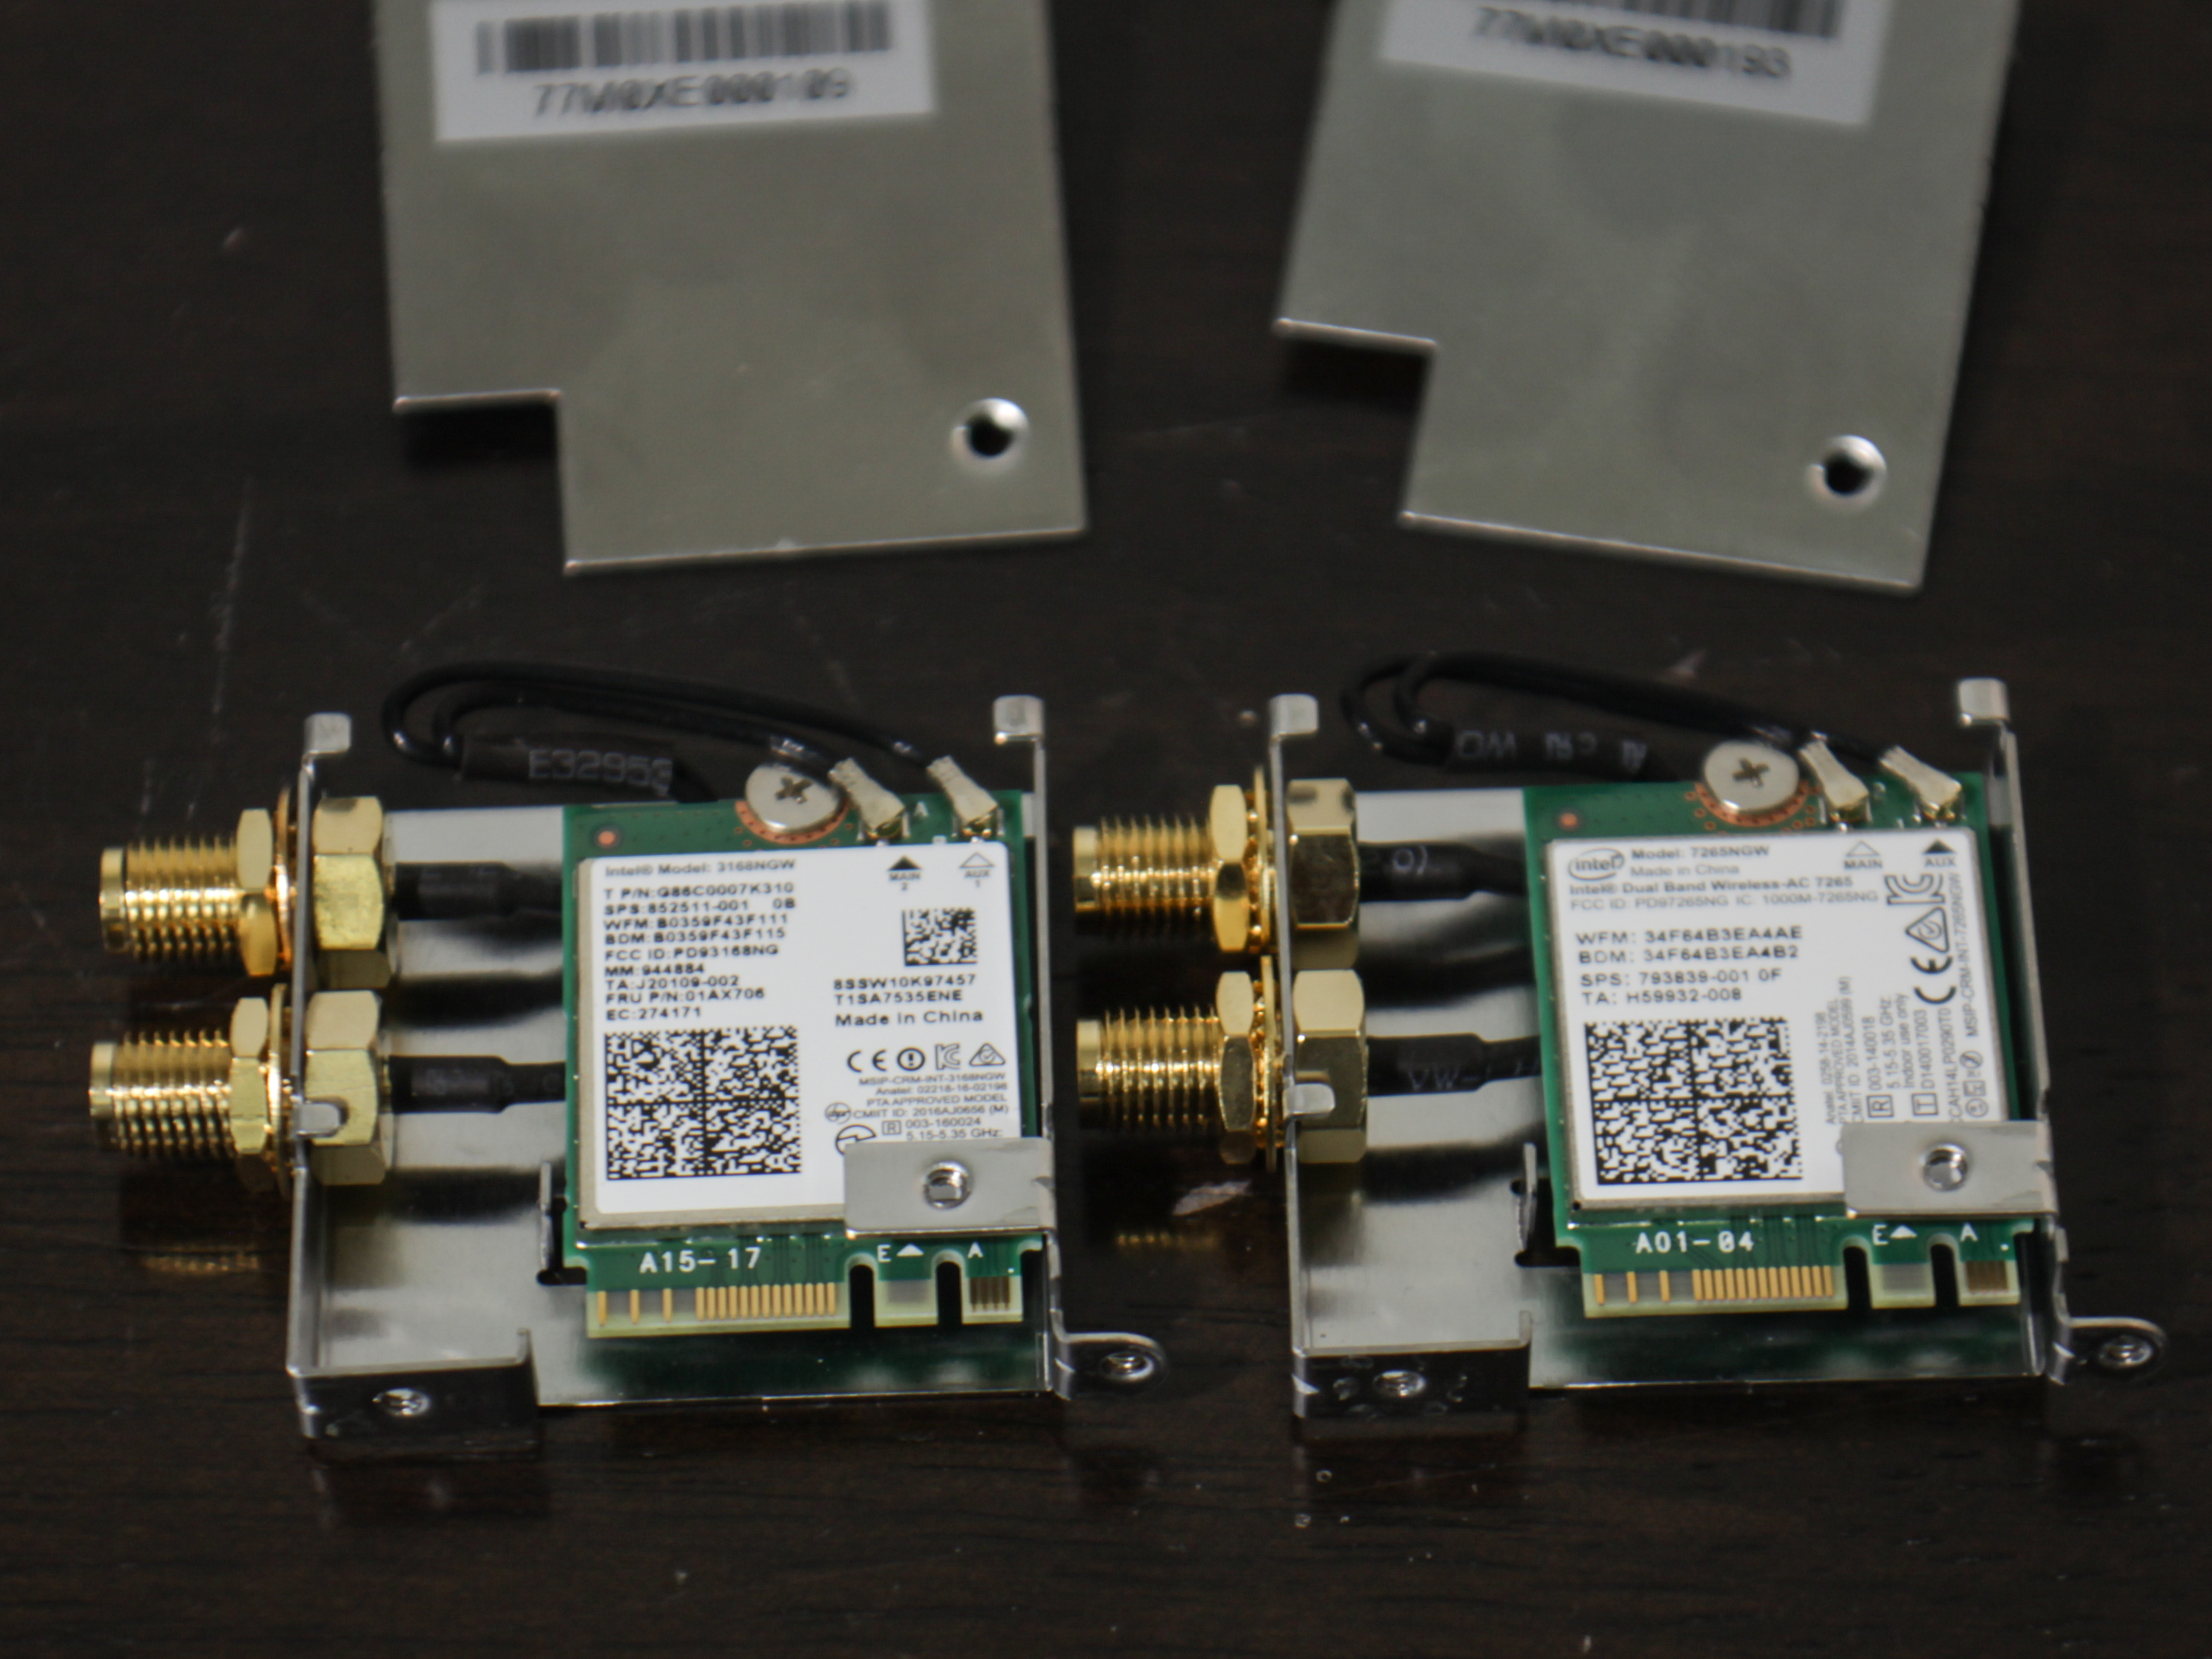
One of the major differences between the boards is the WiFi solution. The AB350 board uses the Intel 3168NGW, with a max speed of 433Mbps. Meanwhile, the X370 board uses the Intel 7265NGW, a higher end solution featuring higher throughput, maxing out at 867 Mbps. The 7265NGW also supports Intel vPro, however this being an AMD board, well you know the drill. Remember that these are max speeds, and your WiFi access point will most likely be the bottleneck in your network.
The WiFi cards are located in a vertical mPCIe slot next to the rear audio stack, and held down with an encompassing ‘can’, a metal shell over the card. Grounding is done via the mounting screws of the card to the can, and the can to the board.
While we are talking networking, the wired ethernet solution is the Intel WGI211AT, a bog standard Intel ethernet chip. An advantage here is that from personal experience, Intel networking solutions are much better supported across platforms, and are provided with better drivers than their contemporary solutions.
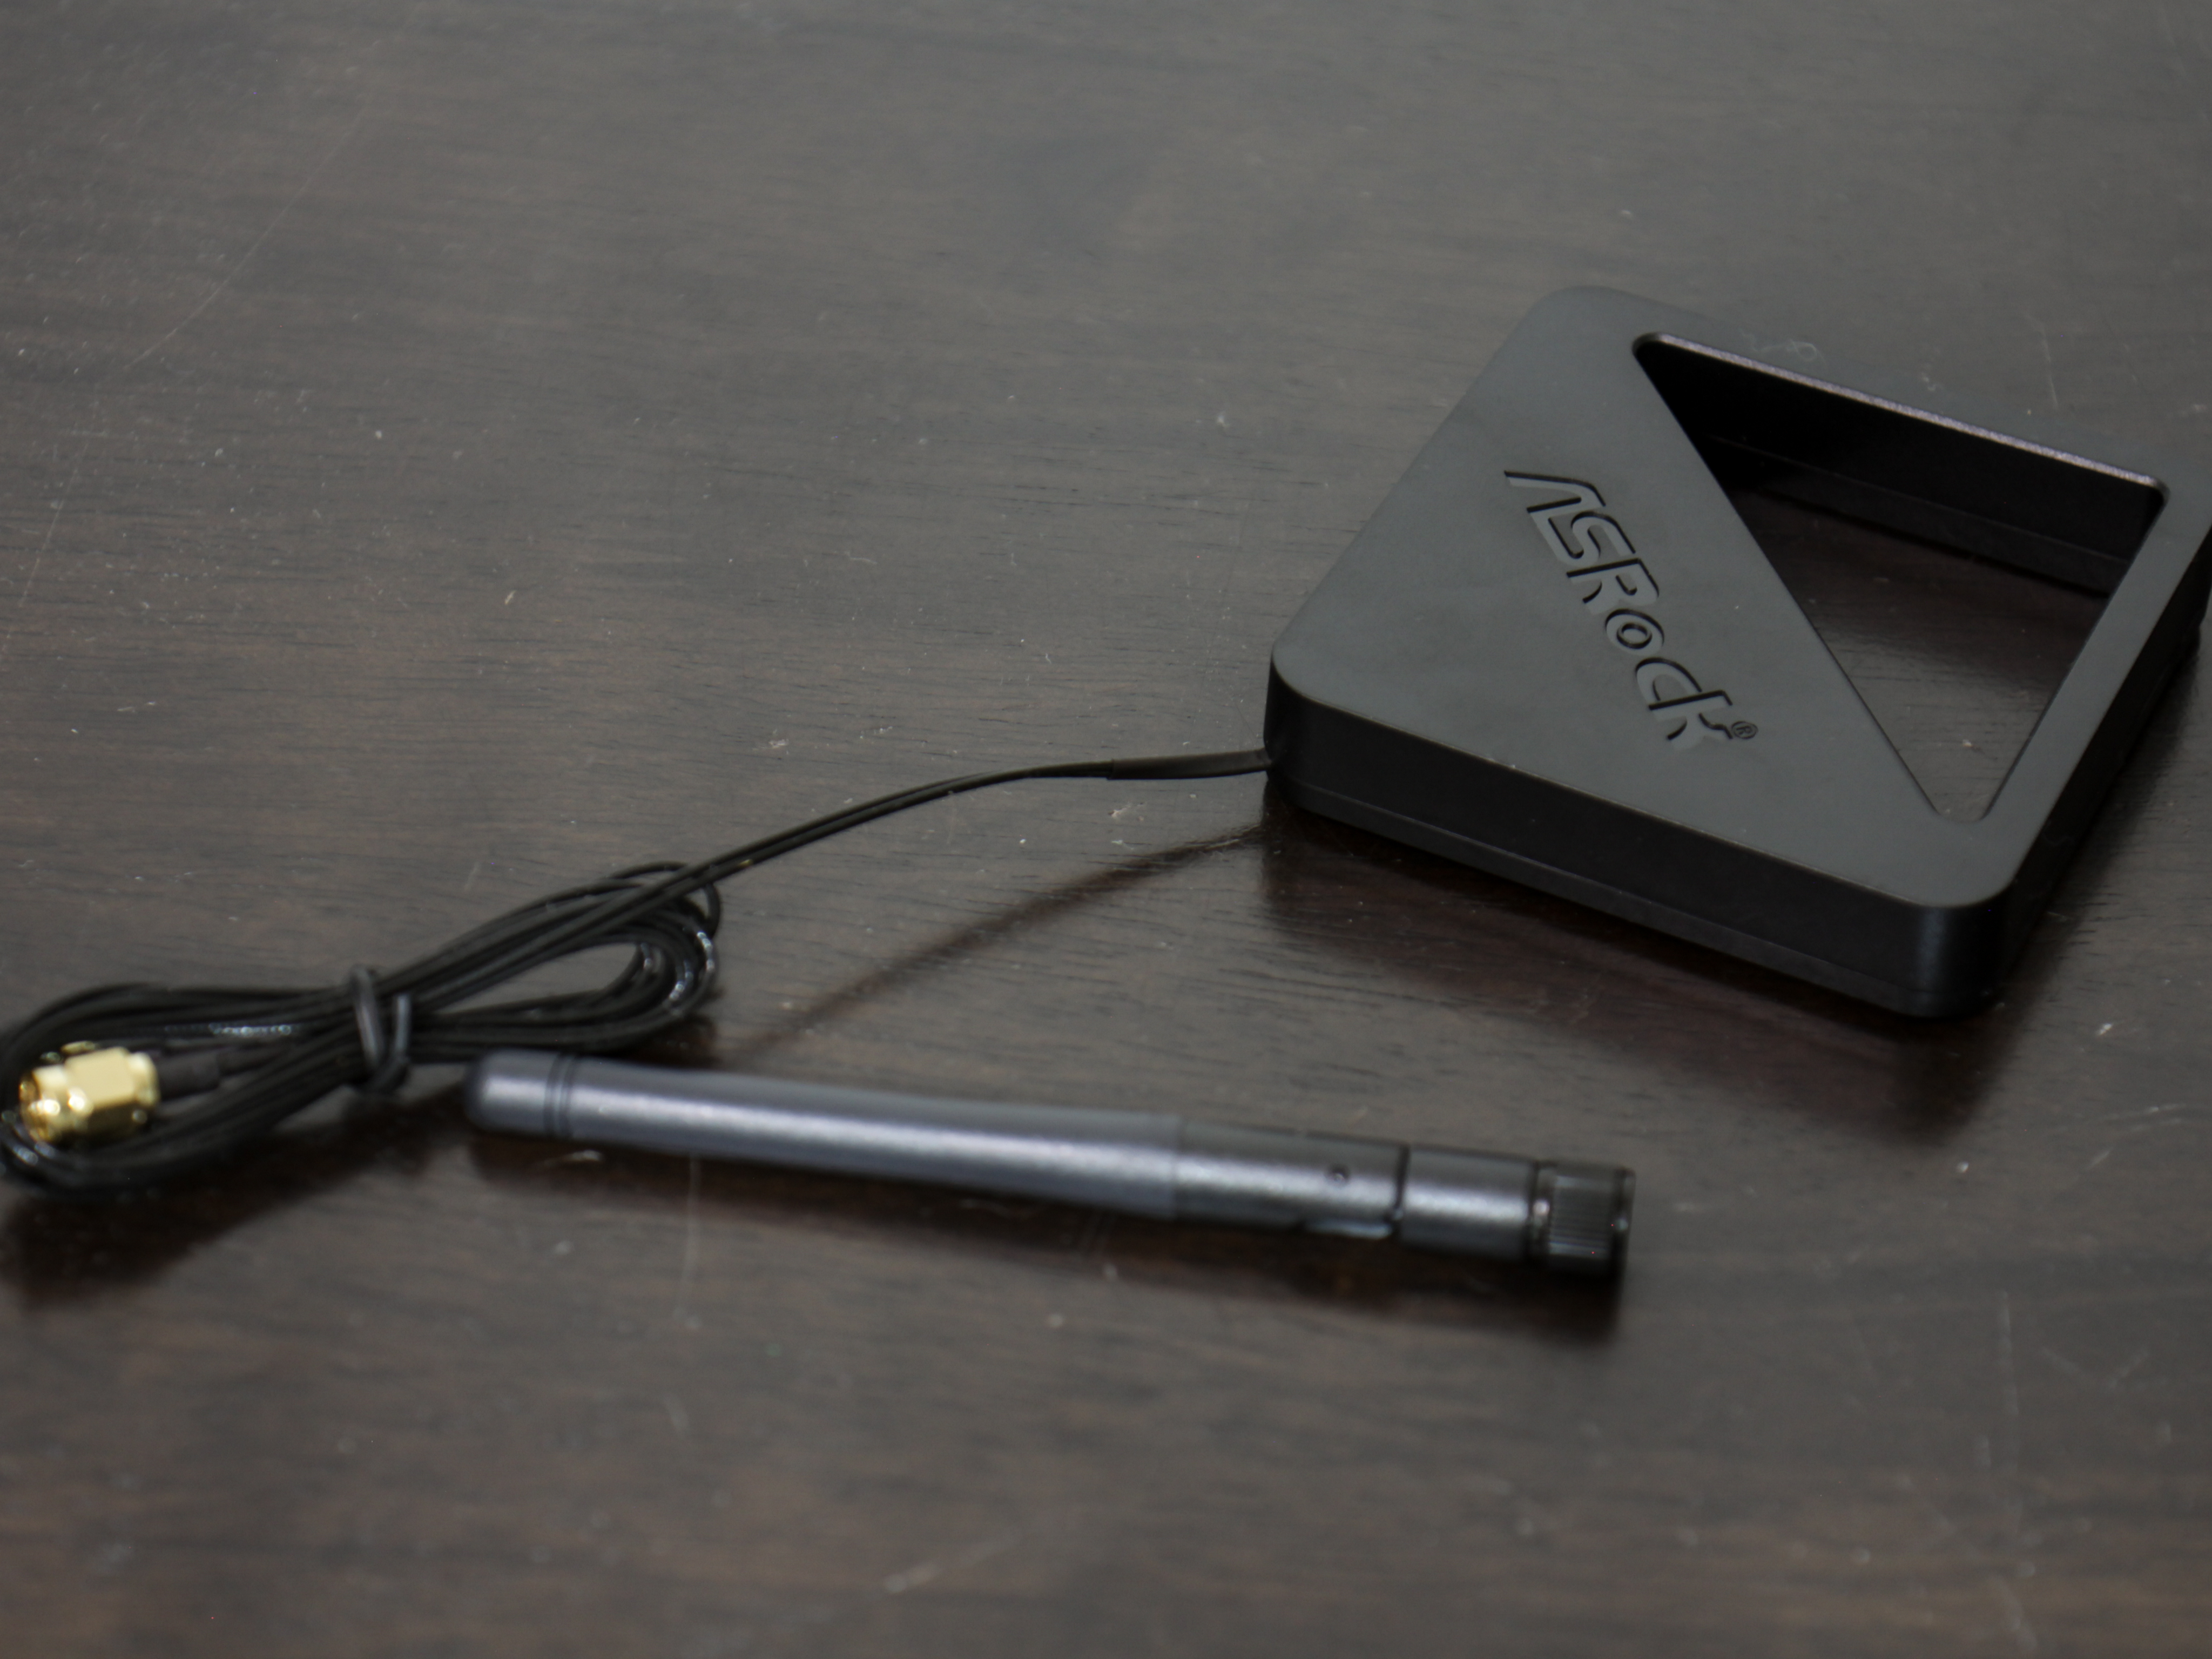
Between the two board accessory kits, the noticeable difference is the WiFi antenna included. The AB350 board has two basic antennas included, whereas the X370 unit, fittingly receives the larger antenna with ASRock logo.
EDIT: The AB350 board indeed came with two of the independent antenna, not just the one pictured!
[mks_separator style=”blank” height=”2″]
The BIOS
For the first time, I have experienced a UEFI BIOS on these boards that is smooth and comfortable to use with mouse control. I was happy to use a mouse in this UEFI, unlike every other UEFI solution I have ever come across. Kudos to ASRock for this, it made my overclocking attempts much more enjoyable!
Apologies for the lesser quality of these BIOS shots, my capture card failed! If you haven’t already, maybe consider a subscription in our community forum, and help us replace the card to enable better screenshots and streaming of testing!

Welcome to the UEFI environment on the ASRock X370/AB350 Gaming-ITX/ac boards. I checked, and I was unable to pick any differences in the BIOS between the two boards. As you can see, by the time I took the screenshots, I had already overclocked the memory to 3.6 GHz. #YOLO?

OC Tweaker – ASRock’s brand of overclocking settings. In here, you can change the clock speeds, voltages and other settings to improve the performance of your system. I’m happy to see that all these settings are in a single menu – unlike the Gigabyte board I tested last week.

Did I say all the overclocking settings were in here? I wasn’t kidding – so many options in here.
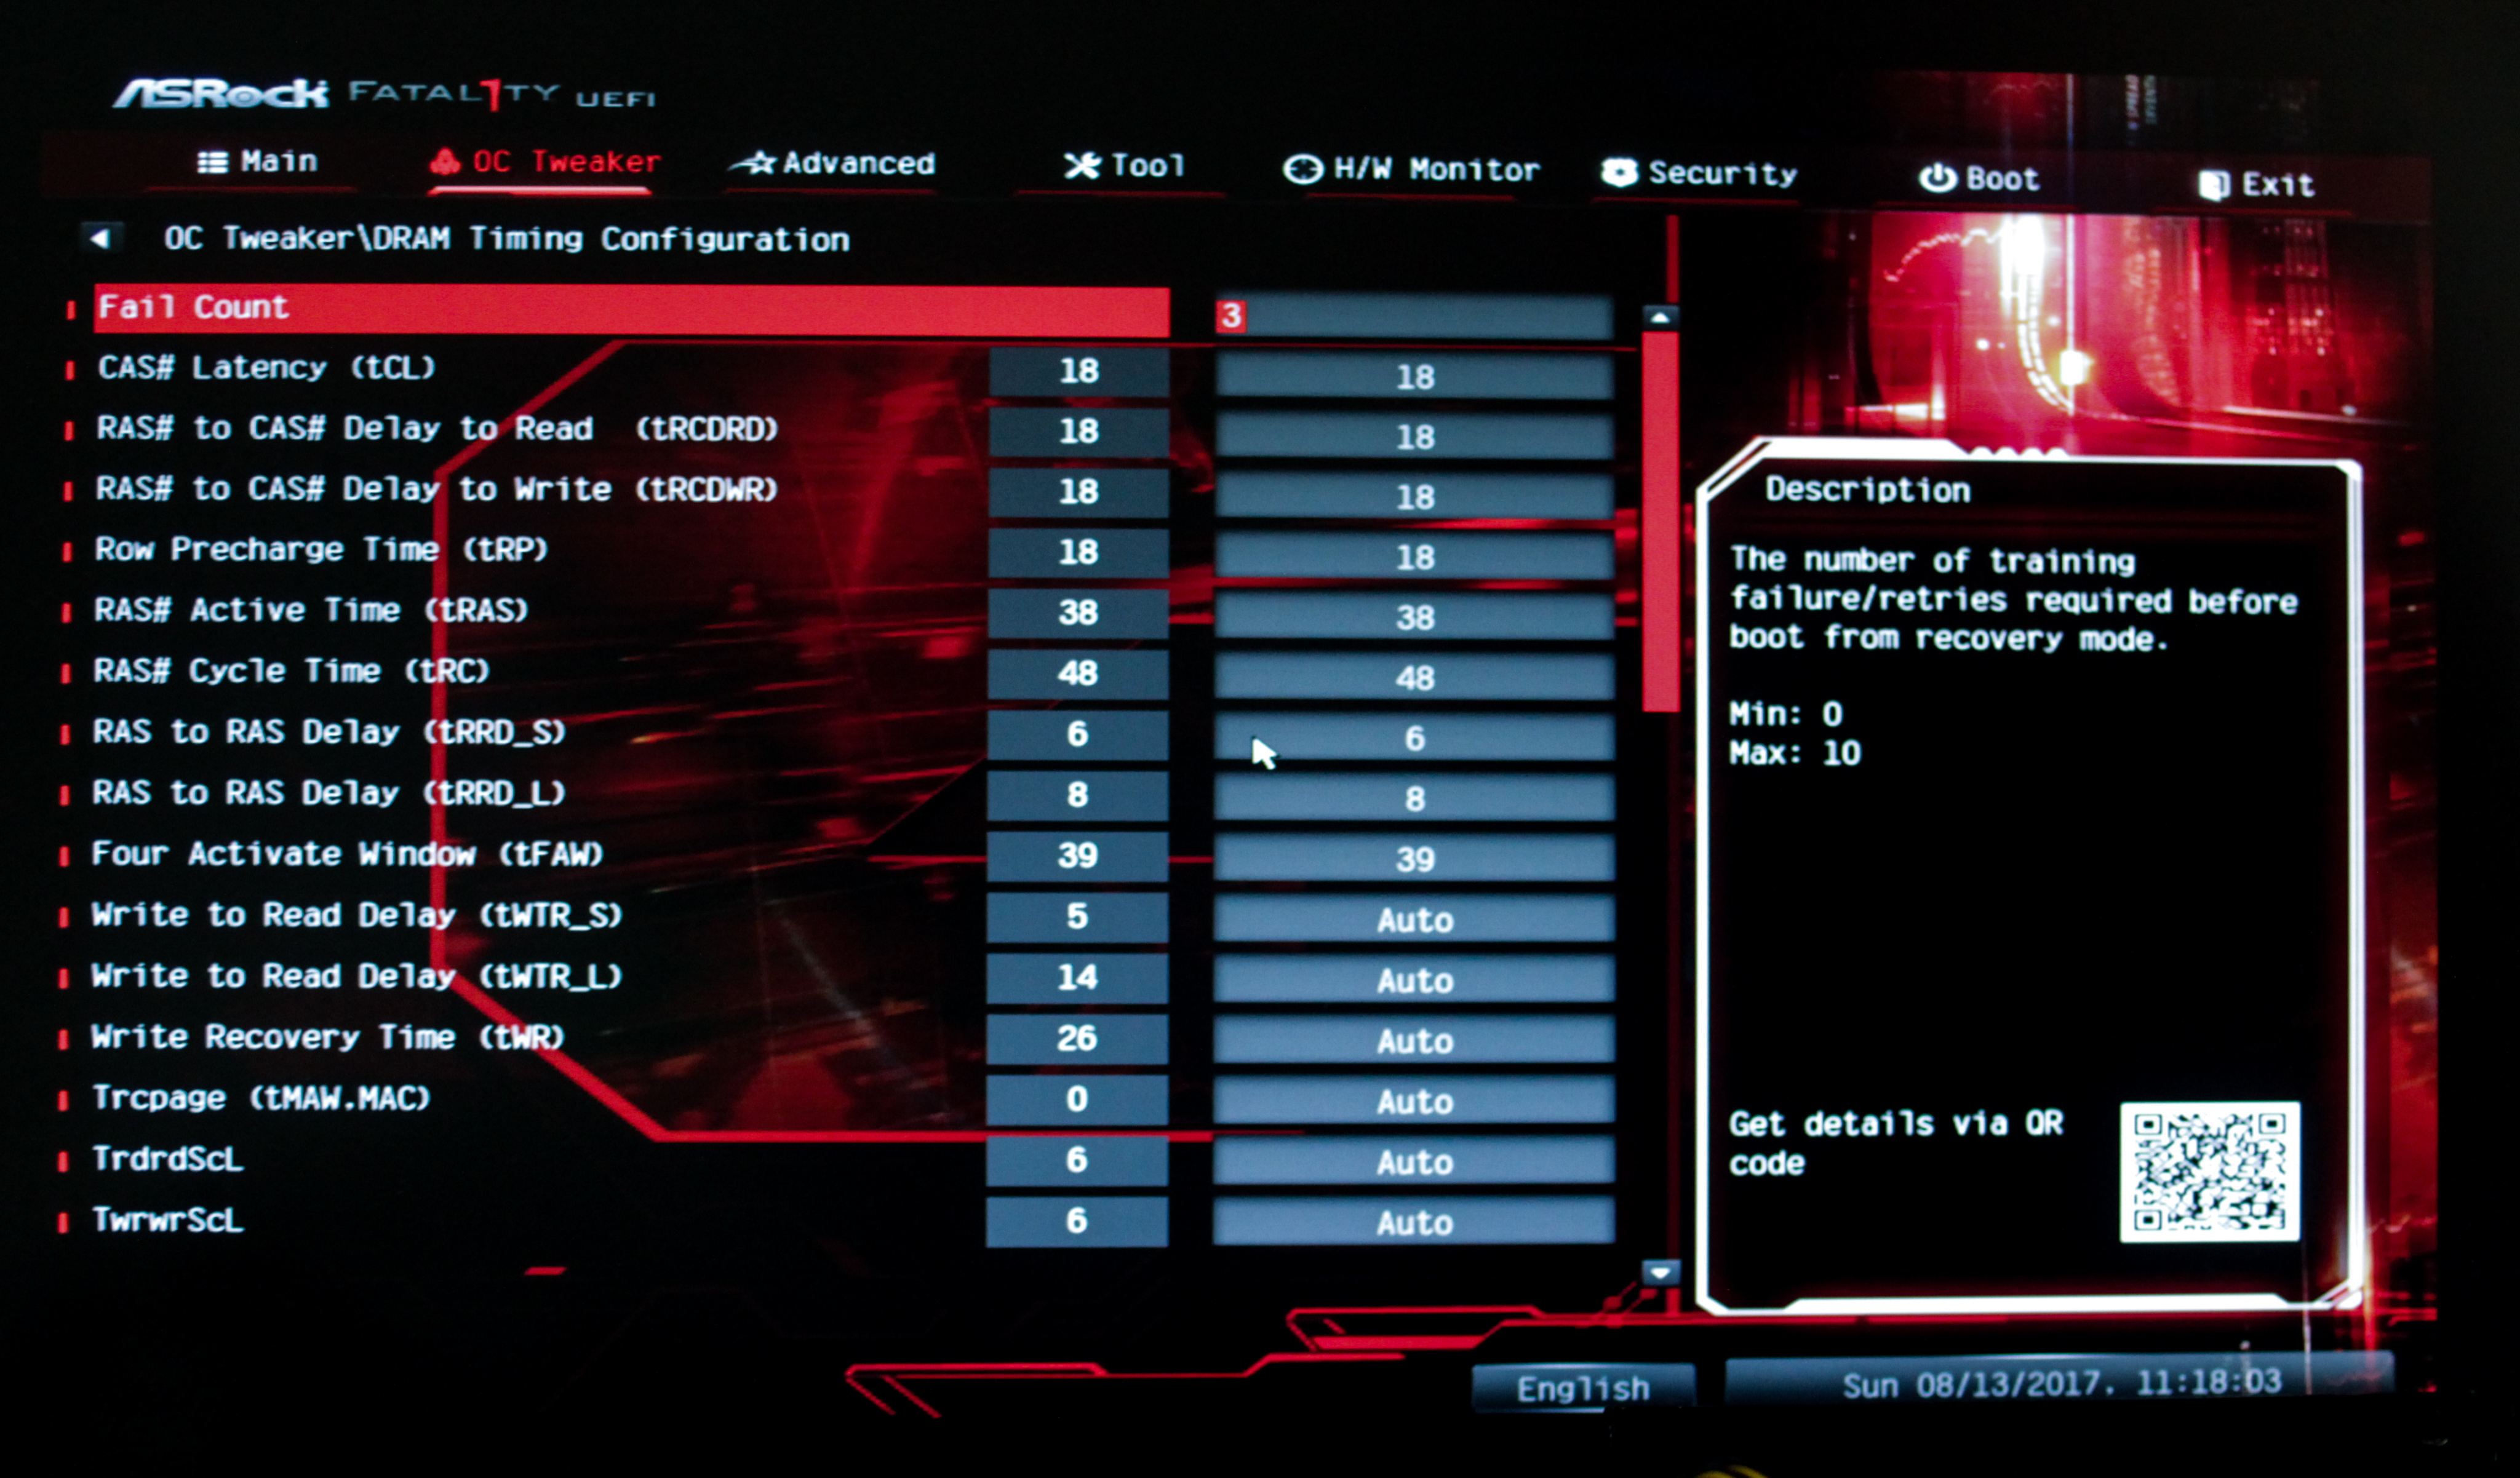
Full RAM settings in the DRAM Timing Configuration submenu.
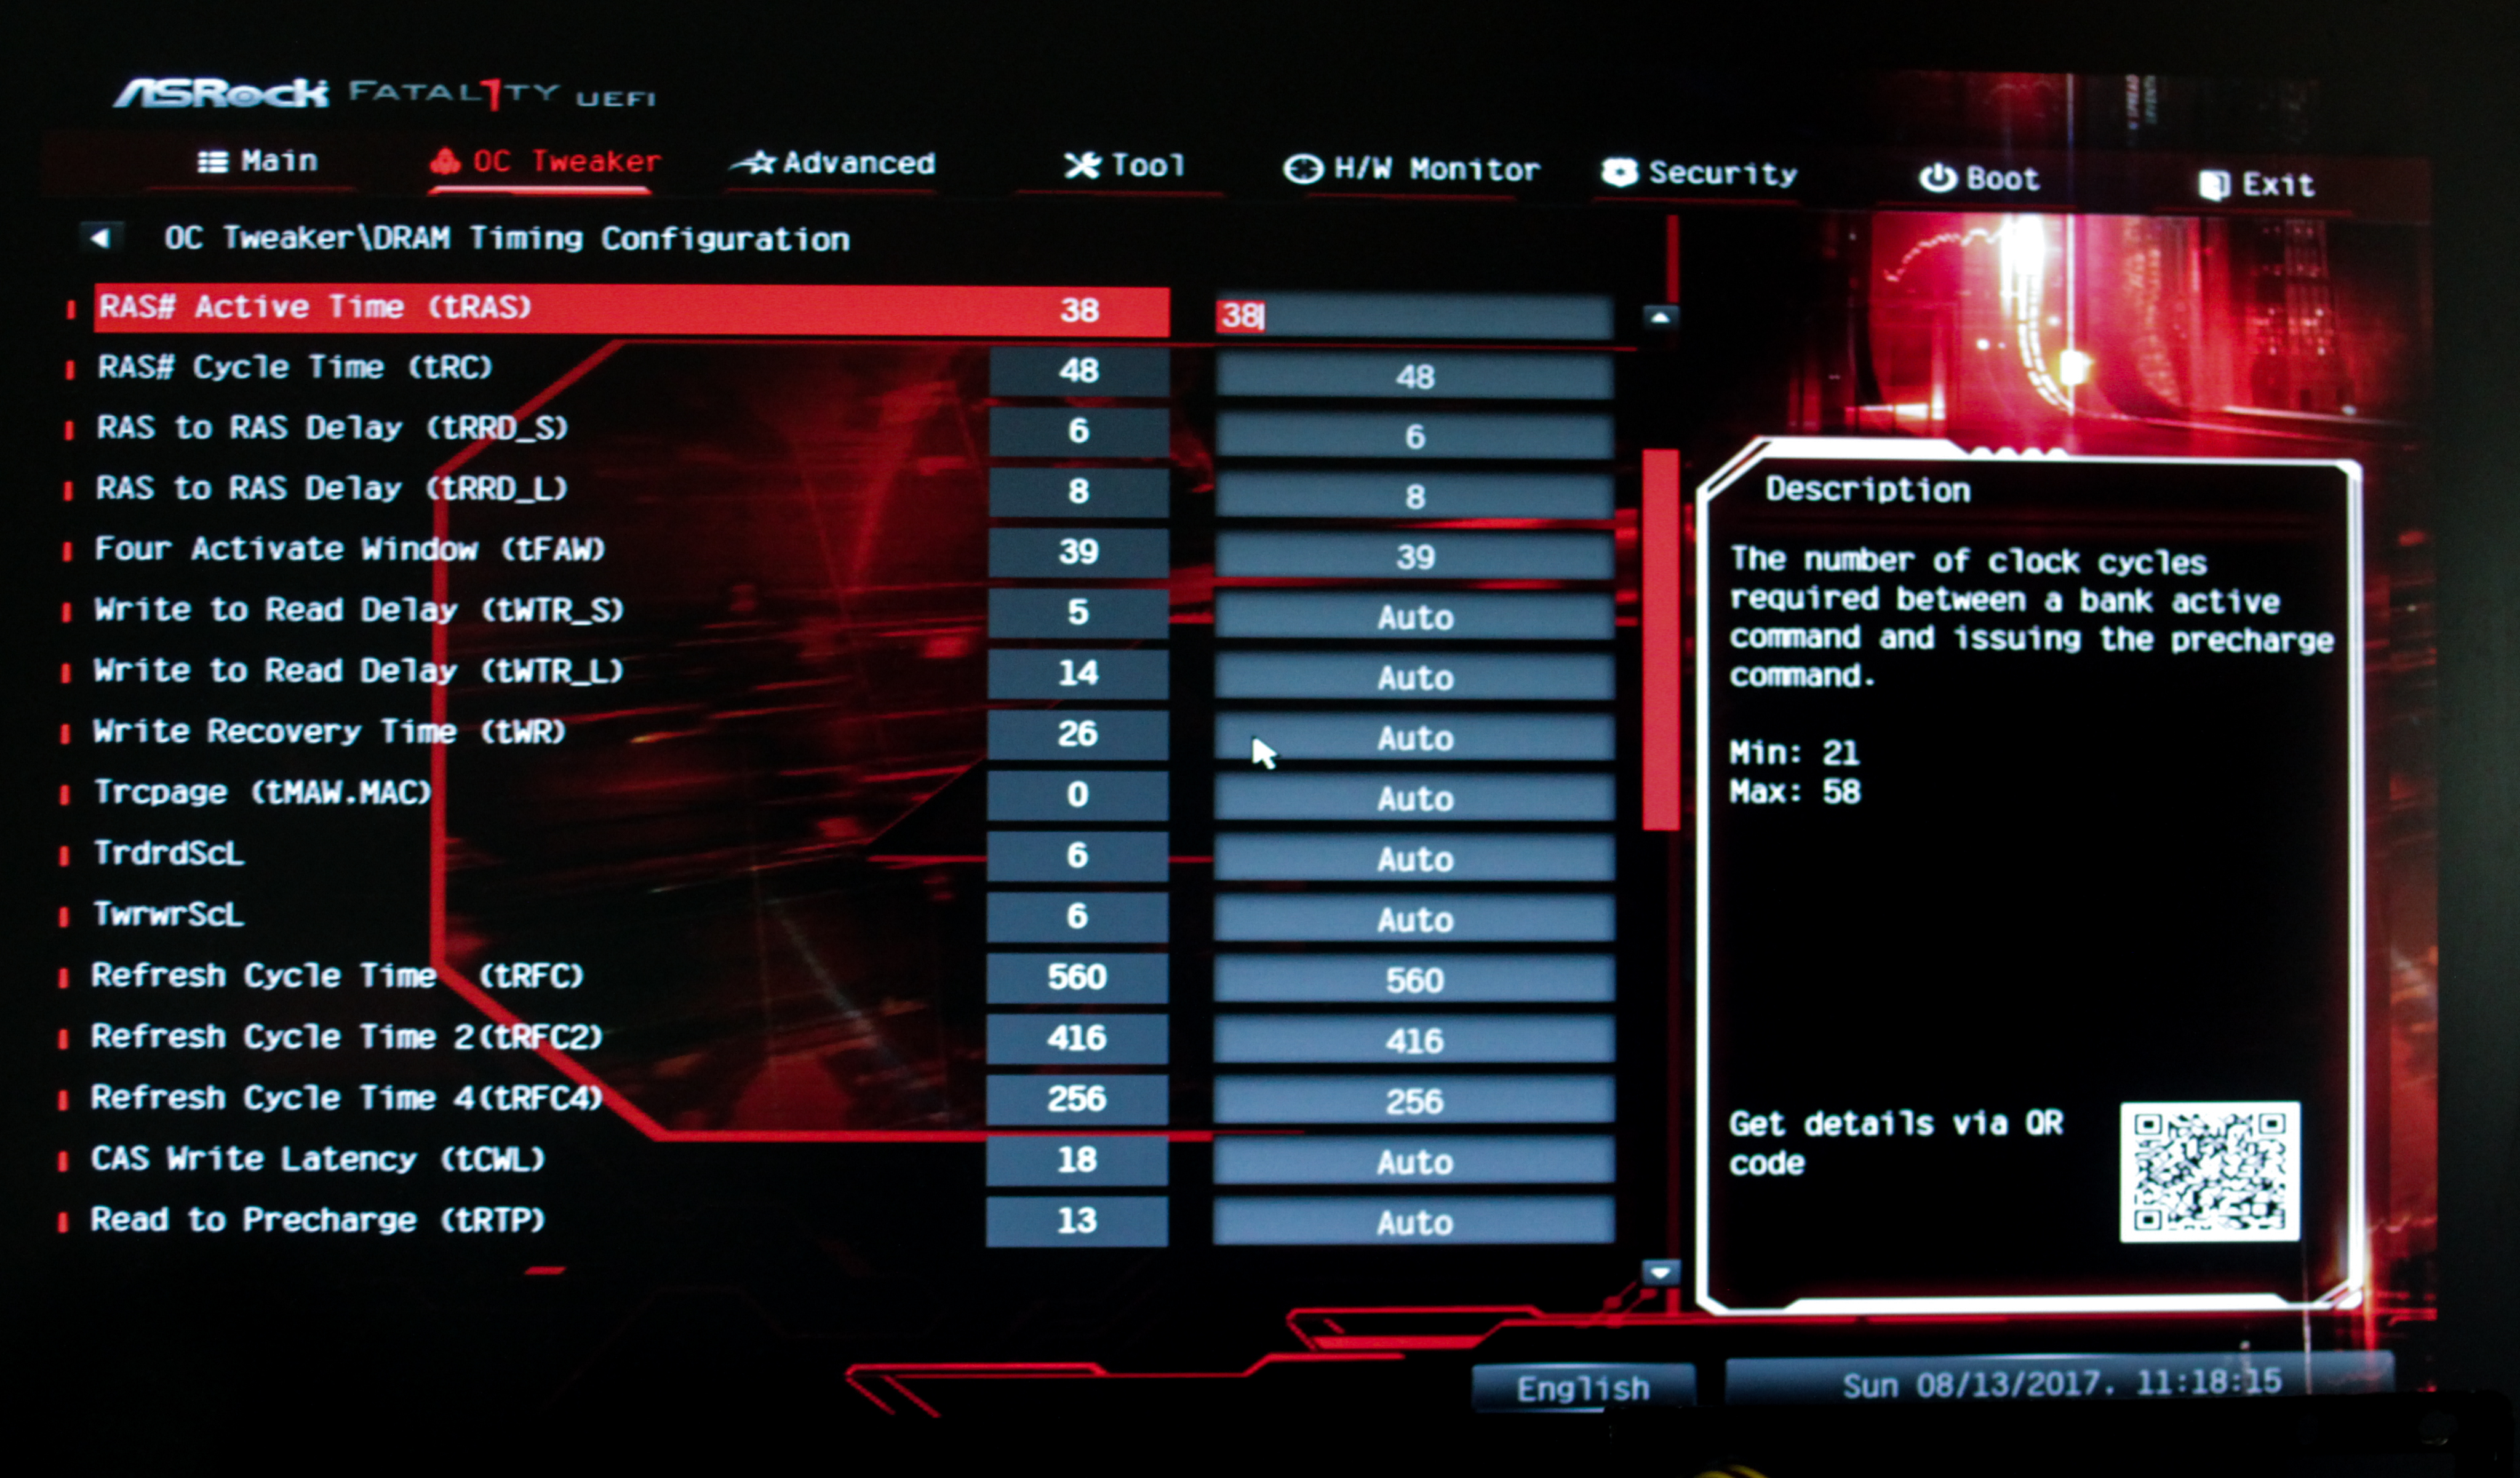
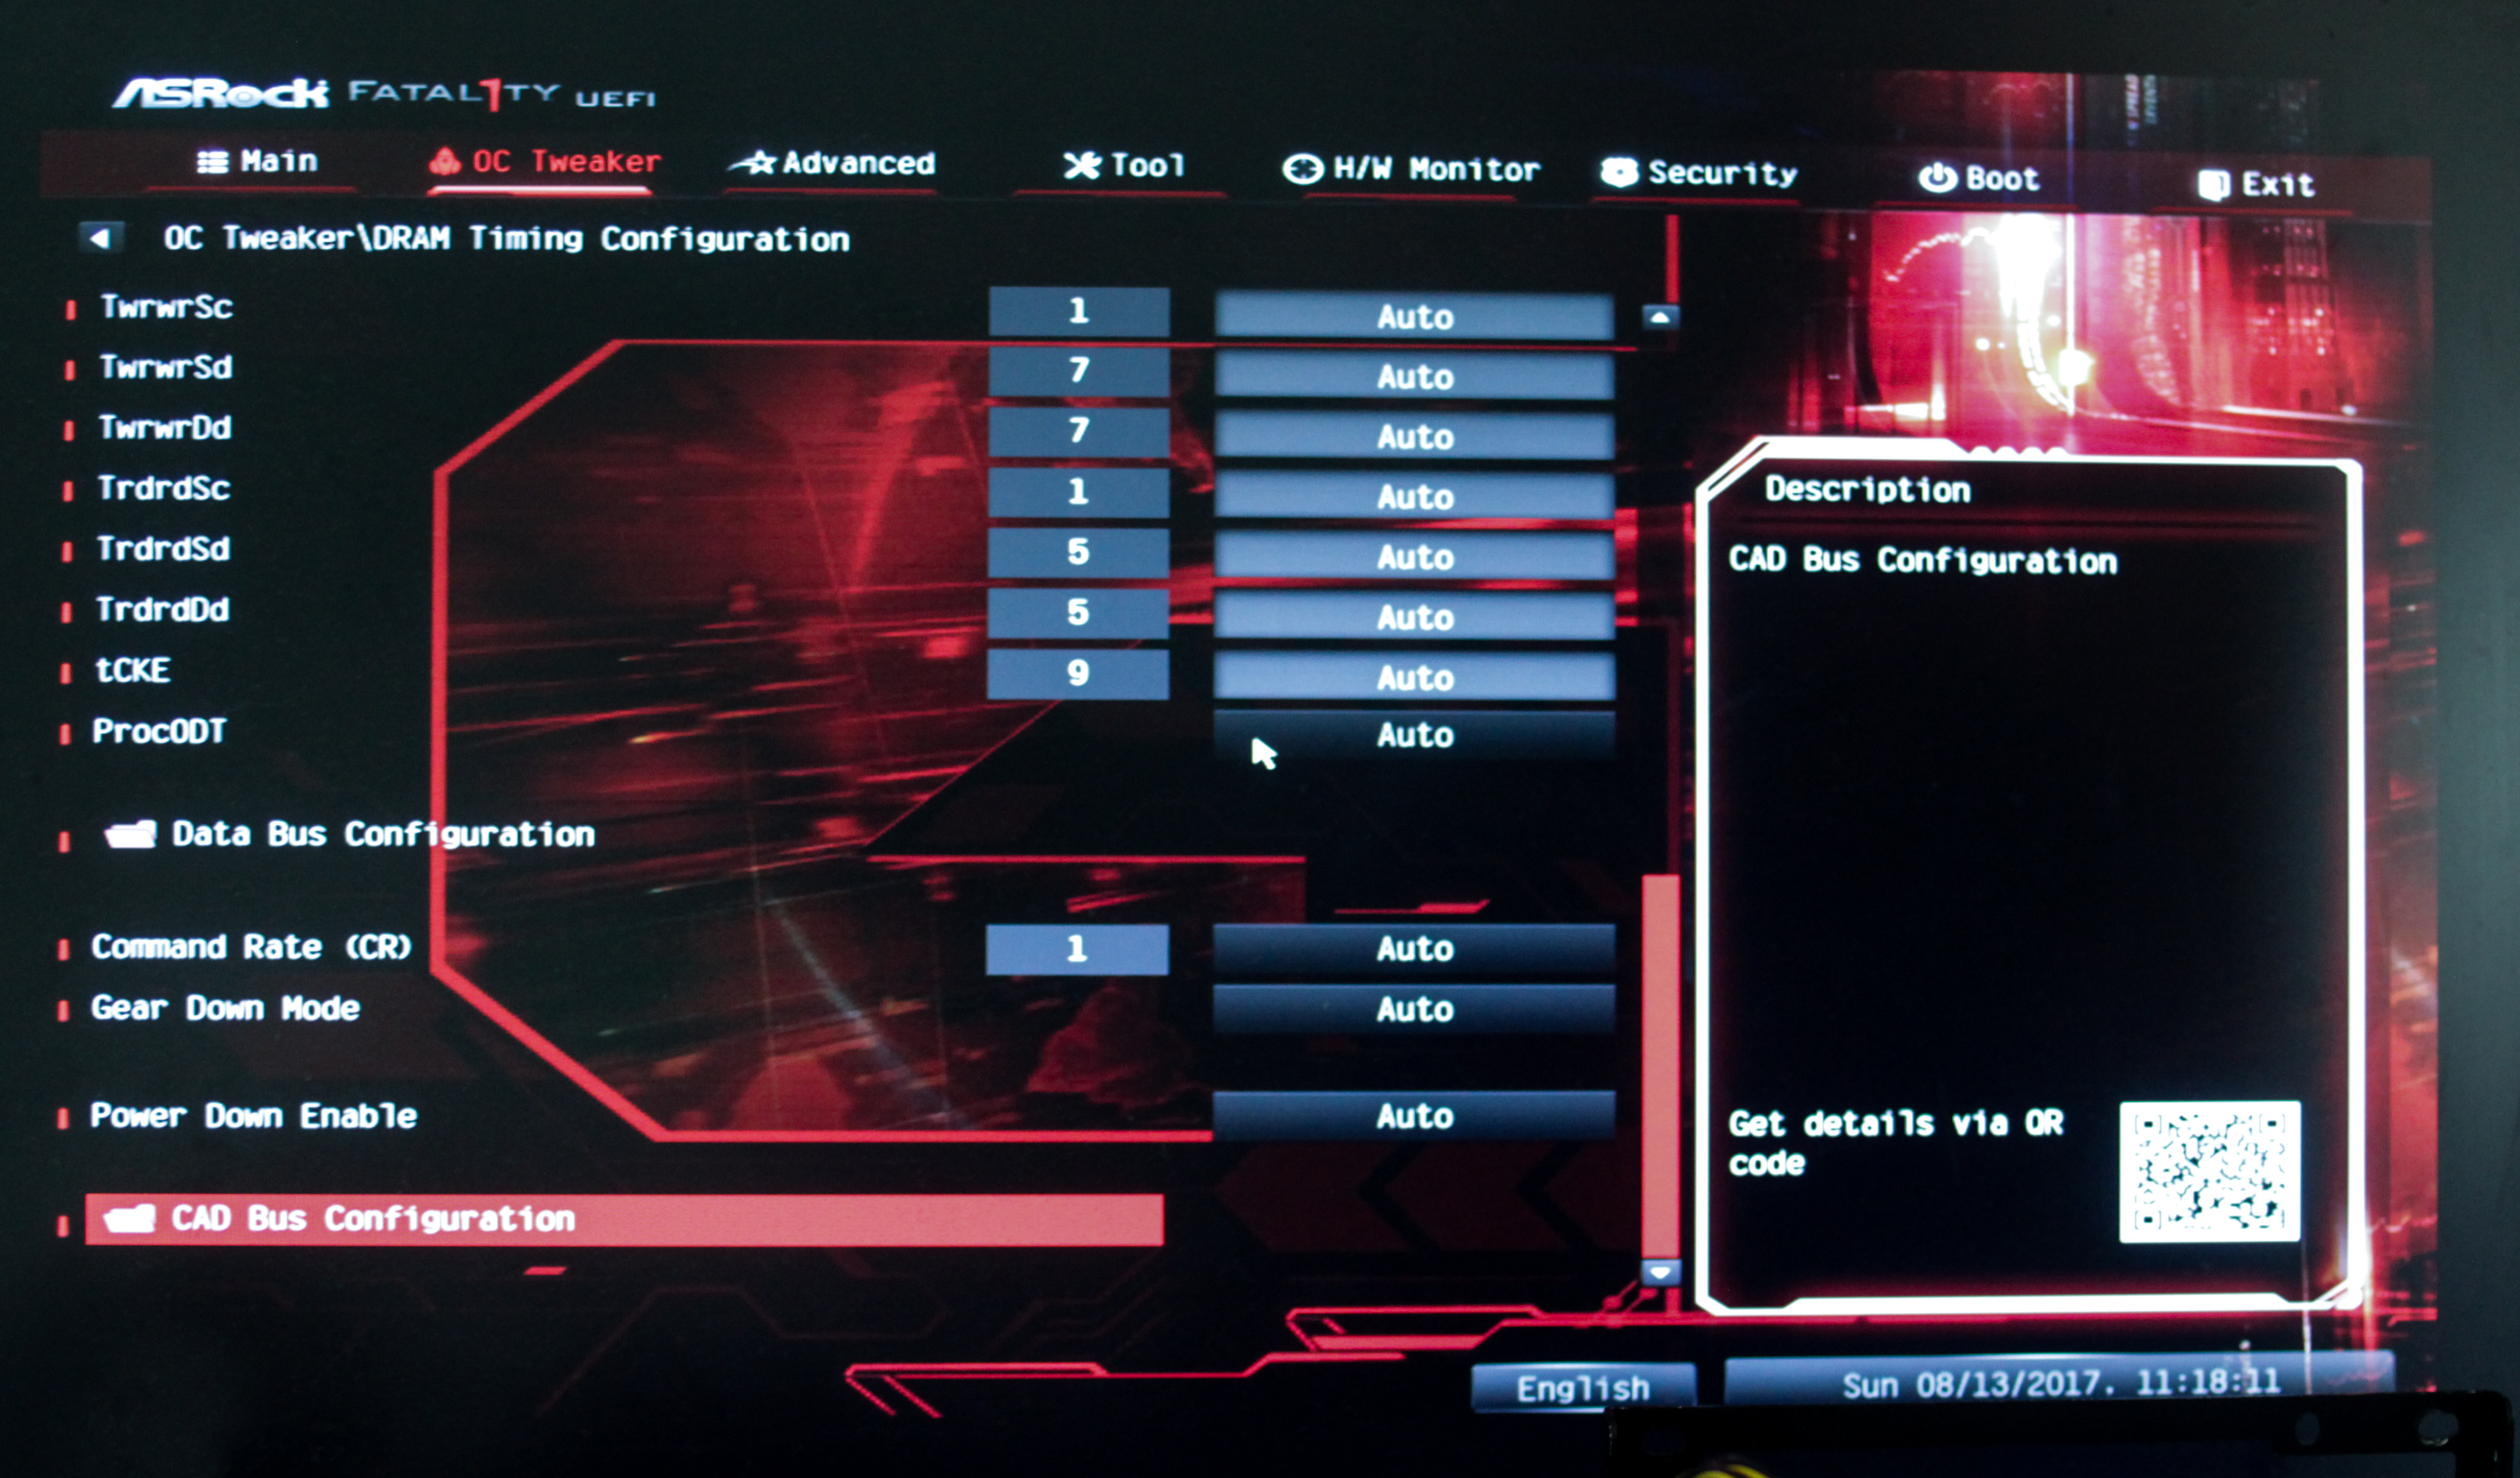
And more!
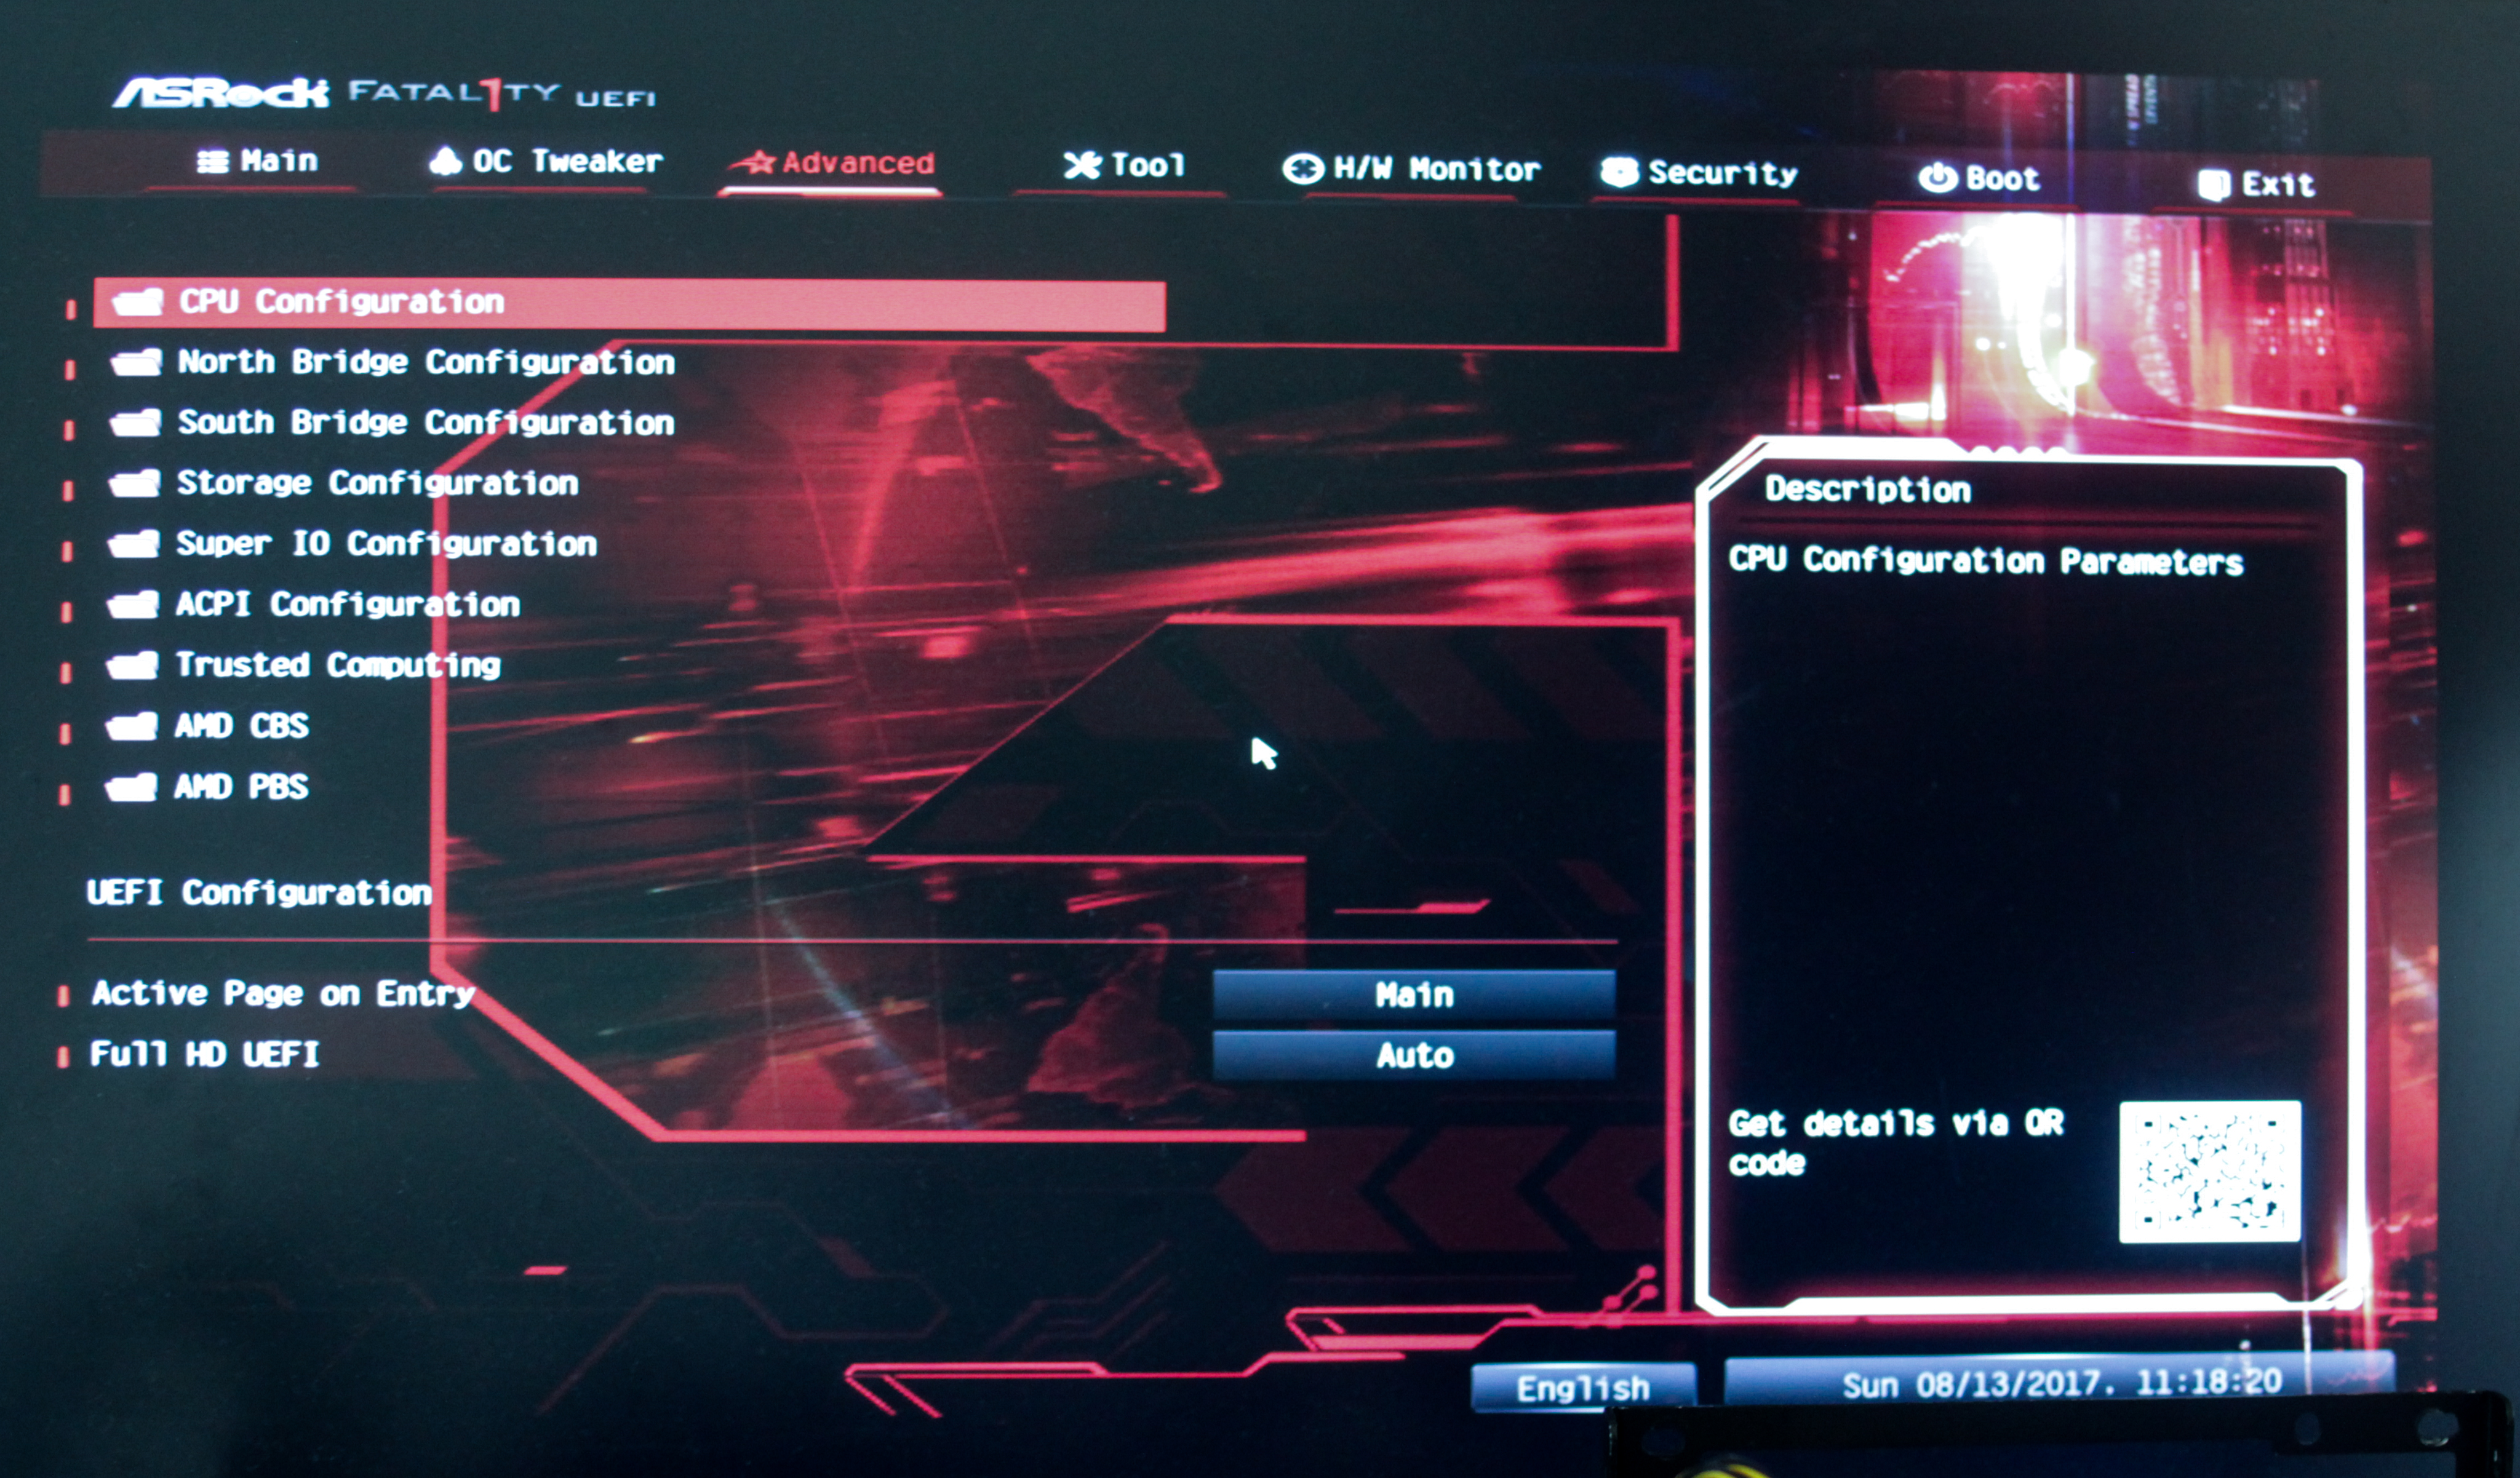
Now for the advanced menu. Here we have config submenus for pretty much every subsystem on the board.
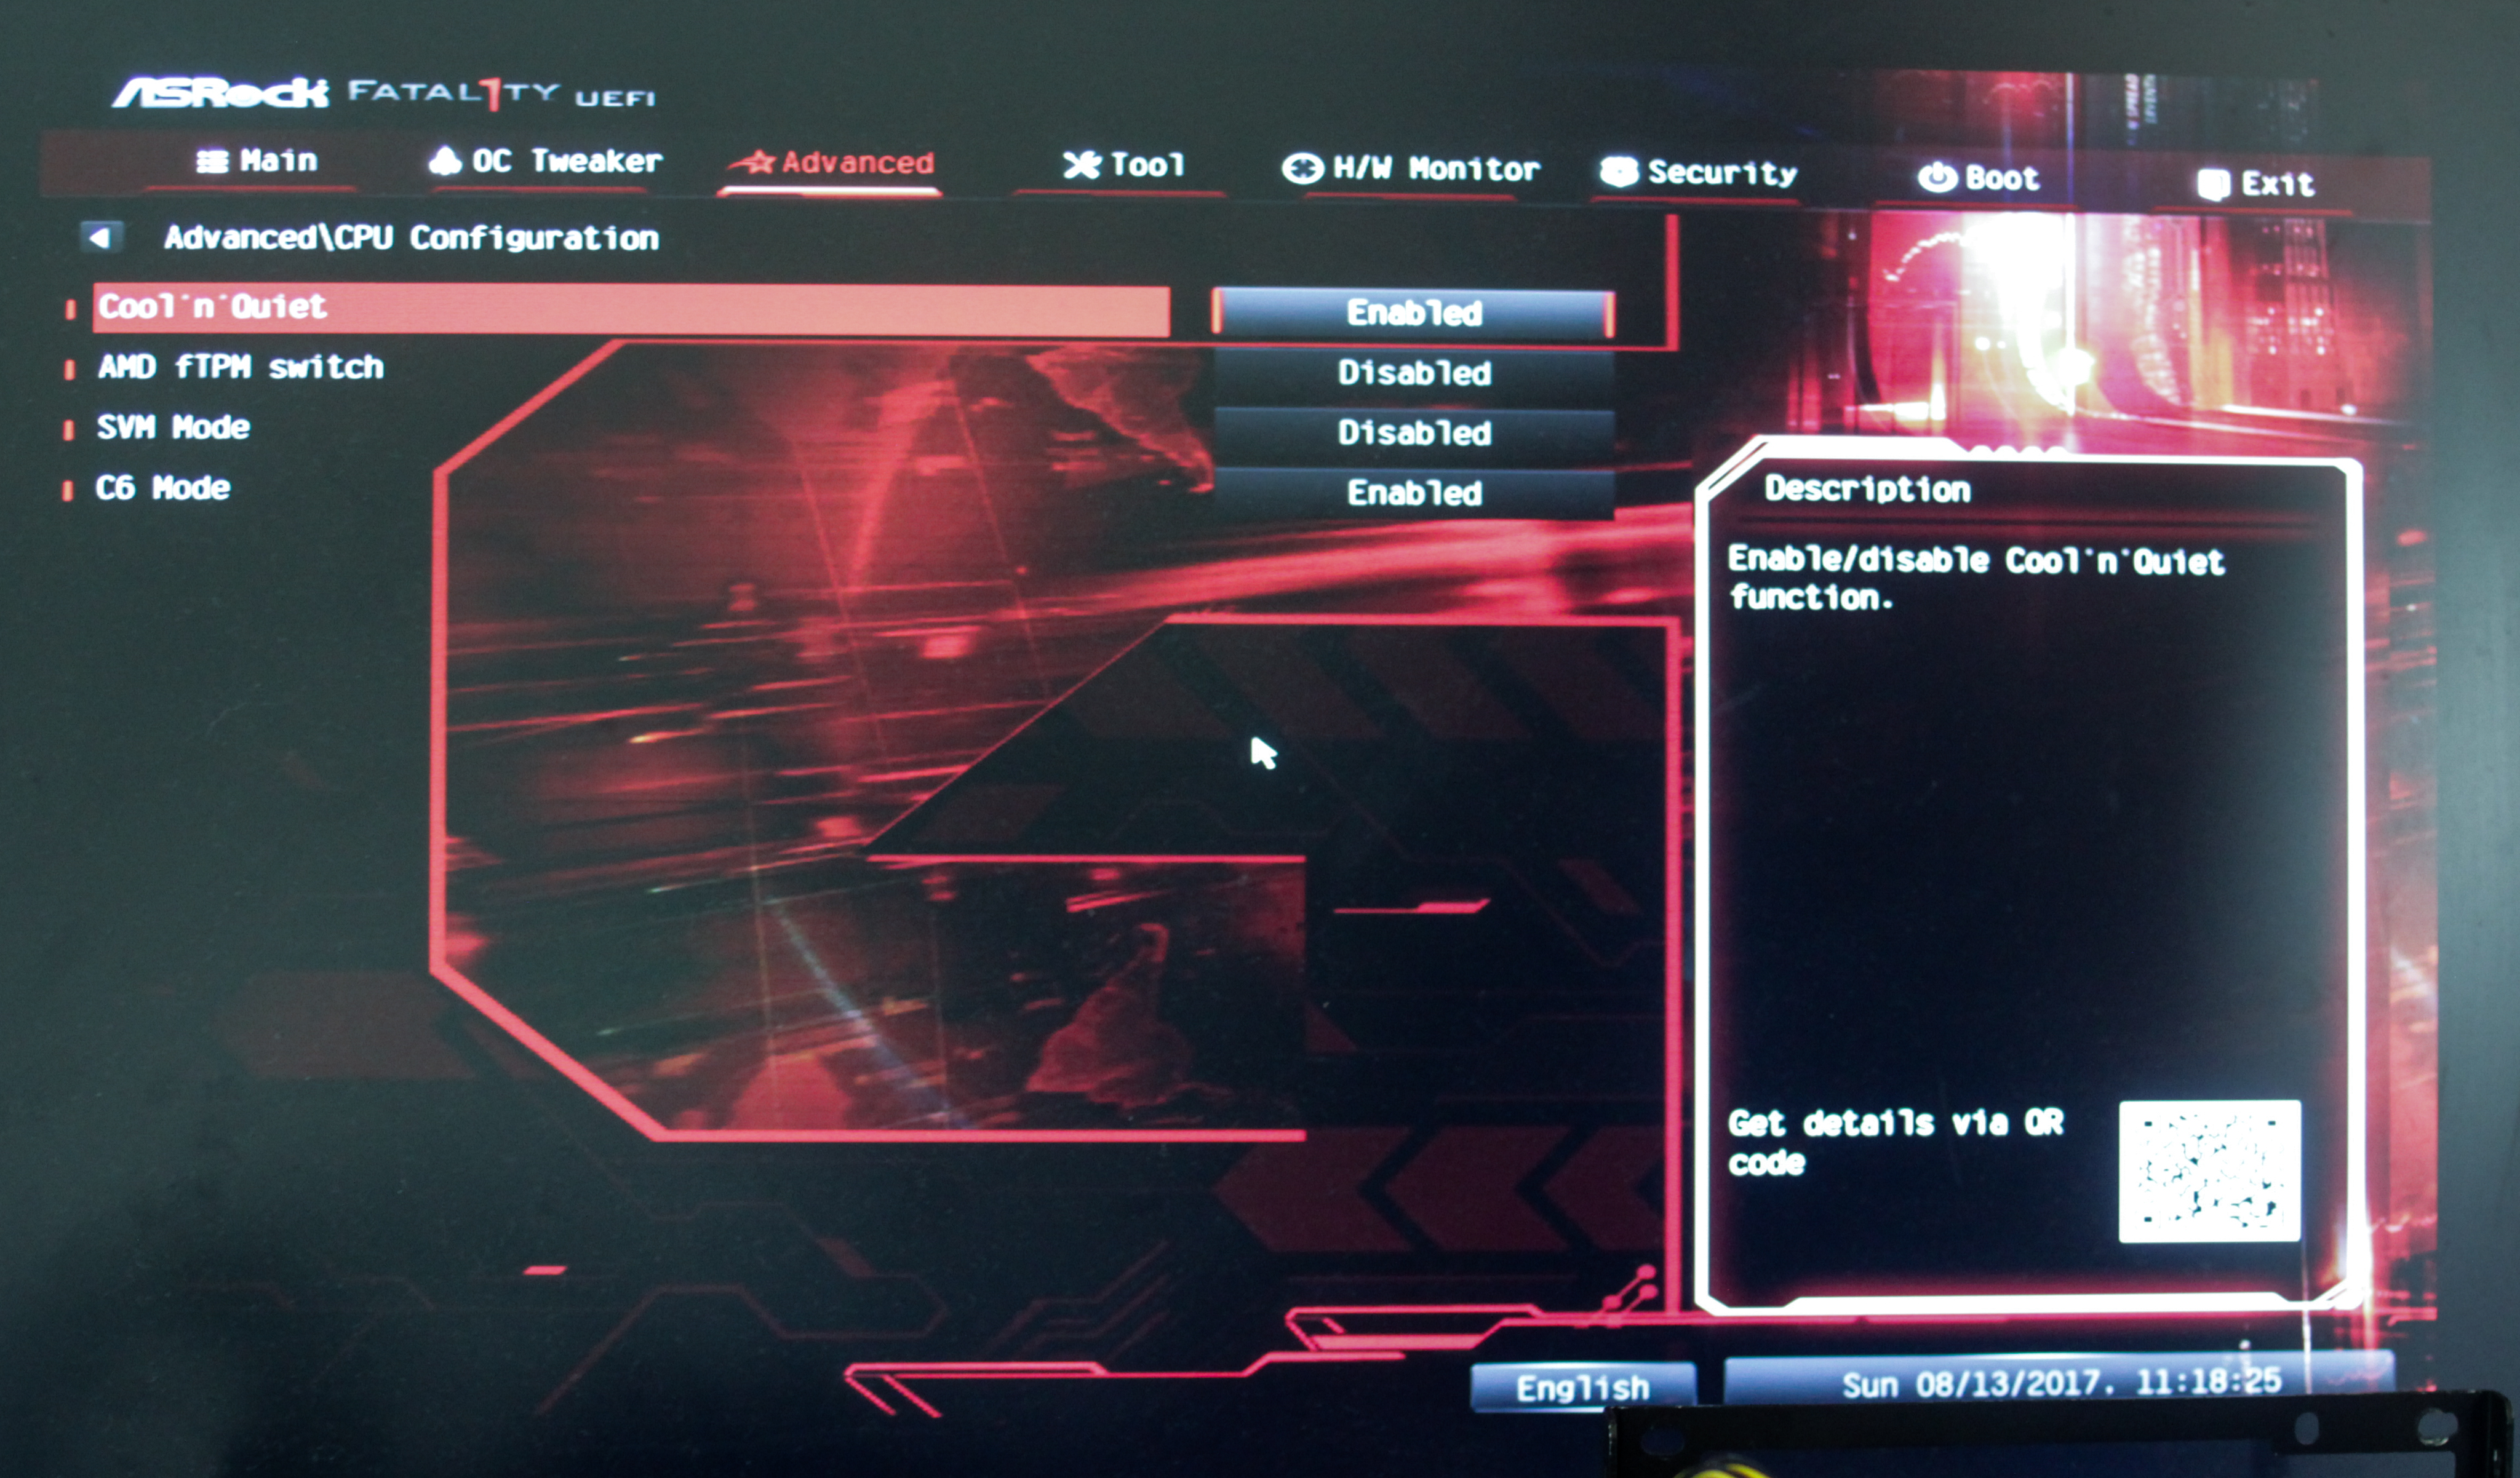
Under CPU Configuration, we can turn on or off Cool’n’Quiet, fTPM (AMD’s integrated Trusted Platform Module), SVM (Secure Virtual Machine) Mode, and C6 Mode.
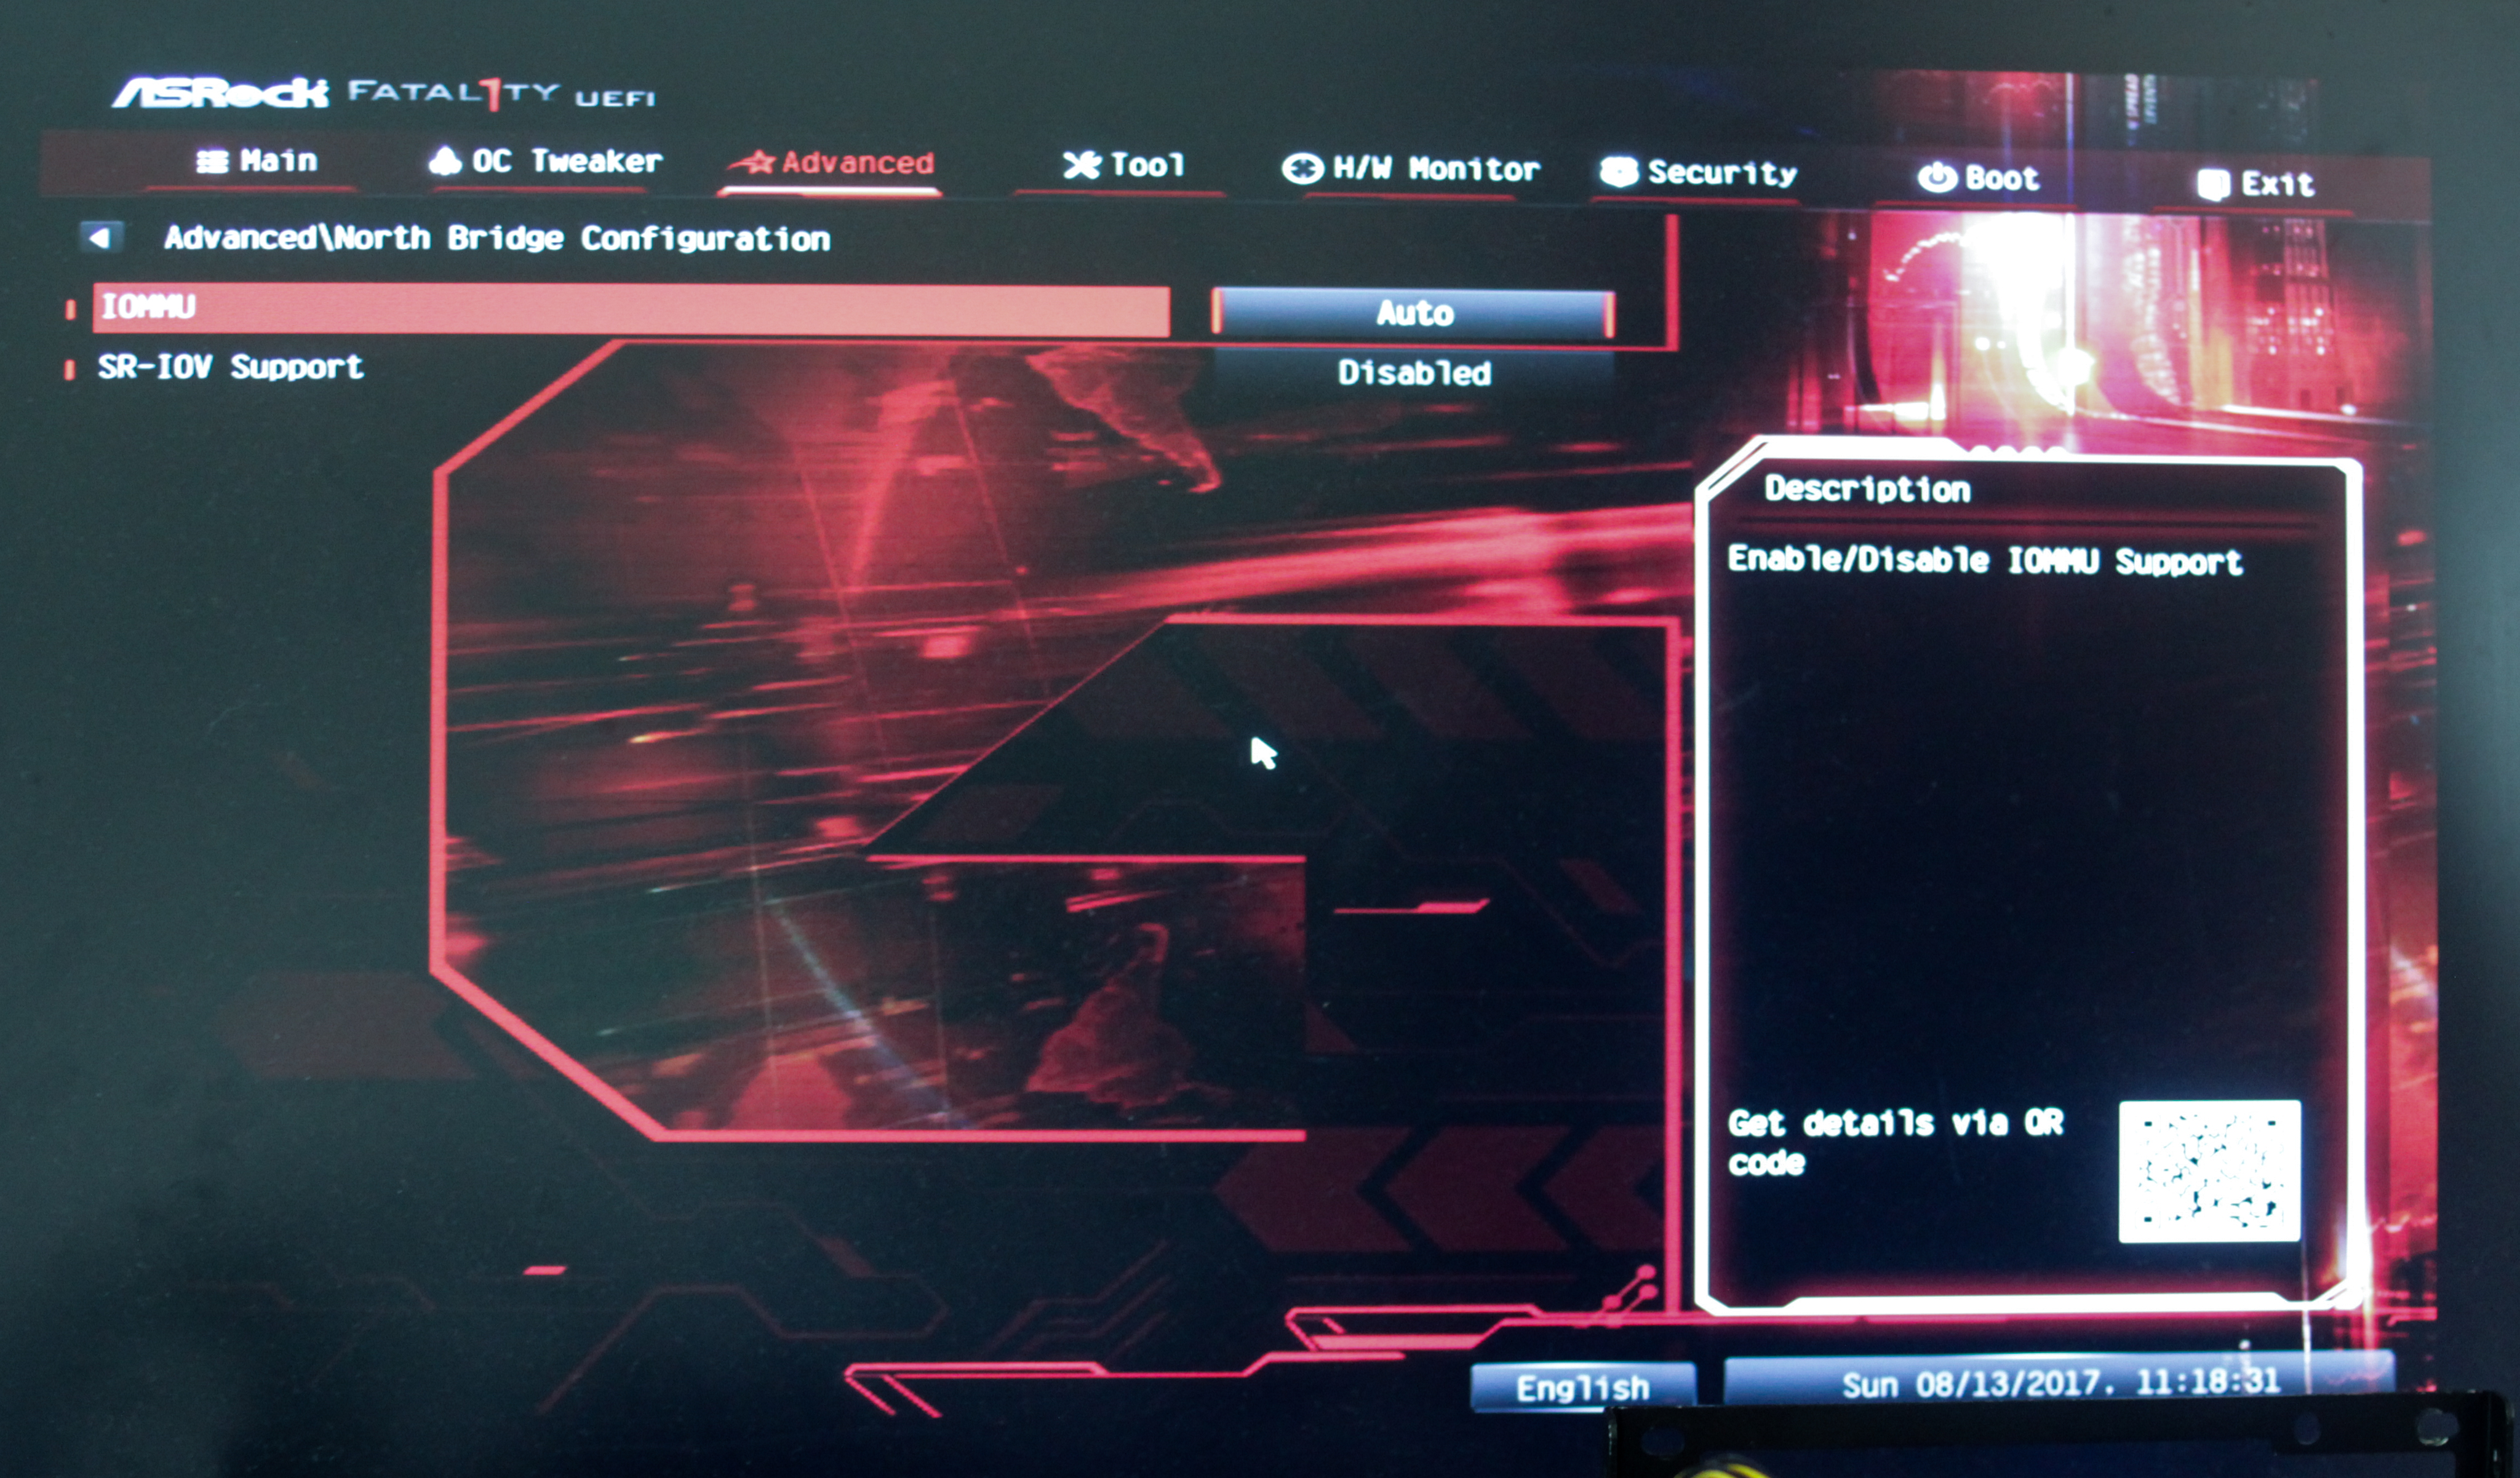
IOMMU (input–output memory management unit) and SR-IOV Support (single root input/output virtualization) are configured here.
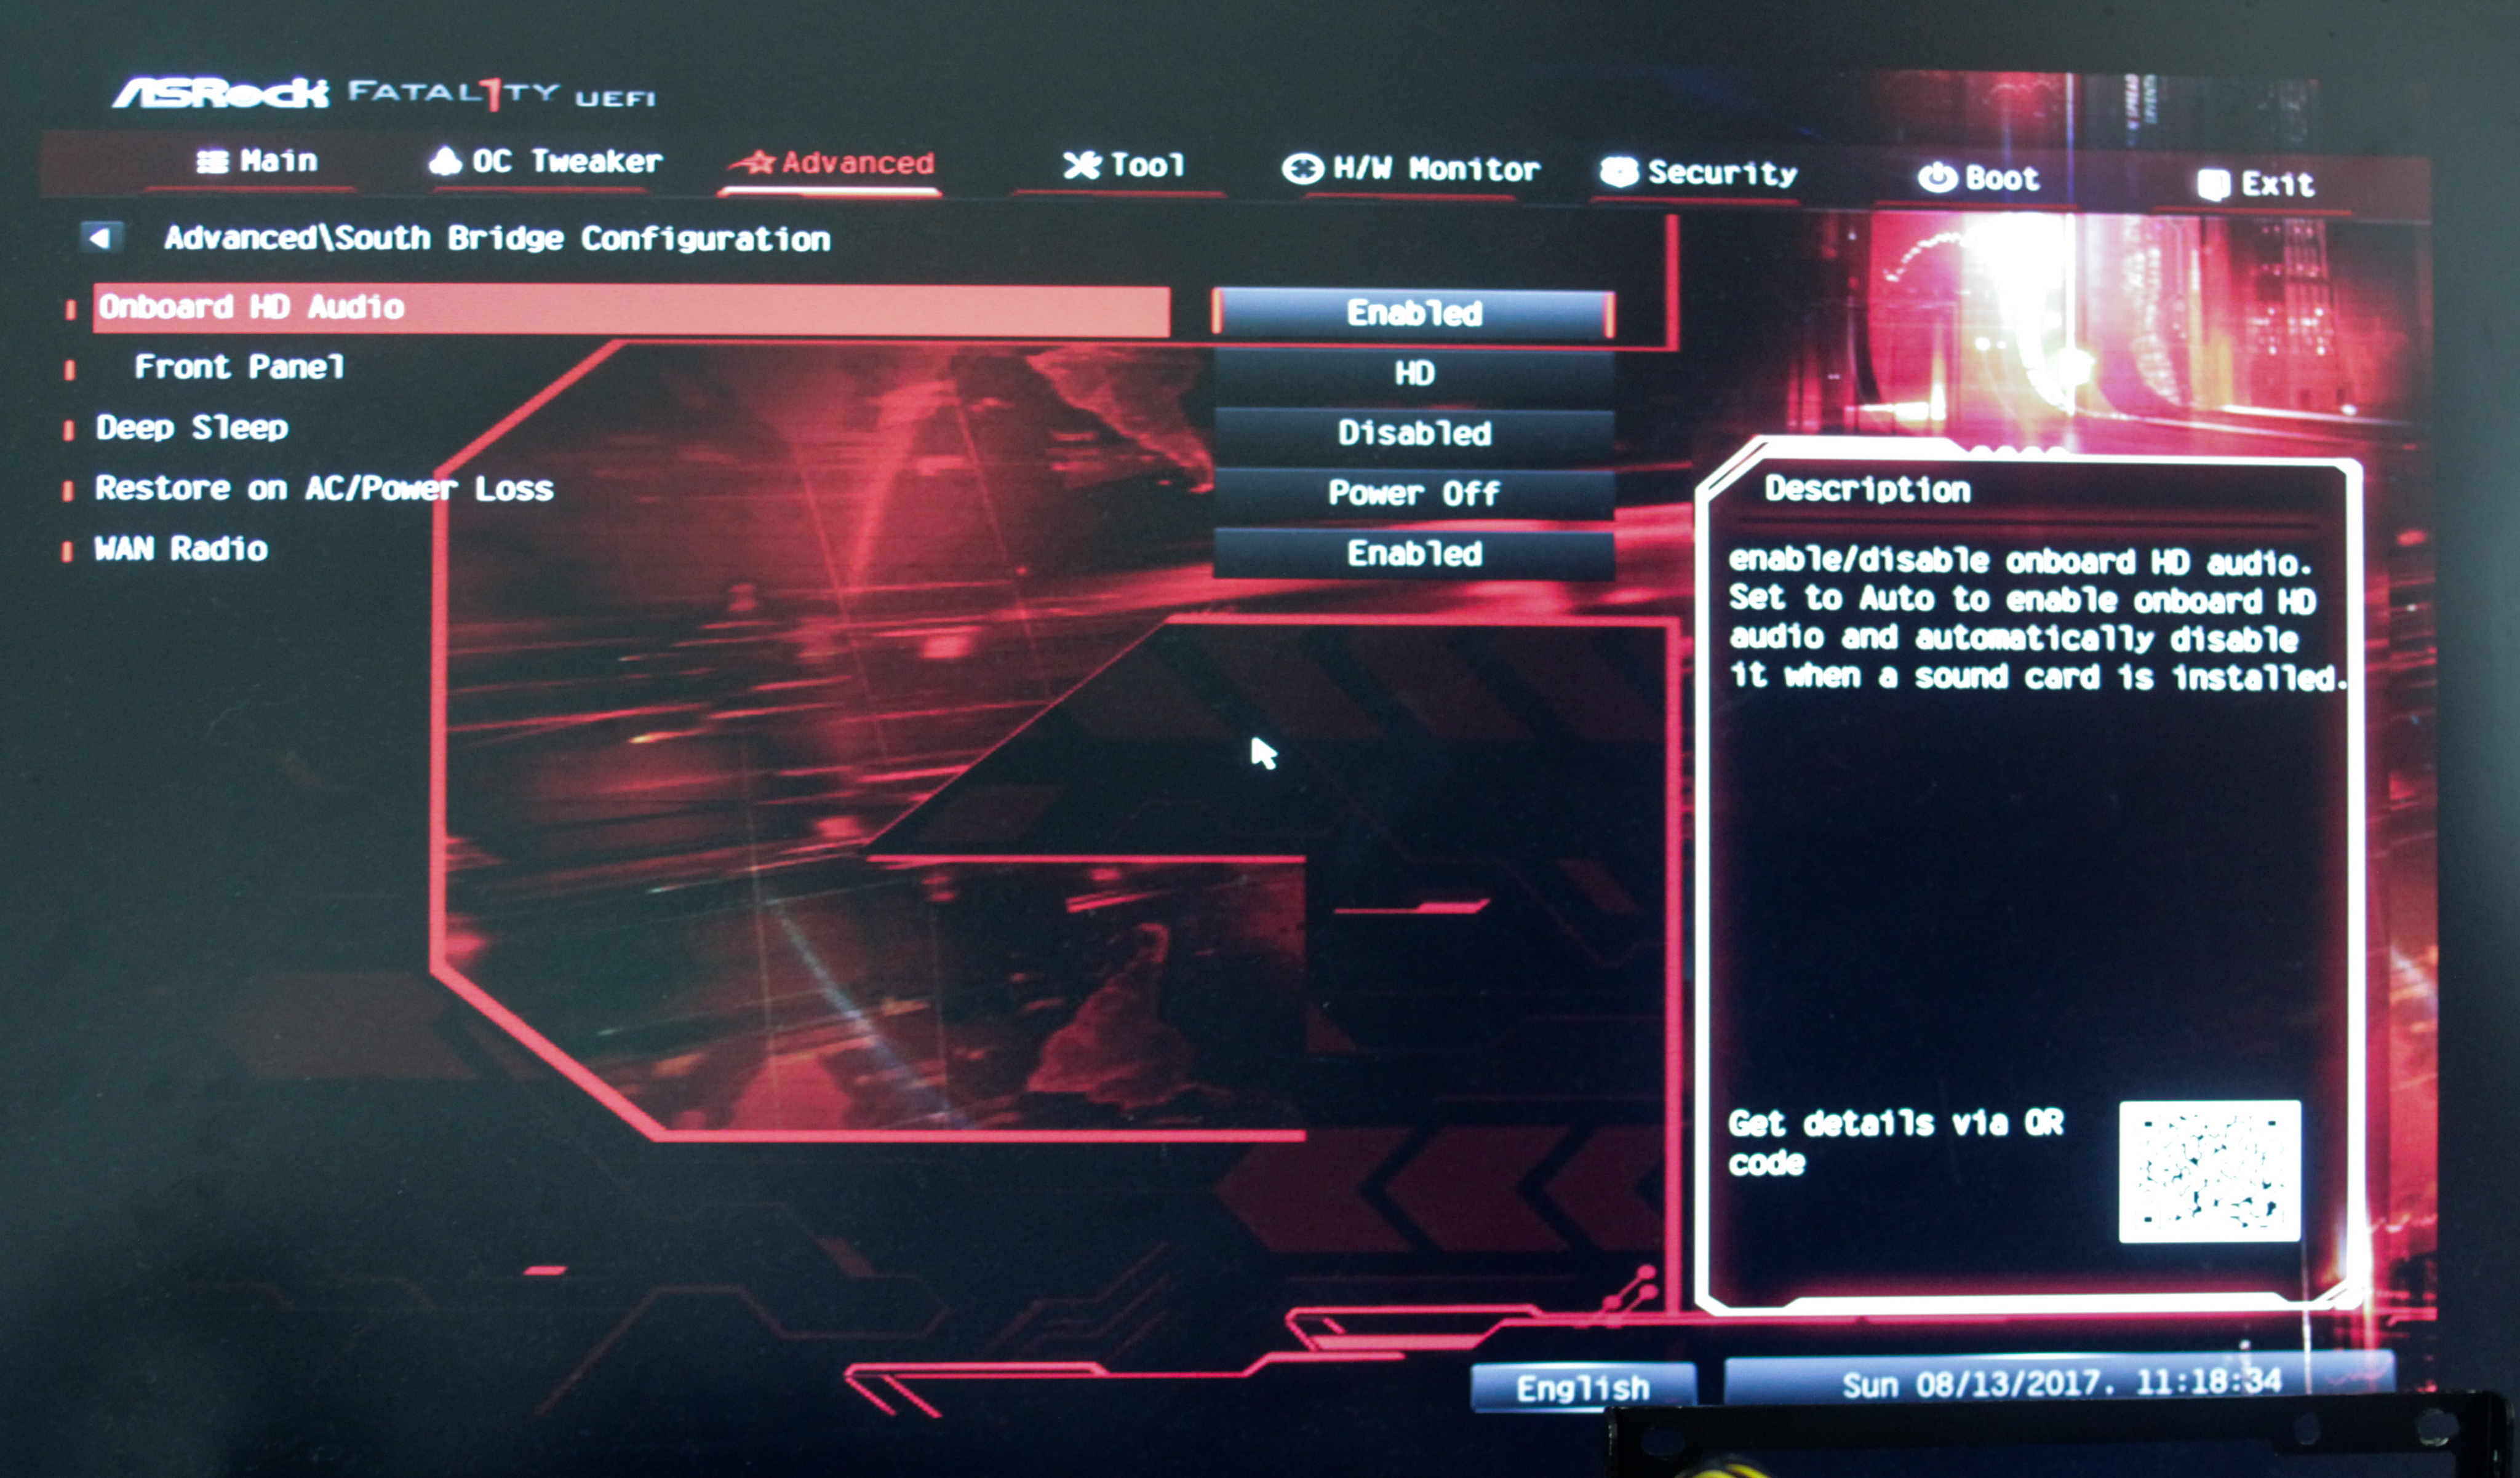
South Bridge Configuration is a bit of a misnomer – as there is no longer a traditional north/south bridge topology on modern motherboards. However, a few of the options that used to be controlled by the South Bridge reside in this submenu.
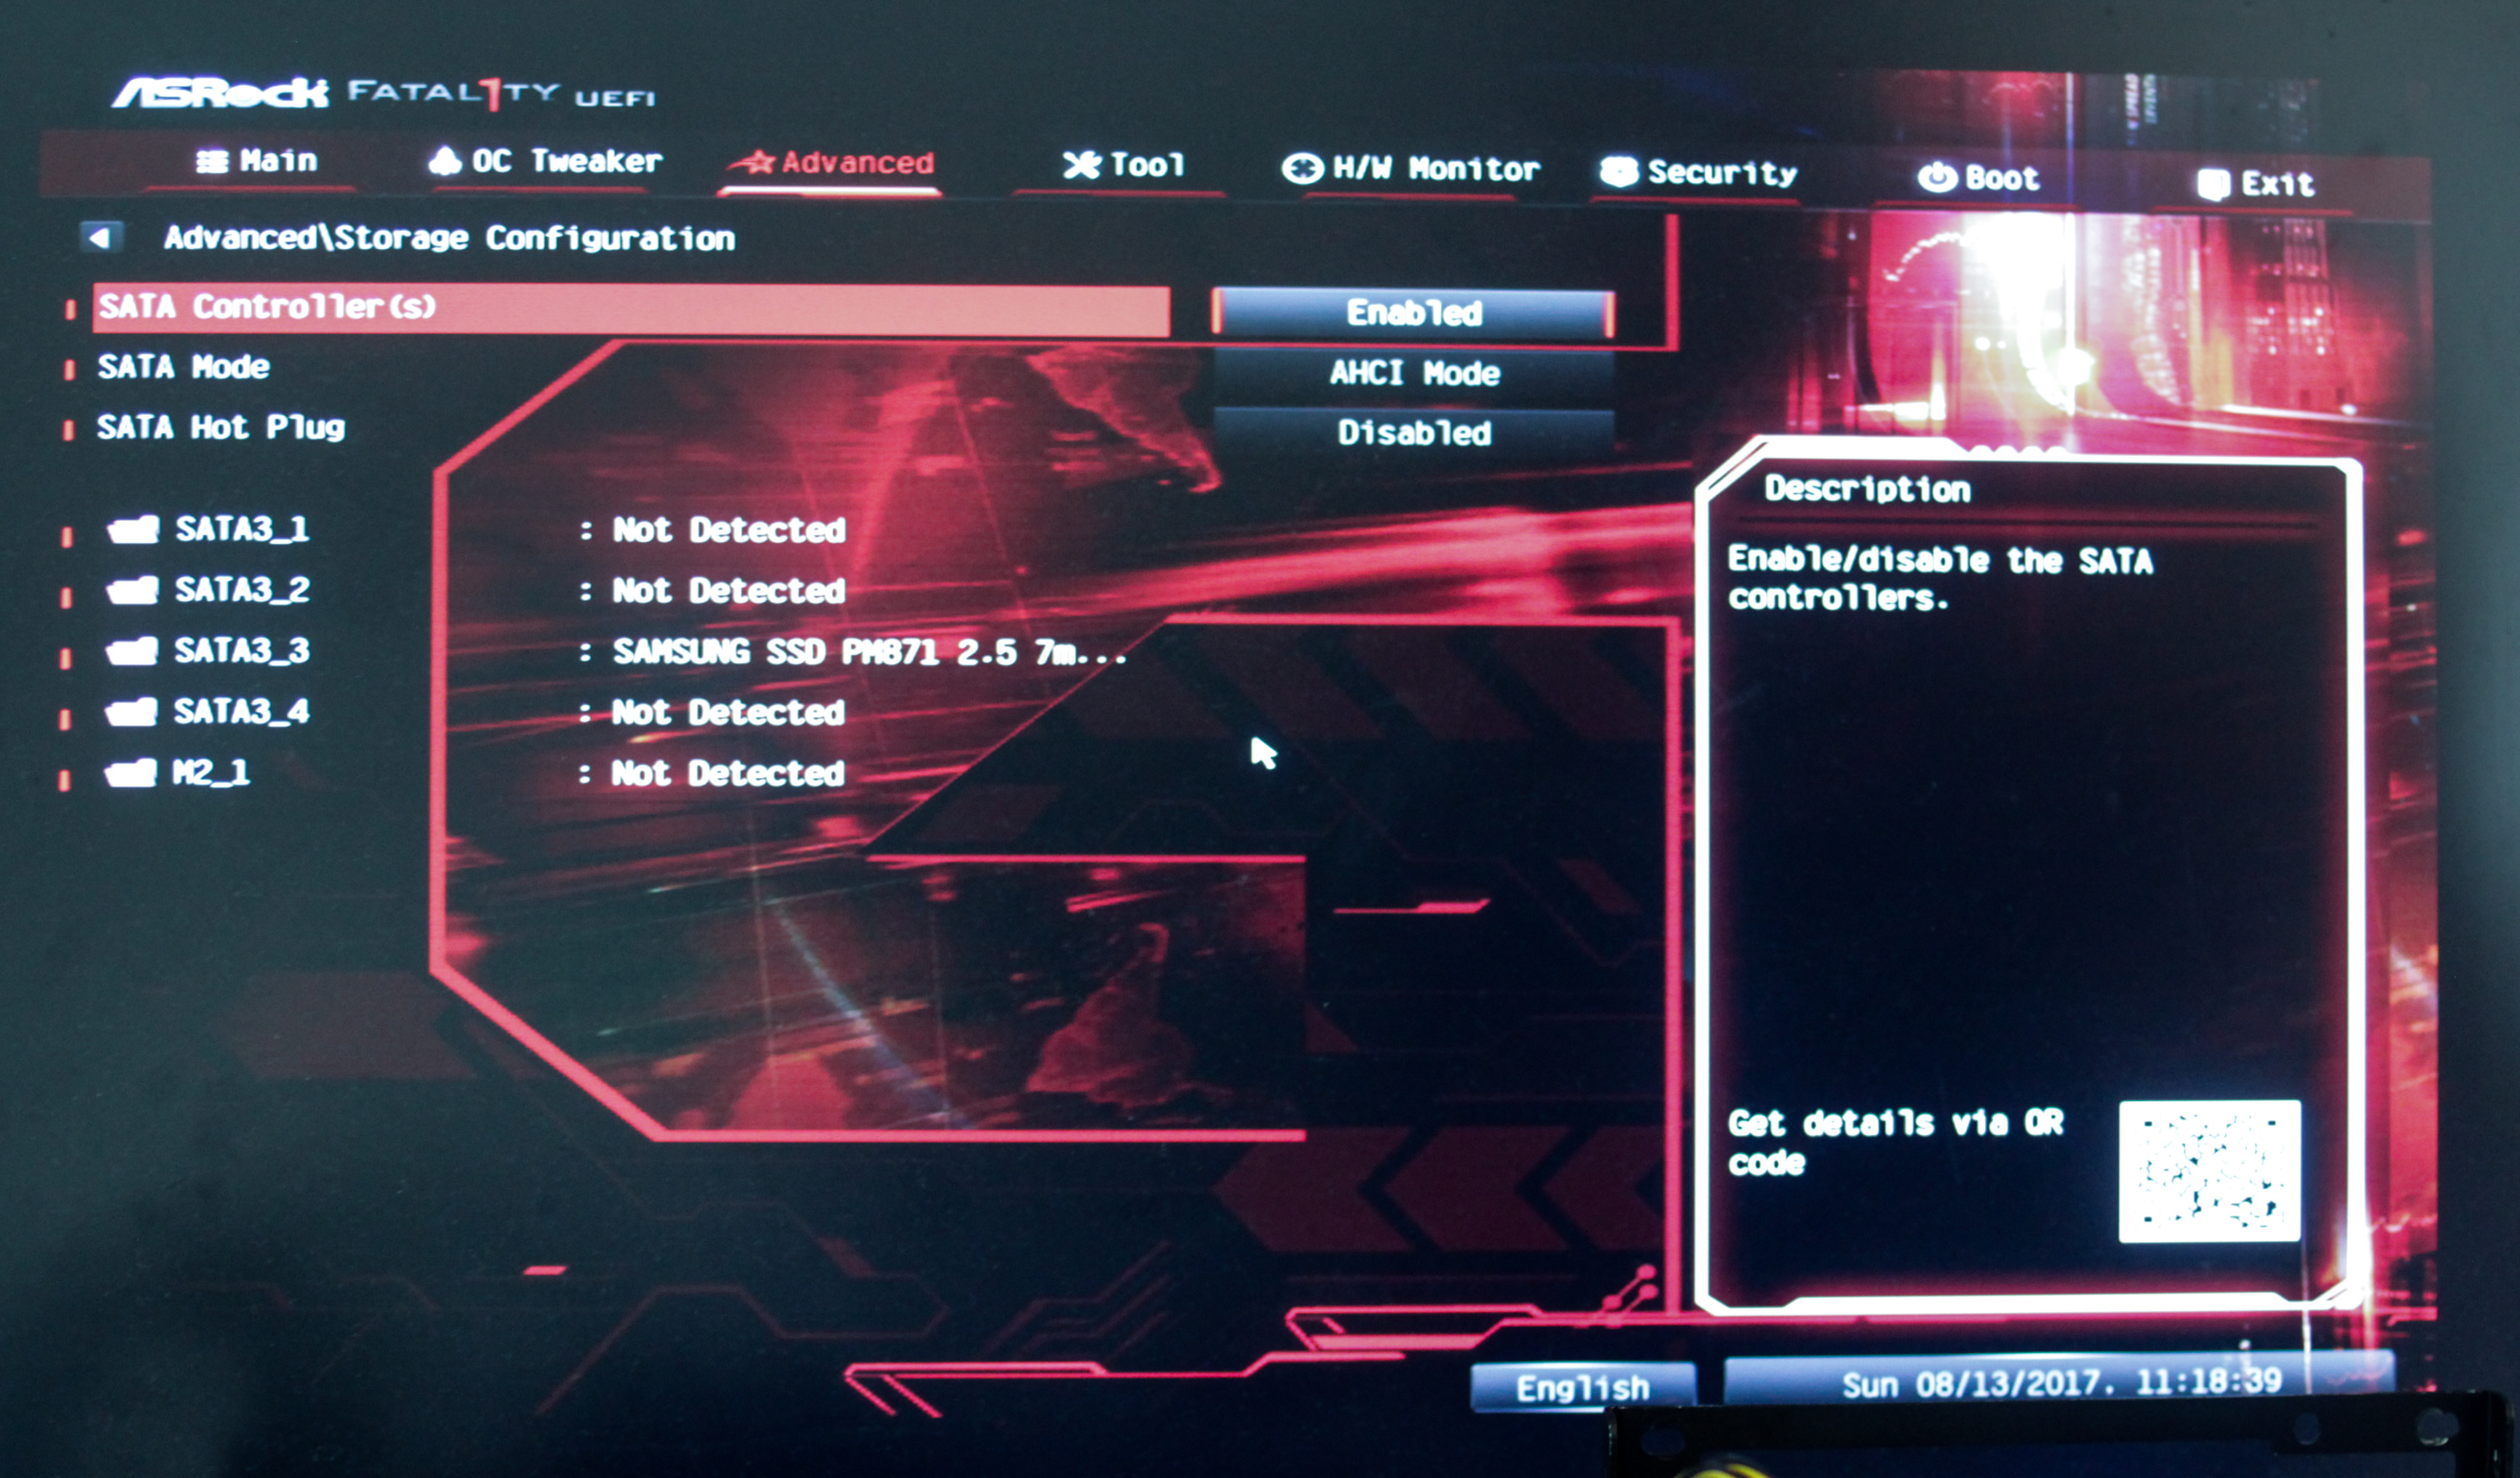
Storage Configuration is the submenu for you if you need to check drive parameters or change the SATA mode.

That single PS/2 port can be split out to support both a keyboard and mouse, and that can be configured here.
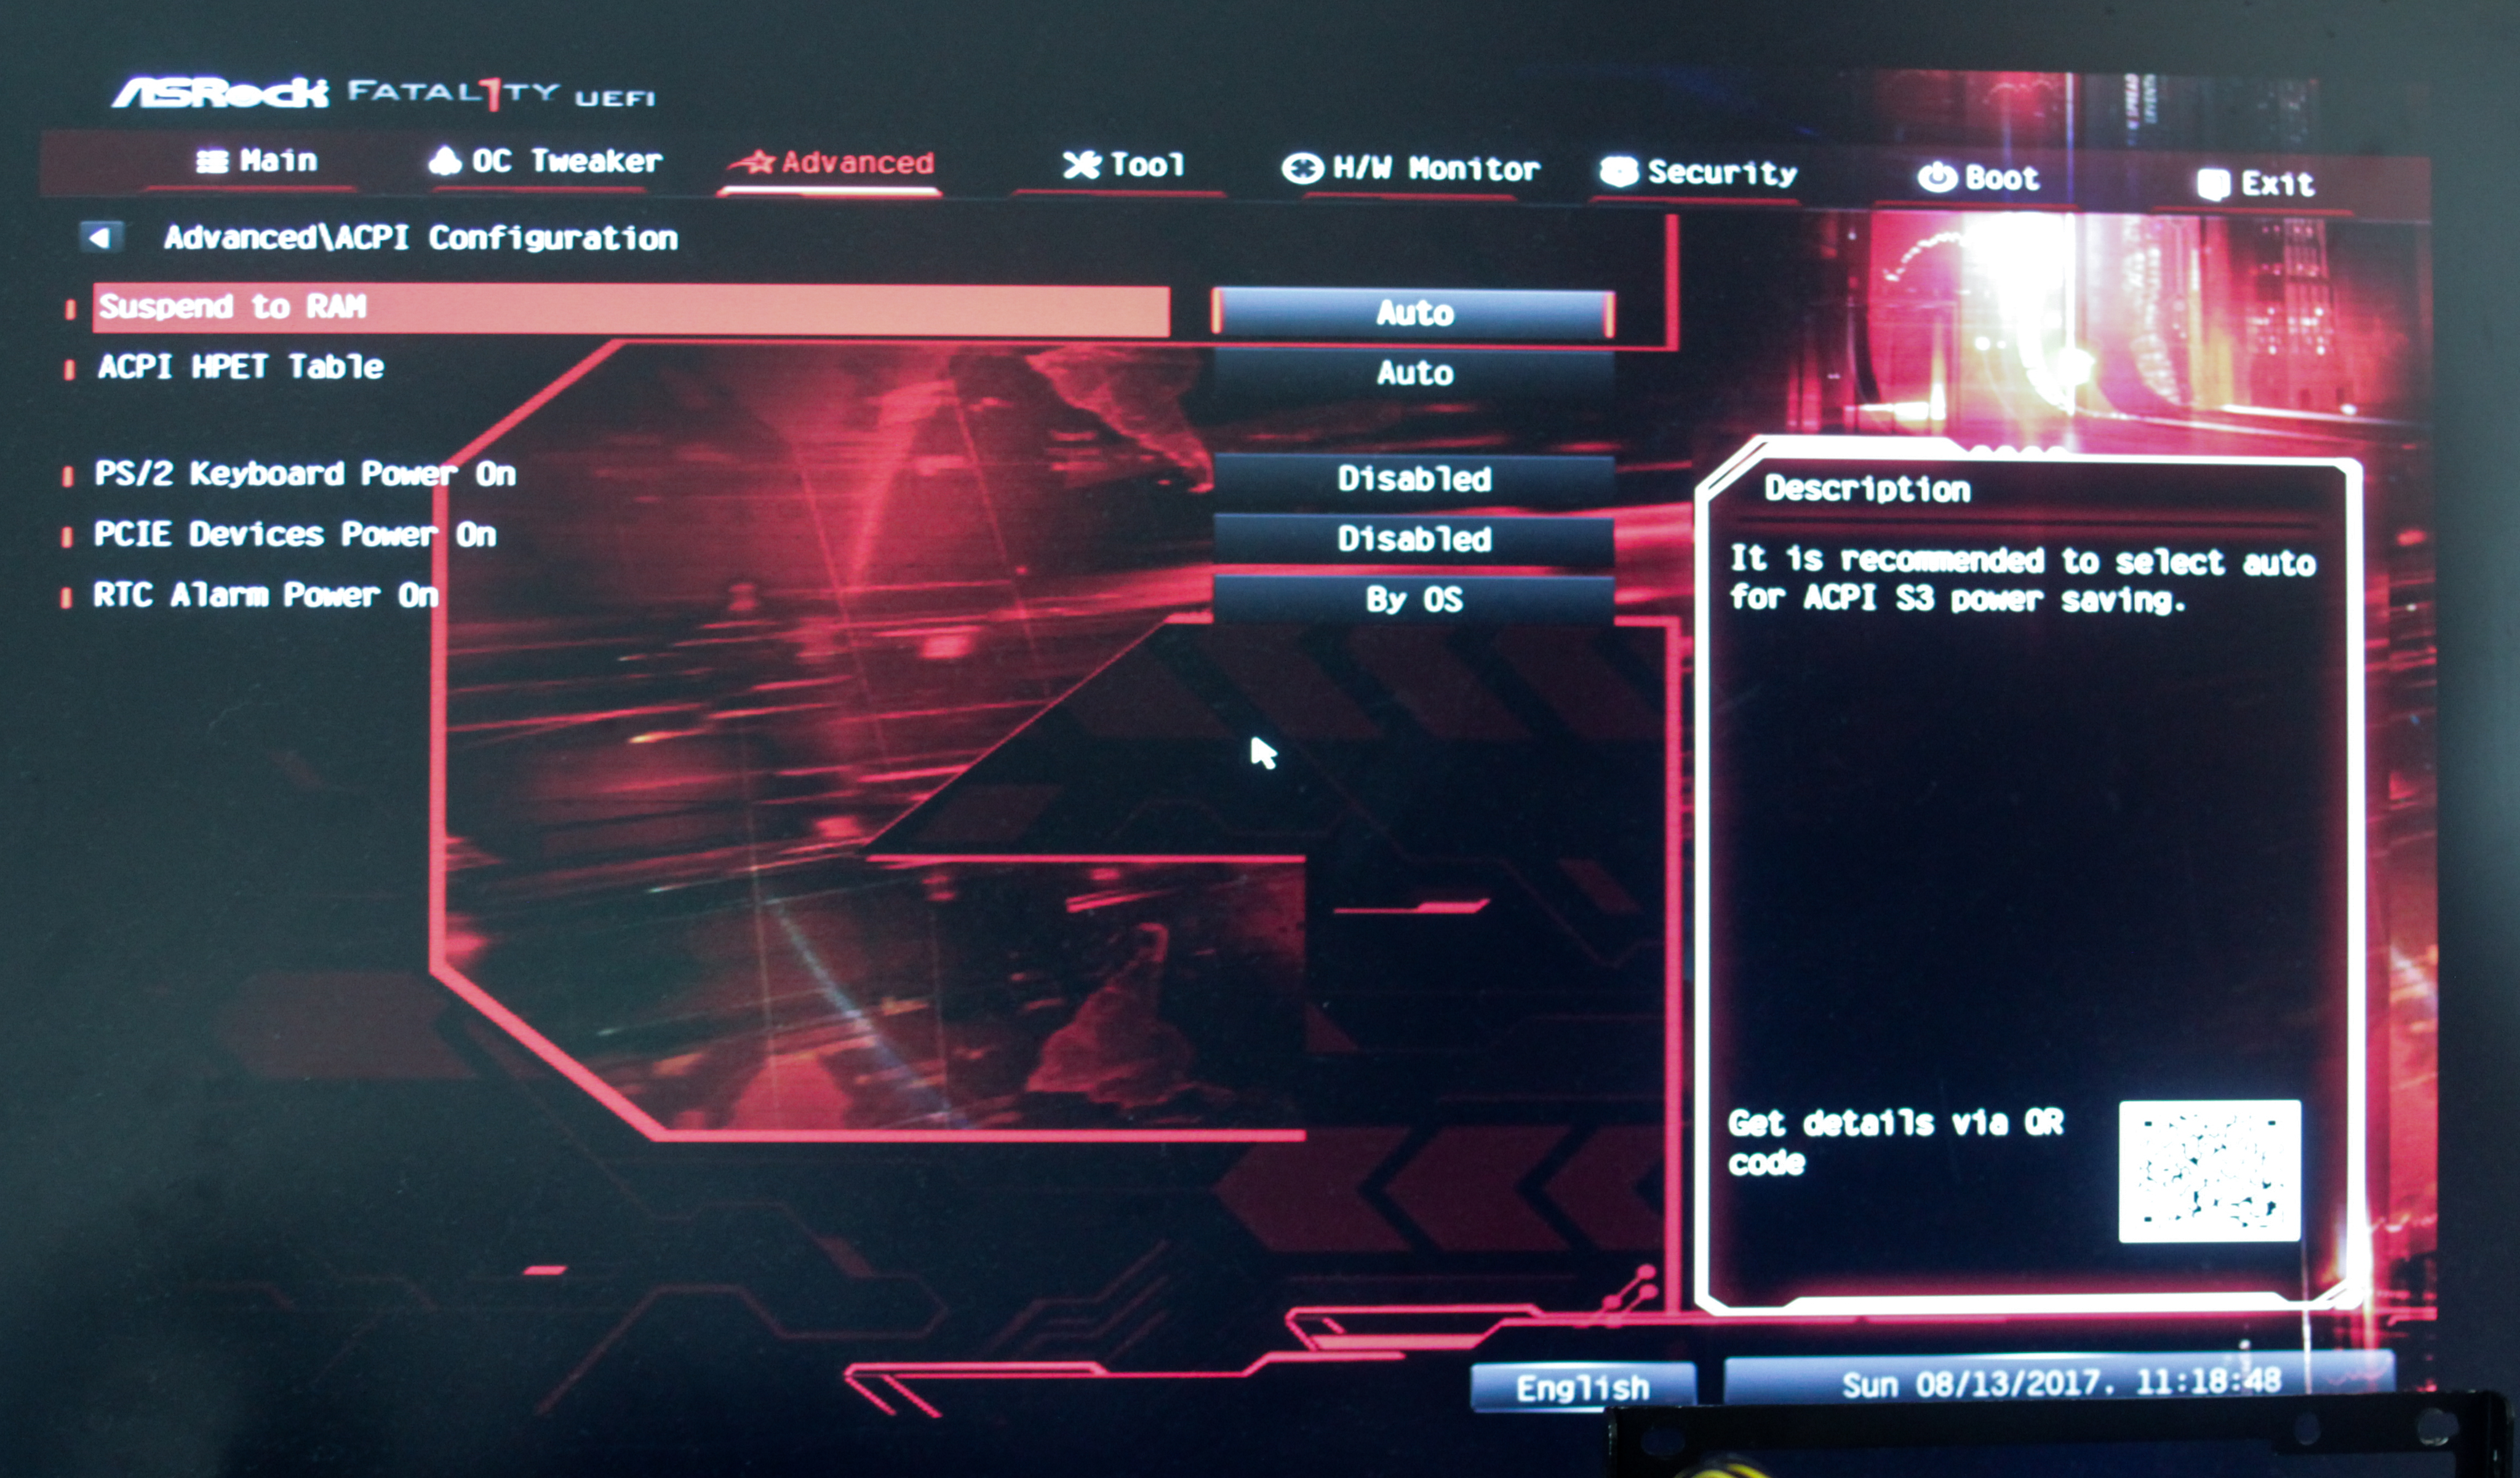
Advanced Configuration and Power Interface settings are in this submenu.
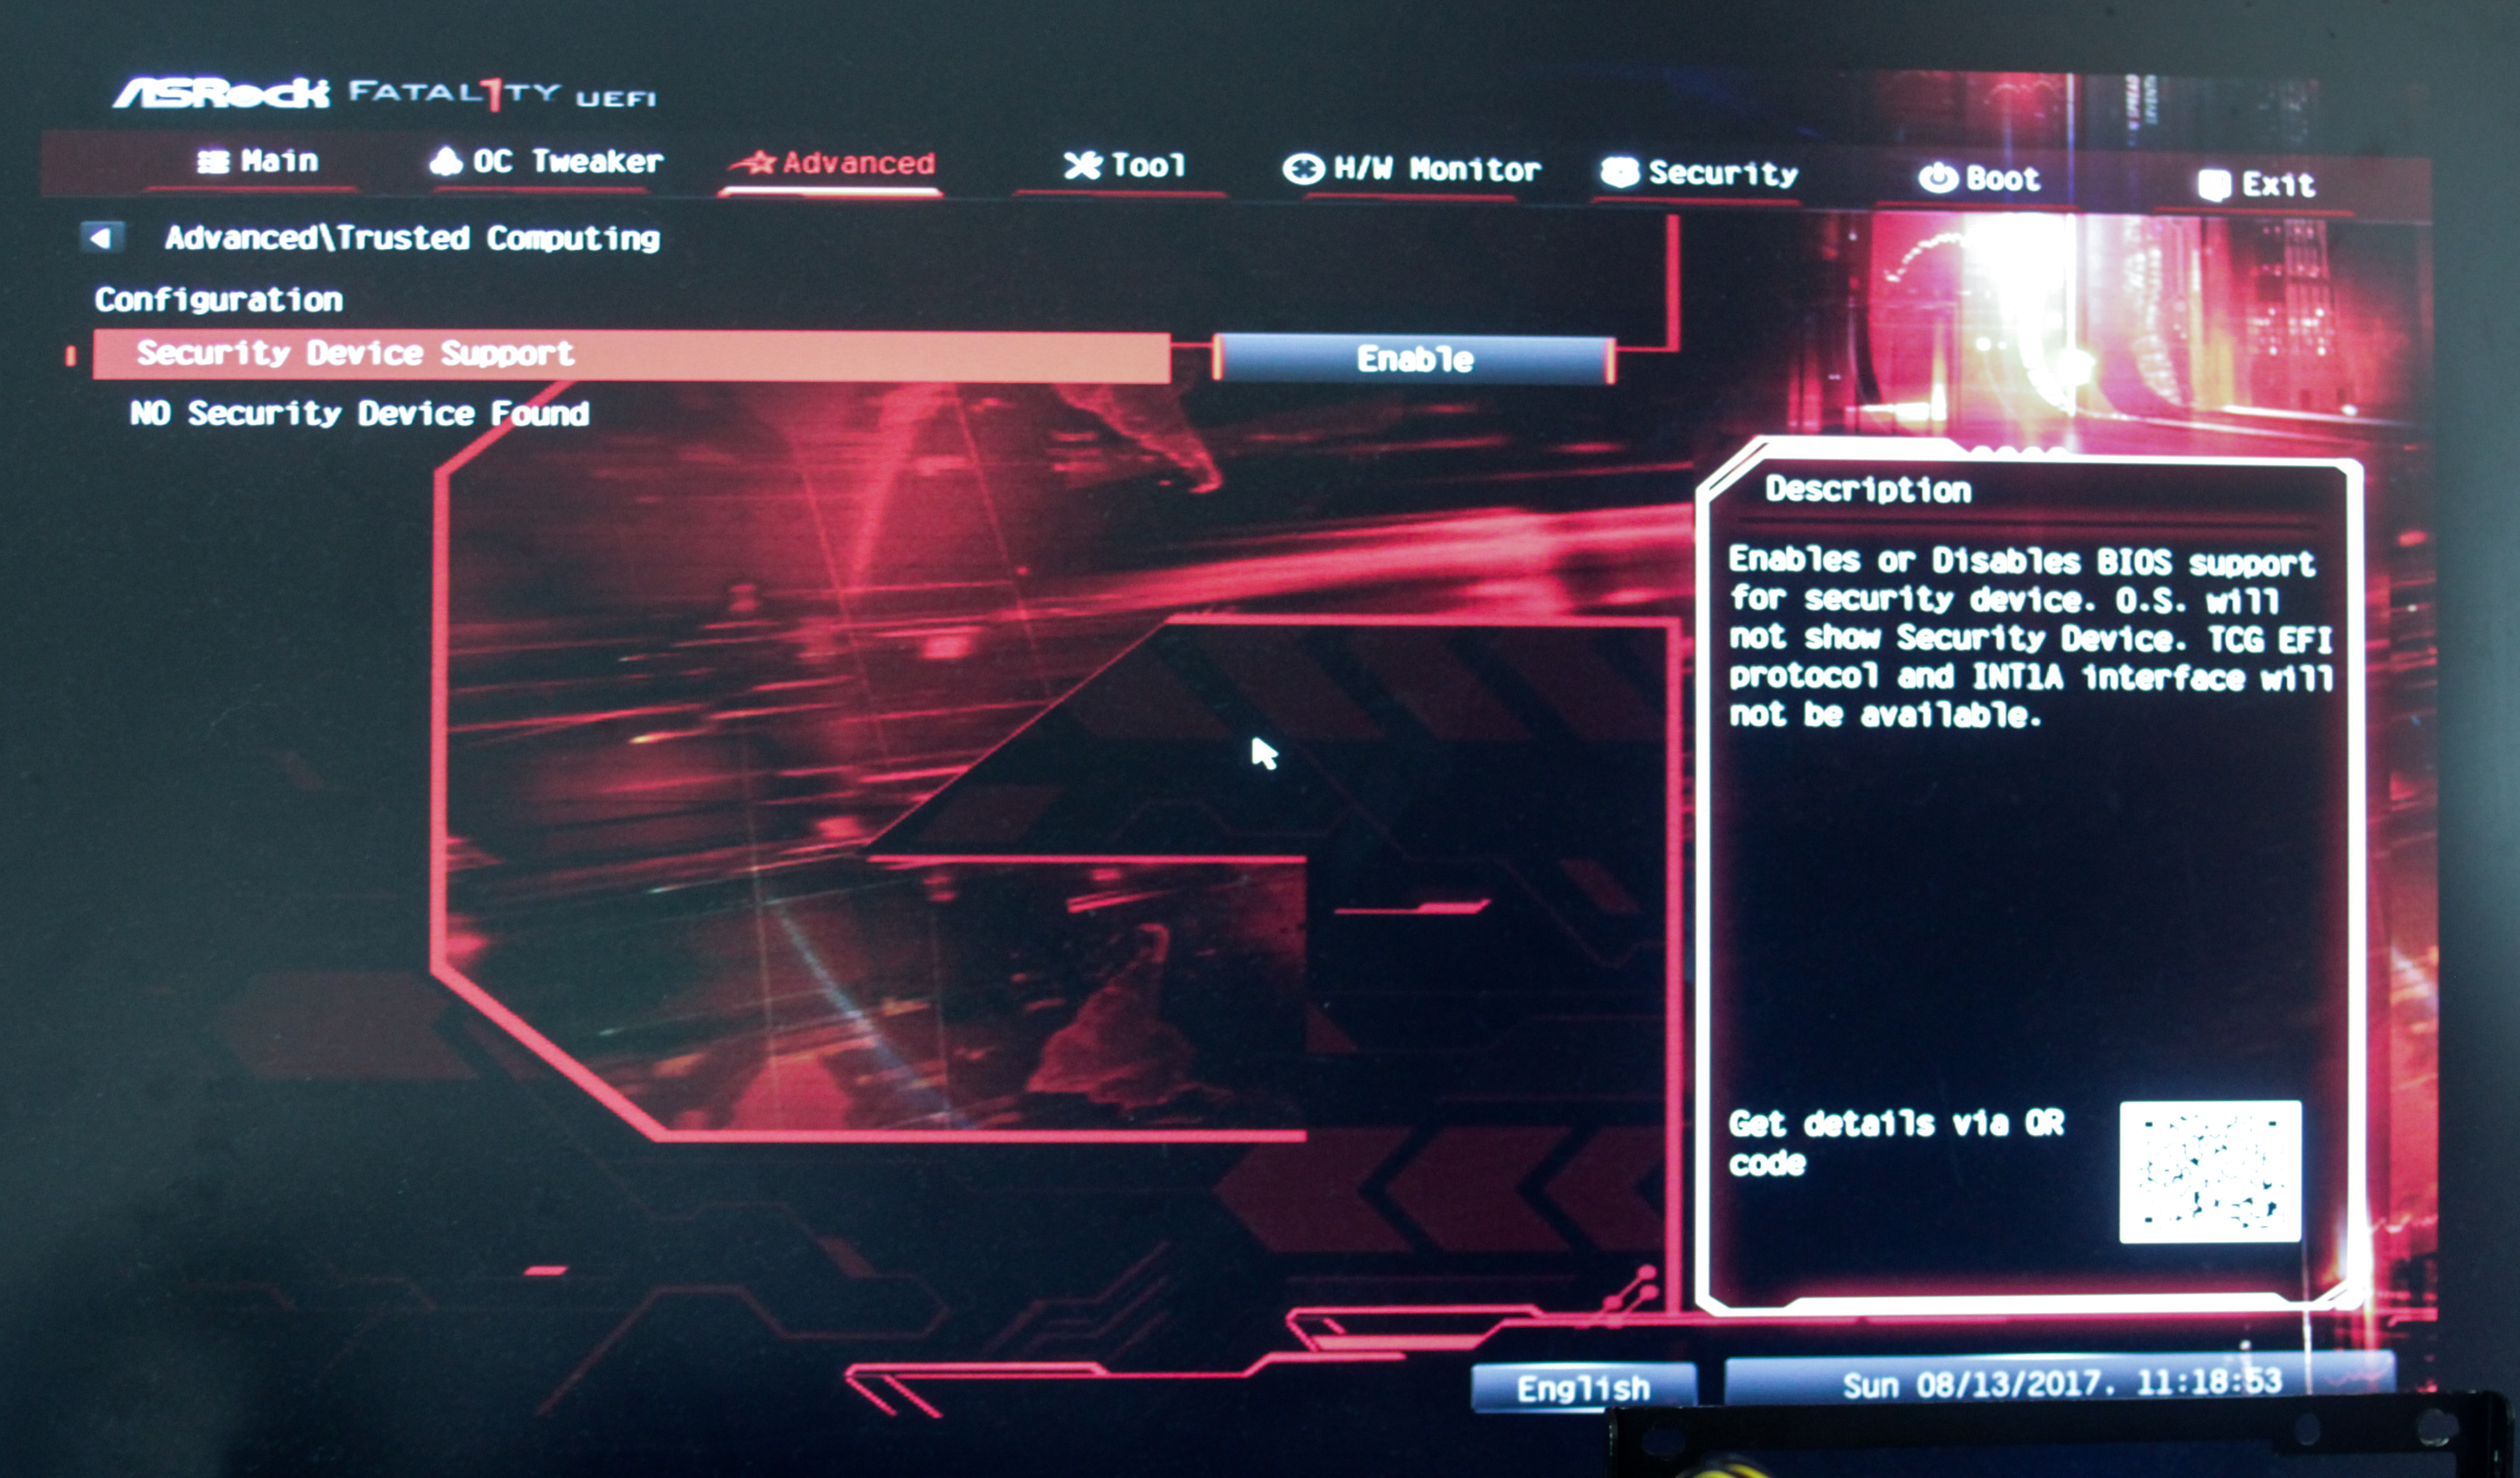
TPM stuff is here!

In the AMD CBS menu, we have access to quite a few more submenus. Let’s explore these too!
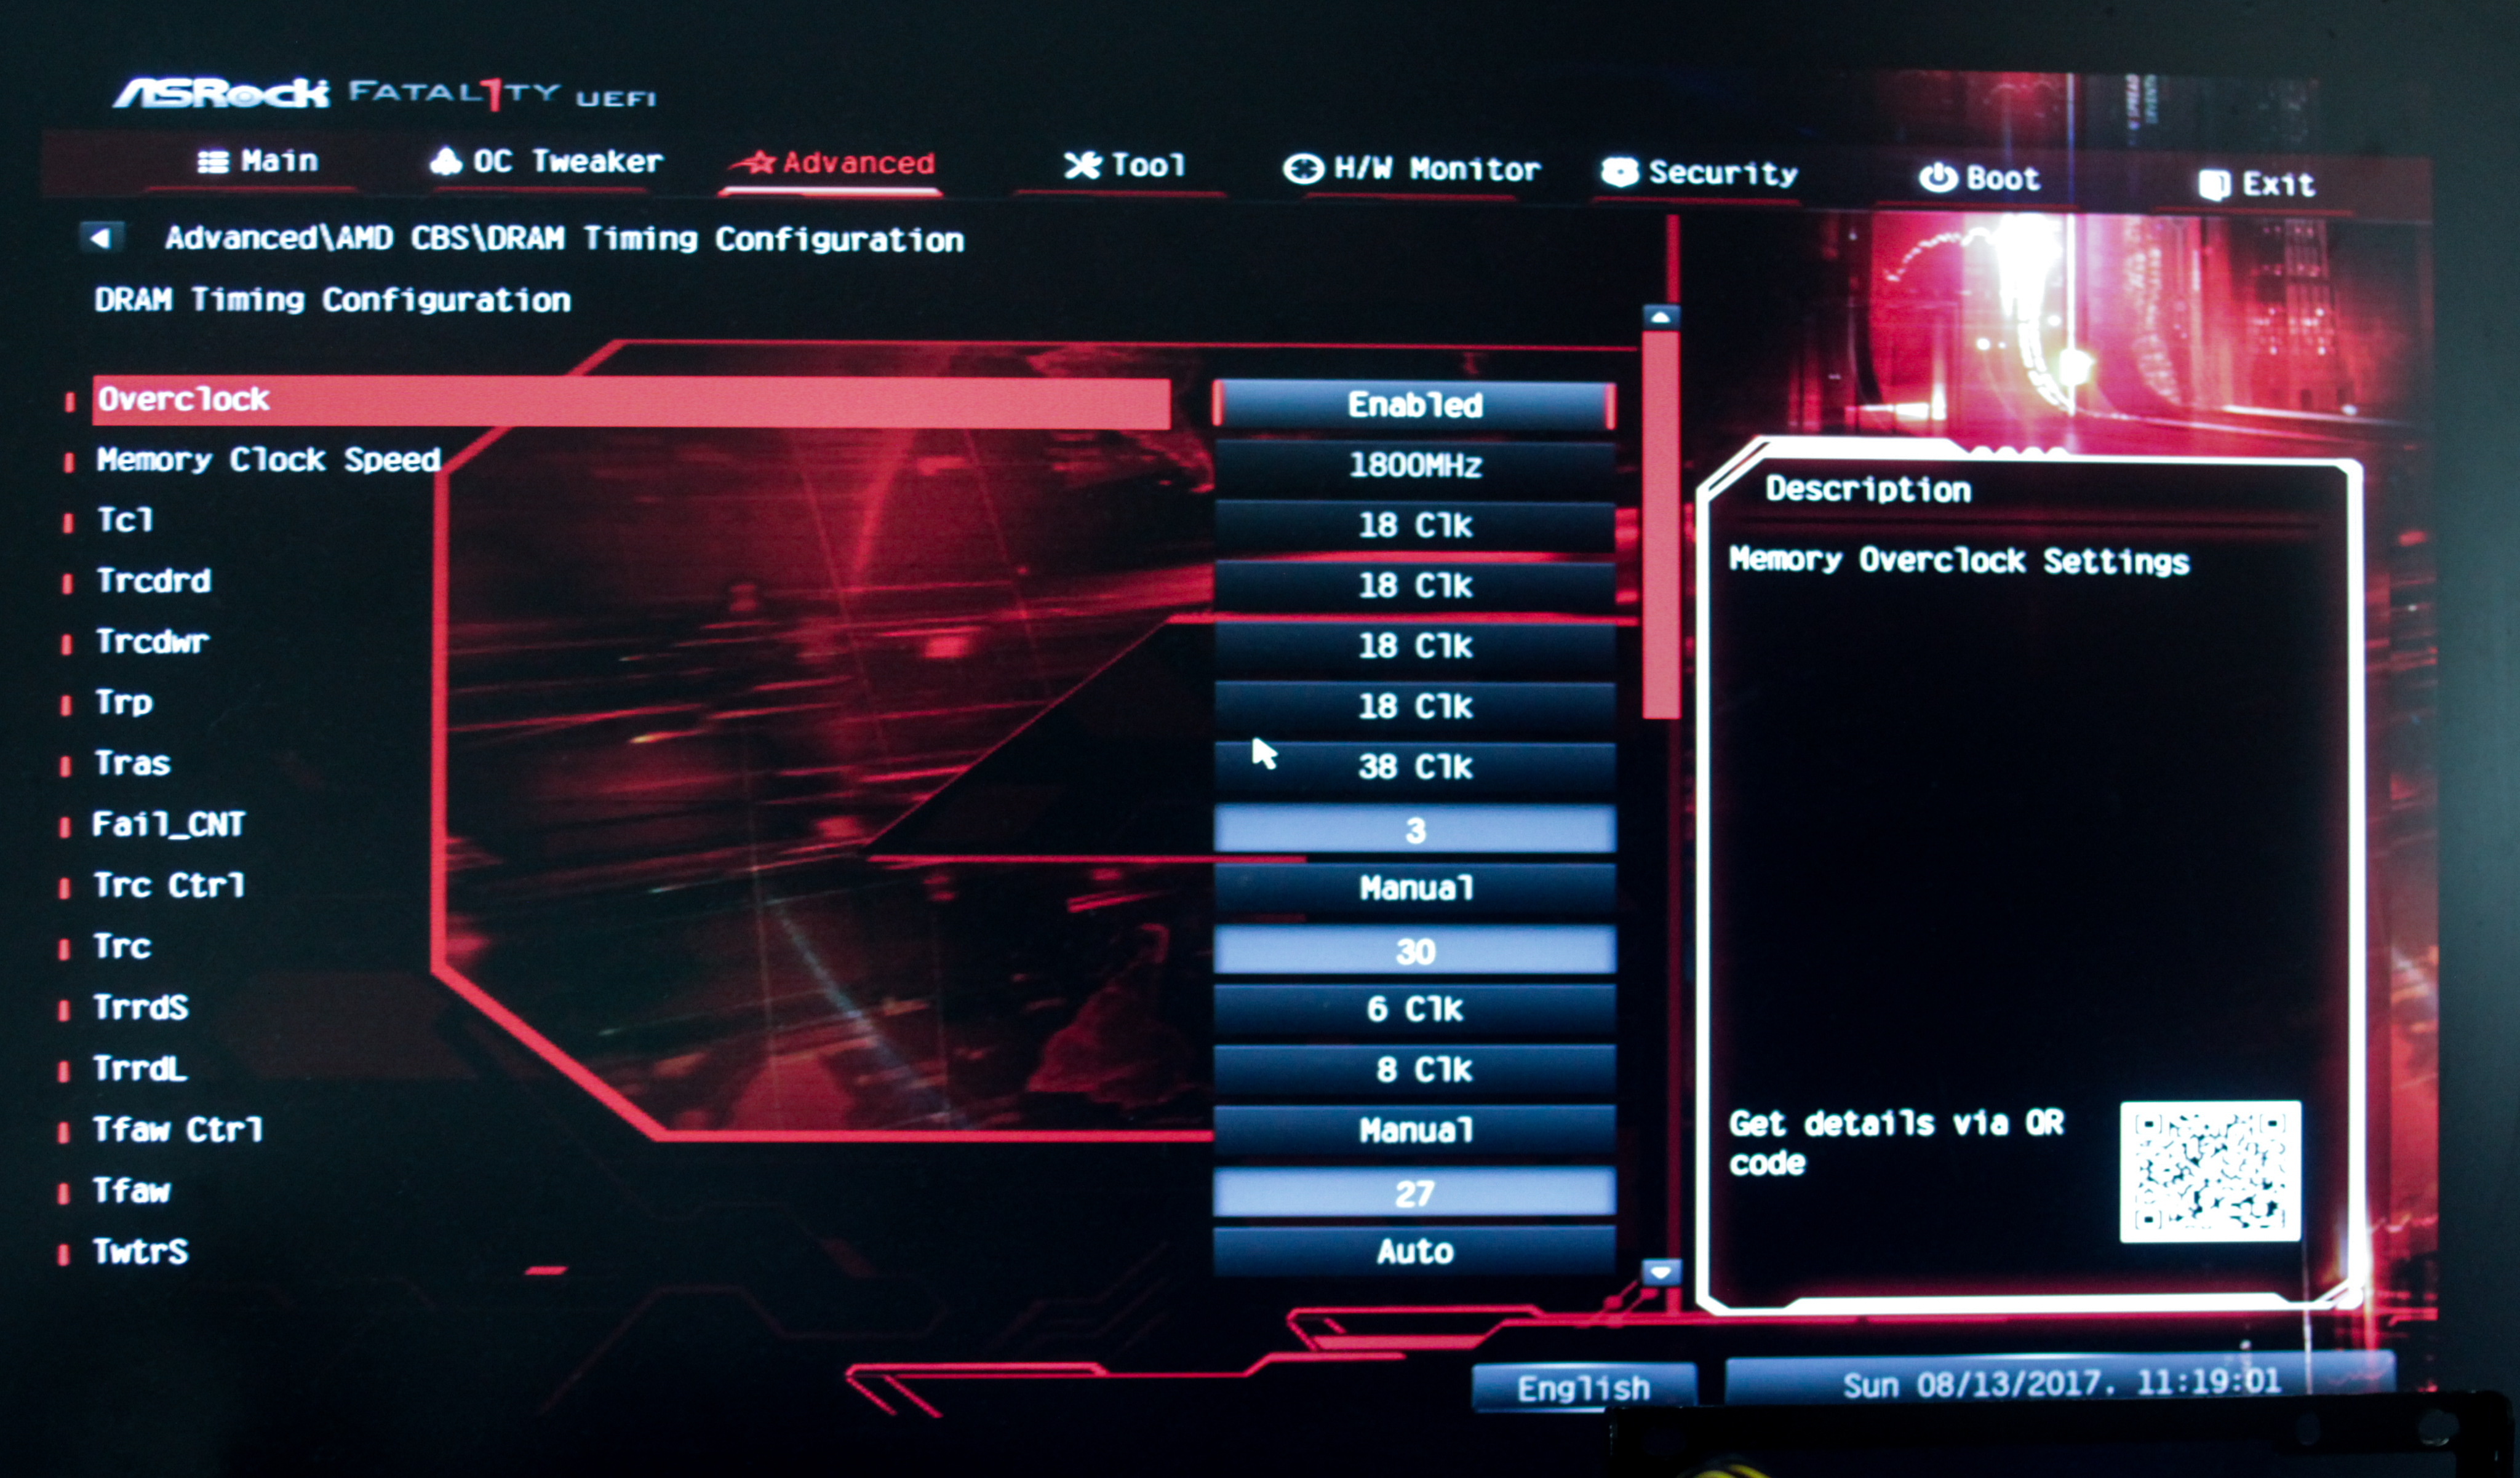
The DRAM Timing Configuration seems to be a second way into the RAM overclocking menu.
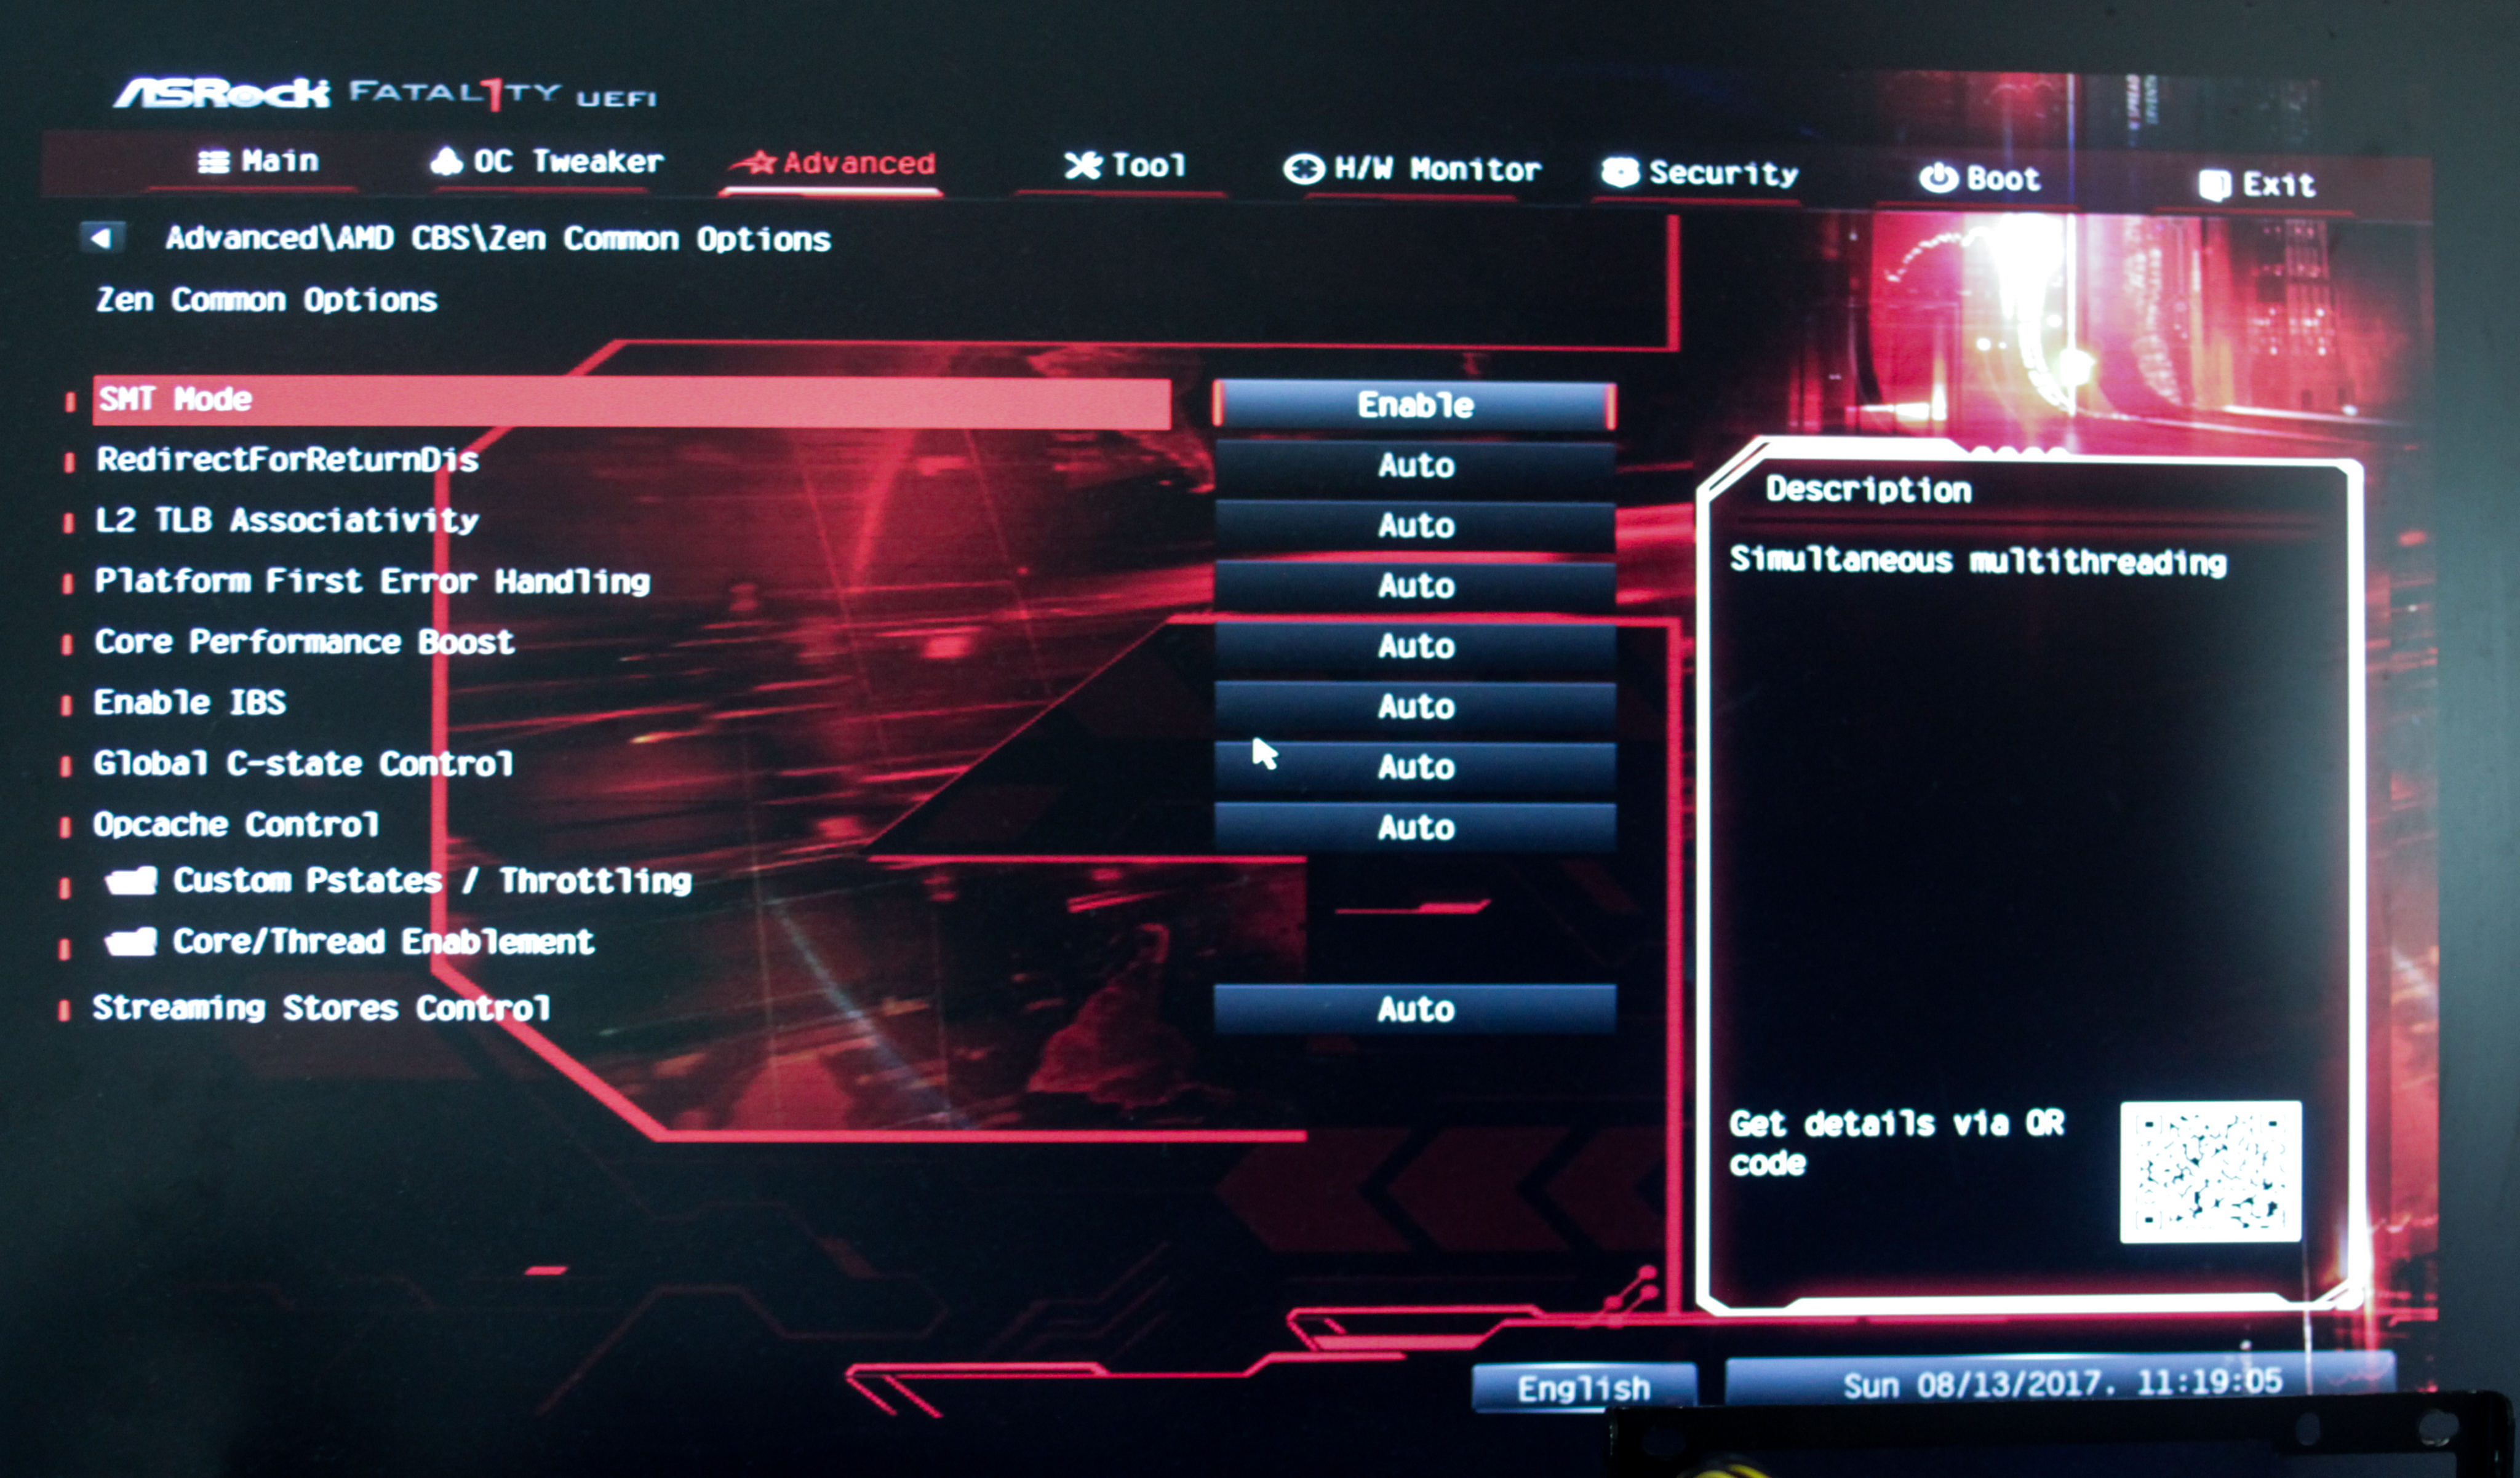
Zen Common Options gives you some more in depth control over your (Ry)Zen processor.
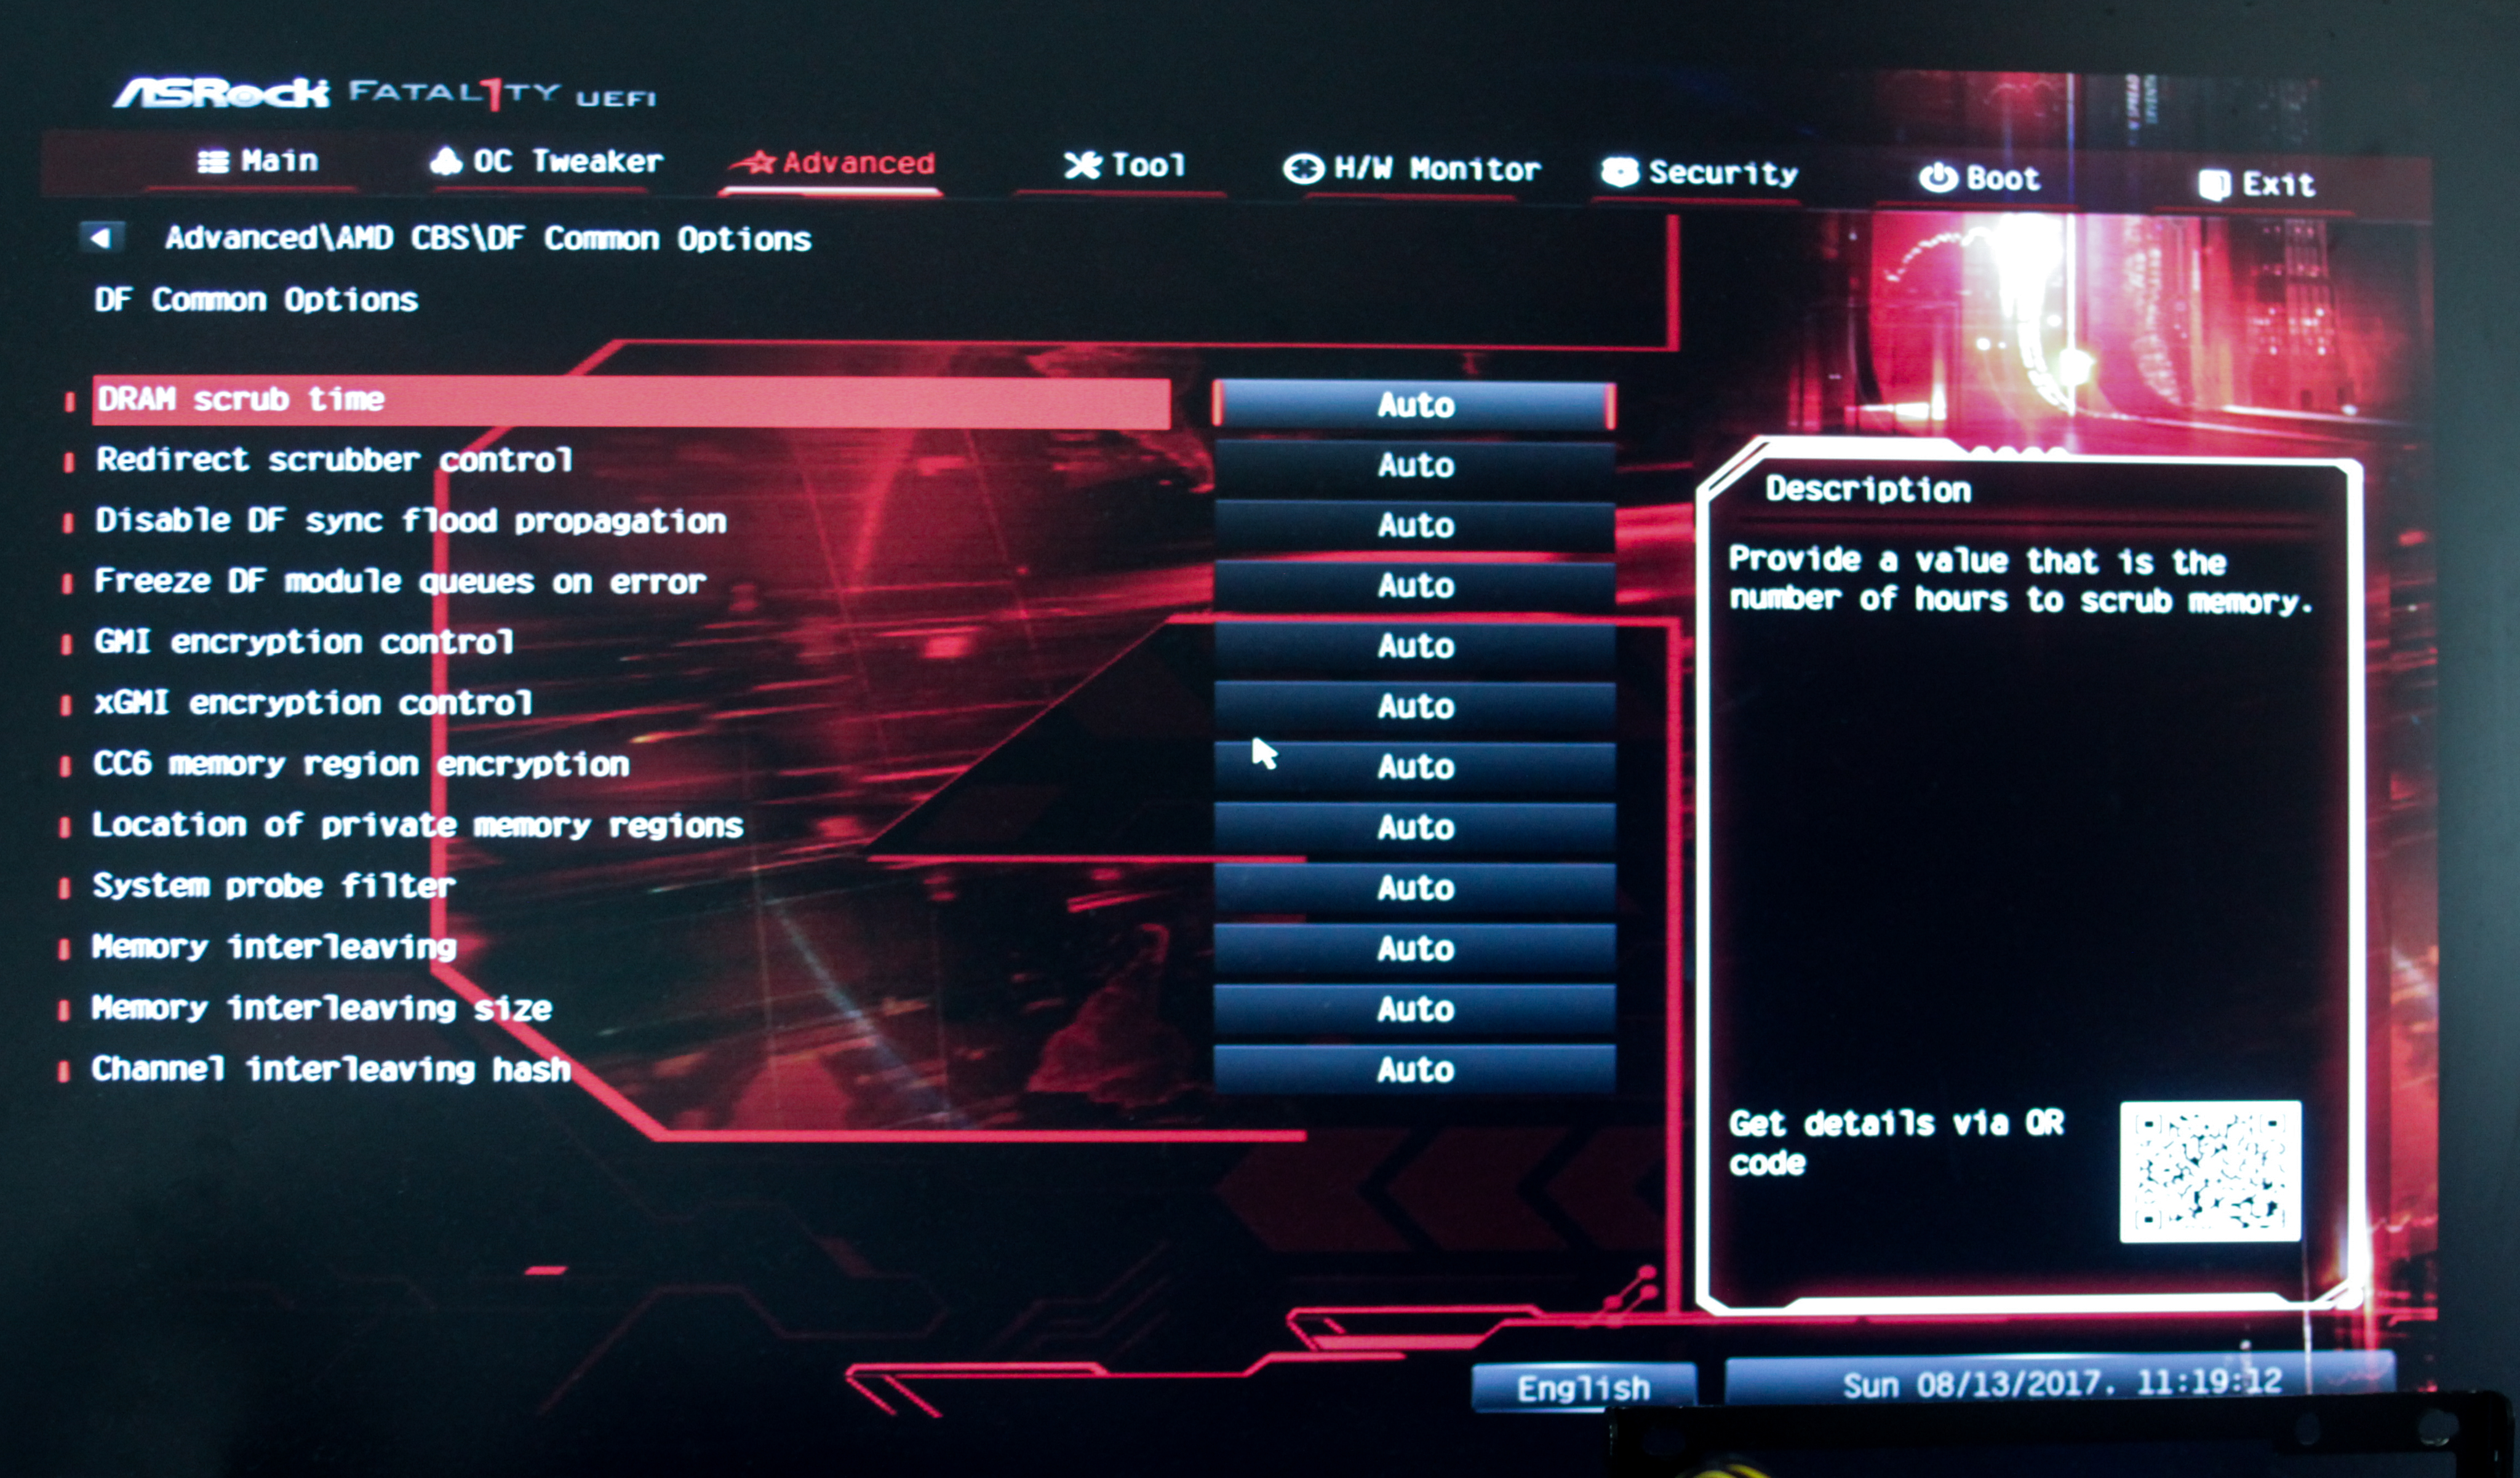
DF Common Options – more RAM settings in effect.
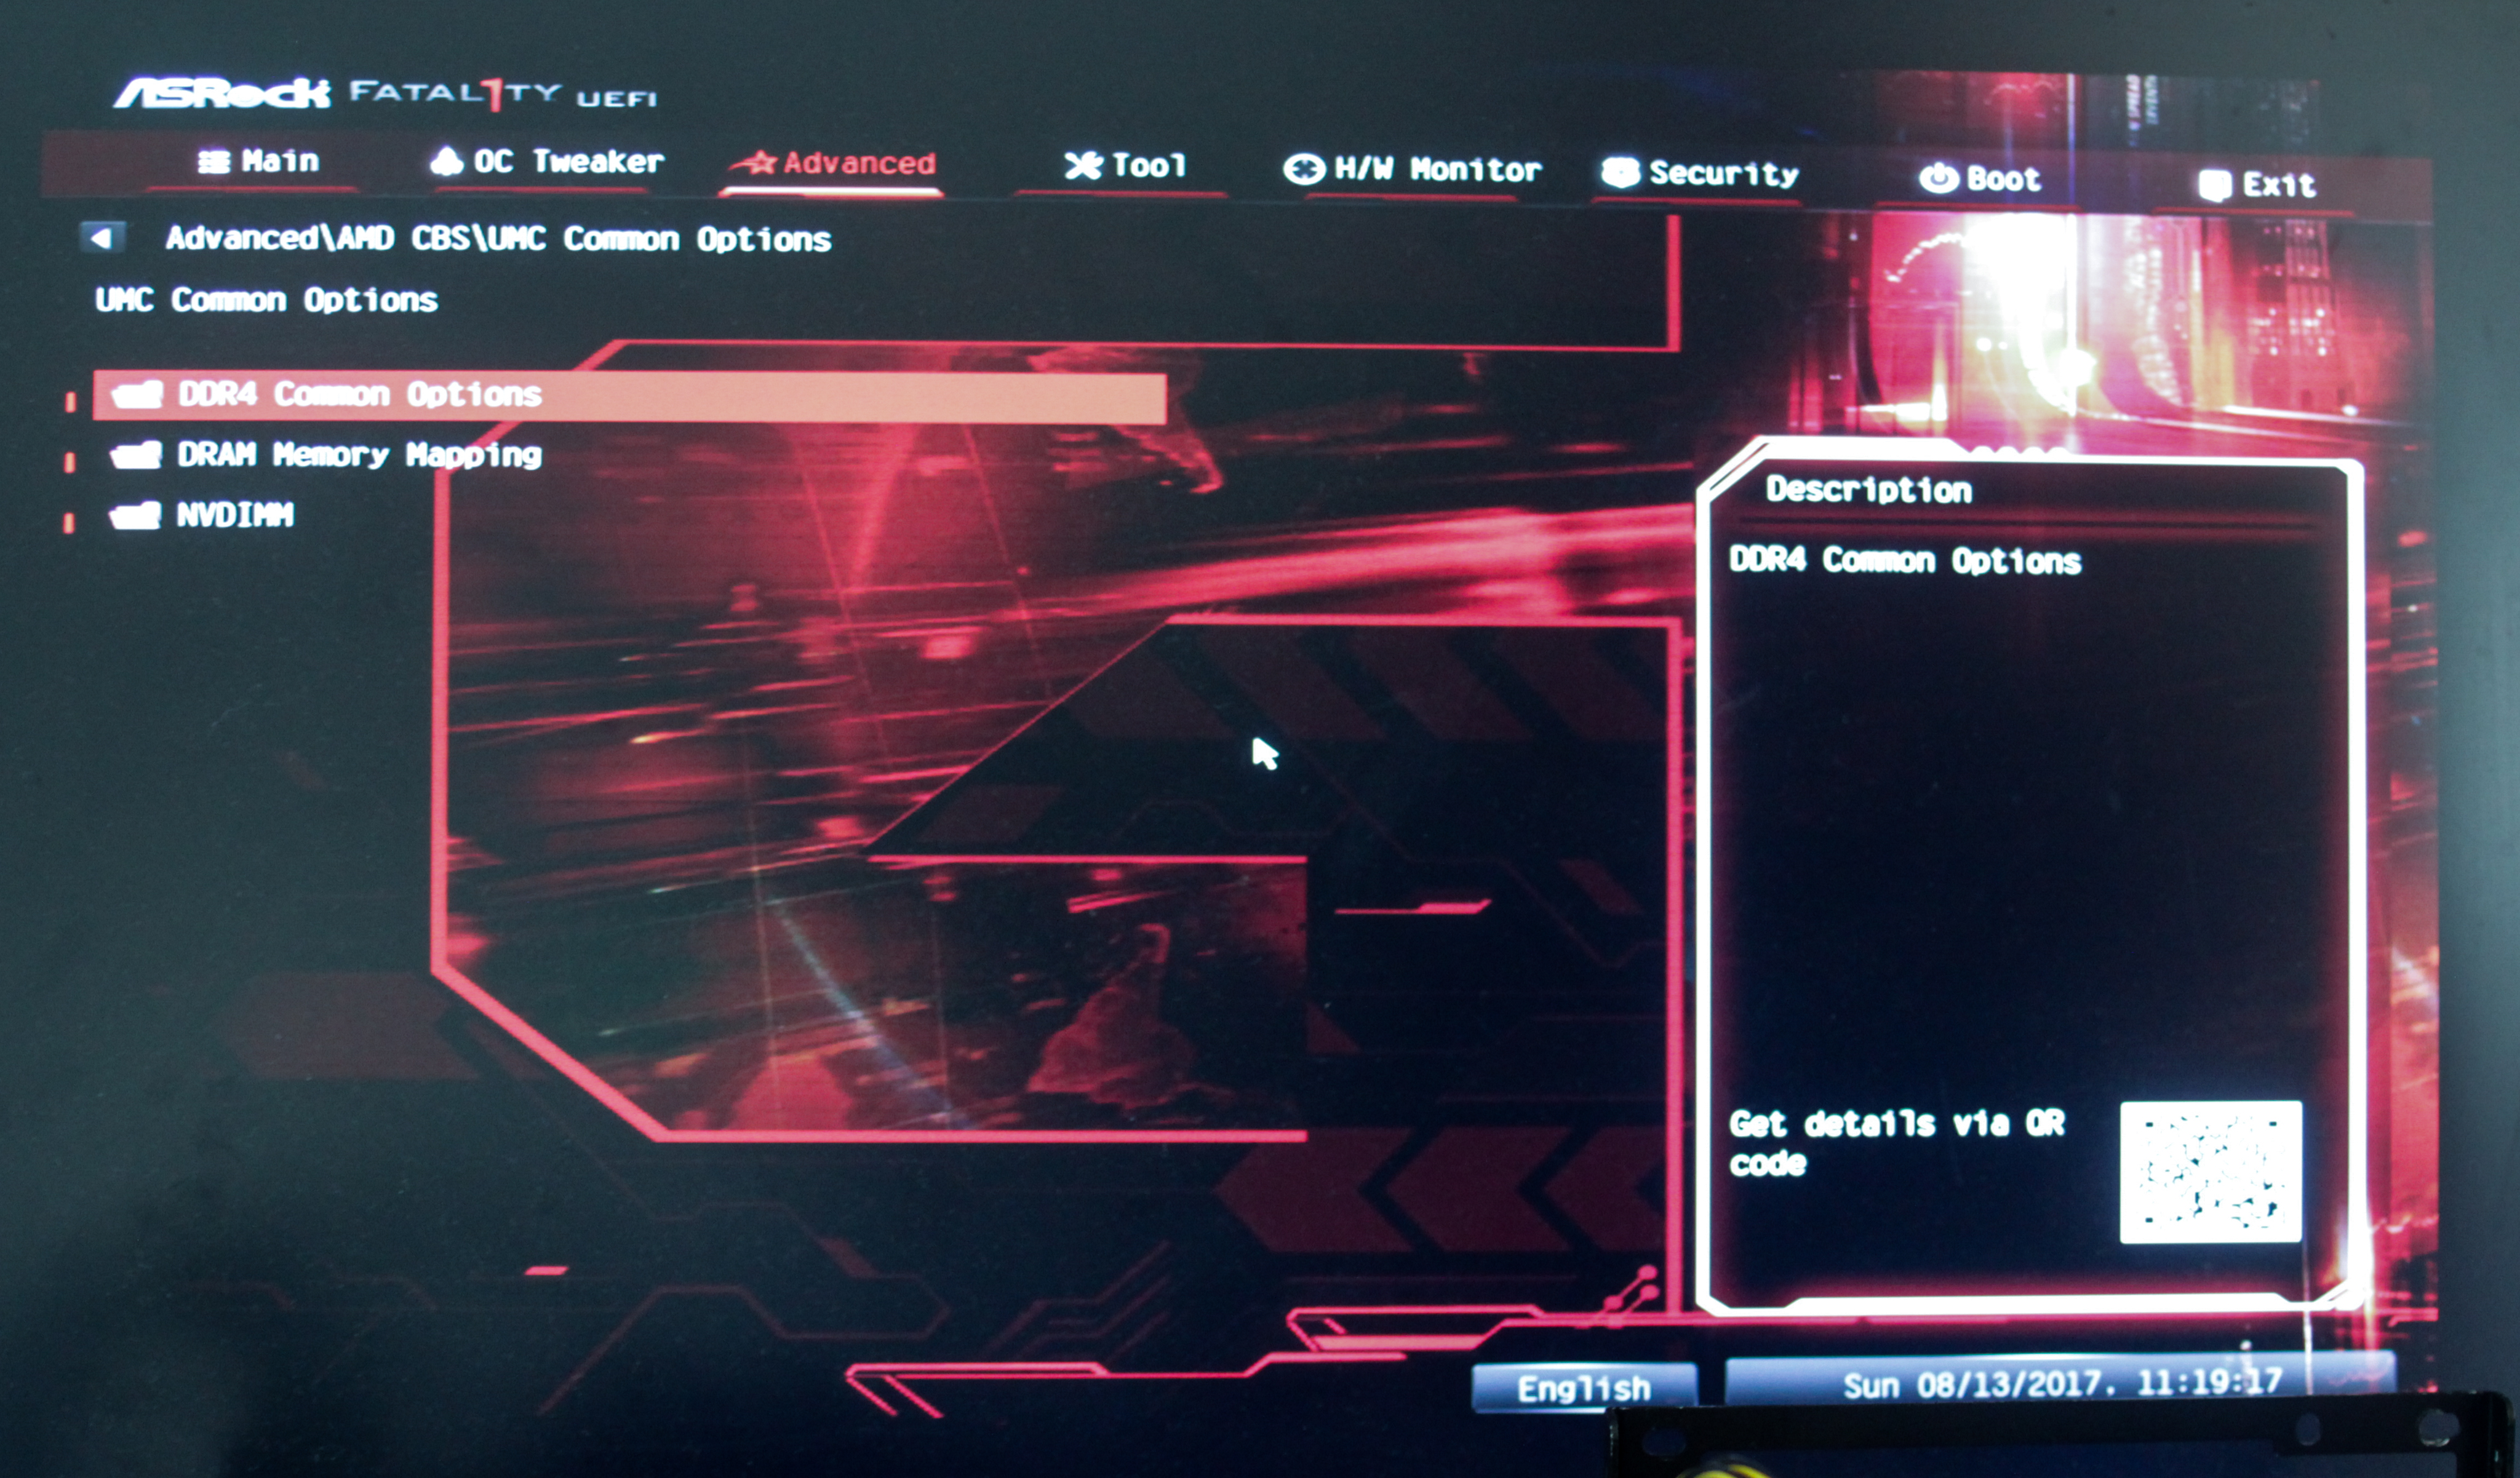
More RAM settings under UMC Common Options.

RAM…
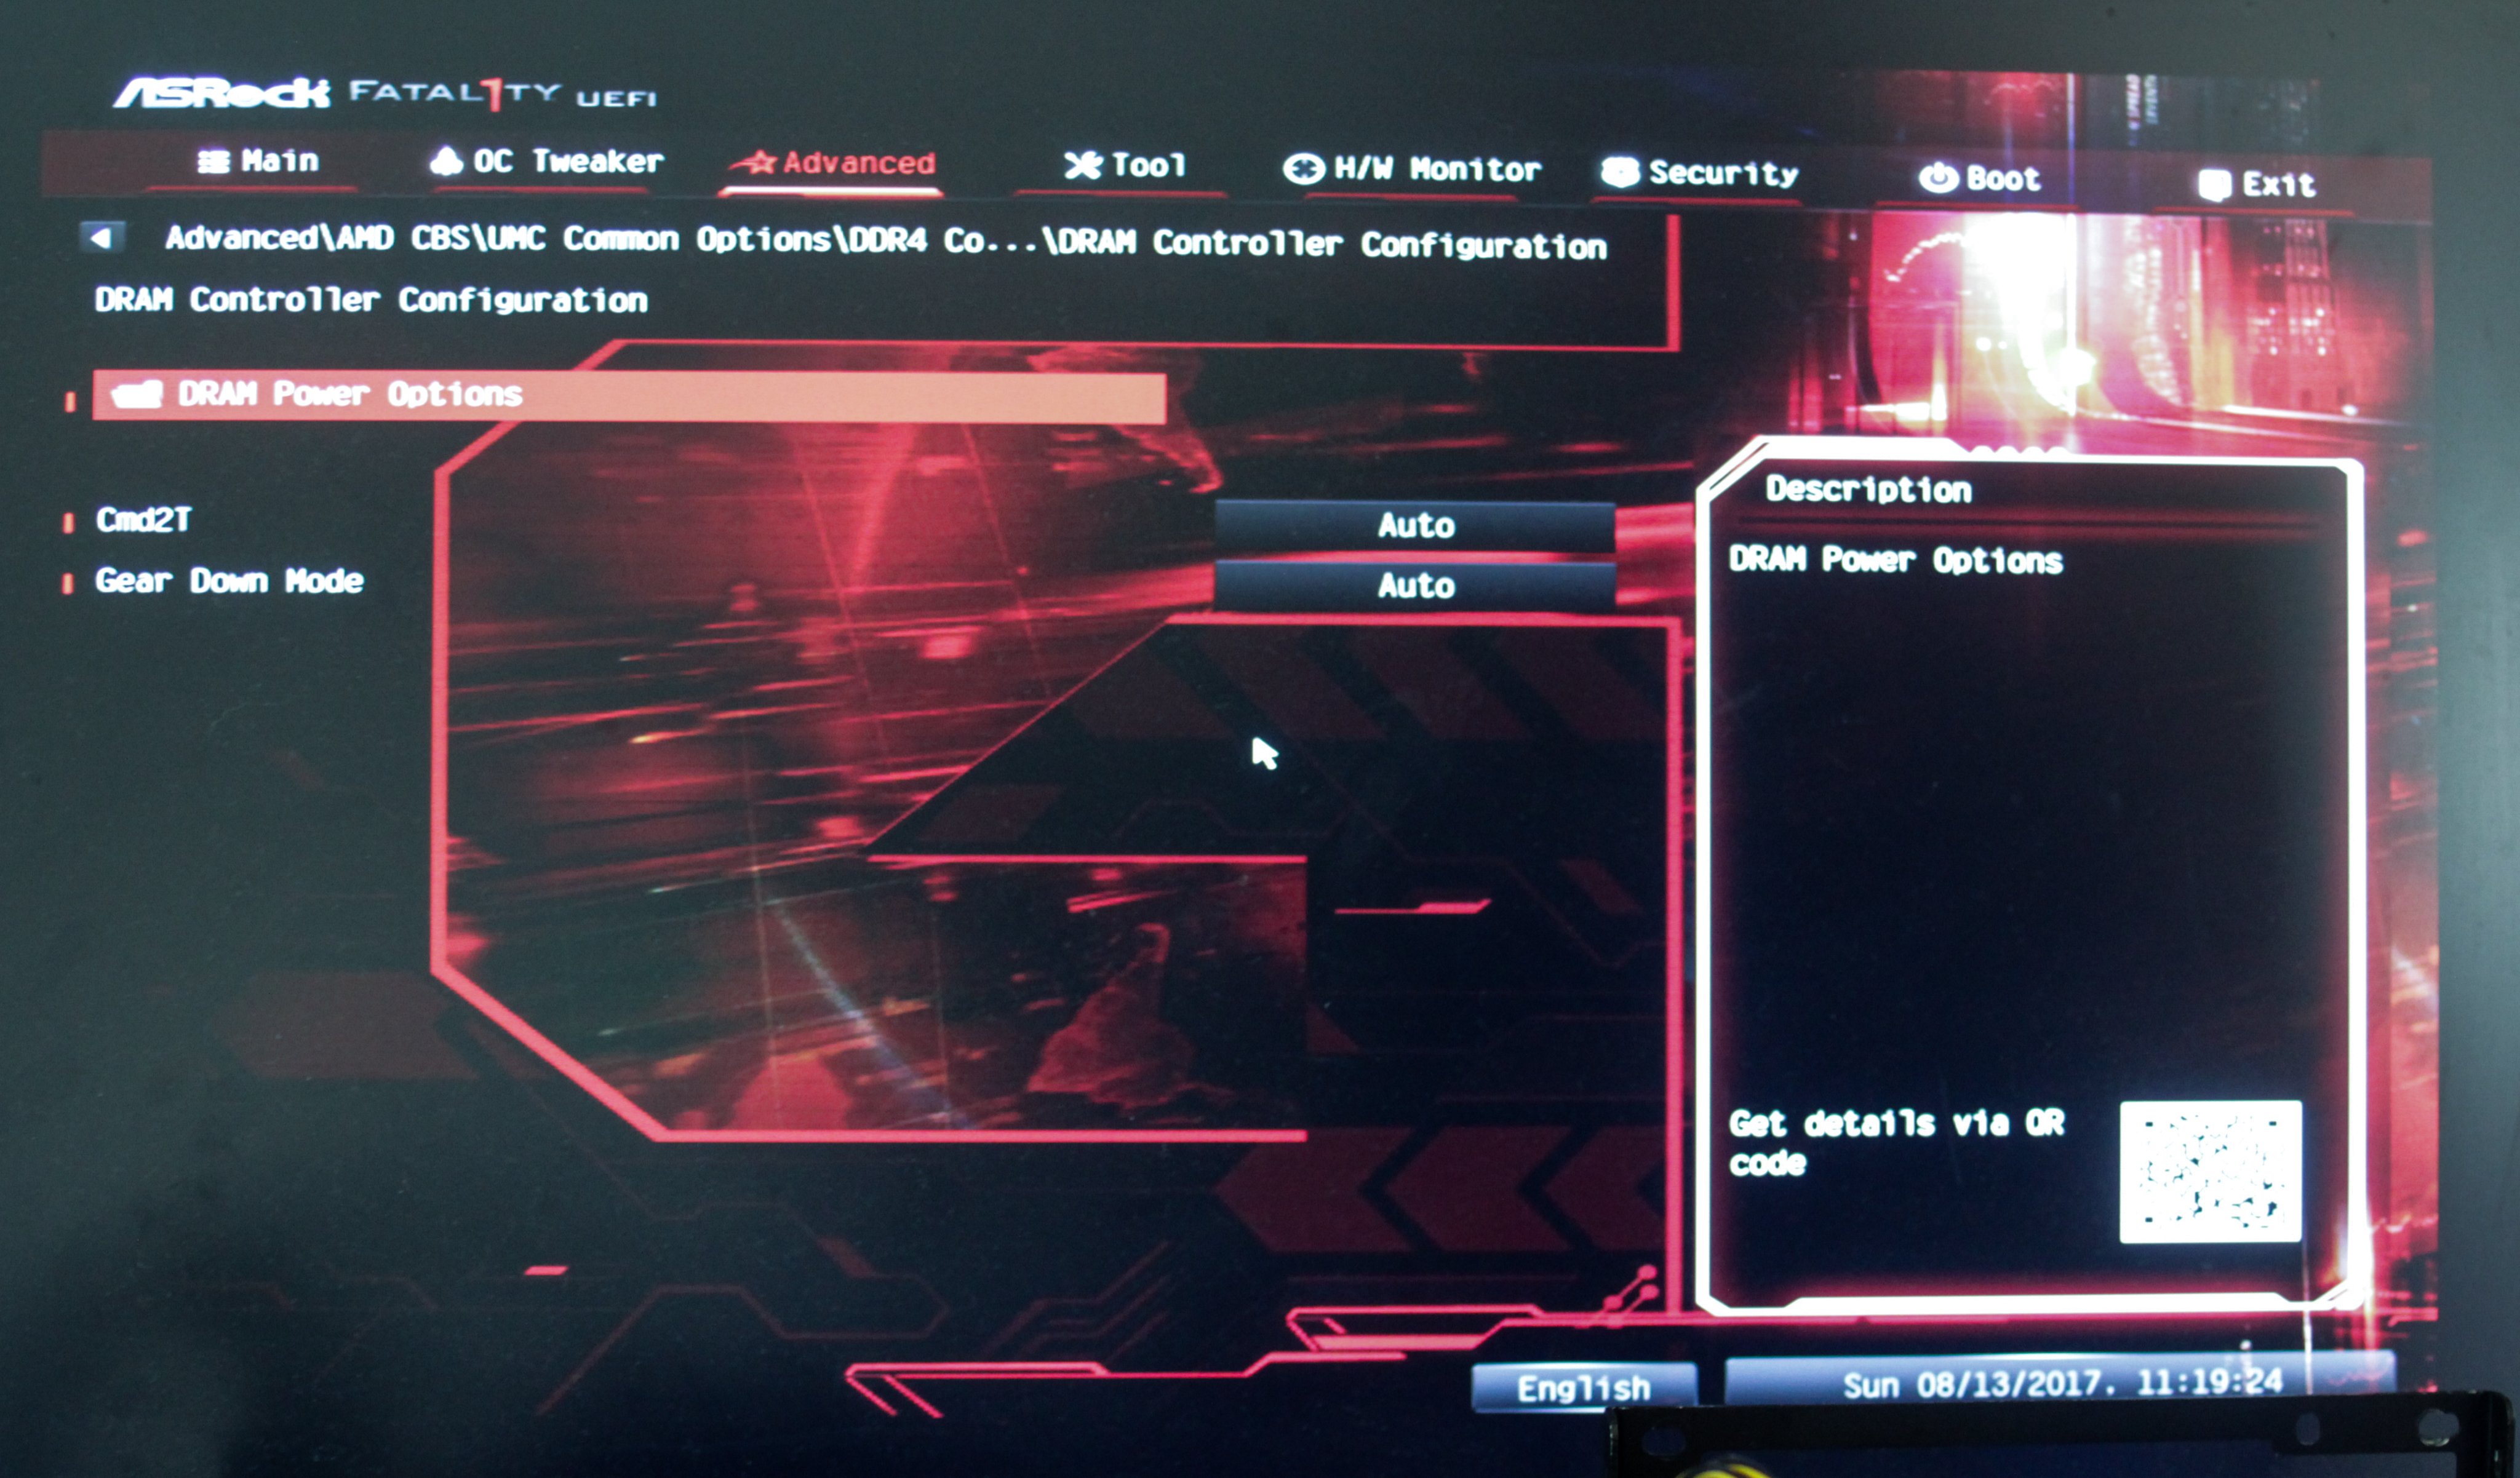
More RAM…
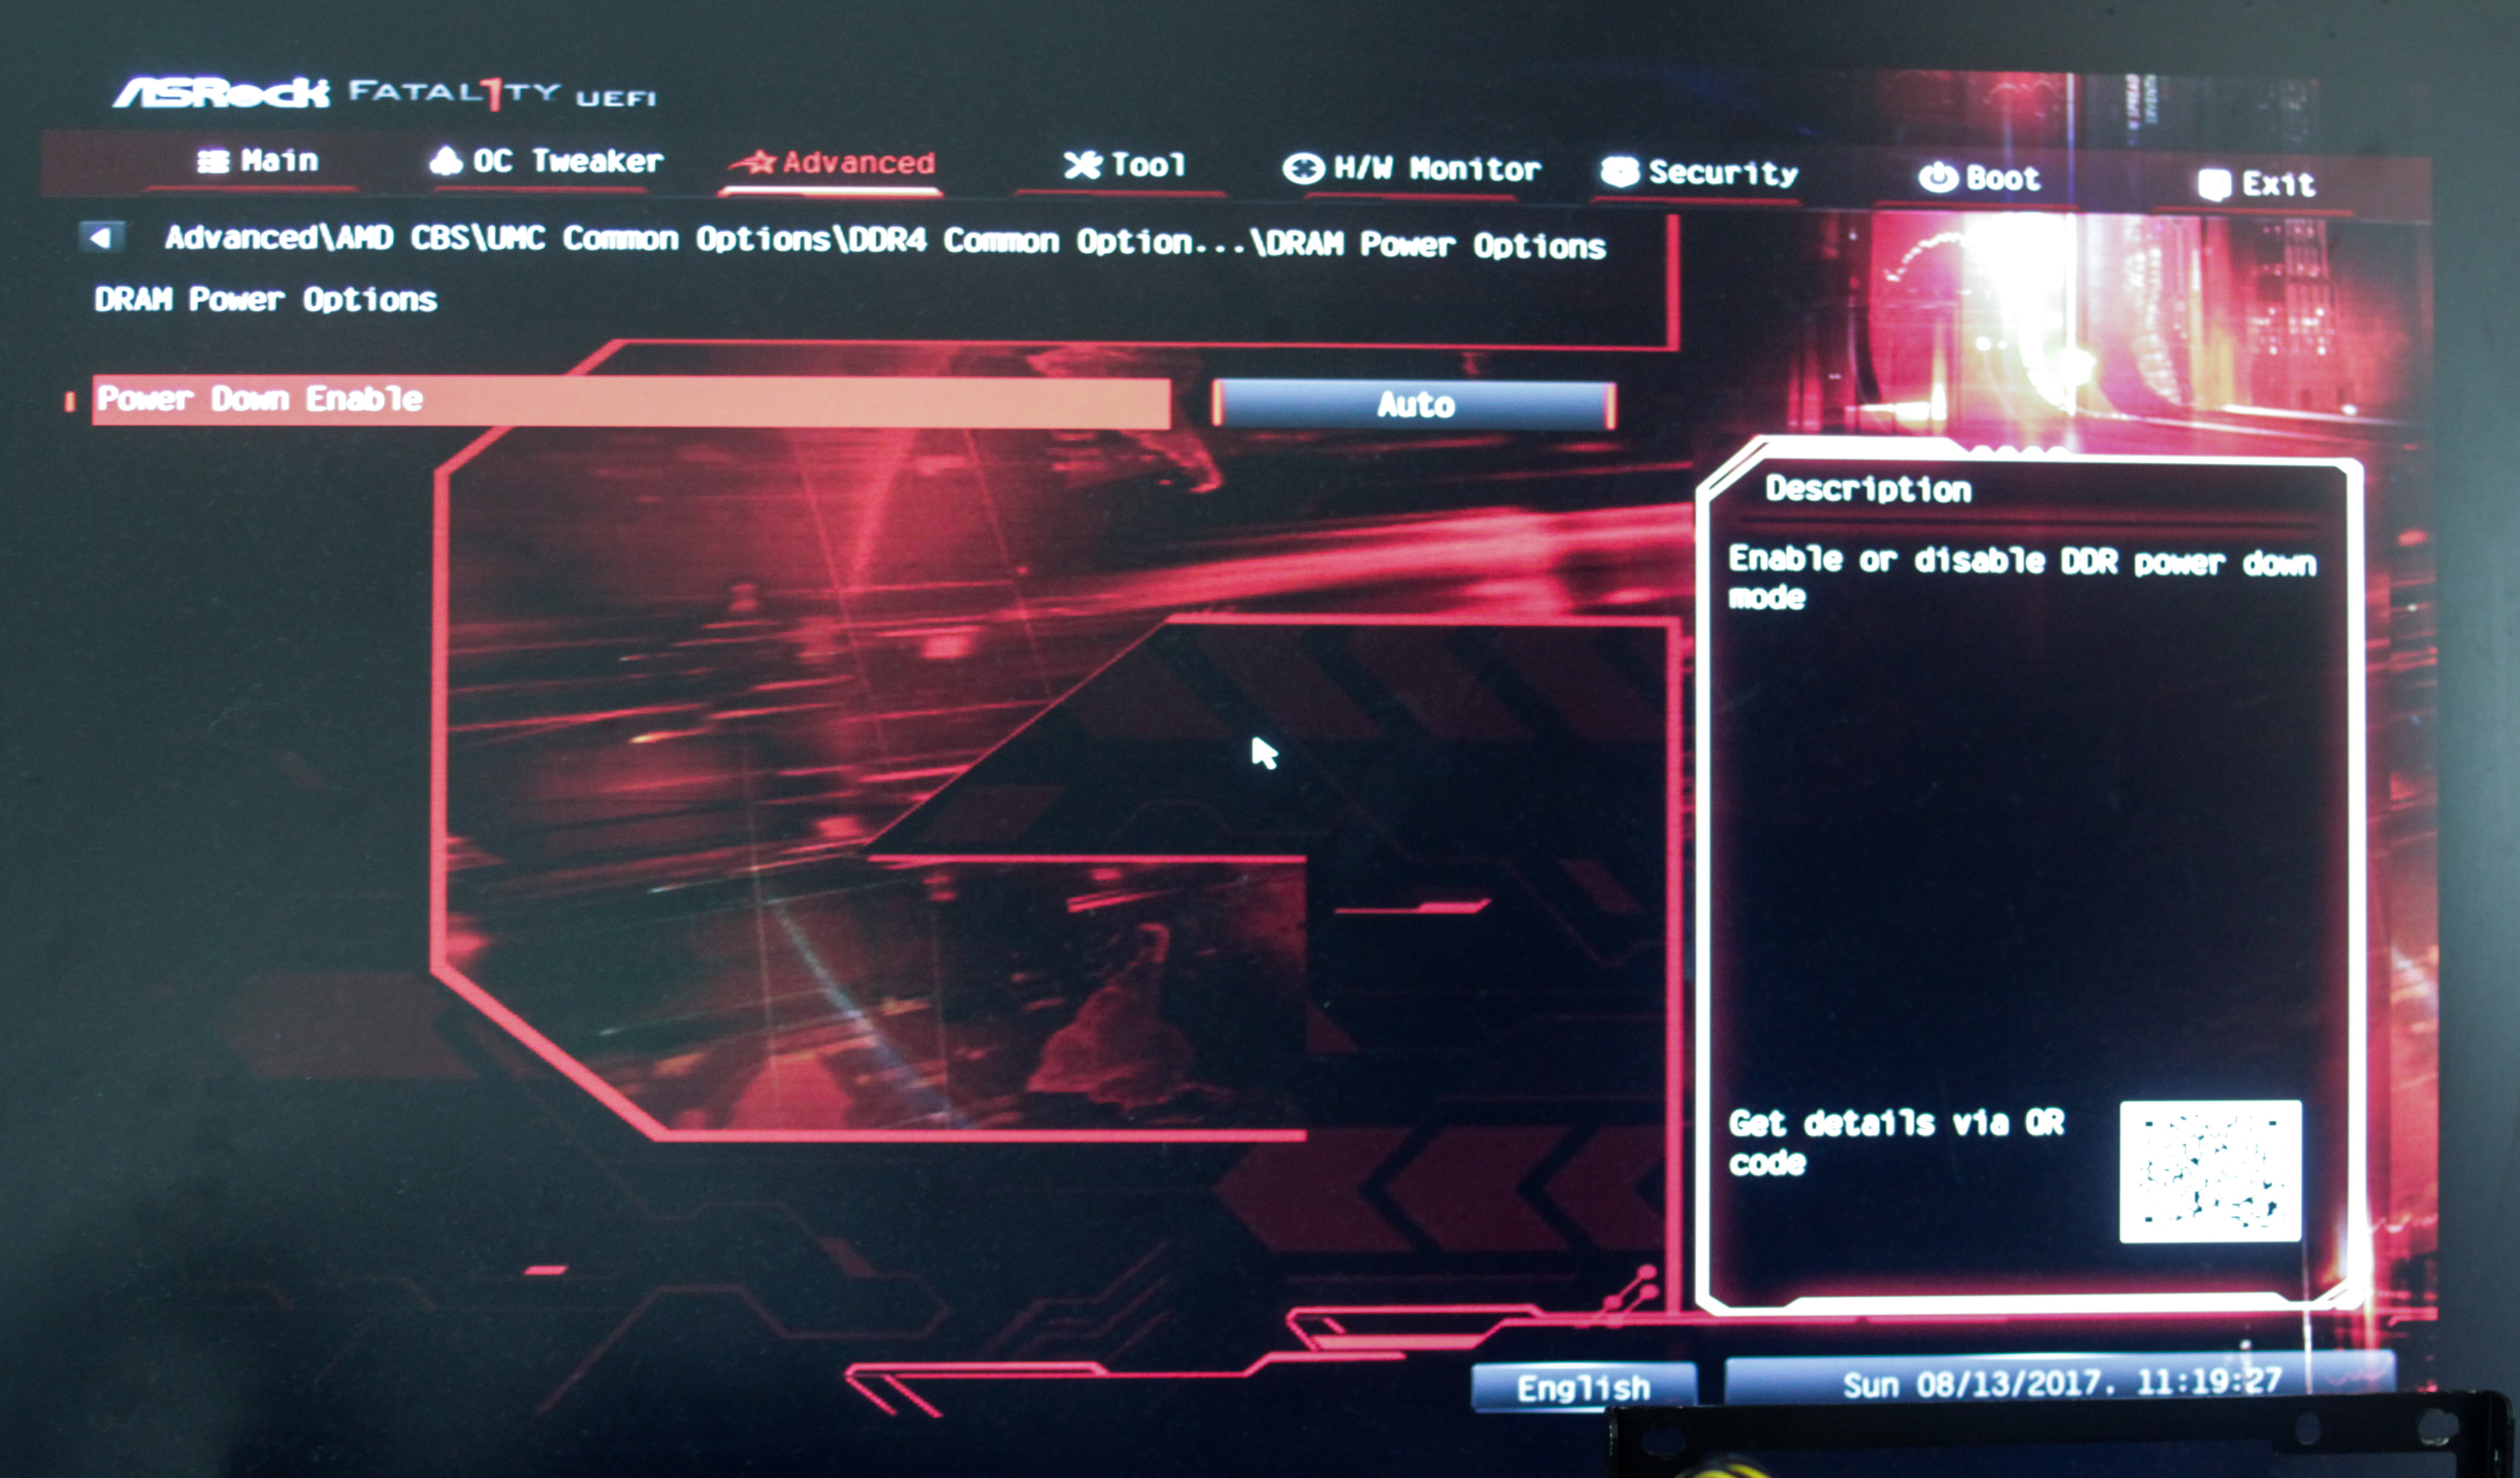
RAMMMMmmmmmm…

Wait… what’s this? RAM.

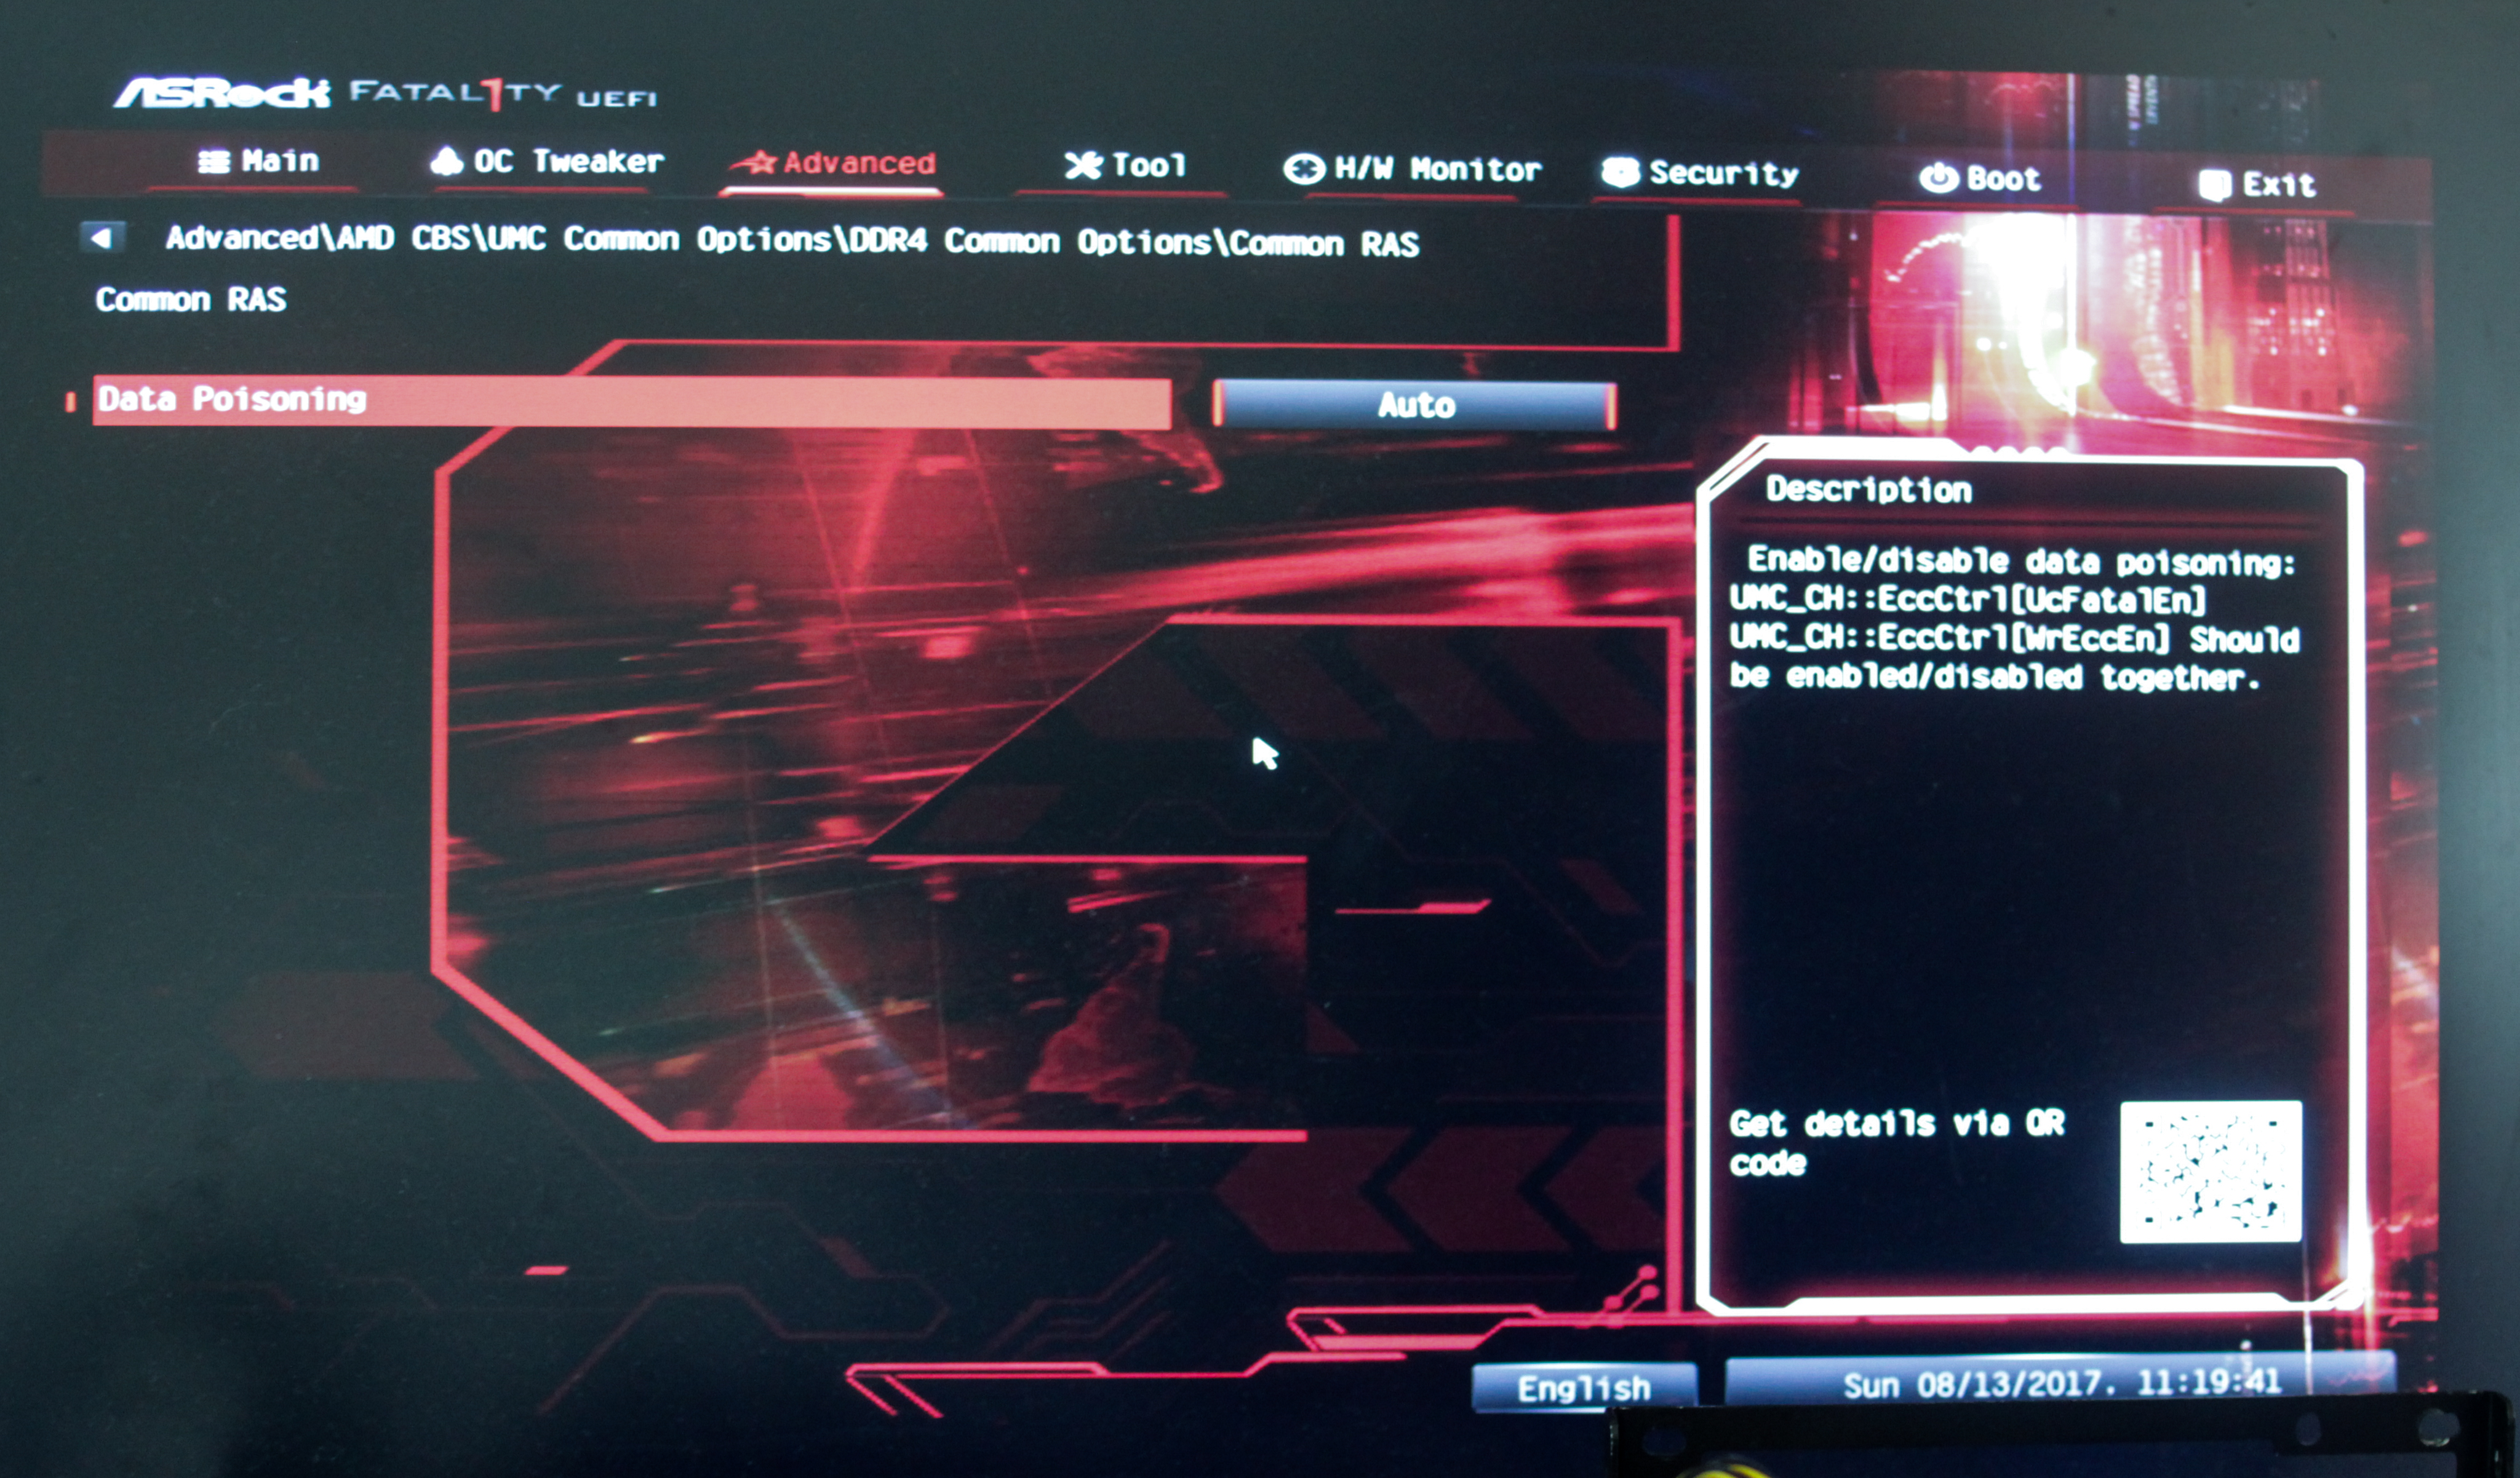
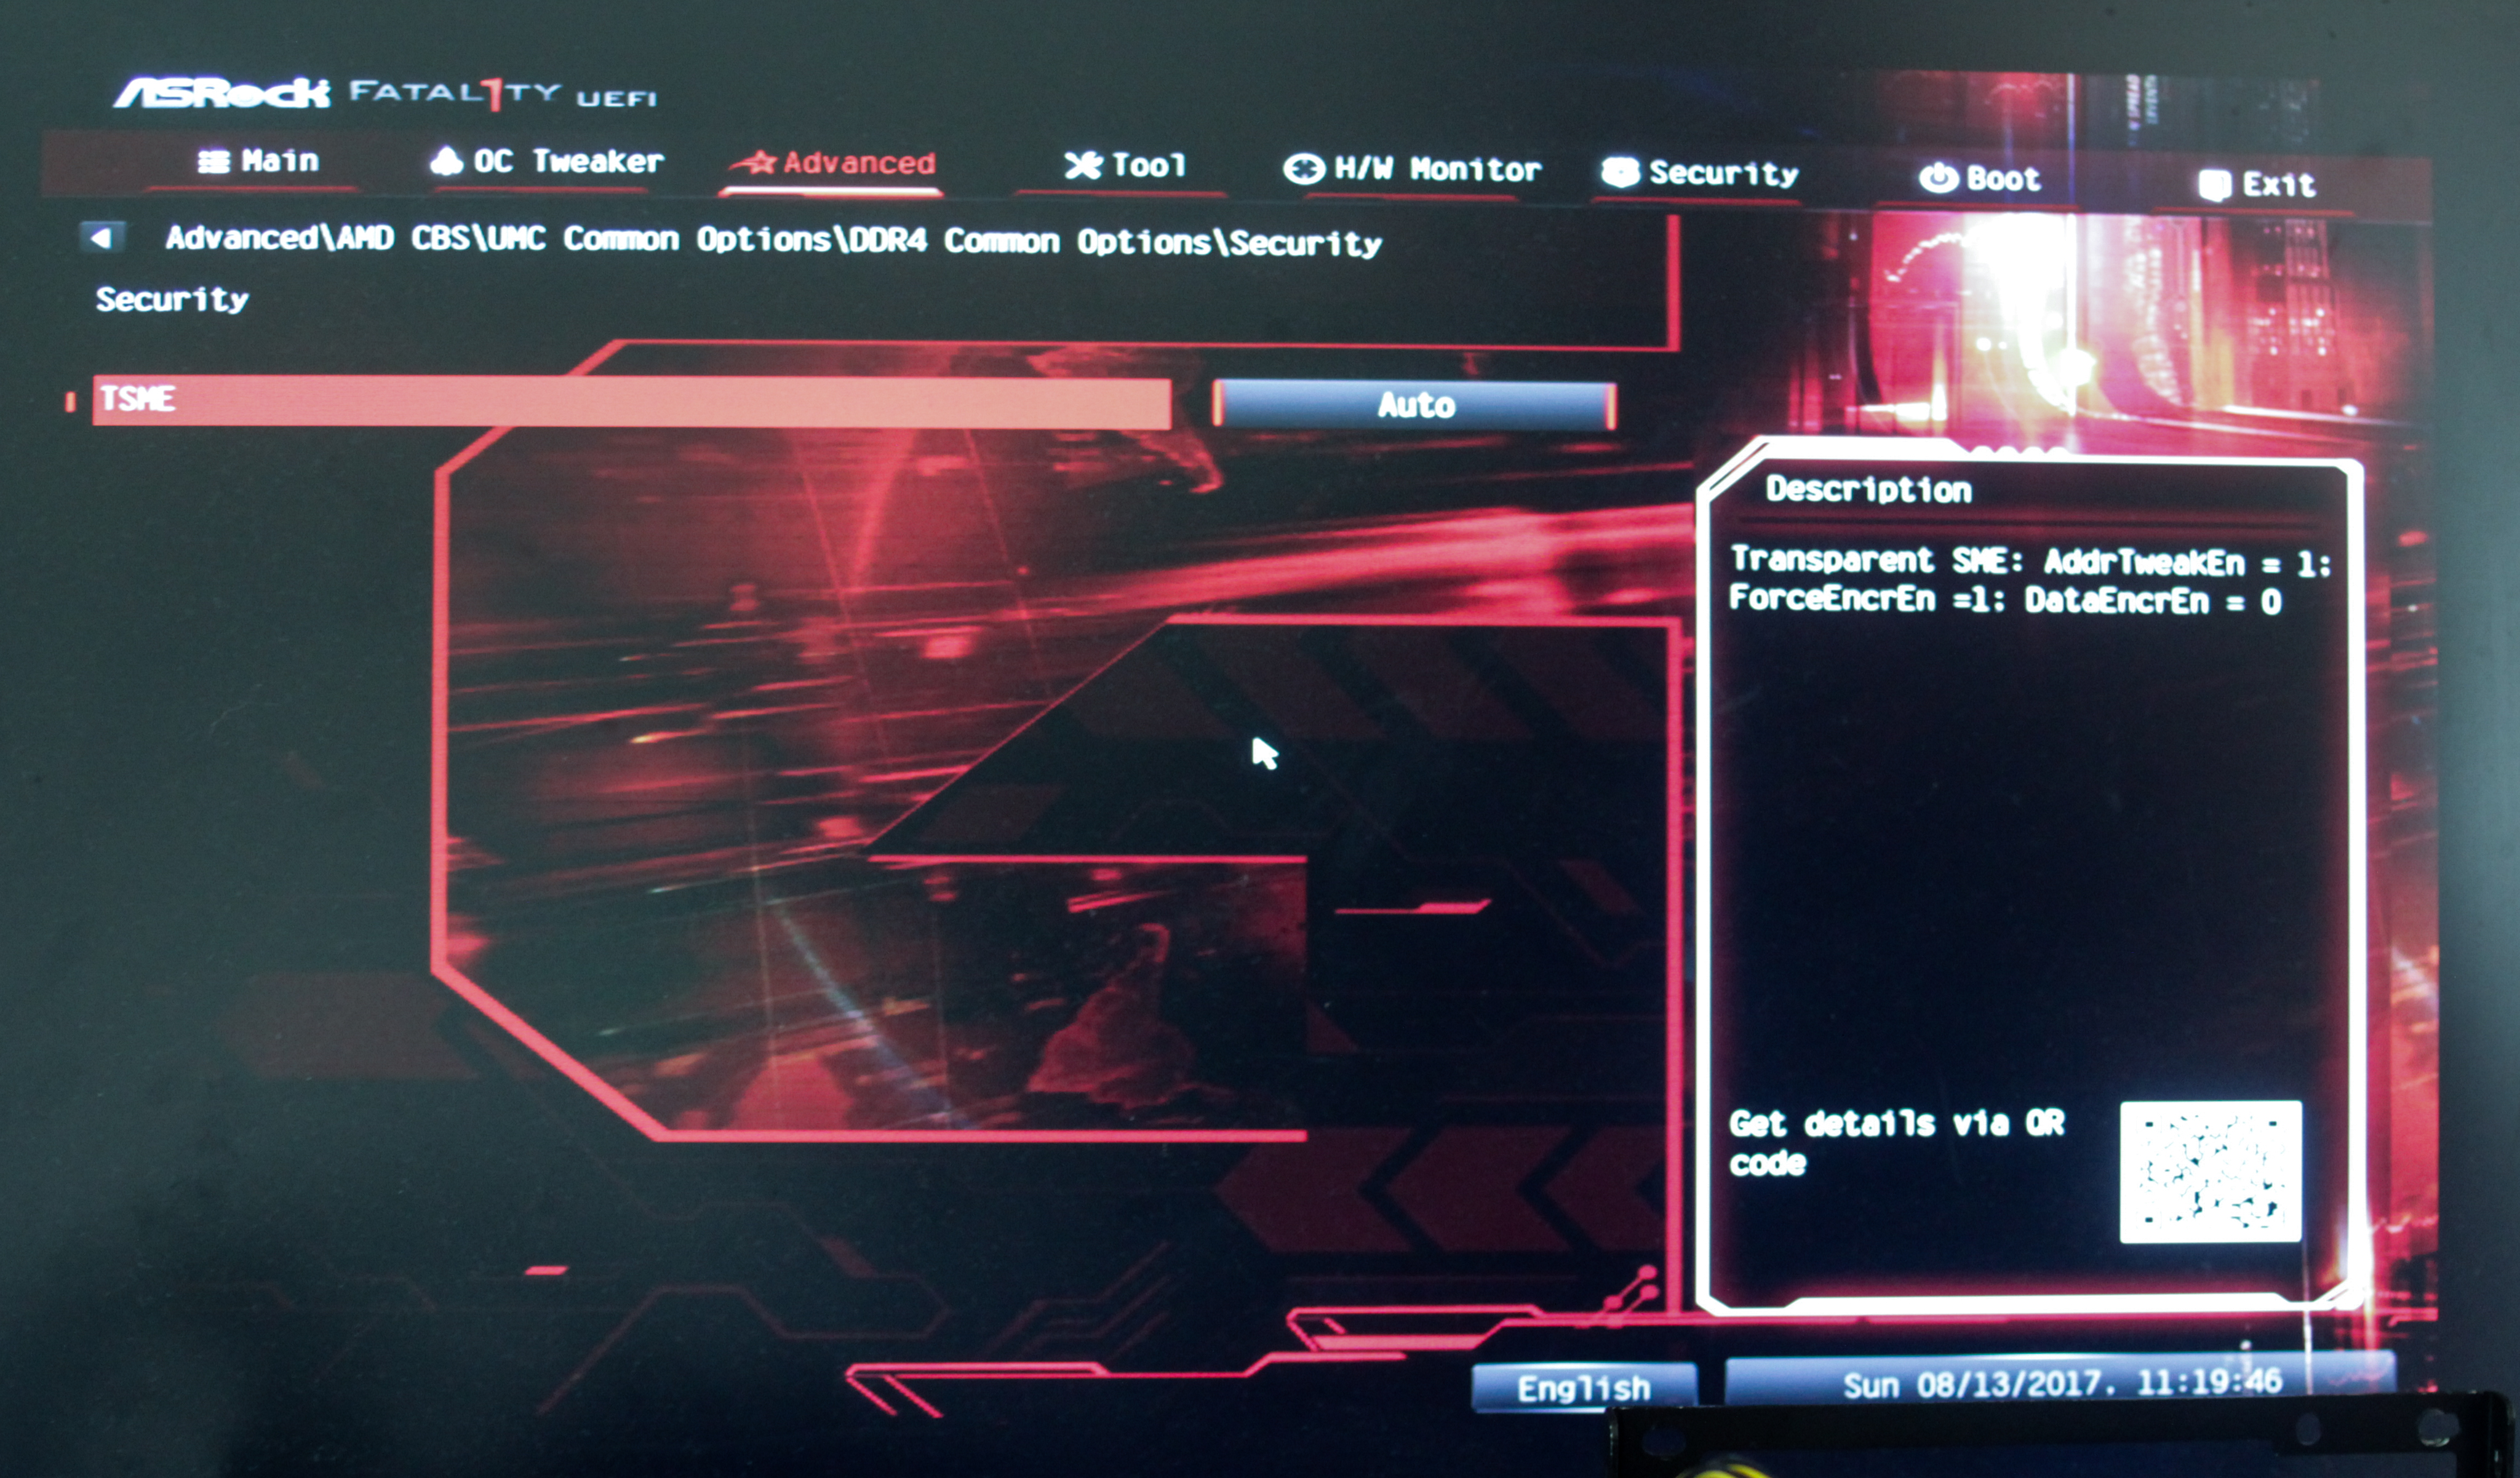
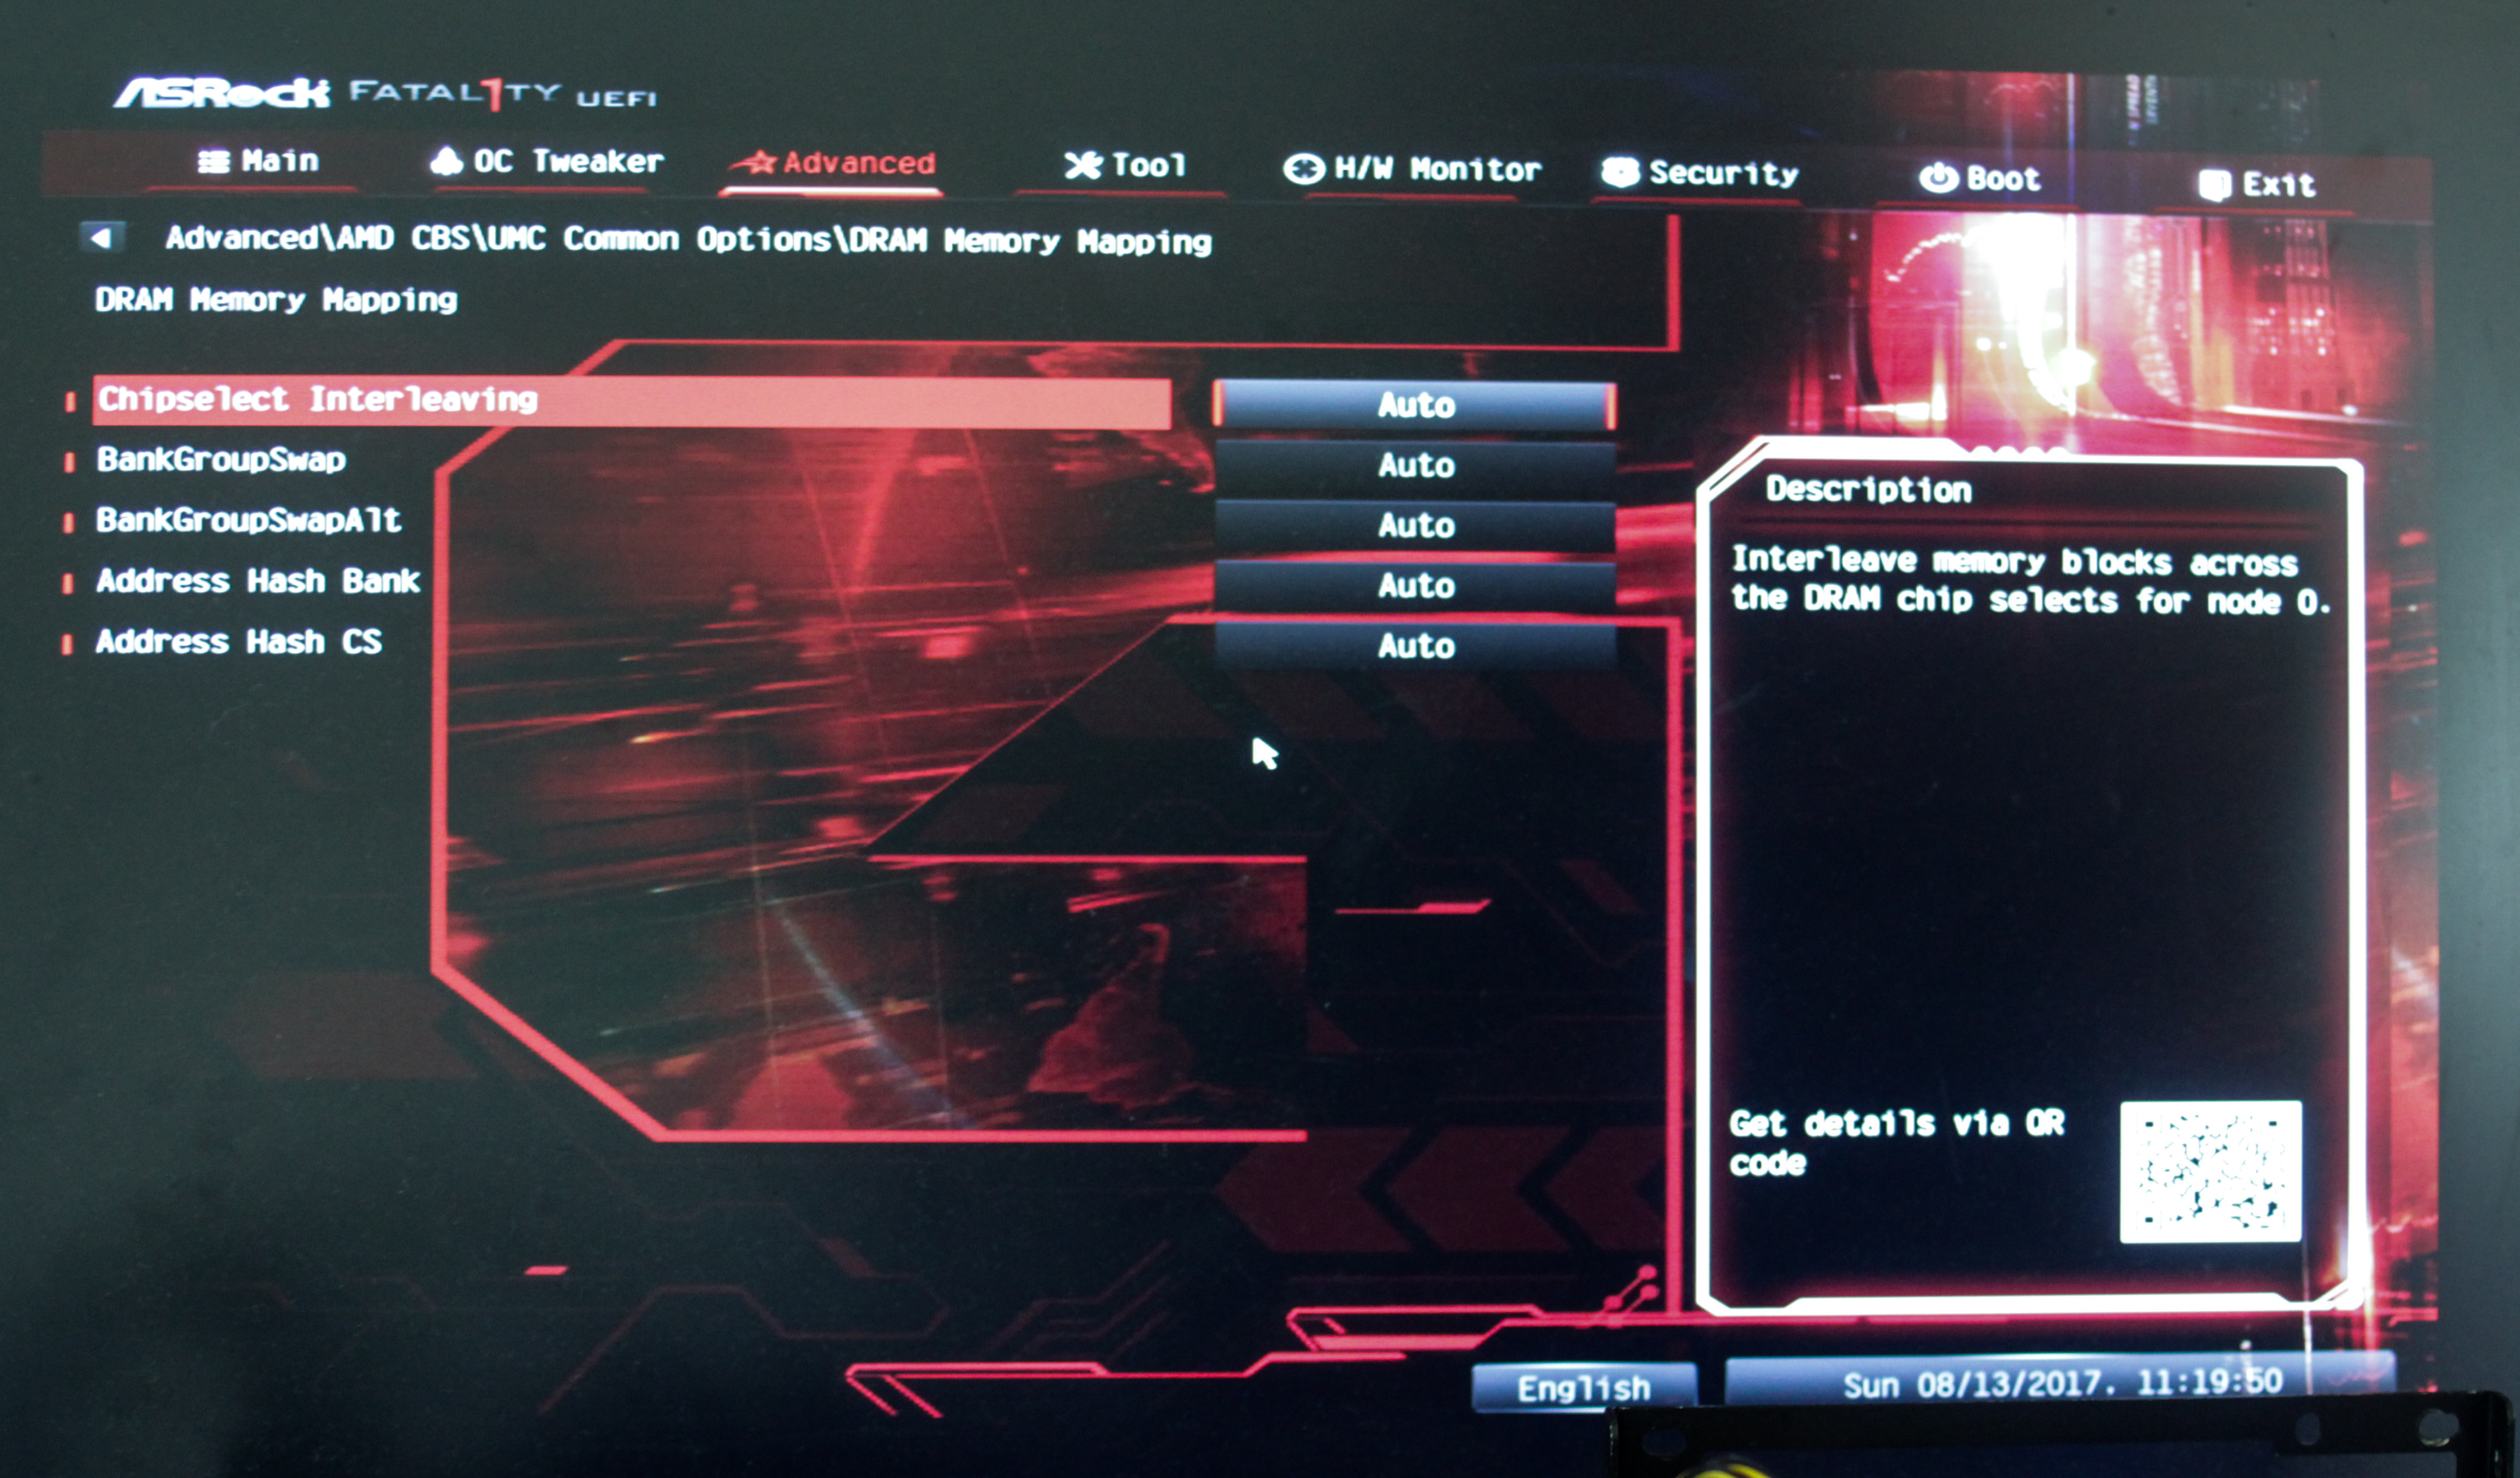
And that’s it for the RAM stuff.
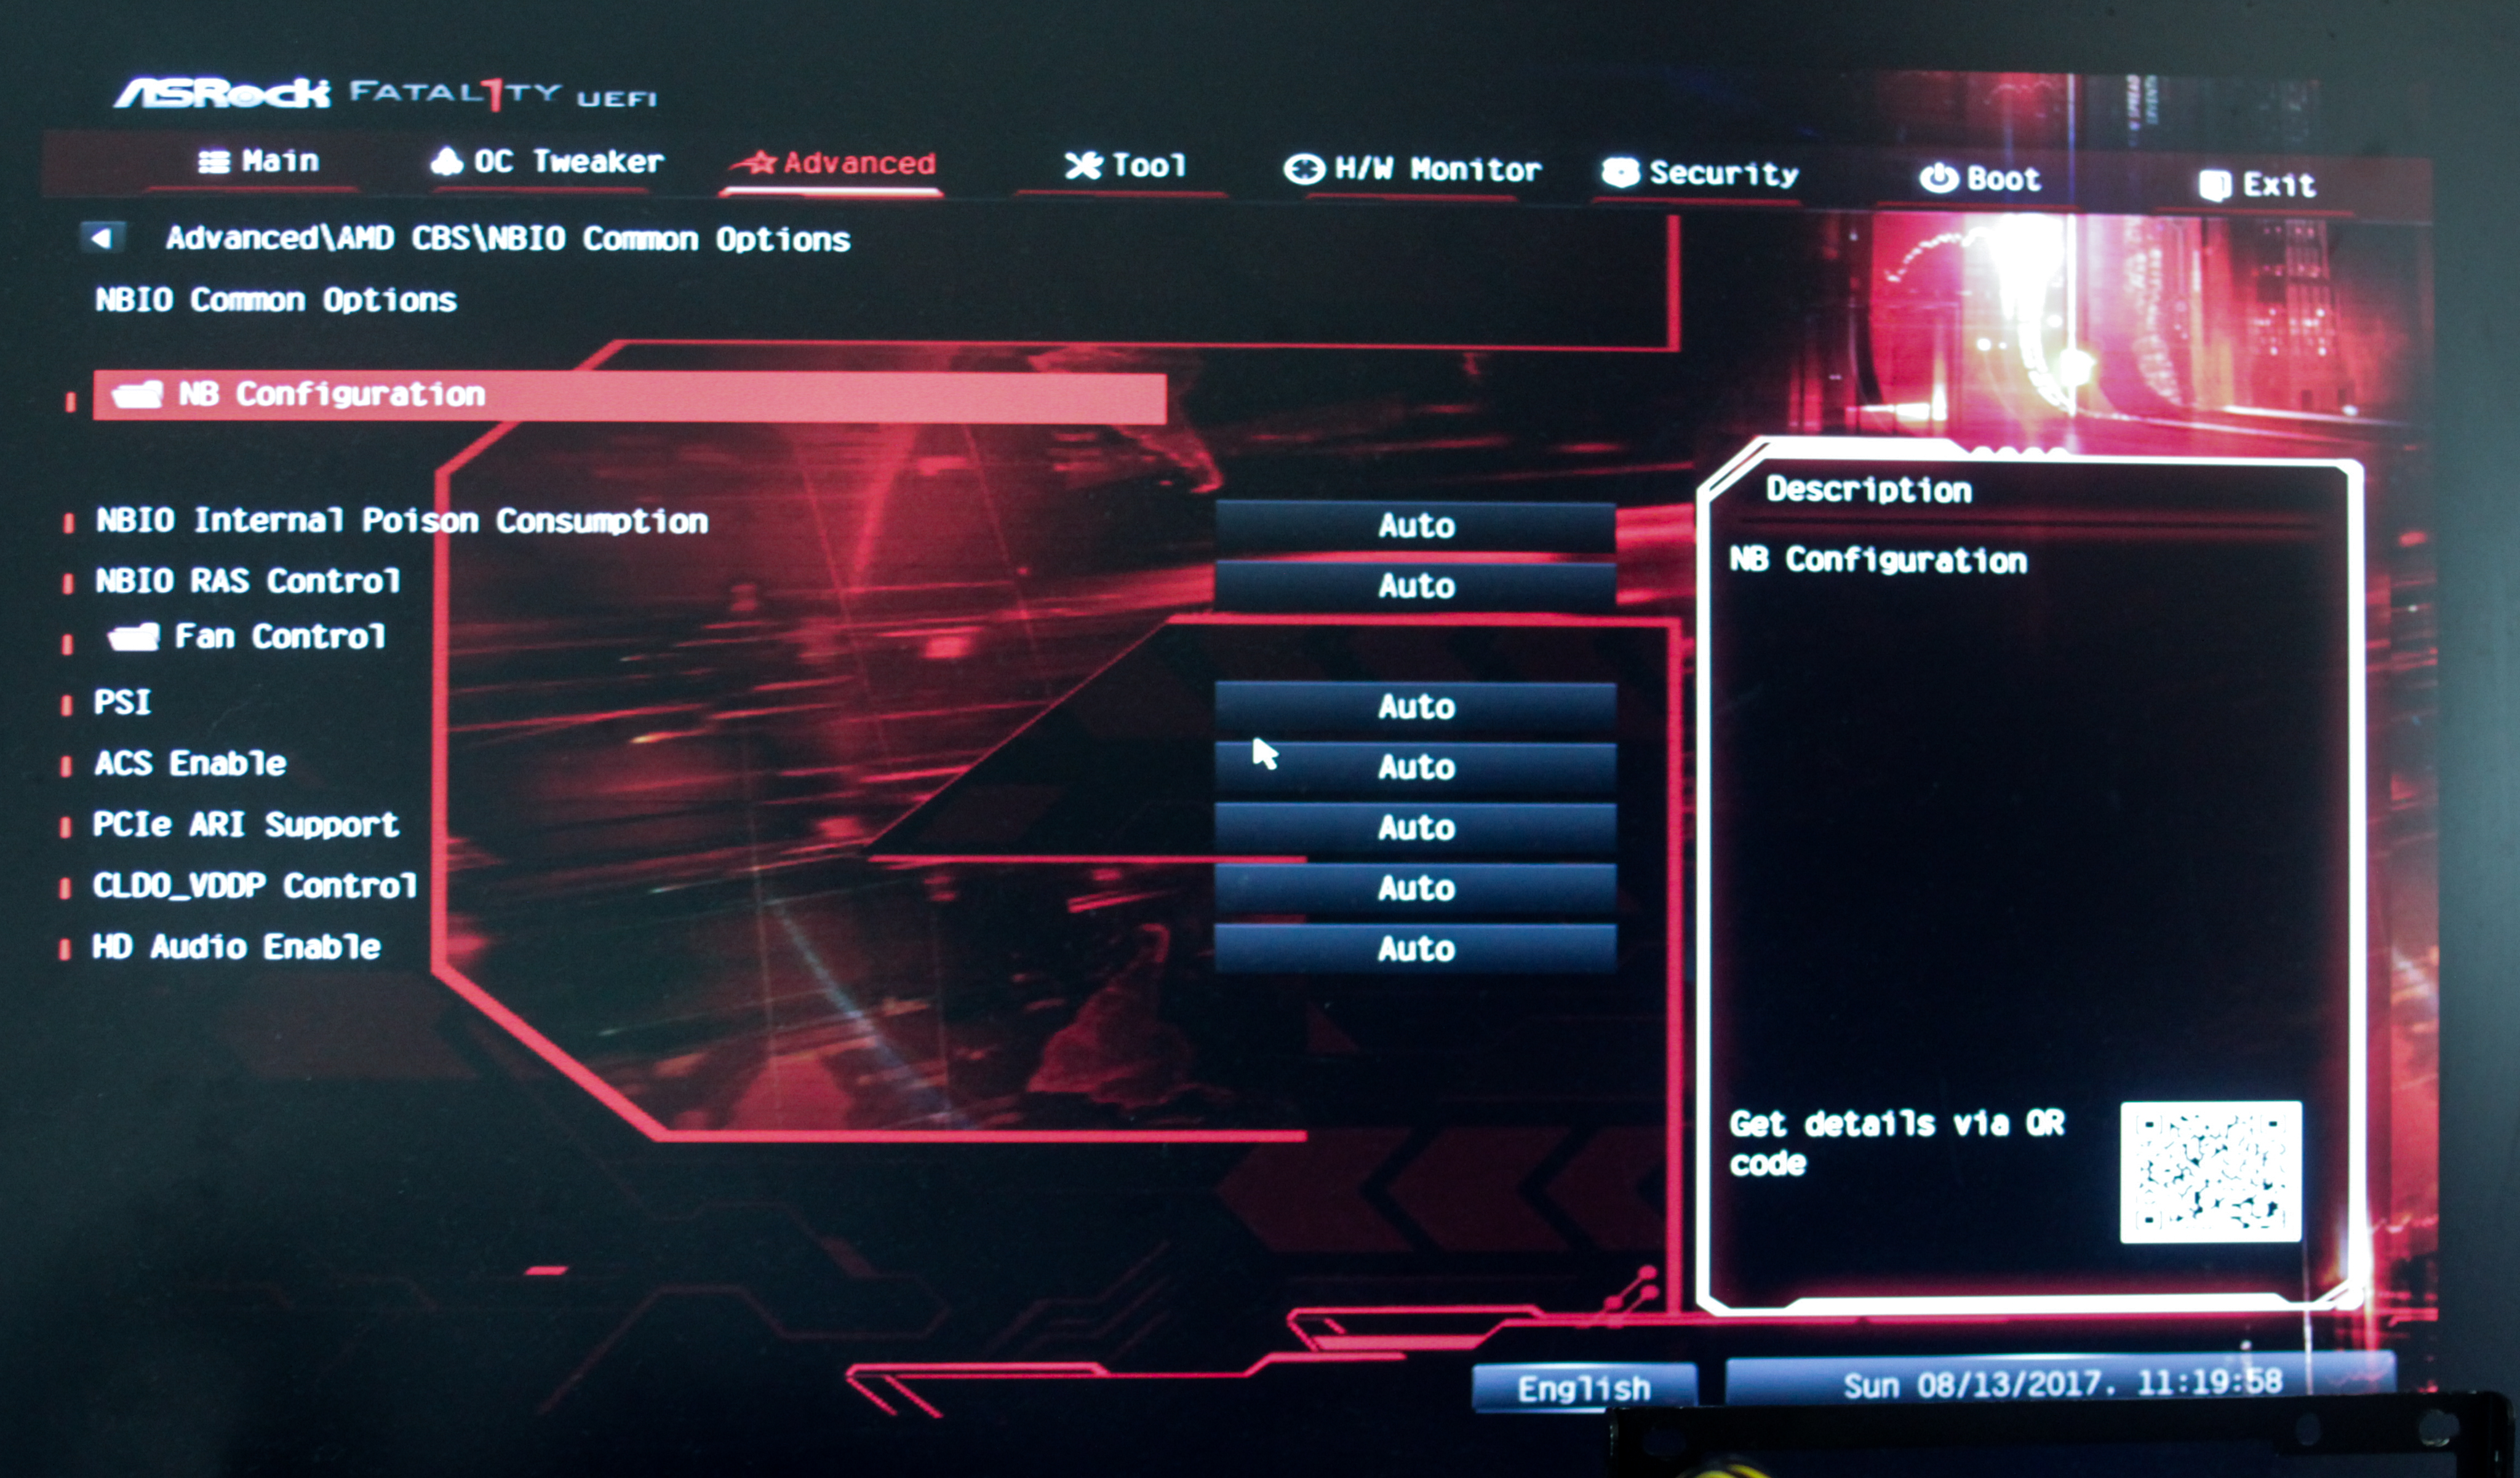
North Bridge options – once again a callback to the past.

Handy for those who play with virtualisation.
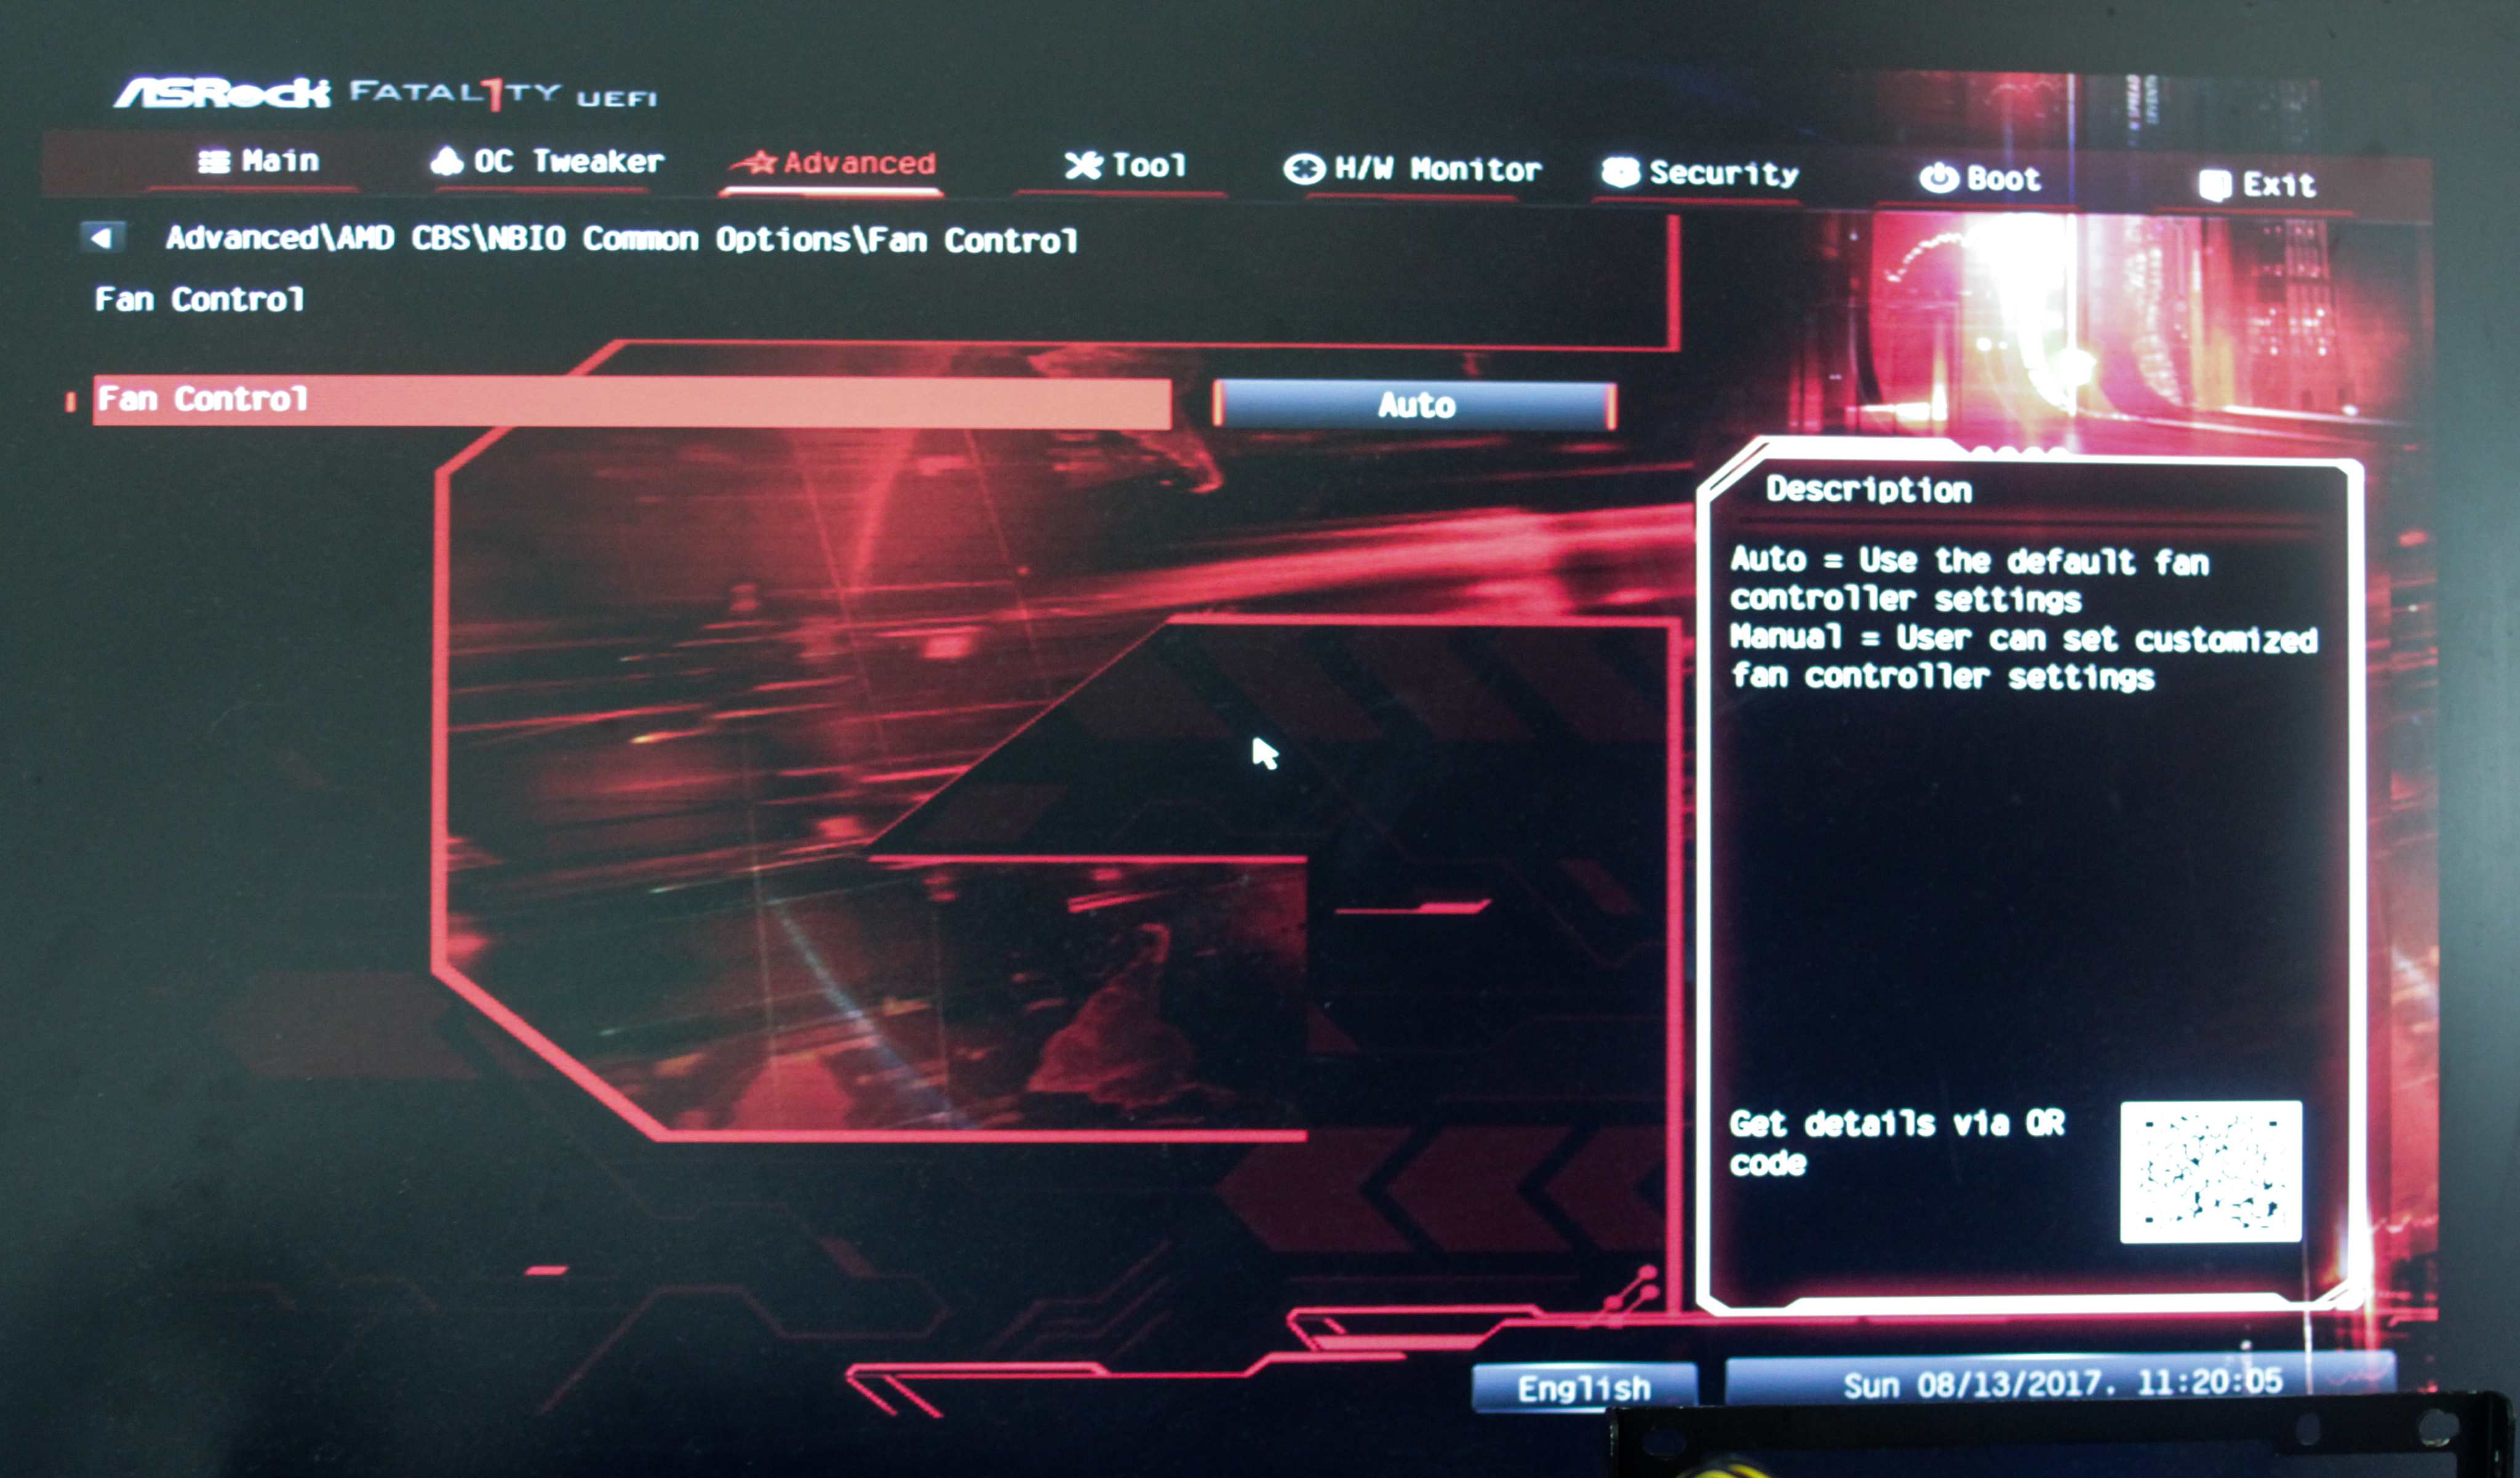
Another way into the fan control settings.
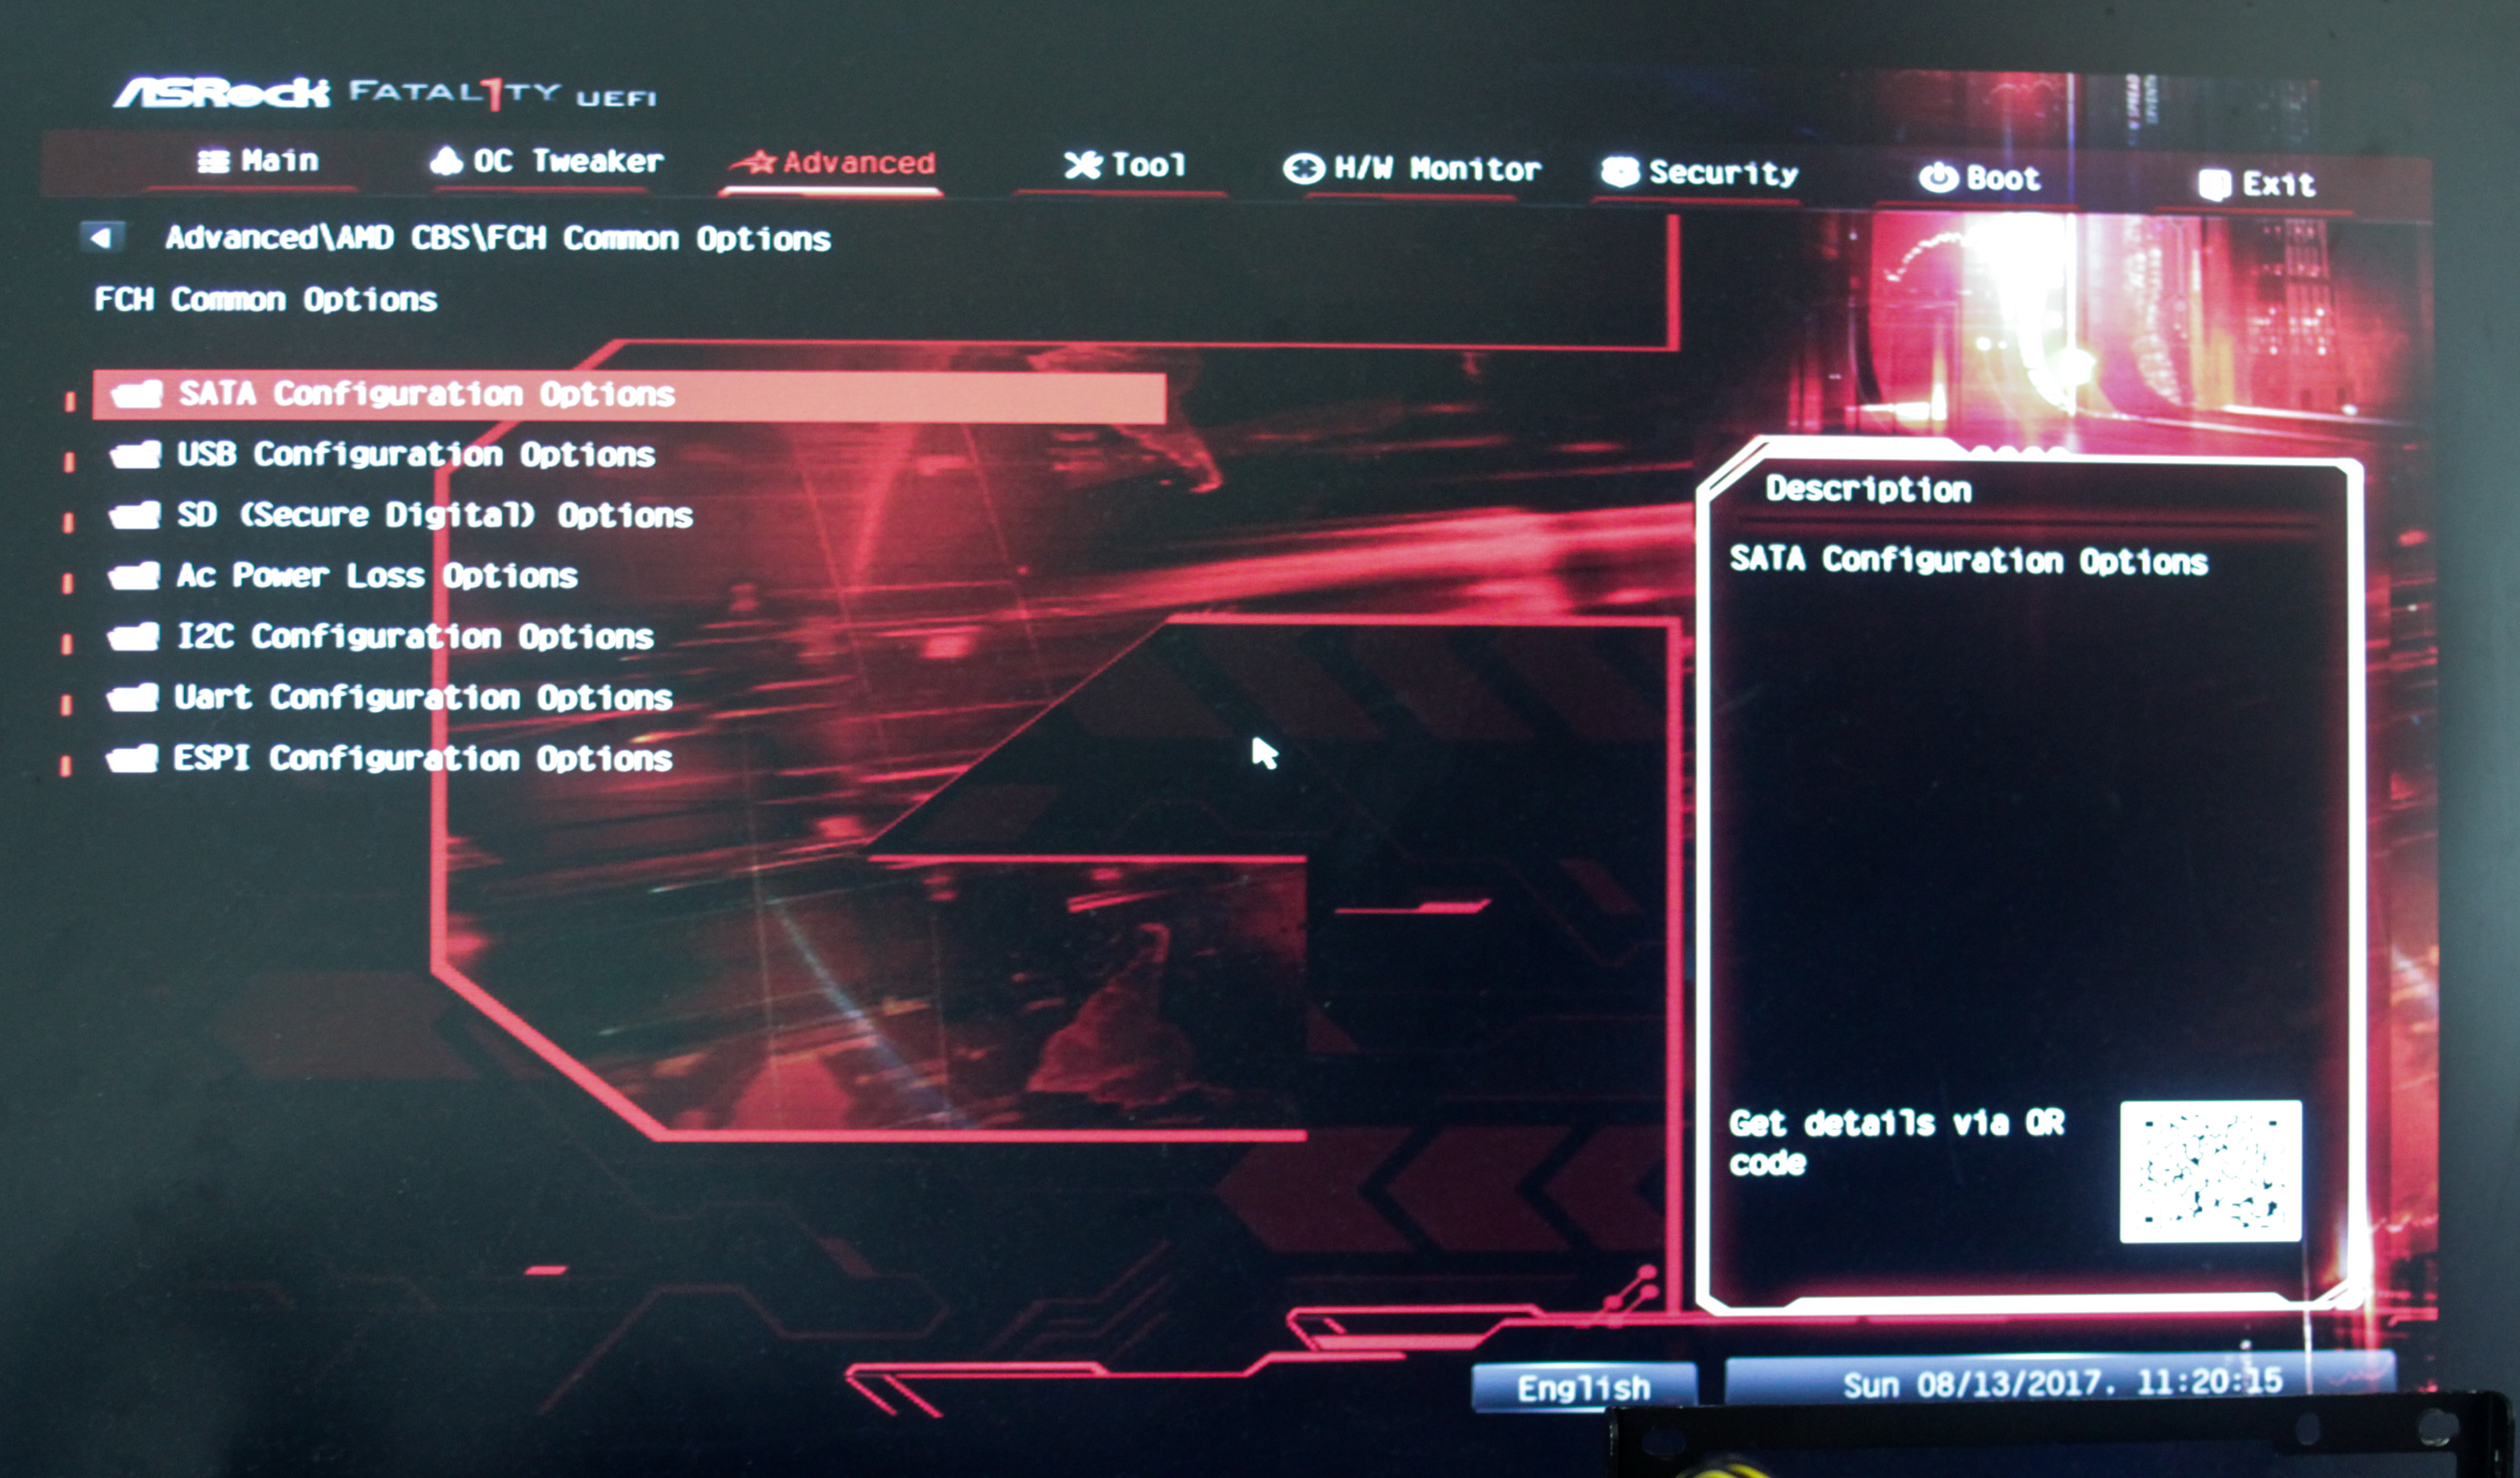
Chipset settings. FCH is AMD’s “Fusion Controller Hub”, their name for chipsets for some time.

Configure your SATA devices!

USB 2 controller, for those wondering.

SD card config.

Self explanatory.

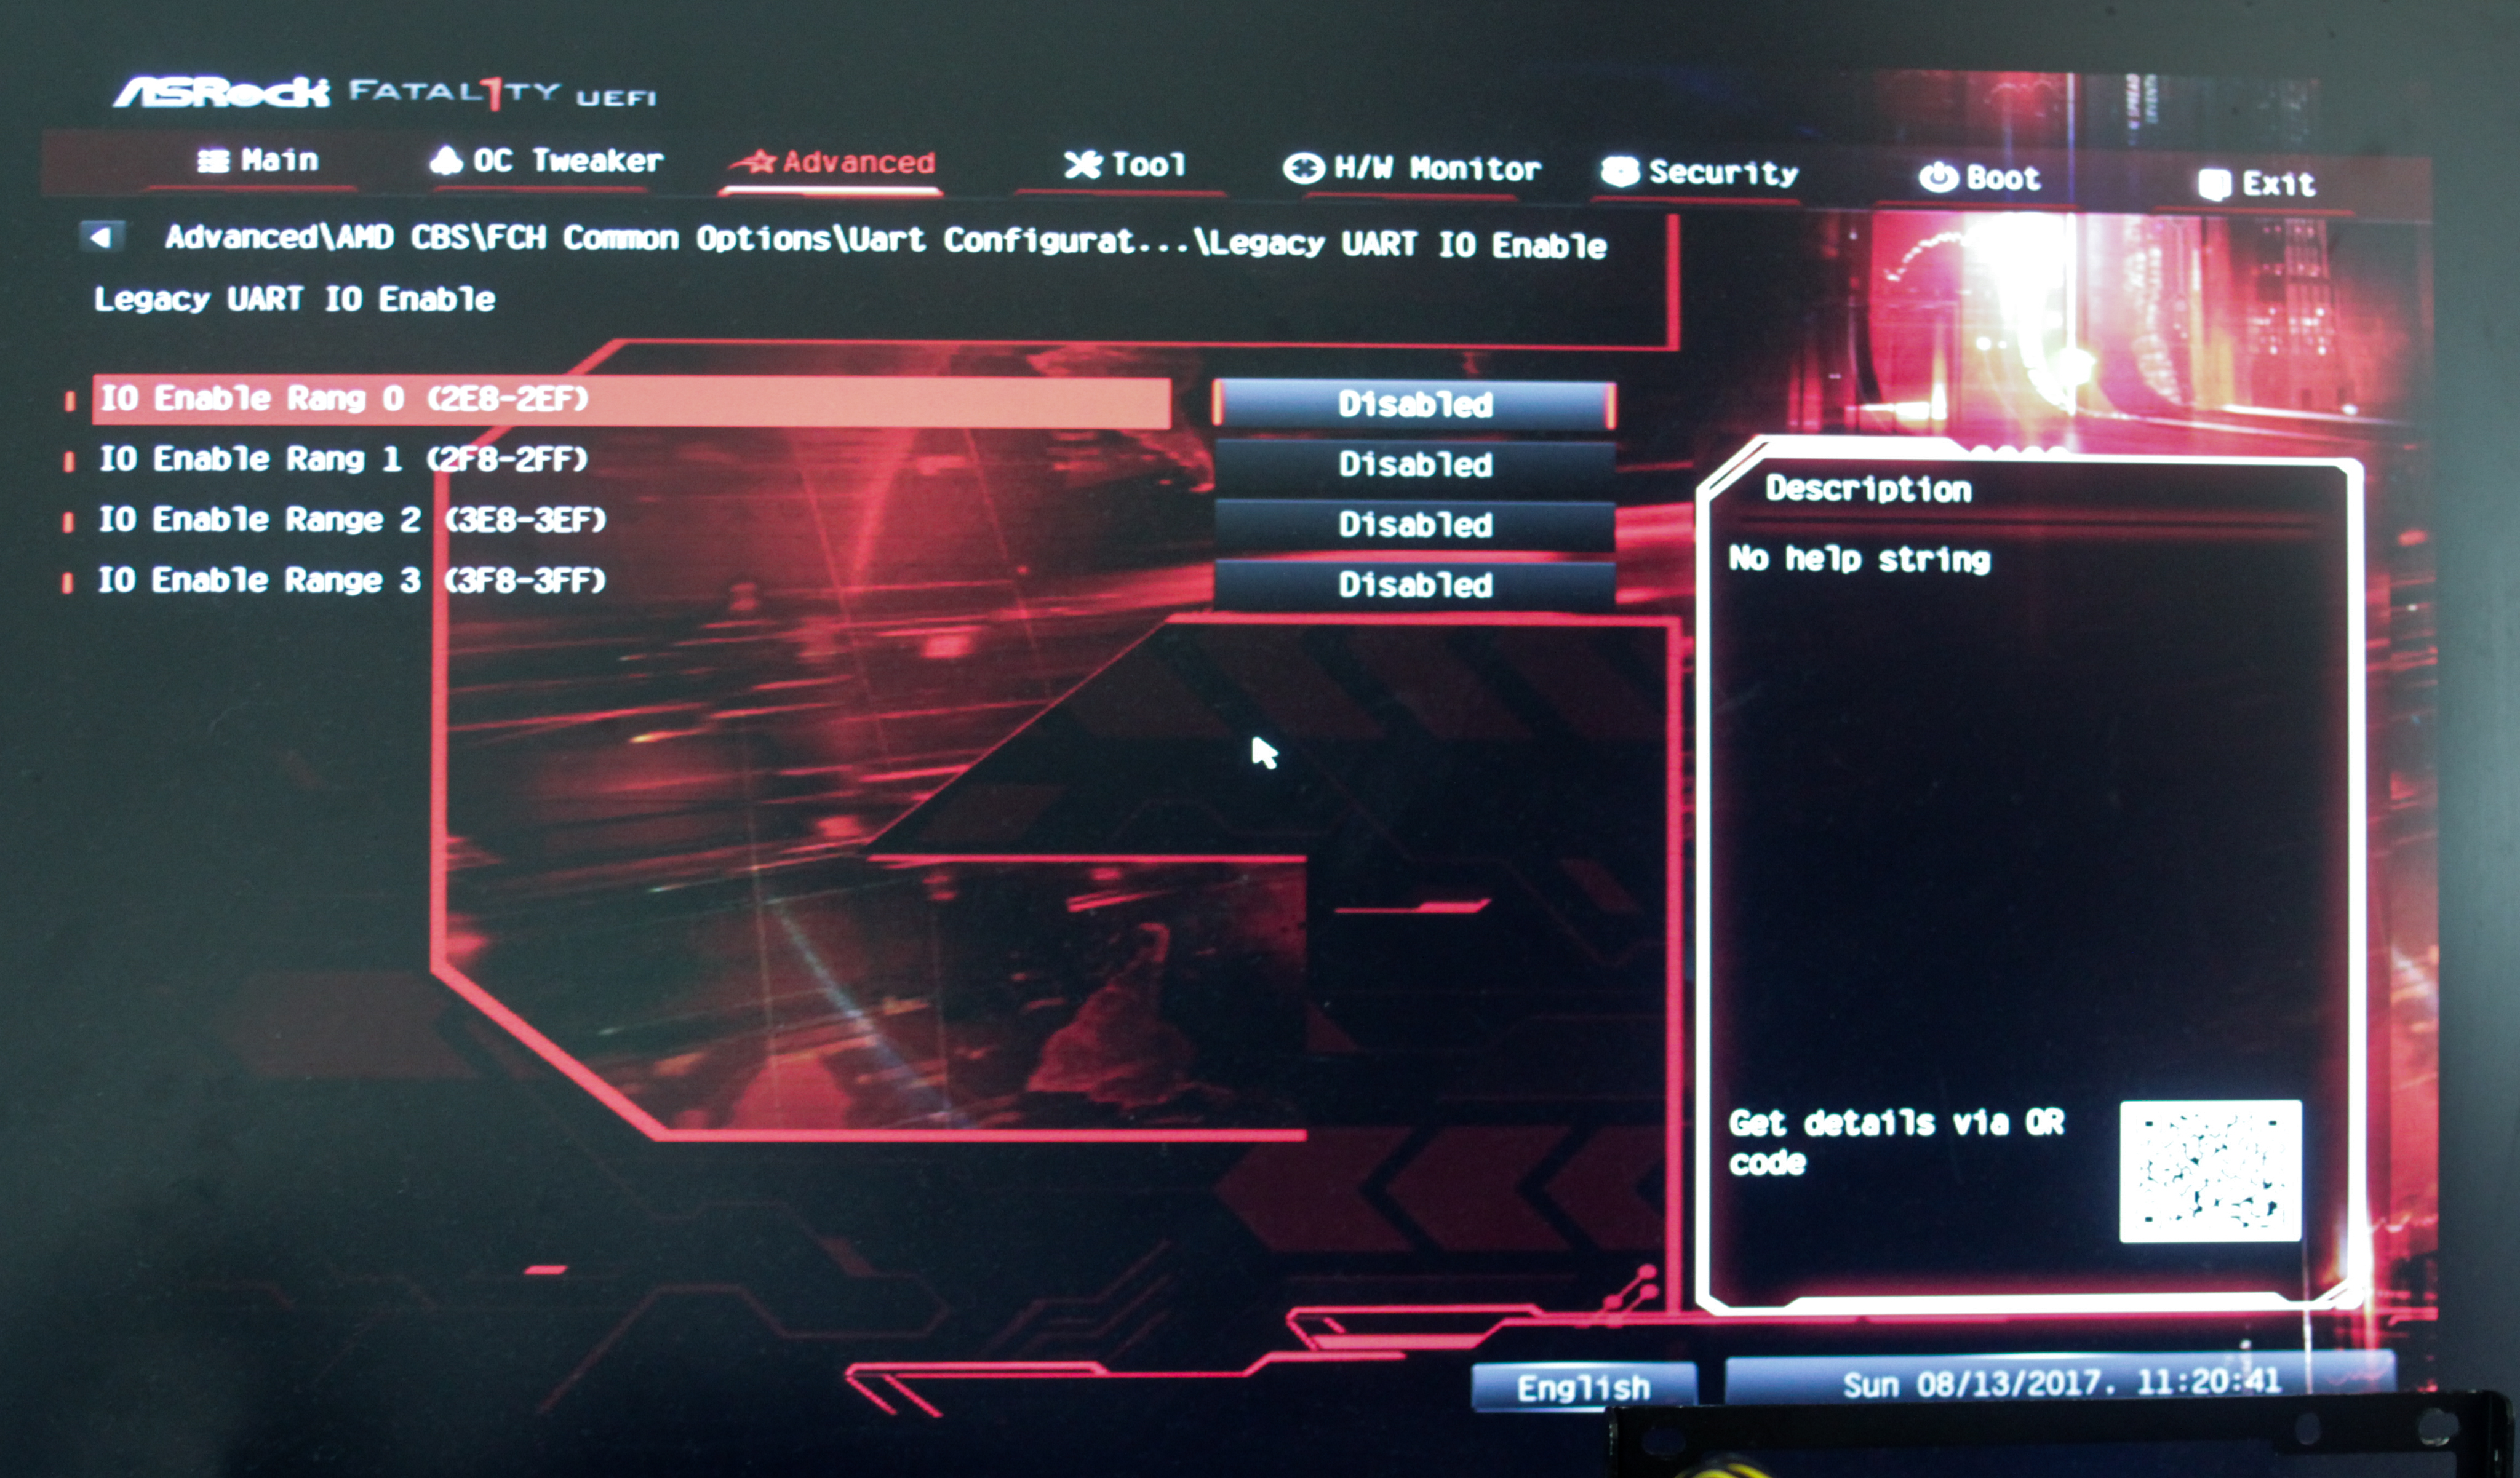
No help string for this one – I have no idea what this is for either!
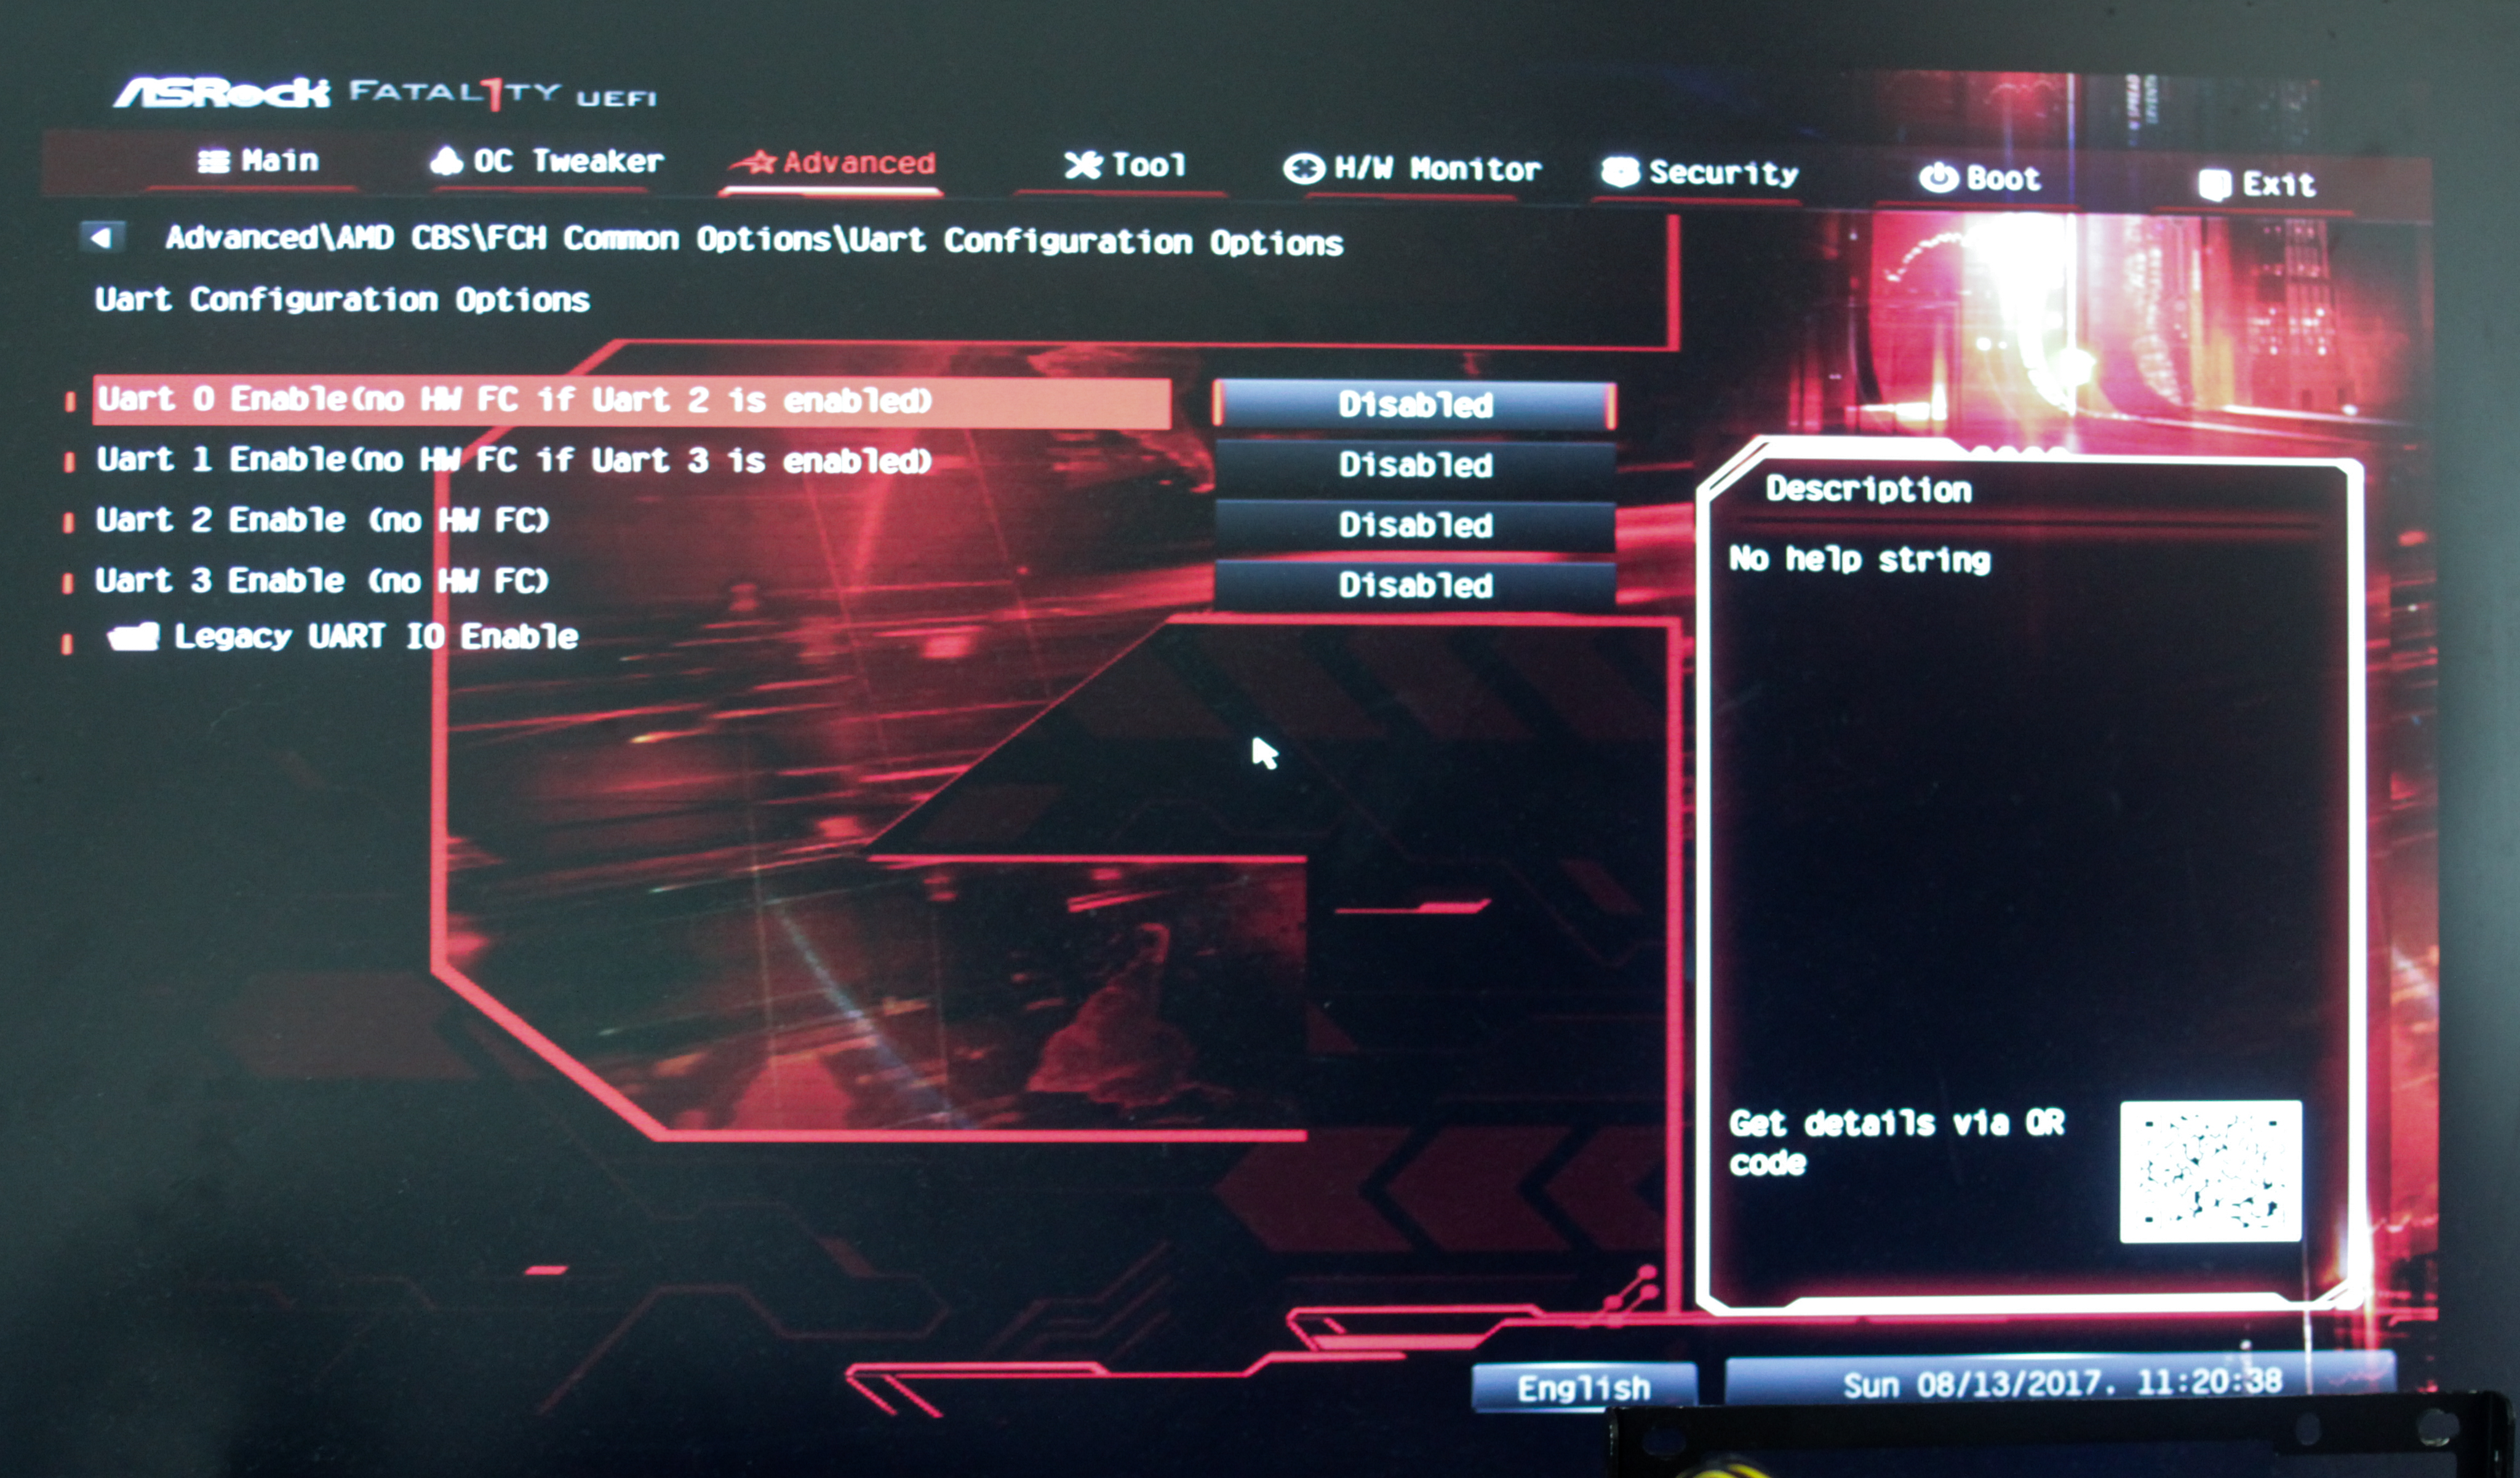
Uart – Serial port controls, in other words.
Also serial.

“Enhanced Serial Peripheral Interface Bus ”
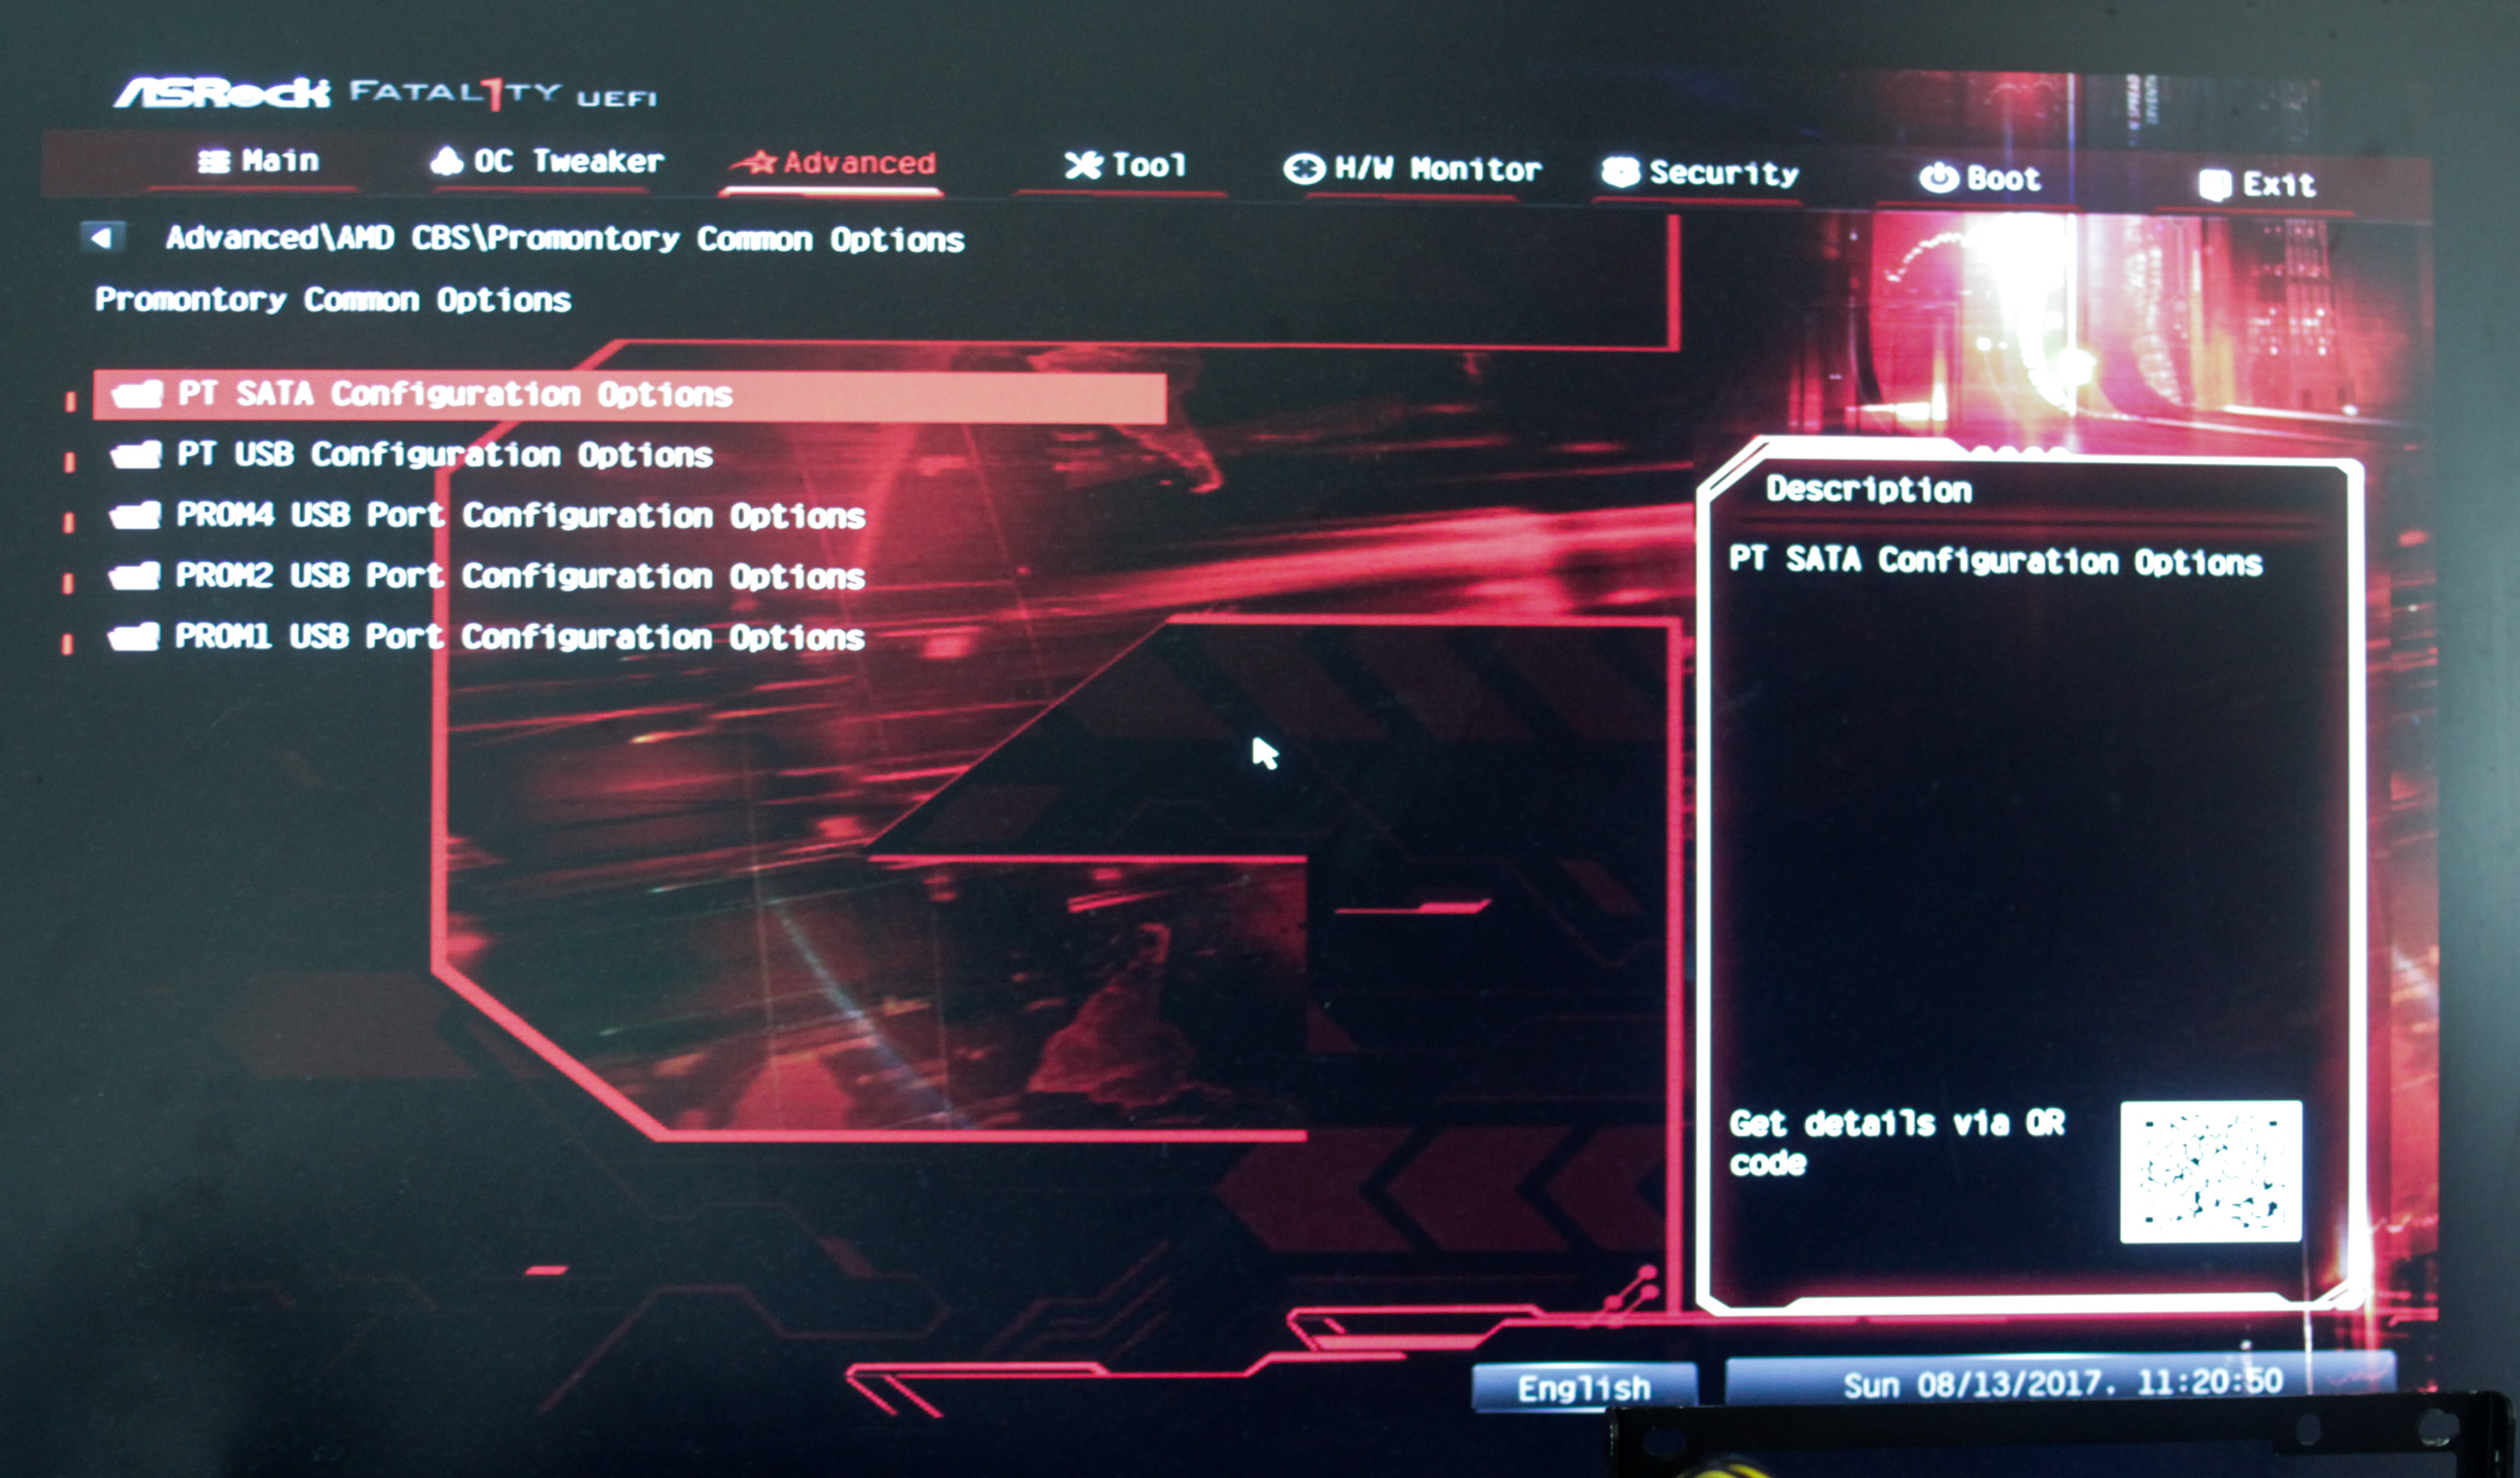
Promontory – the a codename for the *300 series AMD chipsets. Promontory, noun, is a point of high land that juts out into the sea or a large lake; a headland. I believe this is AMD’s way of saying they’re using this series of Ryzen and associated chipsets as a way of inserting themselves back into the market, the sea of PC parts.
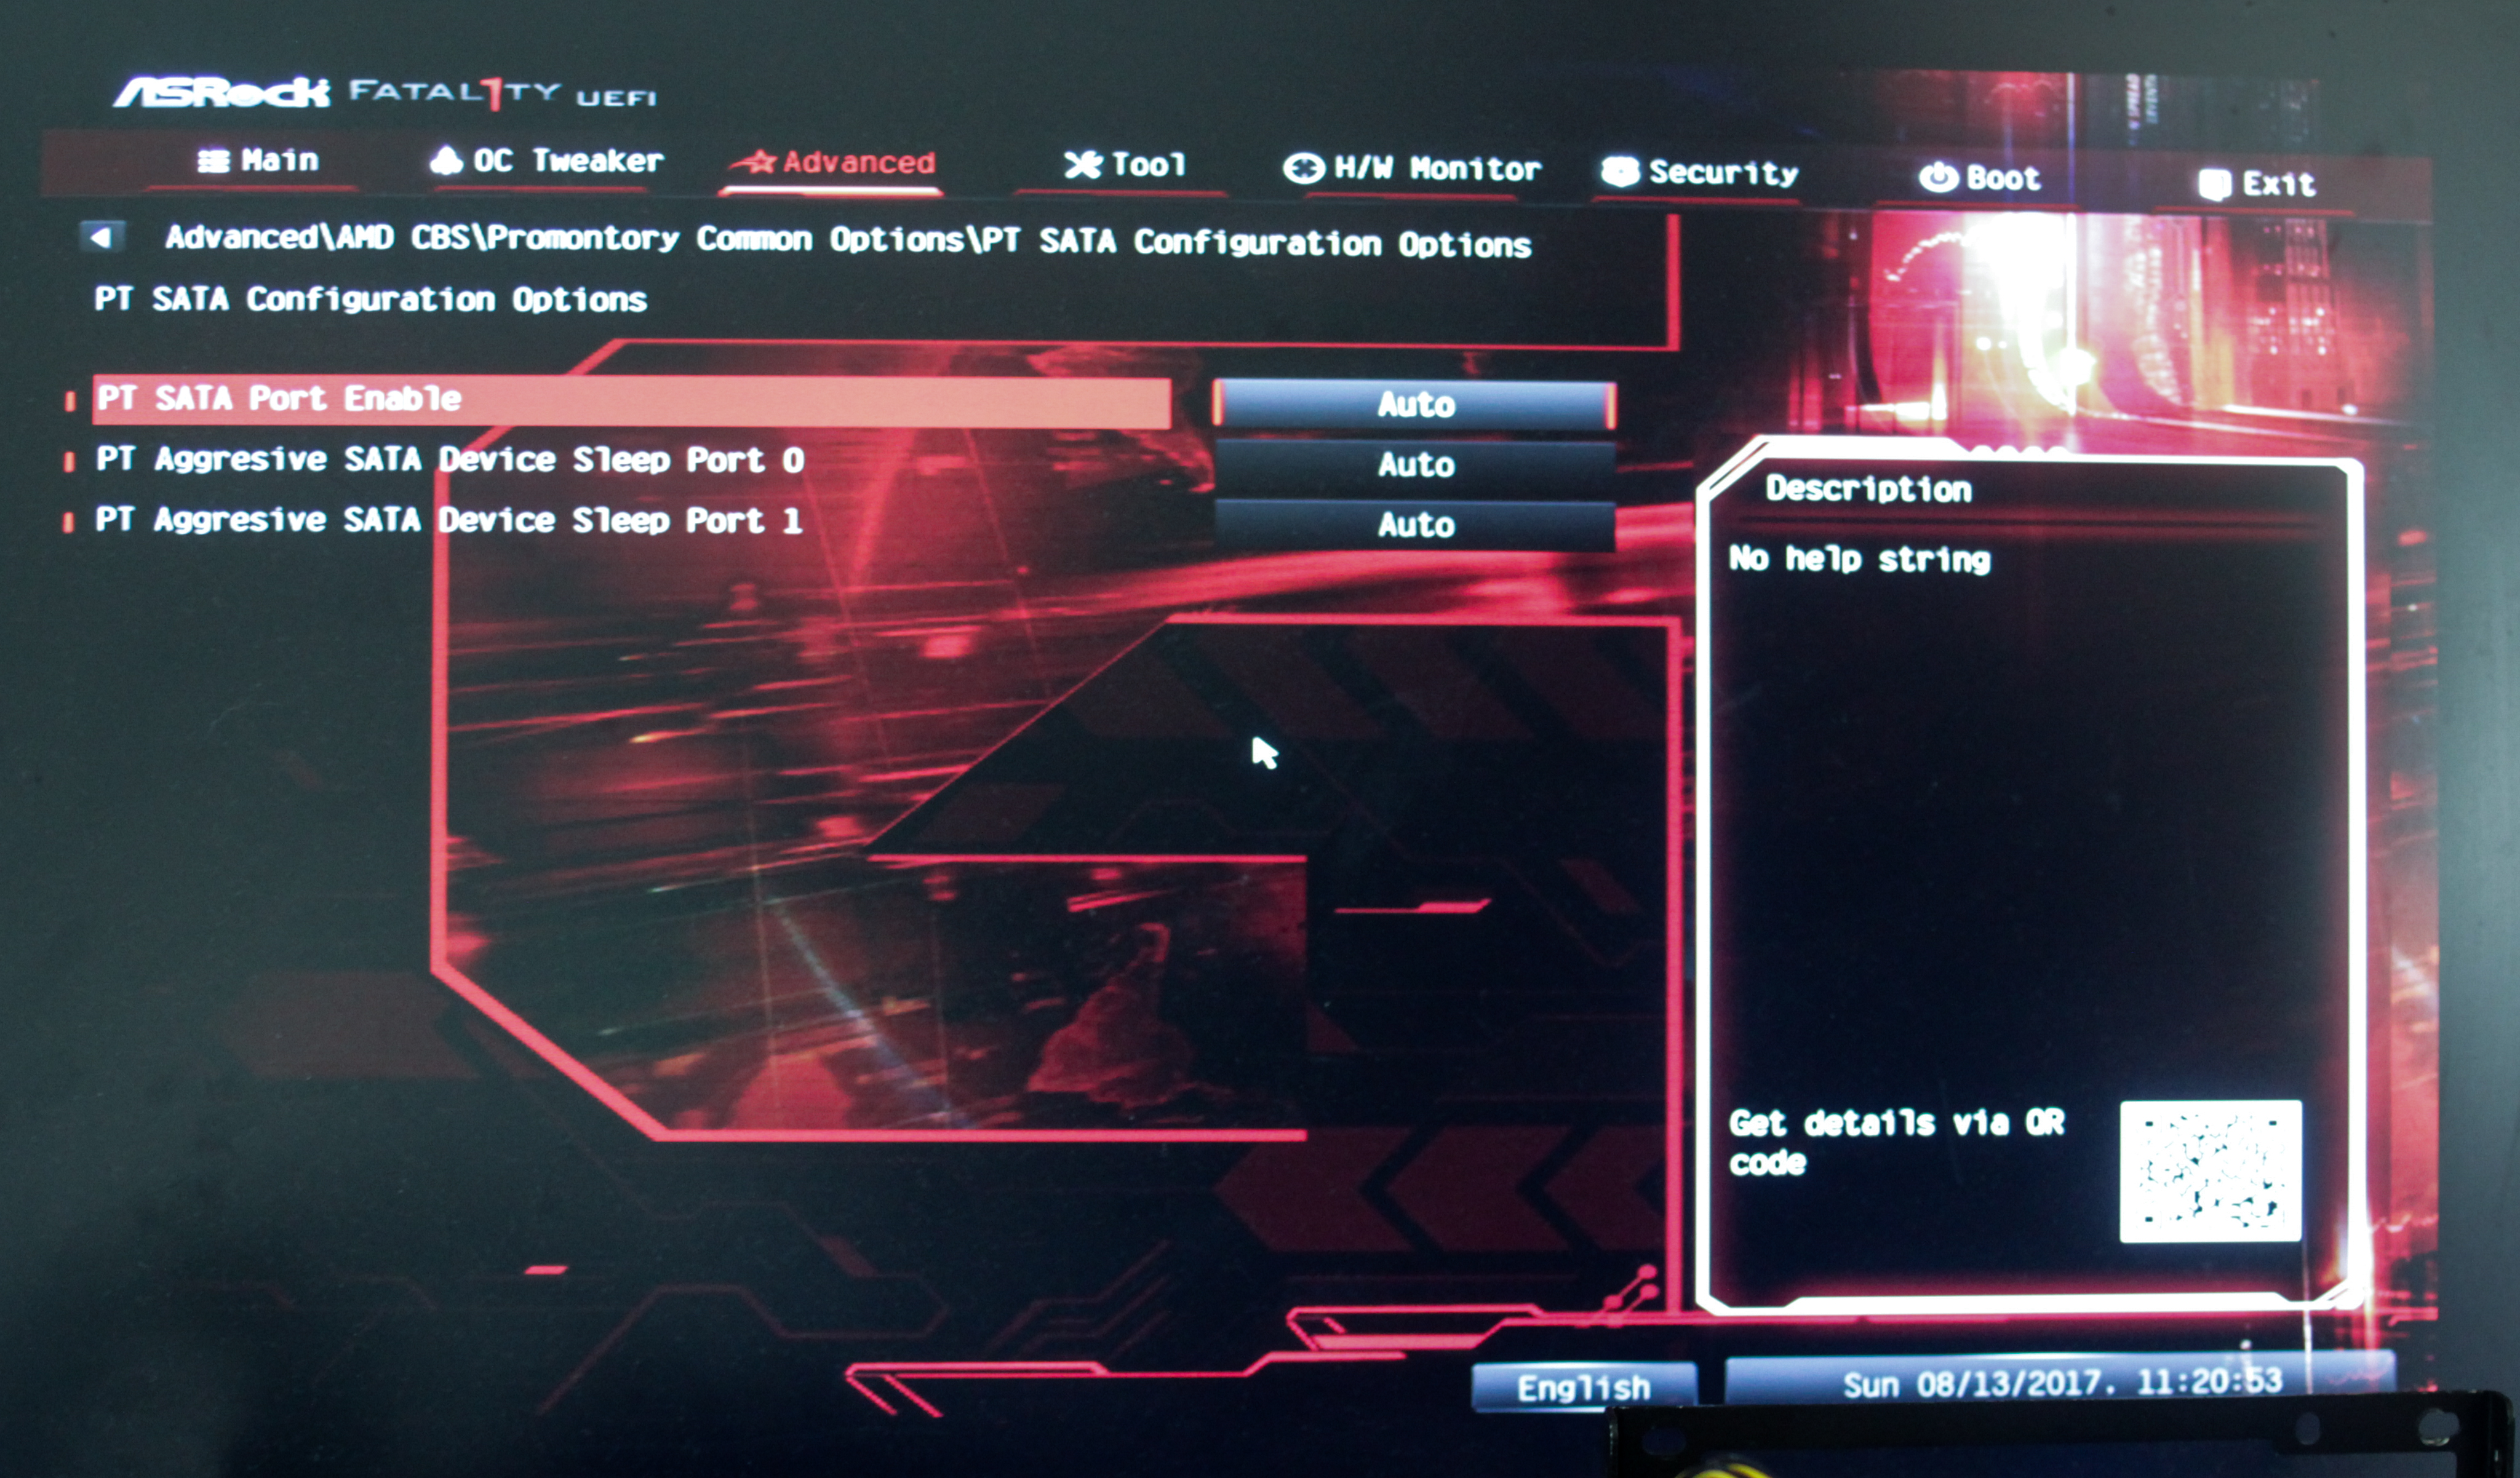
Woo, more SATA config.

Also, more USB config!

Bifurcation support lies here. Setting this to 2x x8 enables the PCIe slot to be bifurcated with an appropriate riser. Note that this setting was present on both the X370 and AB350 boards, even though AMD’s marketing stated that only the X370 could do multi GPU.

Here’s the 2×8 setting.

Ahhh, finally we break free from the immense maze that is the “Advanced” tab. The “Tools” tab houses LED control, RAID control, driver installation for said RAID, and BIOS updates. Oh, and network config in case your network doesn’t have DHCP, or has a complex configuration.
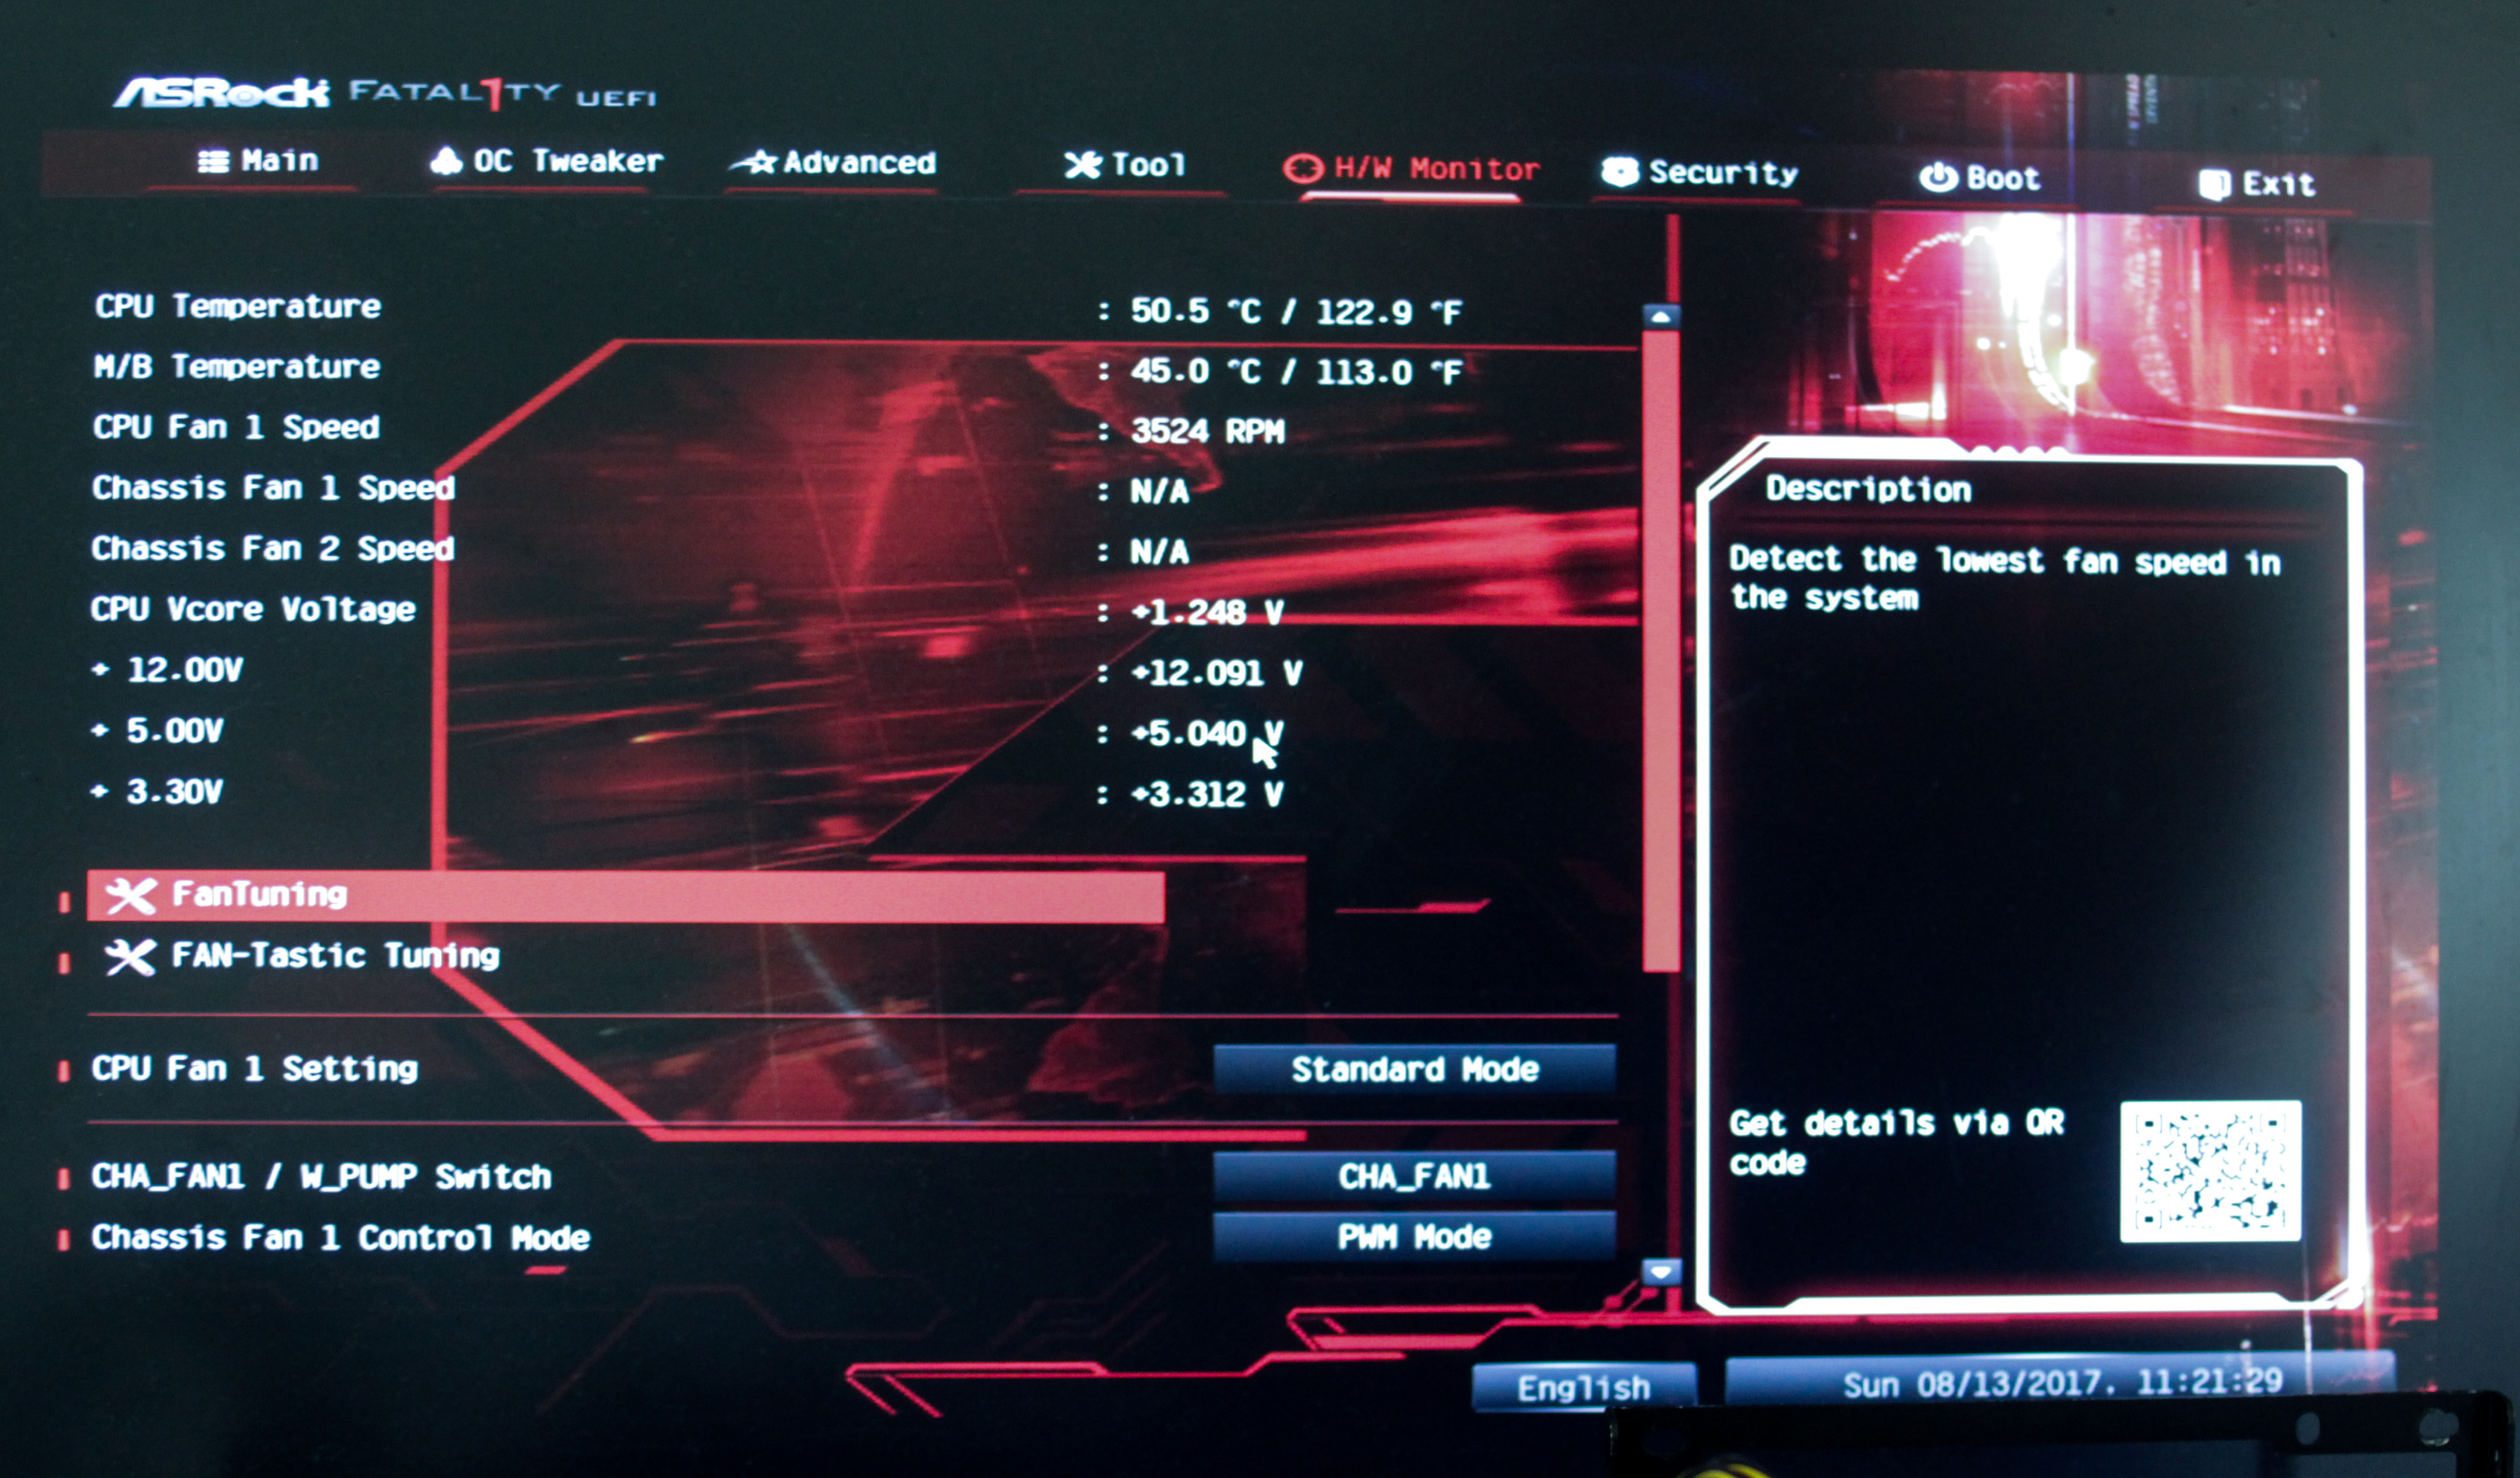
Next up is the “H/W Monitor” tab. This tab instantly shows you very useful information – system temperatures, fan speeds, and power supply voltages. All my rails seem accurate, woohoo!
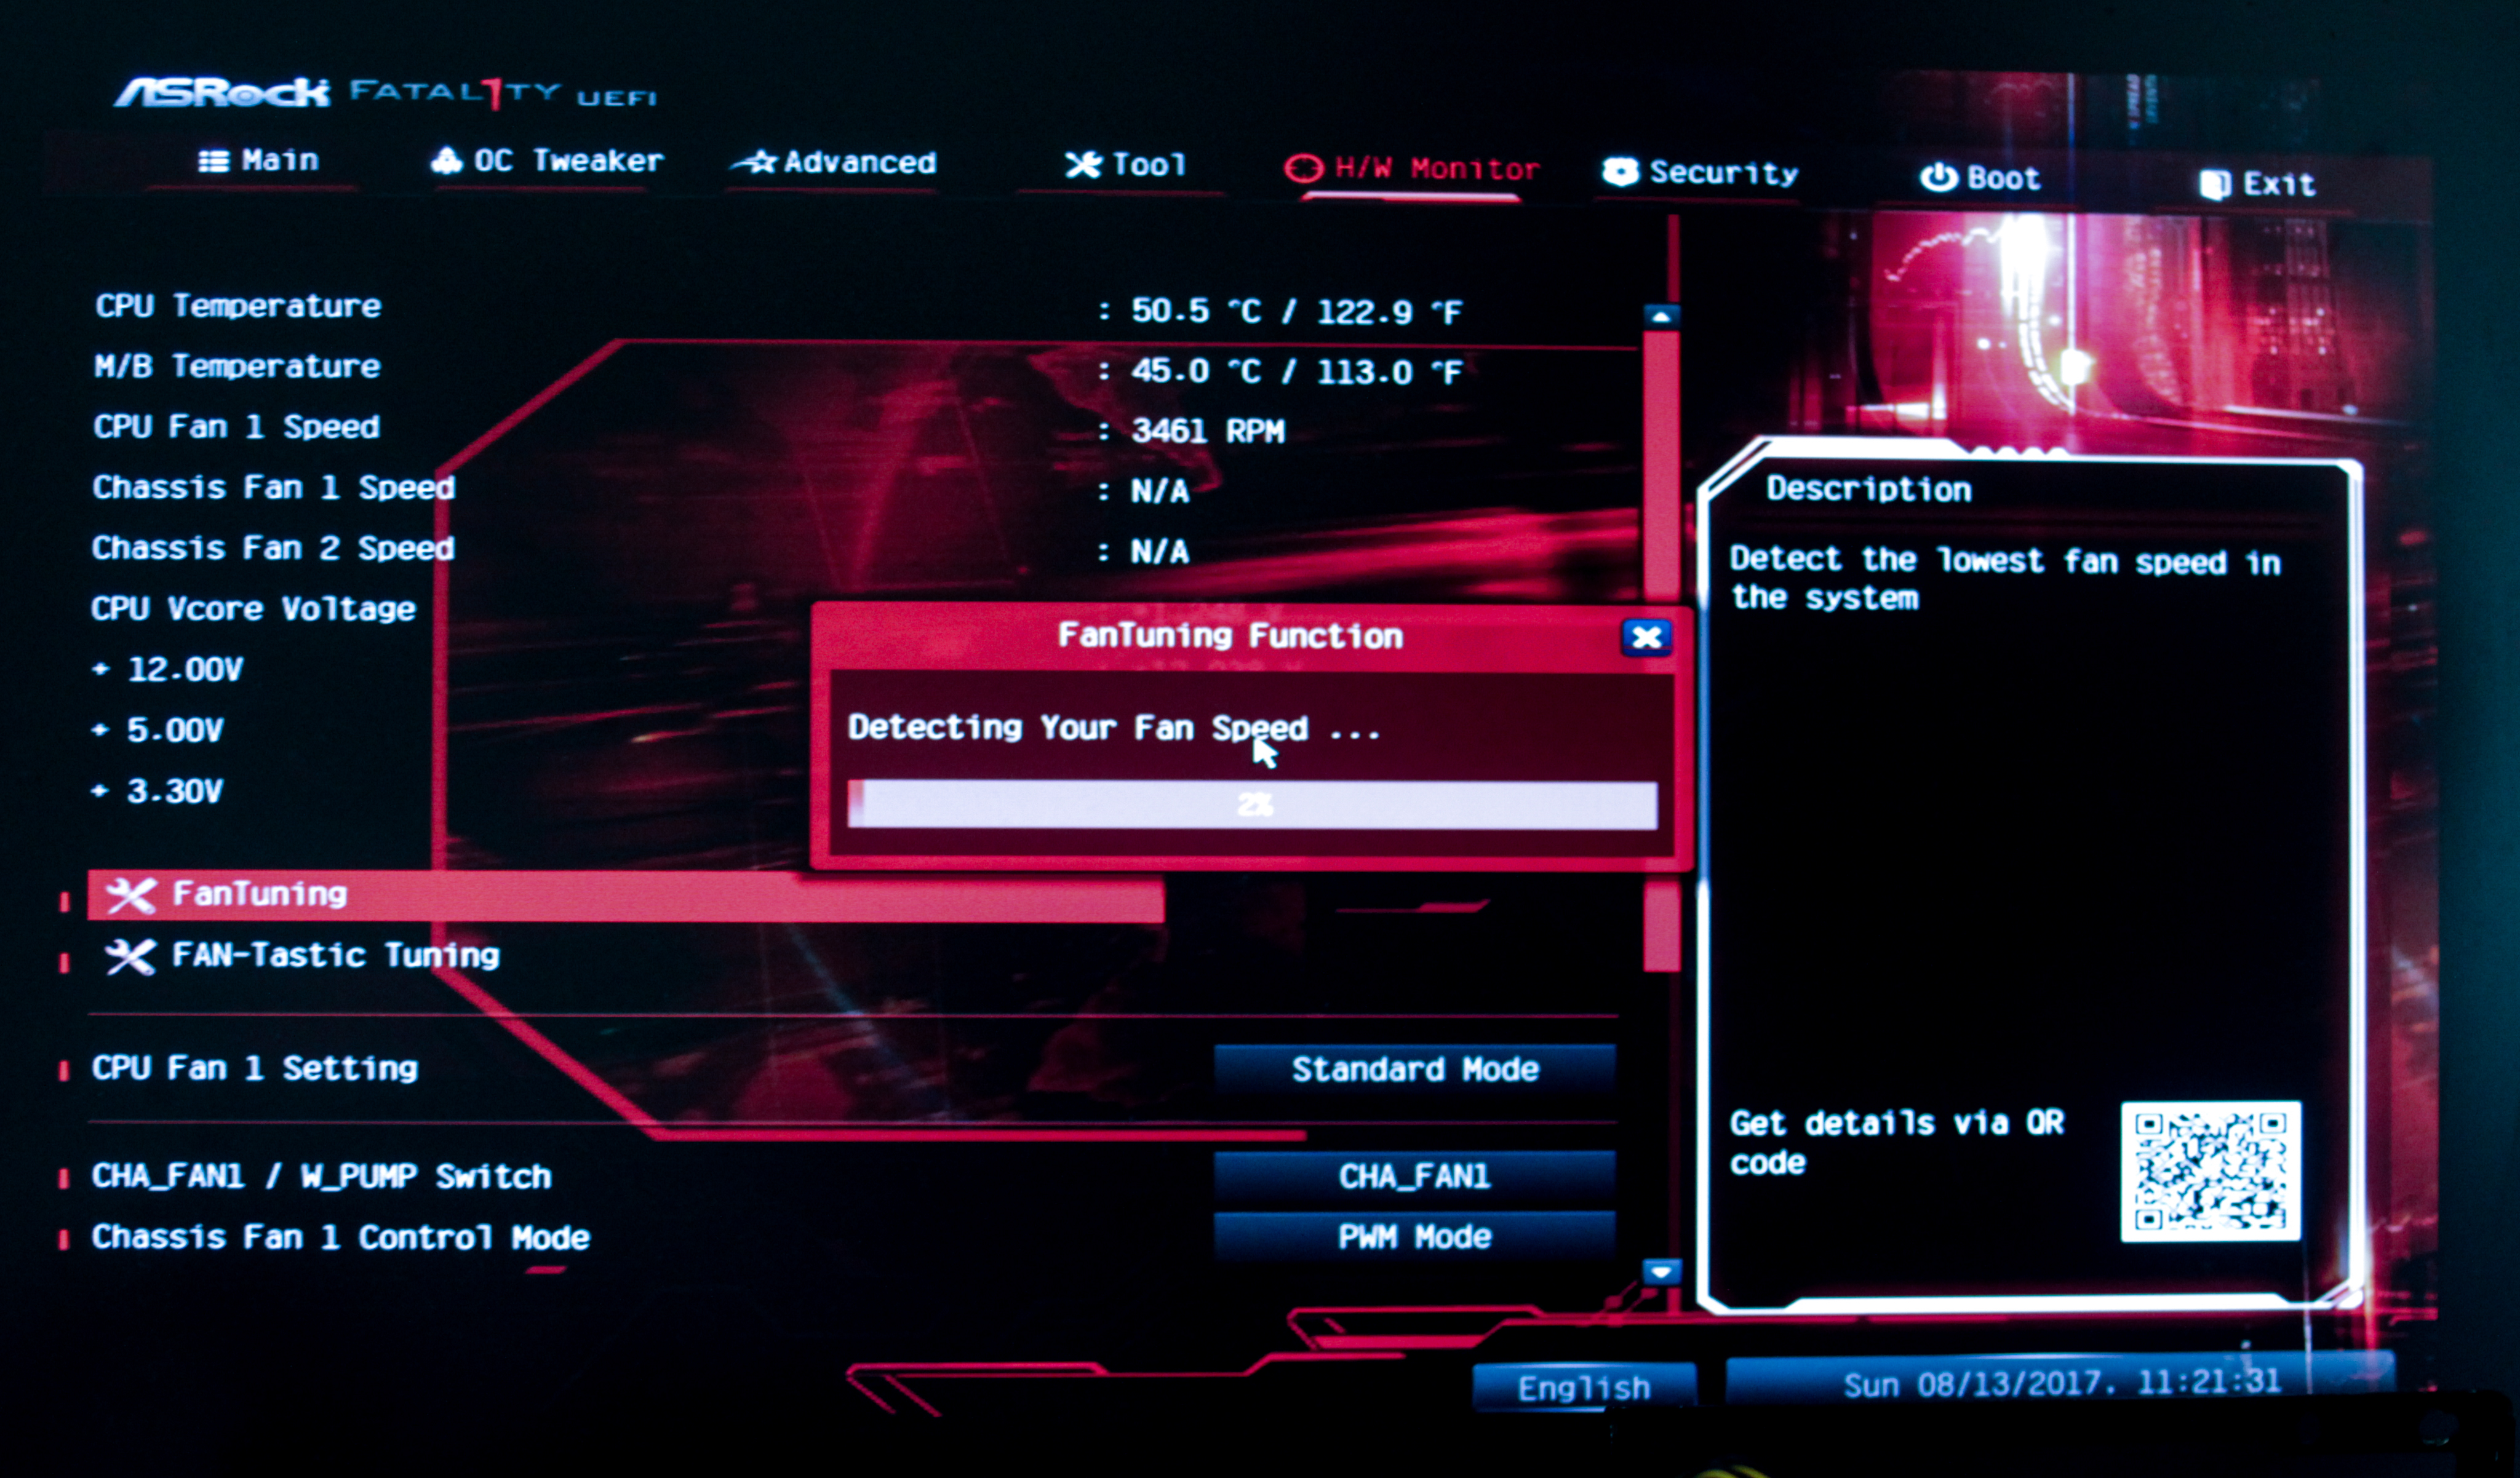
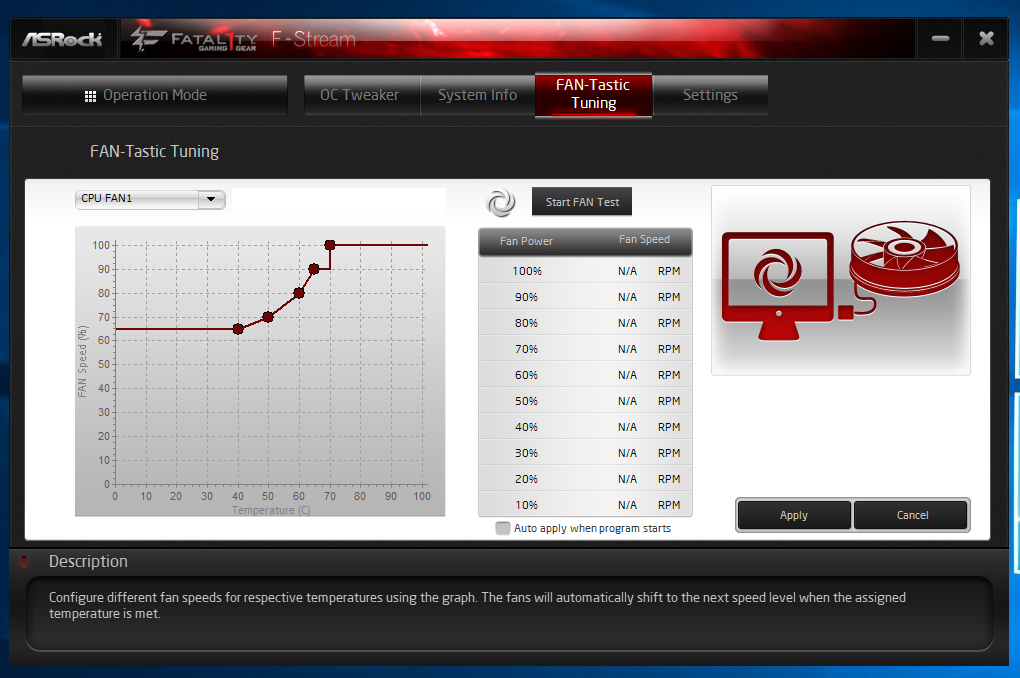
FanTuning runs a calibration routine on connected fans. The board runs the fans from 100% PWM down to 10% PWM, and measures the fan speeds at each 10% step. From this, it can accurately configure a fan curve based on RPM rather than pure PWM values.

Under 20%, the fan I was using on the cooler wouldn’t stay spinning, and at this point I didn’t have Chassis Fan 1 or 2 plugged in, hence the 0%.
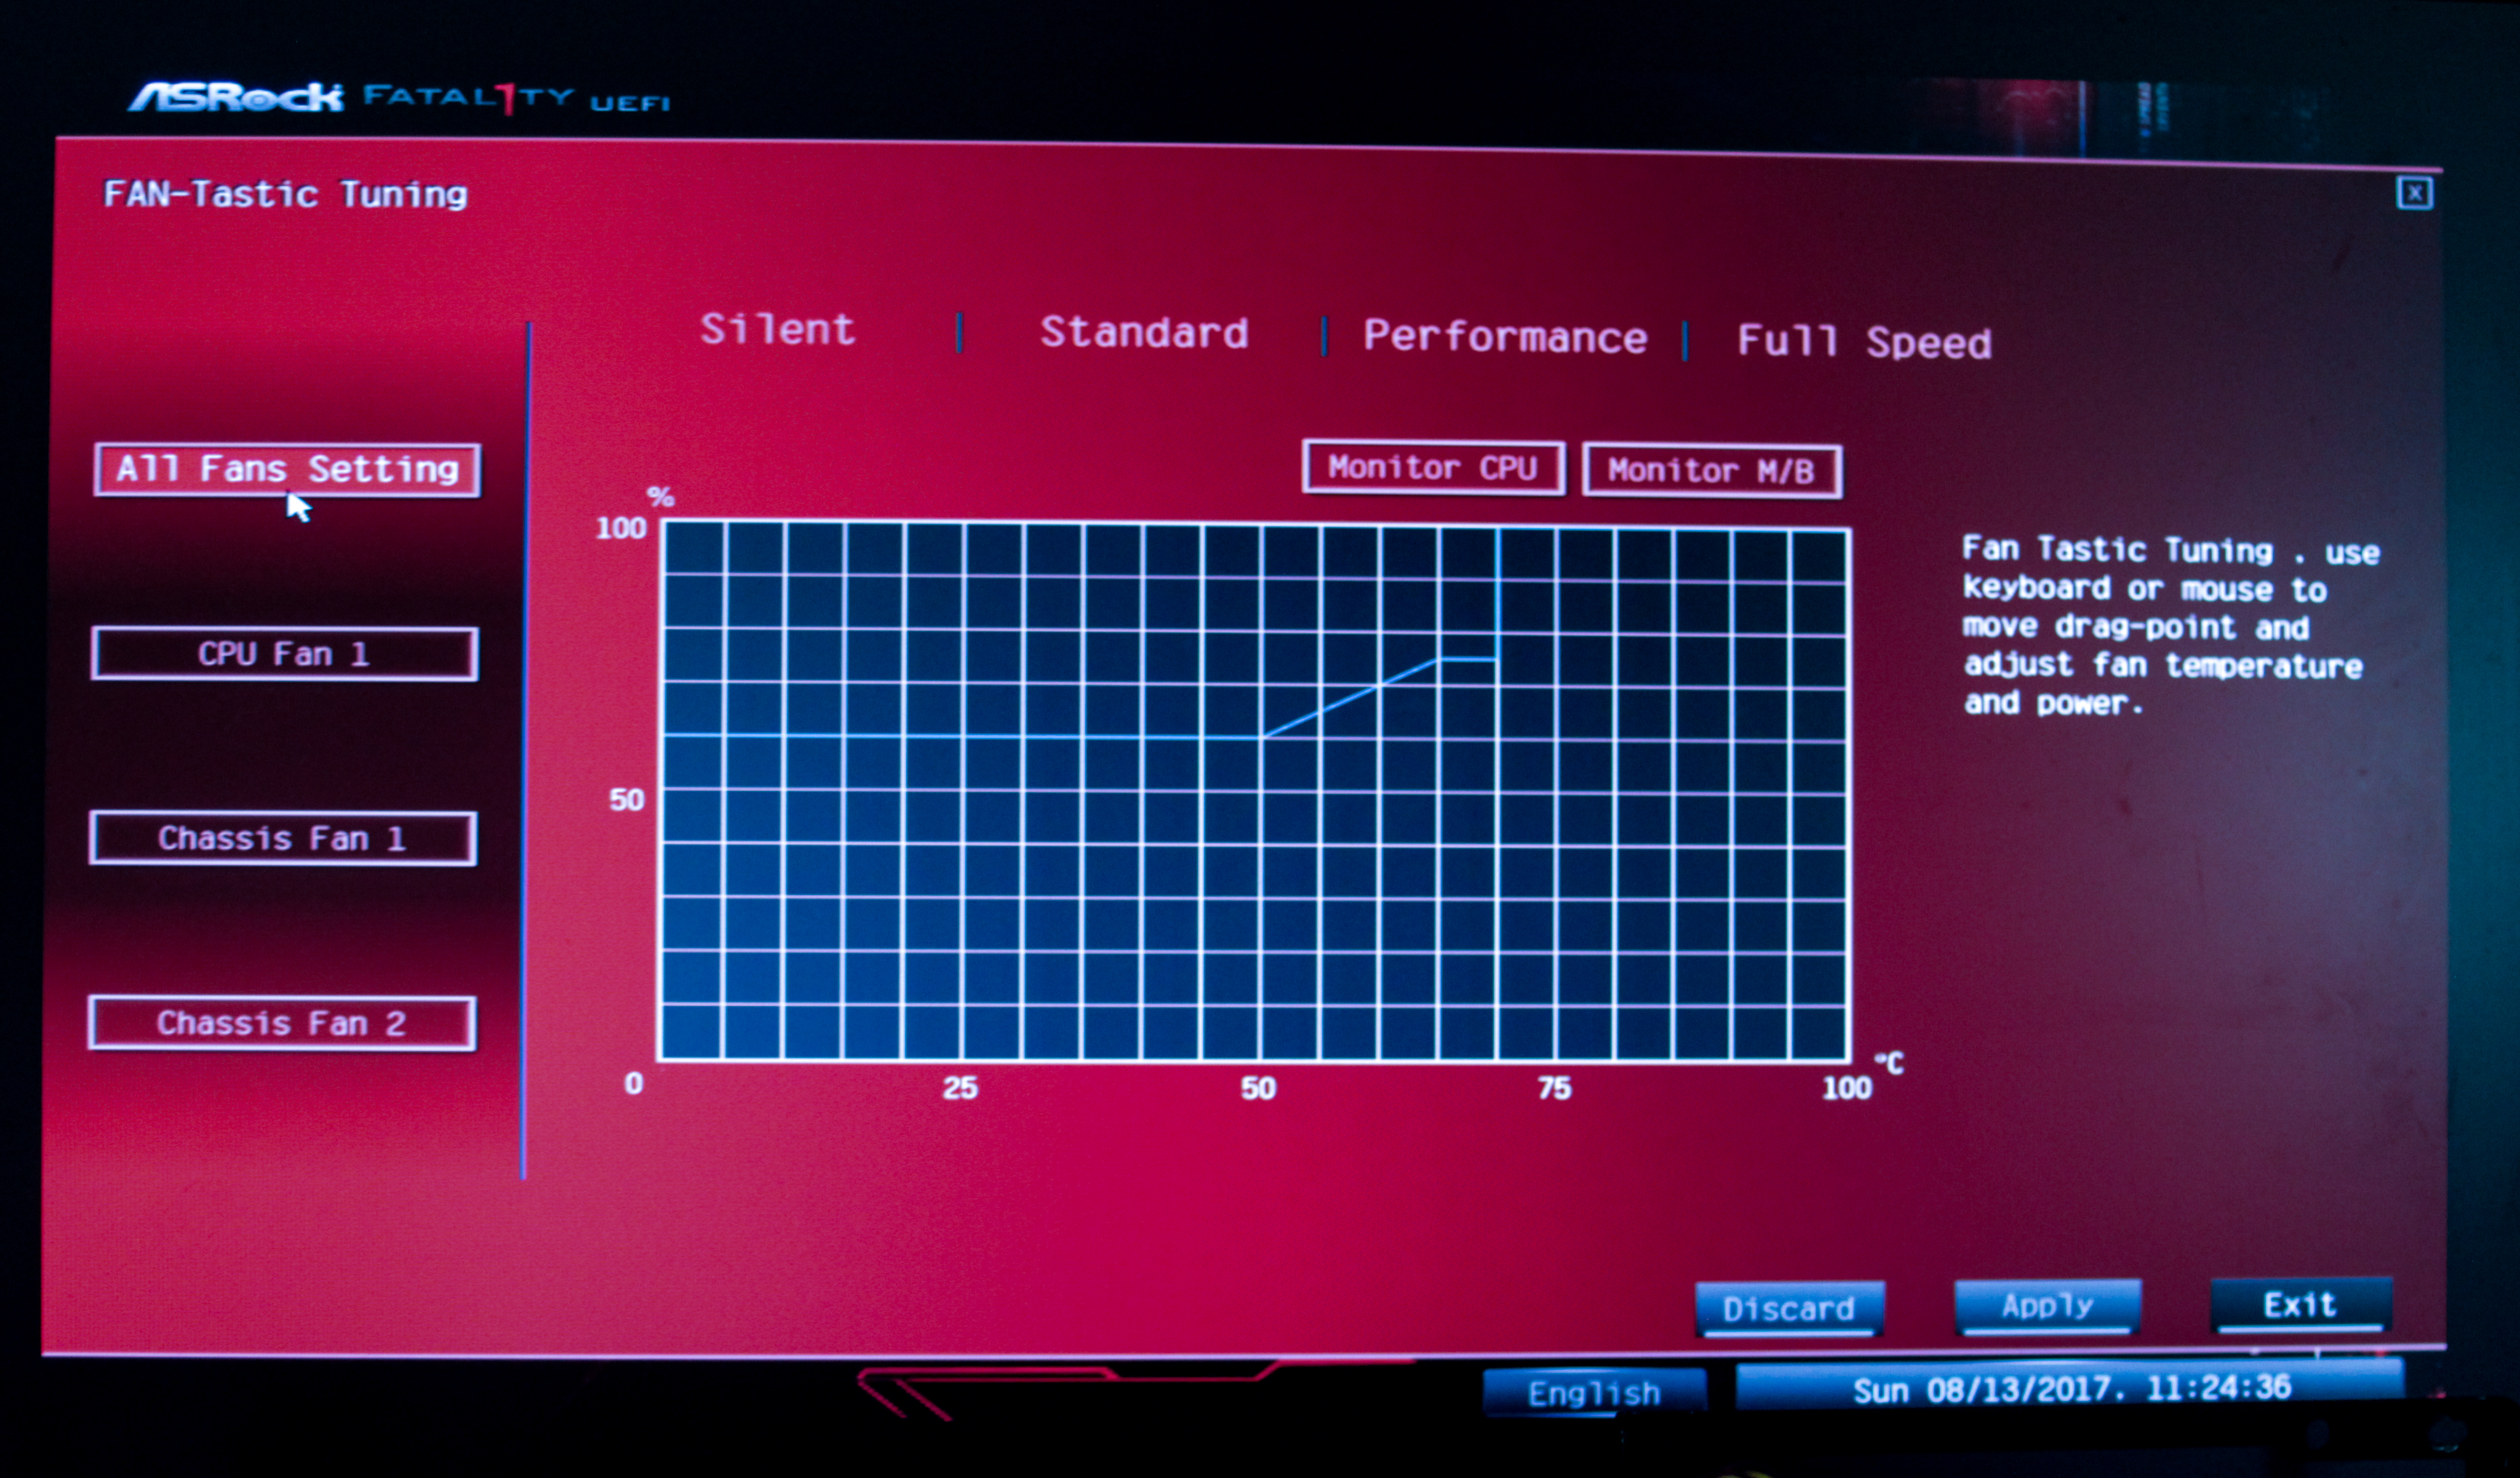
I’ve seen numerous implementations of visual fan curve manipulation within UEFI environments, but usually they are painful due to laggy mouse response within the GUI. Because the mouse control within the Fatal1ty X370/AB350 Gaming-ITX/ac is implemented well, the feel and control here is excellent. You can manipulate all fans together, or each individual fan with presets or manual fan curves.

You can also configure what sensors affect each fan – this is an awesome feature. I’m loving the in depth settings and options available on these boards.
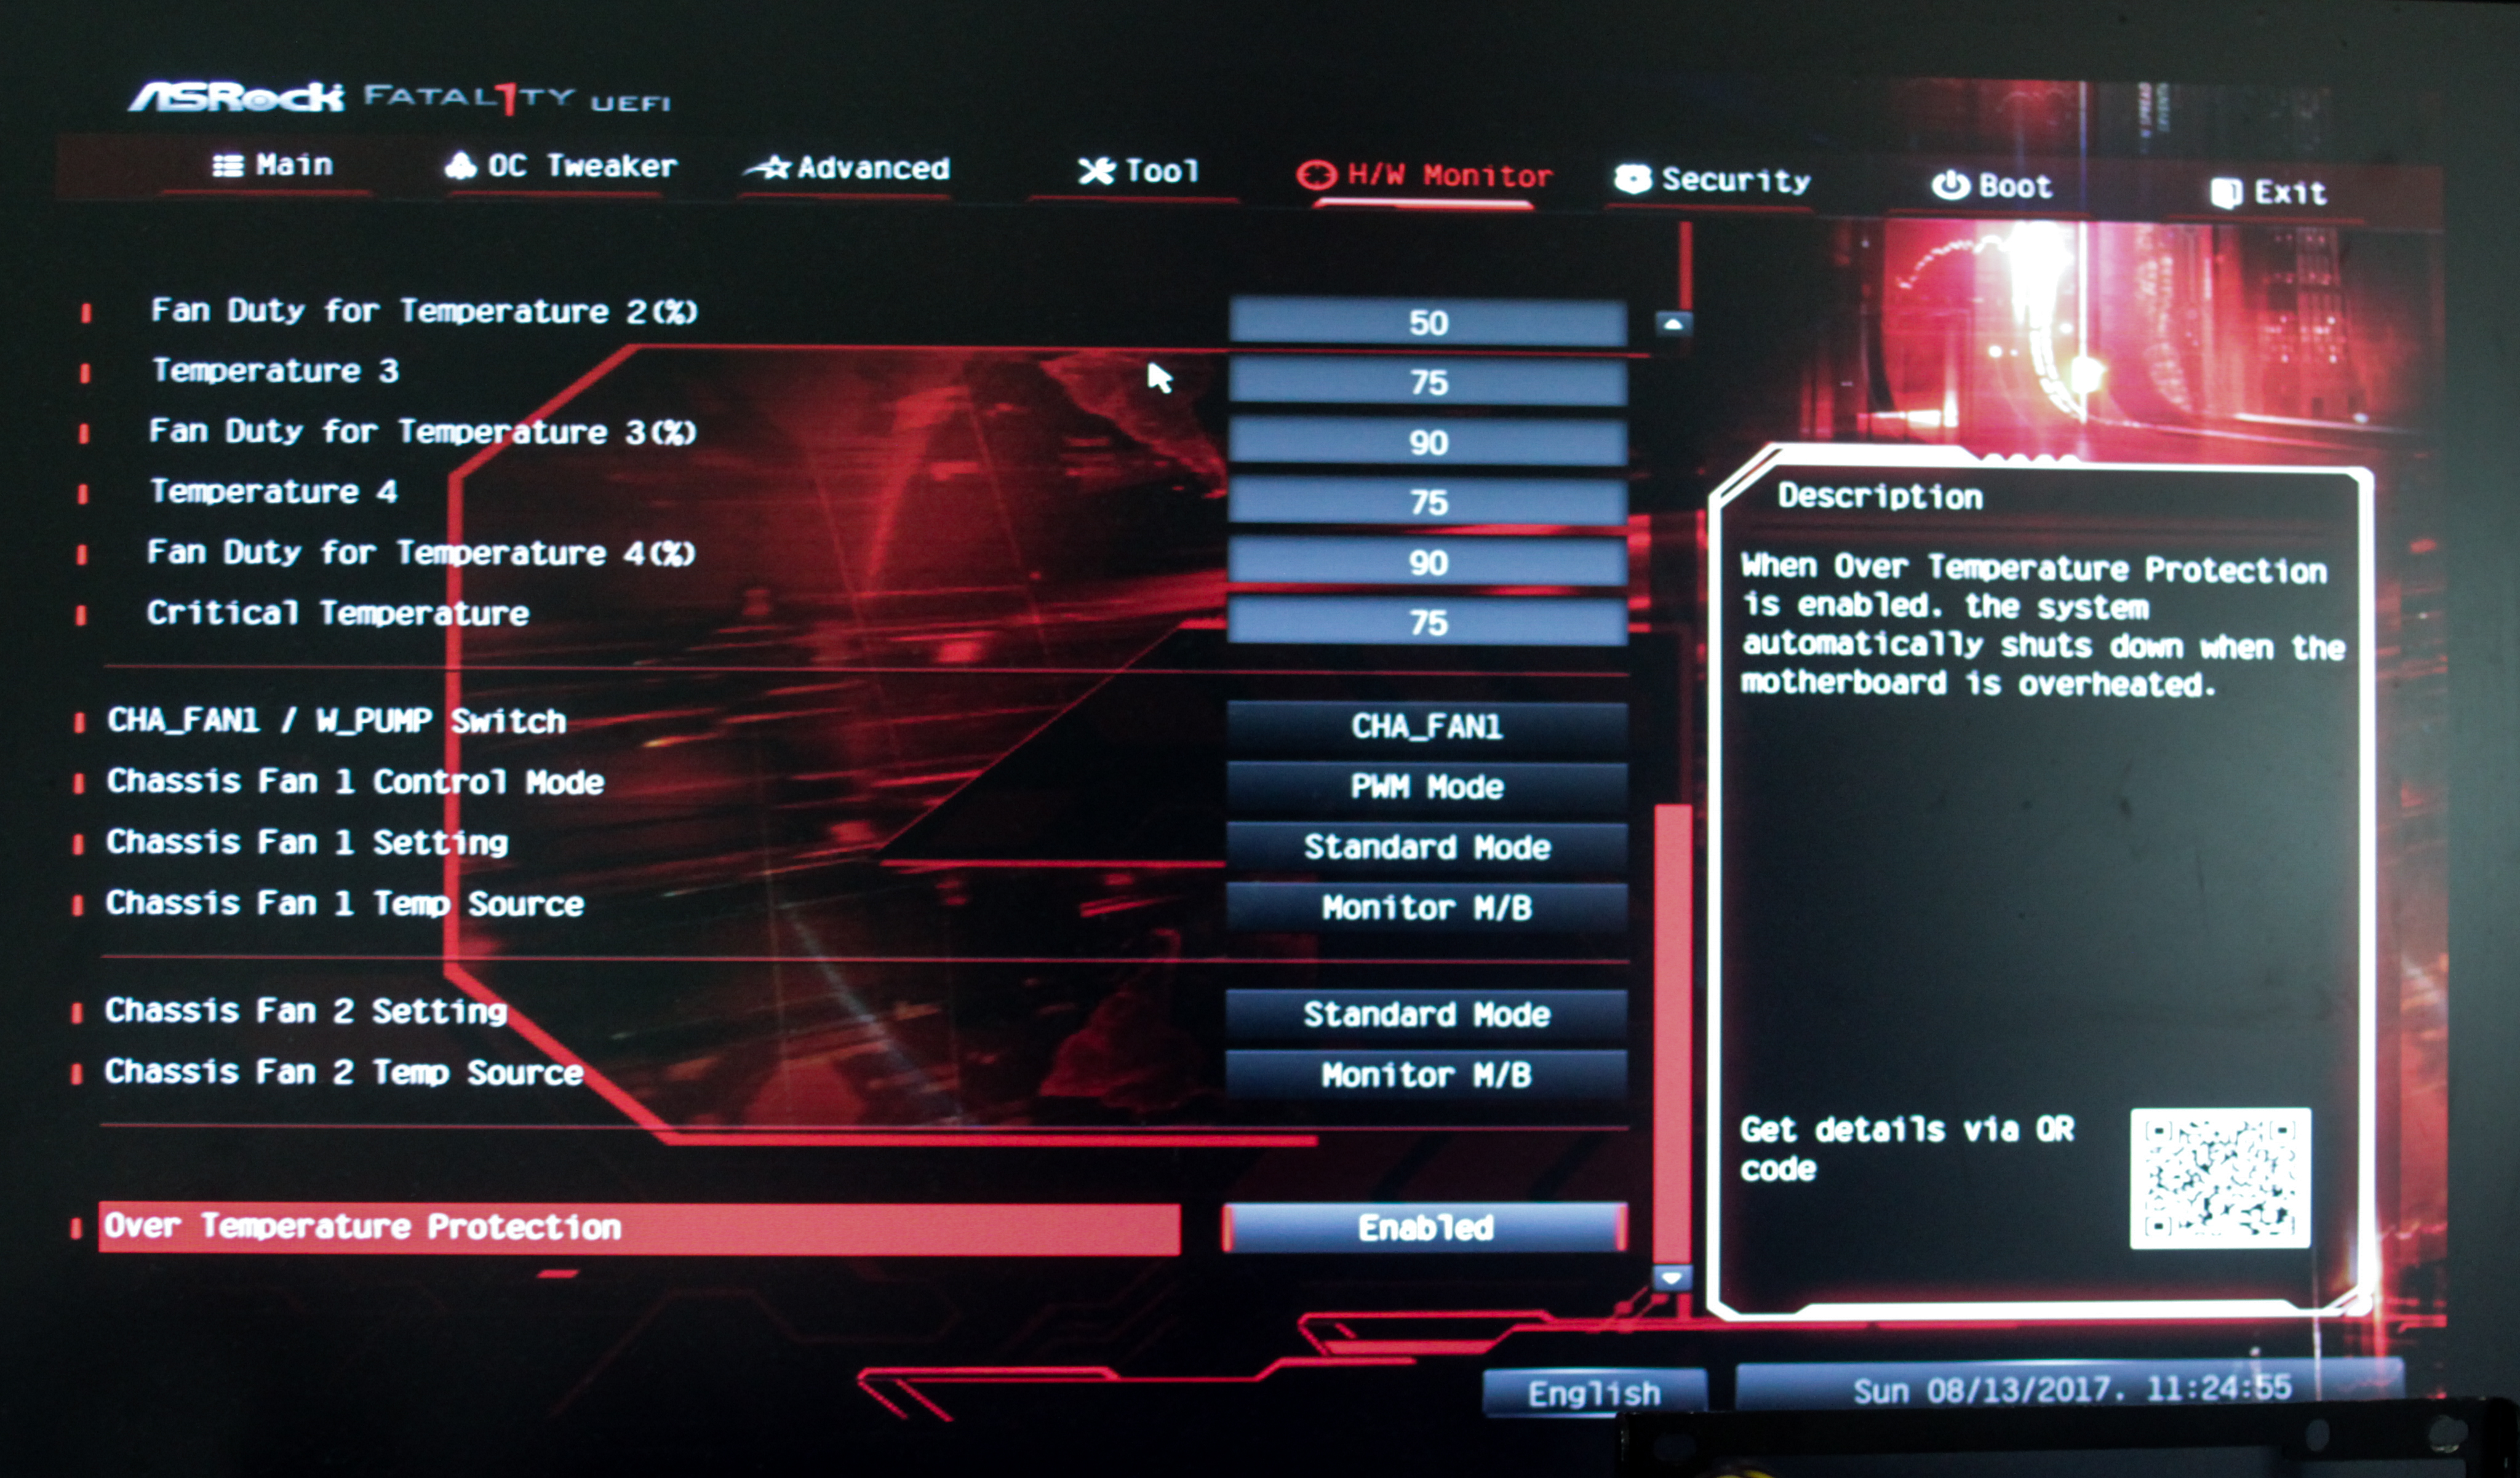
OTP, because sometimes we go OTT.
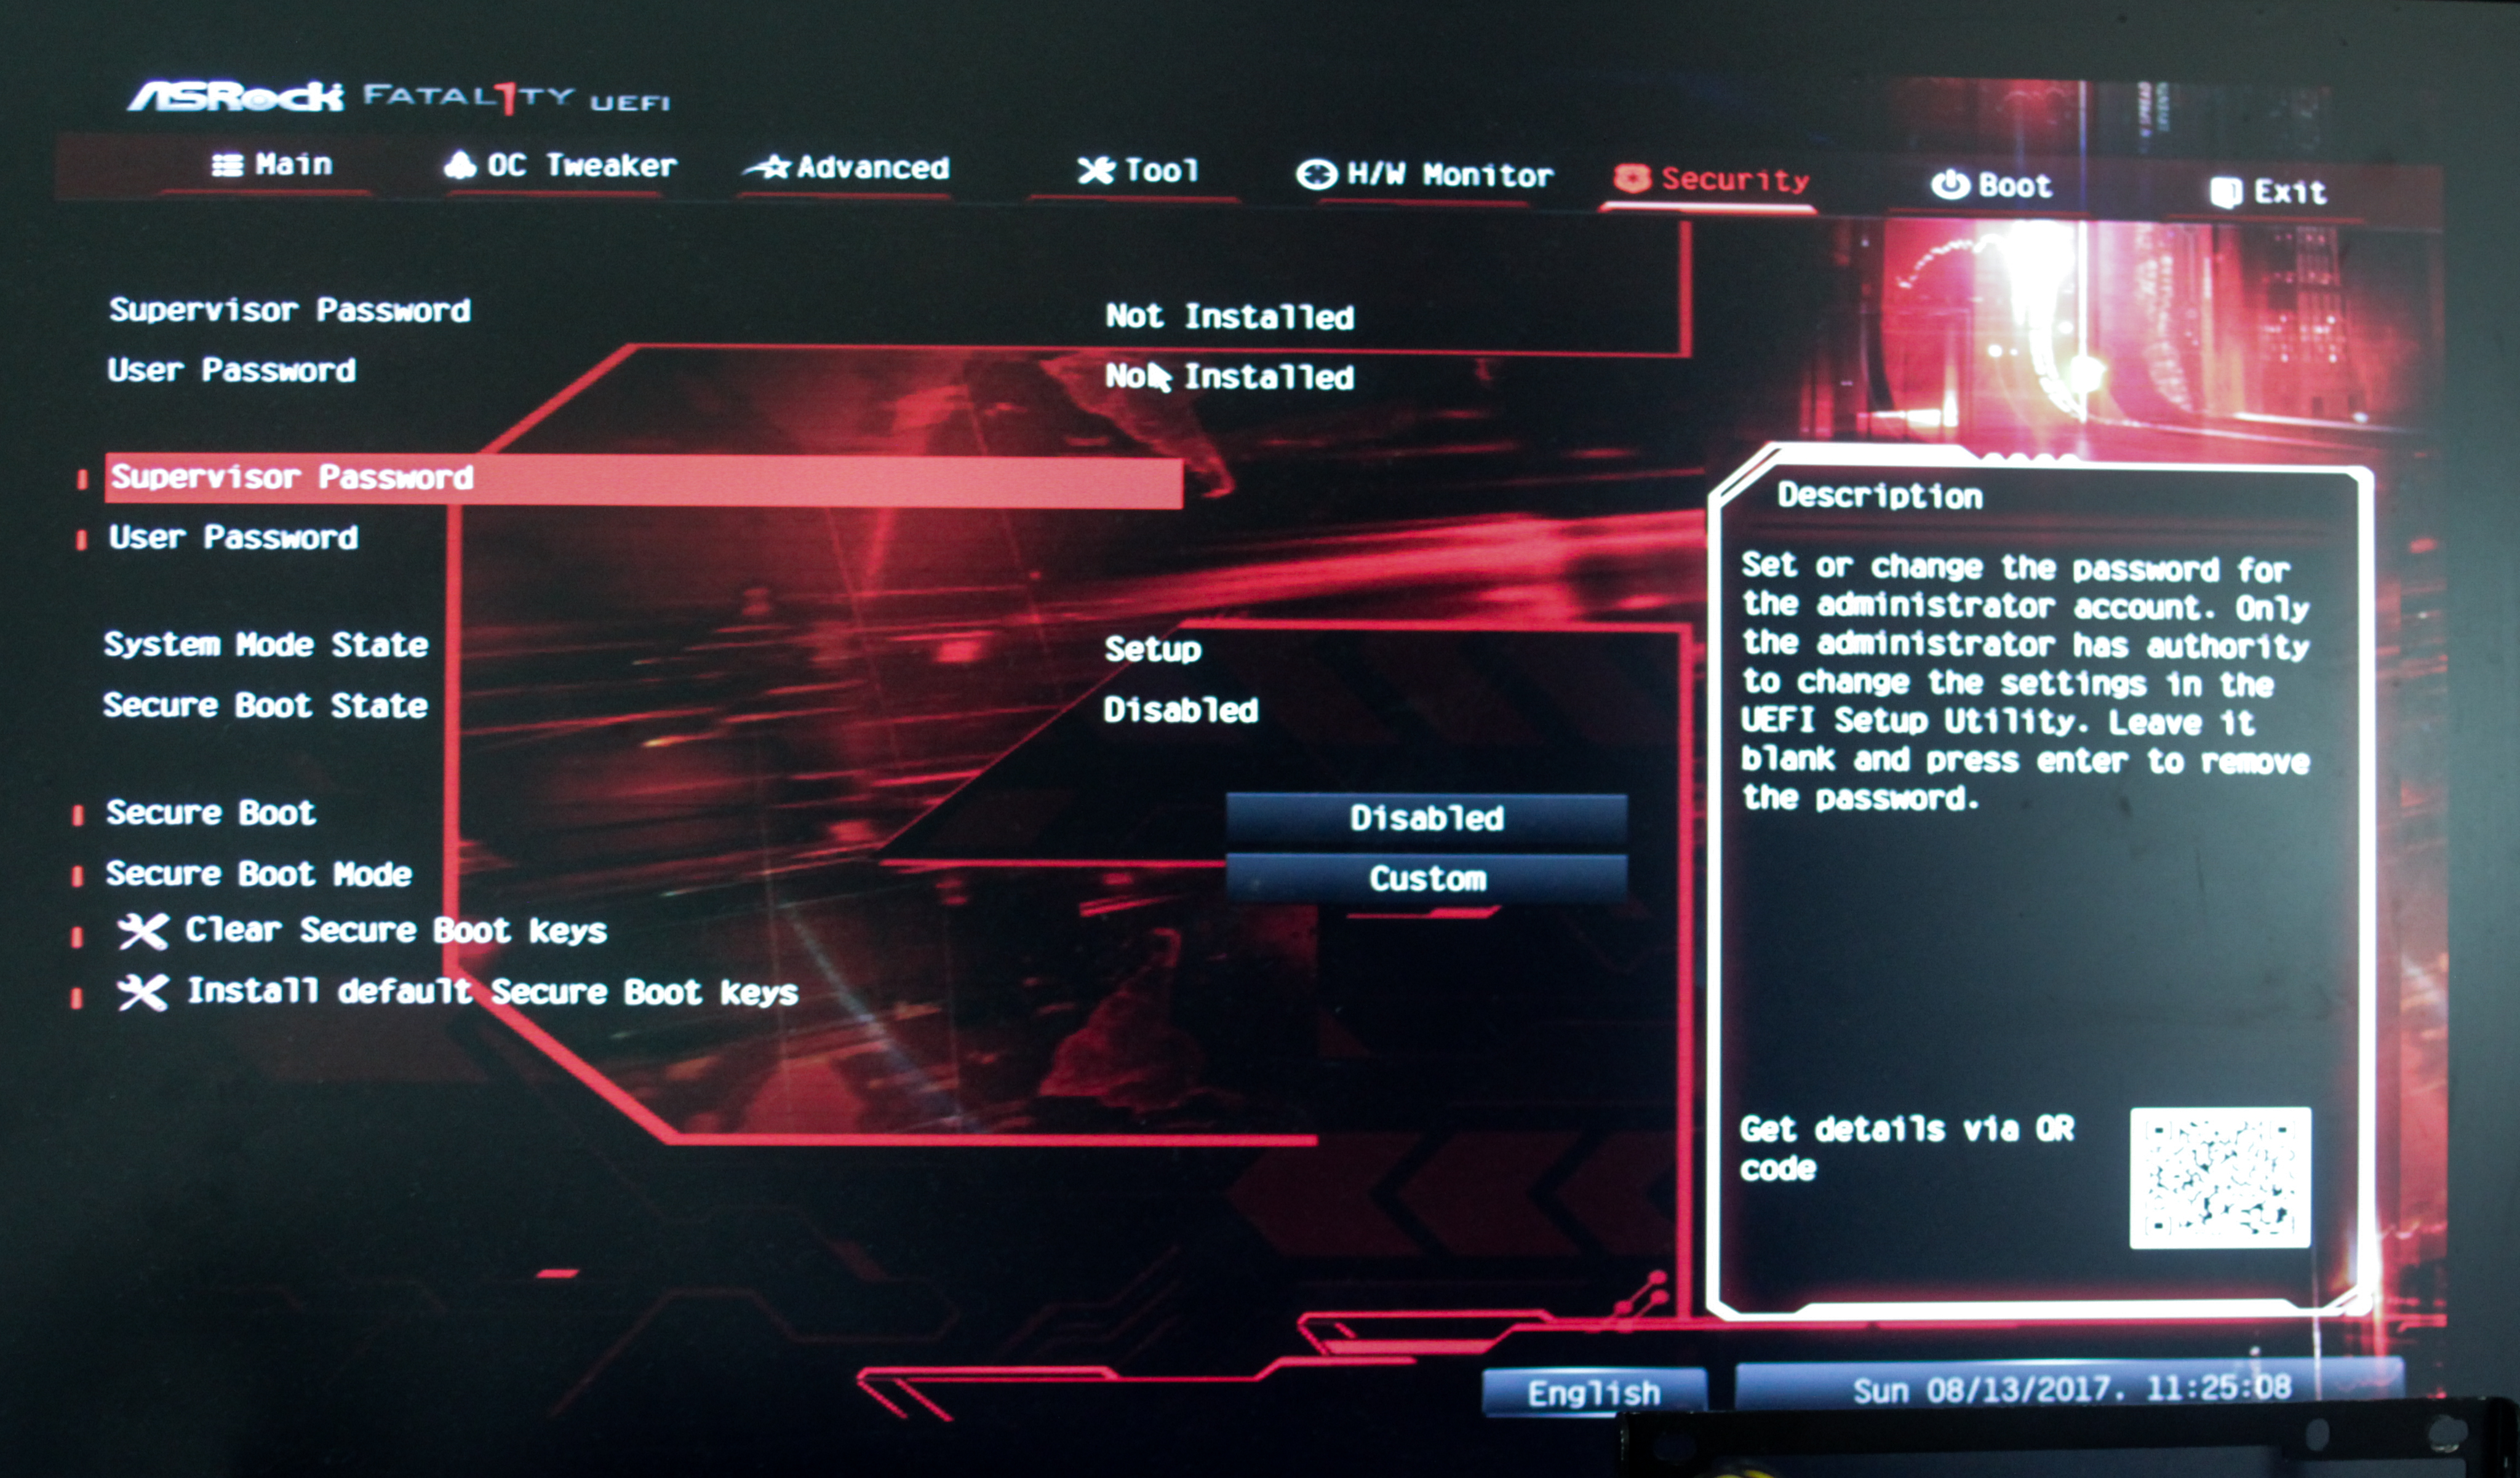
Security stuff, we all know how this works.
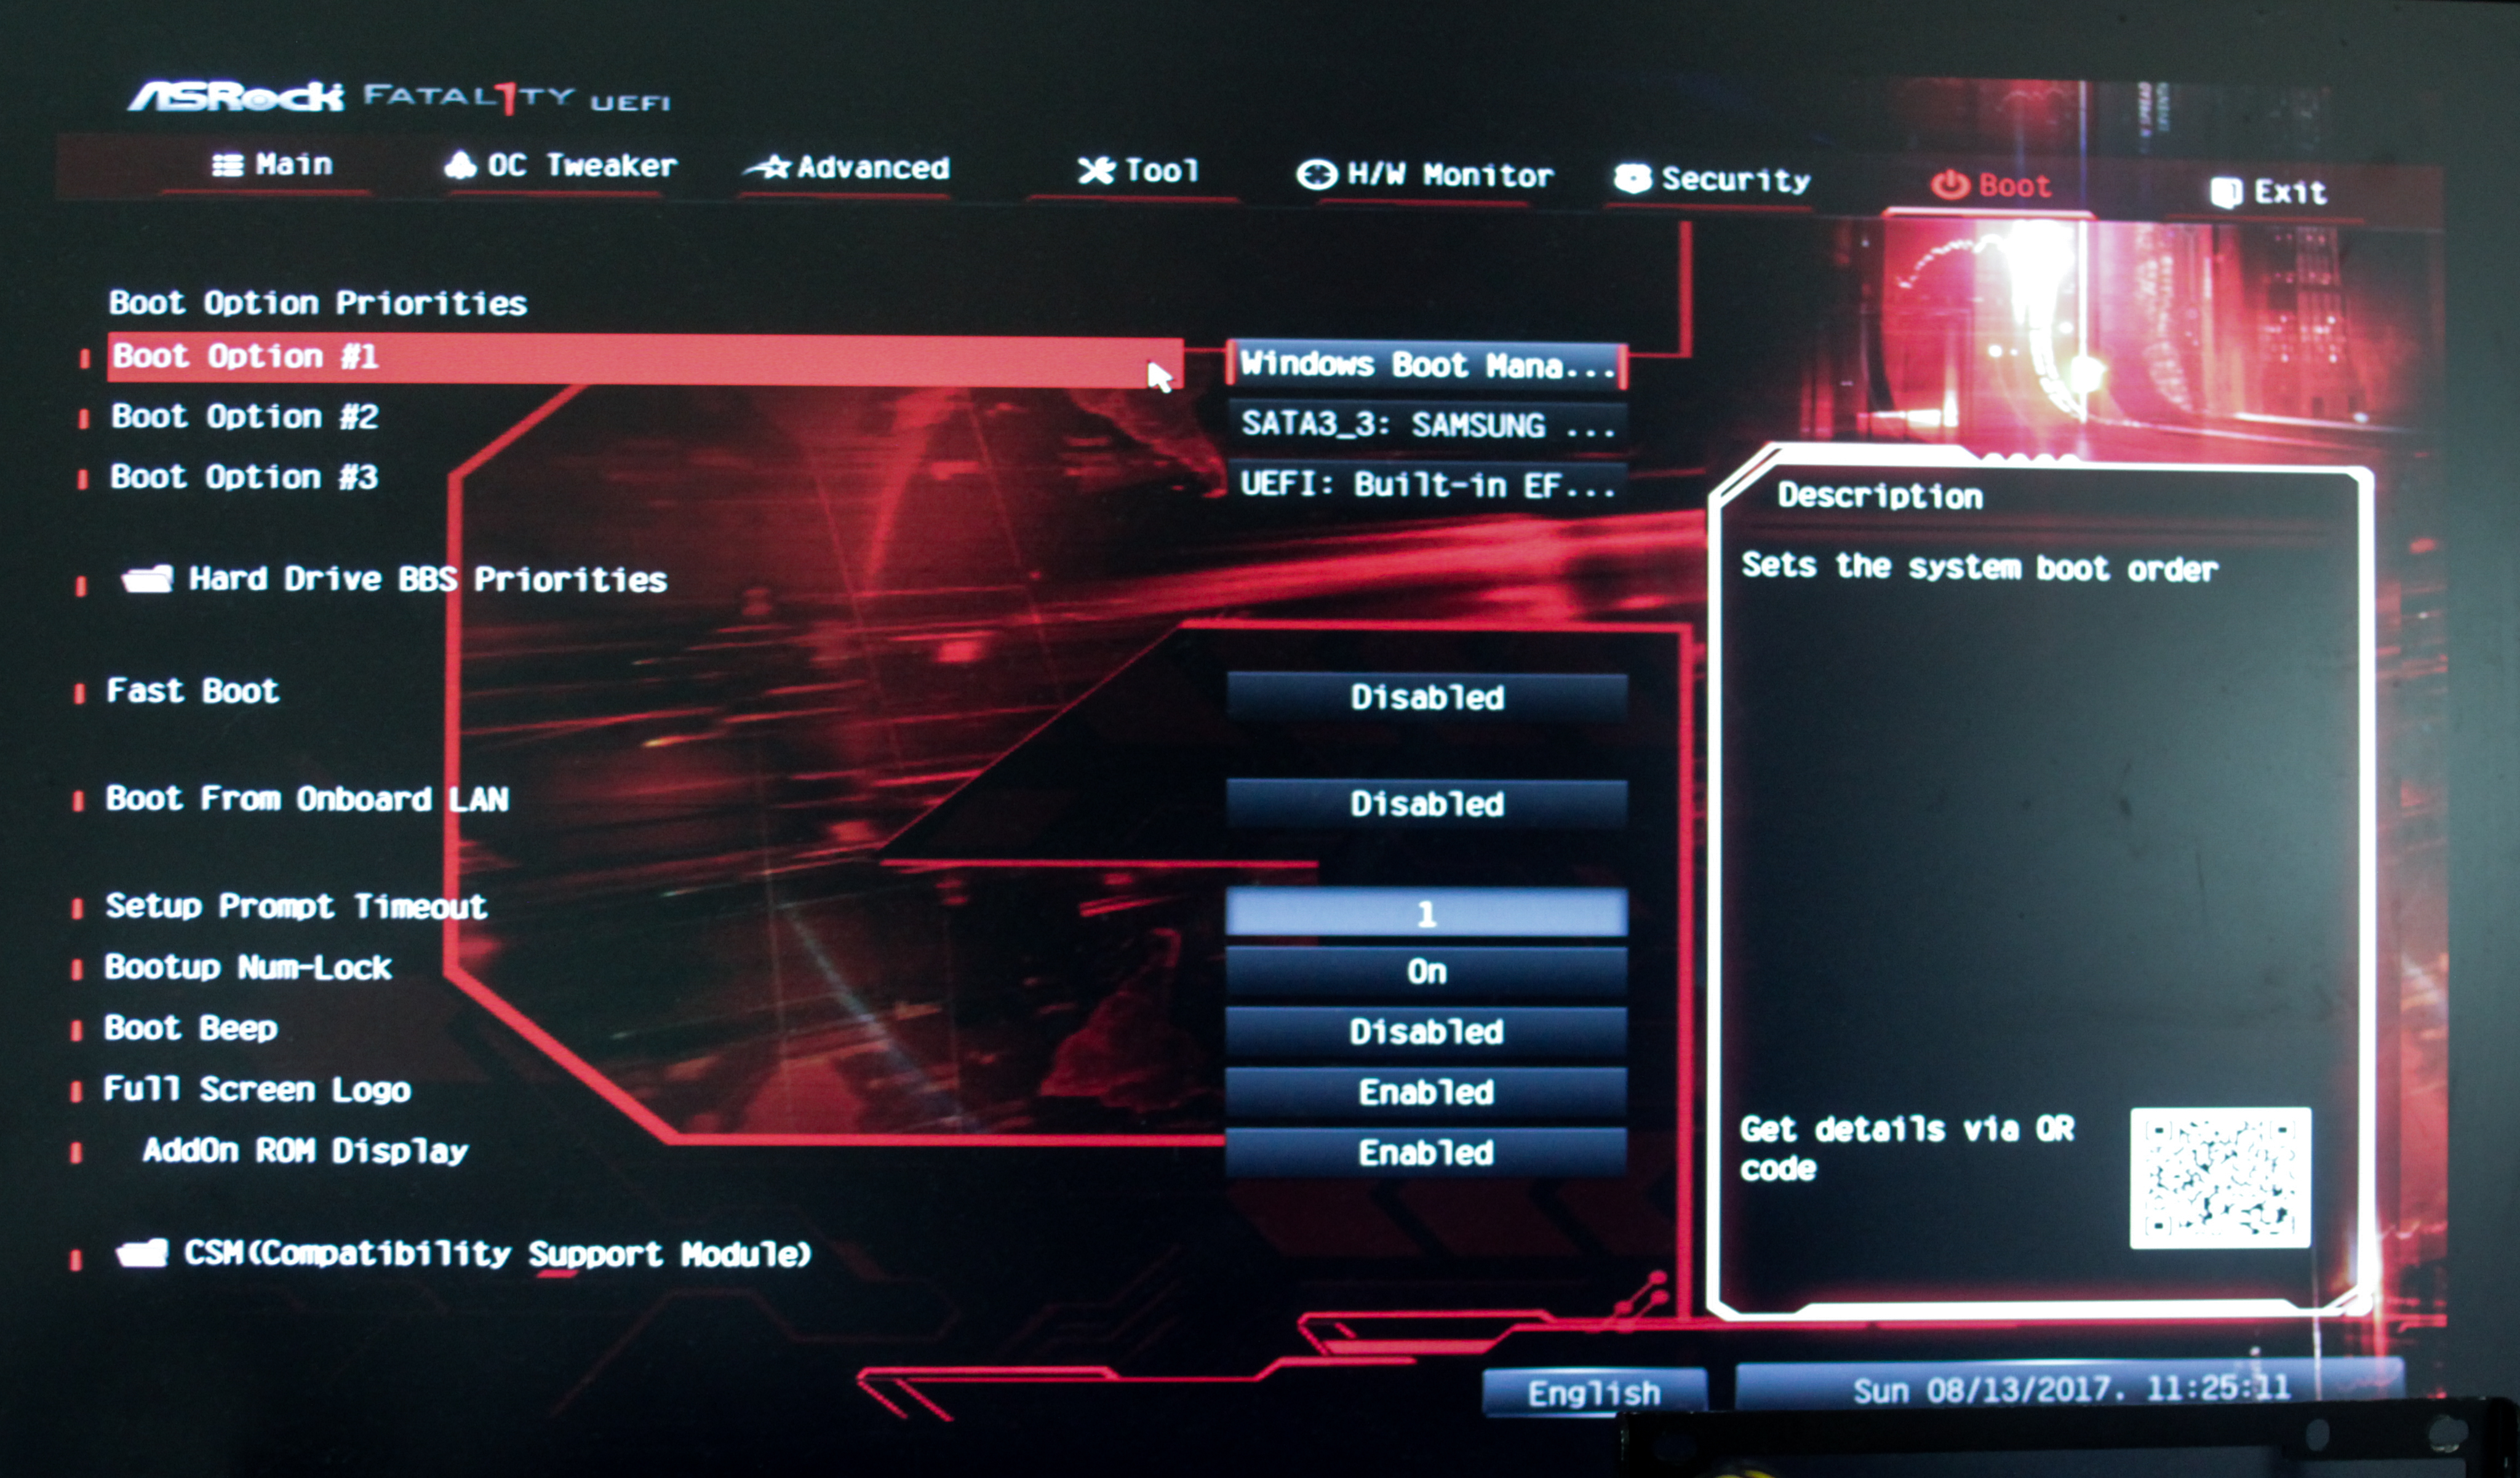
Boot options, priorities, and a few other options. Pretty self explanatory.
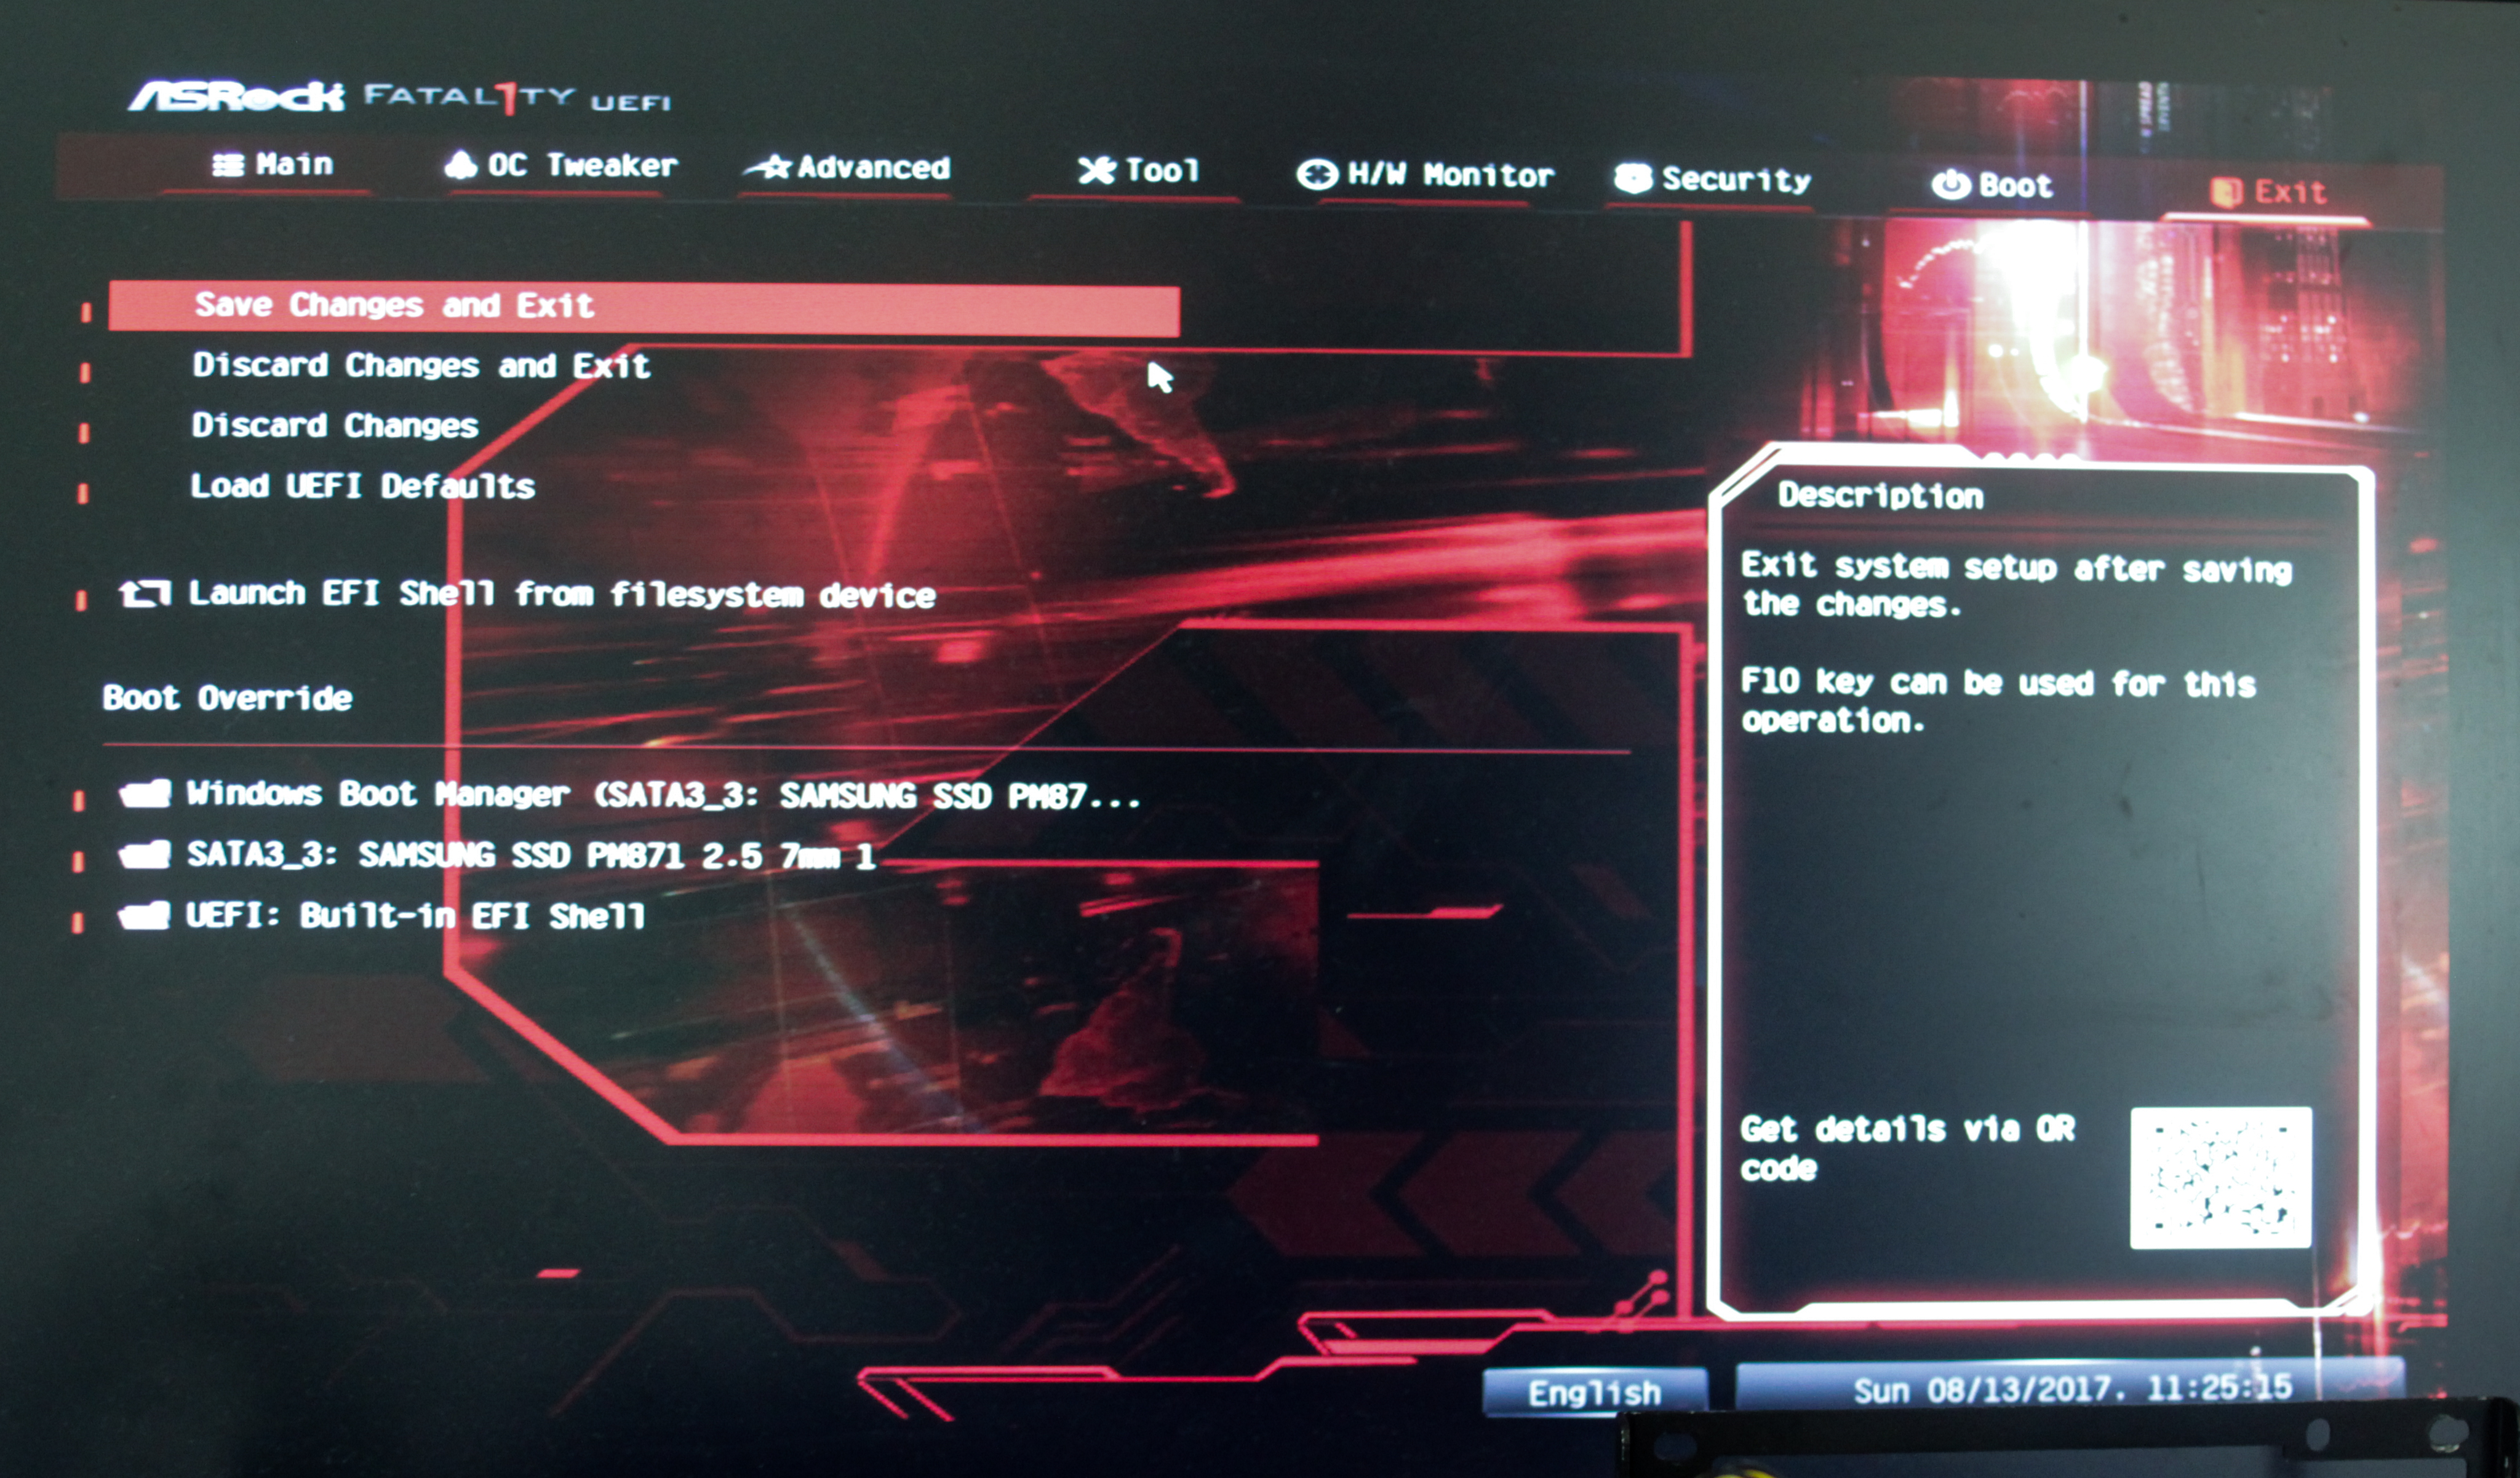
Annnnnd the final menu, the Exit tab.
[mks_separator style=”blank” height=”2″]
The Build
To test the ASRock Fatal1ty X370 Gaming-ITX/ac, and AB350 variant we used the following hardware and configuration;
| Motherboard | ASRock Fatal1ty X370 Gaming-ITX/ac, ASRock Fatal1ty AB350 Gaming-ITX/ac |
| Case | Open bench |
| CPU | AMD Ryzen 5 1600X |
| RAM | G-Skill Flare X 16GB 3200 MHz F4-3200C14D-16GFX |
| SSD | Samsung 800 Series 128GB |
| GPU | Gigabyte GTX 750TI 2GB OC LP |
| Power Supply | FSP Dagger 600W |
| CPU Cooler | Noctua NH-L12 |
| Display | AOC 23.6″ LCD, 1080p |
| BIOS Version | V3 |
Building the systems on these two boards was a breeze. No component conflicts were found, the boards clearly adhering to the AMD keepout zones. Headers and plugs weren’t too close to each-other, so plugging in all the extraneous cabling on the test bench was a no-brainer.
The systems booted first time, which always instills confidence.
With that, lets see some results from my testing!
[mks_separator style=”blank” height=”2″]
The Results
As performance results are useless without a control, or the very least, a couple of alternate motherboards, I only went for outright overclocking limits on this round of testing. In the future, once we have looked at numerous AM4 motherboards, I will look at a performance roundup of sorts.
Maximum RAM Overclock: DDR4-3600, 1800MHz, 18-18-18-18-38-48 at 1.4V. No matter how I tried, I couldn’t get this to boot any faster, even for just a moment. This clock speed wasn’t 100% stable either, which is a shame – I managed to get DDR4-3600 stable, with the same RAM on another board, and even a mildly stable DDR4-3733.
Maximum CPU Overclock: 3990MHz, 1.425V, Stock cooling. This was the fastest stable configuration I could get without spending hours tweaking. From there I pushed on, trying to get the fastest CPU overclock that was bootable, even for just long enough to get a CPU-Z validation. 4.0… 4.1… 4.15… 4191MHz. Woohoo!
Keep an eye out for an upcoming AM4 ITX roundup, where I will compare performance of these boards versus the Gigabyte AB350 and Biostar X370 boards!
[mks_separator style=”blank” height=”2″]
The Software
Like most motherboard manufacturers, ASRock supplies custom software to add to the experience of your new system – utilities such as overclocking tools, customisation utilities and other configuration programs.
ASRock doesn’t go all-out like other manufacturers on software bloat, just a simple OC tool is provided, as well as an APP Centre style program, and the usual RGB control software.
ASRock Fatal1ty F-Stream software provides overclocking controls from within Windows.
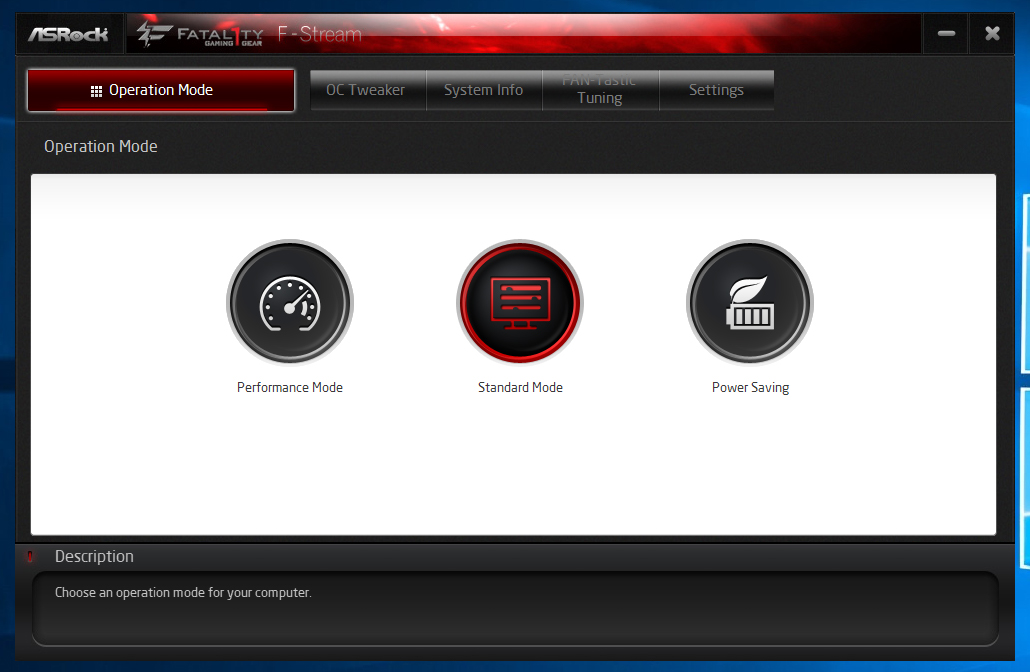
Upon opening the F-Stream app, we are greeted with three options – Performance Mode, Standard Mode and Power Saving. When one clicks on the Performance mode option, an “Advanced” button appears. ooooh, whats that?
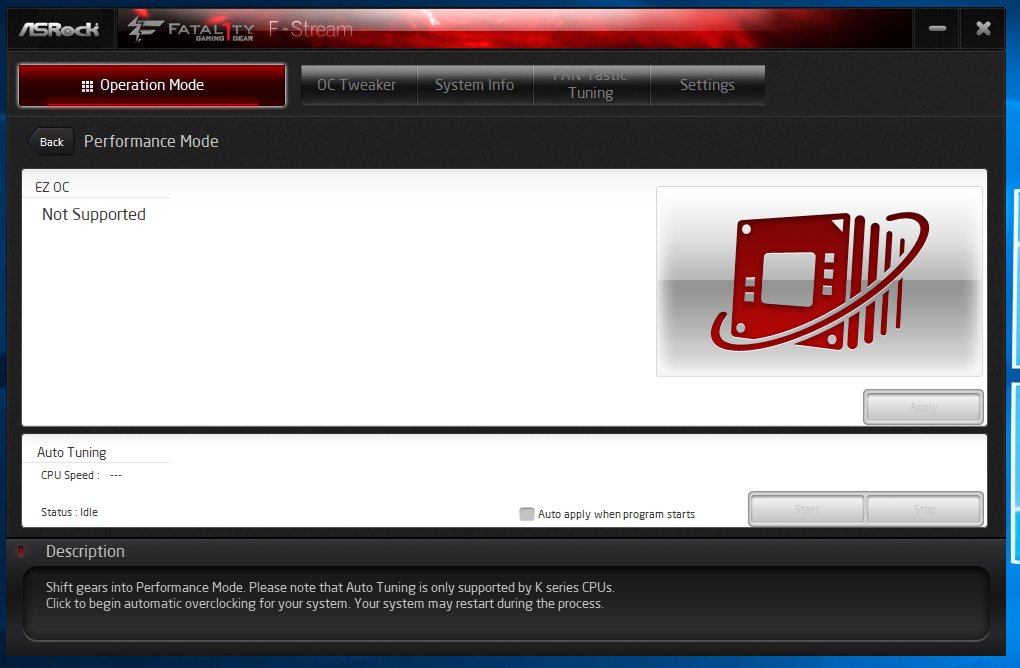
Stuff we can’t use. ASRock tailors each version of F-Stream software for each model motherboard (the software is not inter-compatible between the AB350 and X370 boards, they have different software revisions!), but yet they leave this in? The AM4 platform is universally overclockable, yet the utility states that Auto Tune is only available to (Intel) K series CPUs.
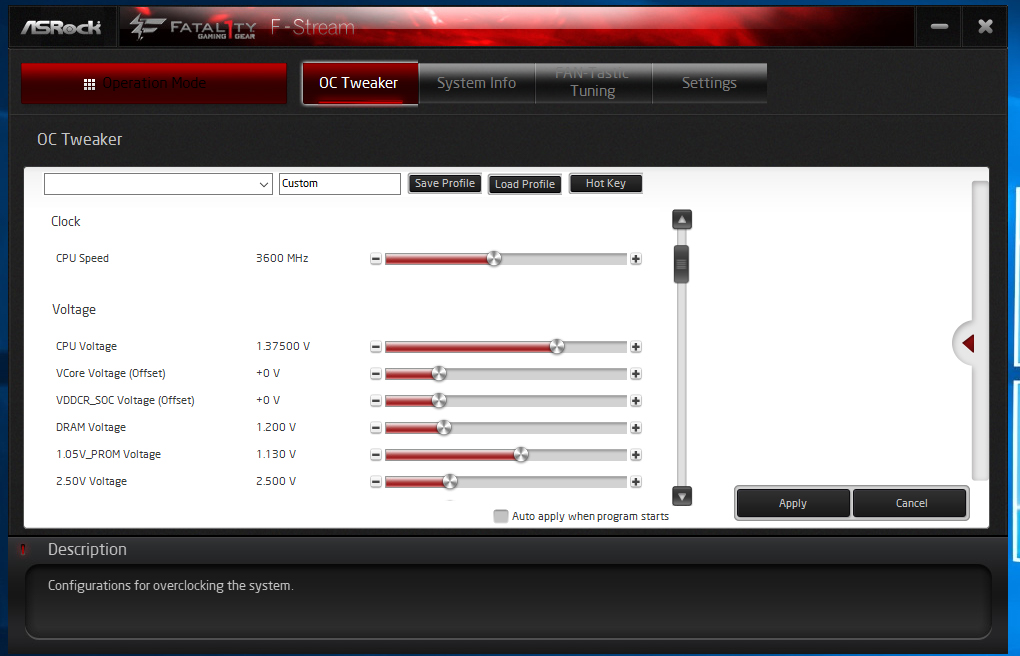
Lets do this manually then. Here you can find the manual sliders for many different options, including CPU speed (this changes the CPU clock multiplier), and voltages across the system.
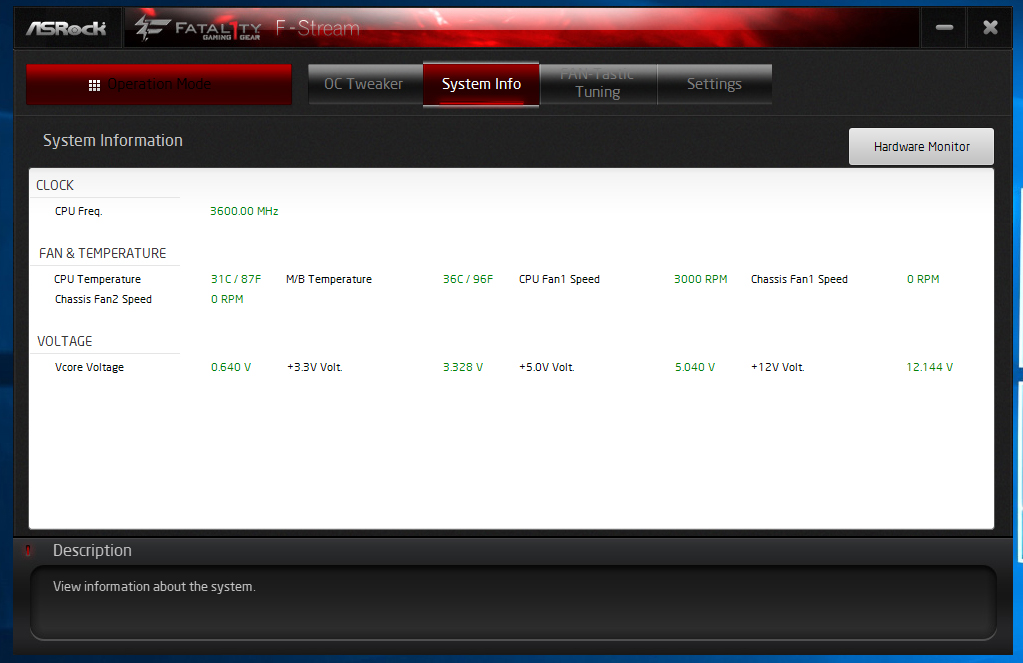
System Info – not much to say here, except that the CPU temperature is correct, and not offset by the Ryzen temperature issue (an inbuilt temperature offset in the CPU).
Pun intended.
So many settings!

The APP shop software enables easy download of utilities, BIOS, drivers and… gambling games? Ugh. ASRock, not a good look – customers pay good money for their motherboard, and they don’t want to be advertised to, especially in this manner, from their own system. Also, we want people of all ages to get into DIY system building, and gambling software is not a good influence on the younger amongst us.
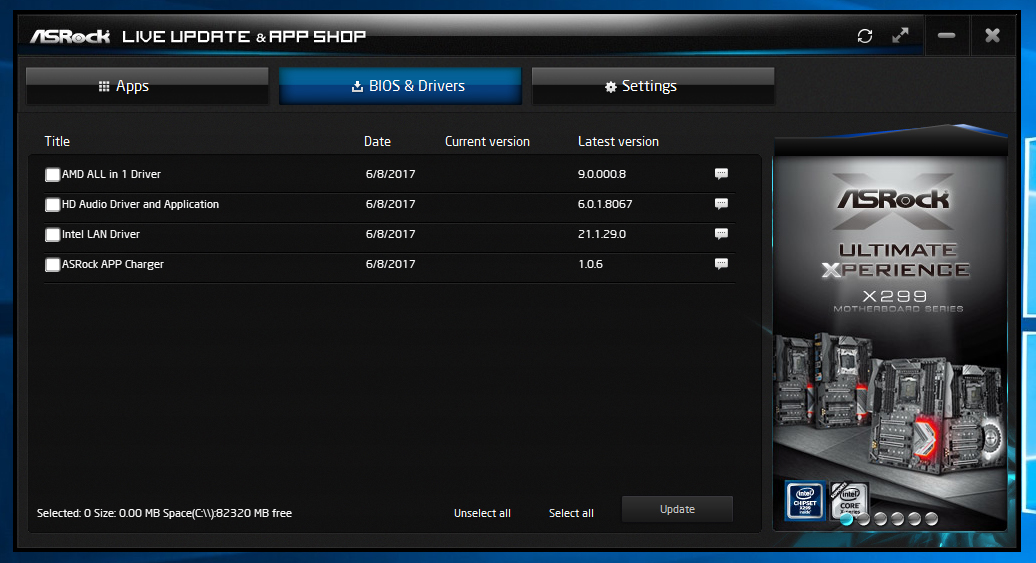
The drivers and utilities page is a handy feature though, meaning that you don’t have to find your motherboard’s software support page on the ASRock website every time you want to add a specific bit of ASRock software. Once installed though, most software packages auto-update, so over time this feature would become less useful.
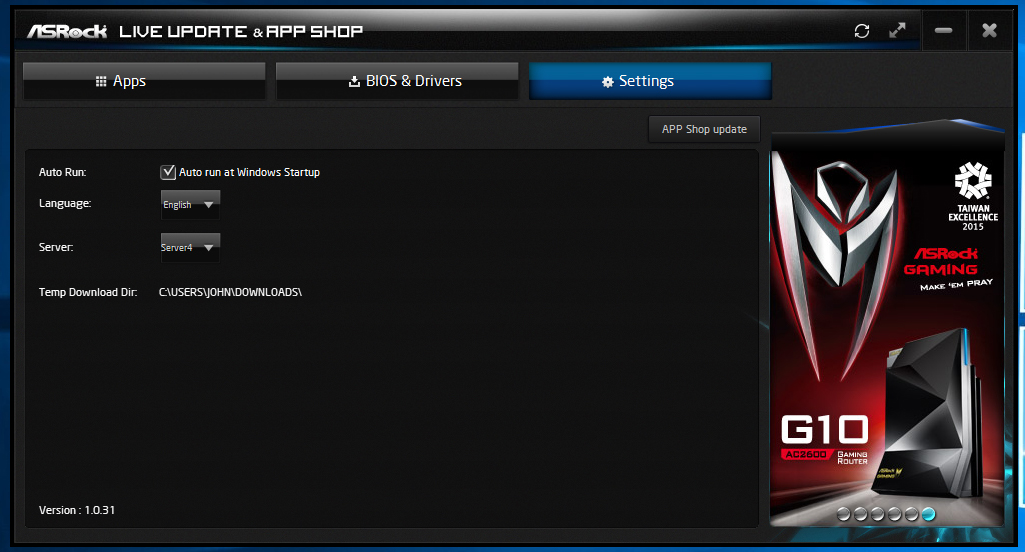
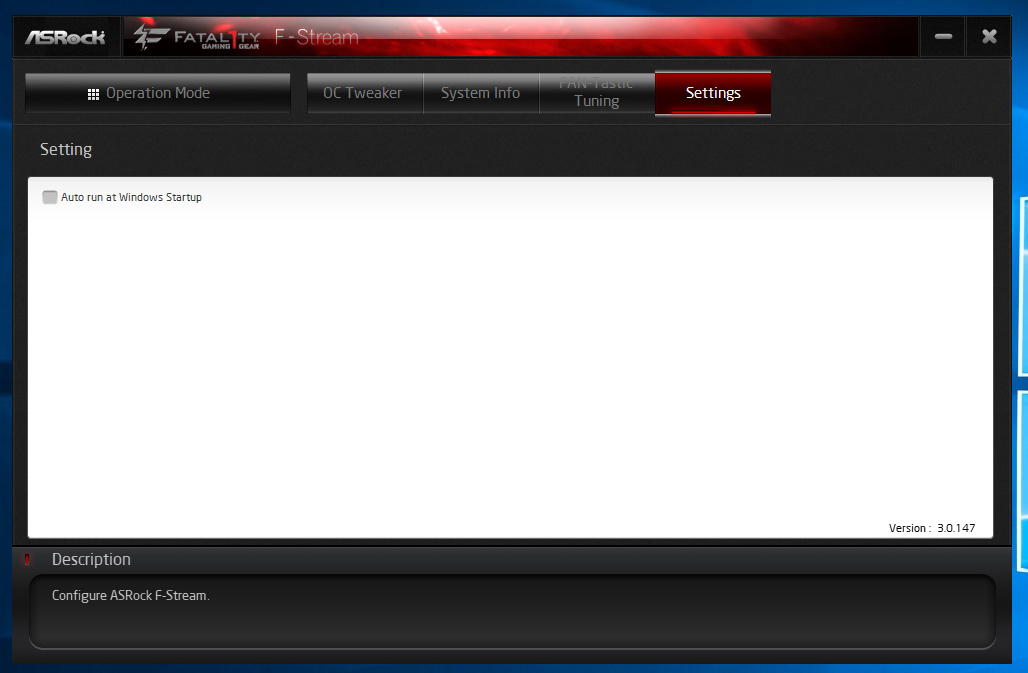
Handy settings to change here, including download location, which is great for those with a small boot SSD and larger secondary drive(s).
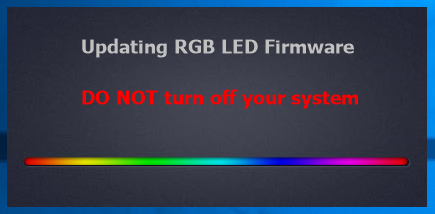
RGB ALL THE THINGS! On first boot of the ASRock RGB LED software, it will update the board’s RGB controller firmware.
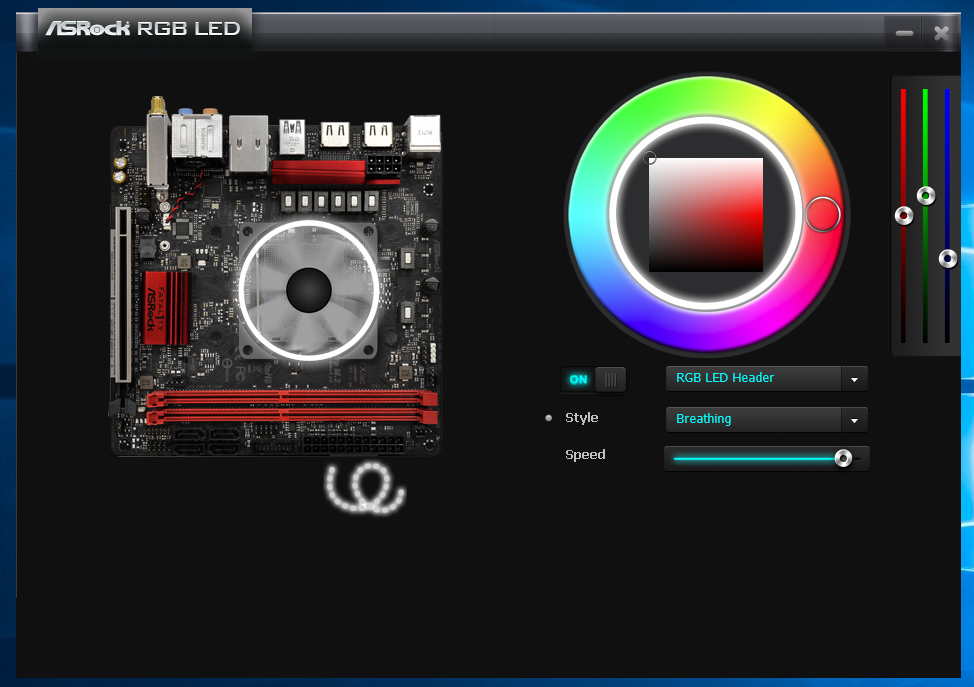
A pretty simple app, which unlike other companies’ software, actually shows your motherboard as the graphic. Only one LED colour can be set, which is applied to both the CPU cooler RGB header and (auxiliary) LED header. All or nothing, baby.

Quite a few options are available for the light mode.
[mks_separator style=”blank” height=”2″]
The Bifurcation
PCIe bifurcation is a major discussion point within our community, with the possibility of splitting up your single PCIe slot into dual (or more) expansion slots. This can be achieved on boards that support it, by either a passive or active riser, depending on the situation and board support.
To test support, I use an Ameri-Rack ARC1-PELY423-CxV3 riser, which is an active riser, using the P16C20400SLE chip, some passives, and a flexible ribbon cable. In addition to this, I install an EVGA GT210 GPU and a RAID card (PCIe x4 card) or a Realtek NIC (PCIe x1) in the two slots on the riser. I test in both configurations (hence using the single slot card!).
To put it simply, it works. On both the X370 and AB350 variants. Noting that I manually set the bifurcation setting to x8, x8 in UEFI, the riser that we test with enabled both the GPU and RAID card to work perfectly. Woohoo! I had zero compatibility or conflict issues, it just works.
I even slotted in a GTX 750 ti alongside the GT 210, and well, the GT210 was having none of it. The system booted, but it was showing errors in Device Manager and was not outputting video. I am not sure whether this was just a nVidia issue or a card issue, but it wasn’t happy.
[mks_separator style=”blank” height=”2″]
The Experience
Zero issues, complete confidence and a great experience all up would be the best way to sum up my experience with the ASRock Fatal1ty AB350 Gaming-ITX/ac and the ASRock Fatal1ty X370 Gaming-ITX/ac boards. Apart from a failure of my own – accidentally reinstalling the VRM heatsink backwards after taking photos of the chips and thus causing major cooler mounting headaches – building on these boards was a breeze. The UEFI environment works well and, while having some insane depth, is usable by all but the most novice user.
[mks_separator style=”blank” height=”2″]
The Conclusion
My second (and third really) experience with the AM4 platform, and this just keeps getting better. While the cheaper Fatal1ty AB350 Gaming-ITX/ac board matches the Gigabyte board I reviewed last week, the feature set is different enough to make it difficult to choose between the two. On the one hand, the Gigabyte board has a better rear I/O selection, and better overclocking, the ASRock offering provides PCIe bifurcation, a better layout for those who don’t like the Gigabyte option, and a better wired ethernet solution. To be honest, I couldn’t pick between the two, and it all comes down to brand loyalty, availability or layout, to make that decision for you.
The Fatal1ty X370 Gaming-ITX/ac on the other hand, is a strange option. For an extra US$45, you get a better WiFi solution, the X370 chipset, but not much else that I could determine. Overclocking felt the same, the layouts are identical (down to the PCB level!). The value proposition here is harder to justify, but once again the feature set and layout may be the determining factor.
If the layout or branding suits, I can recommend either board, depending on your budget. However, if it came down to it, the ASRock Fatal1ty AB350 Gaming-ITX/ac offers the best value option, and thus sits equal in my mind to the Gigabyte AB350N-Gaming WIFI I reviewed last week. The ASRock Fatal1ty X370 Gaming-ITX/ac comes a close second, but a second nonetheless.
Pros
- Best UEFI experience I have come across
- Great build quality
- Screws instead of pushpins
- Robust WiFi card mounting
- Intel Gigabit Ethernet
- Intel WiFi
Cons
- Tighter cooler clearances due to layout
Niggles
- I would have liked a little more differentiation between the two models, especially with an approximate $45 price difference
The ASRock Fatal1ty X370 Gaming-ITX/ac is available on NewEgg for US$159.99 at the time of publication.
The ASRock Fatal1ty AB350 Gaming-ITX/ac is available on NewEgg for US$114.99 at the time of publication. (Albeit out of stock)
The Forum
Discuss this review in the ongoing discussion thread in our community forum.