
Welcome to this review of the EVGA X99 Micro2 motherboard, a much needed refresh of the X99 Micro, a board that EVGA had released last Fall with the launch of Intel’s X99 platform. The original Micro wasn’t a terrible product but it had several deficiencies that prevented it from being a great board. So does this sequel address the shortcomings of its predecessor? Let’s find out!
First off, this is an Intel X99 motherboard in the microATX form factor. Like the original, the Micro2 features an Intel socket 2011-3, four DDR4 RAM slots, three PCIe slots, and a M.2 slot.
Specifications
- Chipset – Intel® X99 Express
- SLI – Up to 3-Way SLI
- SATA – 10 Native SATA 6.0Gb/s Ports
- USB – 1 USB 3.1 / 6 Native USB 3.0 / 6 USB 2.0
- Memory – 4 DIMM Quad-Channel DDR4 3200MHz+ (OC) (Up to 64GB)
- Capacitors – 100% Solid State
- Form Factor – mATX
- Ethernet – Intel® Gigabit NIC
- Audio – 8 Channel High Definition Audio + Optical
- M.2 Socket M Support 32Gbps
- PCB – 8 Layers
Features
- Highly Efficient 6-Phase Digital VRM
- Onboard Power, Reset and Clear CMOS
- EVGA E-LEET X Tuning Utility
- Onboard CPU Temp Monitor
- Black Nickel CPU ILM
- Built in USB 3.1 Type-C Port
- Audio Isolation for Superior Sound
External I/O
- 4x USB 2.0
- 4x USB 3.0
- 1x USB 3.1 Type-C (ASMedia ASM1141)
- 1x Gigabyte LAN (Intel i217)
- 8 Channel Audio + Optical (Realtek ALC1150)
Internal I/O
- 1x USB 2.0 Header (2 Ports)
- 1x USB 3.0 Header (2 Ports)
- 10x SATA3/6G Ports
- 5 fan headers
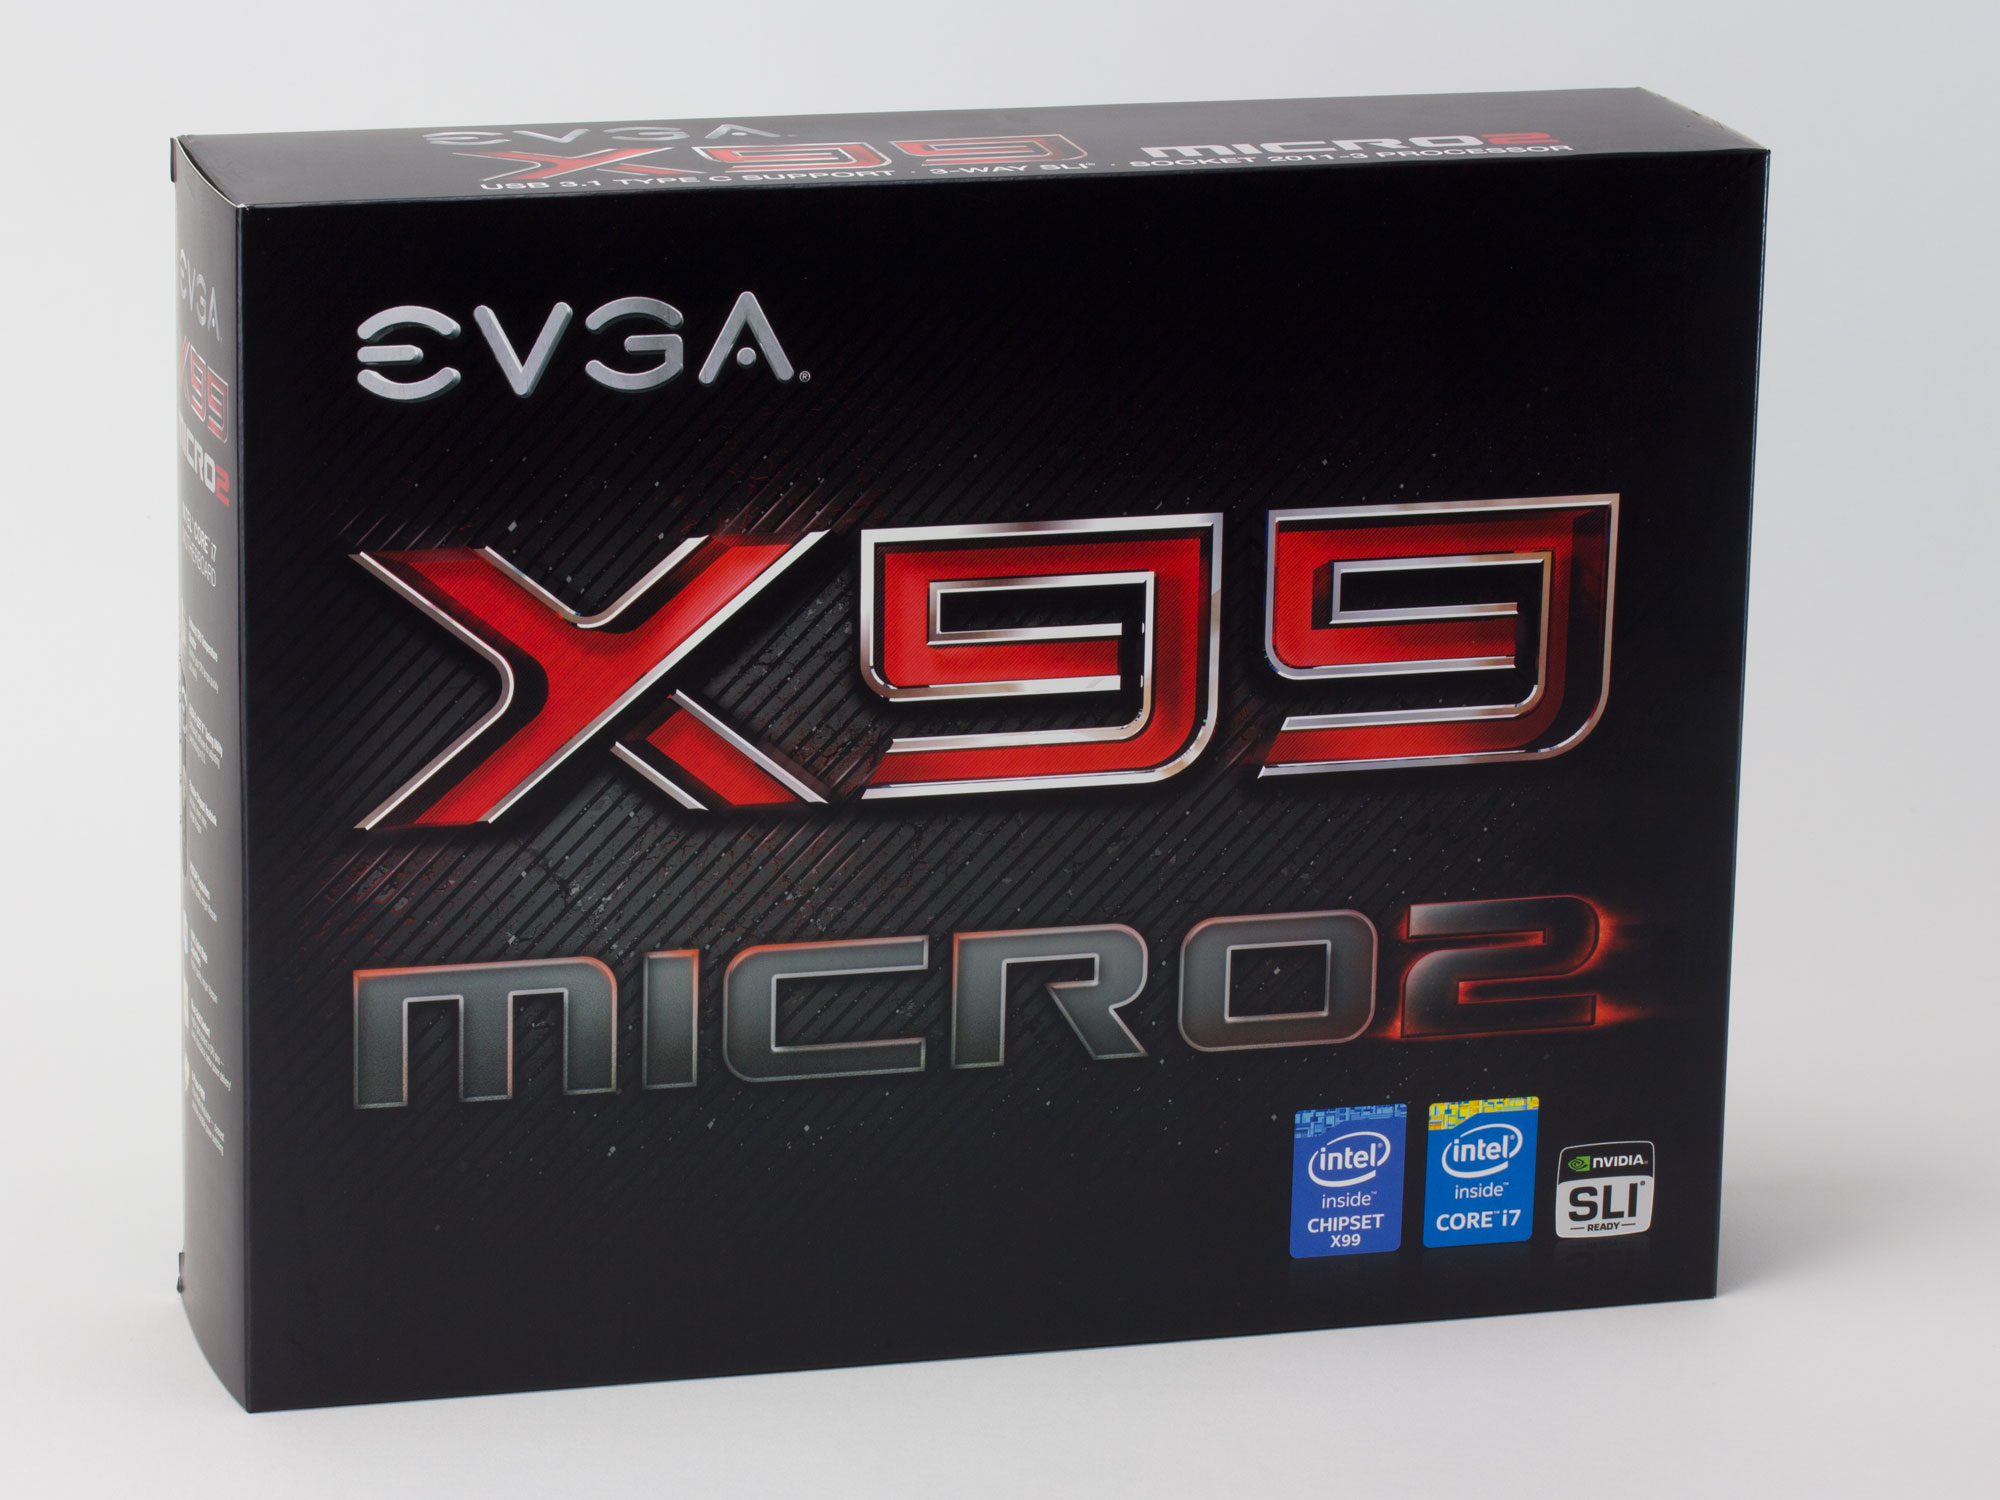
Box looks much the same, with just the addition of a smoldering “2” to denote this is the new model.
Accessories

For accessories the X99 Micro2 comes with a user manual (in two parts), driver CD, EVGA case badge, 4 SATA cables (at least the manual says it should, I only got two), IO cover and two screws for it, and an IO shield.
The IO cover is attached by threading the screws through the tabs in the cover and through the motherboard into the mobo standoffs. It especially goes well with the Micro2 by covering the shiny metal of the IO ports to match the blacked out look of the rest of the board.
Once again the manual is just barely adequate. It covers most of the basic specs but is nowhere near as in-depth as the manuals for other boards in this price range from other companies.
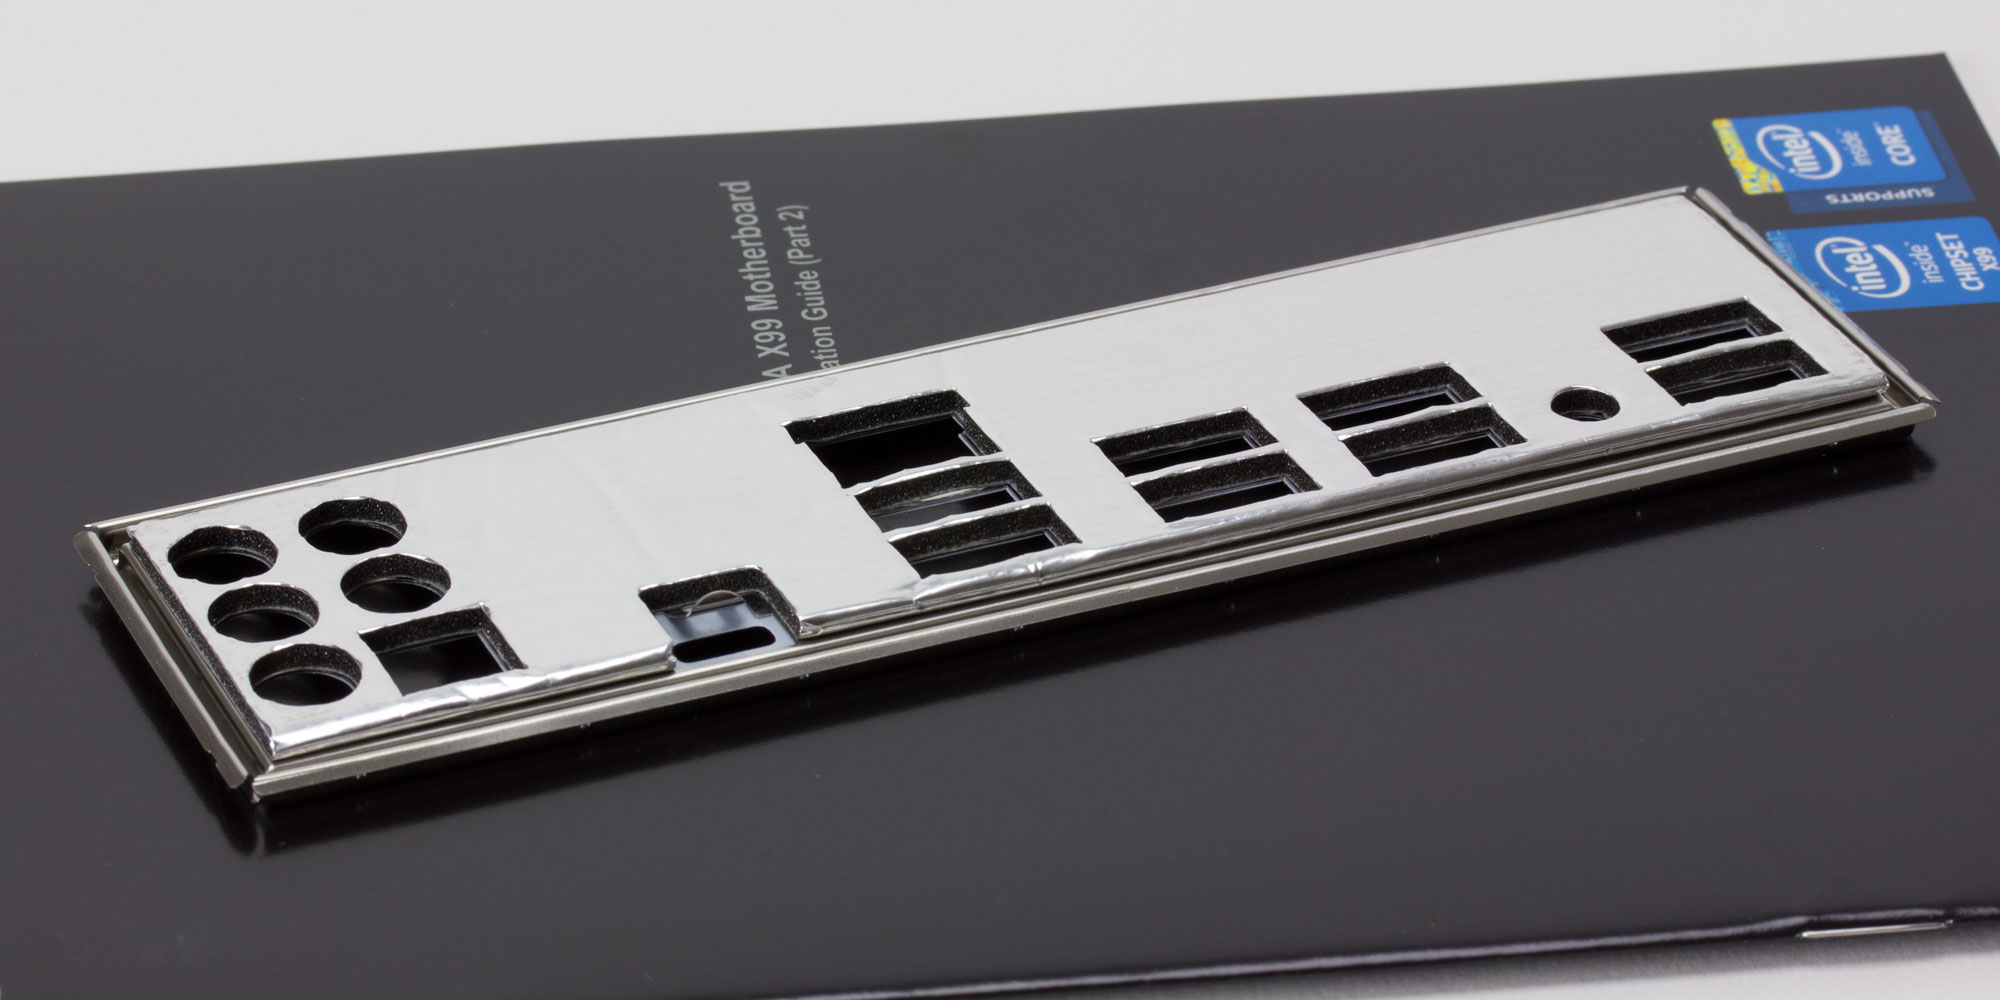
The IO shield is a very nice step up from the cheap, bare-metal one that came with the Micro1. This one is black on the outside and padded on the inside. Some motherboards have excessively thick padding on their IO shields that make it difficult to install the motherboard into the case but this one is just right.
This fancier IO shield seems to have come at the expense of the SLI bridge though, so anyone planning to go that route will need to source a bridge seeing as the Micro2 does not come with one.
The Board
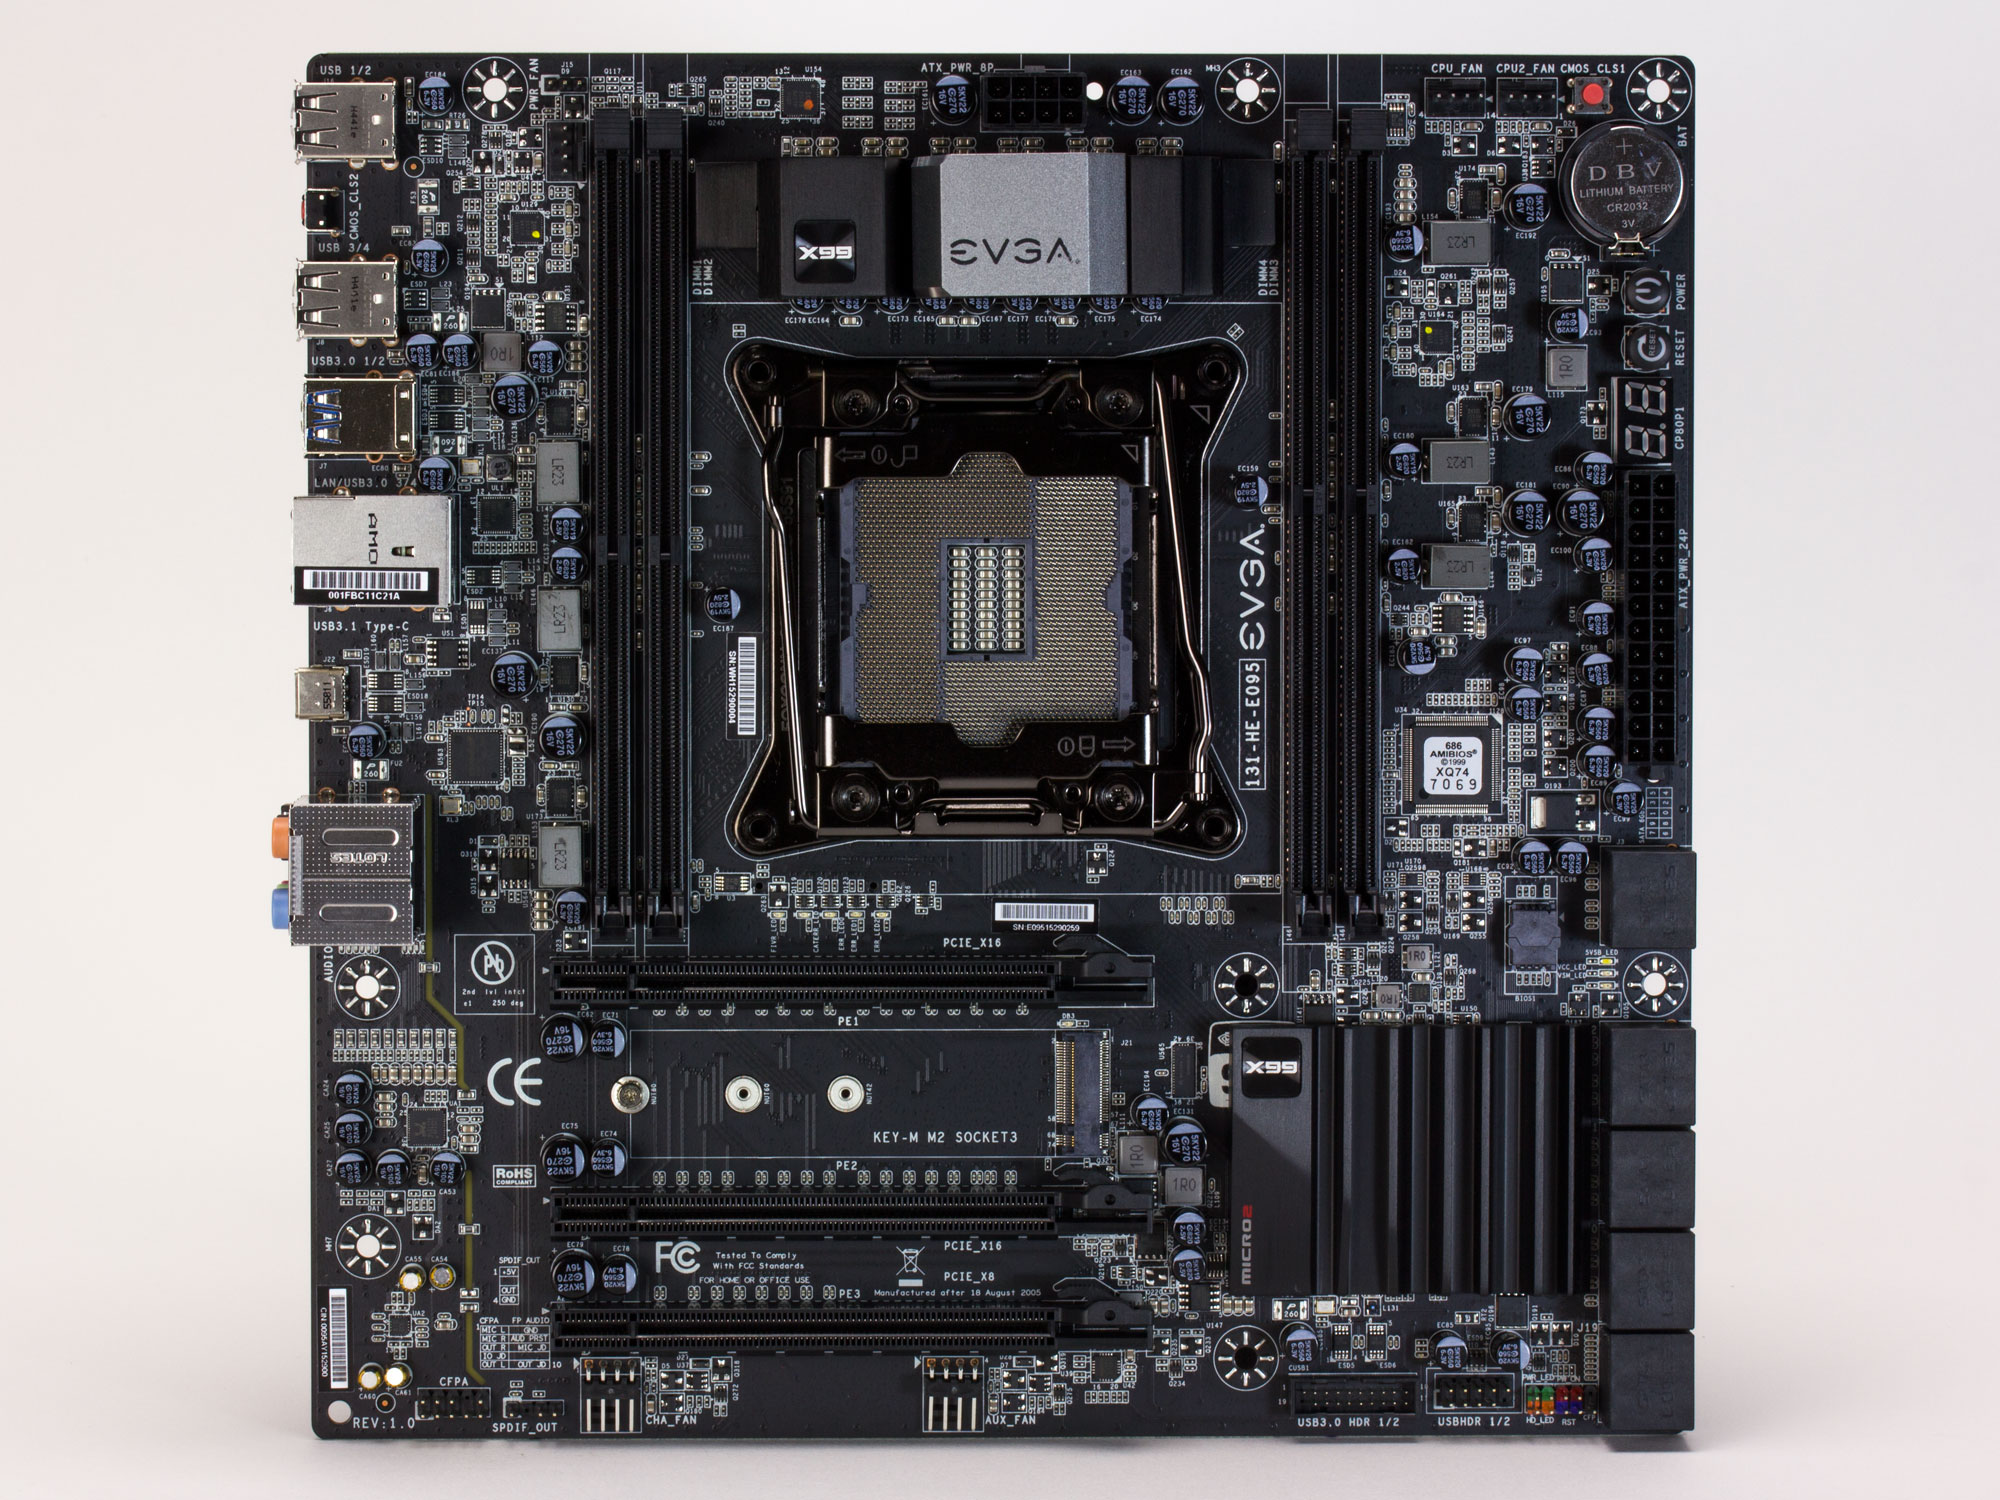
The Micro2 is very similar to the Micro1 with a few notable differences. Most striking at first glance is the new look, the Micro2 is sporting blacked out capacitors, a black nickel CPU socket, and a matte black PCB. Looks are subjective of course but I find this refresh to be a huge improvement aesthetically.
The CMOS battery has been relocated from between the PCIe slots to the upper right corner of the motherboard. I have to applaud EVGA for this because while it was done to make more room for the M.2, this has got to be one of the most accessible CMOS batteries I’ve ever seen.
Below the CMOS battery are the power and reset buttons and the diagnostic LED.
Another nice upgrade over the Micro1 is the bottom of the RAM slots are now tab-less. This makes it possible to install and remove the memory without having to mess with the video card. Before it was necessary to remove the video card in order to have enough room to undo the bottom RAM clips.

The Micro2 ditches the Key-E M.2 for a Key-M 32Gb/s PCIe 3.0 x4 connector that’s suitable for high-performance SSDs. It’s compatible with both SATA and PCIe, including NVMe, but M.2 is still very new and compatibility can still be iffy so it may pay to contact EVGA and double-check before purchasing a newly released drive. The M.2 slot can take drives in 42mm, 60mm, and 80mm length. Note, when the M.2 slot is populated, the bottom PCIe slot will be disabled. Edit: After further testing, the BIOS option description is incorrect and it actually is shared like the manual says. So with a 40-lane CPU the bottom PCIe slot will be reduced to 3.0 x4 when the M.2 slot is enabled, the bottom slot will still be disabled with the 5820K when the M.2 is turned on.
Edit 2: After being alerted to the issue by a reader, I checked again and it seems the bottom slot is disabled when a M.2 drive is installed. What threw me off is when the setting is turned on but the slot is empty, a video card in the bottom slot drops to x4 but still works. However, when the slot is populated, I couldn’t get any video out of it.
There are three PCIe slots, all x16 physically. From top to bottom they run in a x16 / x16 / x8 lane configuration with the 40-lane 5930K and 5960X. With the 28-lane 5820K it’s a x16 / x8 / x4 config.
Visible here is the isolated audio section for reducing electrical interference from the rest of the motherboard. The line dividing the audio area is subtly backlit by a white LED though there’s an option to turn it off in the BIOS. There’s also a Dark Mode option in the BIOS that’s supposed to turn off all the lights but it doesn’t disable the debug LED like it says it’s supposed to.
Rear IO
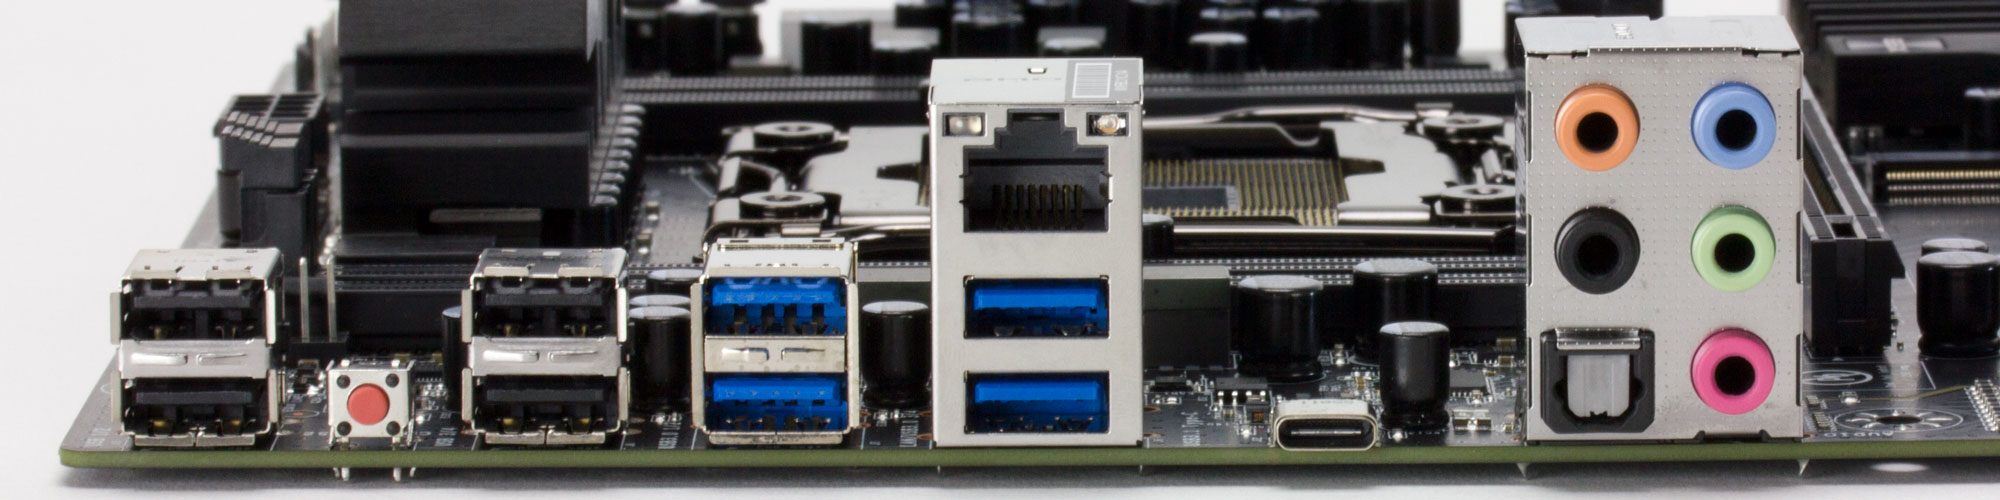
For the rear IO there are 4x USB 2.0, 4x USB 3.0, an Intel gigabit NIC, audio jacks, and a single USB 3.1 (10 Gb/s) Type-C connector. While the 3.1 Type-C is a welcome addition, I’m sad to see two USB 2.0 ports were removed compared to the Micro1. As someone with way too many peripherals I’d gladly trade some of those SATA ports for more USB (seriously, this isn’t aimed at file servers so why 10 SATA ports?). I’d also like to see one PS/2 because, while antiquated, it’s useful to have in case the USB drivers get screwed up in Windows.
BIOS
The UEFI BIOS looks identical to the X99 Micro and the other EVGA X99 boards. It’s simple to navigate and has a decent amount of options. If anyone has a question about particular options let me know in the forum thread and I’ll try to get a screenshot.
Fan Headers
There are five fan headers on the board. CPU_Fan and CPU2_FAN at the top right, PWR_FAN at the top left, and CHA_FAN and AUX_FAN on the bottom left edge of the board.
The two bottom headers are unusual, EVGA decided to make these right-angle but I question that choice. Even with a video card in the bottom slot I didn’t find the fan headers to be an issue with the original Micro so this seems like a solution in search of a problem. If anything, it’ll just make those two headers difficult to use in cases where the bottom of the chassis is right up against the bottom of the motherboard.

Some motherboard manufacturers use ambiguous wording in the manual and spec sheets to cover up that the 4-pin chassis headers are compatible with PWM fans, but only have DC control. Fan control is a pet peeve of mine so I picked up a simple oscilloscope (a DSO Nano v1) to use in conjunction with a PWM y-splitter to verify each fan header. I’m very pleased to report that all the fan headers on the EVGA X99 Micro2 are PWM capable. Not only that, but sometimes the second CPU header is just slaved to the main CPU header, but CPU2_FAN on the Micro2 is independently controllable.
The fan settings in the BIOS are pretty straightforward. There are 3 modes: Smart, Max, and manual. Smart mode is a user-configurable fan curve that allows four temp/fan speed points to be inputted with the temp pinned to either CPU, PWM (I’m assuming this is the motherboard VRM), or SYS.
Edit: Smart mode is only available for CPU_FAN, CPU2_FAN, and CHA_FAN. Also, those headers are controllable in Speedfan via the Fintek F71889A Super IO chip.
Max is full speed and Manual allows the fan to be manually fixed at a certain duty cycle percentage.
The headers have a setting to toggle between PWM and DC modes (except CPU, which is PWM only).
Issues

So far the EVGA X99 Micro2 is a big improvement over the original but there are two issues that have carried over. First is the location of the USB 3.0 header. Rather than being placed close to the ATX power connector as is typical, it’s on the bottom right of the board, next to the front IO header. Since the 3.0 header is so bulky this poses an issue with dual-GPU configurations because longer video cards won’t fit in either the second or third expansion slot with the header plugged in. EVGA had experimented with making it a right-angle plug instead, the pre-production Micro2 boards that were at Computex all sported that version and even until recently it looked like they planned to use that. Apparently it was a last minute decision to revert back to a standard straight plug due to chassis compatibility concerns. EVGA makes a low profile USB 3.0 extender that would get around this problem but unfortunately it is not included and must be purchased separately.
The other big issue is that the CPU socket is still too close to the top PCIe slot. Supposedly the reason for this is to keep the traces between the CPU and PCIe slot short for slightly better performance but it greatly limits the selection of compatible air coolers. Most large heatsinks won’t fit without overhanging the top slot. Users with a single GPU could work around this by moving the video card to a lower slot, except then they’ll run into the USB 3.0 header problem.
Not to say that air cooling is impossible on this board, but users wanting to avoid water cooling the CPU will need to carefully consider their build to make sure everything fits.
Conclusion
On the one hand it’s a bit frustrating having bought the original version of this because this feels like the product that EVGA should have released back in August last year. But on the other hand I have to give kudos to EVGA for taking user feedback to heart and improving their product in meaningful ways instead of chasing after useless marketing features.
Overall it’s a great-looking board with a mostly good layout (exceptions being the USB 3.0 header and CPU socket), some cool new additions (USB 3.1 Type-C, PCIe 3.0 x4 M.2, and all PWM capable fan headers), and several welcome improvements over the original.
The X99 Micro2 is currently available directly from EVGA’s website for $230.
Thoughts! Discuss them here