
And now for something a little different. Whilst we enjoy reviewing graphics cards, motherboards and cases, they aren’t everything that makes up our computing experience. From keyboards, to mice, monitors and printers, there are many other devices that complete our desktop. Without these, our SFF systems would be useless, fancy little boxes with no input or output.
I’ve long been a fan of photography, but it has only been recently that I have really gotten into the field. From that first beautiful picture on your screen, to the Instagram account, there are many different ways to view and enjoy your photographic work. Arguably the most impactful though, is in the printed form. When I first laid eyes on a printed version of my work, I was in awe. With this, I turn my eyes to a printer – a photo printer in fact.
Table of Contents
The Unboxing
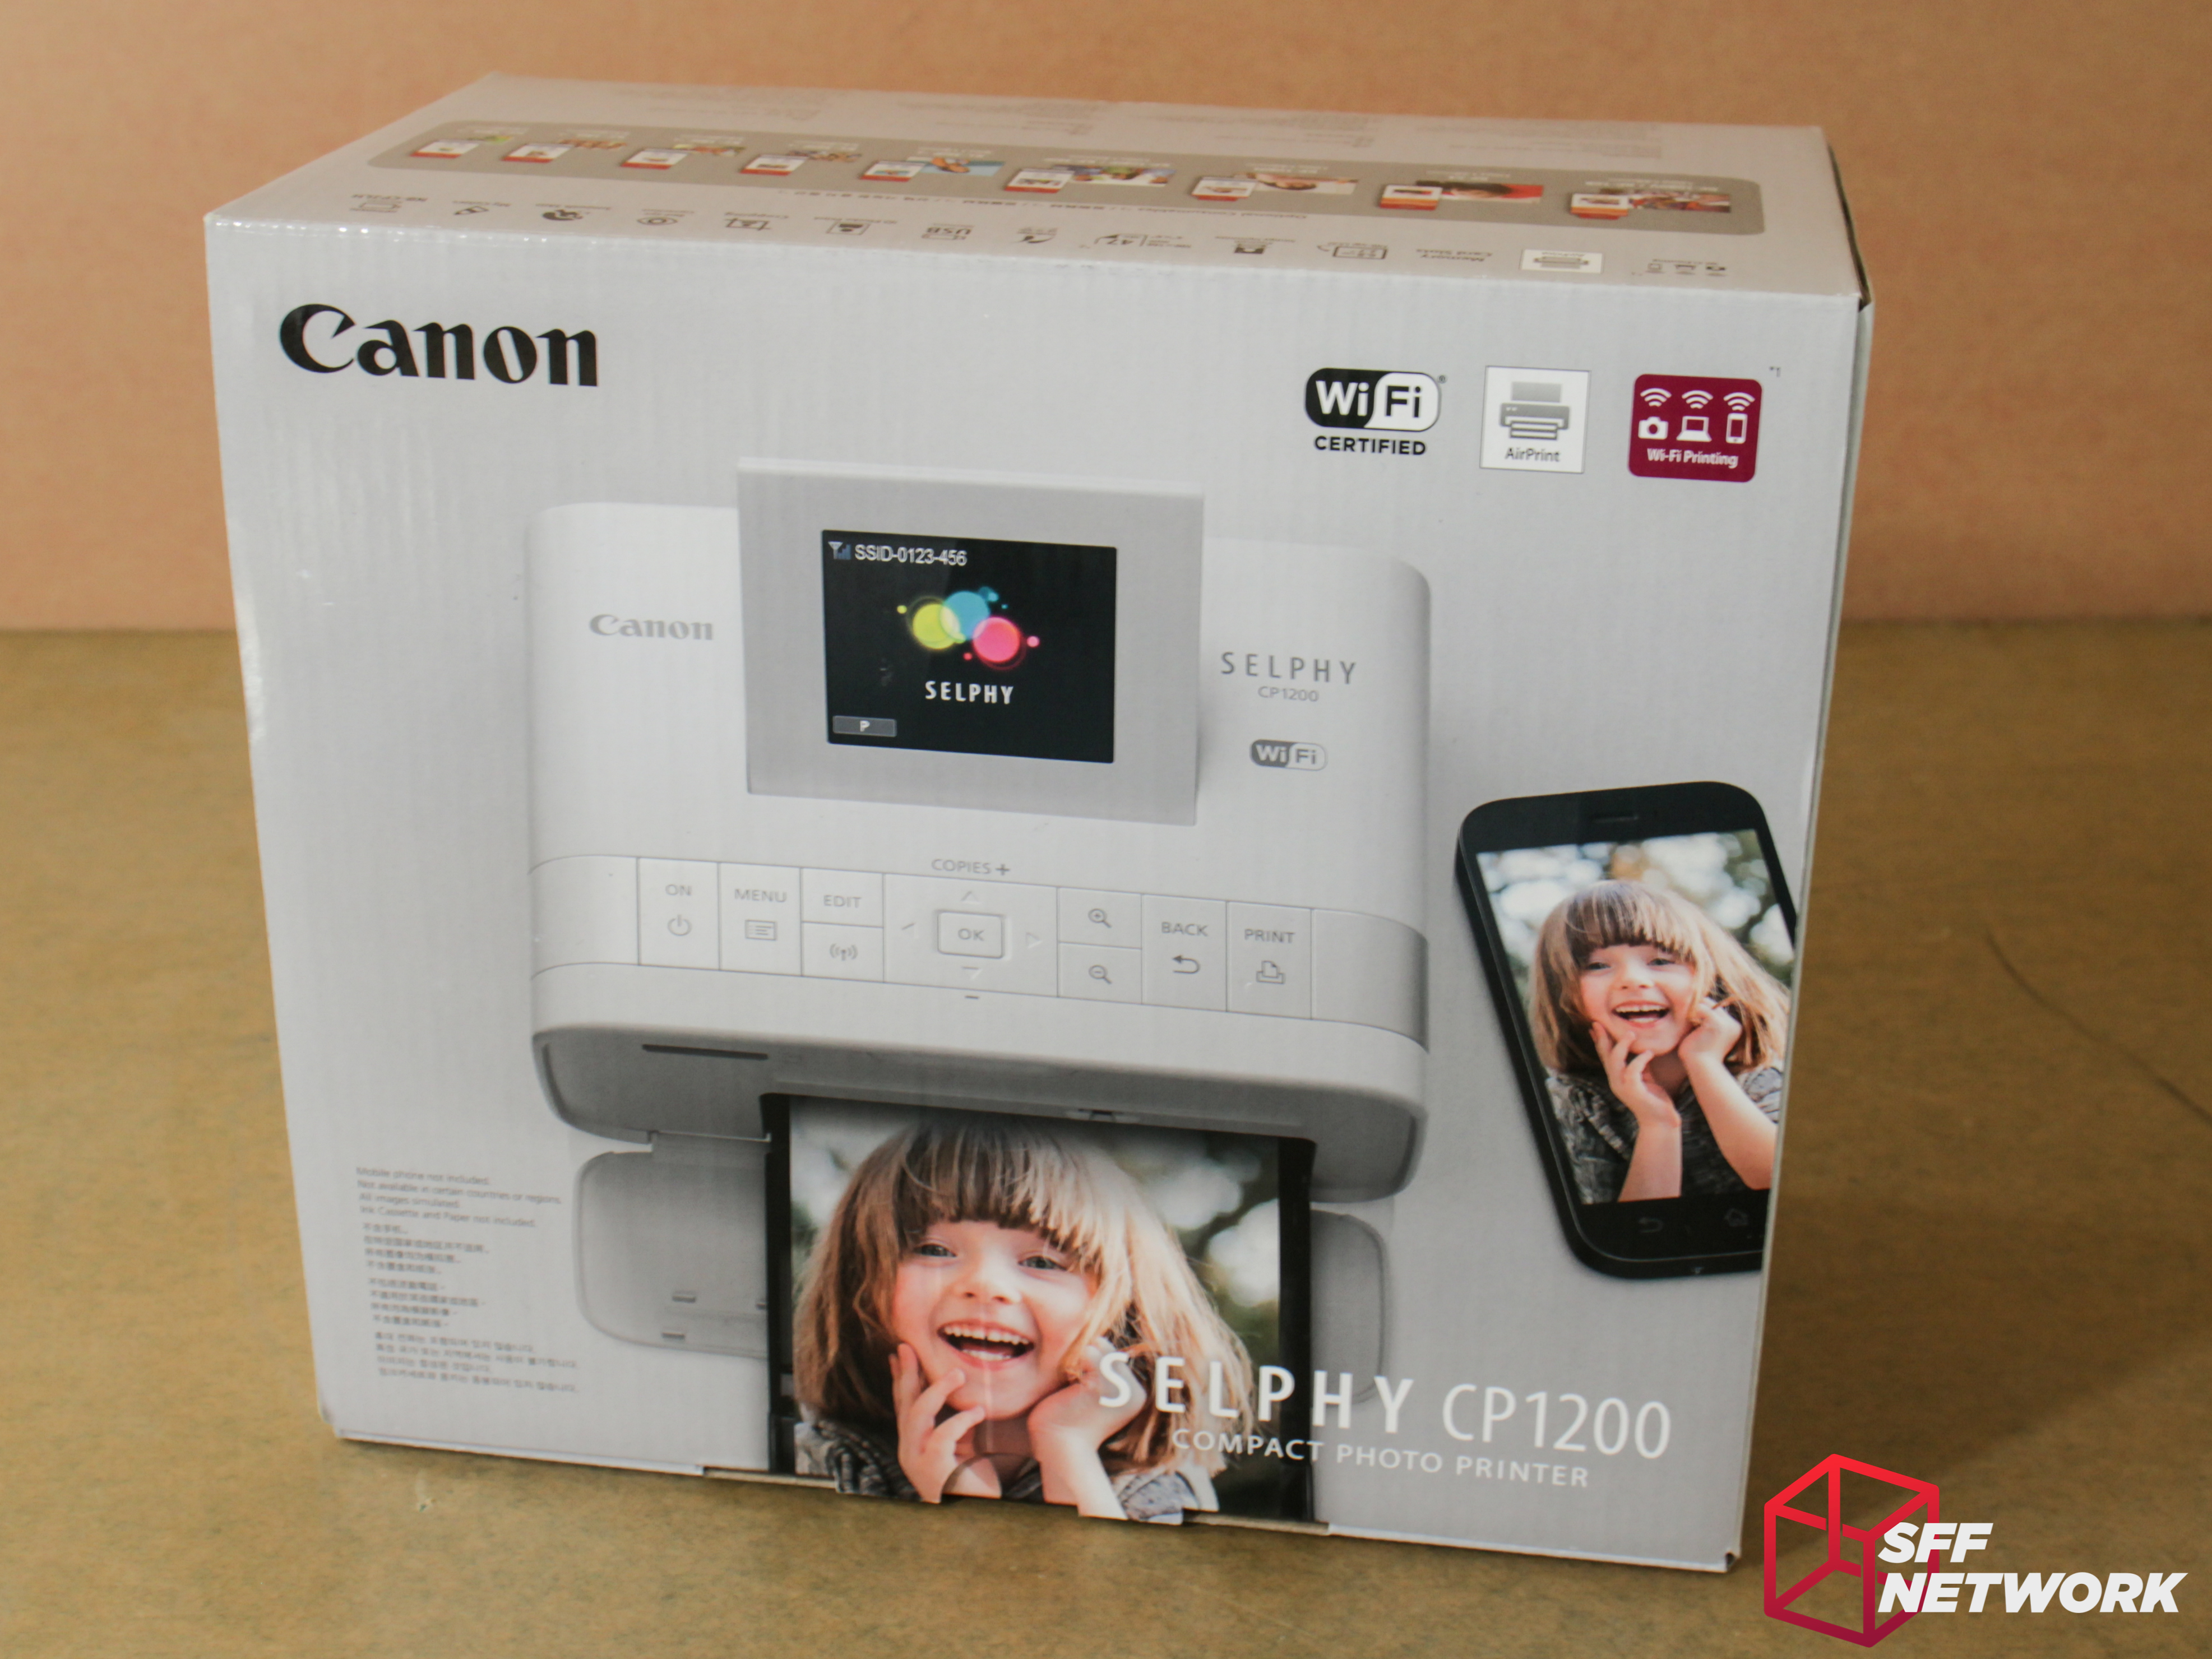
The box is a simple, colourful affair, with a top down view of the printer, and a simulated photo being printed – there is a disclaimer regarding this to the bottom left of the box. WiFi certification is present, which is a positive, considering the entire point of the printer is WiFi printing!
Ahh, consumables, the bane of physical media. Along the top of the box is a list of features that Canon chose to promote. Let’s go through these;
- Wi-Fi Printing from your camera, computer or mobile device (the *1 says some options may be limited depending on the device being used)
- AirPrint for you iFans
- Memory Card Slots – a bit of a mis-step here – as the only card type the printer supports is SD, and it’s variations with appropriate adaptor. oh and there’s only one slot.
- 6.8cm/2.7″ display – I love how they throw the metric measurement on first to make the screen seem bigger…not
- Portrait Image Optimize – automatic image filters… ew
- 100 x 148mm, 4″ by 6″ prints, take 47 seconds. Woo?
- PictBridge support on USB and WLAN, but not LAN. Because no ethernet port.
- USB Memory – yup, plug in a flash drive to print images from said drive
- ID Photo Print.. err what? Clutching at straws I think. This mode shrinks a photo and prints it 6 times on a sheet, useful for submitting with a passport or similar application.
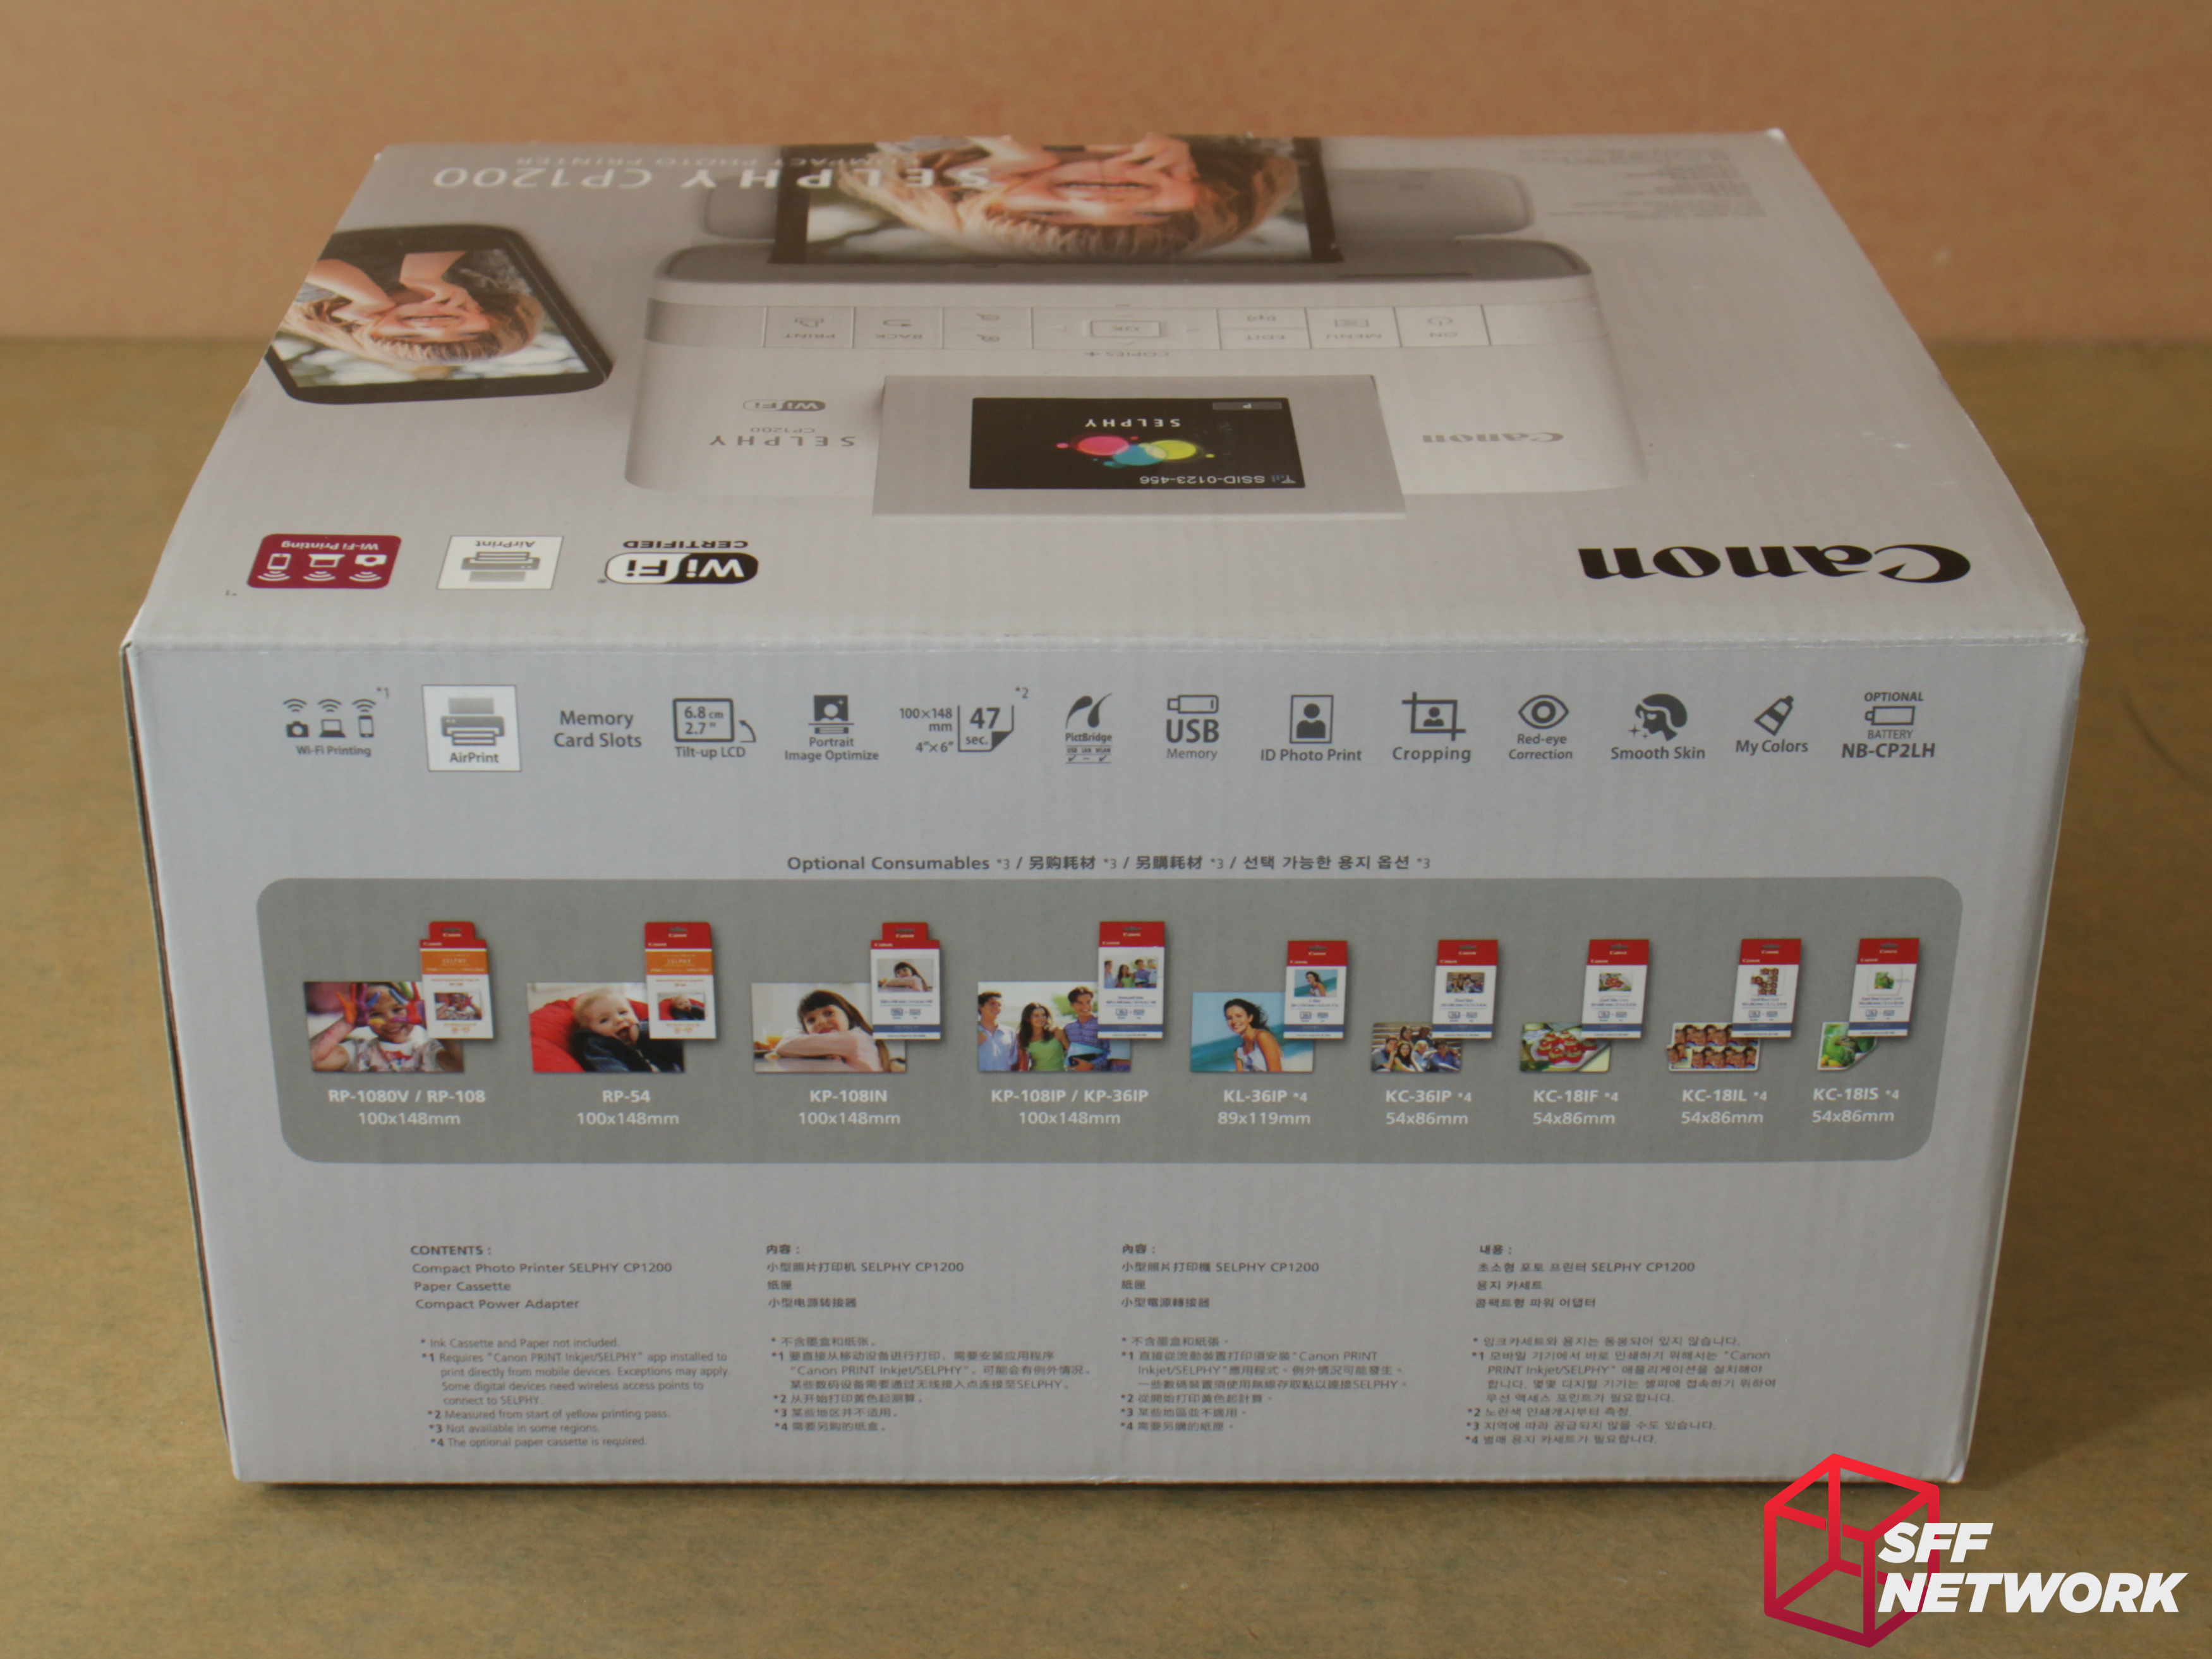
- Cropping – not available in phone or PC print modes.
- Red-eye correction
- Smooth Skin? Yep, more inbuilt filters. I suggest disabling all in built filters and modify your images to suit in a photo app – this gives you full control.
- My colors – more filters!
- Optional Battery.. Woo, optional things are a feature nowadays! Add another US$69 if you want to do this though.

Mmm tables. This one’s regarding OS support.
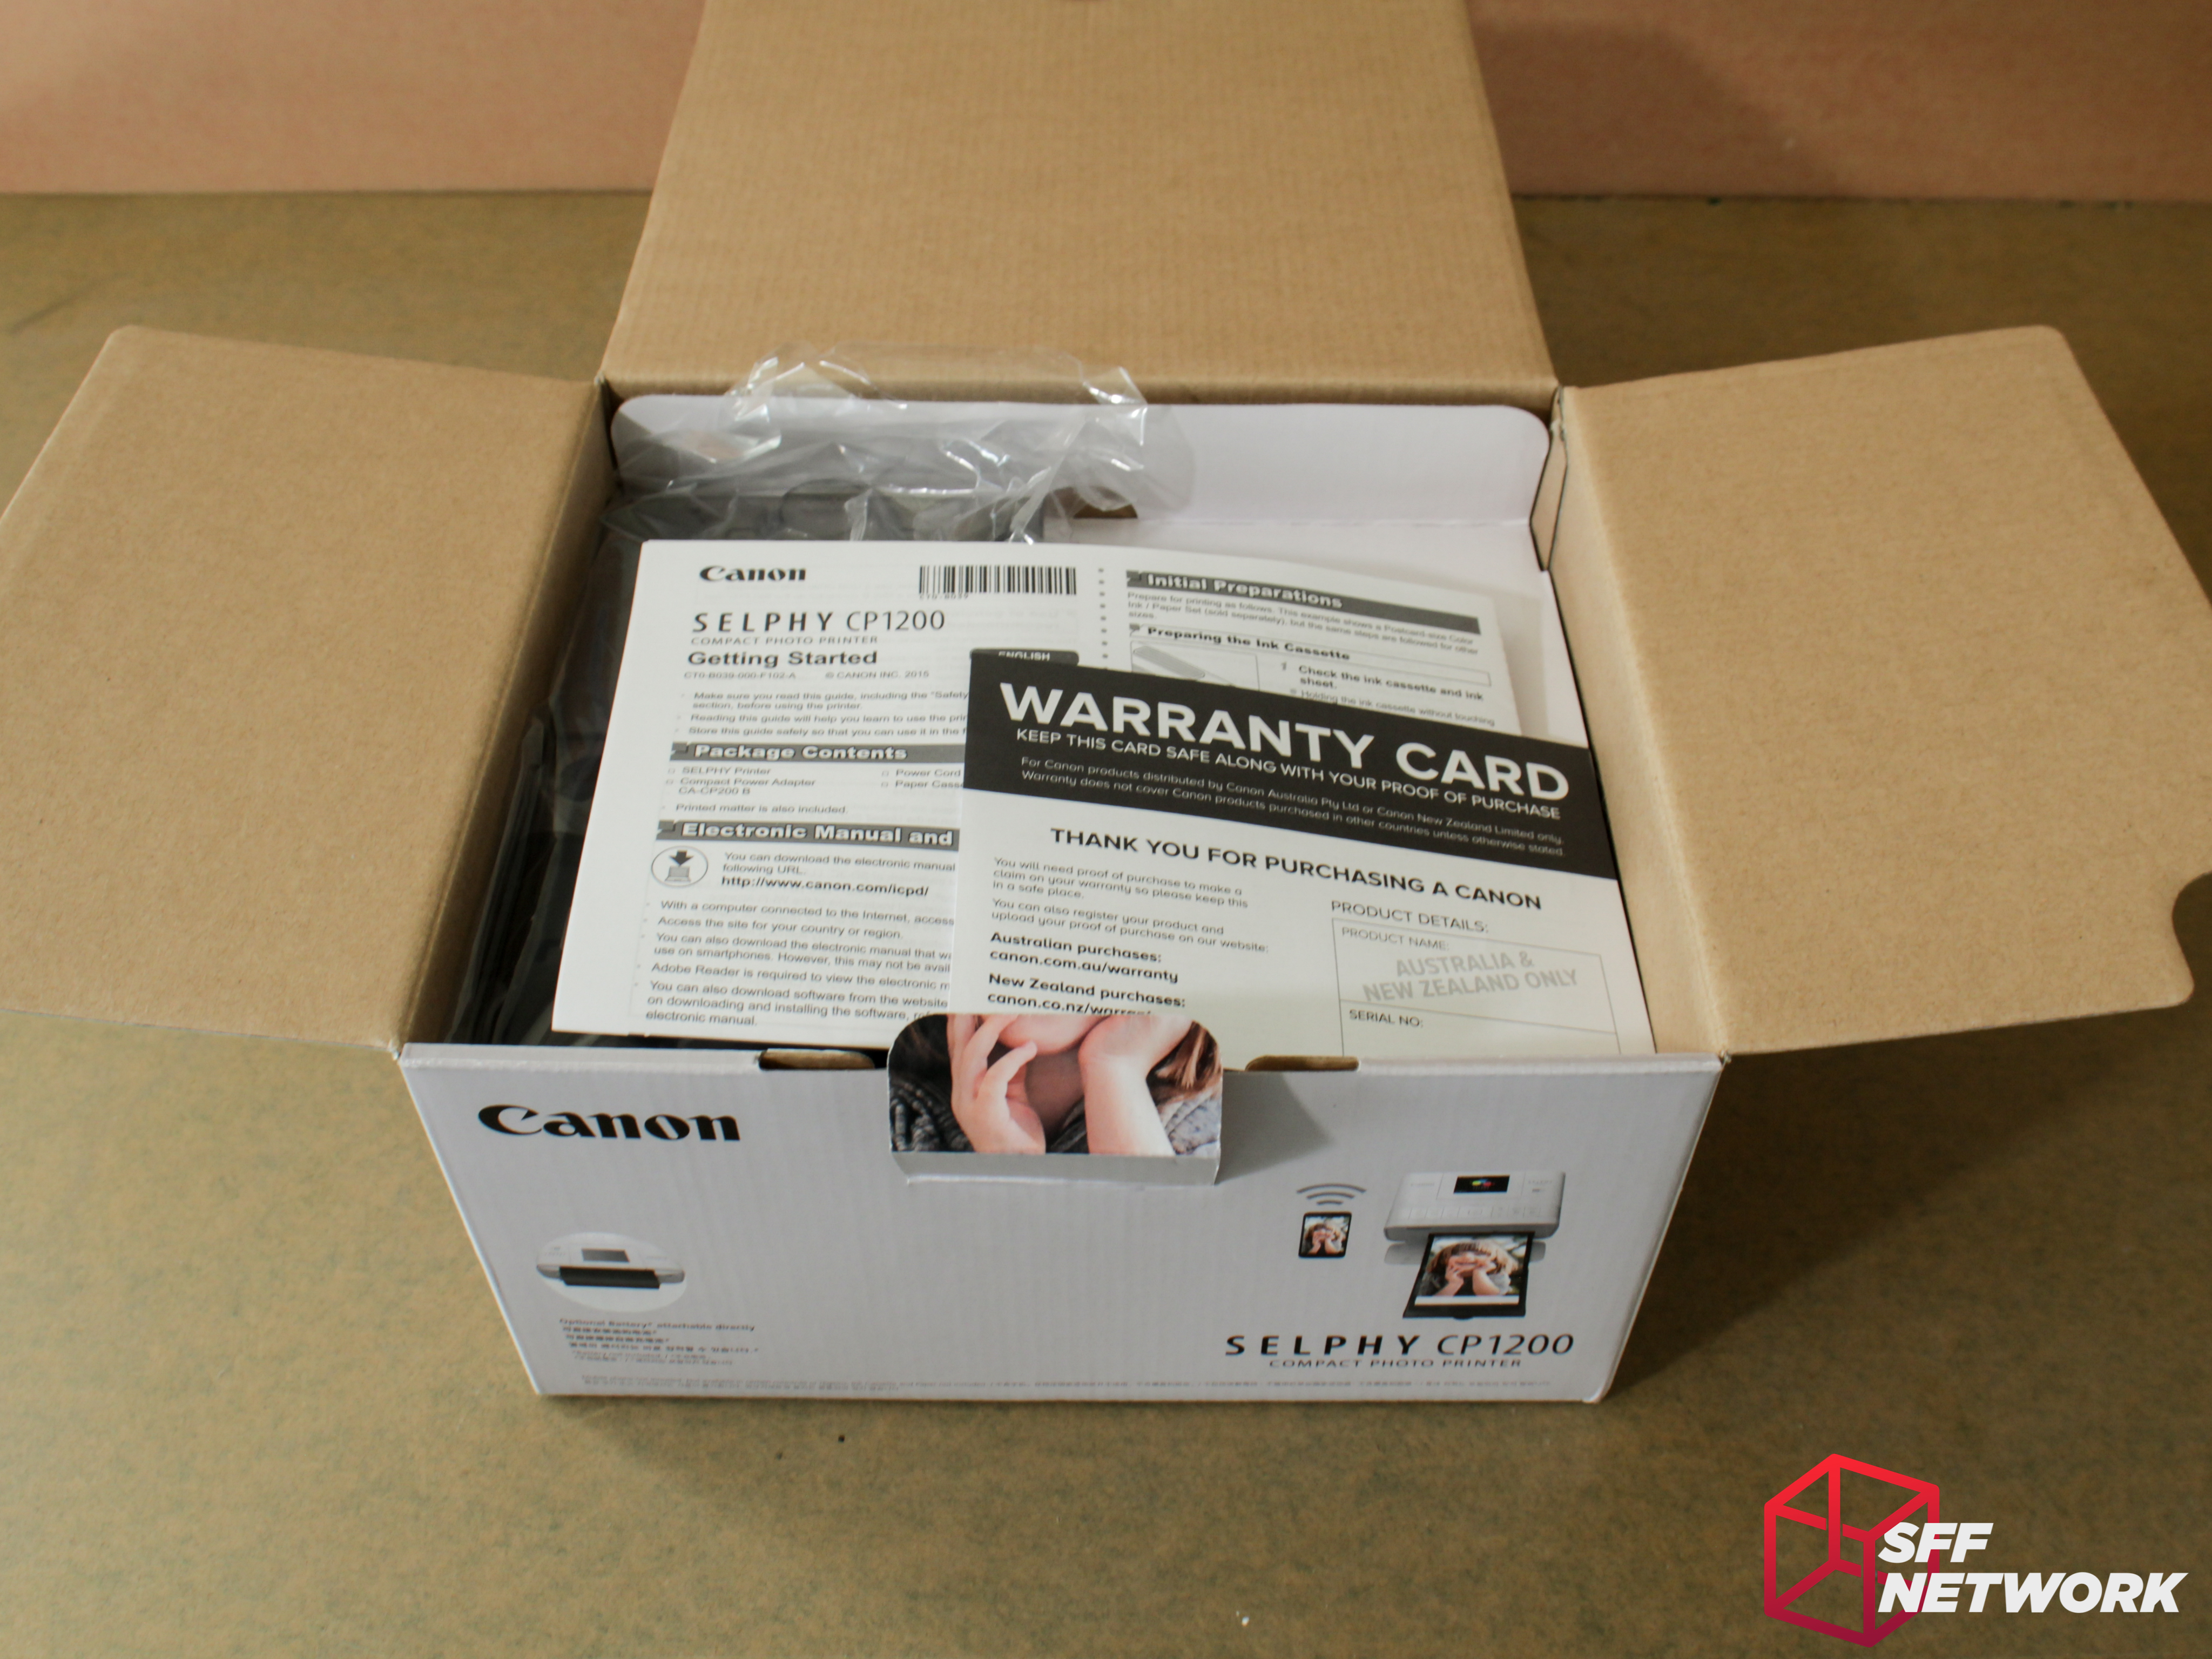
Let’s start unboxing this! In the top of the box, we find the warranty card and a fold out manual. Canon, and whomever else, please stop doing manuals in giant fold out form. A booklet format is much easier to use, less daunting to read, and more robust to keep around long term.
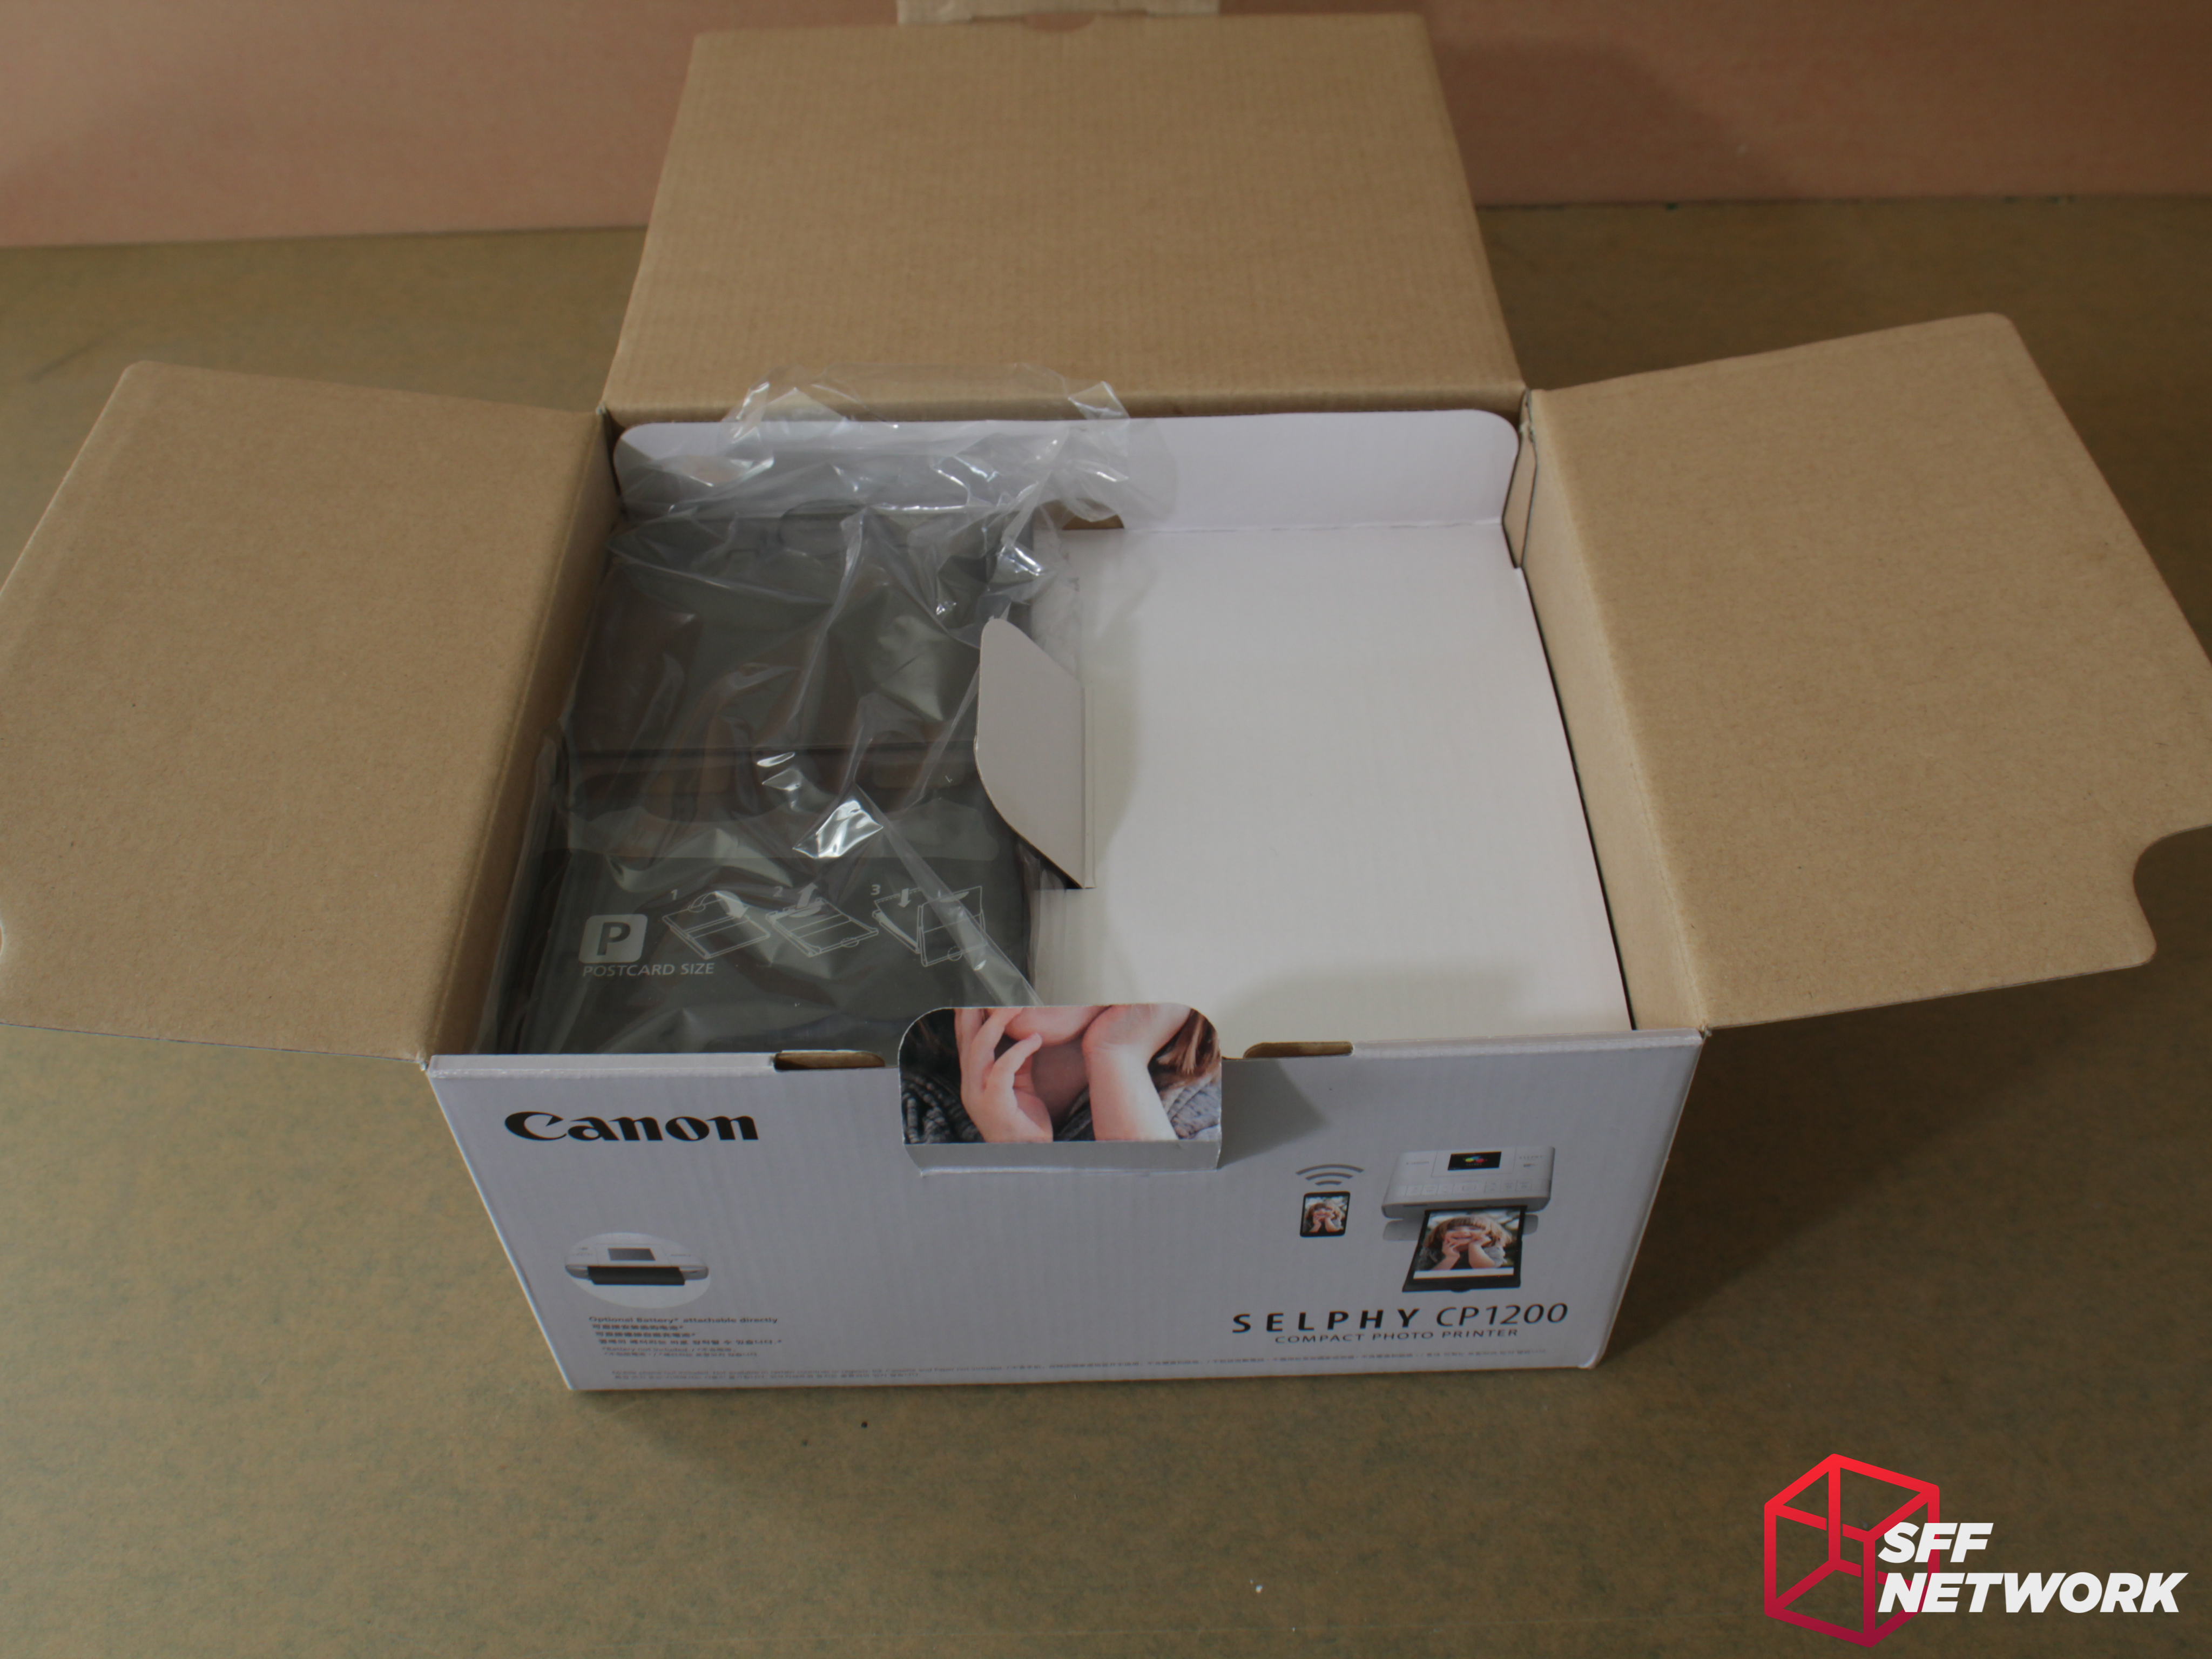
Also in the top here is the empty paper tray.
The Accessories
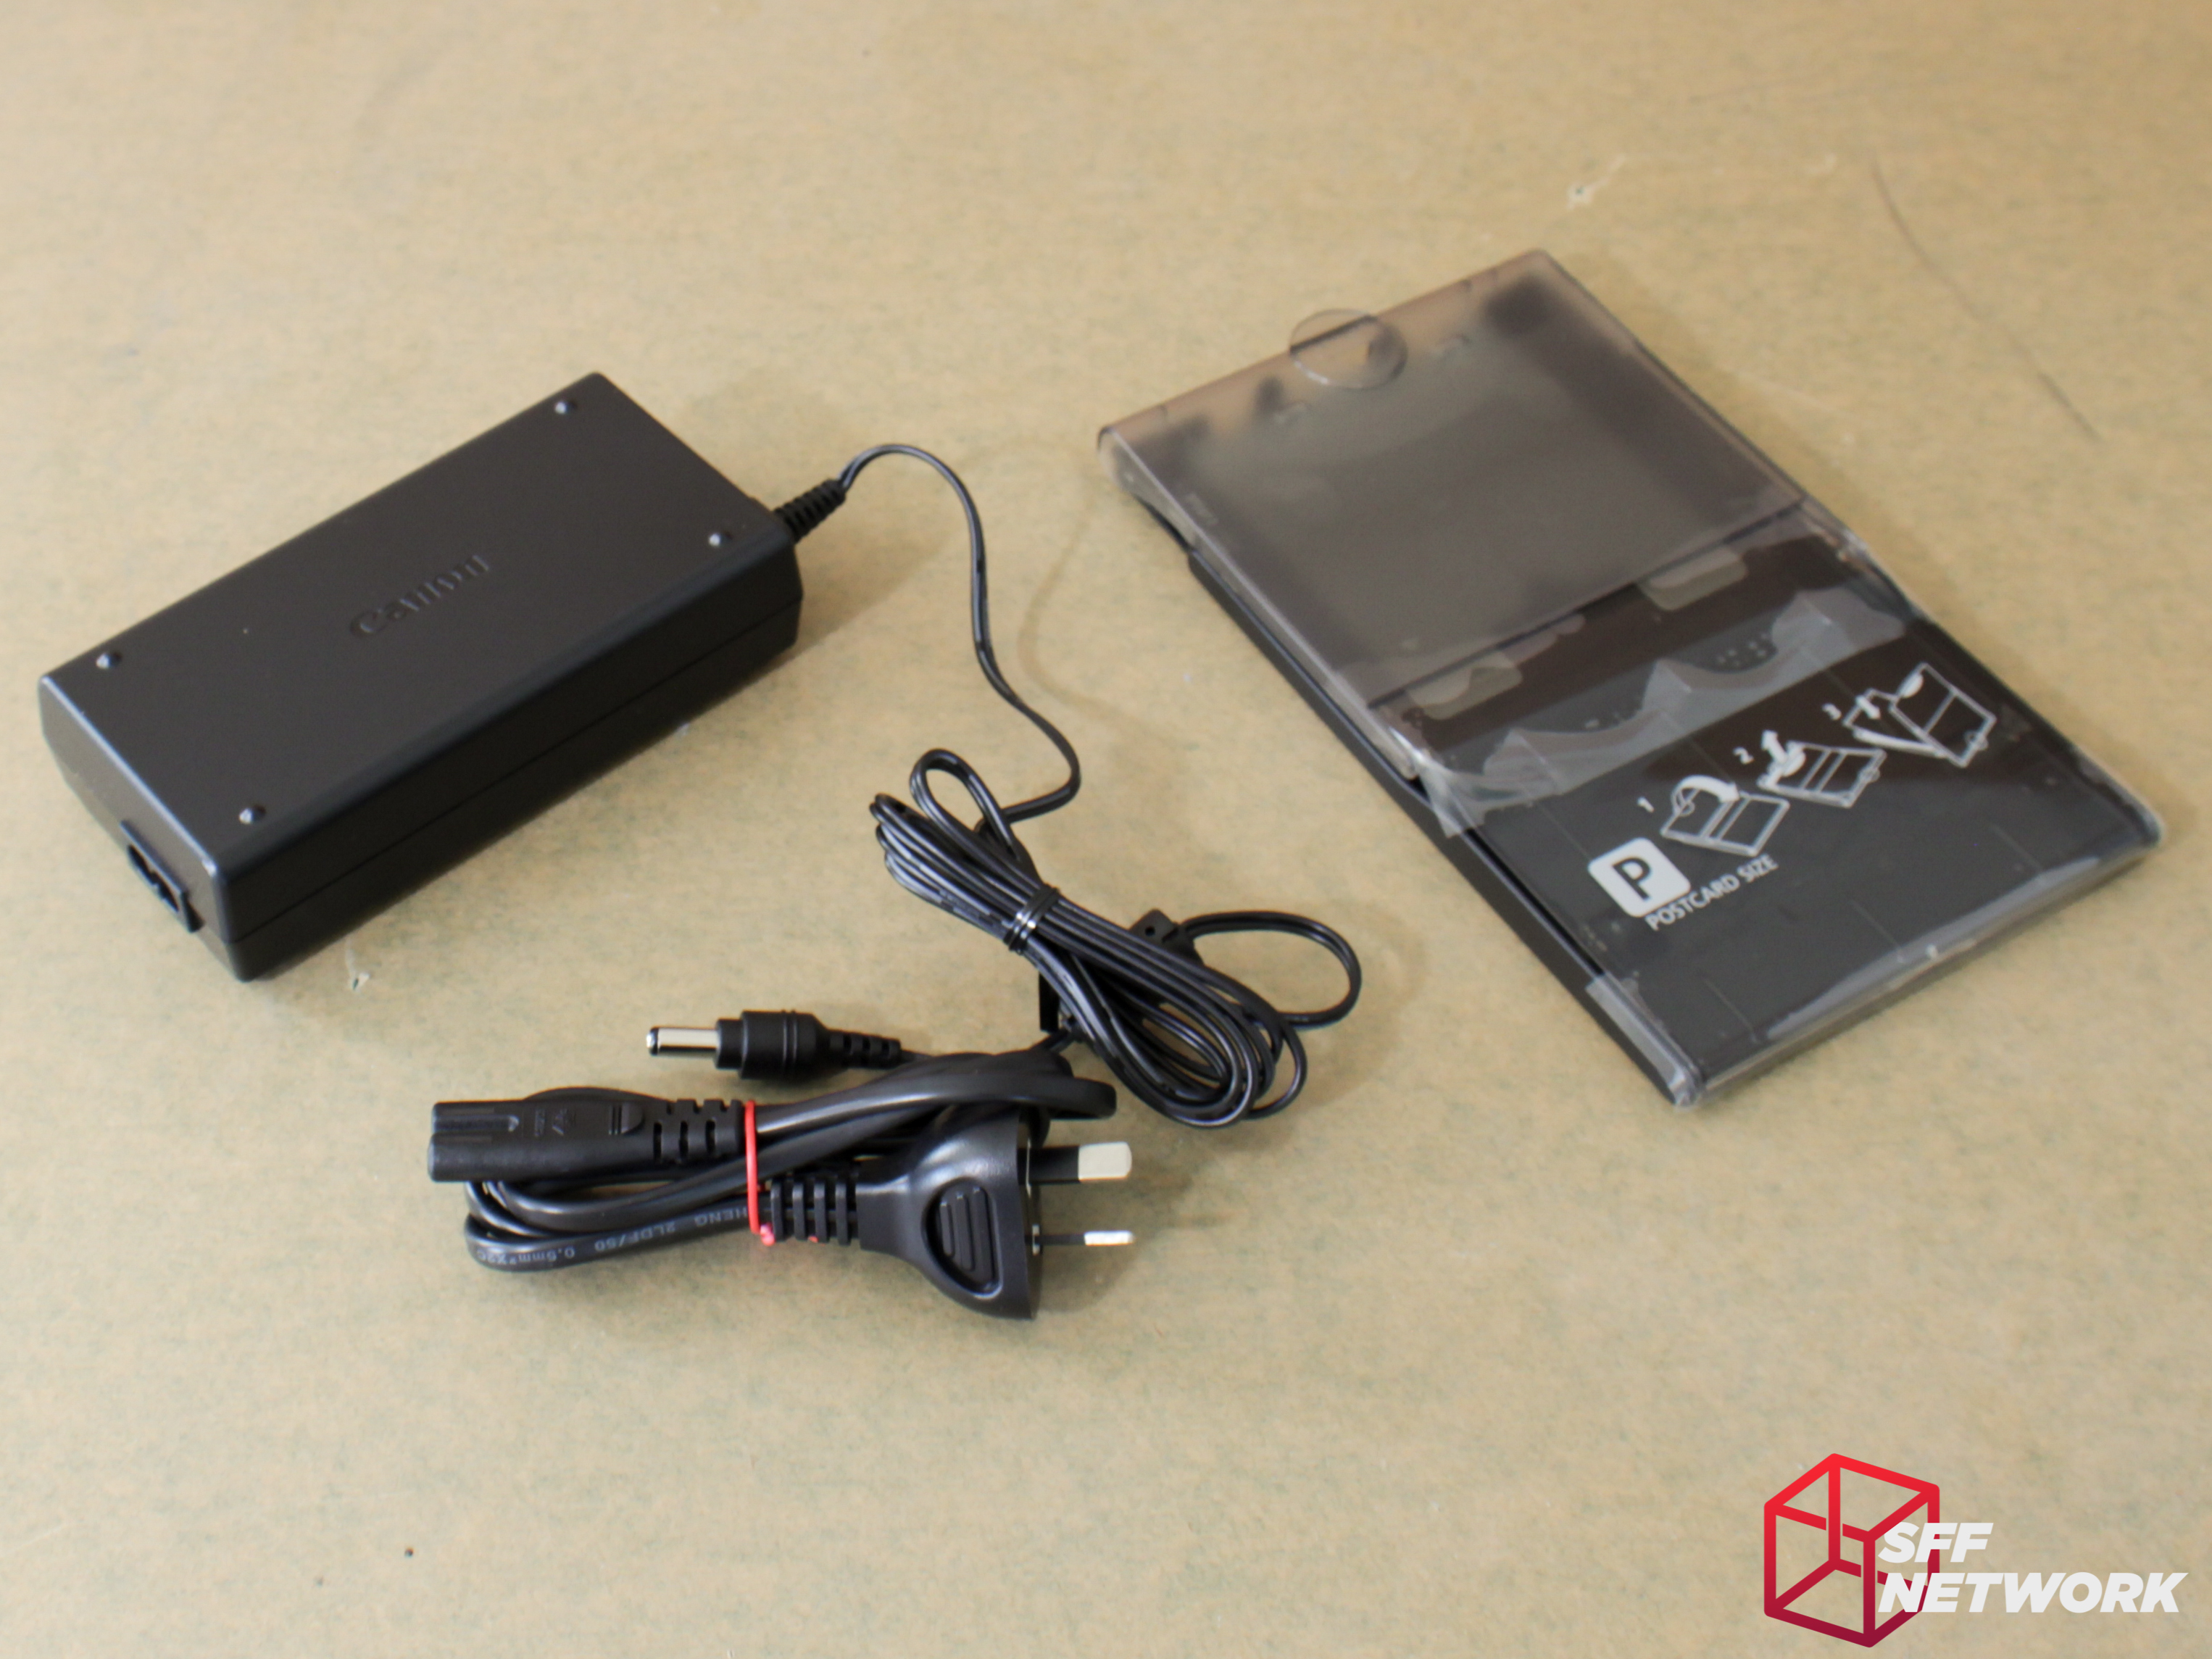
Only a few accessories are included – the power adaptor, a power lead for your country, and the paper tray. You may note something missing here – there is no ink, or paper, included with the printer. Expect to have to buy consumables to even get this product to work. Ugh.
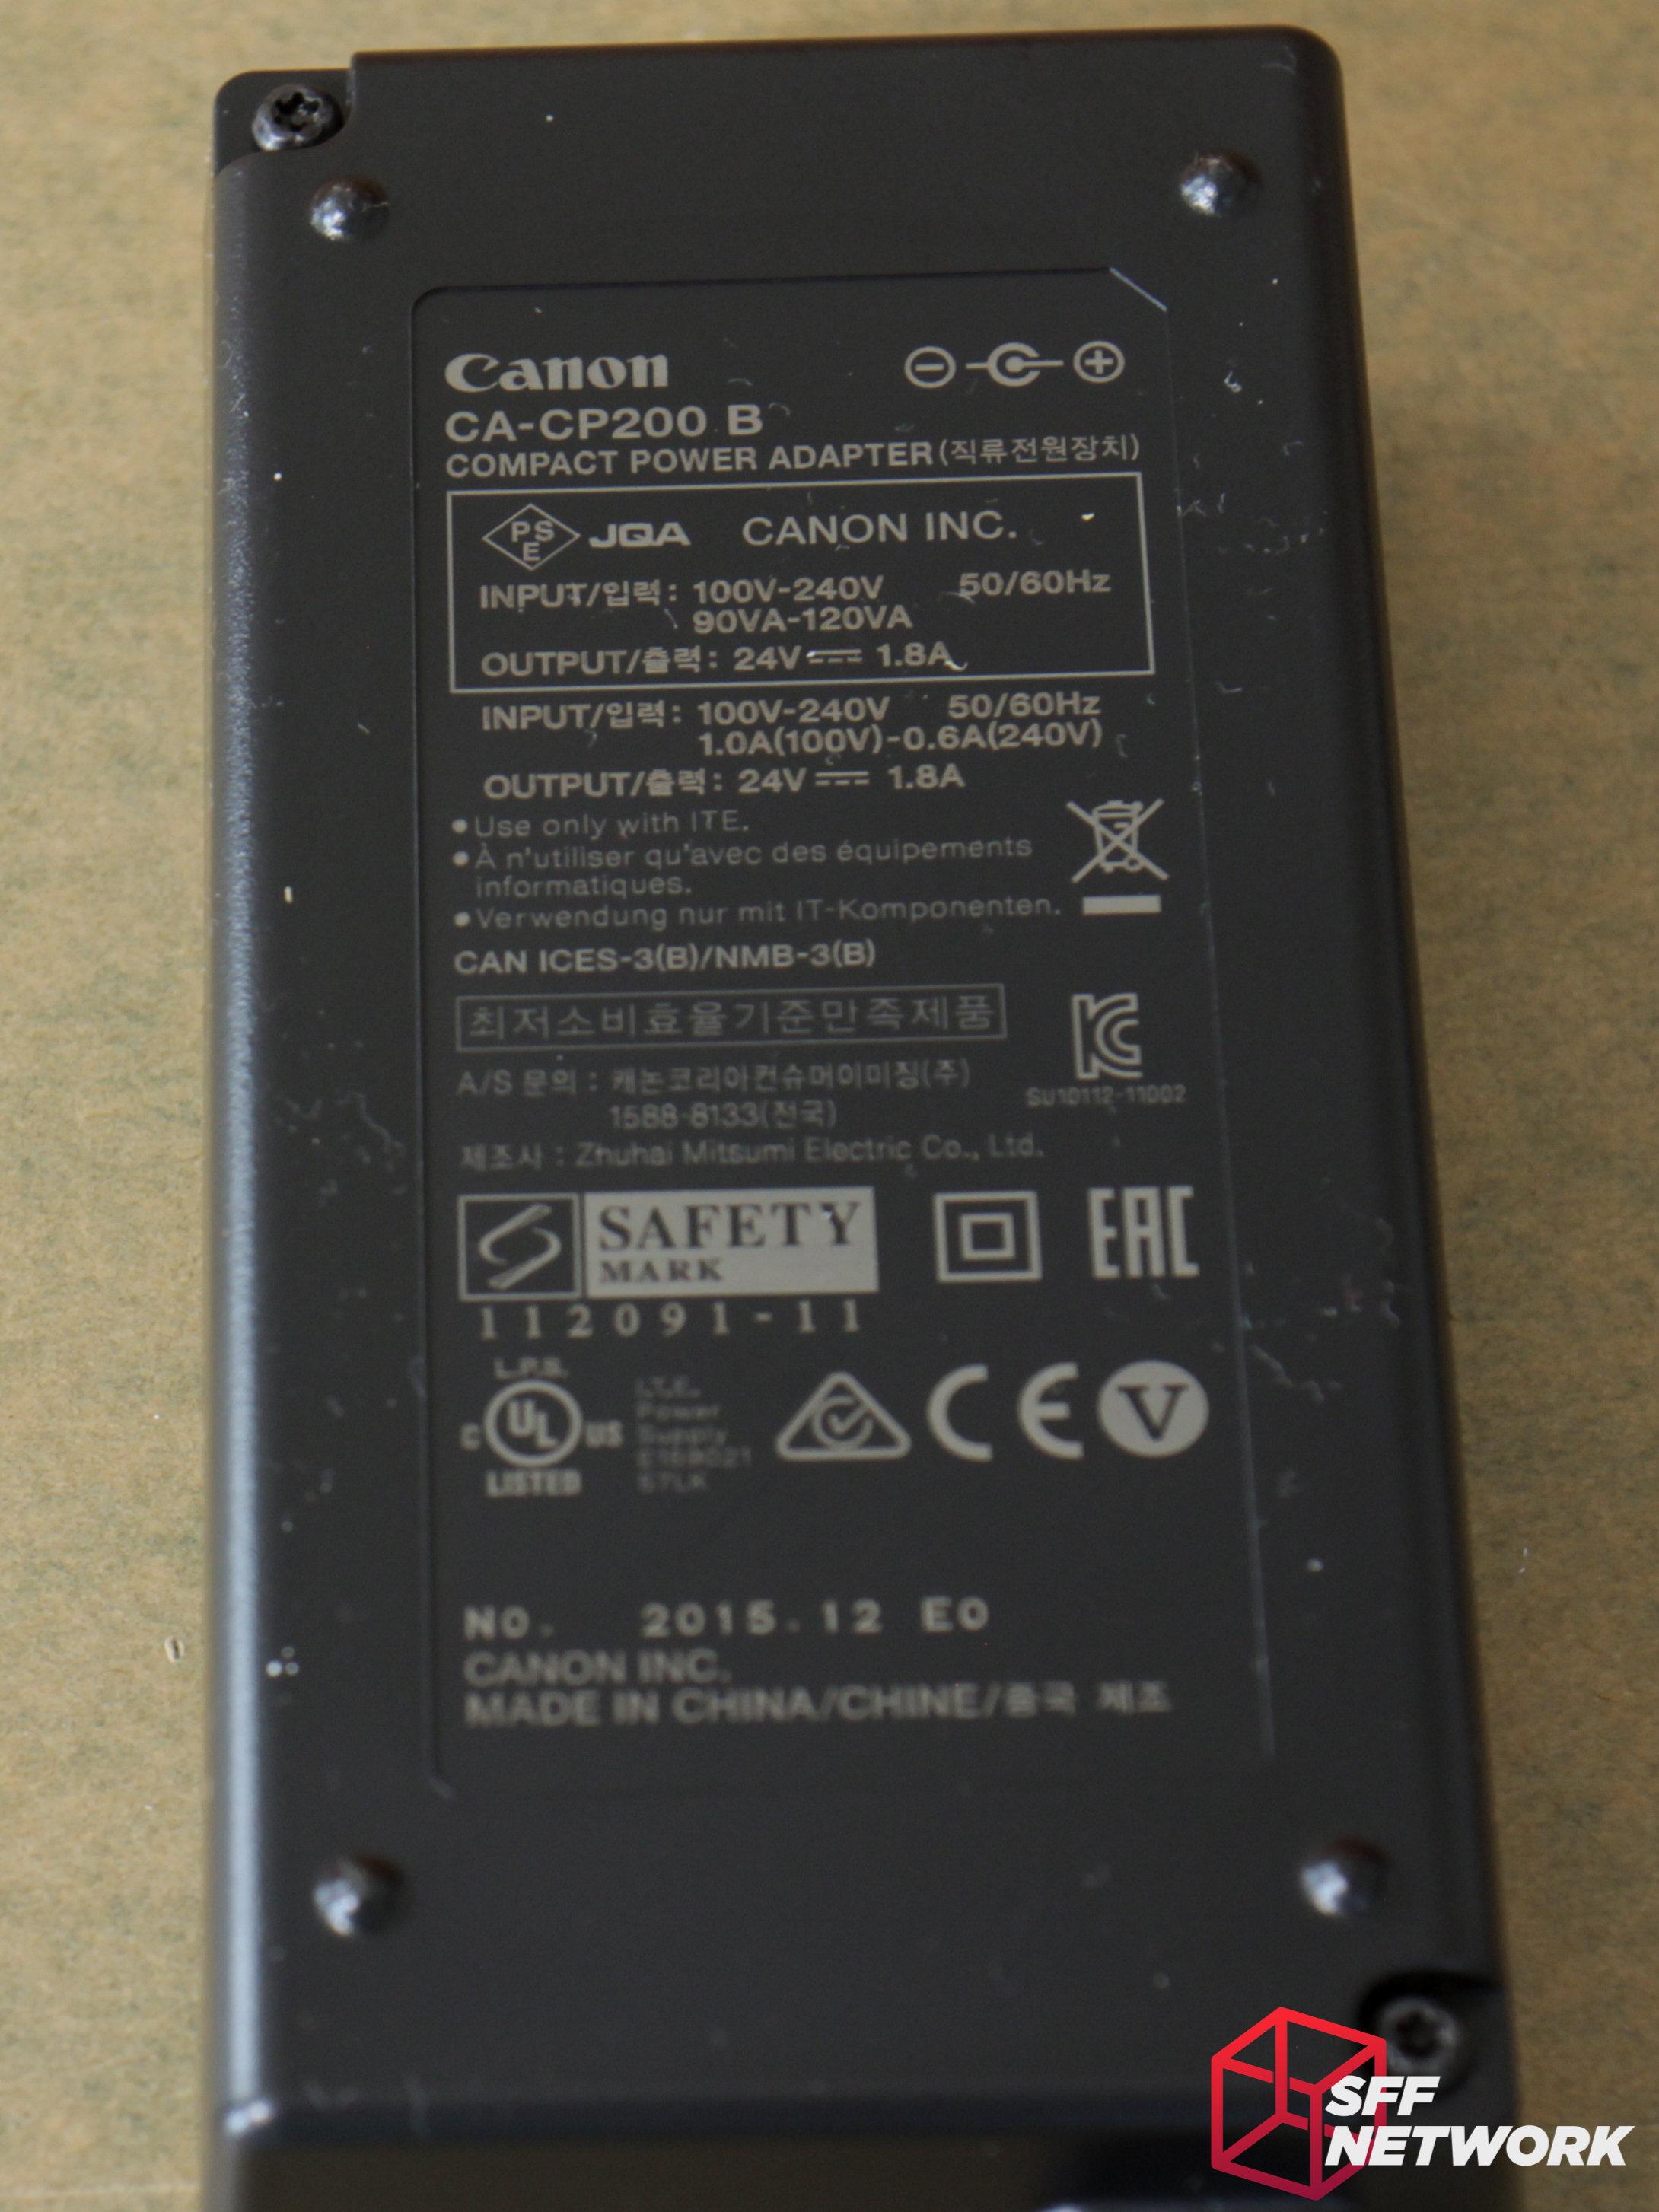
Coming in with an output of up to 43.2 watts at 24V, this is a somewhat beefy power brick for such a little printer.
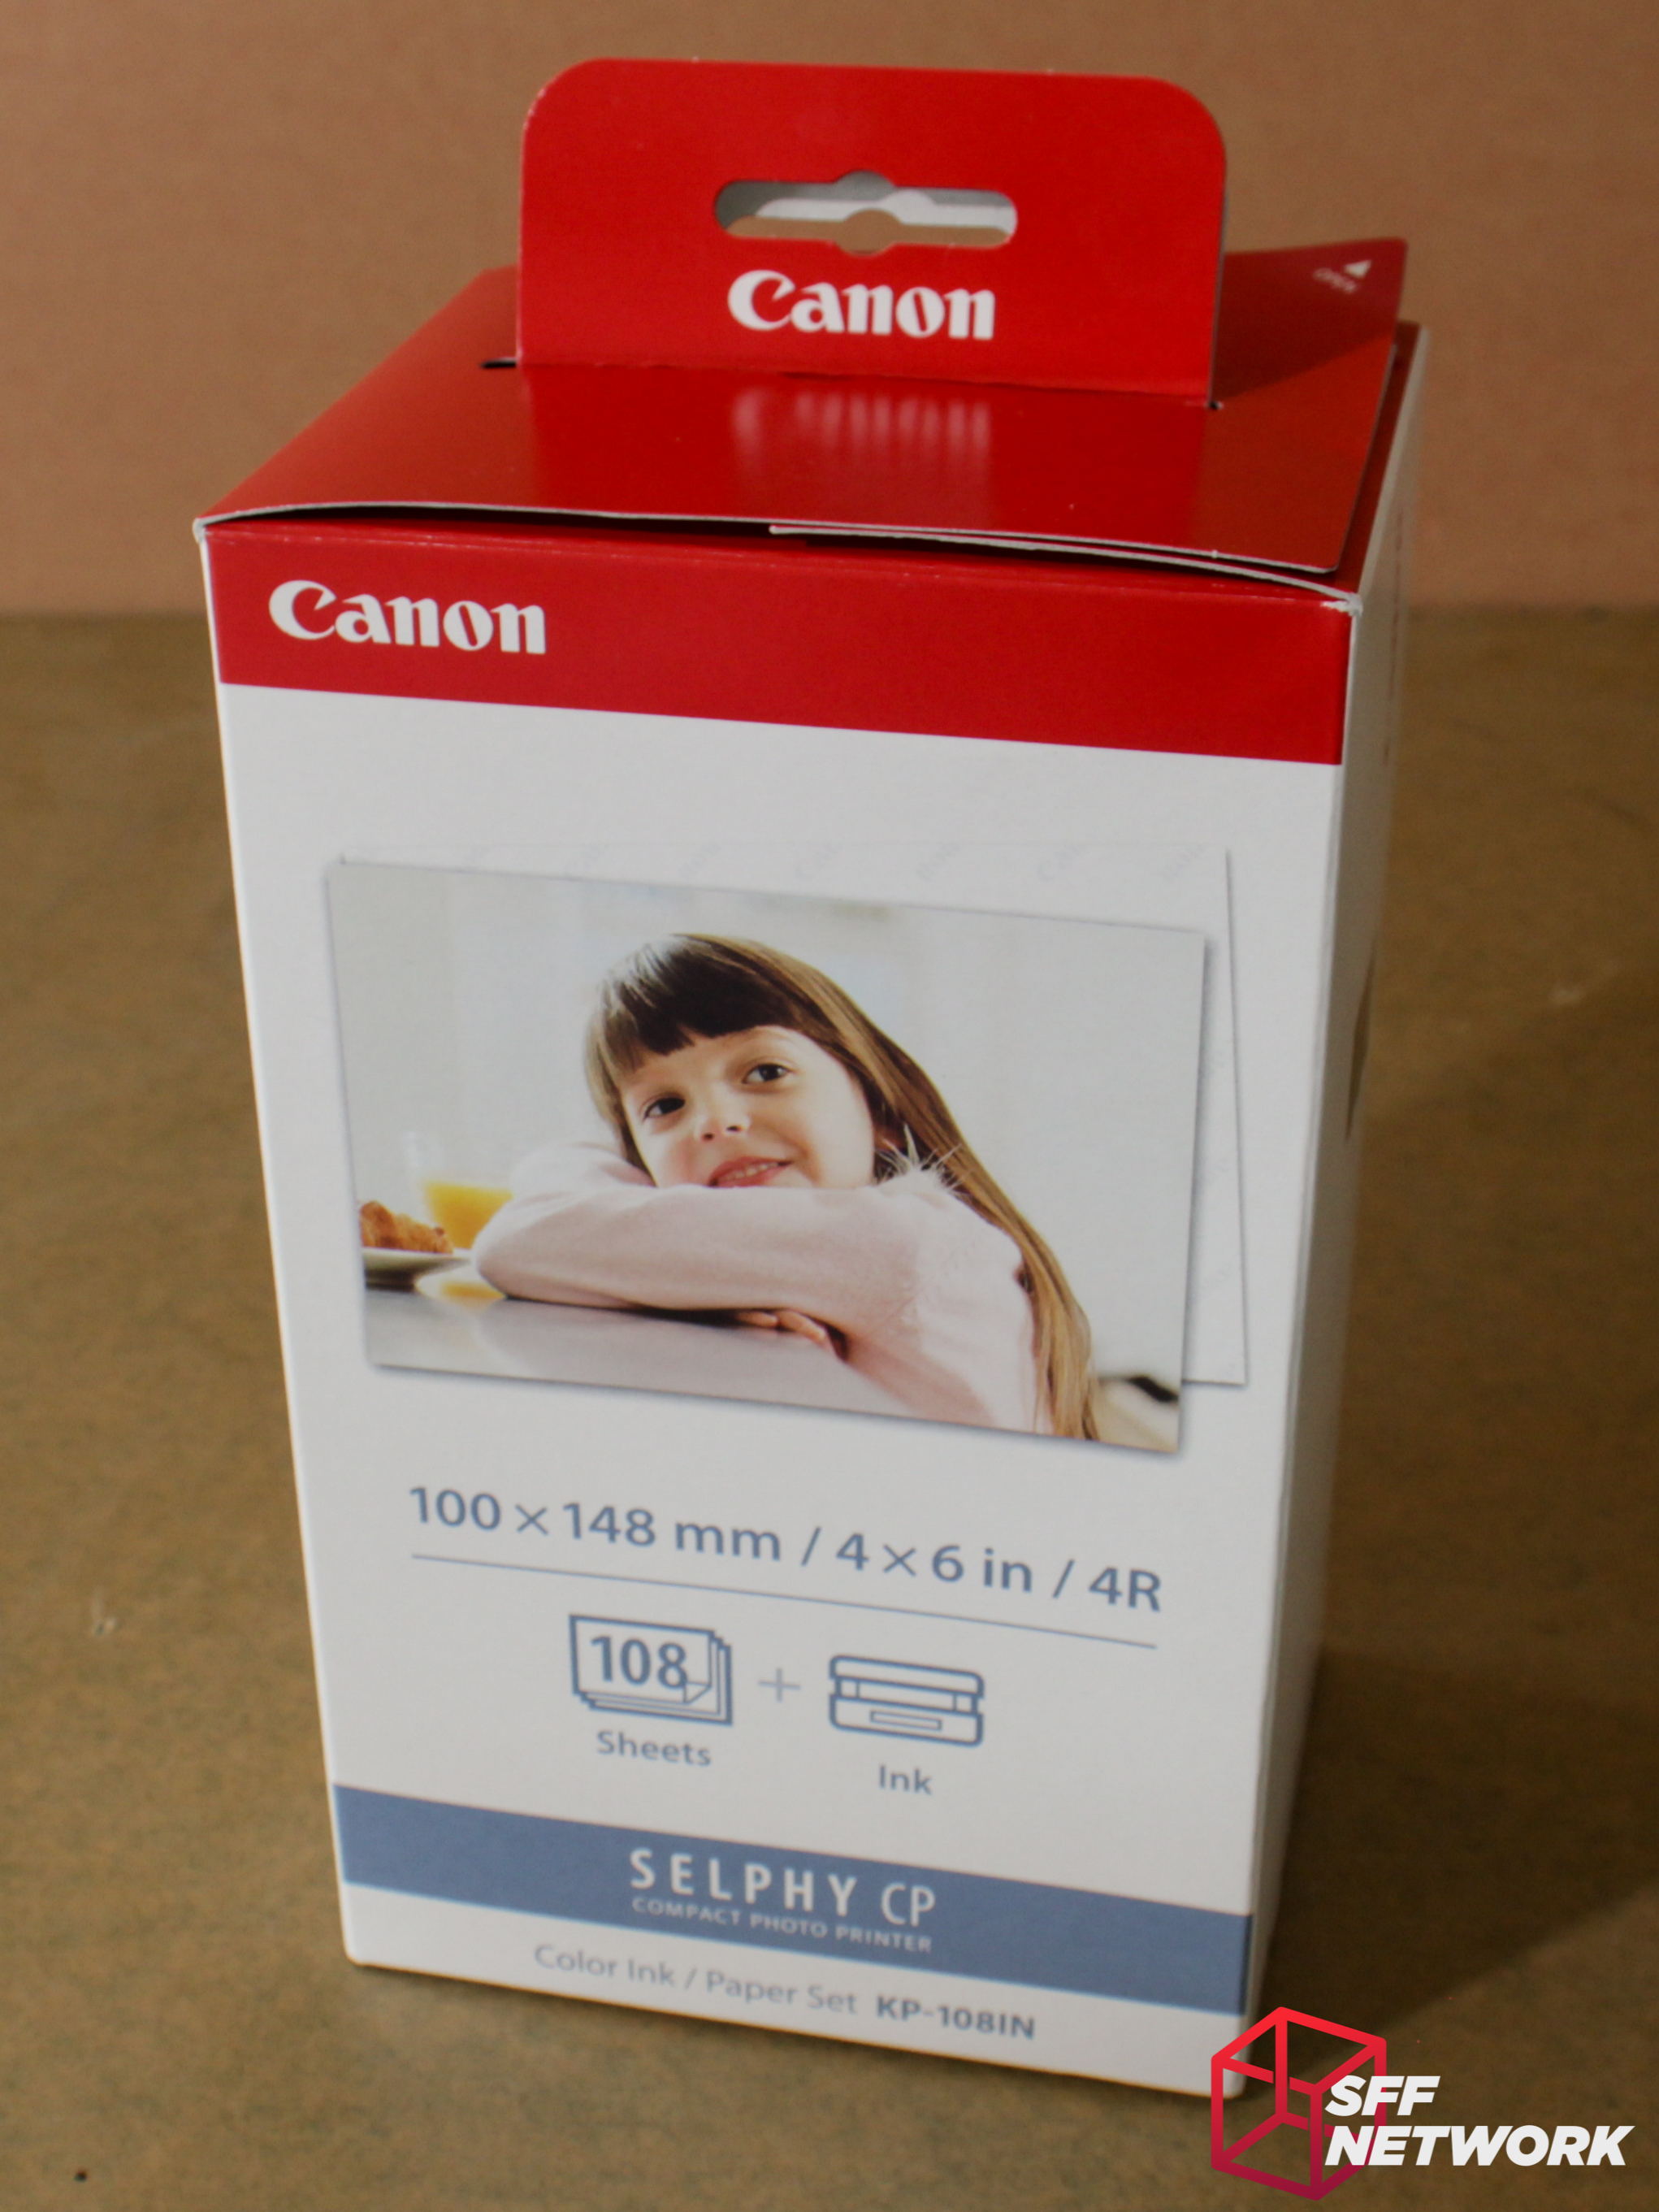
So, with no consumables included in the package, I had to go out and buy a ink and paper kit. This is the larger kit, which includes enough stuff for 108 prints. At US$29.90, this works out to about US$0.28c per print. Walmart Online prices a 4×6 print at 12 cents, so printing your own does cost a premium. However, you don’t have to go to a shop, or pay shipping, so the cost-benefit ratio may not be as bad as it seems.
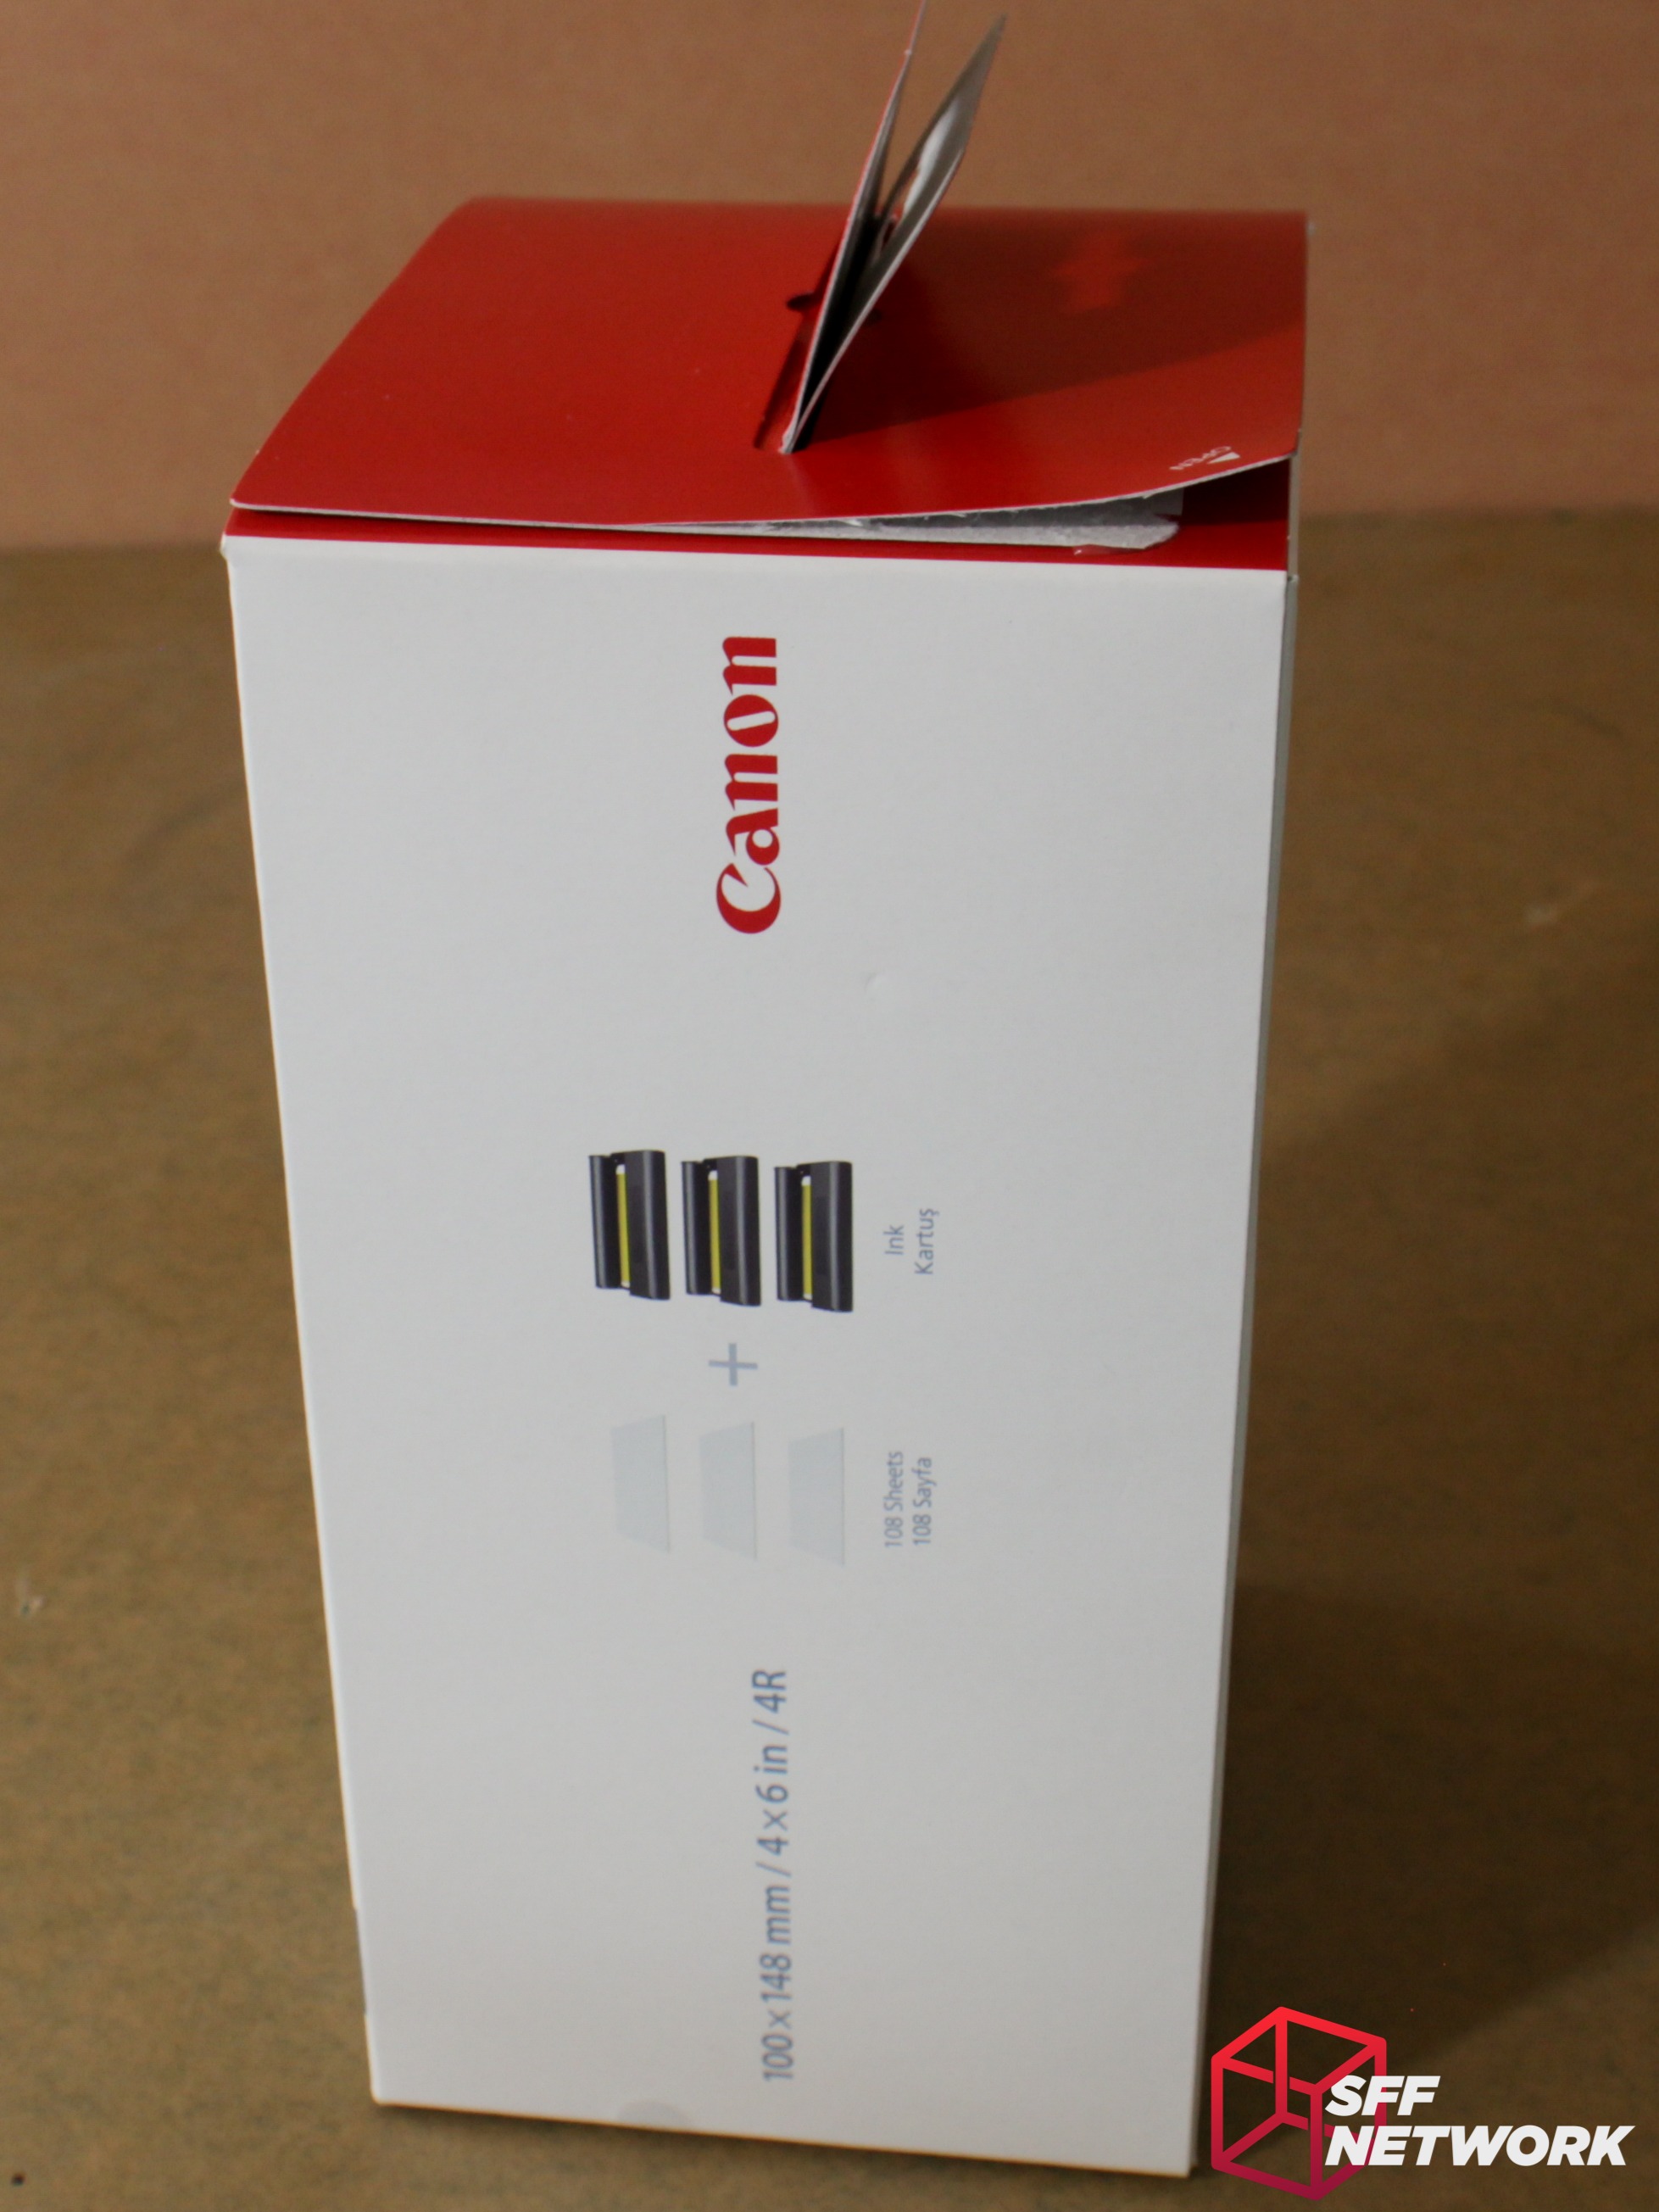
The kit includes 108 sheets of photo paper and three ink cartridges.
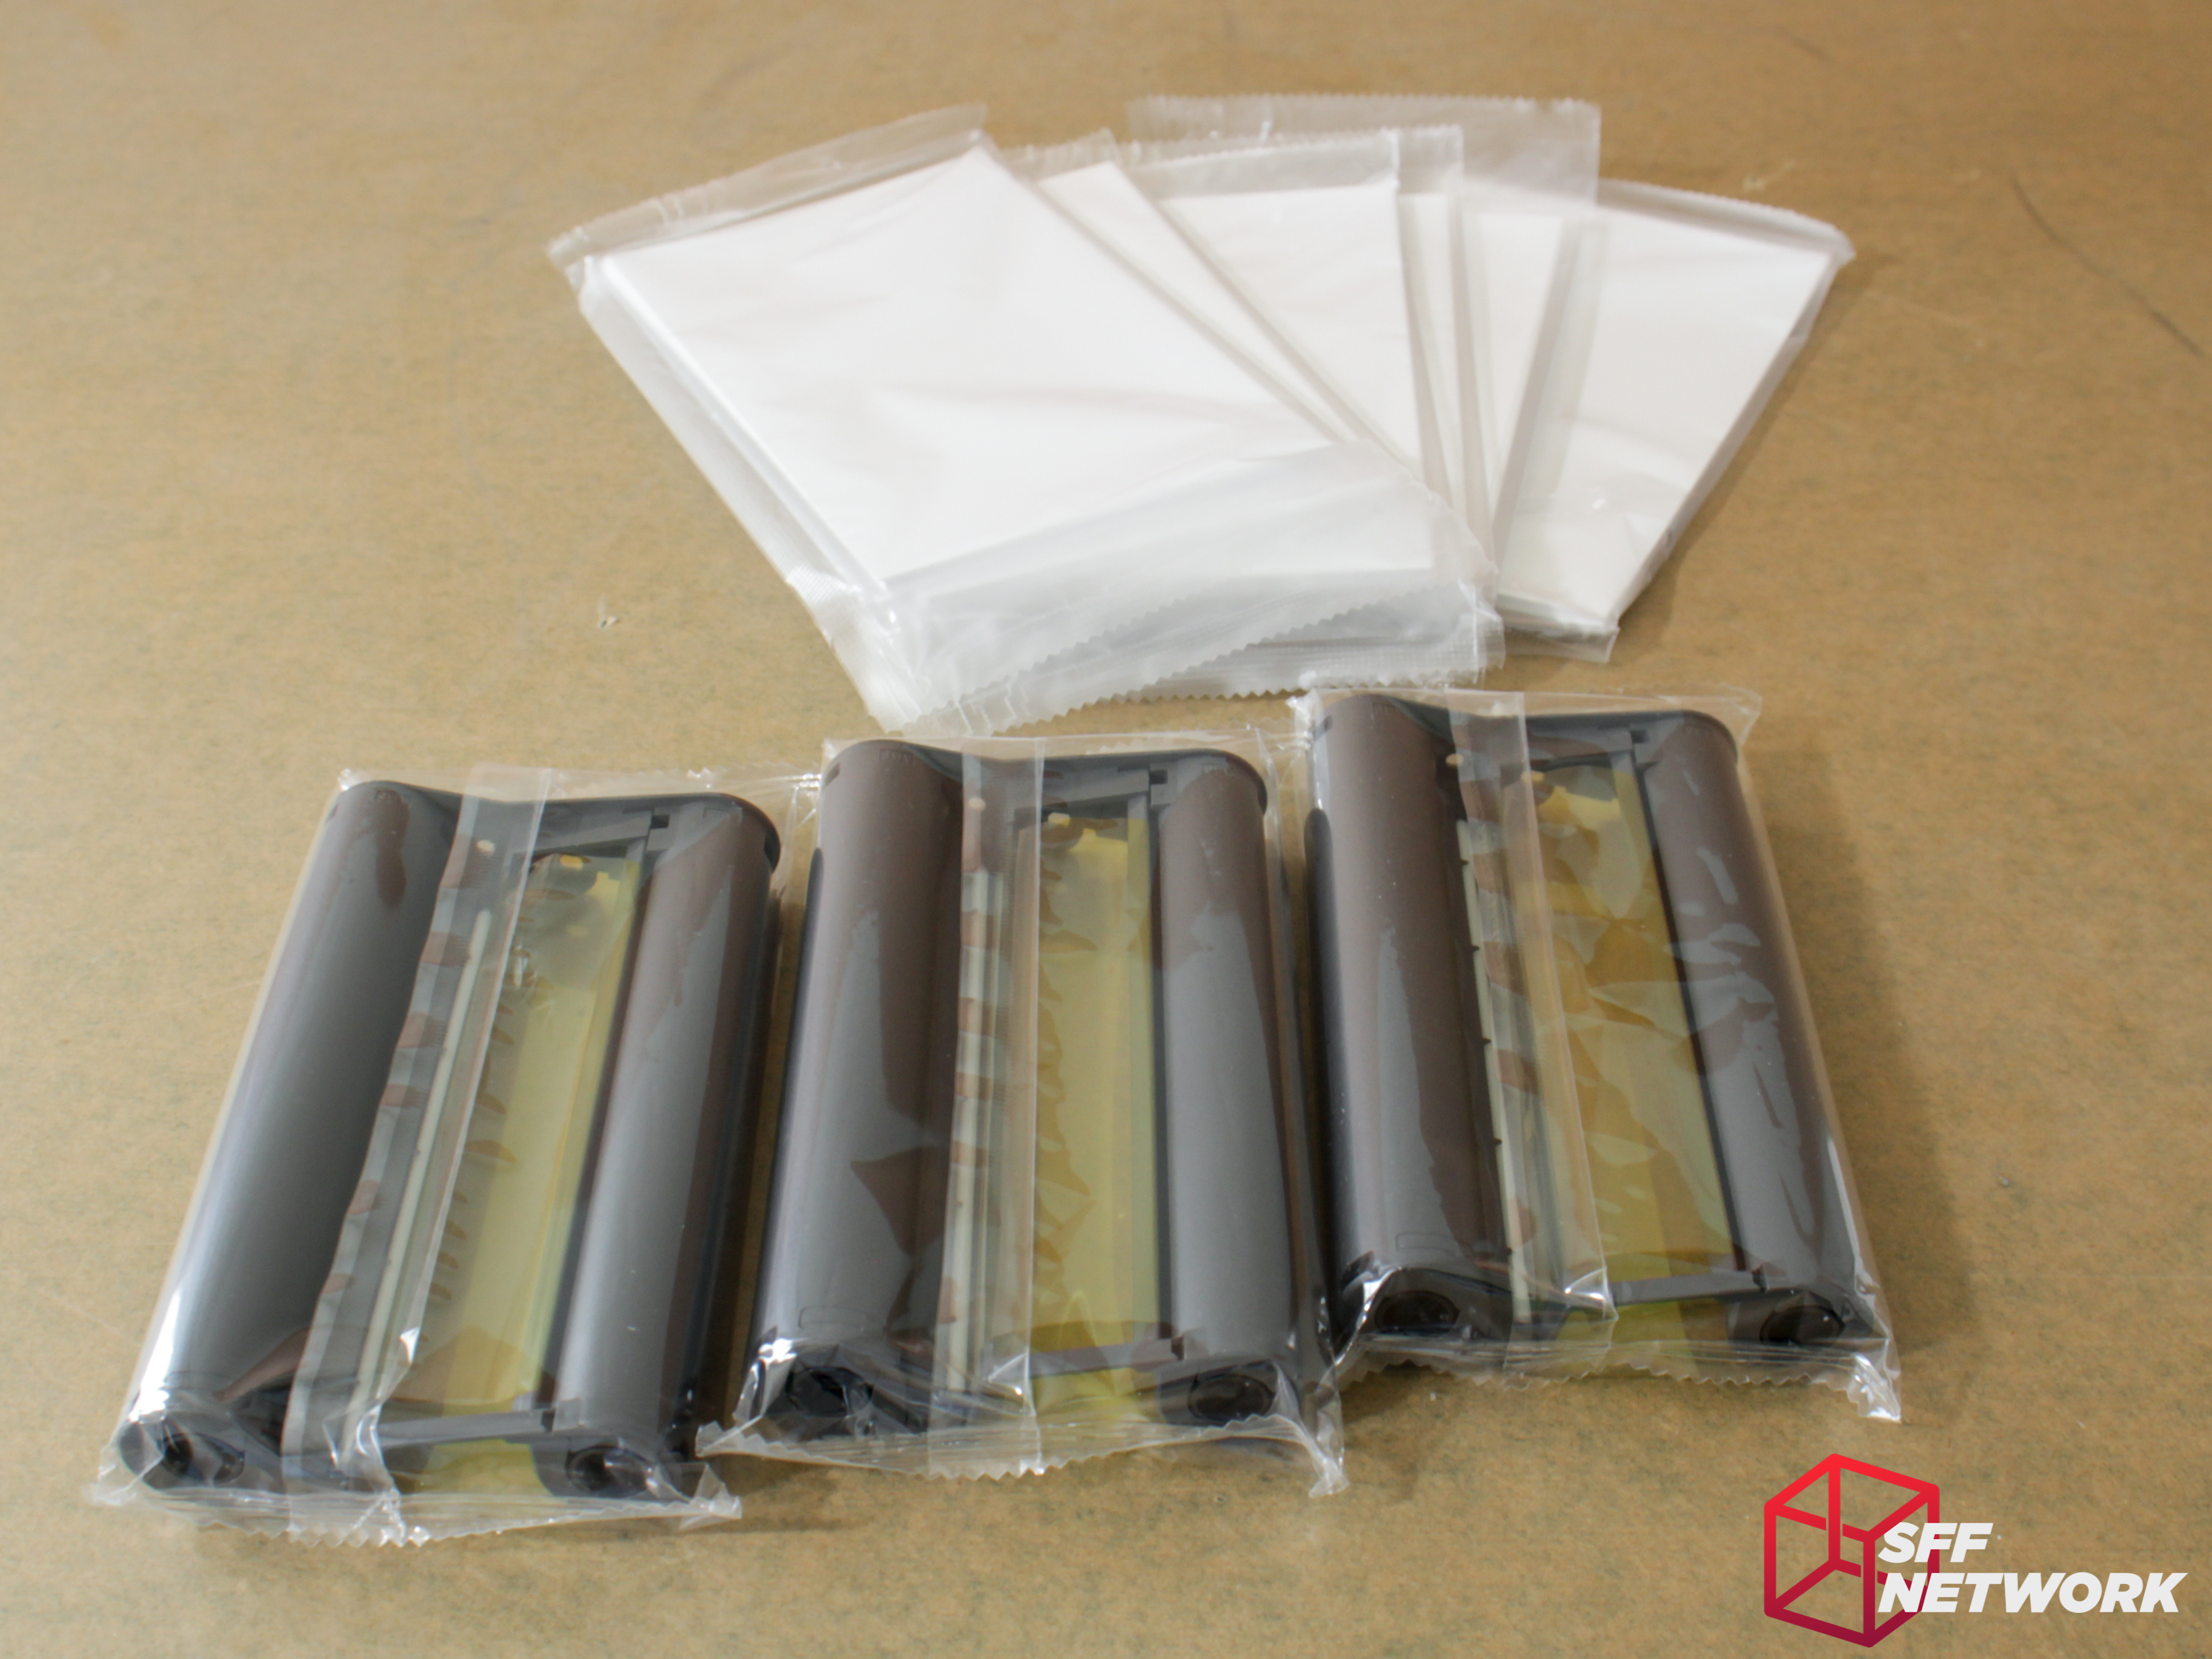
Split into 6 packages, the 108 sheets of paper are wrapped up to protect them from moisture and damage. Also shown here are the three ink cartridges included in the pack. Unlike traditional ink cartridges, it seems that this printer uses some form of transfer film – I will tear one of these down once I finish it, and post the result in the discussion thread.
The Printer
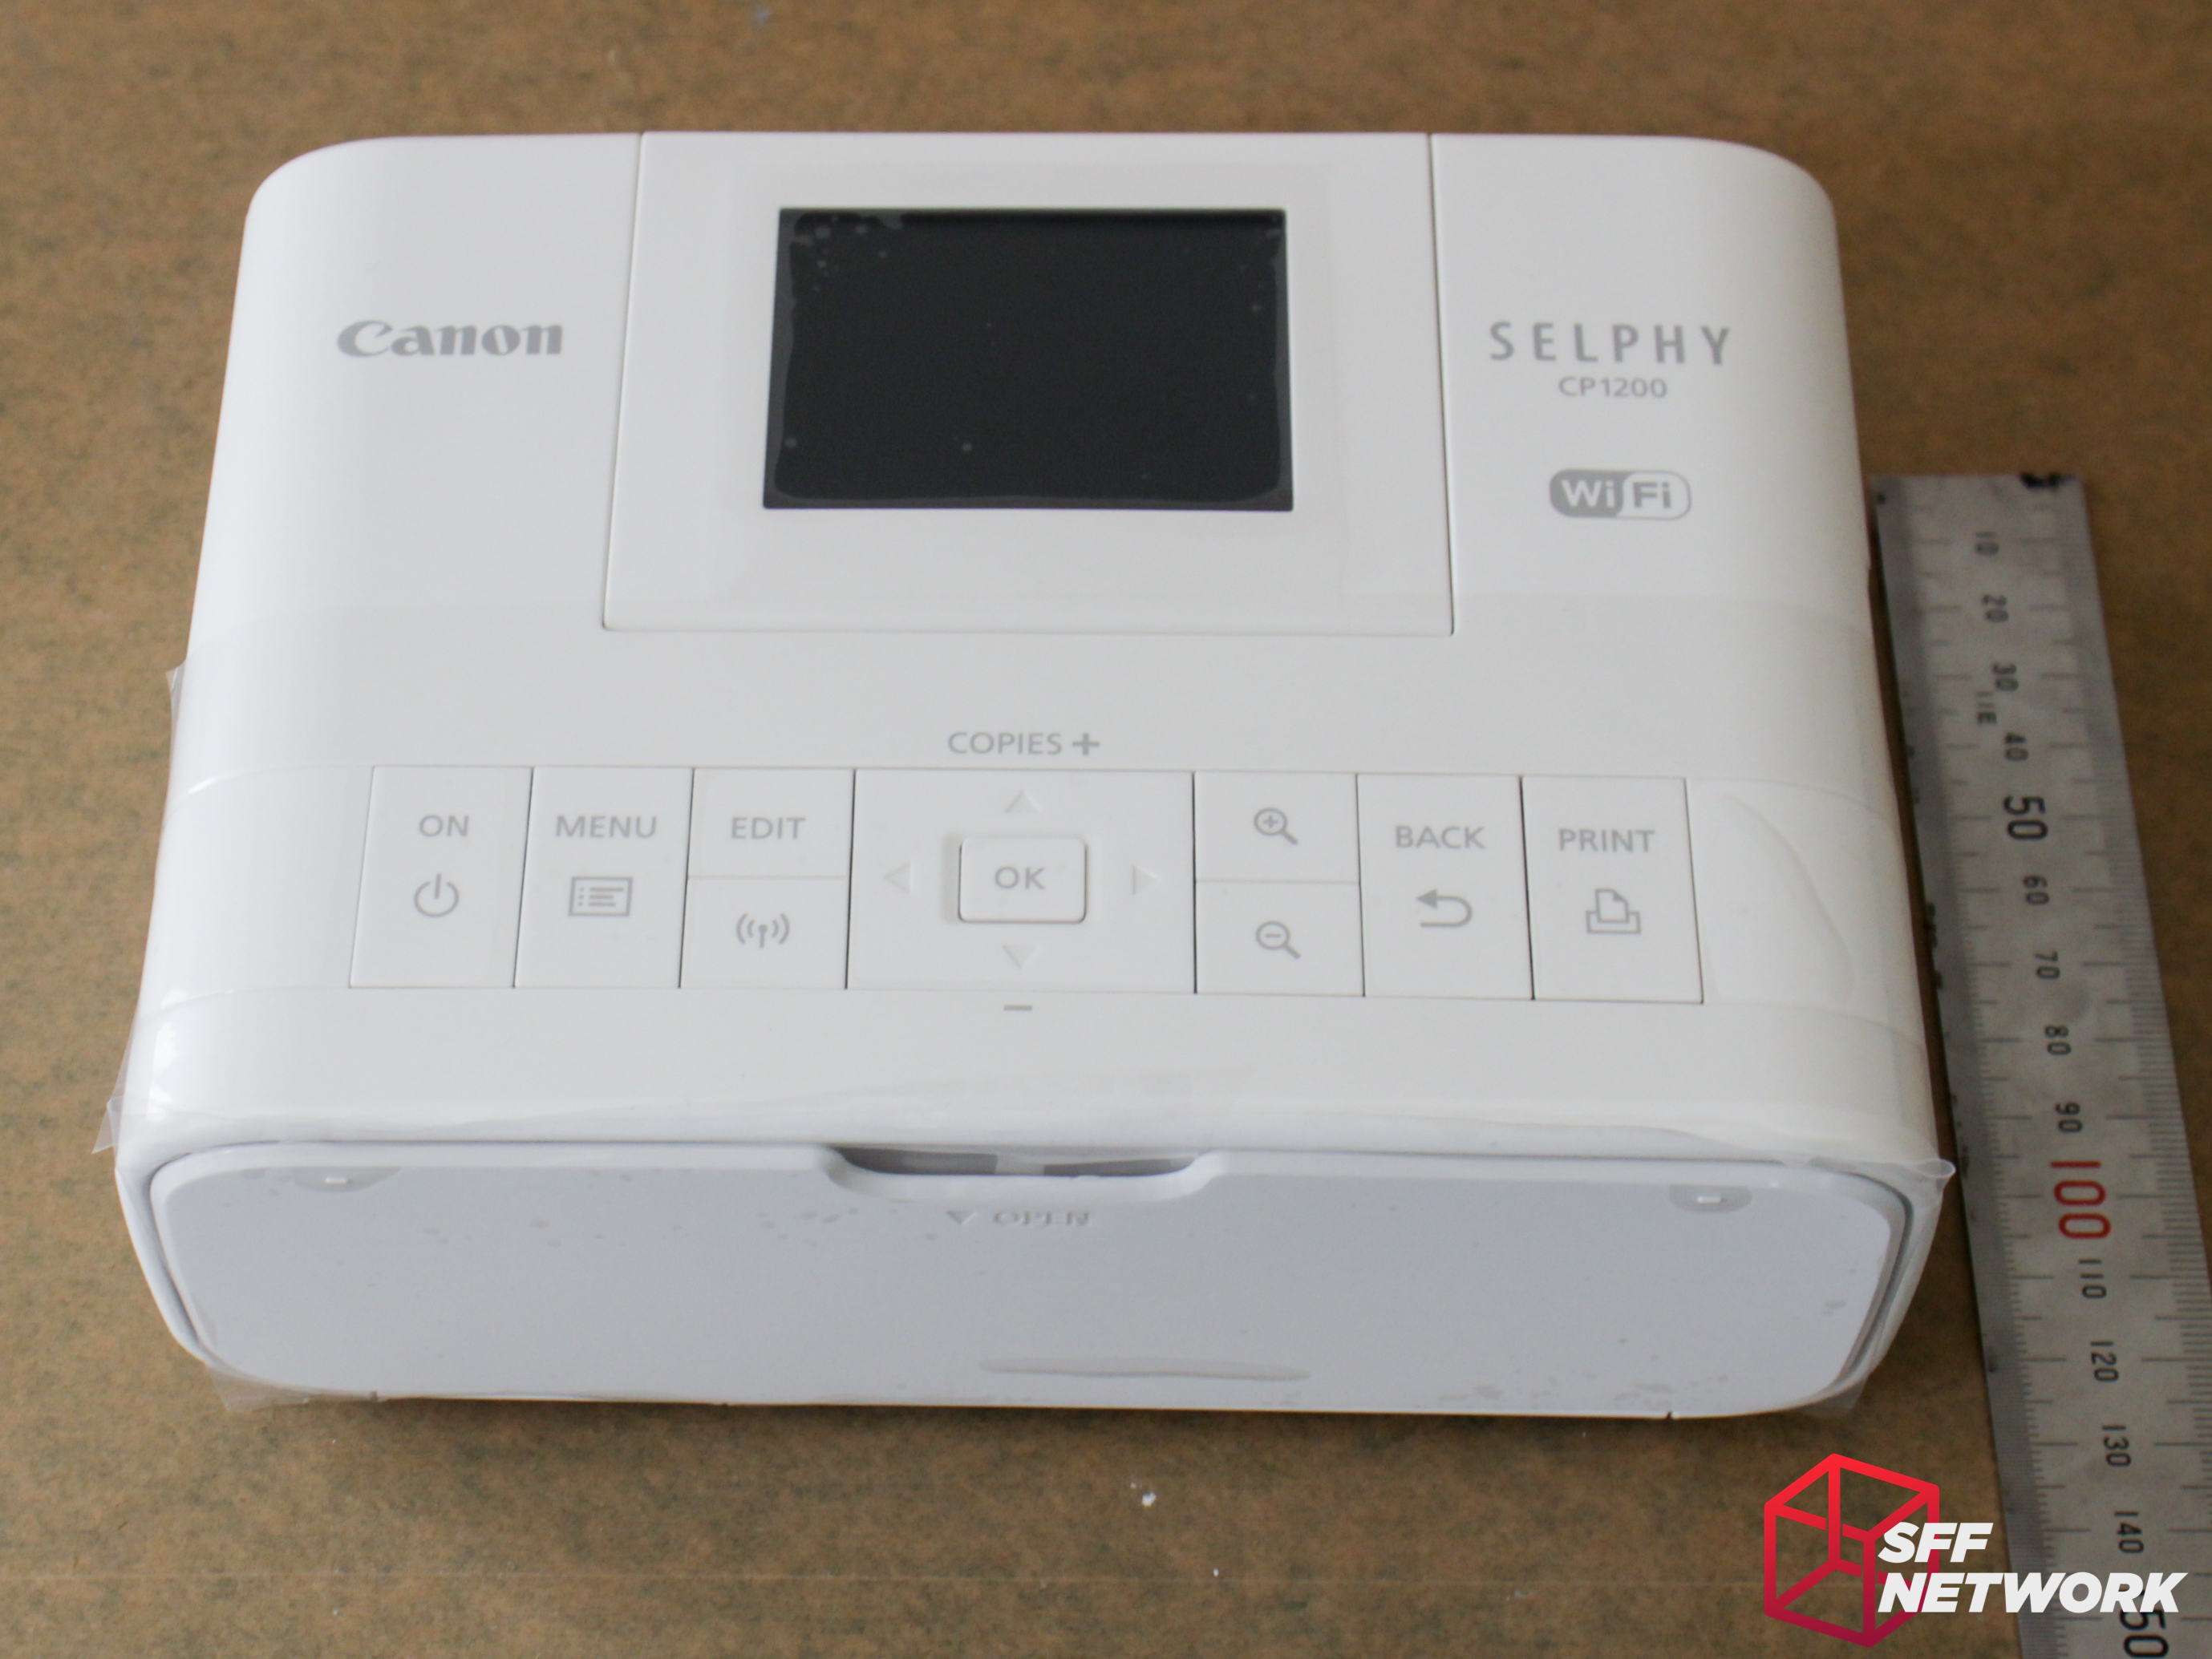
Here’s the little cutie! When packed up, the unit measures around 130mm deep, by…
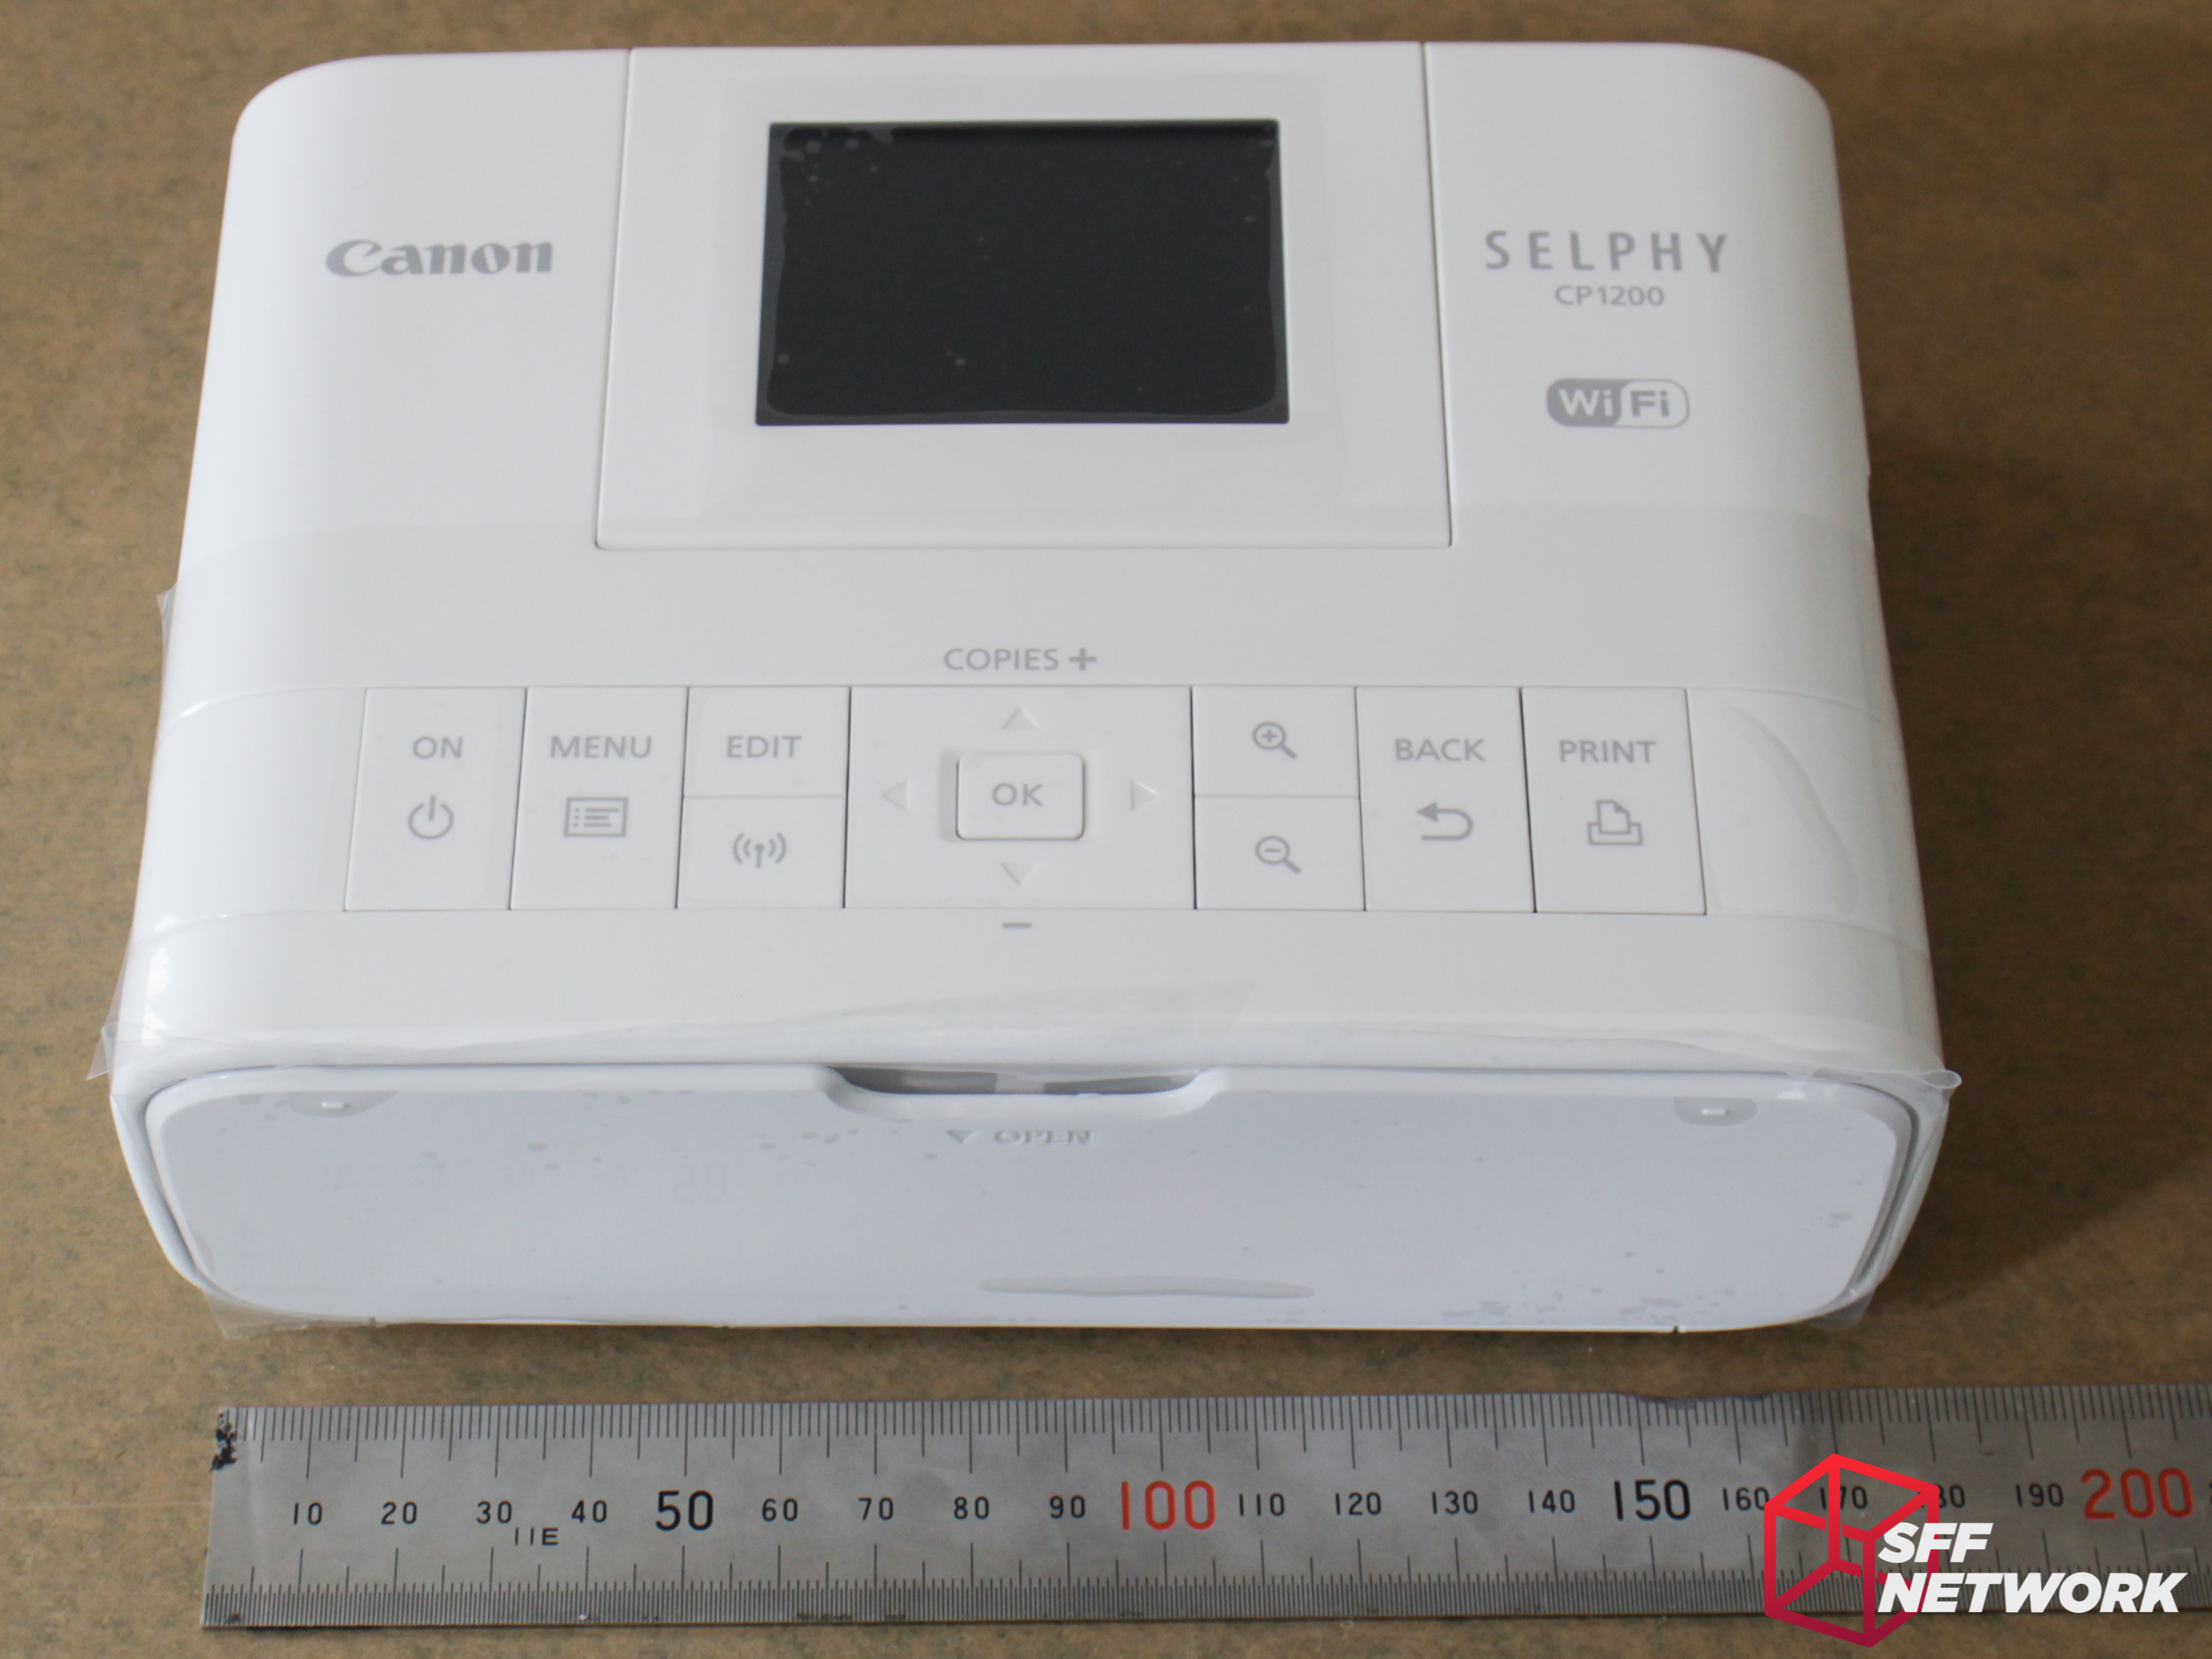
180mm wide. At 62mm high, the packed down unit works out to be about 1.45 litres. This is excluding the power brick and paper tray though, so it’s not as portable as you may first think.
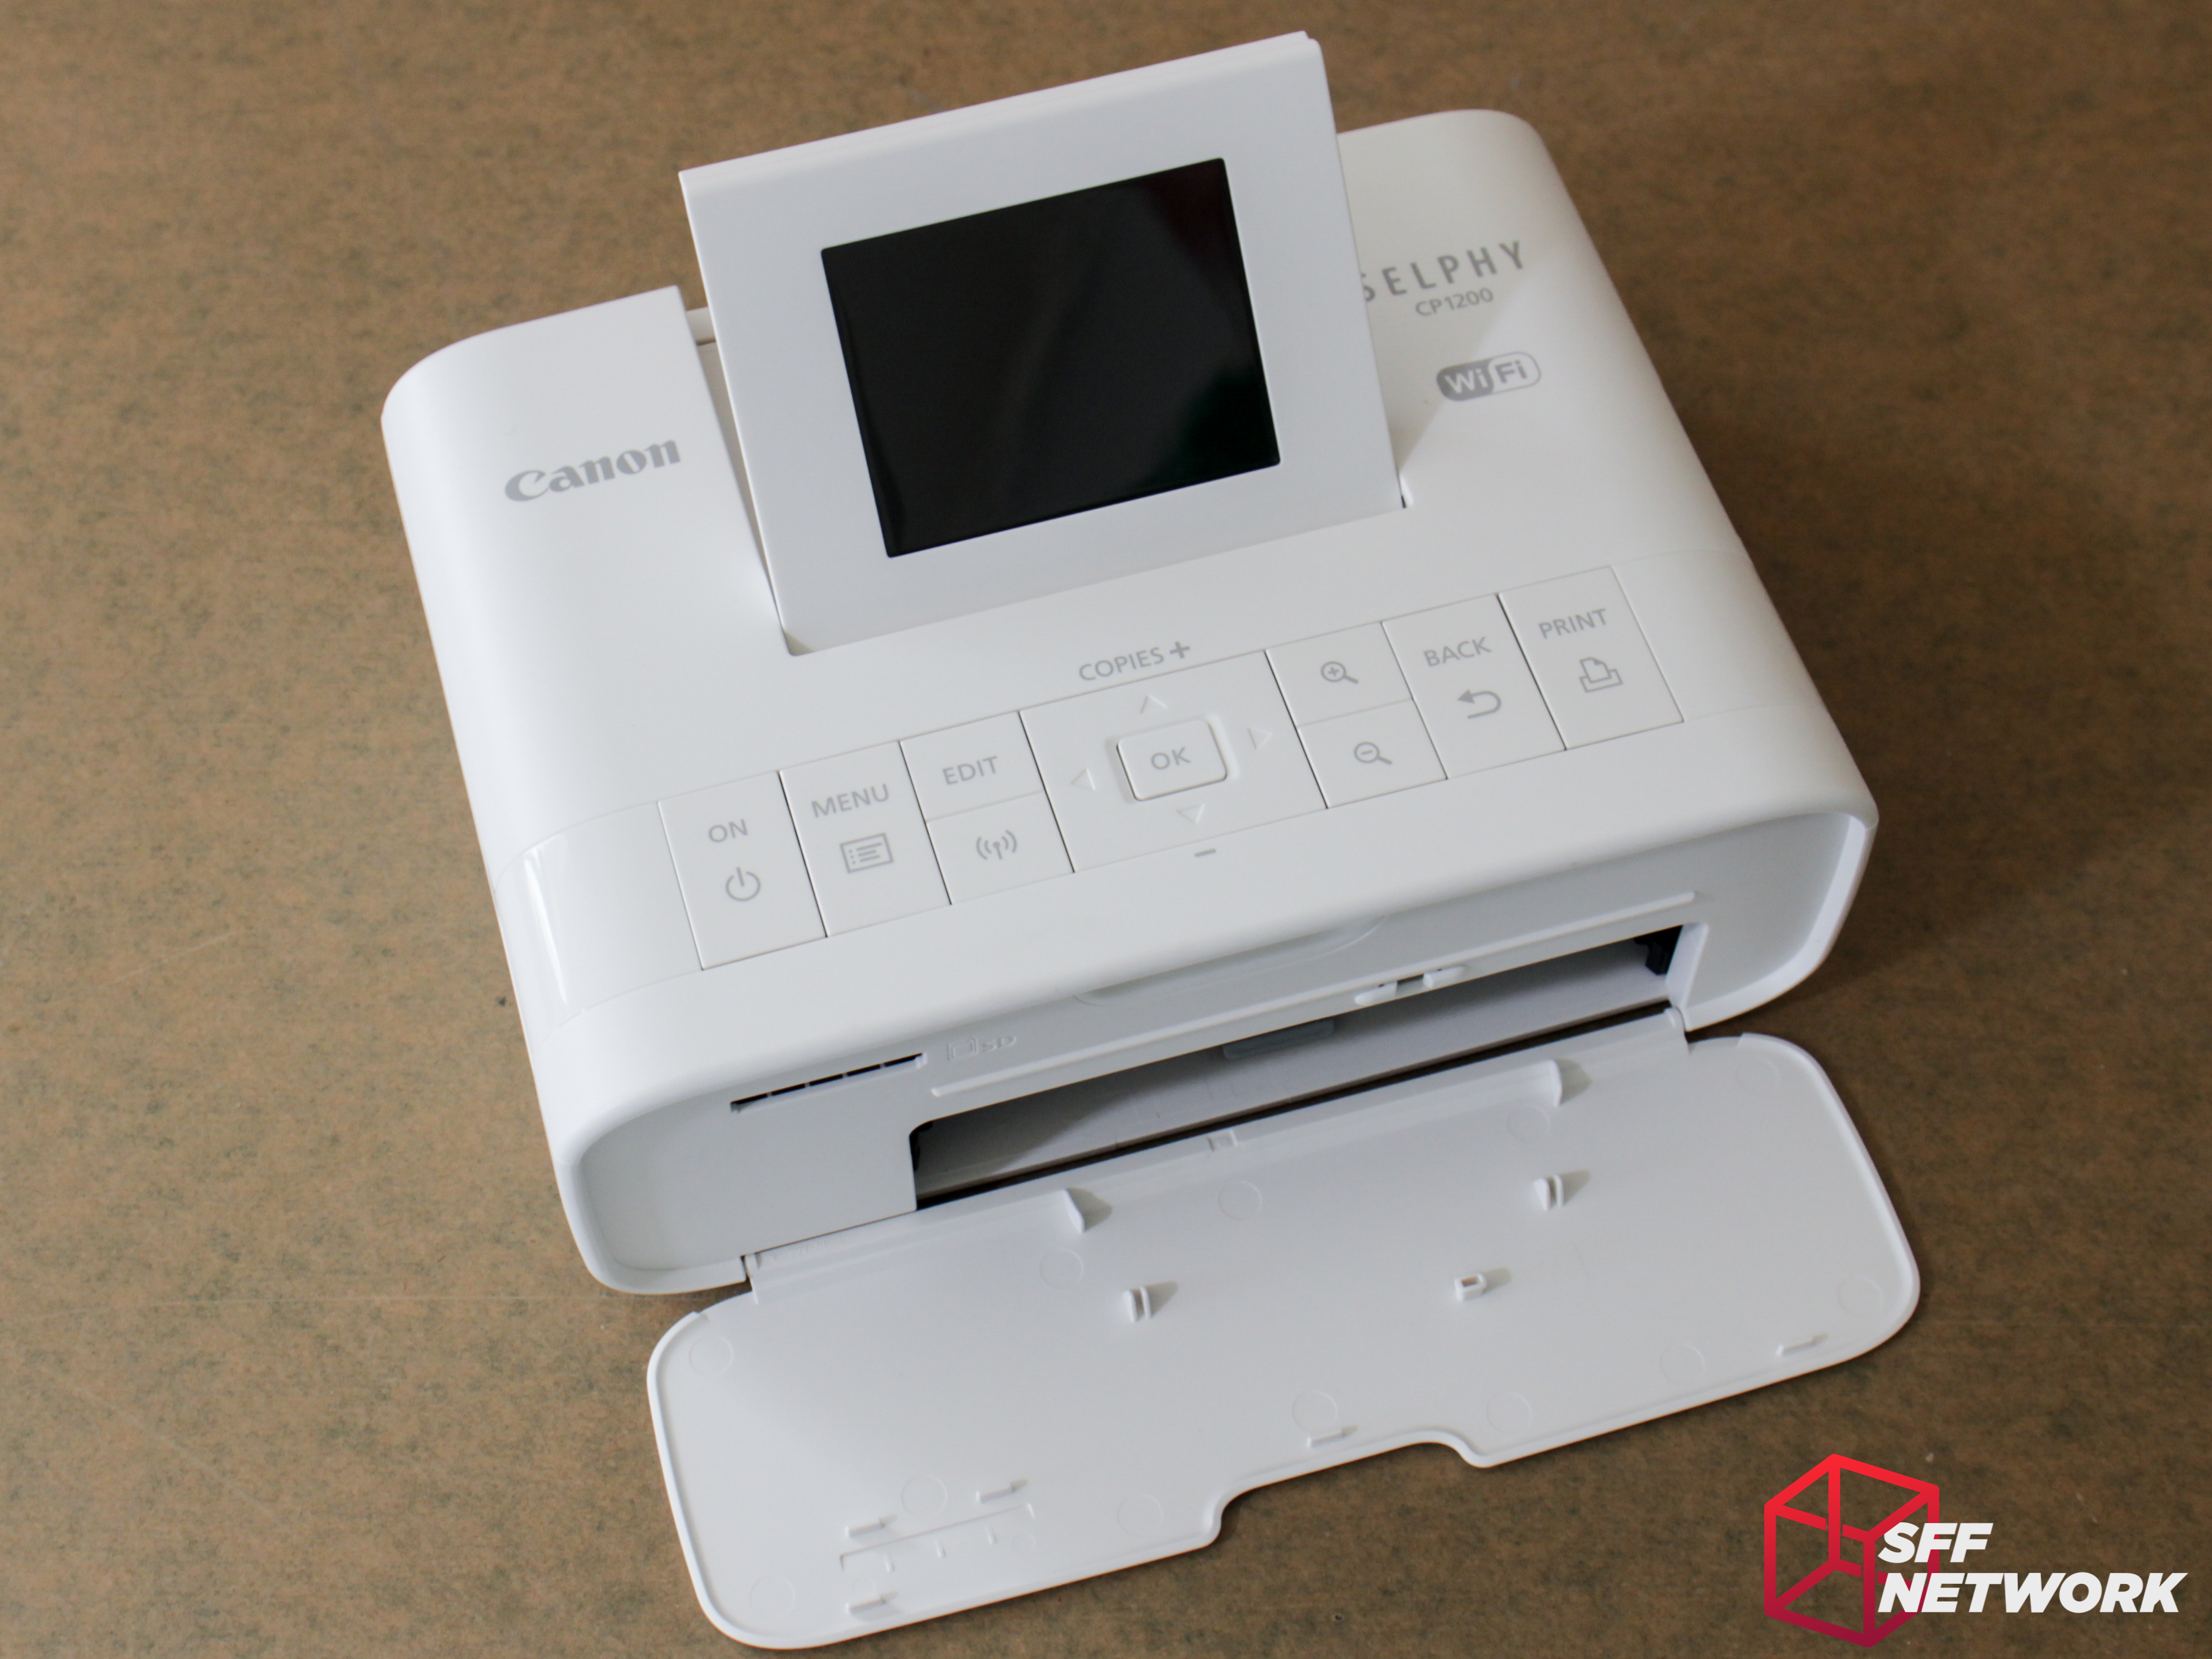
With the front cover open, and the screen up, we have a great view of the unit. The buttons on top are simple plastic over tactile switch, and aren’t as confidence inspiring as you’d think – a few times I had to press a button twice to get it to register. Behind the front cover is the SD card slot – note that it is a single slot, unlike the marketing material on the box.
The Experience

Don’t take it apart, turn it on! (memetastic!)

Woops, I forgot to pop in the ink cartridge and paper!

That’s better. The tray sticks out quite a way, around 180mm!
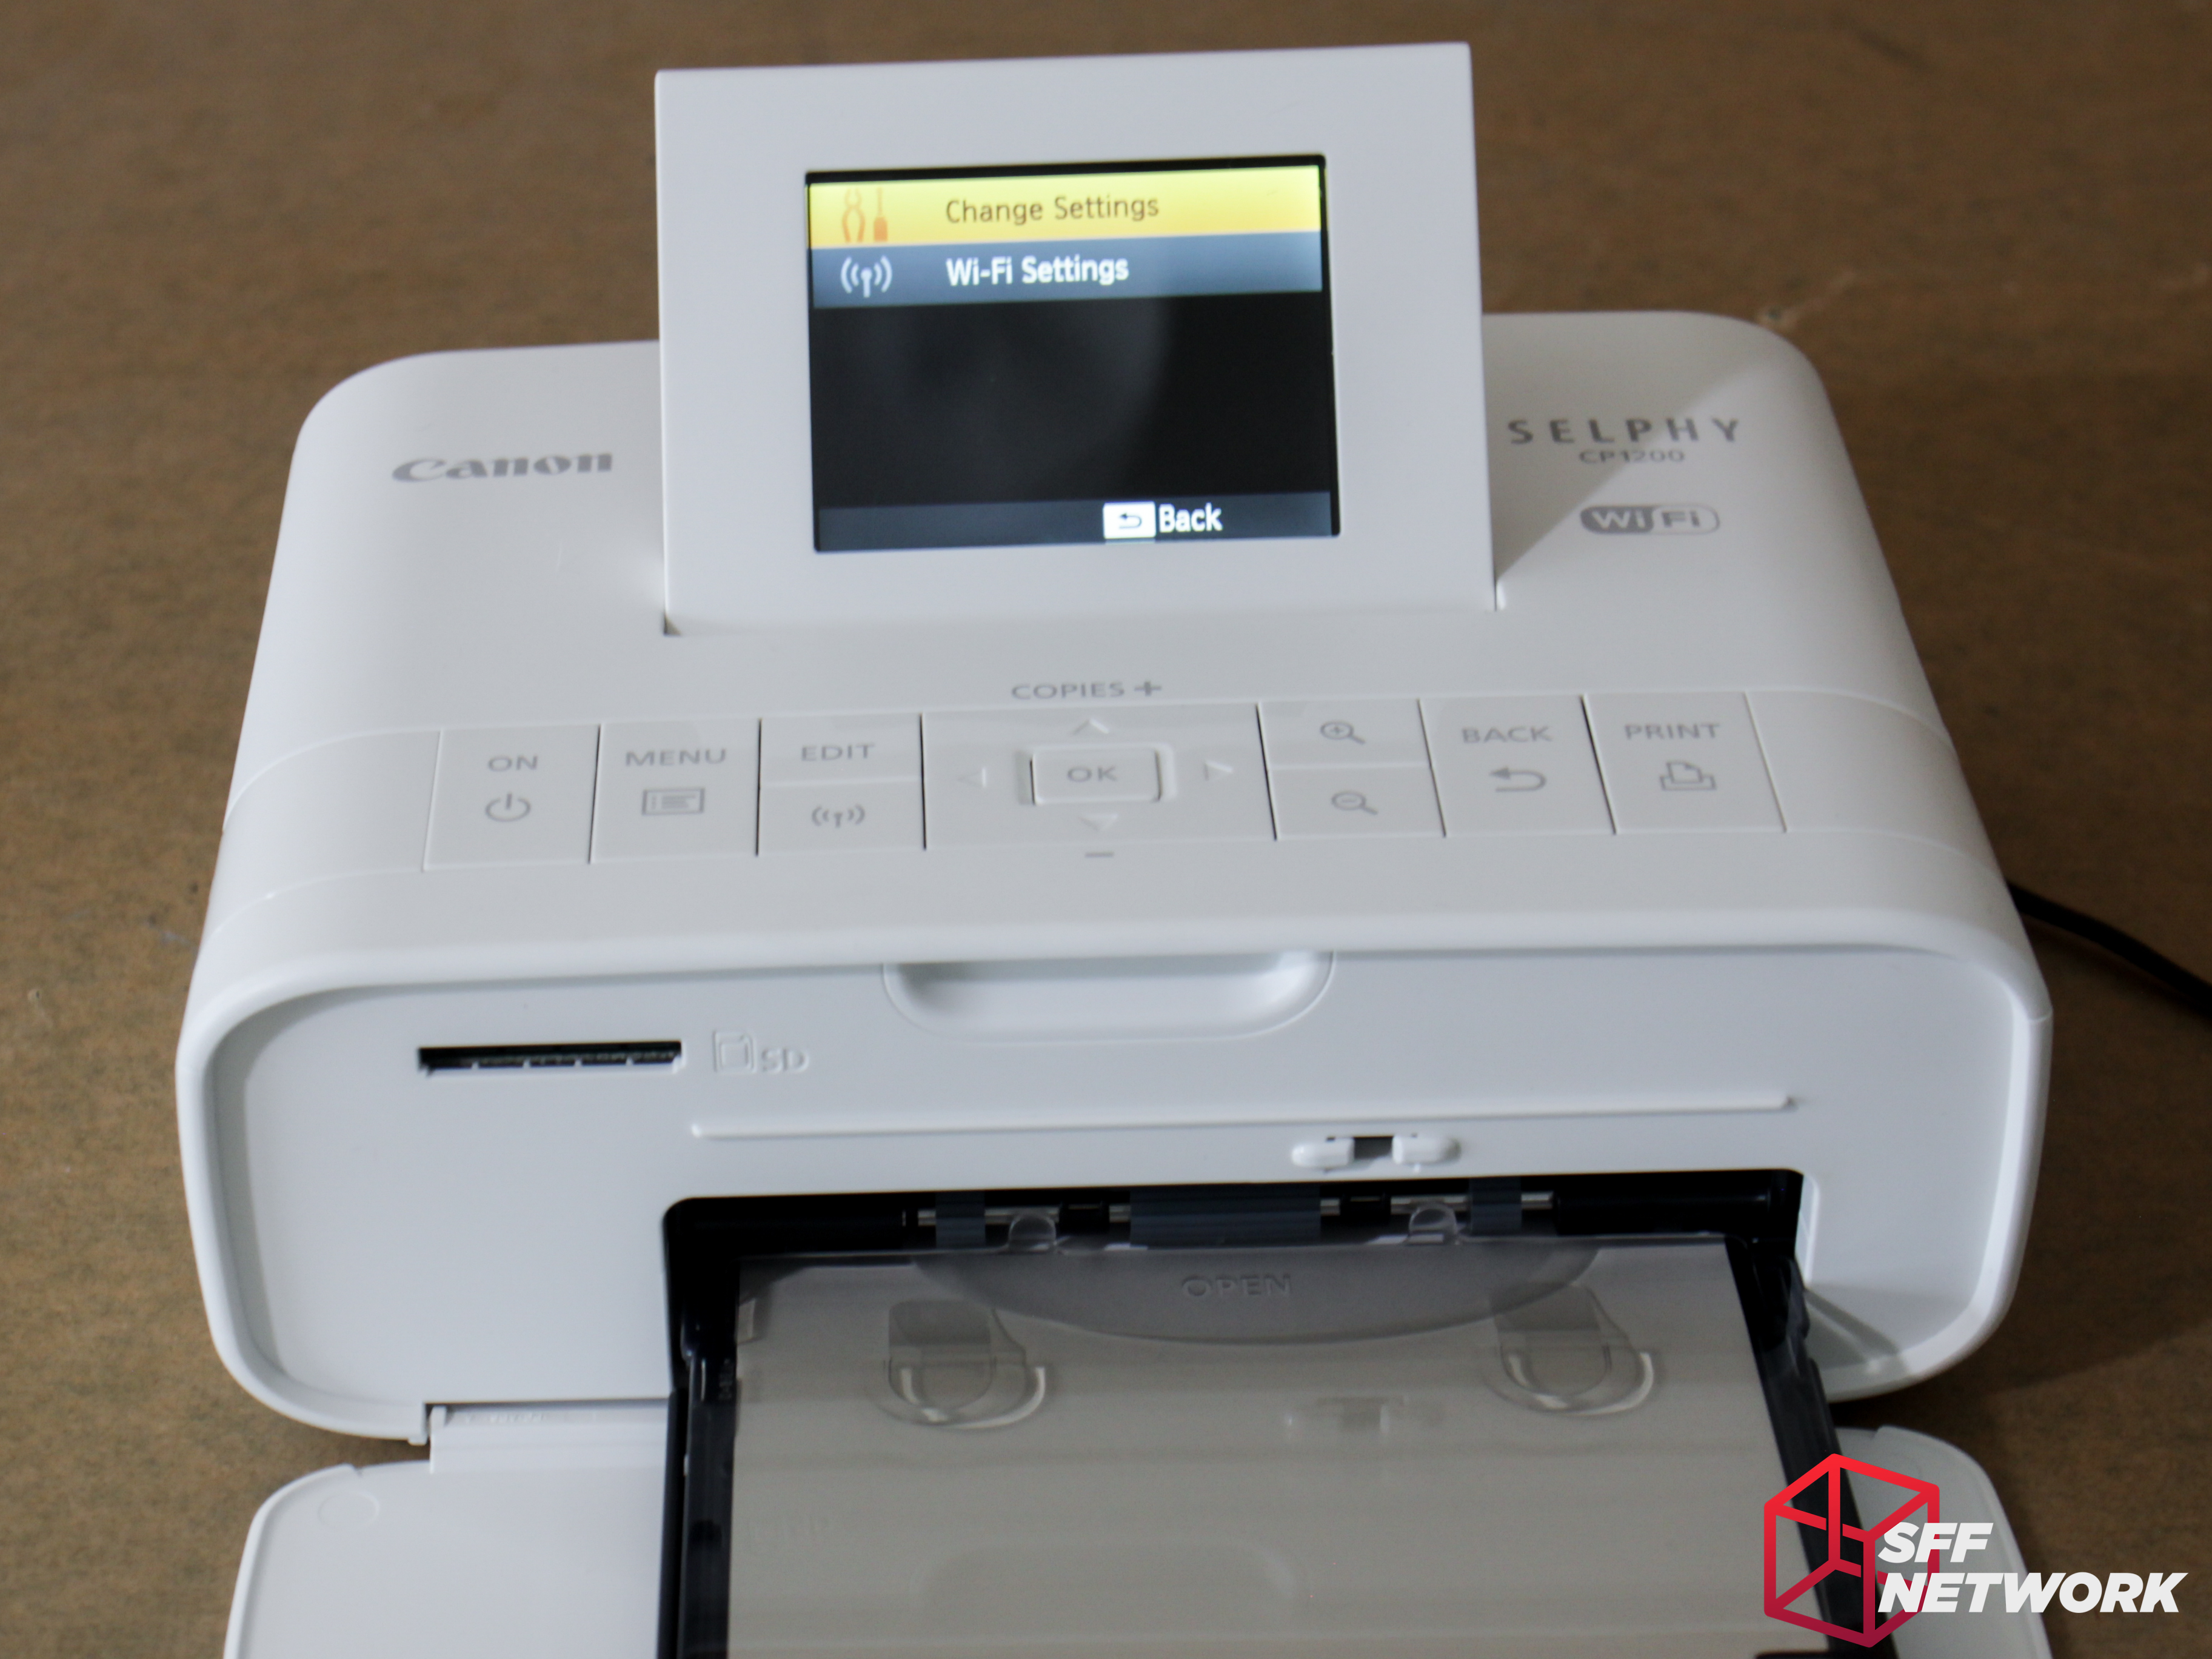
Let’s get connected. The printer offer two types of WiFi connectivity, either acting as it’s own access point, or connecting it to your existing WiFi network.

We’re going to go with the AP method first!

This is the default name of the printer – text entry on this unit is a pain in the rear end, so I left it as this. Entering text using the mediocre keypad is a challenge – as you have to use the arrow keys and the OK button to select letters from 3 pages of characters!
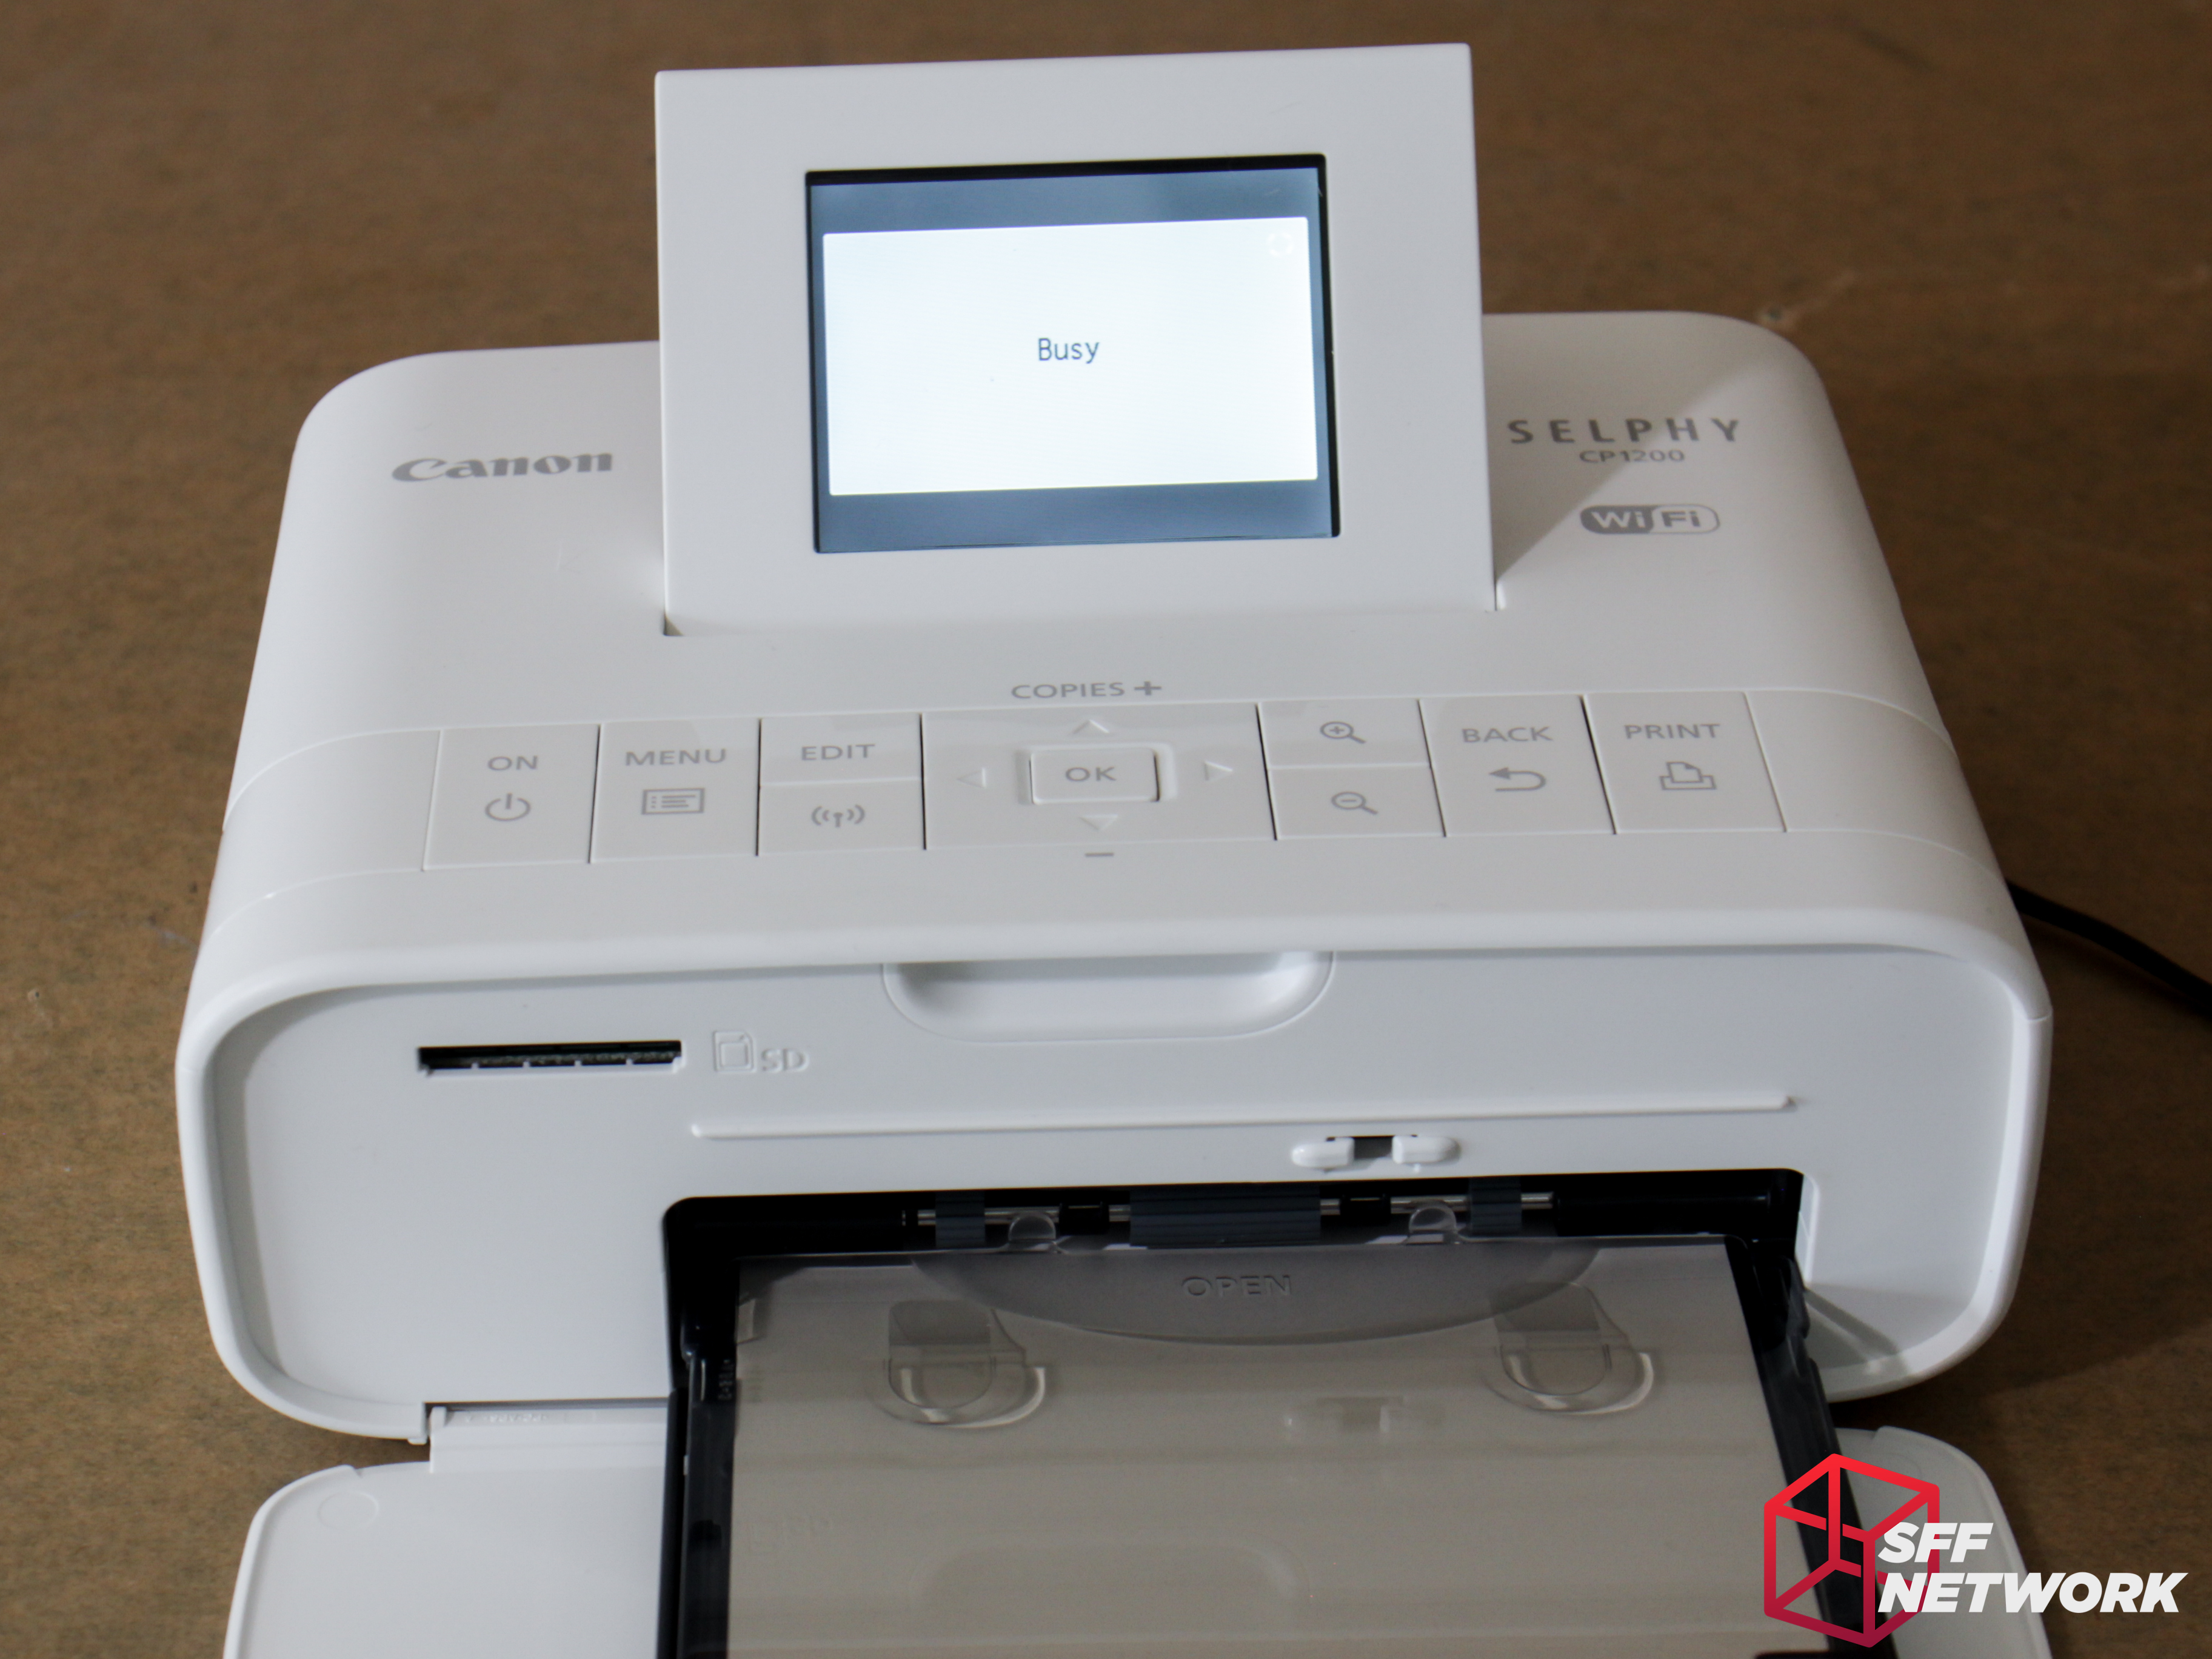
Waiting..
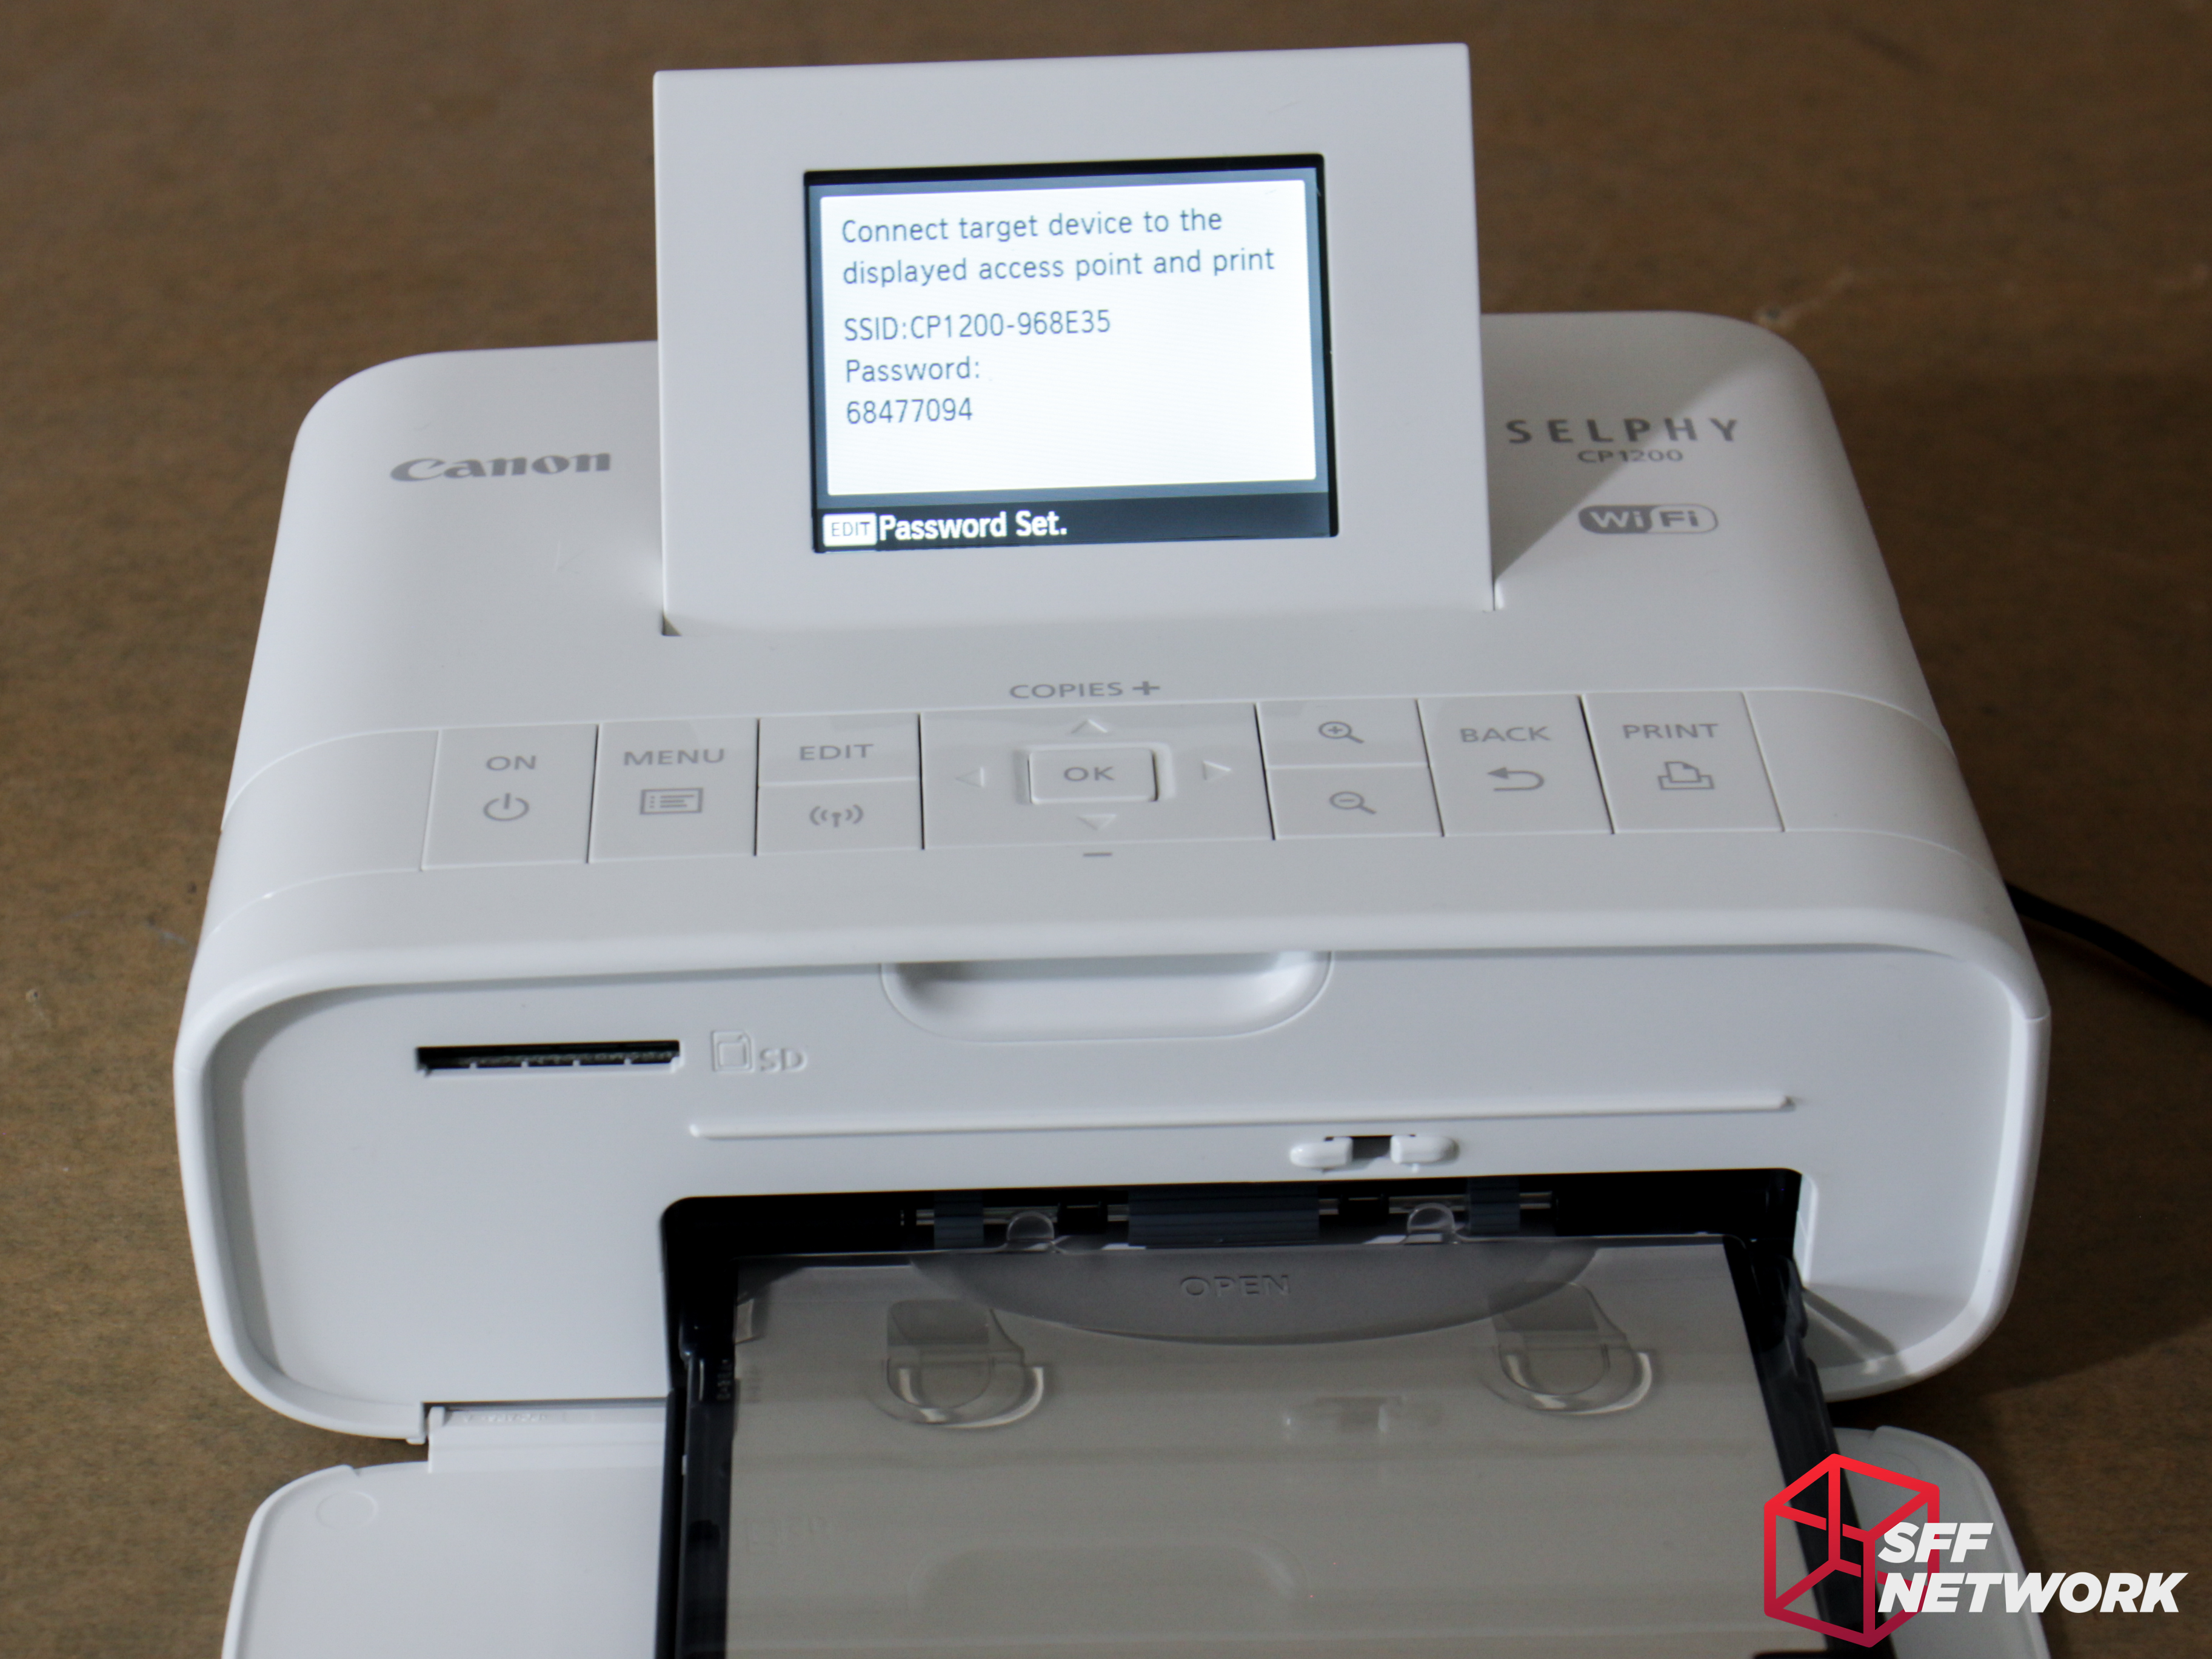
And it’s time to connect my phone to the printer, using the displayed info!
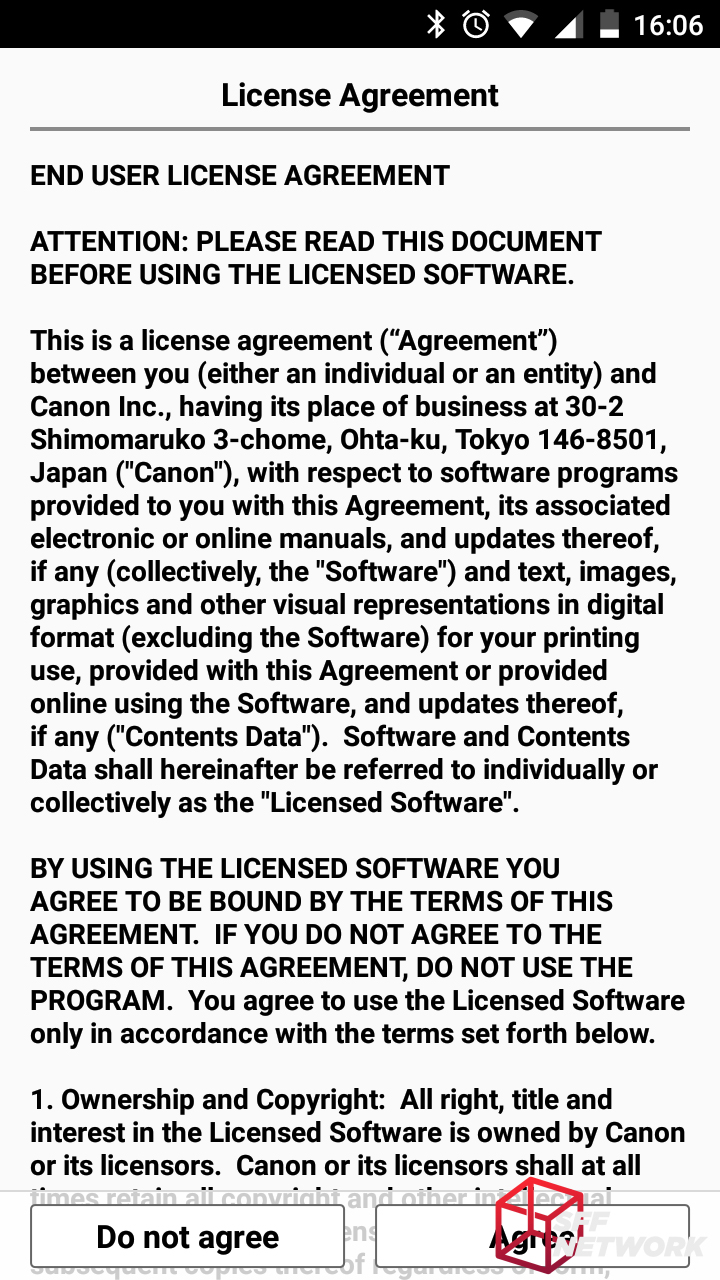
Terms and conditions. Wooooooooo…
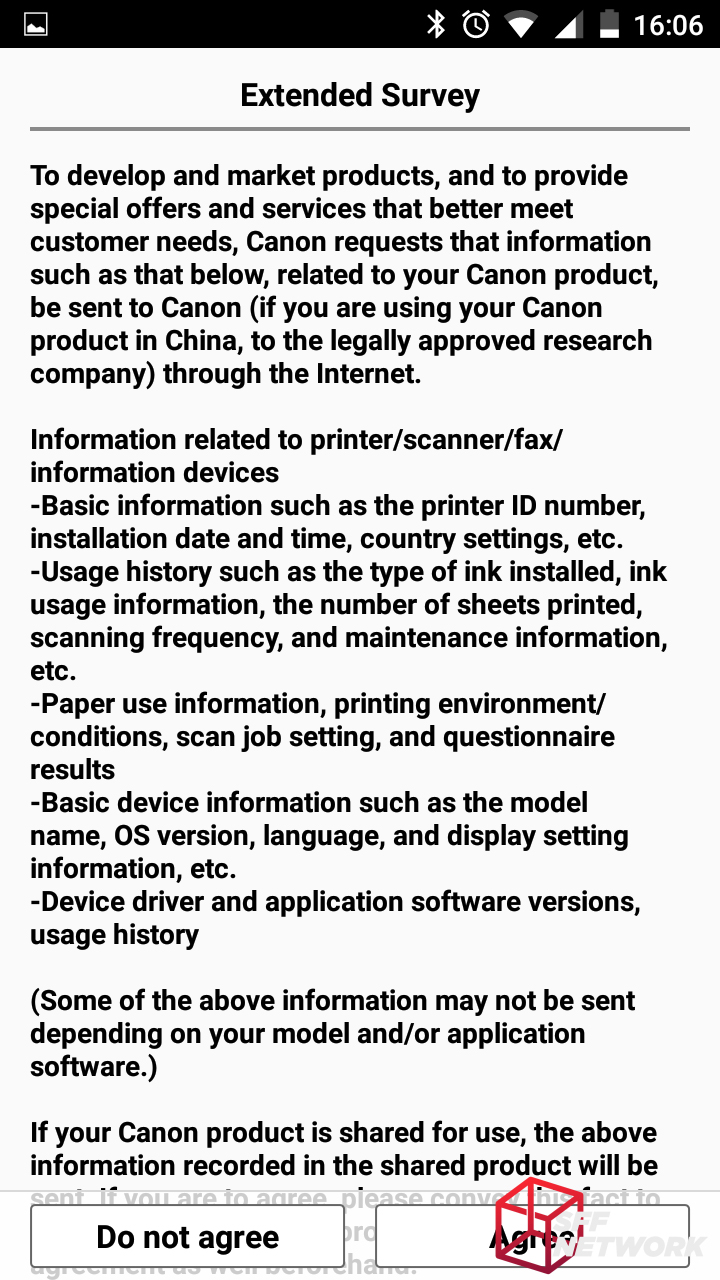
And use reporting back to the manufacturer. I never worked out if this was voluntary or not.. Sorry!
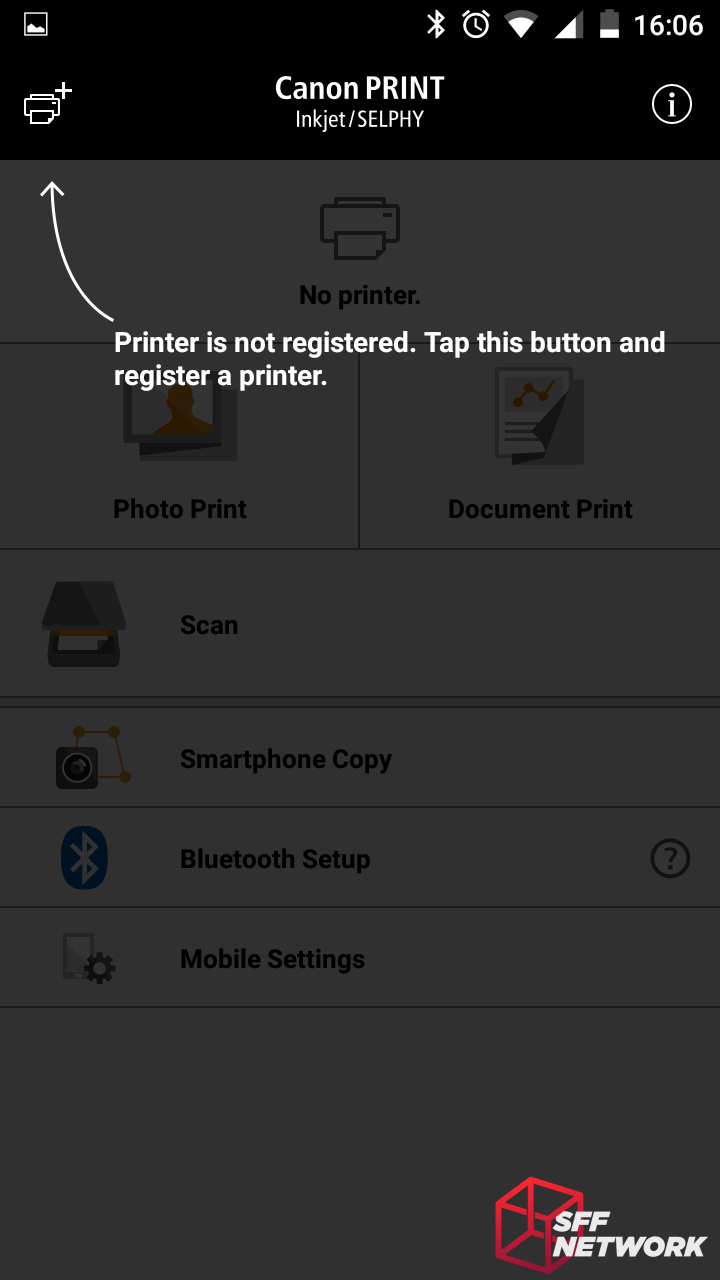
On initial app boot, it will request that you ‘register’ a printer – this isn’t actual registration, but is the act of connecting a printer to your phone.
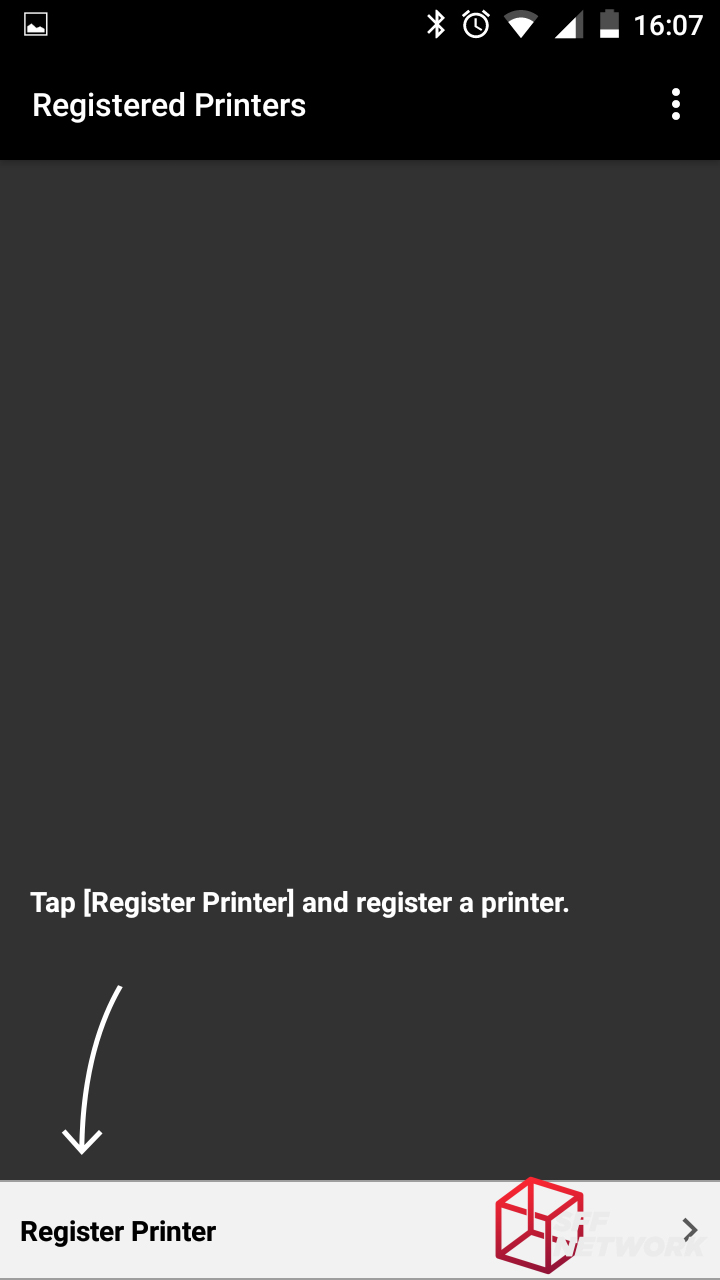
Follow the instructions and you will find your way through.
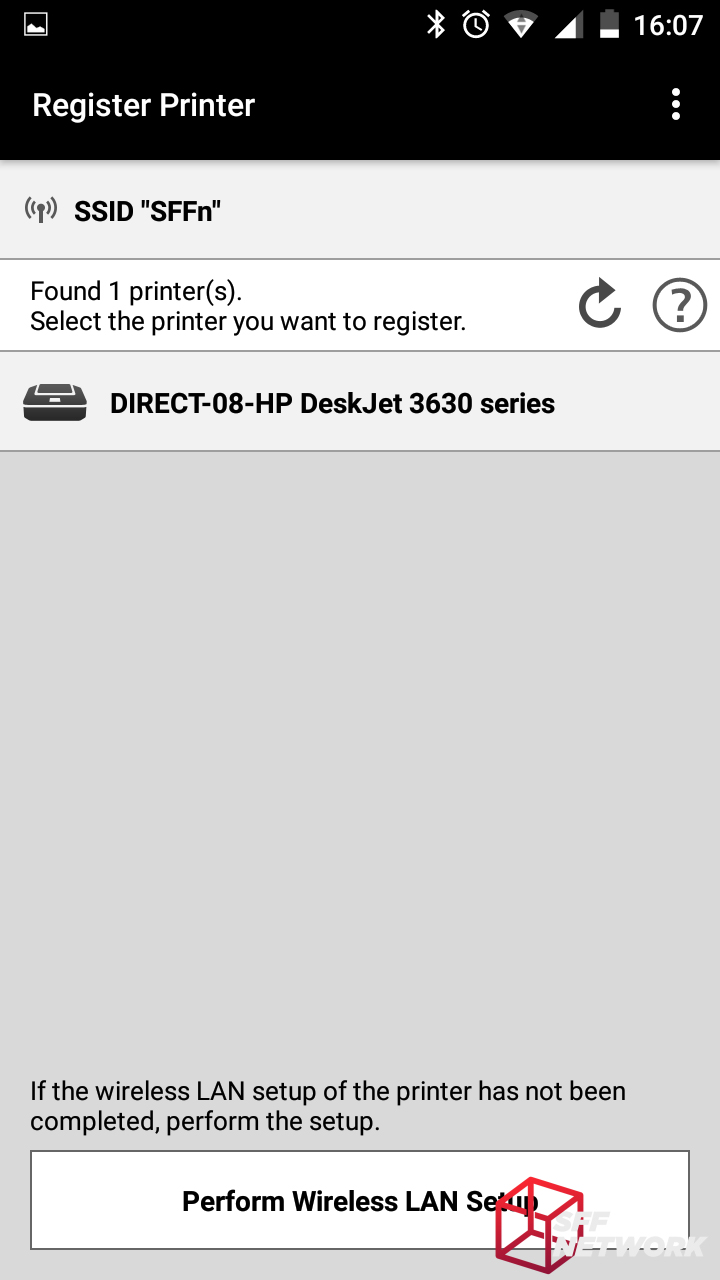
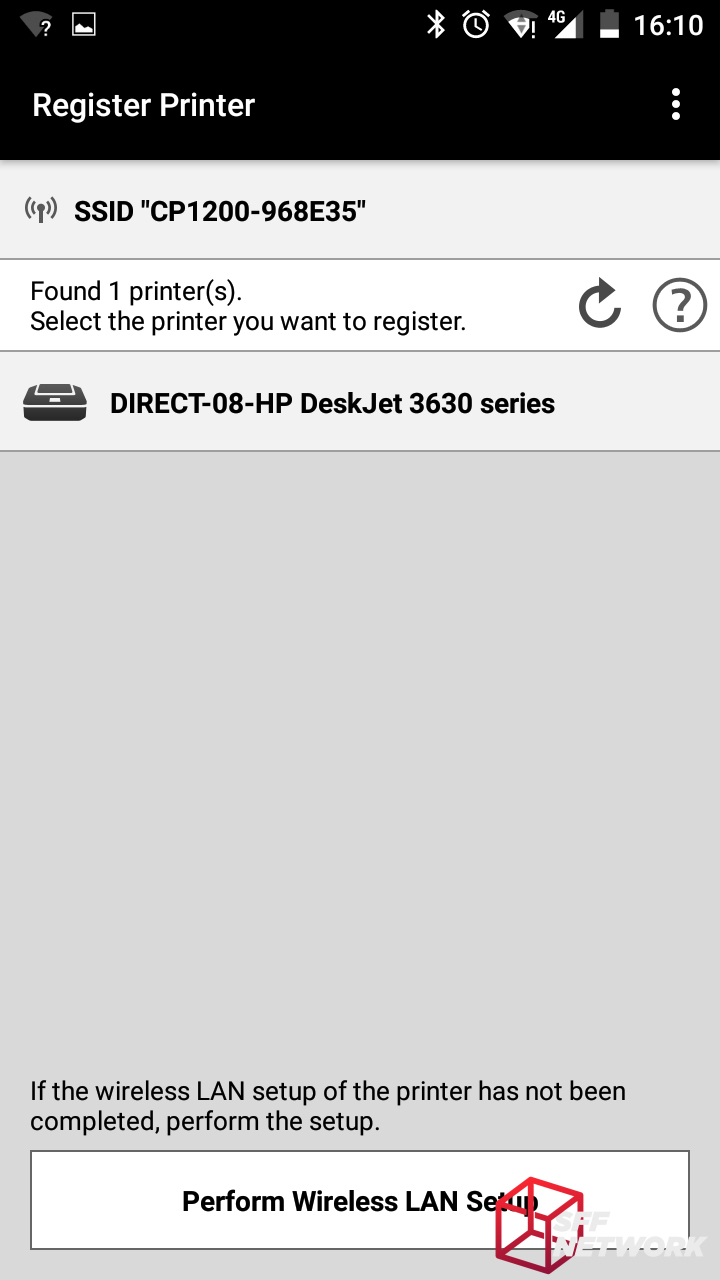
Not my real WiFi SSID, and that’s the neighbour’s printer hotspot! Let’s “Perform Wireless LAN Setup”

Auto all the way! Annnnd.. it didn’t work. From here, I connected to the Canon Selphy CP1200’s own hotspot;
And still didn’t see the printer. So, let’s search again..
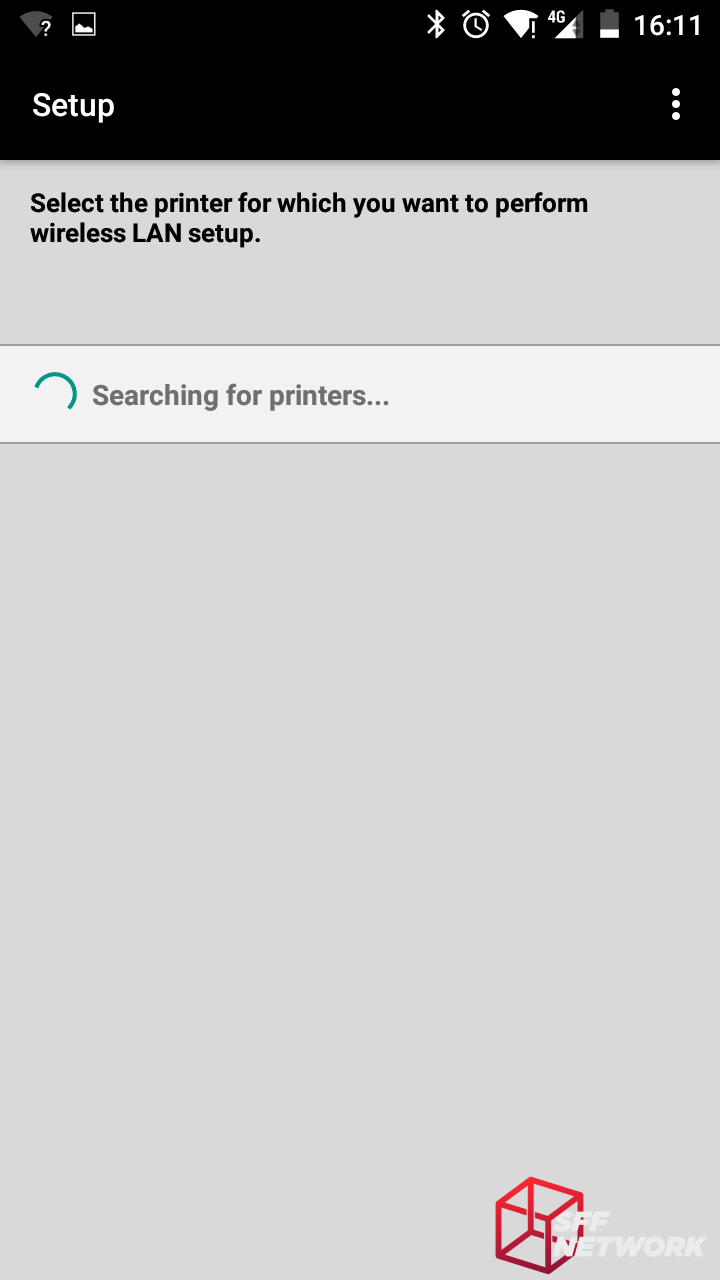
Searching…
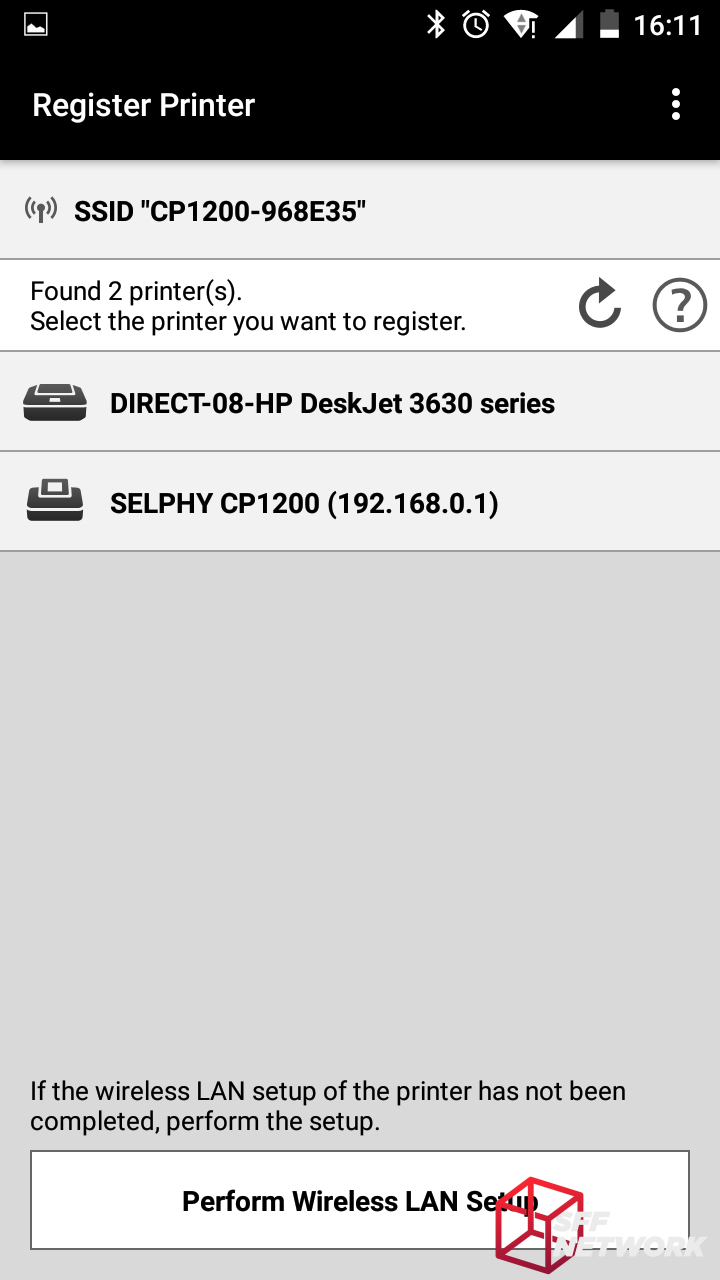
Woohoo!
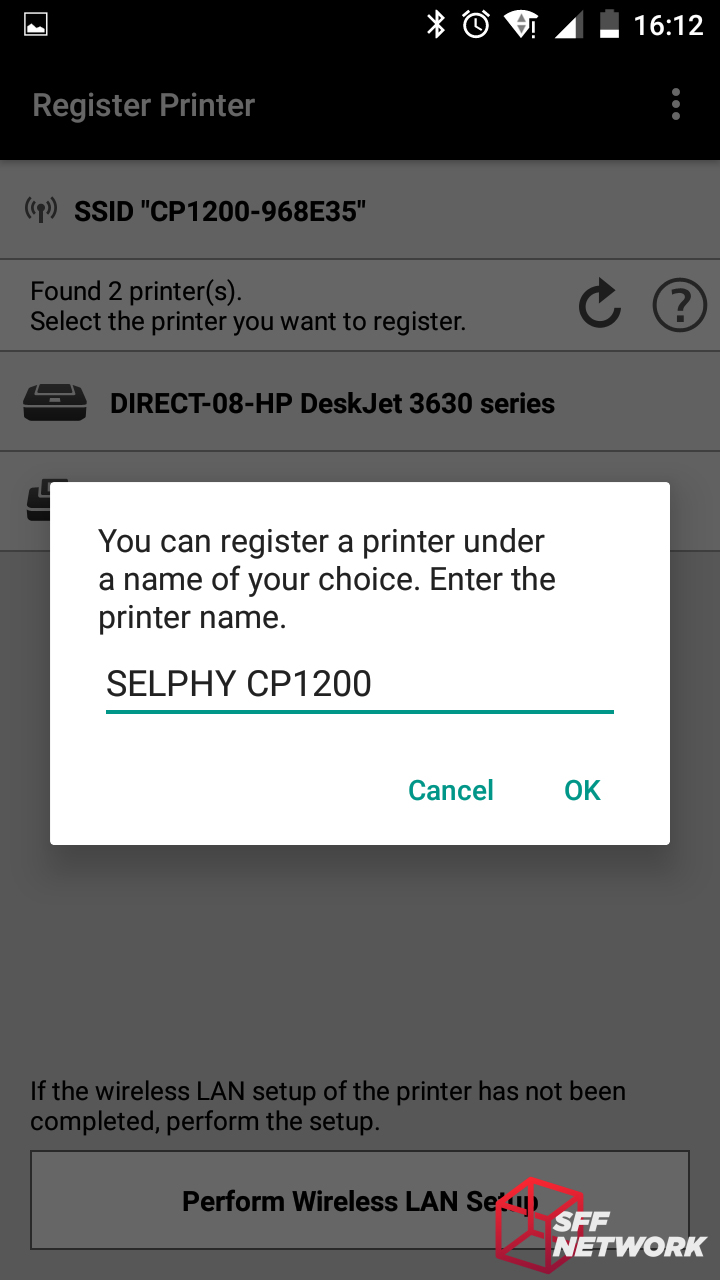
Ok, let’s add that…
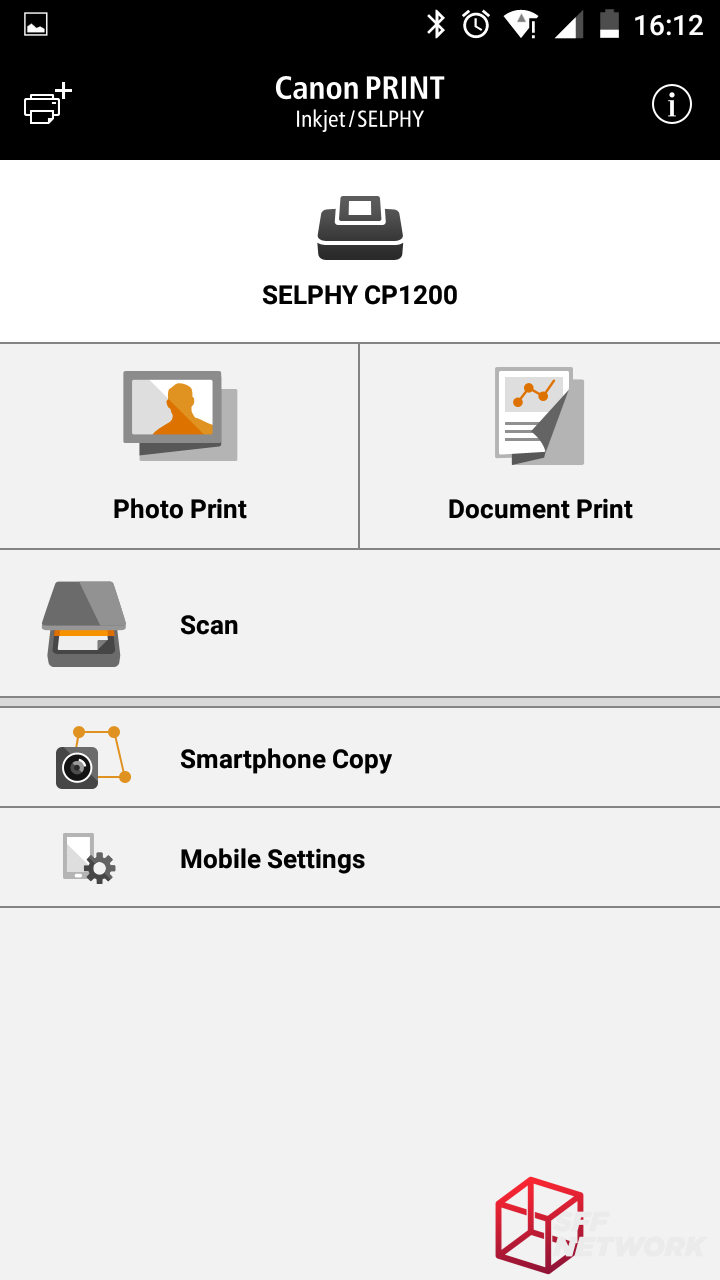
Let’s print something! Hitting the Photo Print button and continue on our journey.
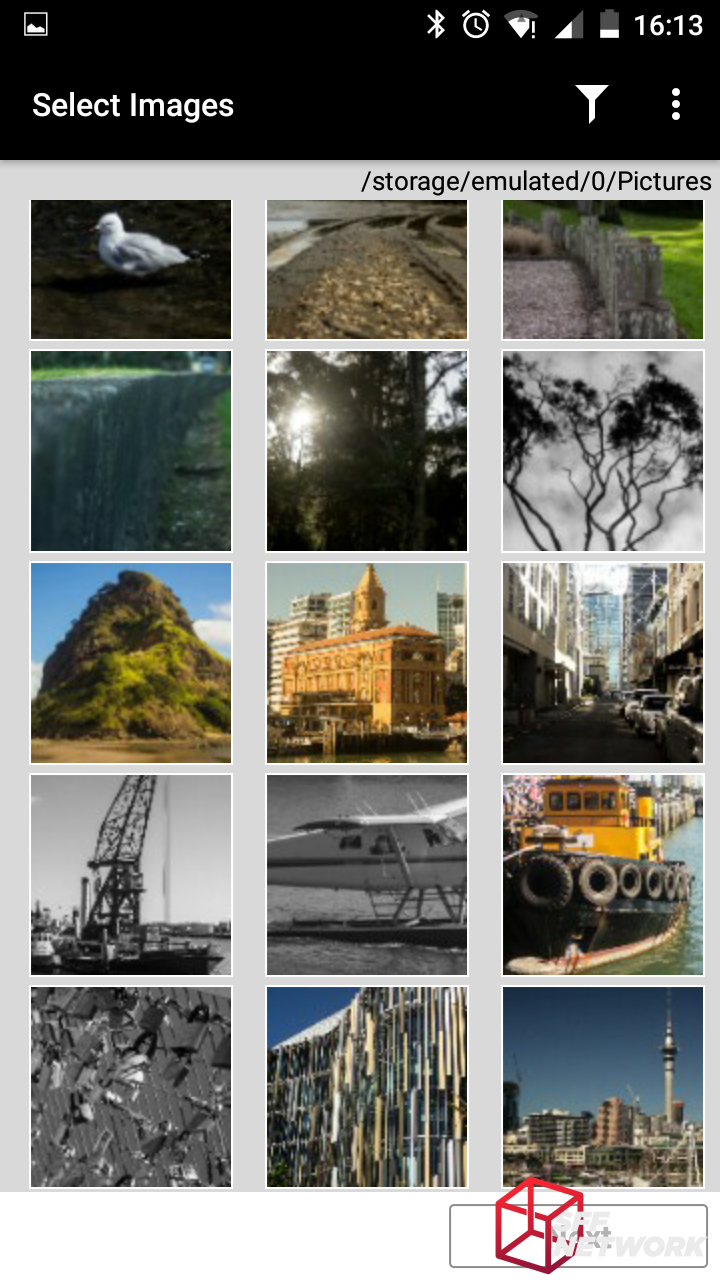
Only now do I realise my Instagram account is very stock photo-esque. Dang.
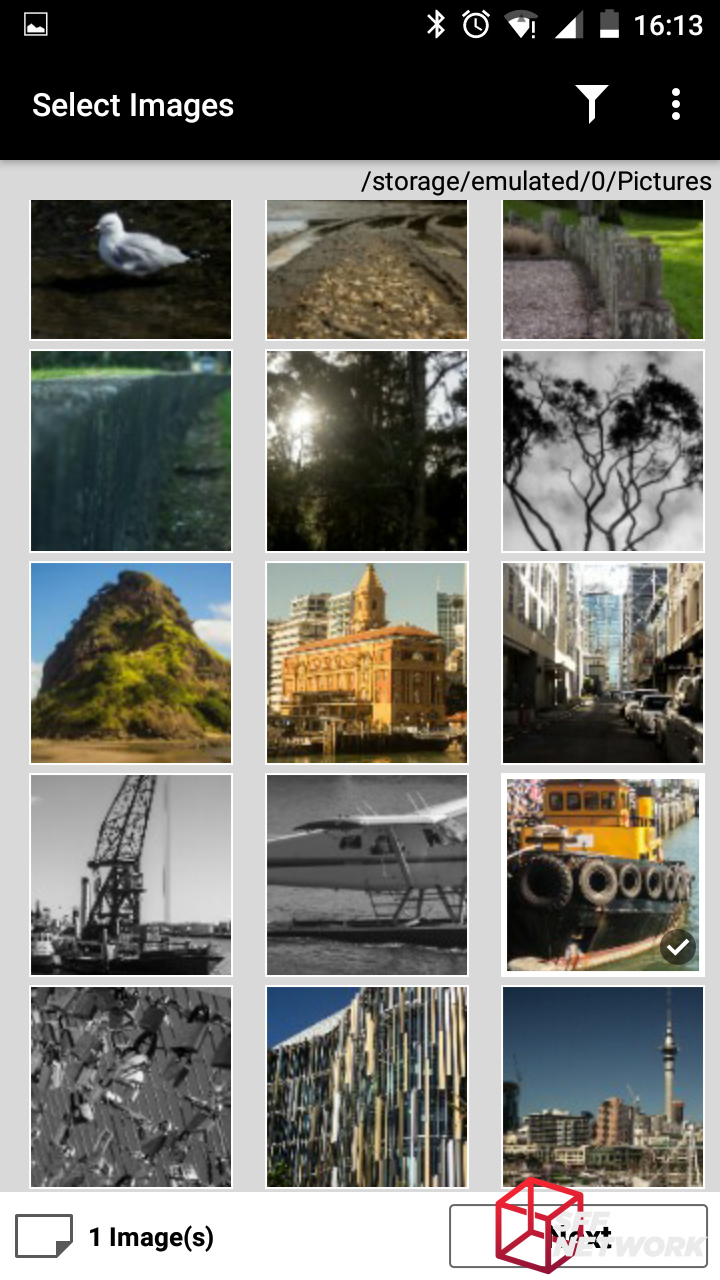
One tugboat image selected; “Next” is tapped…
Hmm… image editing! Let’s have a look!

Aww! It seems that the image editing functions are limited with this – although this isn’t a bad thing, there are better options out there for image editing.
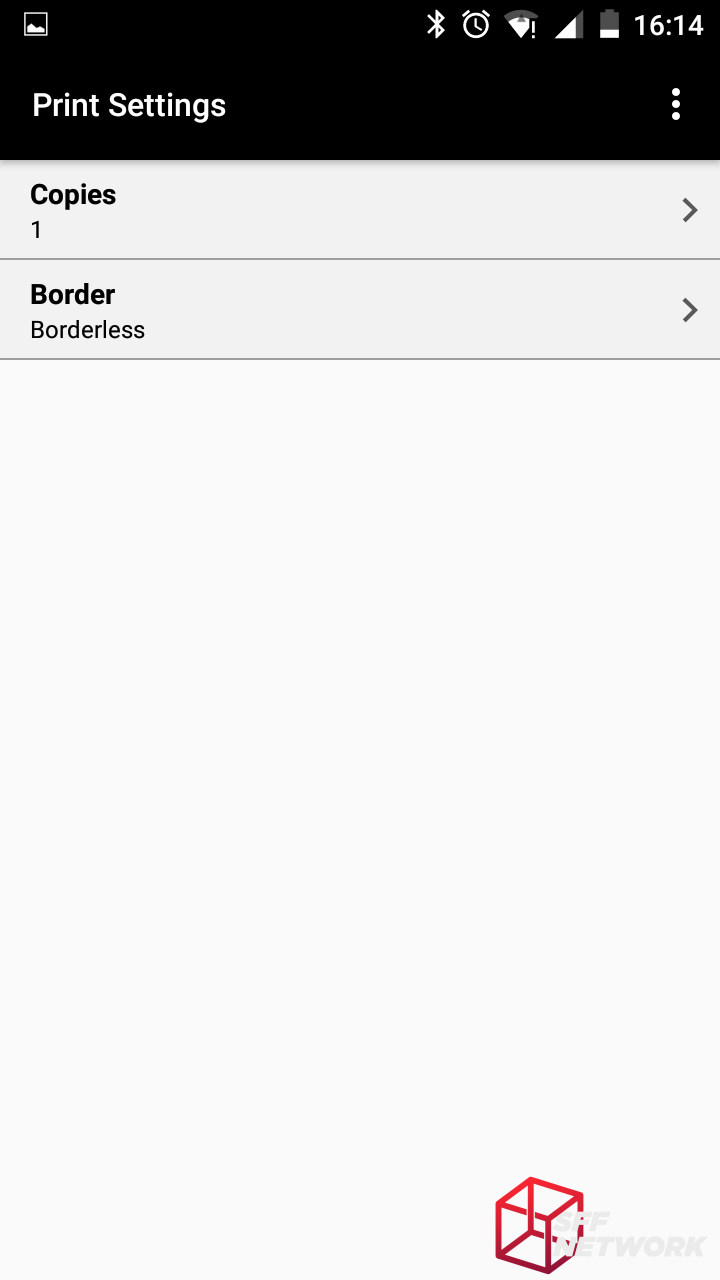
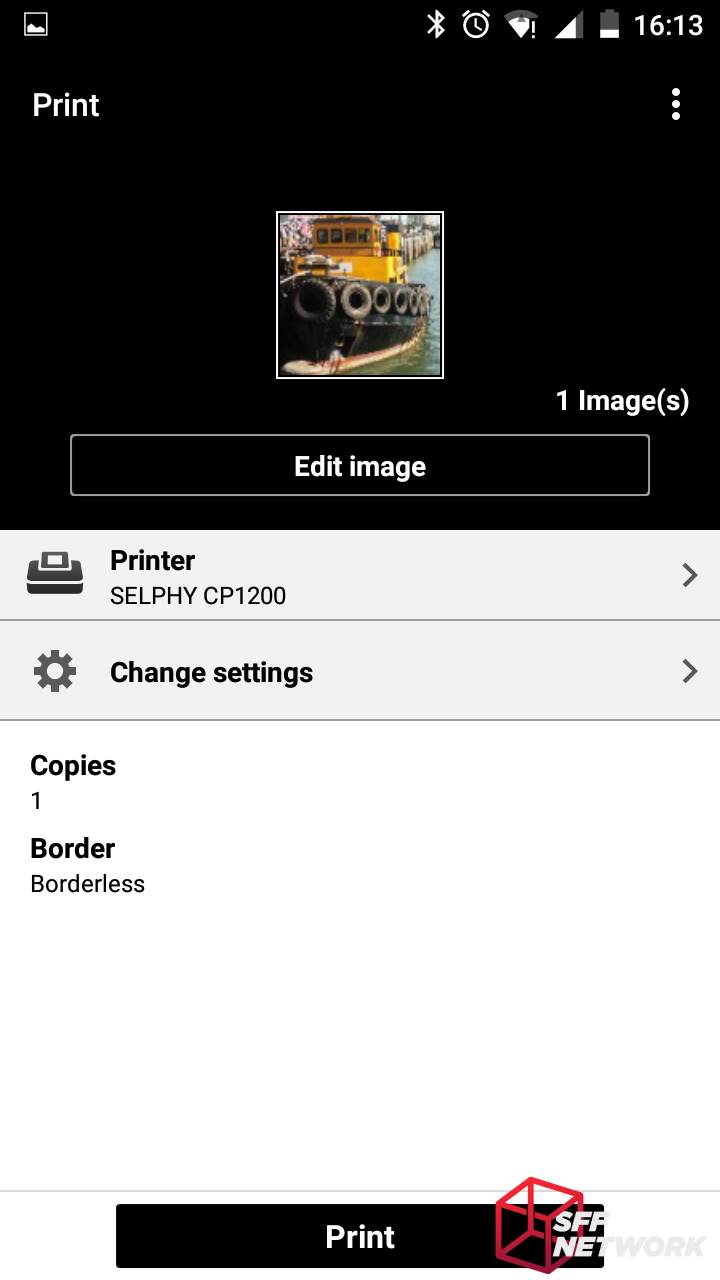
Under settings, we can set borderless or bordered, and how many copies of the image(s) to print.
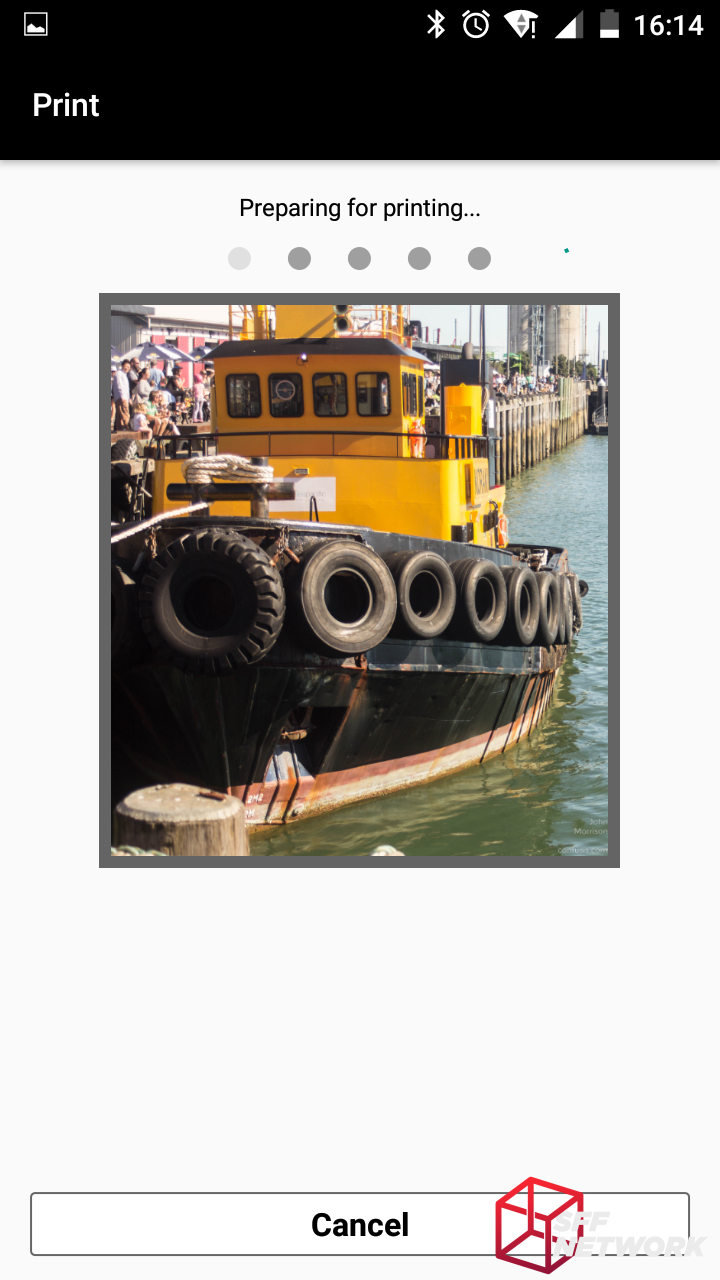
And the image is now sent to the printer. Magic!

And we can confirm the printer is receiving the image file.
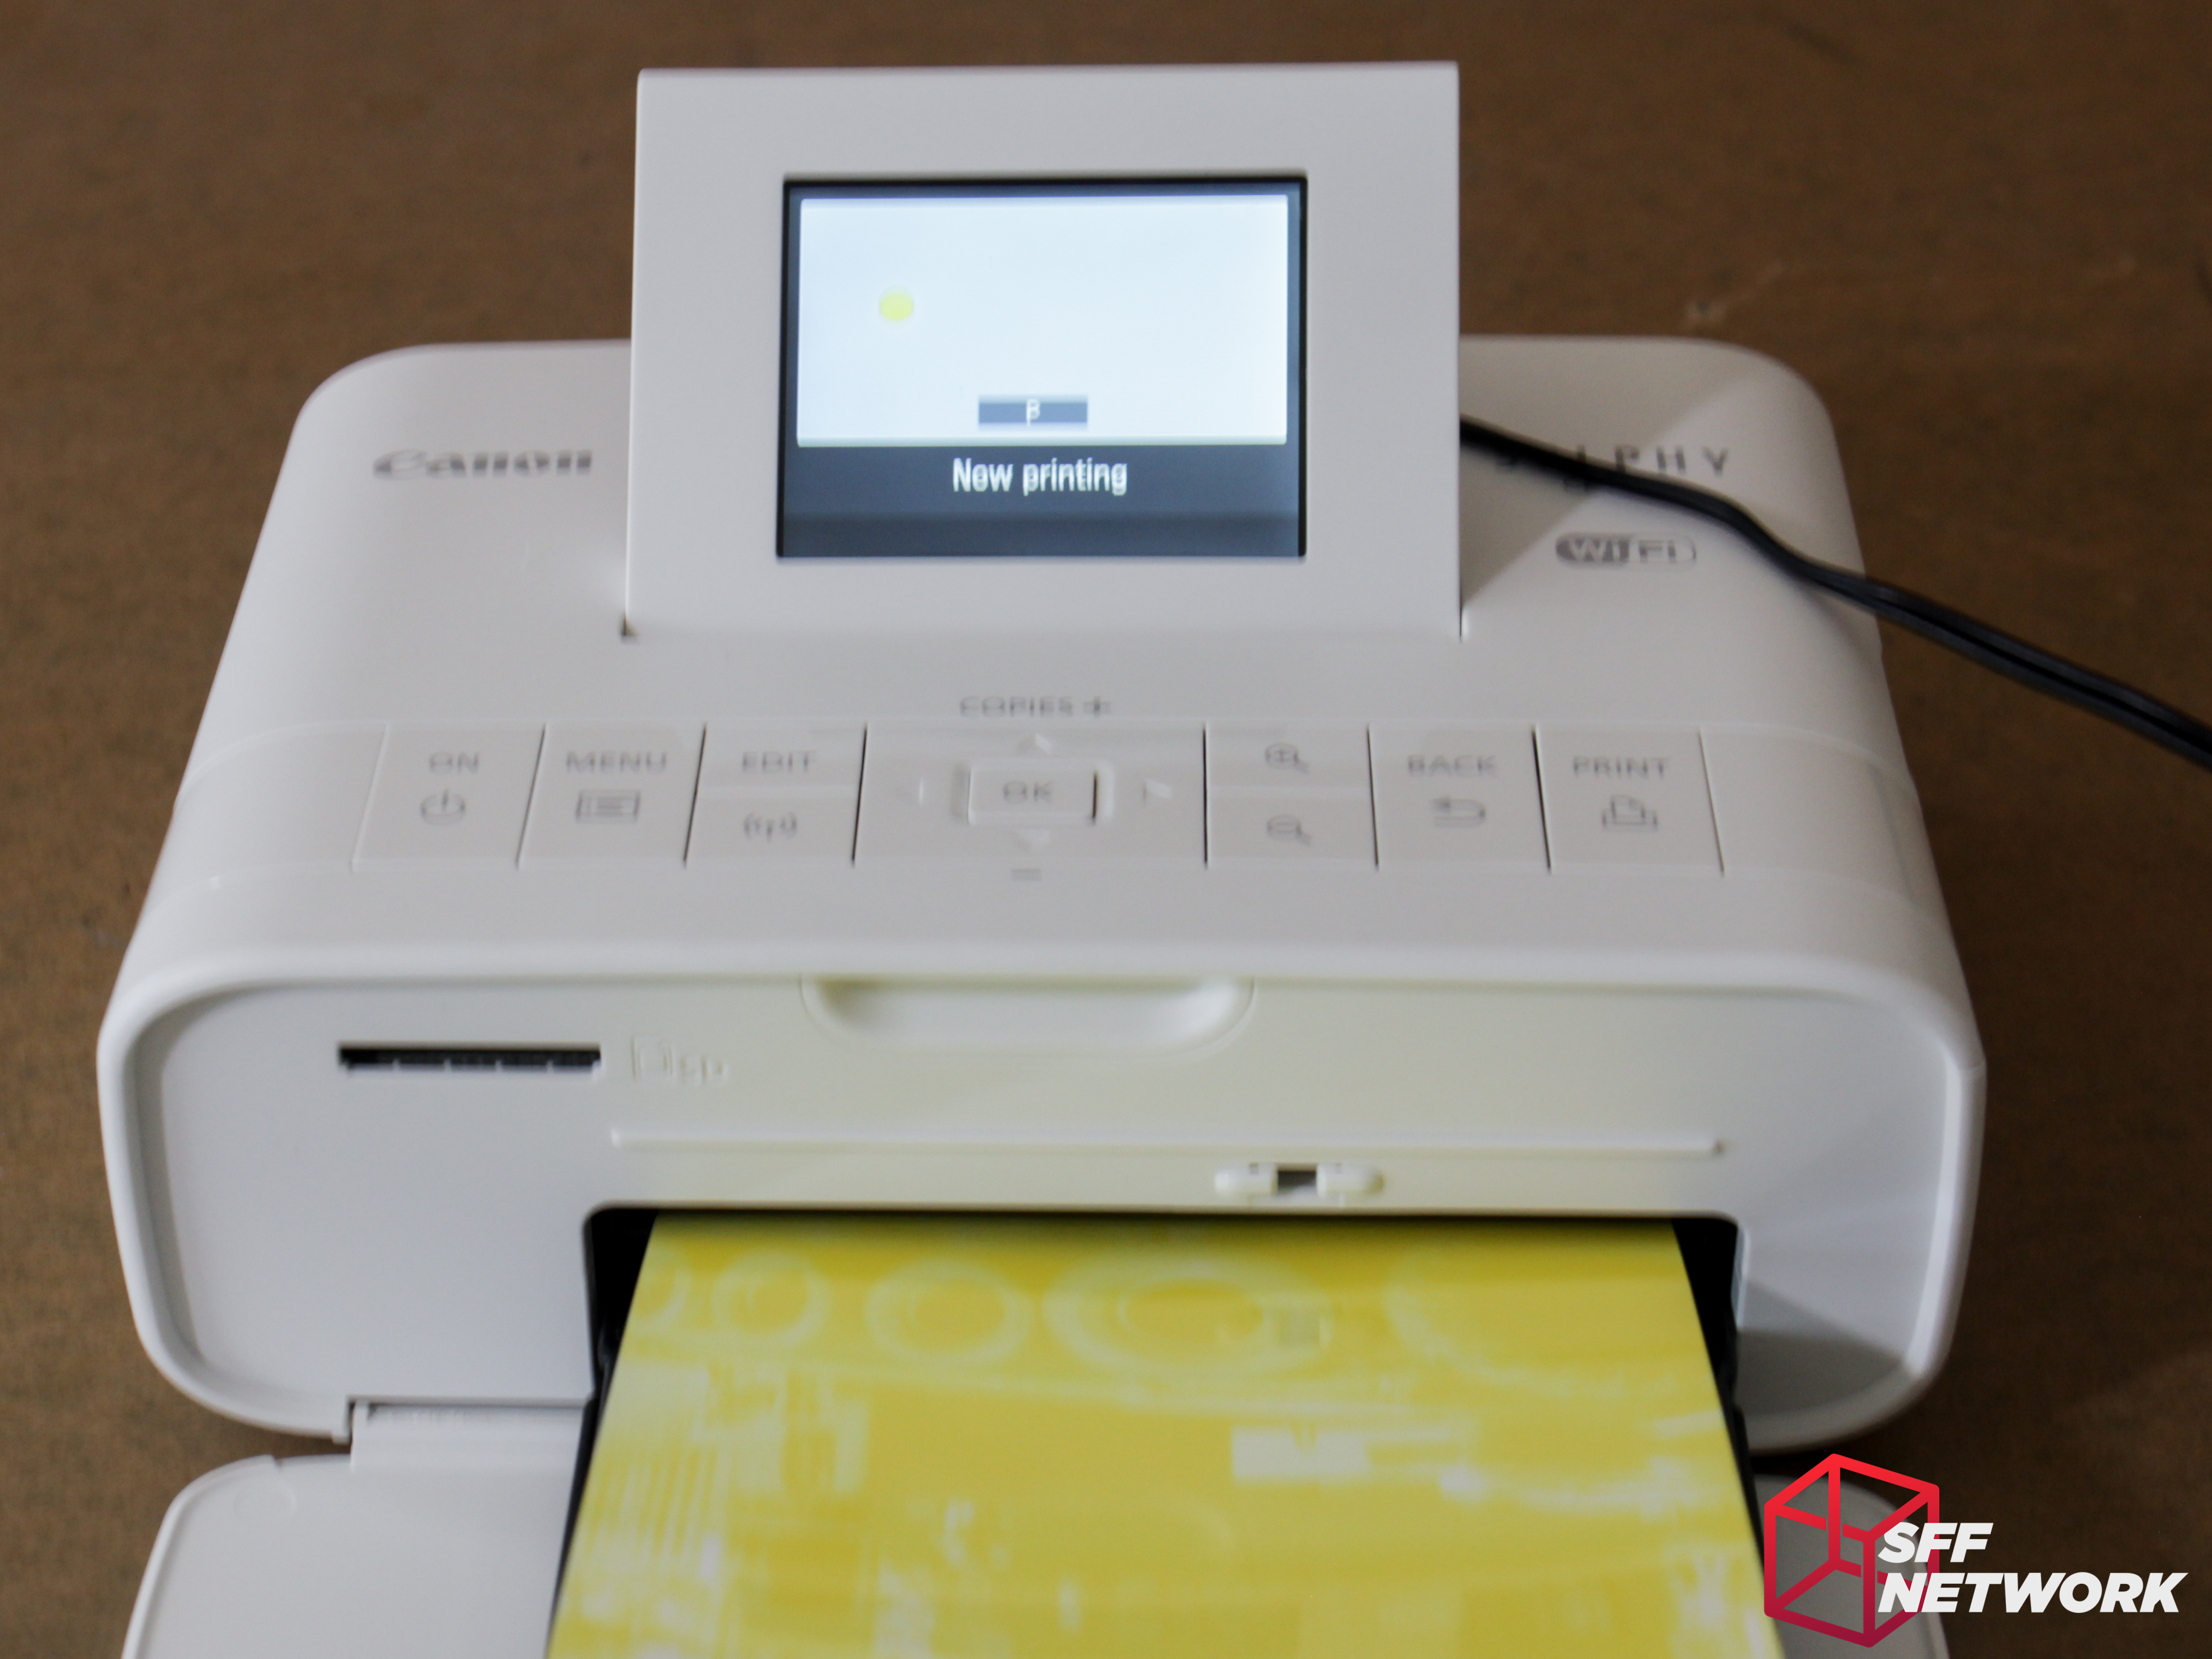
Now Printing! The way the Selphy CP1200 prints is something that I haven’t seen before – it prints each of the Y, M and C colours individually, in successive runs through the machine. Because of this, you do need to ensure there is space behind the printer – which I didn’t during this print and the paper caught on the power lead. Woops!
Magenta..
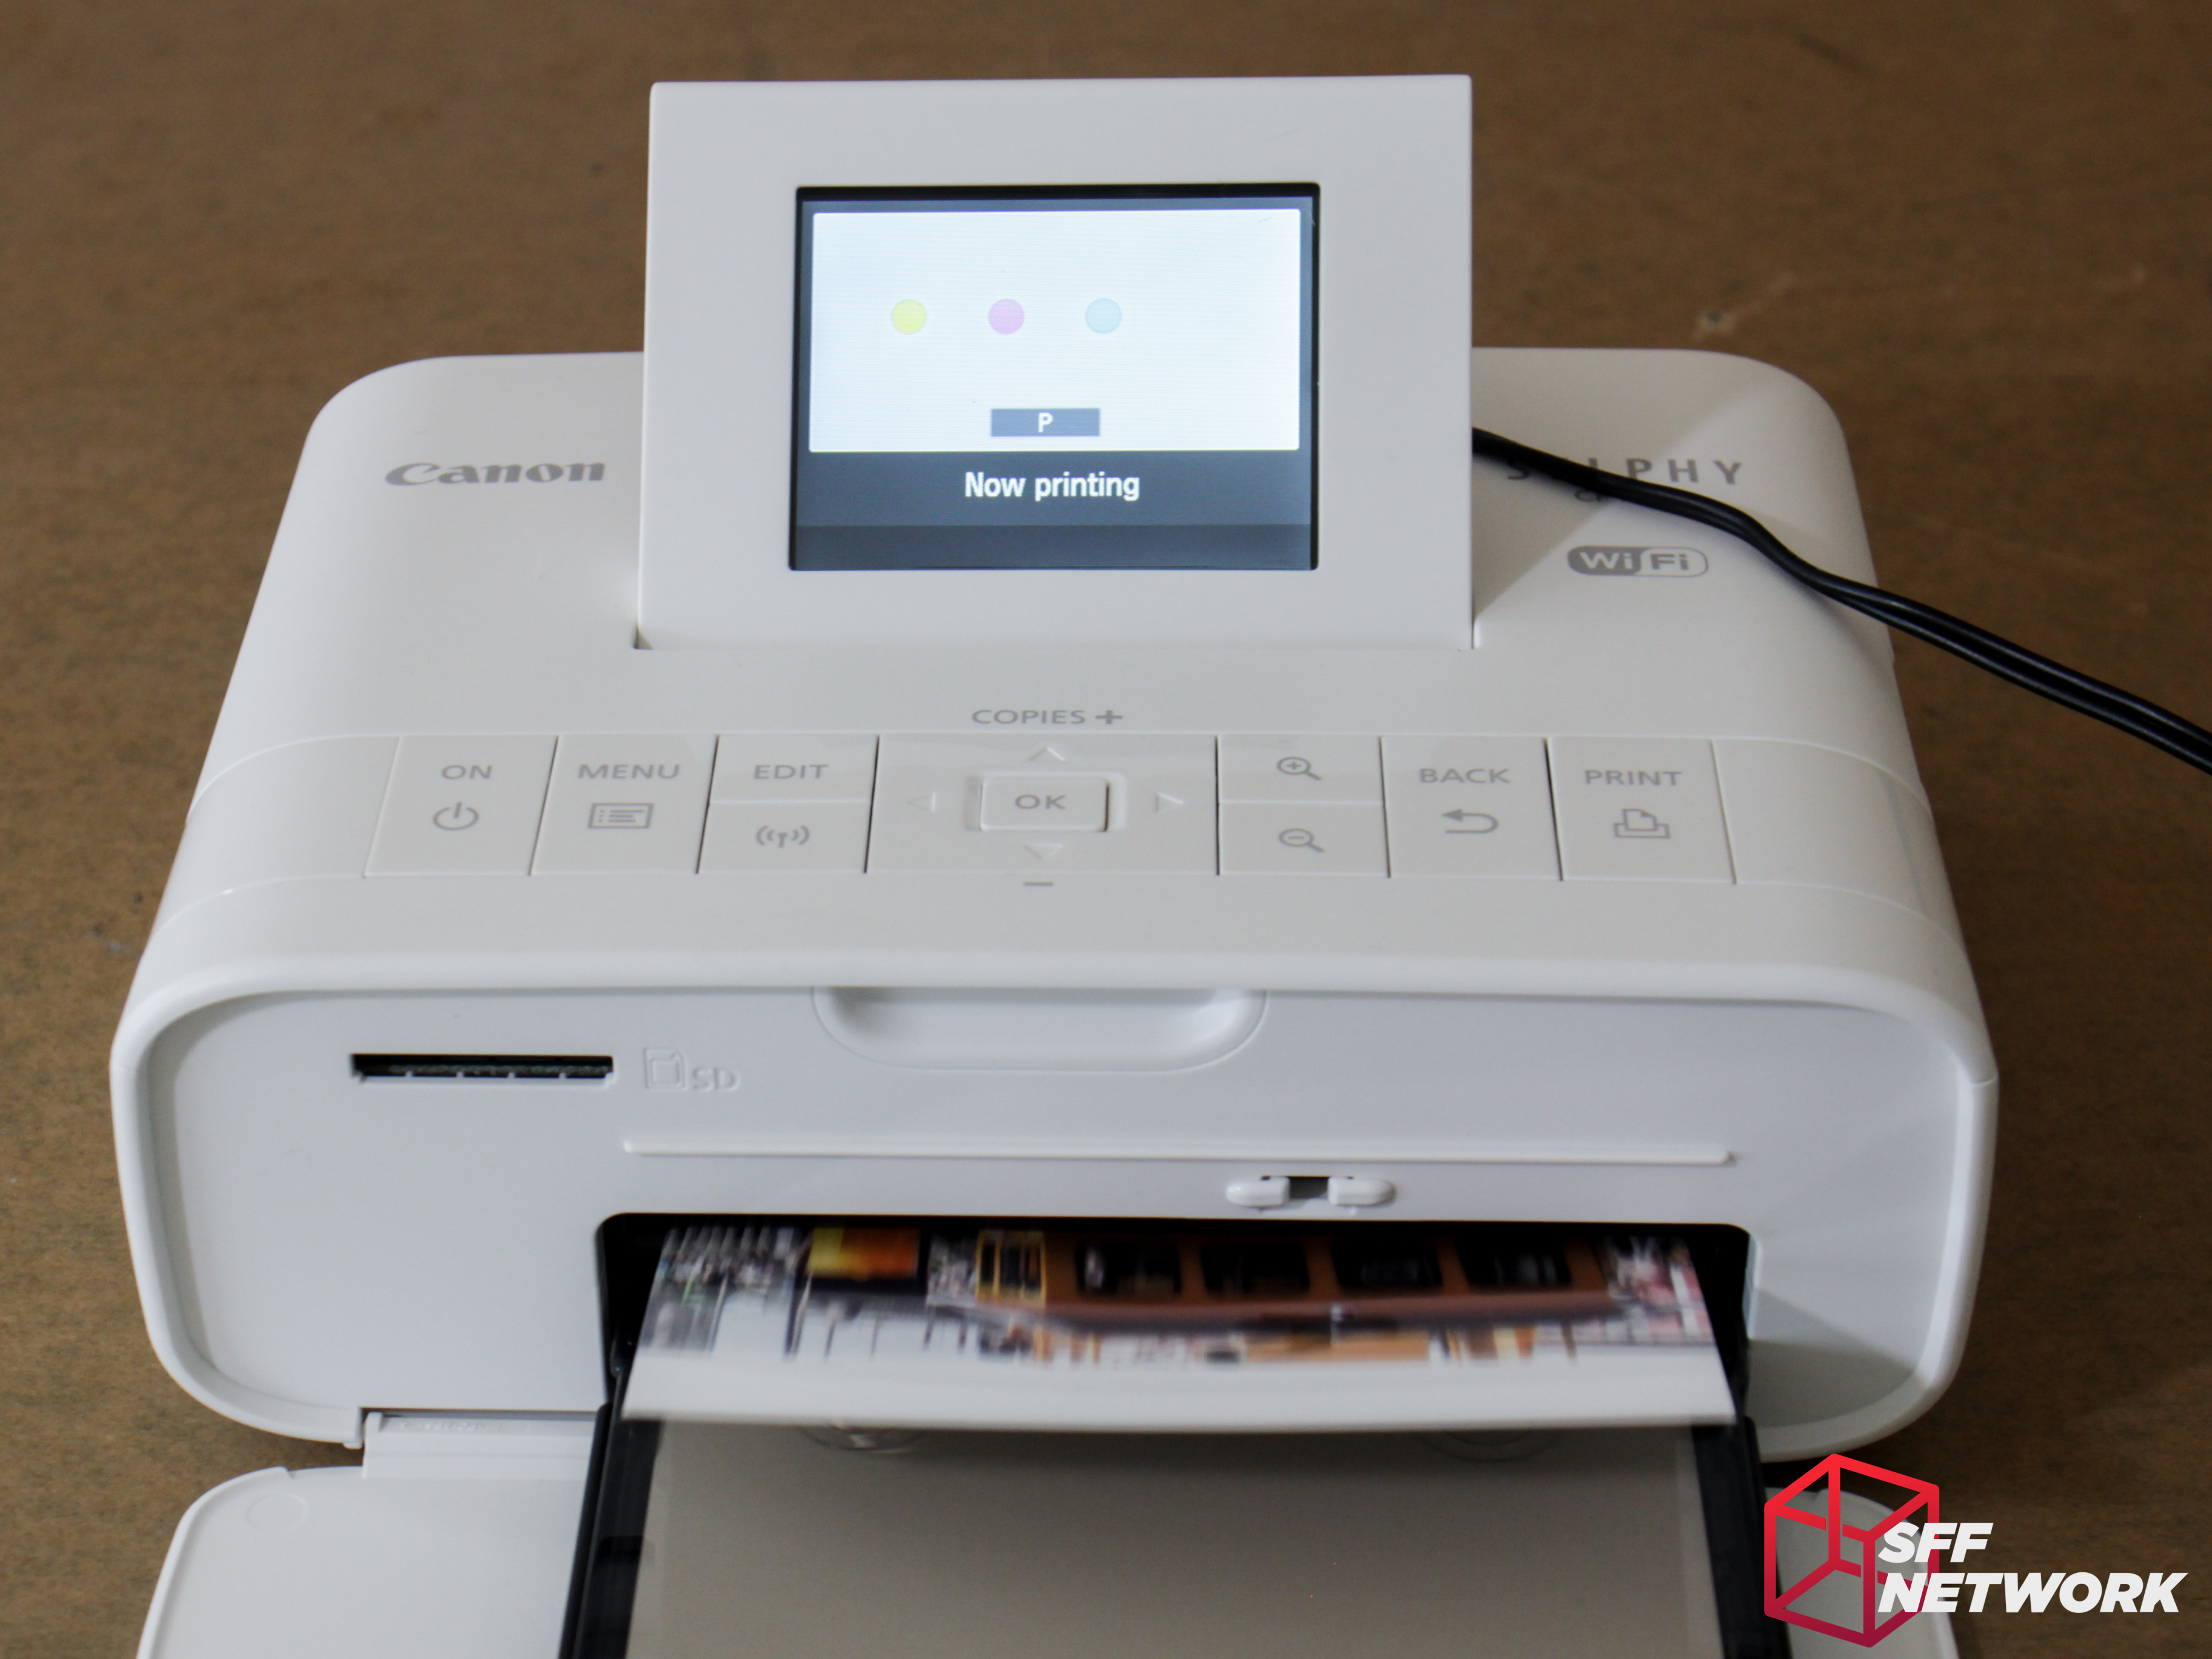
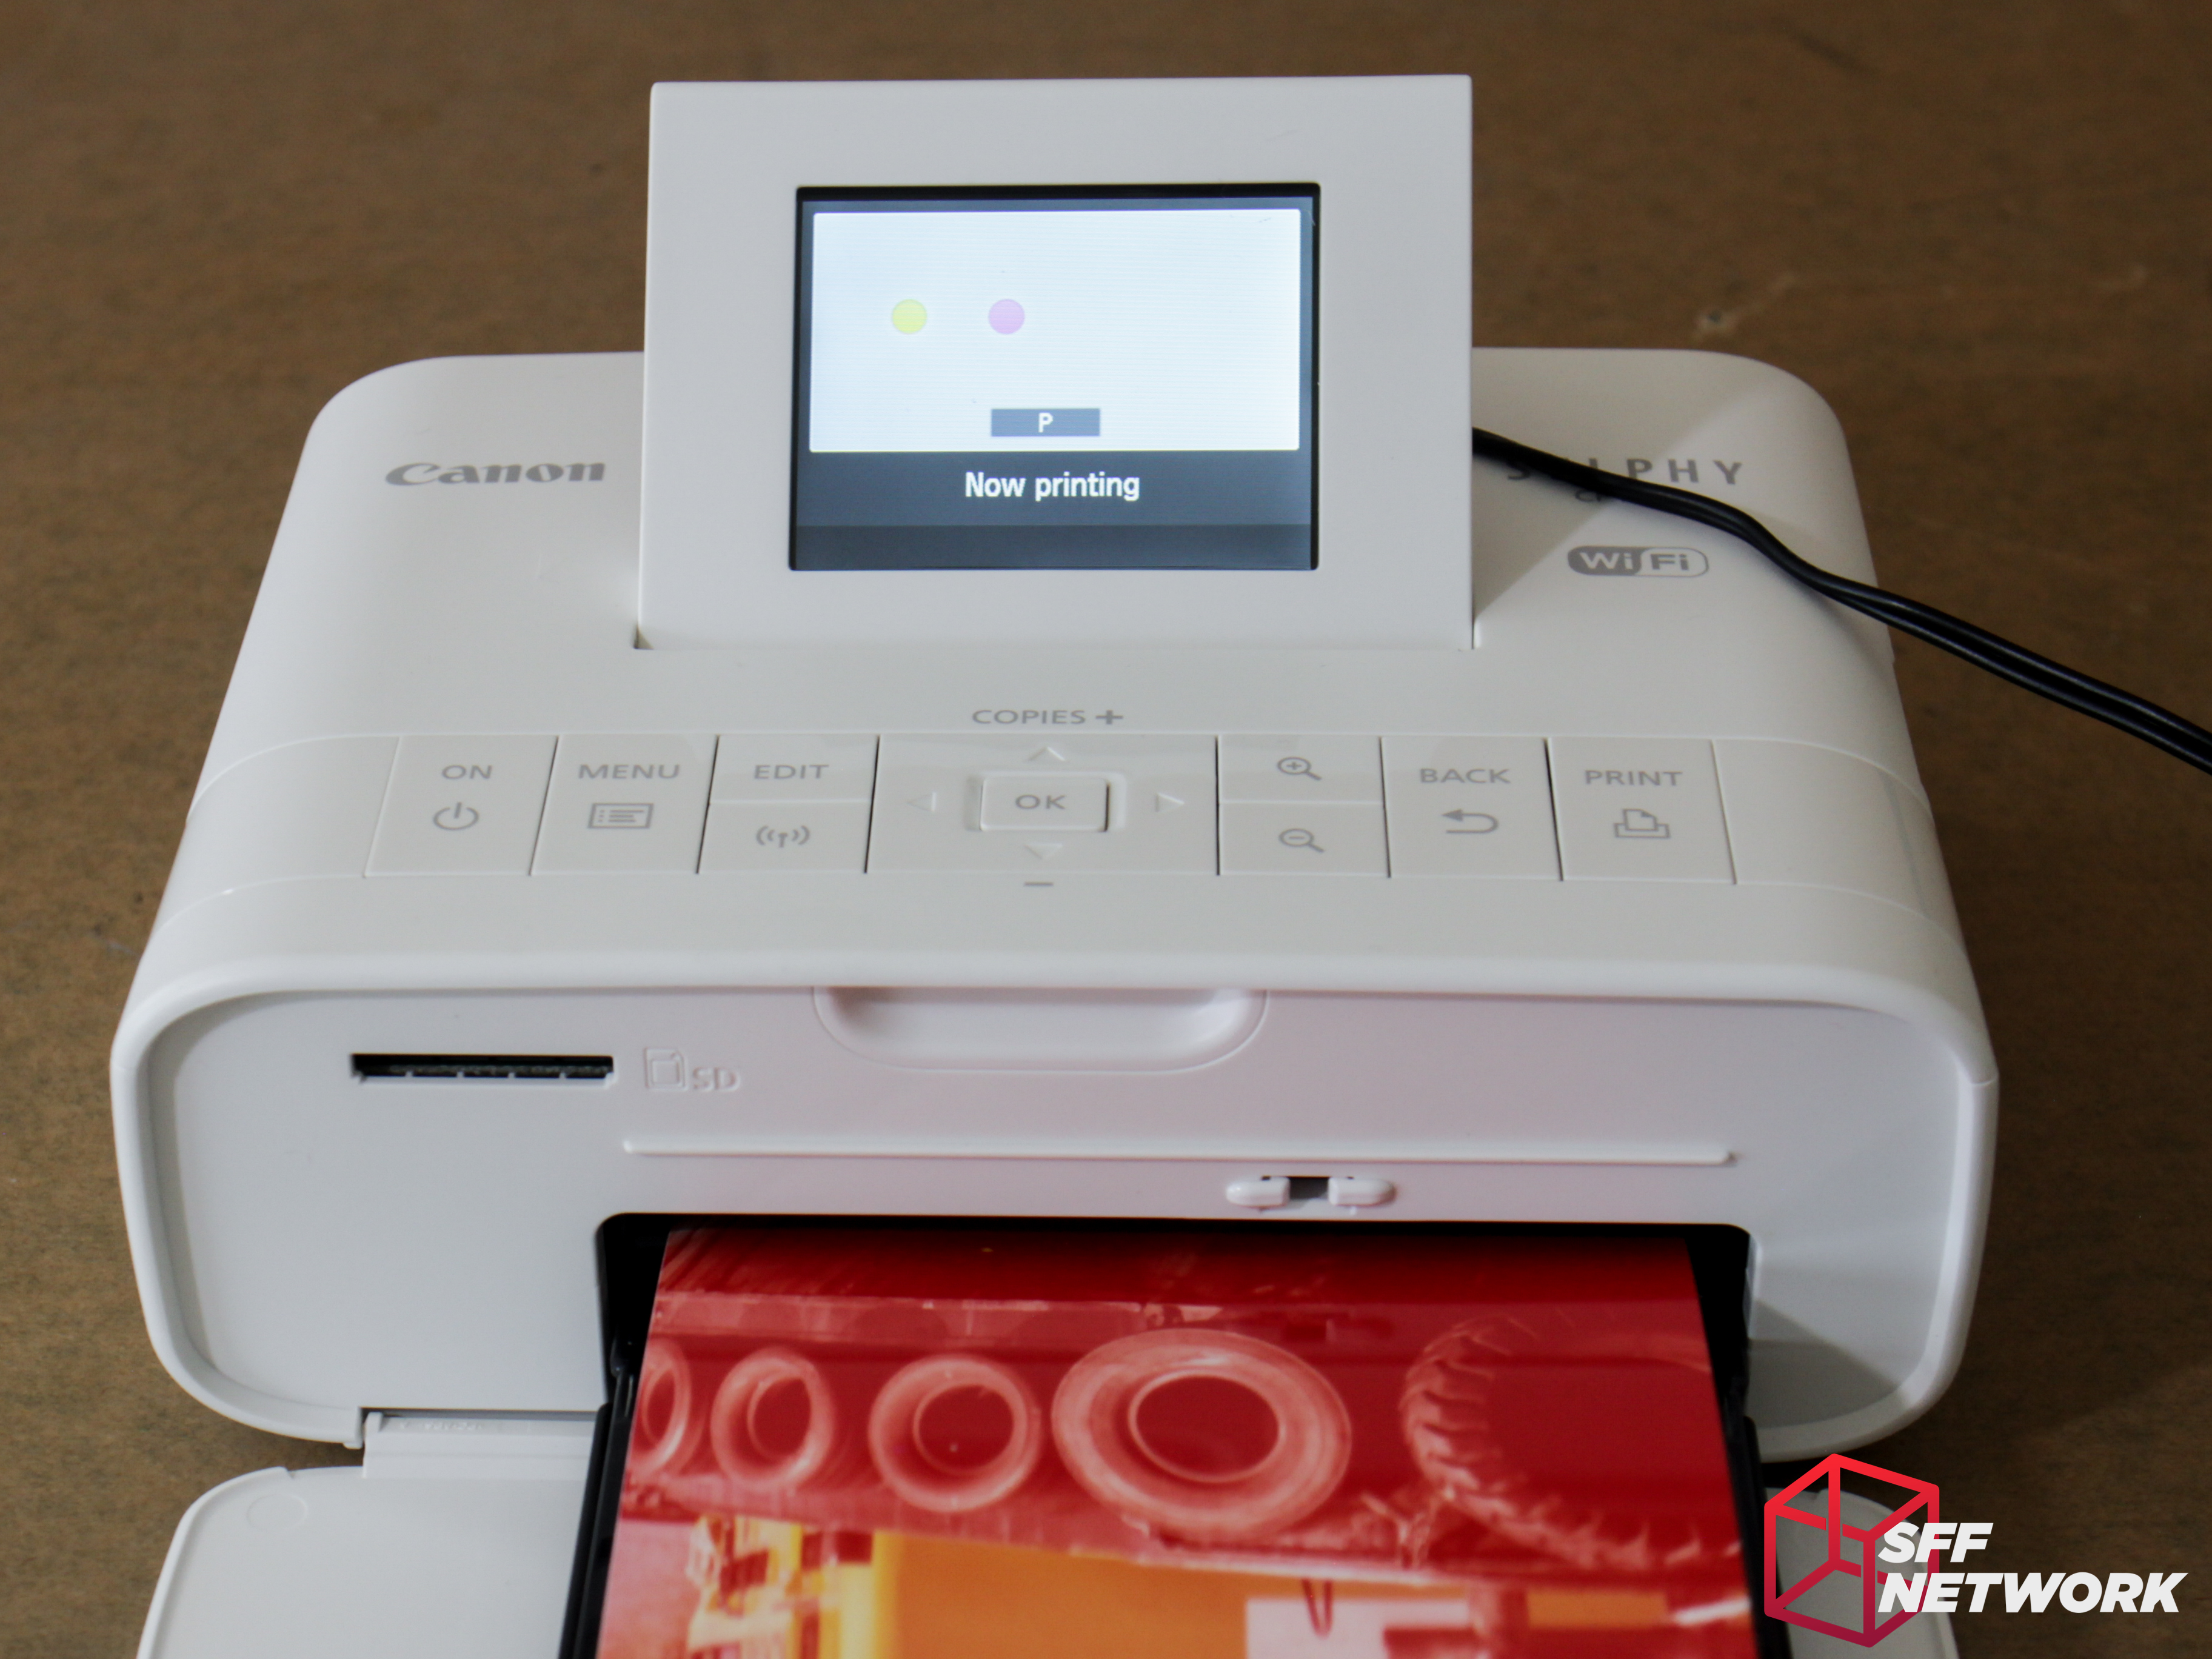
Cyan. With the C, M, and Y all printed, the black and darker areas are simulated, rather than actual black ink.

The final layer is a sealant of sorts – sealing in the printing. Once this step is done, Canon says it’s safe to handle the print straight away, and I can report this appears to be true.
Quality Comparison
Without a quality document scanner, it’s difficult to get a valid comparison image between the Canon Selphy printer and a commercial grade print. However, I can report the quality is close – but not quite there. The prints appear to have less contrast and crispness compared to the commercial prints I can obtain locally – quite likely due to the lack of a black ink stage.
The Conclusion
This is the first time I have had hands on with a proper photo quality printer, and I came away wondering if it’s really worth it. The value proposition of this item is up to you – is the convenience of having a photo printer in your home worth it versus just visiting your local photography or big box store that offers photo printing at a fraction of the price.
I believe this is one of those novelty items that is fun to play with at first, but just ends up taking up room on your desk for months afterwards before selling it off at $1 reserve on your auction site of choice. In fact, since receiving the Canon Selphy CP1200, I have printed about 20 images, and the novelty has already worn off.
However, if you want complete control over the print process – a budding photographer for example – this printer may offer you more value than it does to me. That feeling of seeing your photos in a physical format is still one I love, but not enough to continue buying consumables!
Pros
- Printing high quality photos at home!
- WiFi printing
Cons
- Cost per print is significantly higher than commercial options
- A novelty item of sorts
- Lower quality images compared to commercially printed images.
Niggles
- Misleading as to how much space it needs to run
[mks_separator style=”blank” height=”2″]
Thoughts? Print them in our forum!