
BIOSTAR – one of the older names in the PC industry – has recently been making inroads in the mainstream market, after being shunned to the outskirts for years. Back in the day, BIOSTAR was the mainstream motherboard market, alongside all the other big players. Within my group of high school friends, a few swore by BIOSTAR boards for overclocking – high praise indeed, considering we were pushing our systems to the limit. Around the time that DFI, BFG and the like faded into obscurity, BIOSTAR almost suffered the same fate – with their products all but disappearing from western markets.
Recently, though, BIOSTAR has been pushing back into this market, promoting their “Racing” series of motherboards – a welcome variation of the “Gaming” marketing other brands are building on. With this background, then, we now have the BIOSTAR X370GTN gracing the SFFn review bench. Let’s see if this is a return to form for BIOSTAR!
Table of Contents
The Specifications
| Model Name | X370GTN Ver 5.X |
| Socket | AM4 |
| Chipset | AMD X370 |
| Memory | 2x DDR4 DIMM Slots Supporting up to 32GB |
| Memory Speed | DDR4-2133/2400/2667 in normal mode, 2933/3200 in OC mode |
| Memory Misc | ECC supported, XMP supported |
| Onboard Graphics | 1x HDMI 1.4 port. 1x DVI-D (dependent on installed processor) |
| Audio | Realtek ALC892 codec, 2/4/5.1/7.1 channel audio |
| LAN | Realtek GbE 10/100/1000 MBit, Realtek TRL8118AS |
| Wireless | None |
| Bluetooth | None |
| Expansion Slots | 1 x PCIe 3.0 x16 (x8 with Bristol Ridge APU) |
| Storage | 4 x SATA 6Gb/s with support for RAID 0, 1, 10, and 1 x M.2 Socket Key M, Type 2260/2280 SATA and PCIe x4/x2 |
| USB |
1 x USB 3.1 Gen 2 Type-A port on rear panel 2 x USB 3.0 Gen 1 ports, internal header 2 x USB 2.0/1.1 ports (via internal header) 4 x USB 3.1 Gen 1 ports on rear panel (blue) 1 x USB Type C on rear panel |
| Internal I/O |
1 x 24-pin ATX main power connector 1 x 4-pin ATX 12V power connector 1 x CPU fan header 1 x System fan 4 x SATA 6Gb/s connectors 1 x M.2 Socket M key connector on the back of the motherboard 1 x front panel header 1 x front panel audio header 1 x USB 3.1 Gen 1 header 1 x USB 2.0/1.1 header 2 x 5050 LED header 1 x Speaker header |
| Rear I/O |
1 x PS/2 keyboard/mouse port 1 x Optical S/PDIF Out Port 1 x HDMI port 1x DVI-D port 4 x USB 3.1 Gen 1 Type-A ports 1x USB 3.1 Gen 2 Type-A port 1x USB Type-C Port 1 x RJ-45 port 5 x audio jacks (Center/Subwoofer Speaker Out, Rear Speaker Out, Side Speaker Out, Line In, Line Out, Mic In) |
[mks_separator style=”blank” height=”2″]
The Unboxing
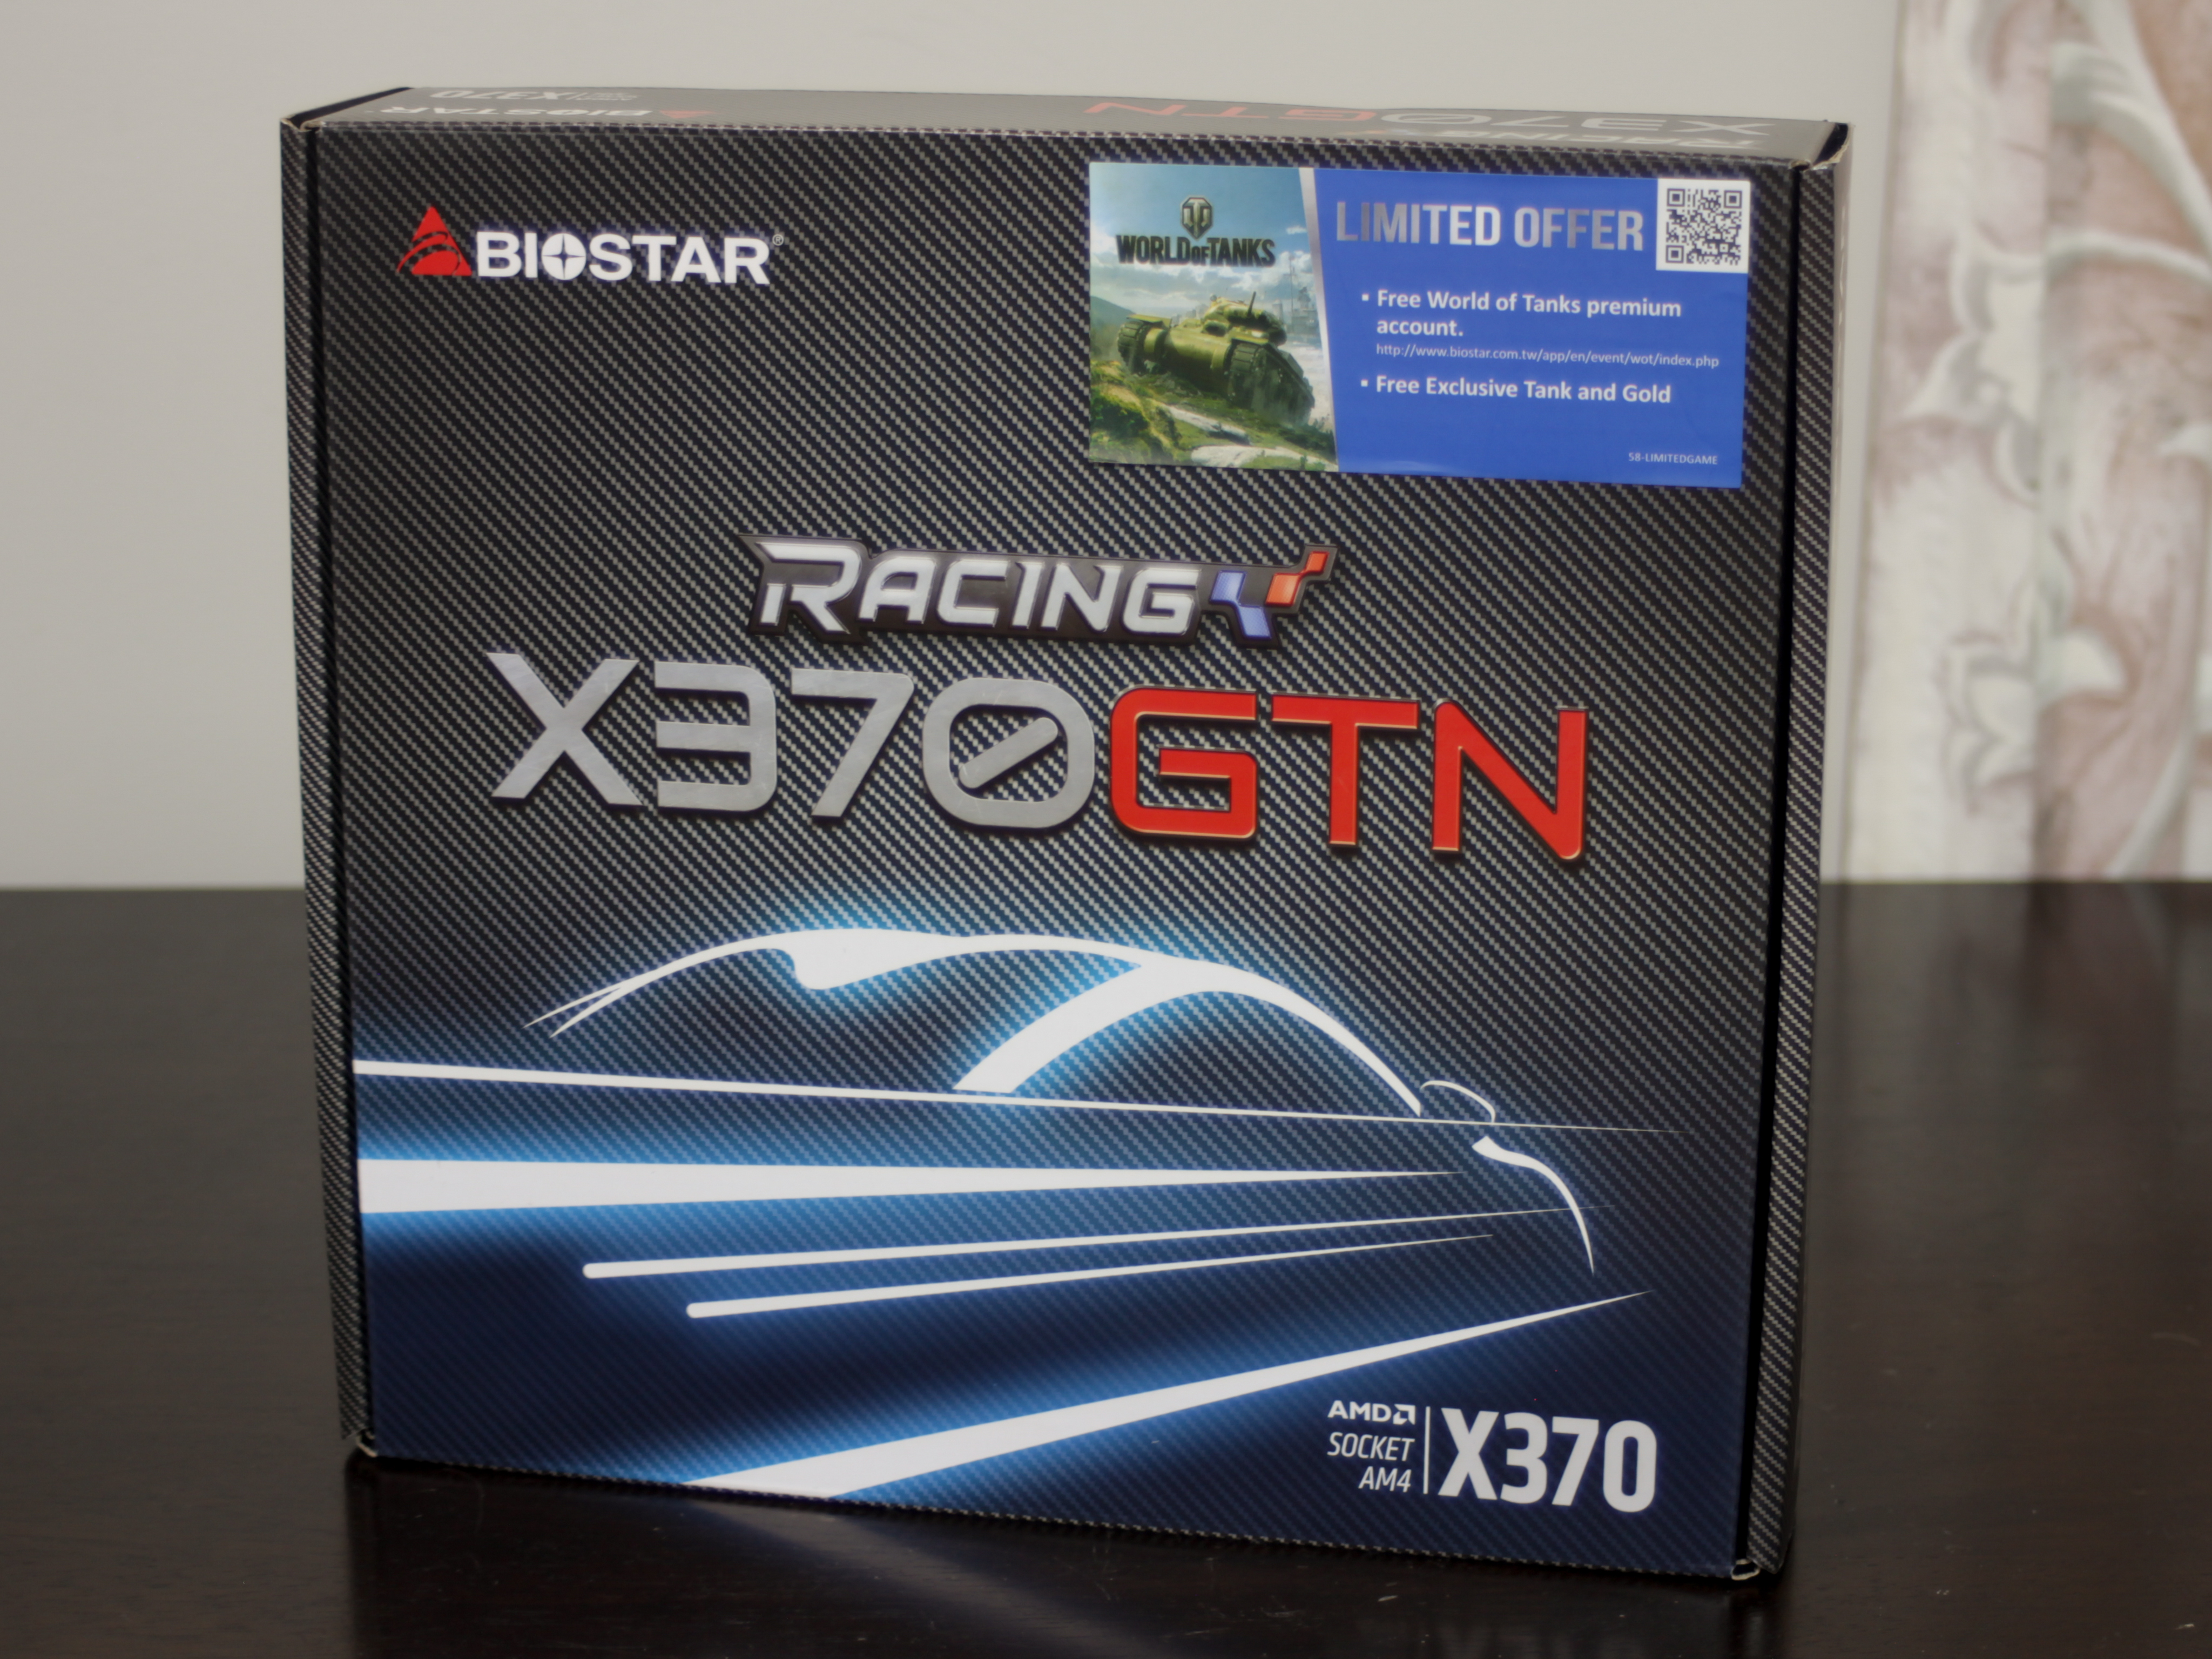
The BIOSTAR X370GTN box is a very different shape to the previous AM4 ITX motherboard boxes – this one being a flatter but much wider box. Highlighted in electric blue, the car representing the Racing branding for BIOSTAR is reminiscent of the Peugeot RCZ, a uniquely styled sports coupe, with a double bubble roofline. Speaking of vehicles, it’s worth noting that buying the motherboard currently nets you a free World of Tanks Premium account, along with ‘gold’ and a free tank.

On the rear of the box, a neat layout diagram of the board is the main feature, great for those who are shopping in a physical store. With the current RGB trend, the top two features featured are LED in nature – these include the connectors for 5050-type compatible items, and the Vivid RGB software package.
Also mentioned are the M.2 slot, and FLY.net, a software package offering network QOS for gaming, and streaming.
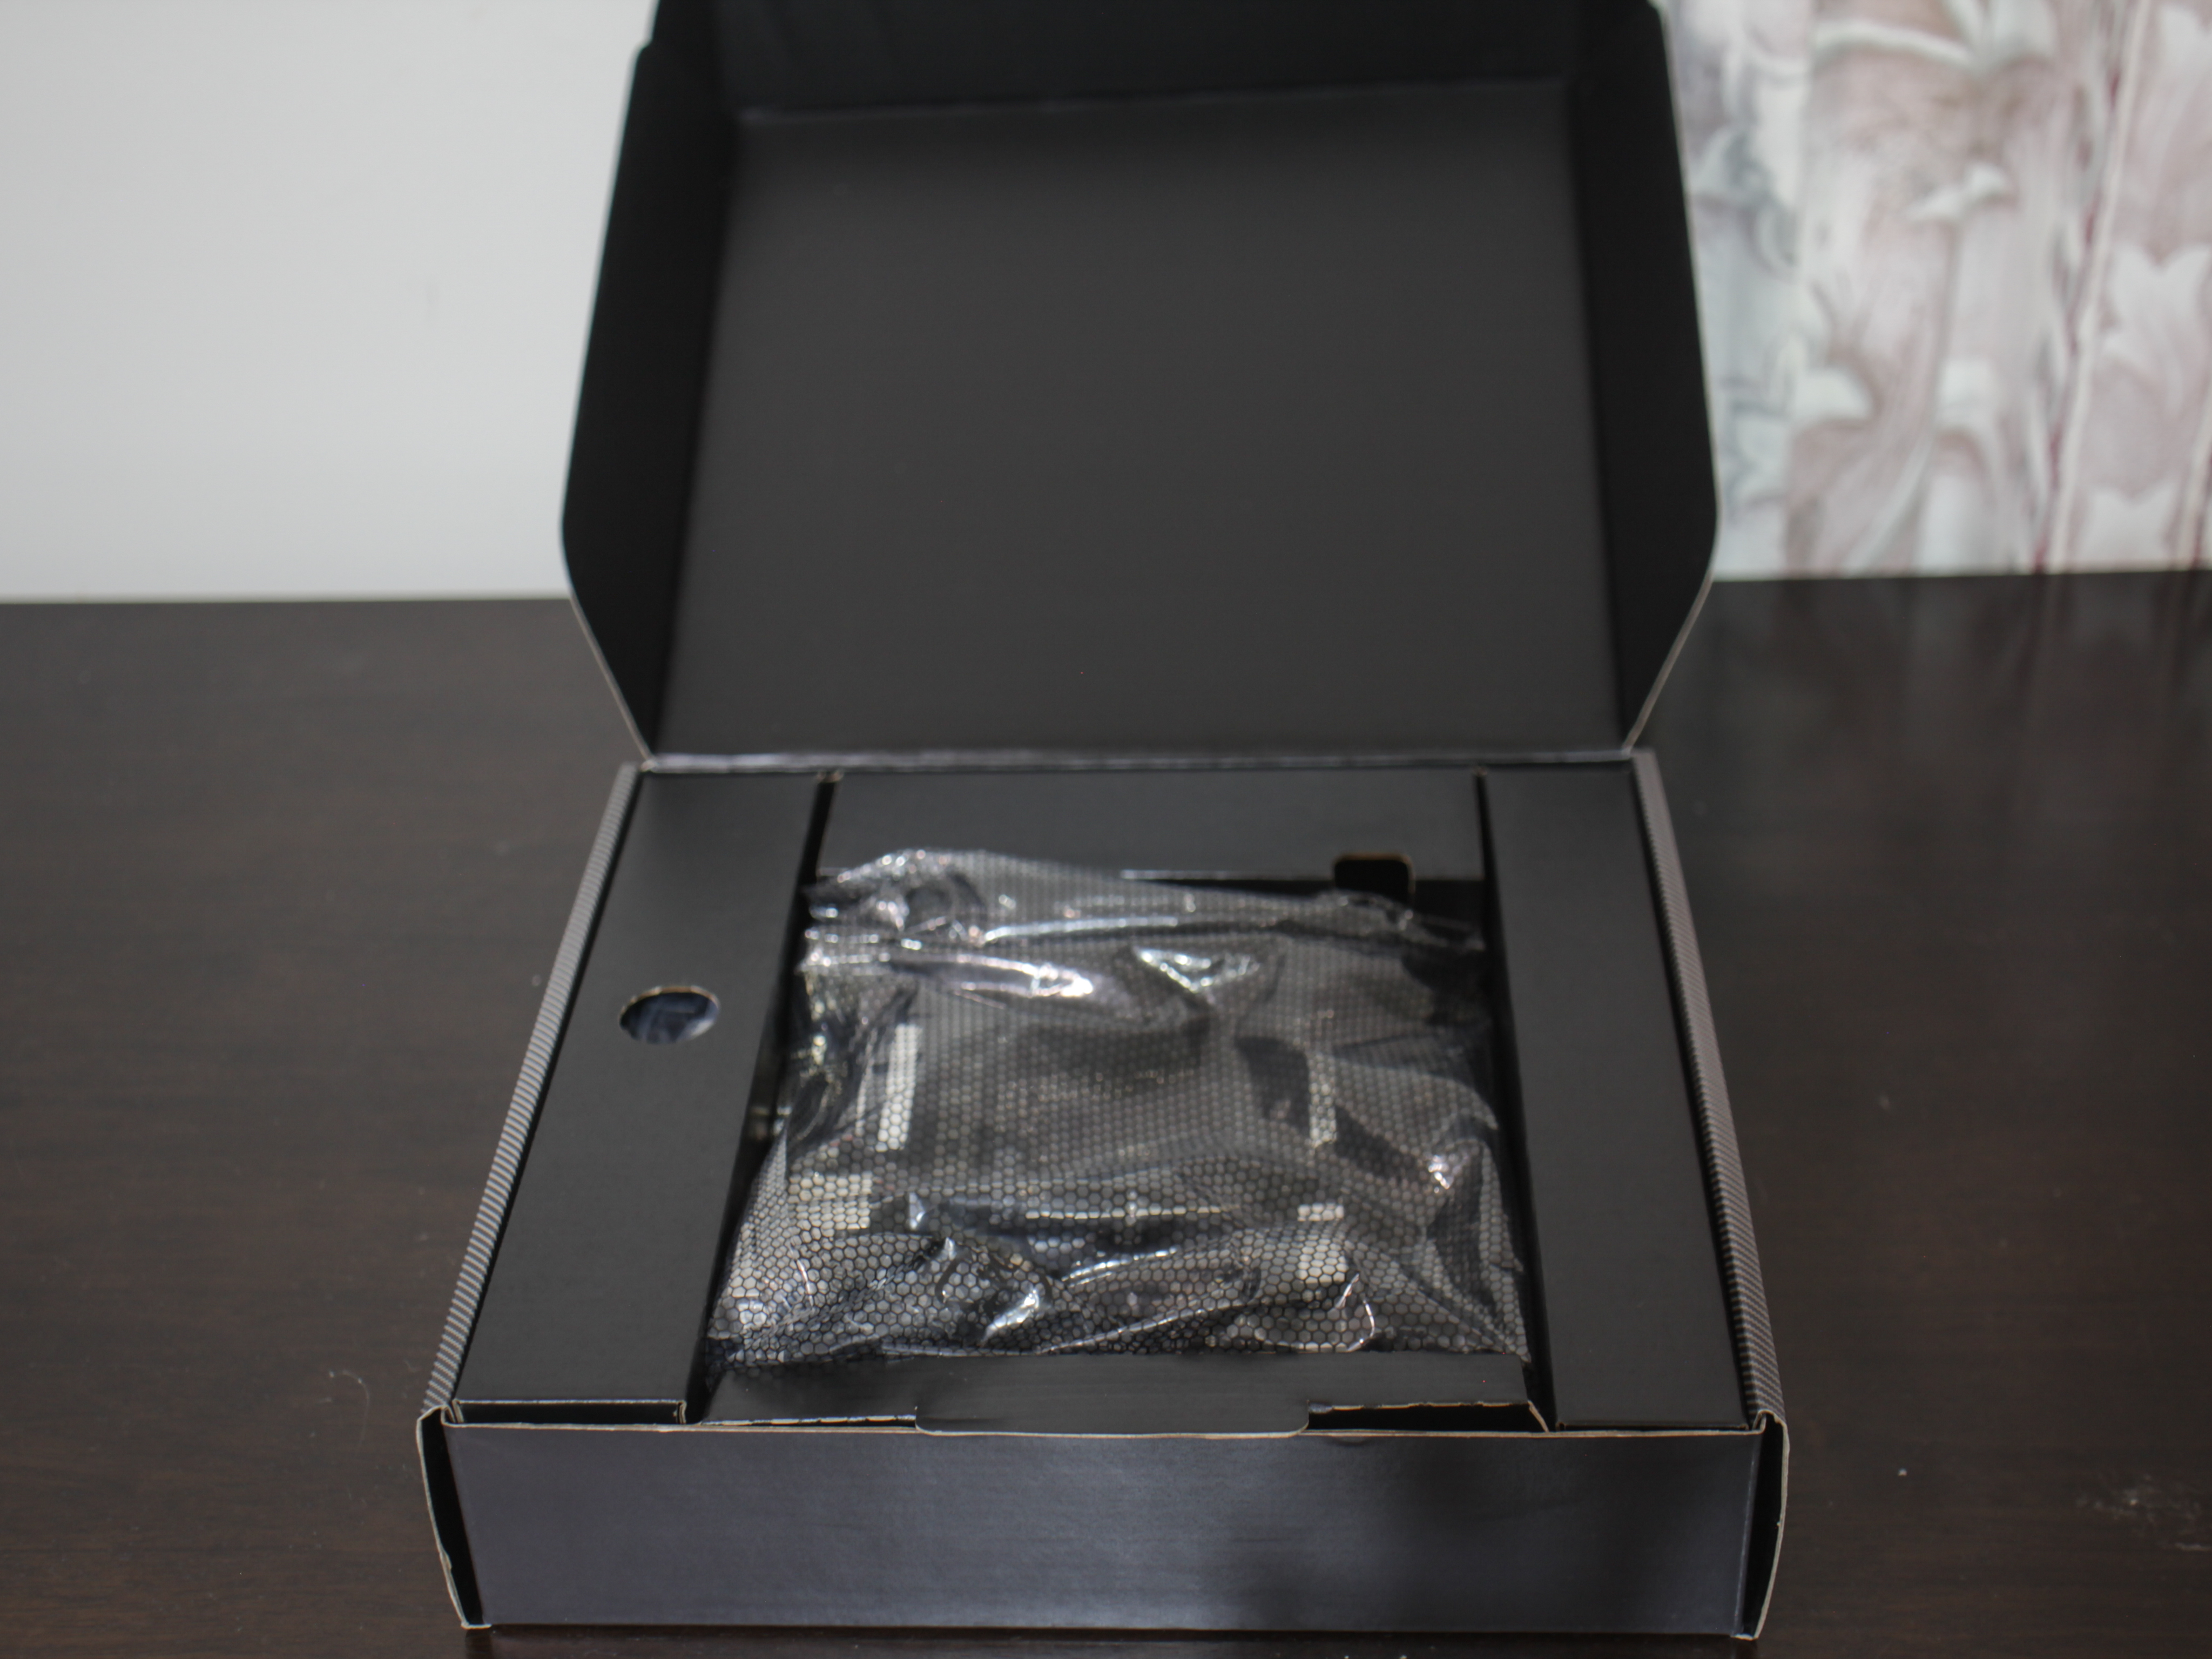
Nothing overly fancy once the box is opened, but this is the experience I have come to expect from anything but the truly premium motherboards. The board does seem to be better protected from knocks than the other recently reviewed M-ITX boards, however, with cardboard partitions offering protection on 5 of the 6 sides.
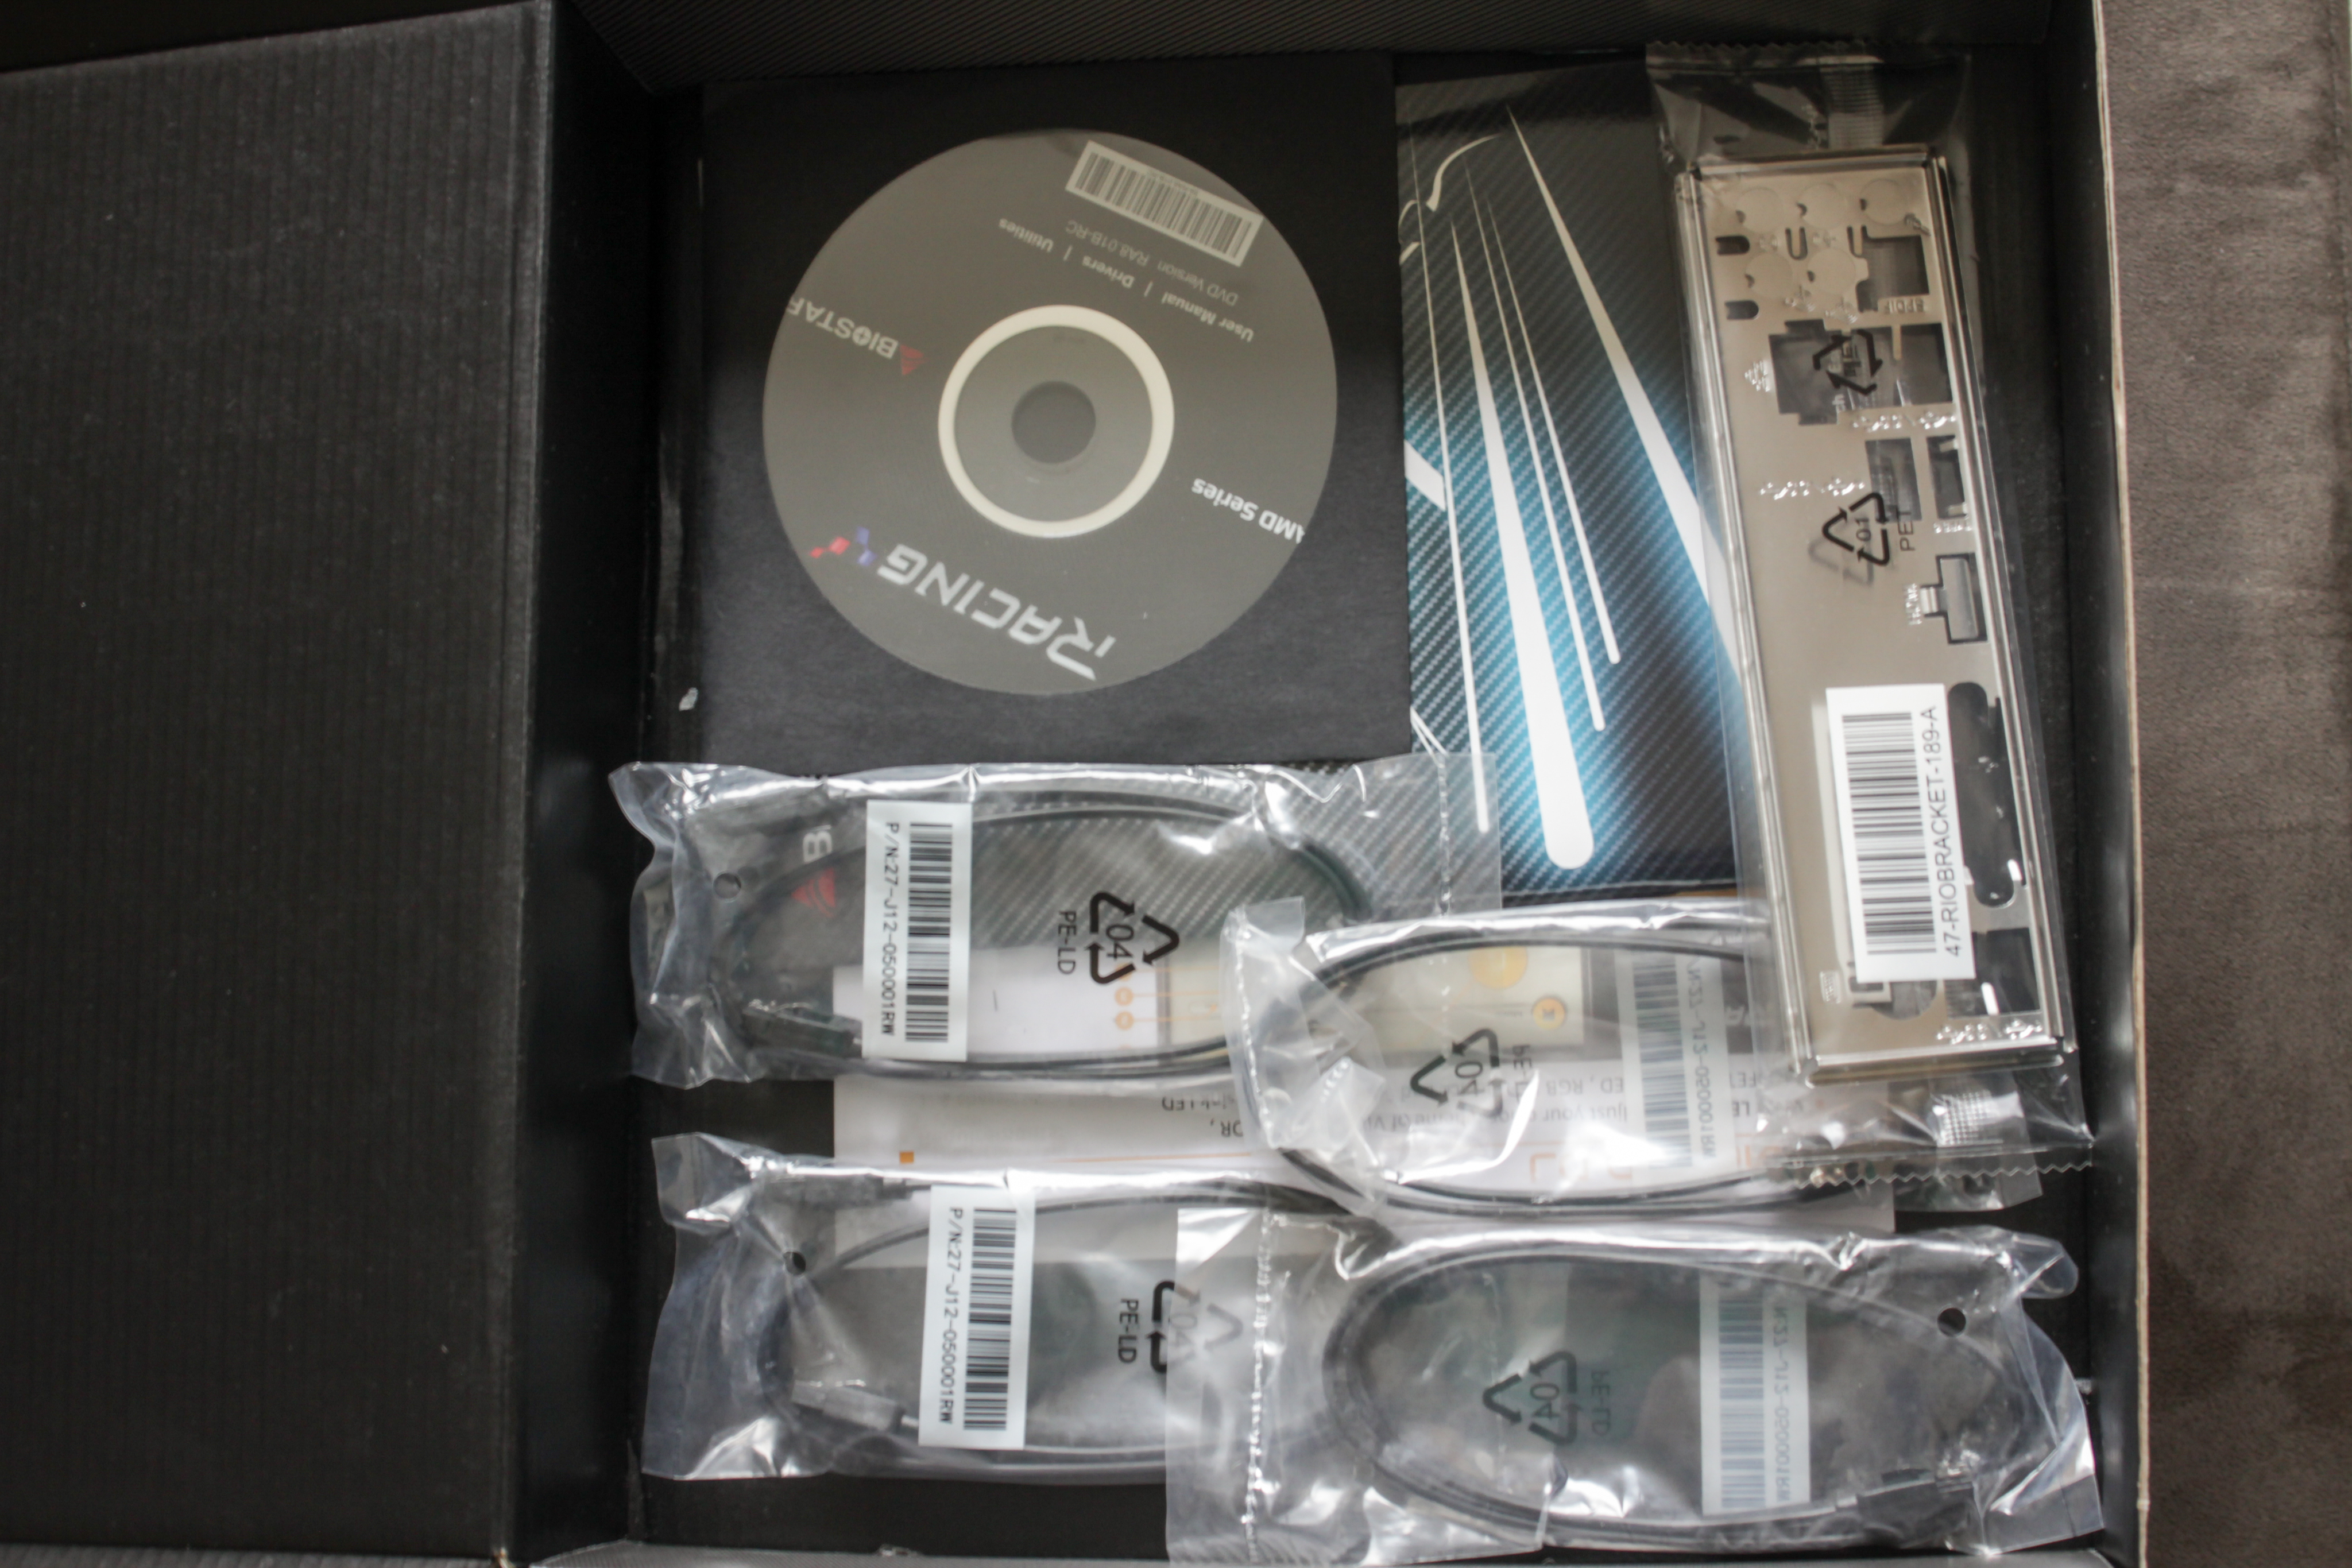
The accessory pack is complete, with 4(!) SATA cables, the plain steel I/O shield (boo!), manuals, and a driver CD.
[mks_separator style=”blank” height=”2″]
The Motherboard
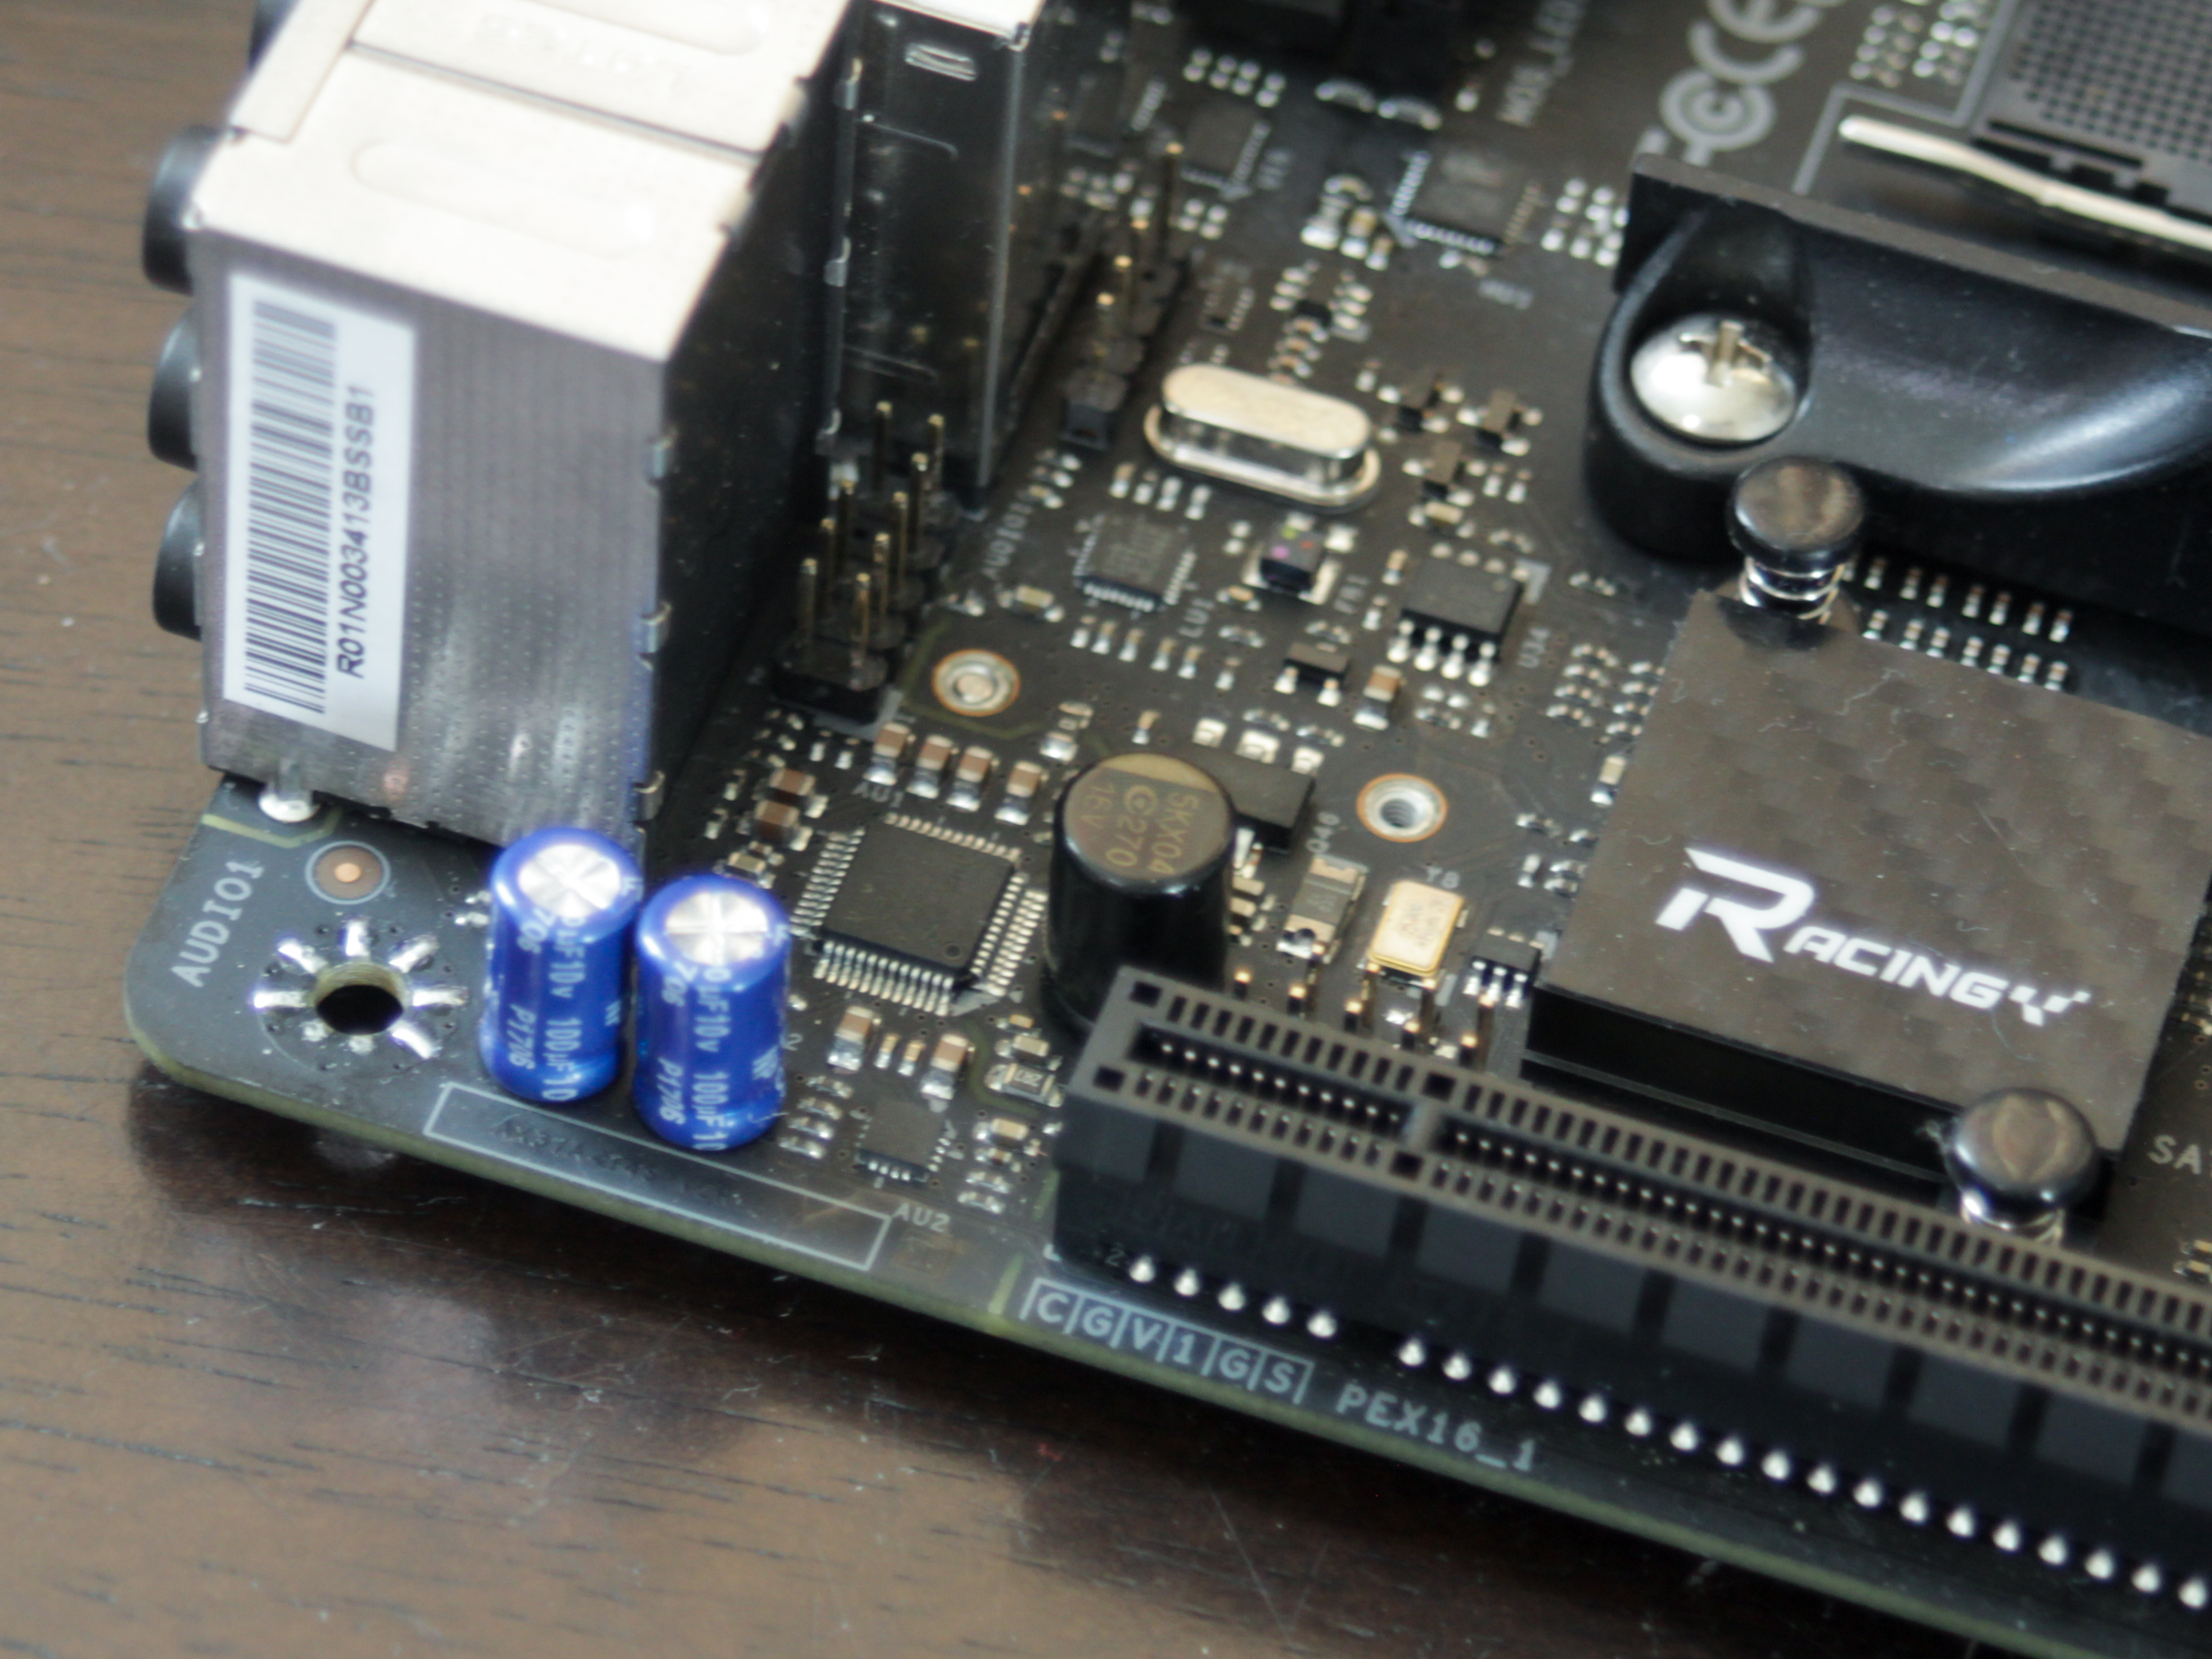
No gimmicky PCIe slot armour here, but again, this is the cheapest of the X370 M-ITX boards. Harking back to conversations we have had on the podcast, the chipset heatsink is a basic affair – the chipset only has a TDP of 6 watts, and barely need a heatsink at all! However the board would look “budget” or “unfinished” without this heatsink. The top logo is removeable, however, so you can de-brand your board quite well.
Also down here is the ALC892 audio solution, with mid-tier capacitors rounding out the implementation of the audio.
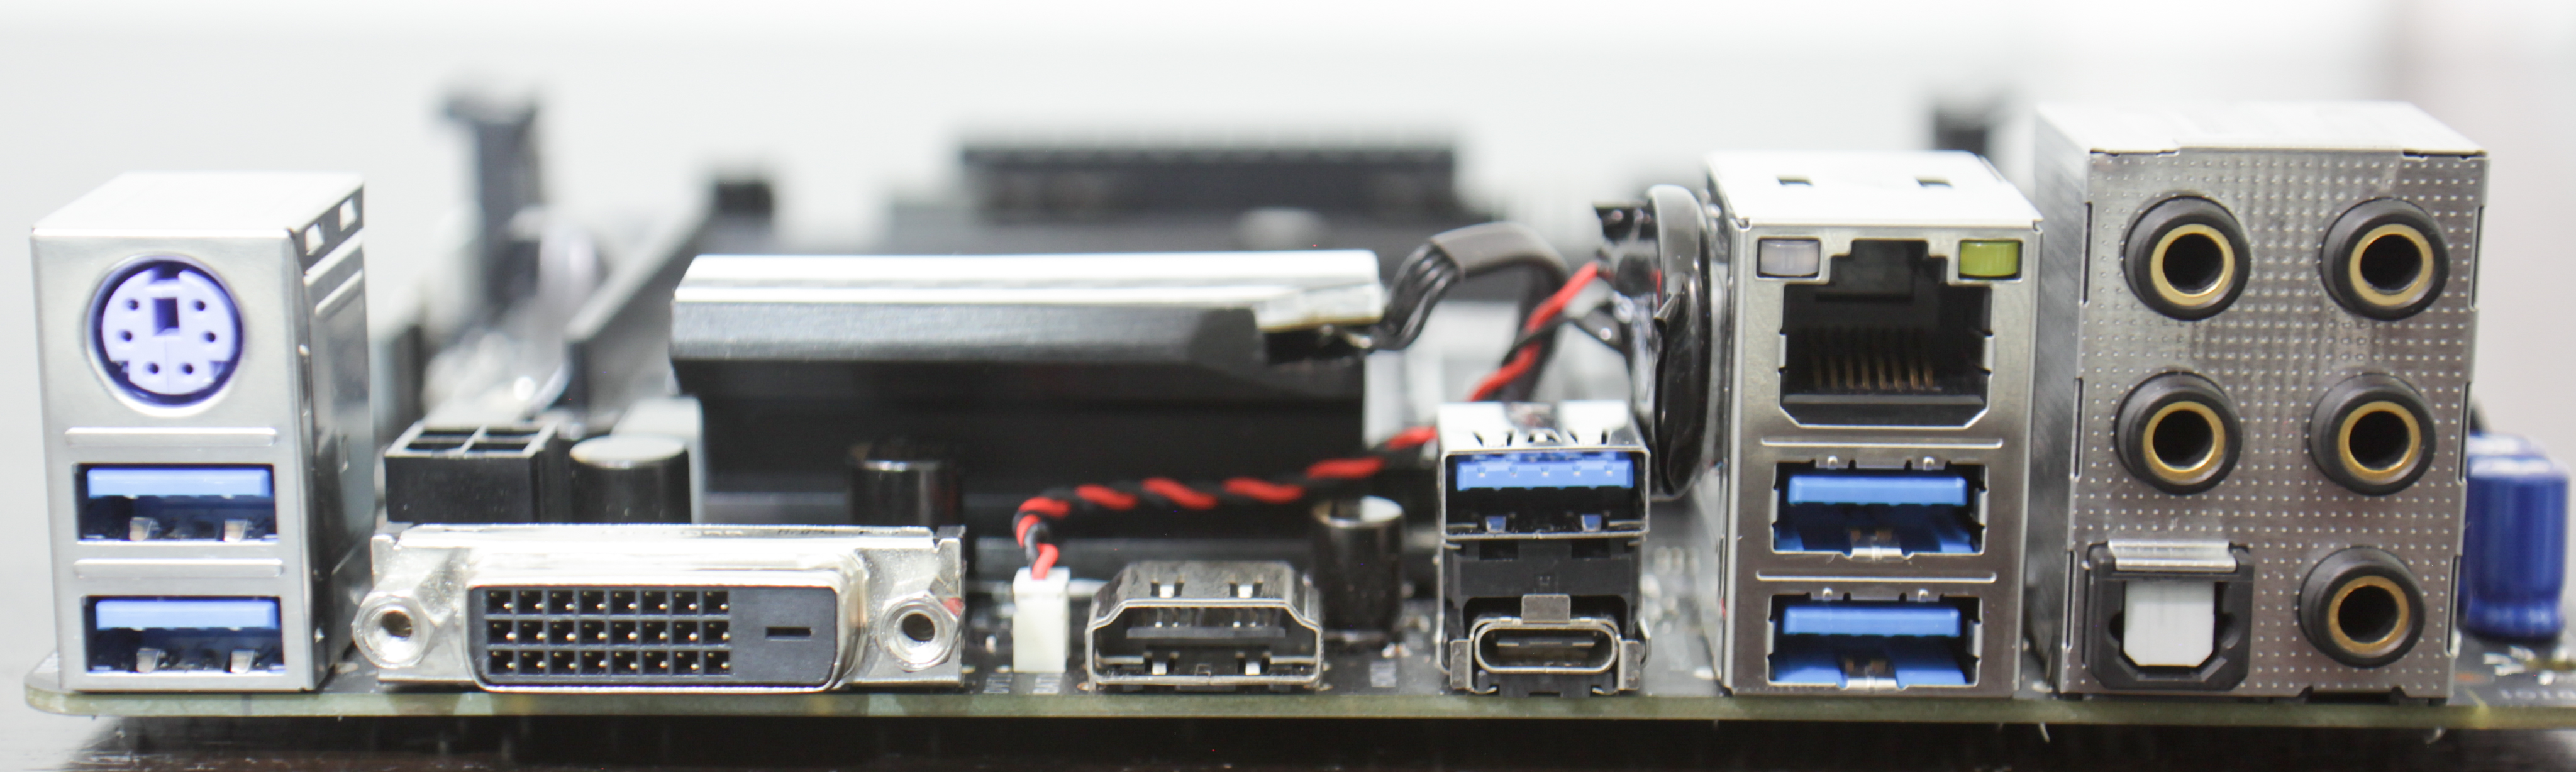
Hmmm, another rear I/O section with a big hole – not what we expect from a top tier chipset! From the top left, we have a PS/2 port for KB or mouse, 2x USB 3.1 Gen 1 Type A ports, a DVI-D port, a HDMI port, another USB 3.1 Gen 2 Type-A port, a USB Type-C port, RJ45 for wired ethernet, another two USB3.1 Gen 1 Type A ports (No USB 2.0 ports on this rear panel!), and the audio ports, comprising of 5 3.5mm sockets for 7.1 audio, as well as an optical S/PDIF port.
Noticeably missing is any WiFi implementation – the BIOSTAR X370GTN is supplied without any WiFi card, or even any slot for installing your own. If you need WiFi for your X370GTN based system, you are limited to either a card in the PCIe slot, or a USB solution. This is an interesting decision, with all the other AM4 M-ITX motherboards offering WiFi, in both Realtek and Intel flavours.
Also spotted here is the CMOS backup battery – in the, now considered normal, wired implementation.

The VRM solution is similar to the X370GTN’s contemporaries, with solid caps, solid chokes and a VRM heatsink. Where the BIOSTAR board stands out though, is the RGB panel on the top of this heatsink. There have been concerns over the current crop of AM4 M-ITX motherboards and their VRM temps – we will cover this in an upcoming article.

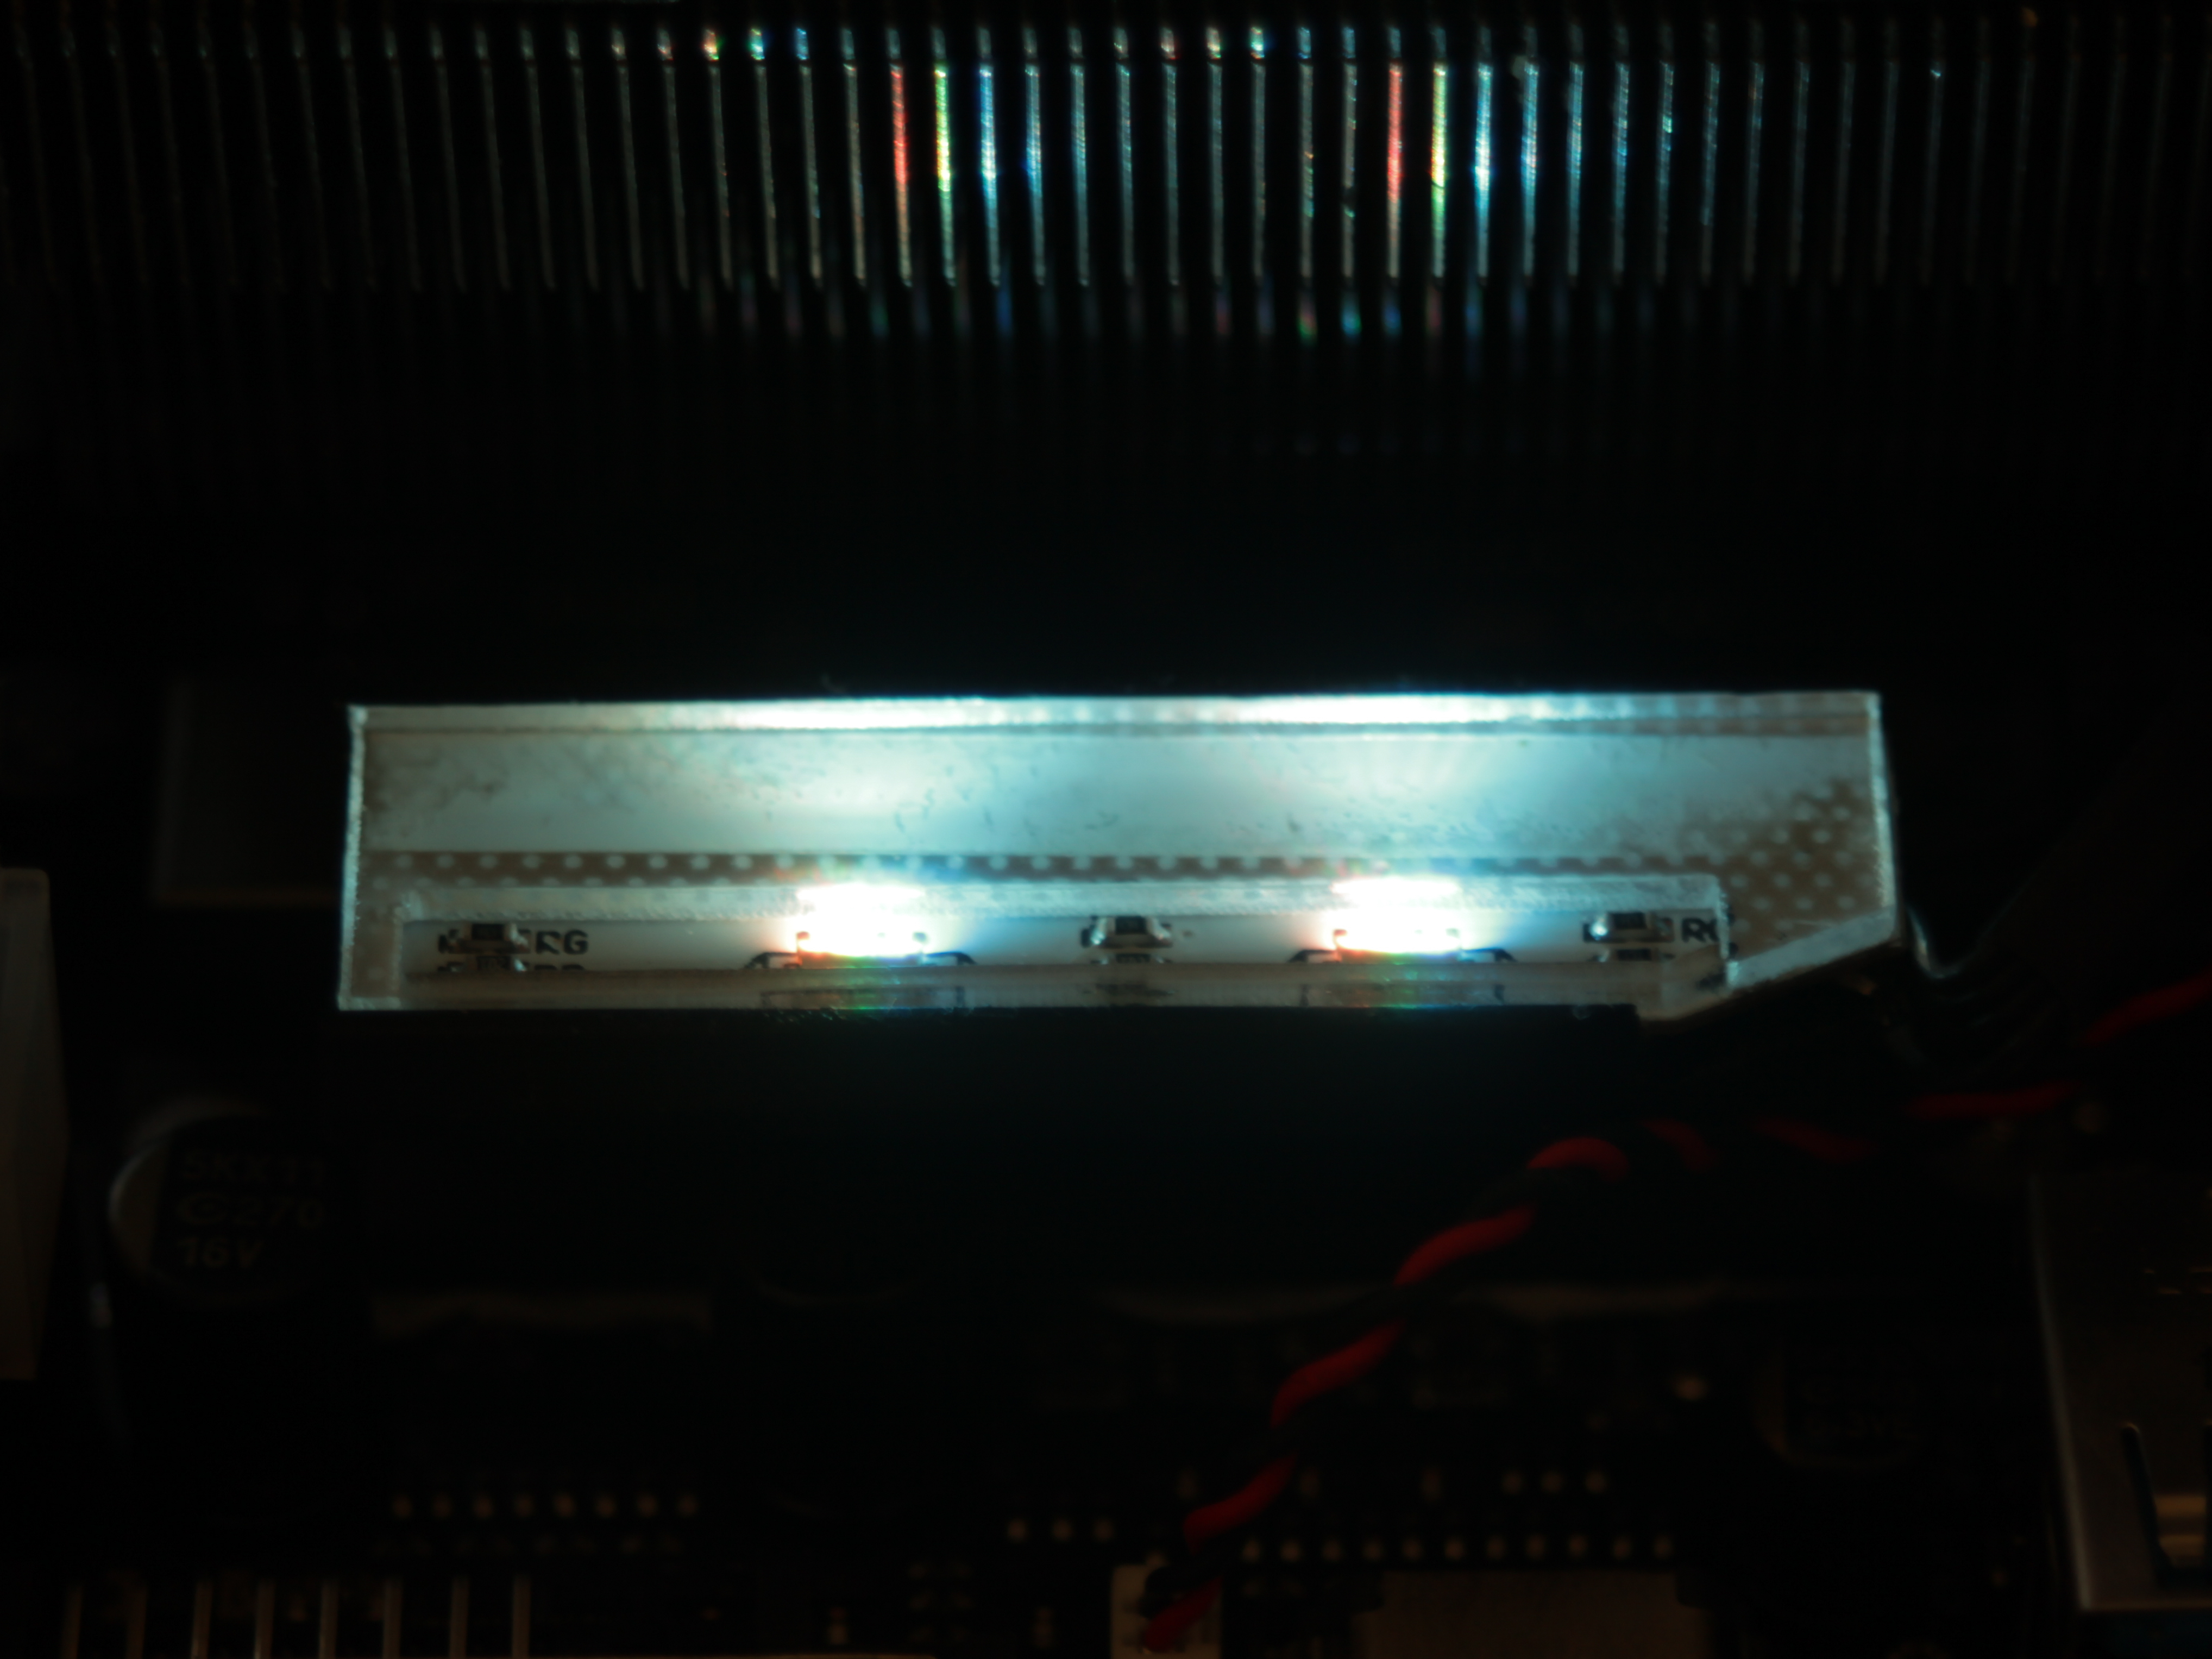
Under the sticker that diffuses the RGB LEDs, we see two individual LED chips. These LEDs don’t throw the cleanest RGB colouring, with definite hotspotting of light, as you will see in the image below.
The dual LEDs leave a distinctive light signature on the heatsink, with two bright spots. a little more diffusing on the underlying plastic could have done wonders for this. If you add RGB strips, fans, or the RGB equipped AMD Wraith cooler, the colours will be synced with this section, adding to the appearance of your build.

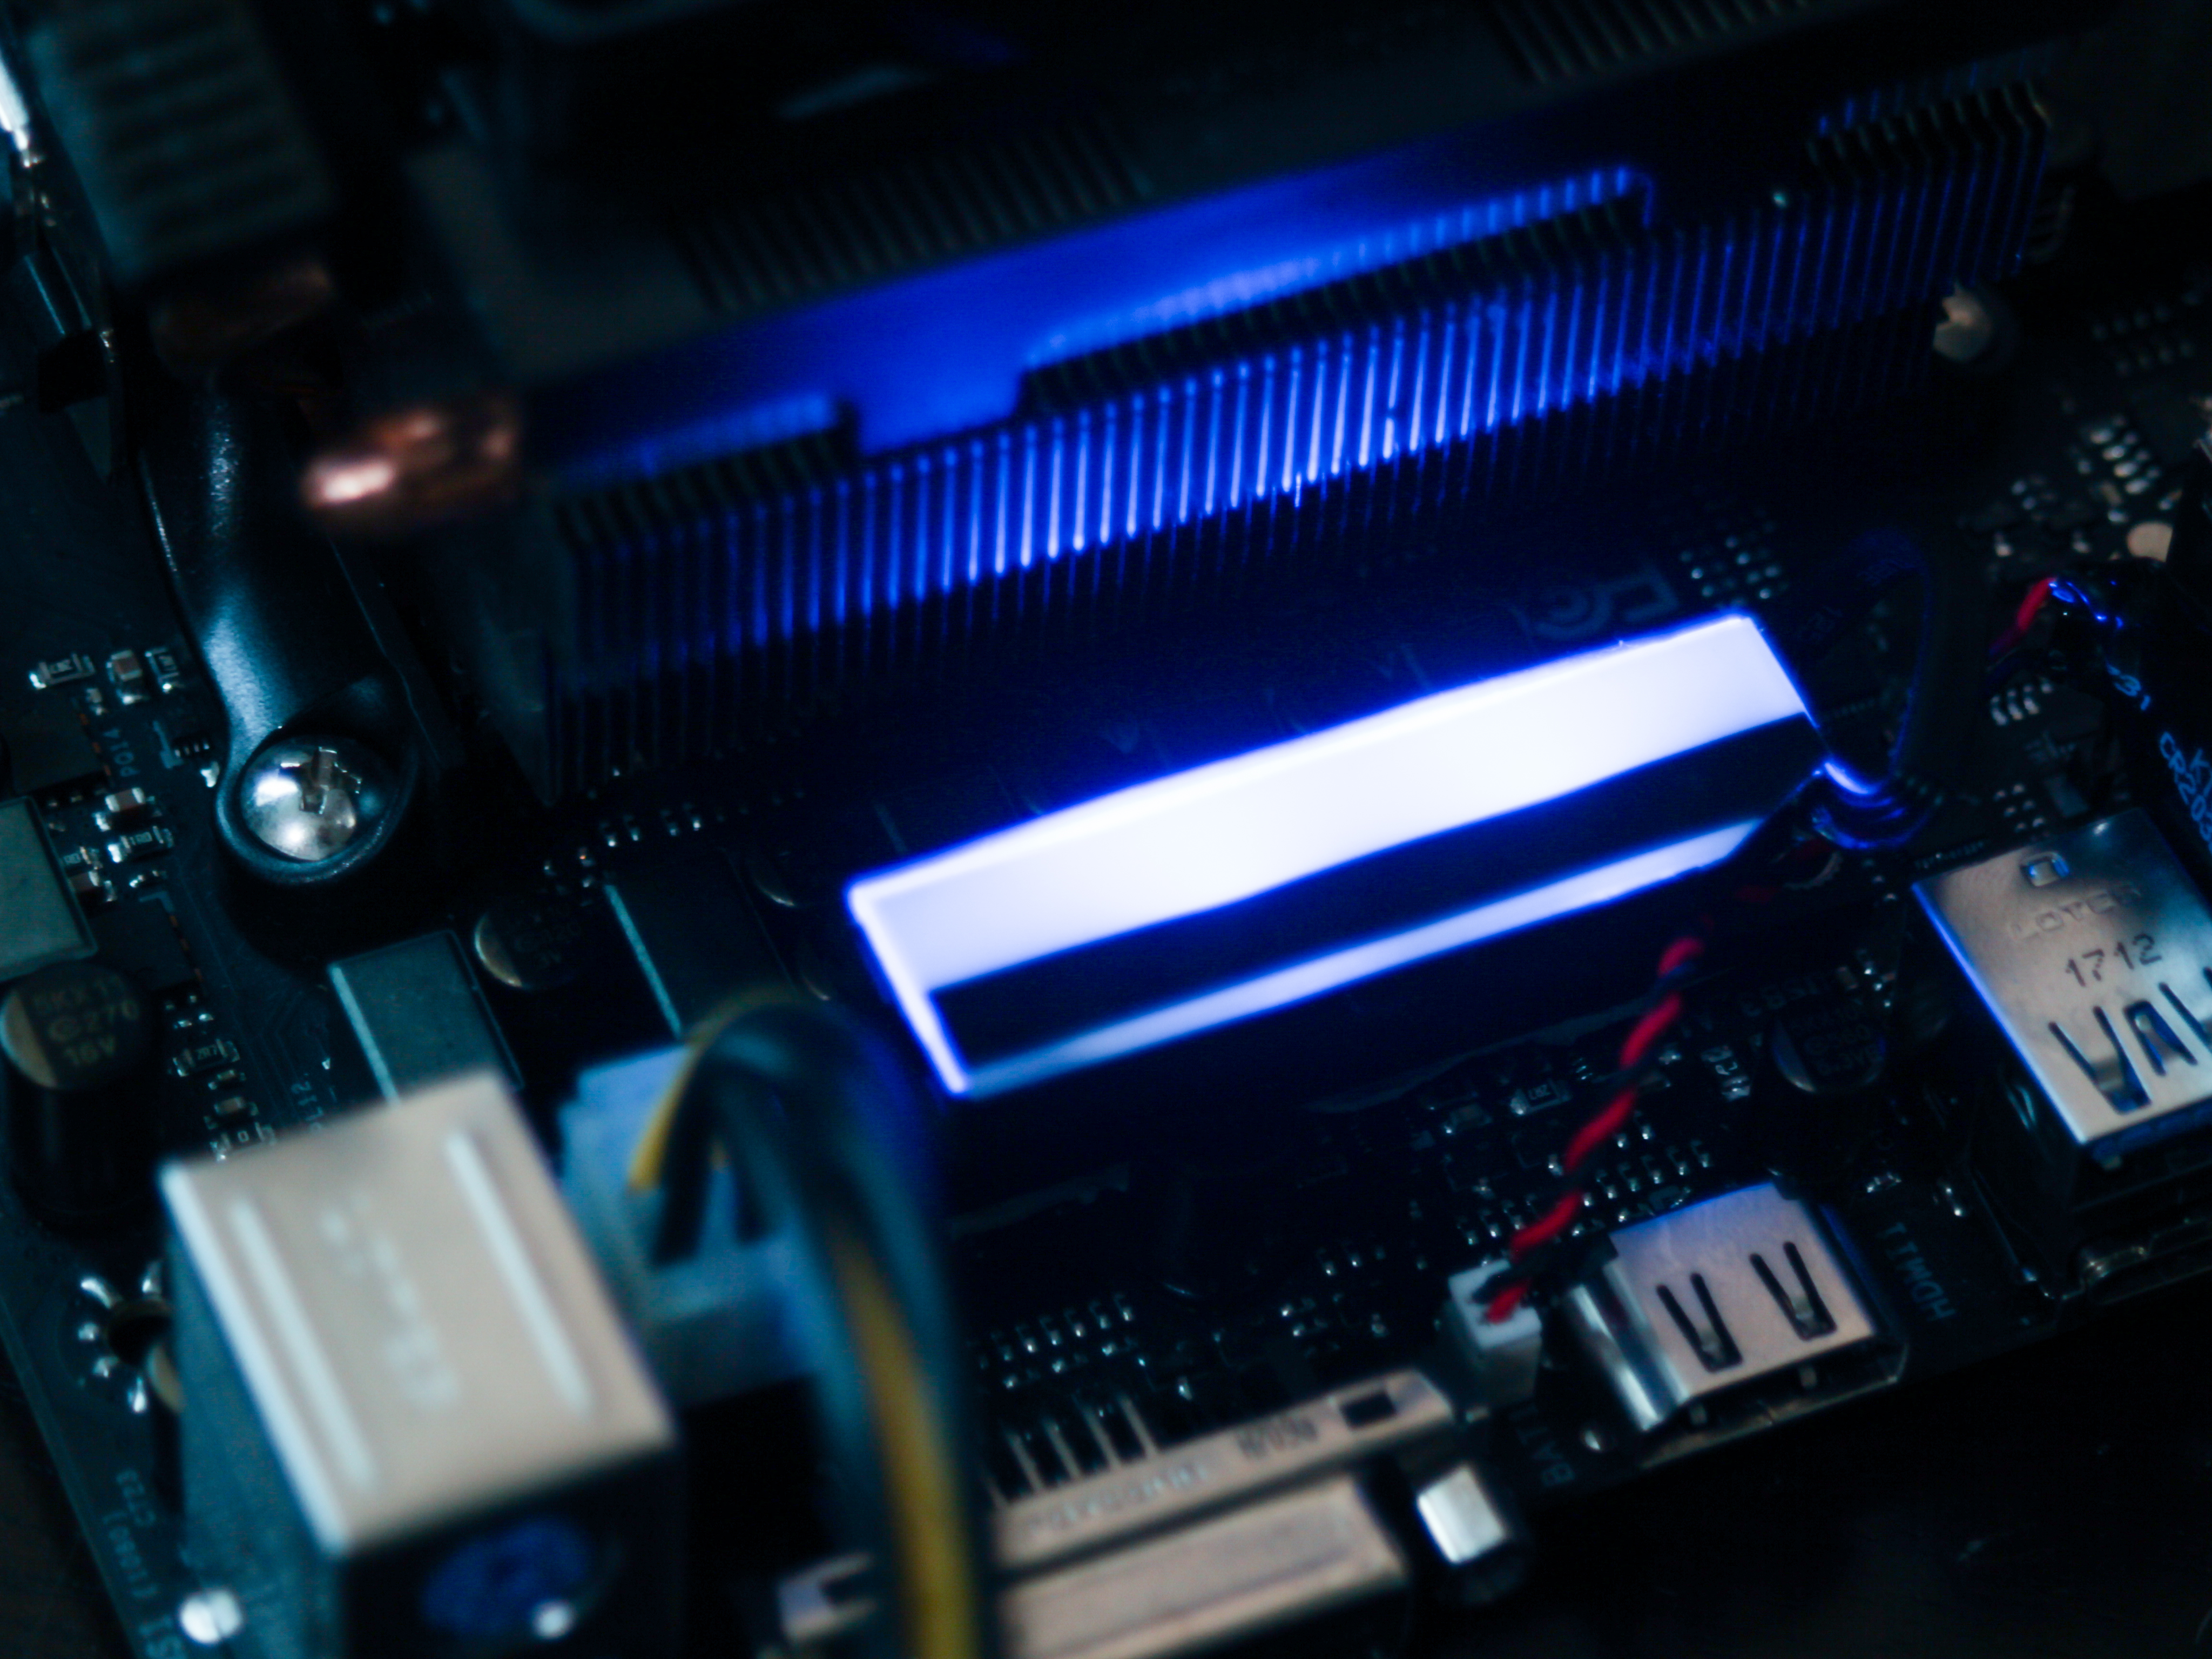
The heatsink RGB LEDs are literally R-G-B in order – which is unfortunately visible as different light sources, rather than a single blended source.
Check out the CPU heatsink at the top of the shot – you can see the individual LED colours reflected in order!
The diffused sticker atop the LED area does help somewhat to diffuse this though.
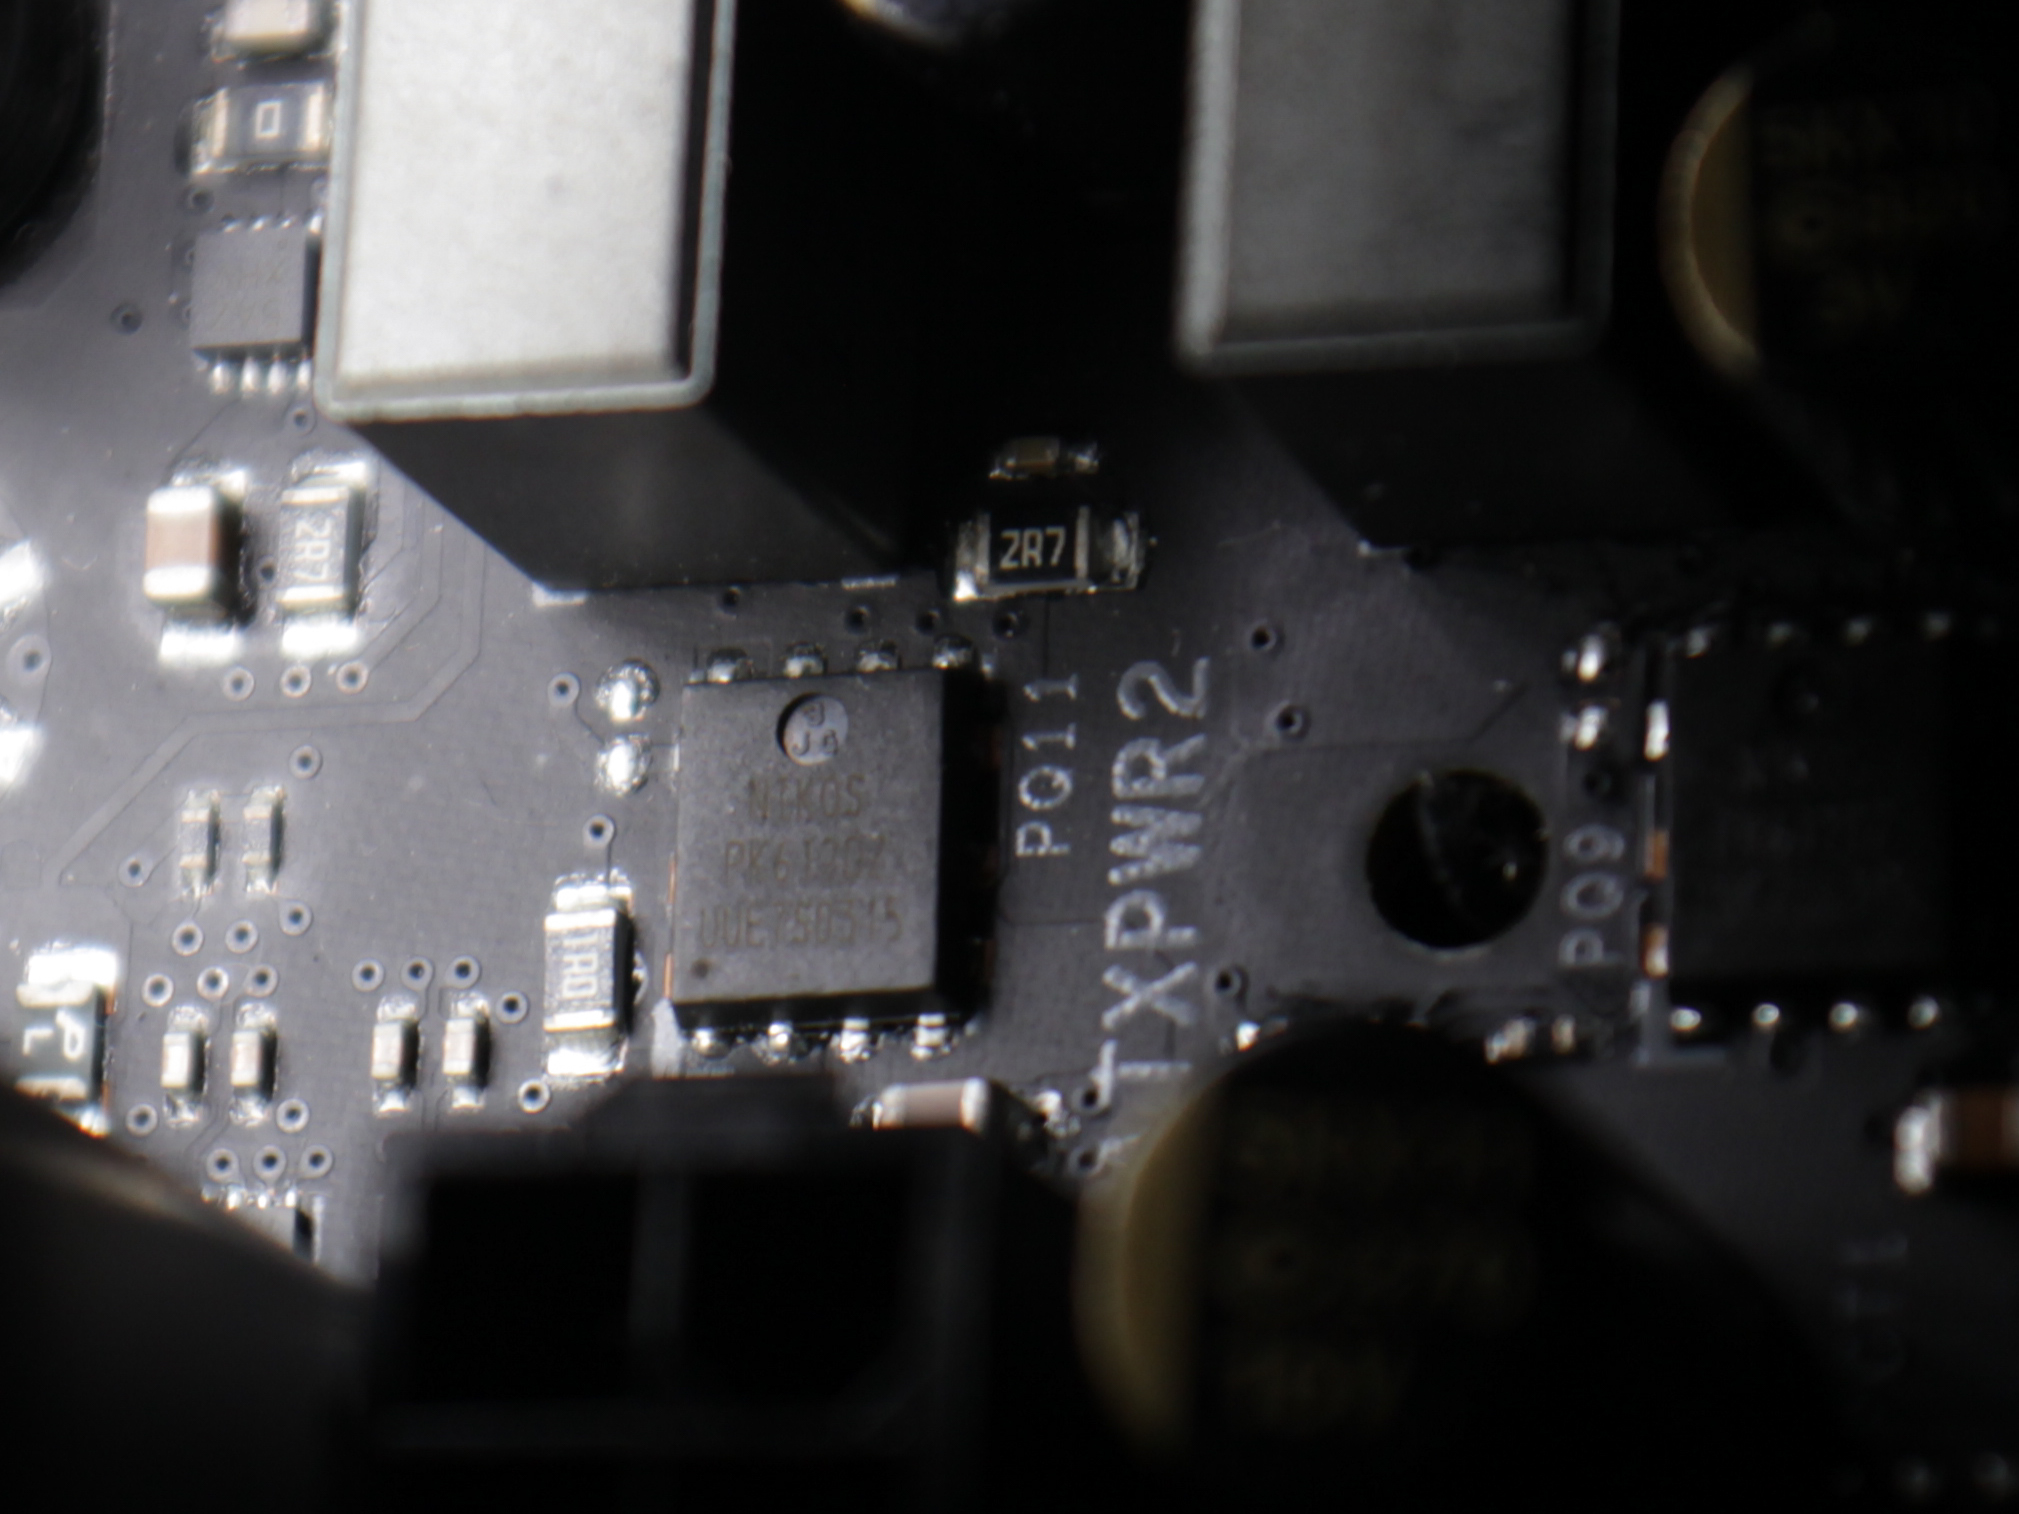
Under this VRM heatsink lie the MOSFETs – specifically Niko Semiconductor PK612DZ MOSFETs, rated at around 50 amps. I couldn’t find a datasheet for these chips, unfortunately. However, this does have similar specifications to the other AM4 boards we have tested, so BIOSTAR has chosen well here.
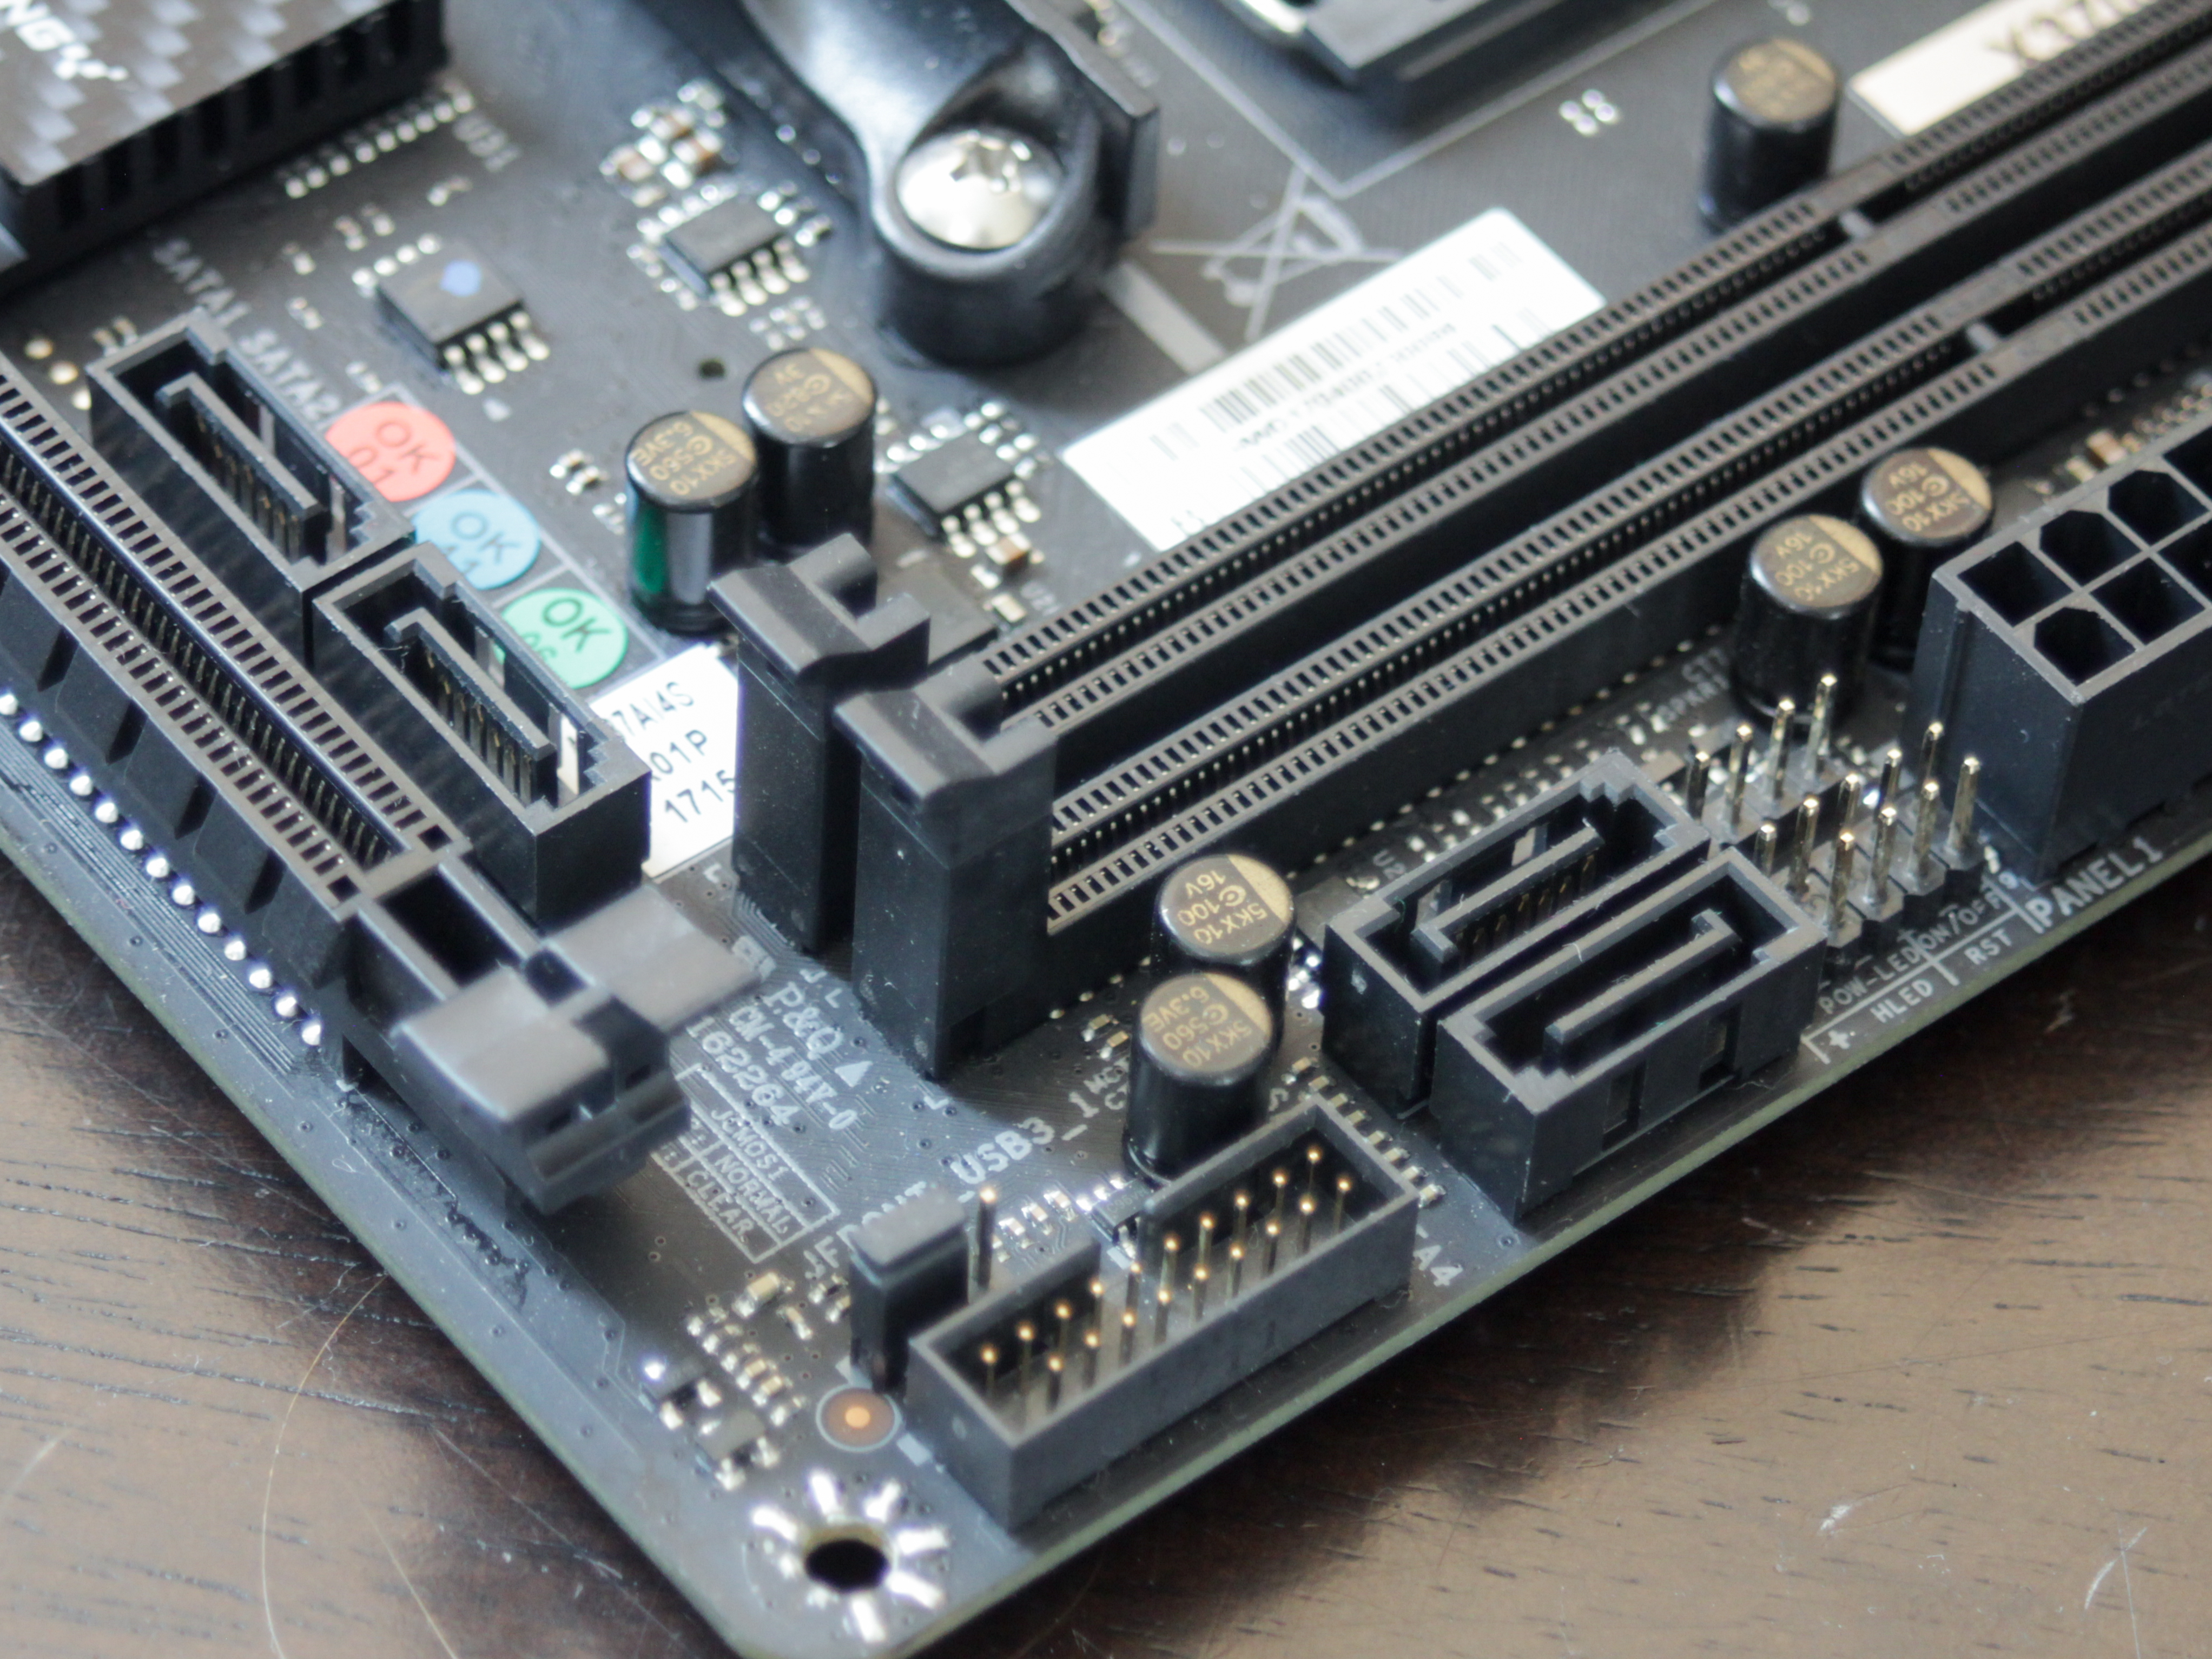
Most of the useful headers are located in BIOSTAR’s “Header Zone”. The “Header Zone” is branding that the company to explain the location of all the headers – close together to aid cable management and installation… unless your case has issues with cables in this location, of course! (In-Win Chopin for example) Located here are the USB 3.0 header, the four SATA ports (split between two locations, oddly), the front panel header, speaker header, and the ATX 24 pin connector.
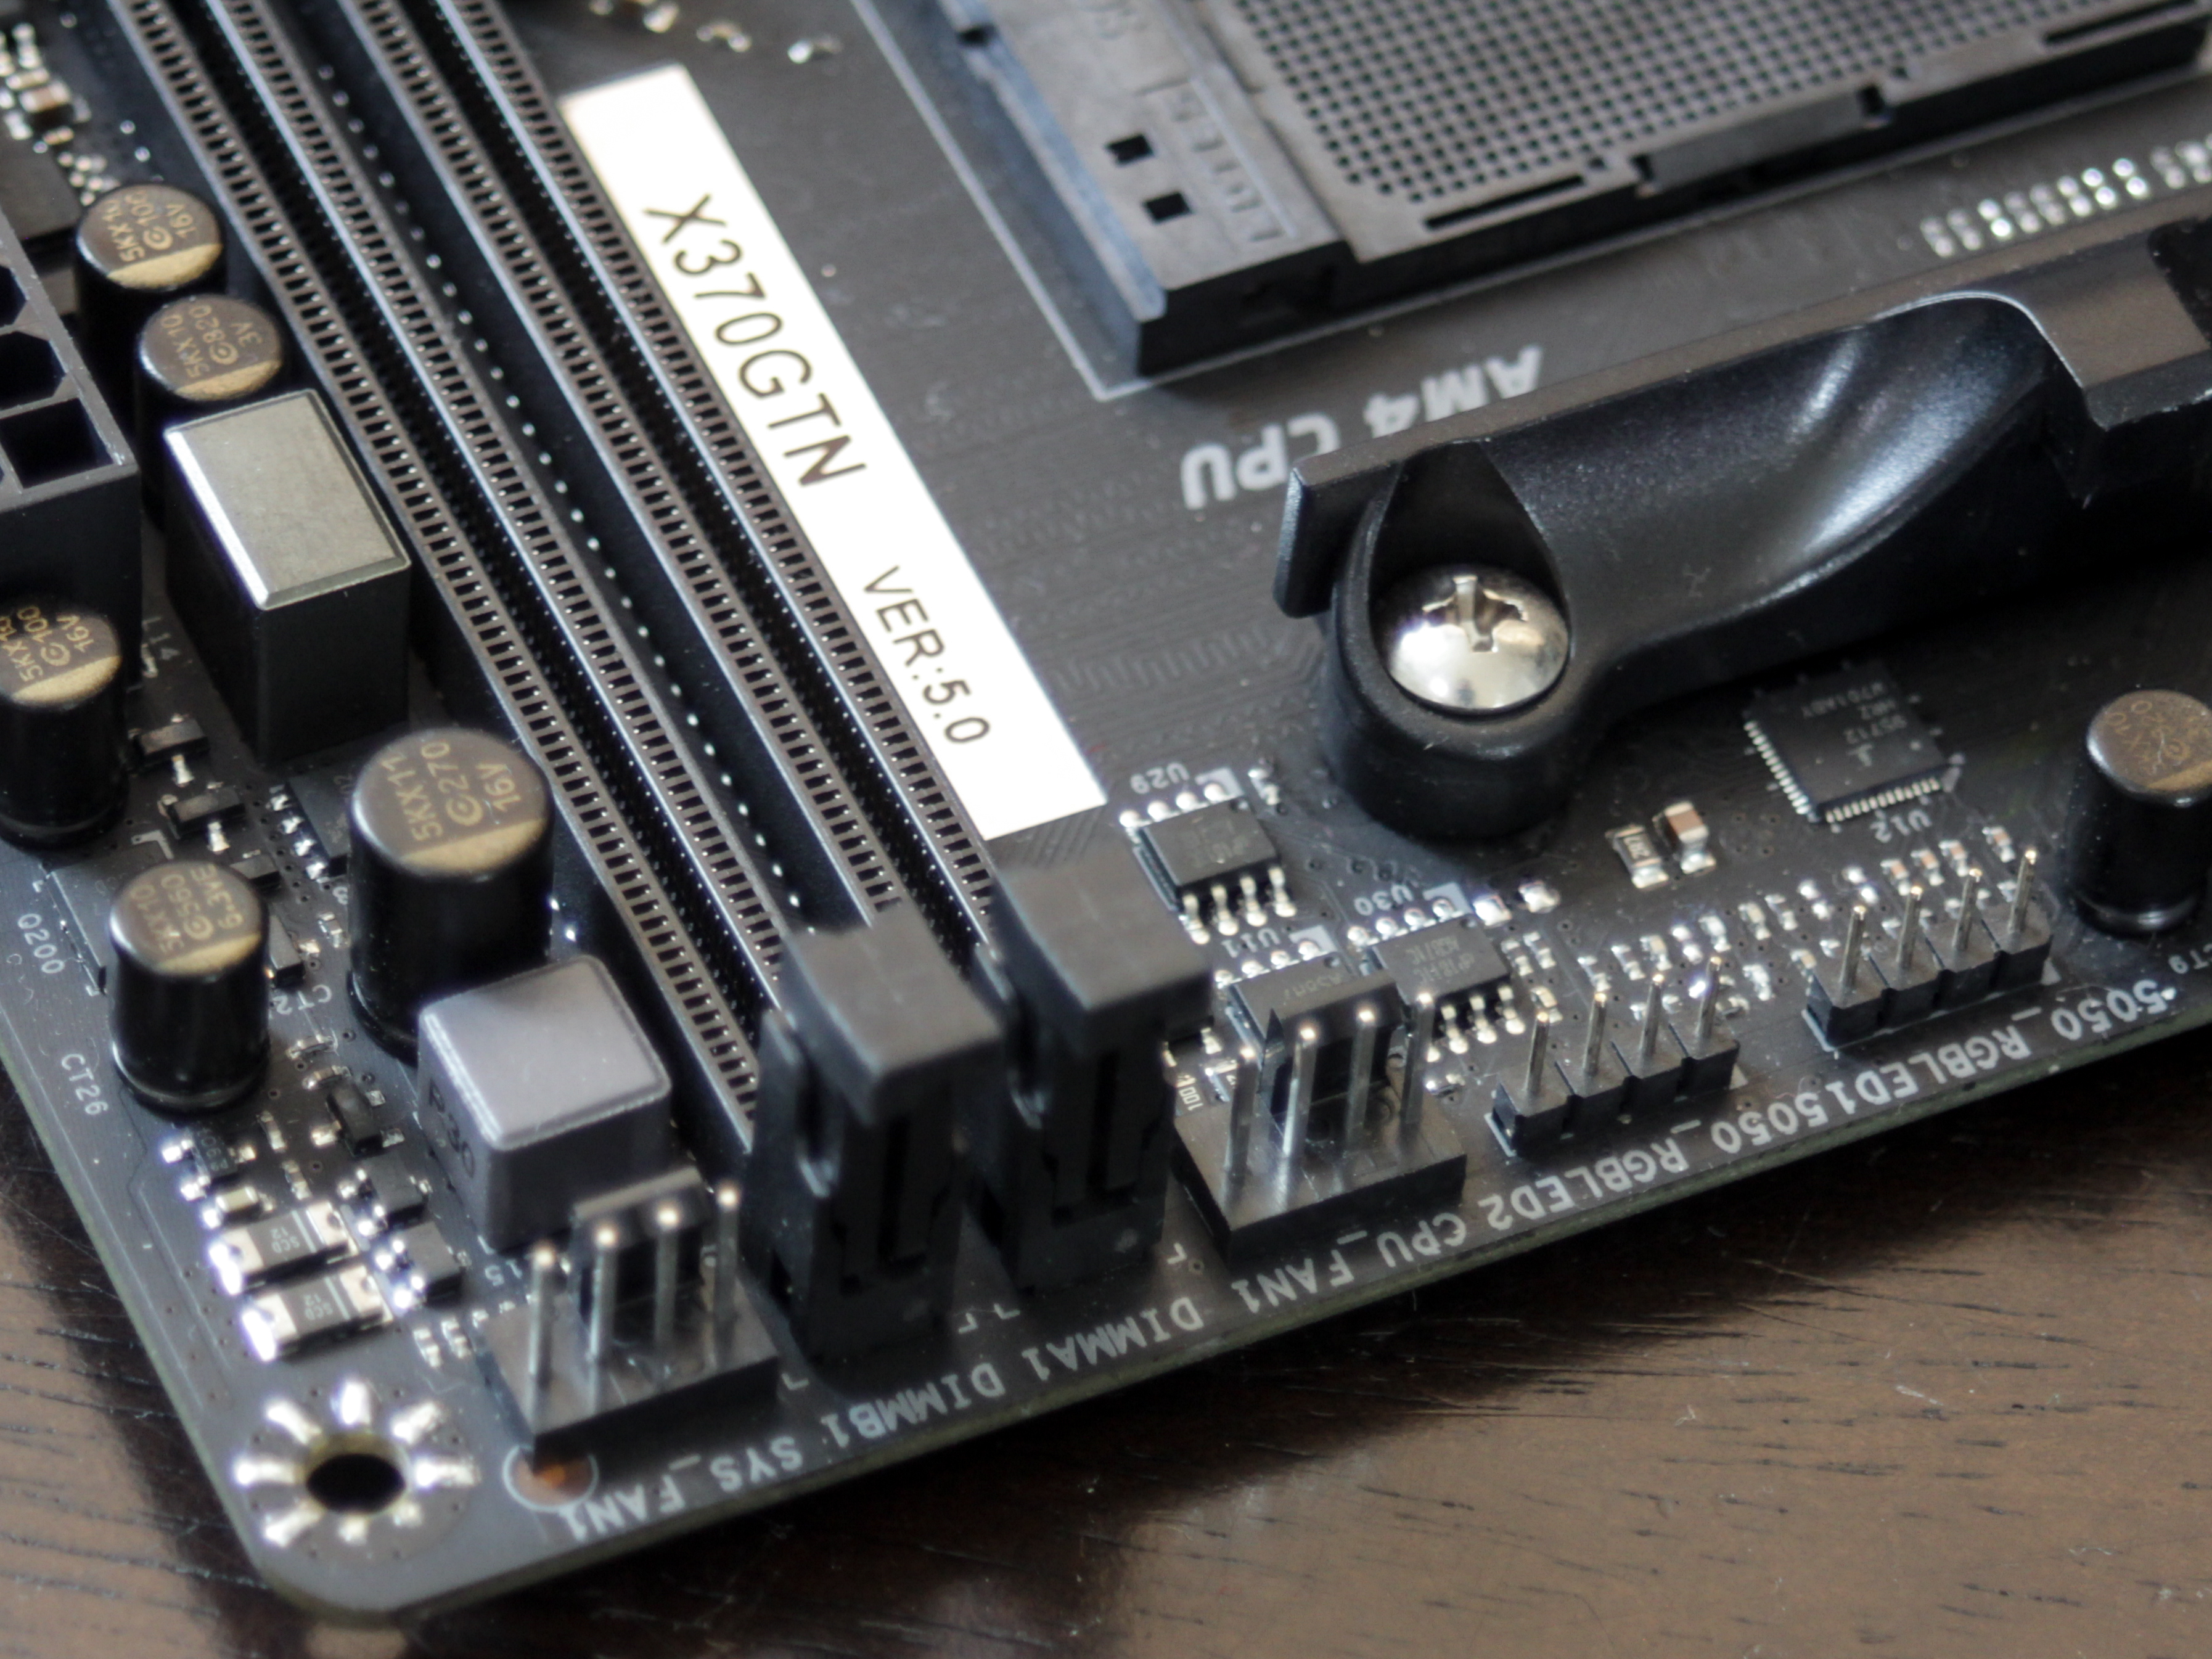
Up top, we have the two fan headers – SYS_FAN1 and CPU_FAN1, as well as two 5050 compatible RGB headers. note that unlike other boards, these are RGB, not RGBW headers.
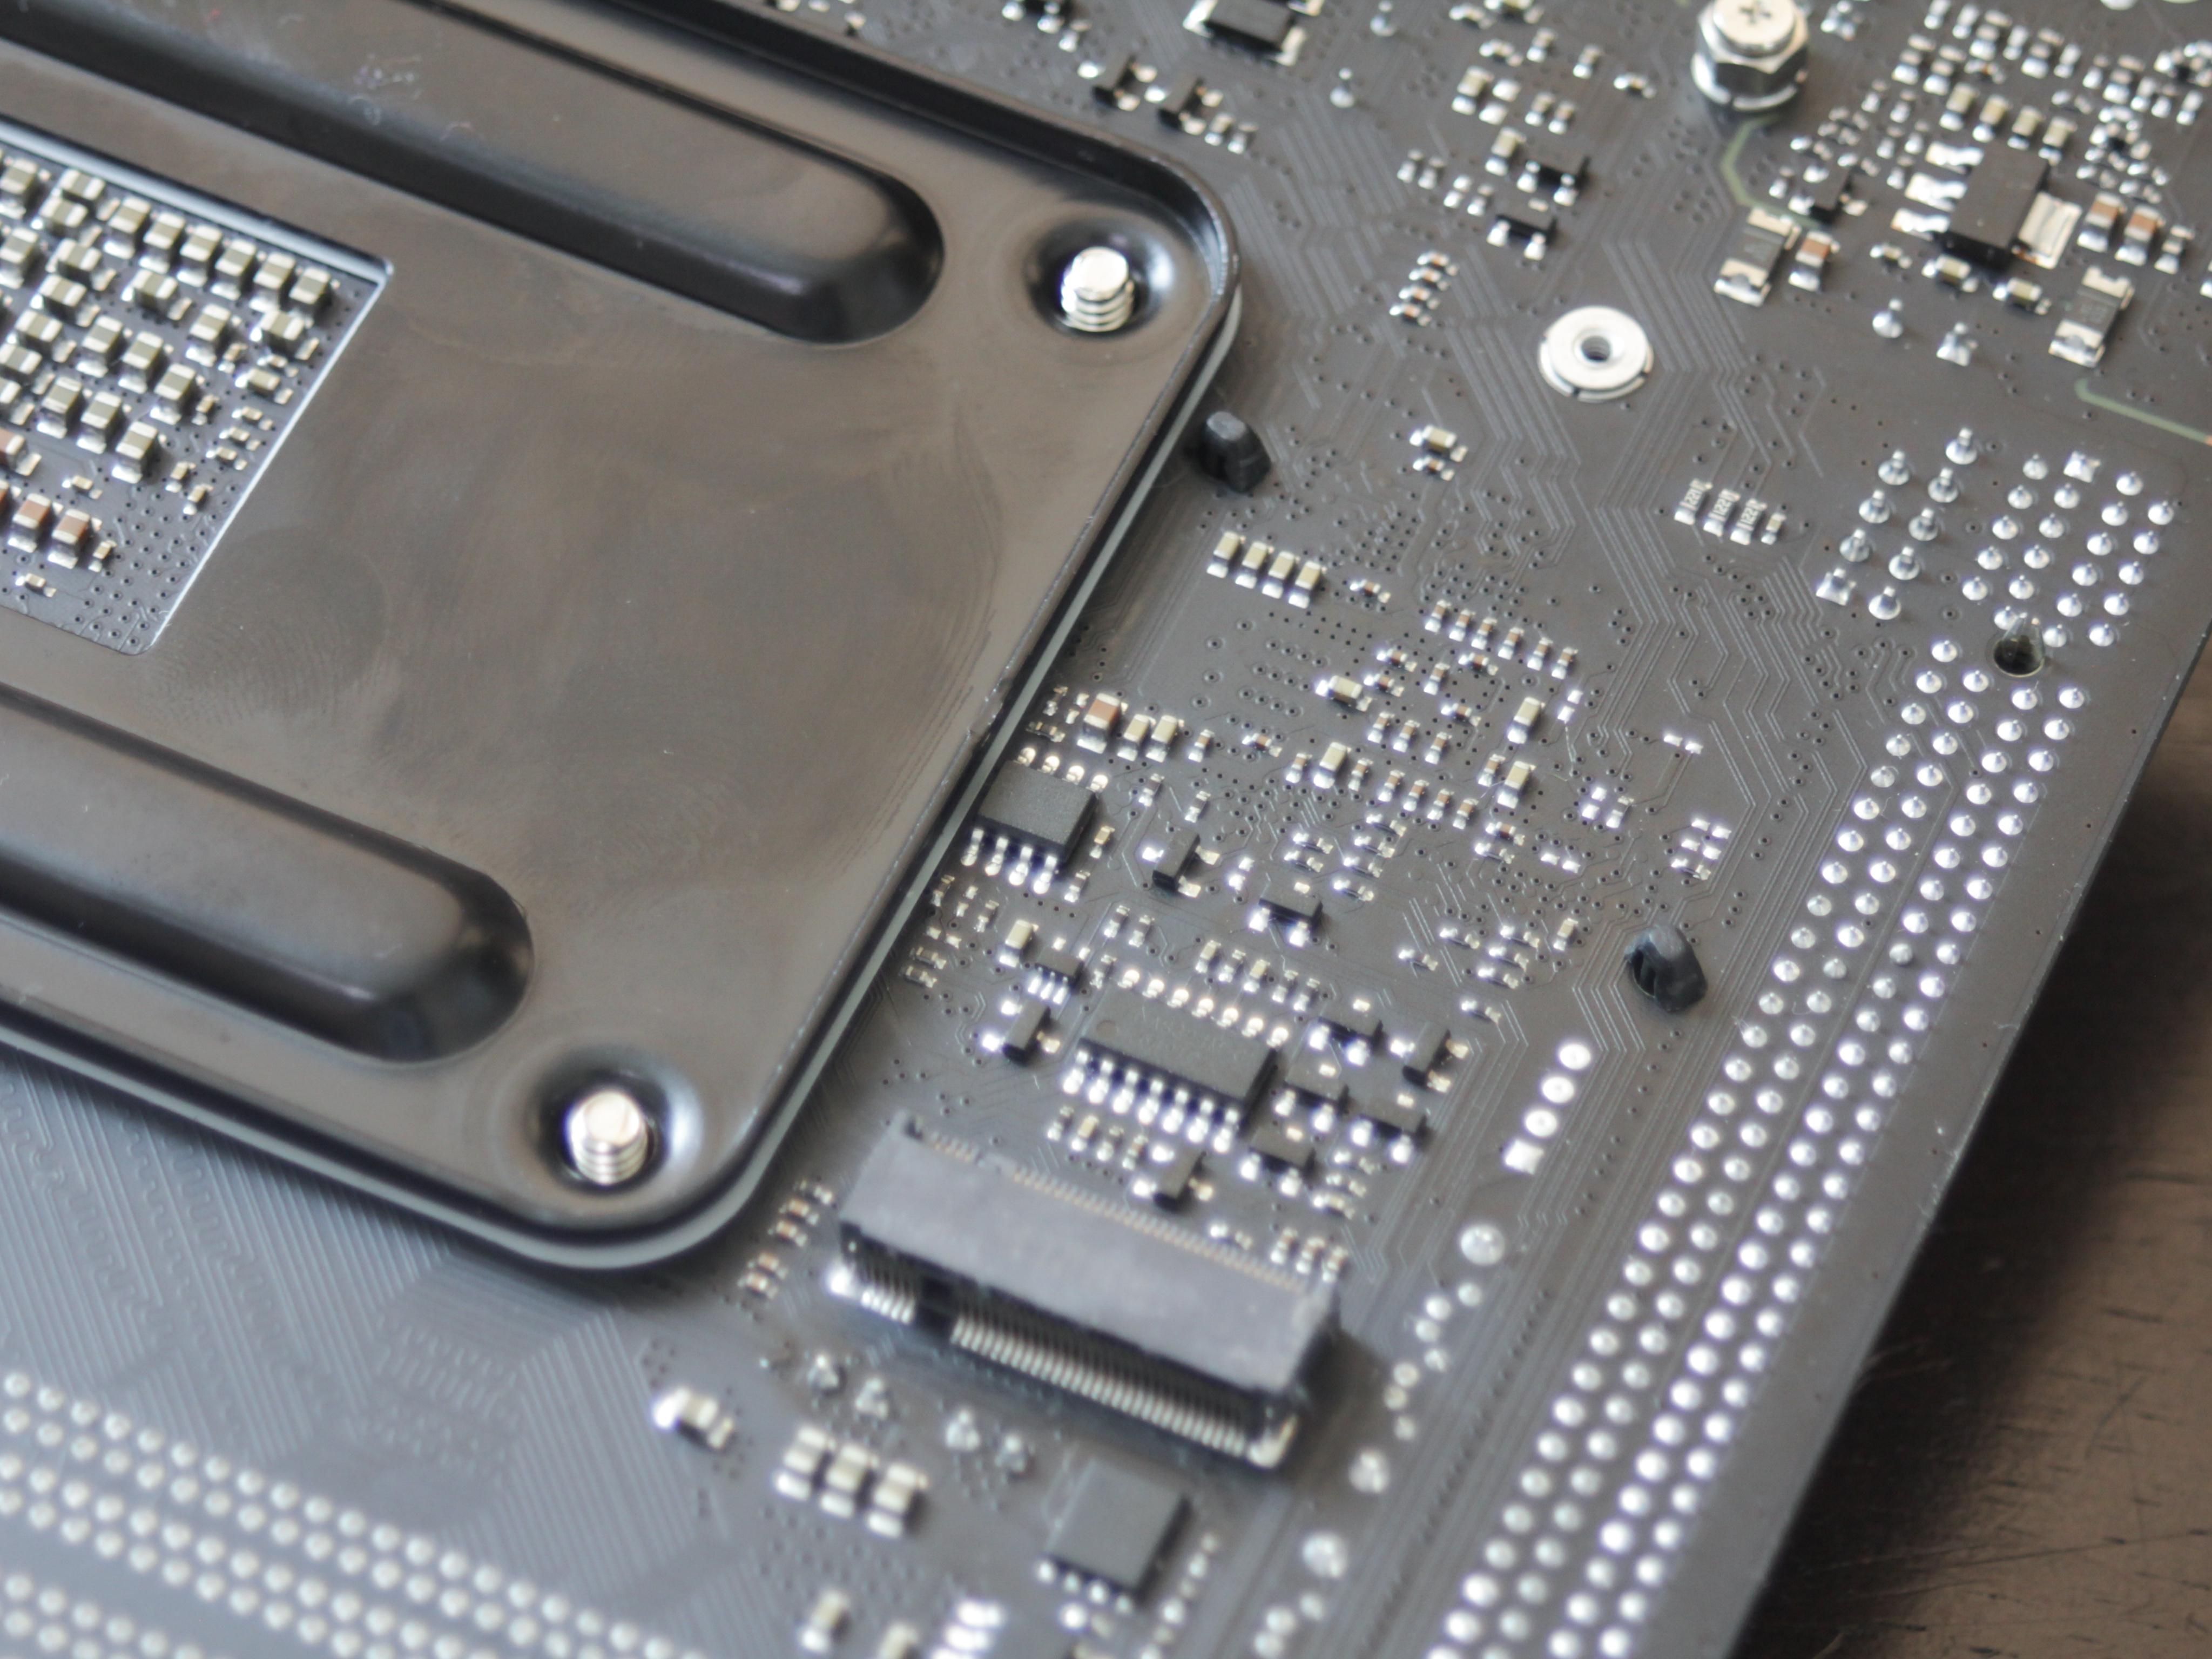
On the back side of the motherboard is the solitary M.2 slot, hidden behind the board. This supports the usual 2260 and 2280 form factors of M.2 SSD, using SATA III (6Gb/s) and PCIe x4 Gen 3. It’s fantastic that all the AM4 M-ITX motherboards include a M.2 port – is this heralding the end of SATA as we know it? I sure hope so!
[mks_separator style=”blank” height=”2″]
The BIOS
Back to laggy mouse input in a UEFI environment.. ugh. After being spoiled by the ASRock board I reviewed last week, the BIOSTAR X370GTN’s UEFI seemed minimal, laggy and difficult to work with.
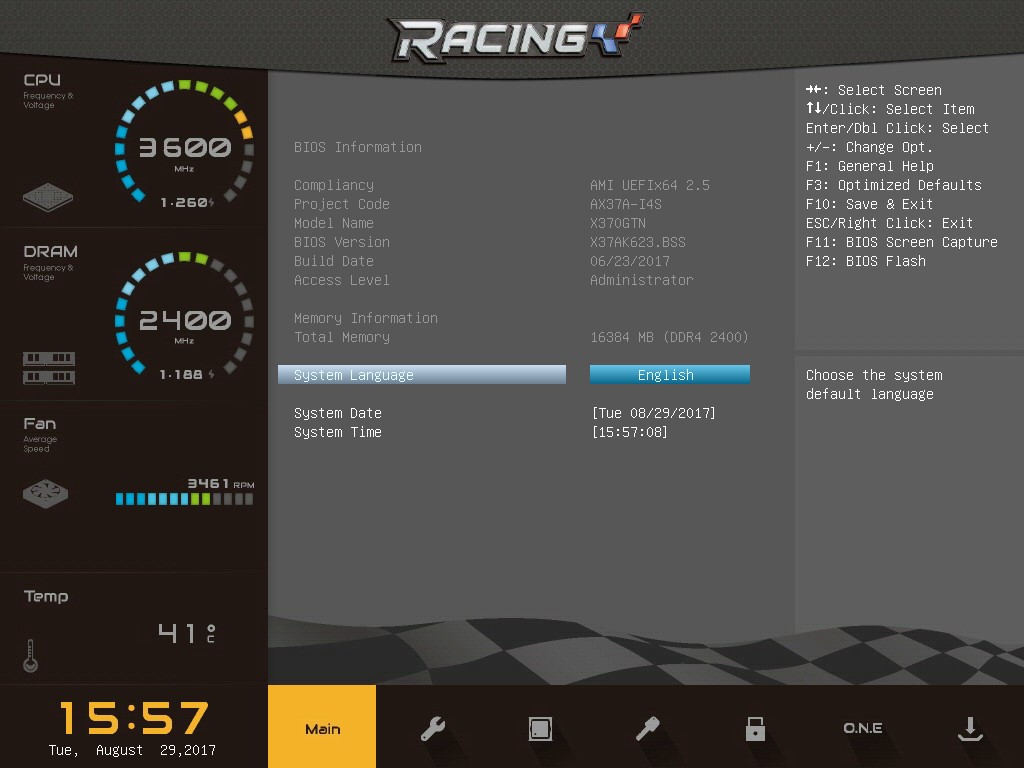
Welcome to the UEFI environment of the BIOSTAR X370GTN. To the left, we have a brief overview of the current CPU speed, voltage, DRAM frequency and voltage, fan speed, CPU temperature, time and date. These parameters stay visible throughout the entire UEFI, enabling you to keep an eye on your system while tweaking settings. This is a great feature, and something that I feel should be implemented in all overclockable board UEFI environments.
To the right, we have the usual BIOS welcome screen – system information, and the ability to set the time, date and language.

Straight to the advanced menu we go, because that’s how we roll. Here is where the fun lies, let’s see what is hidden in the many, many submenus!

Under the AMD CBS menu, we have more menus!
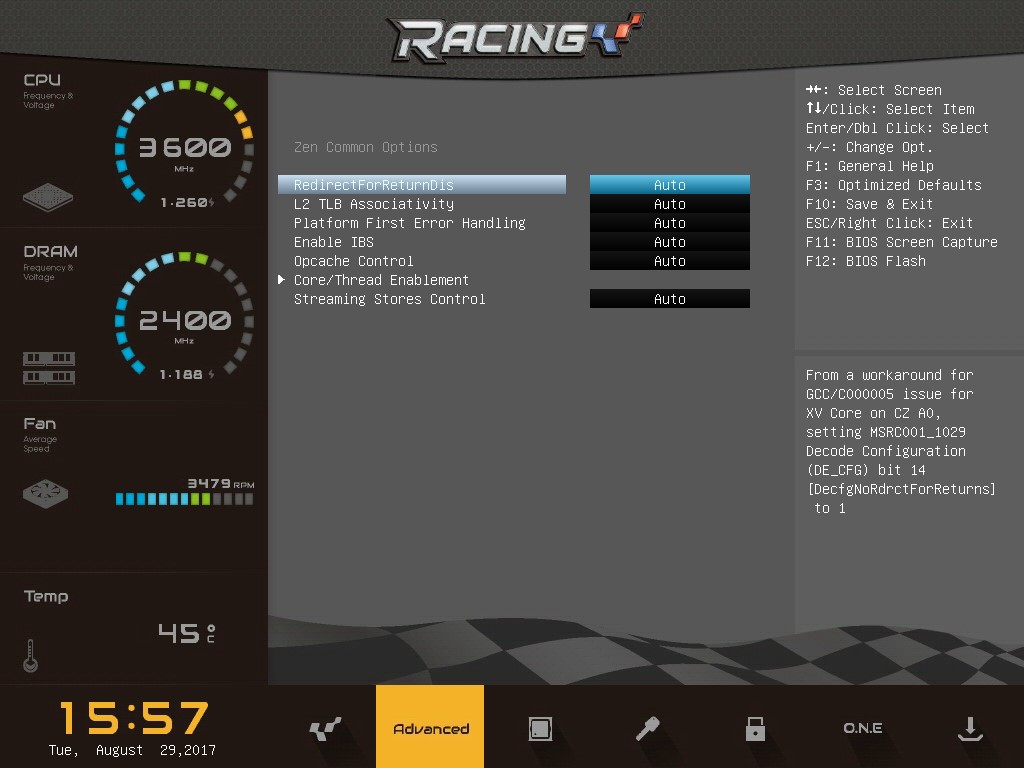
The Core Enablement setting does what it says on the tin, and finally, the Streaming Stores control enables or disables the Stores, a section of the CPU designed to store lesser-used data.
I recommend leaving all these settings at “Auto” – but if you’re interested in digging deeper, Google is your friend. Oh yeah, AMD provides a summary too!
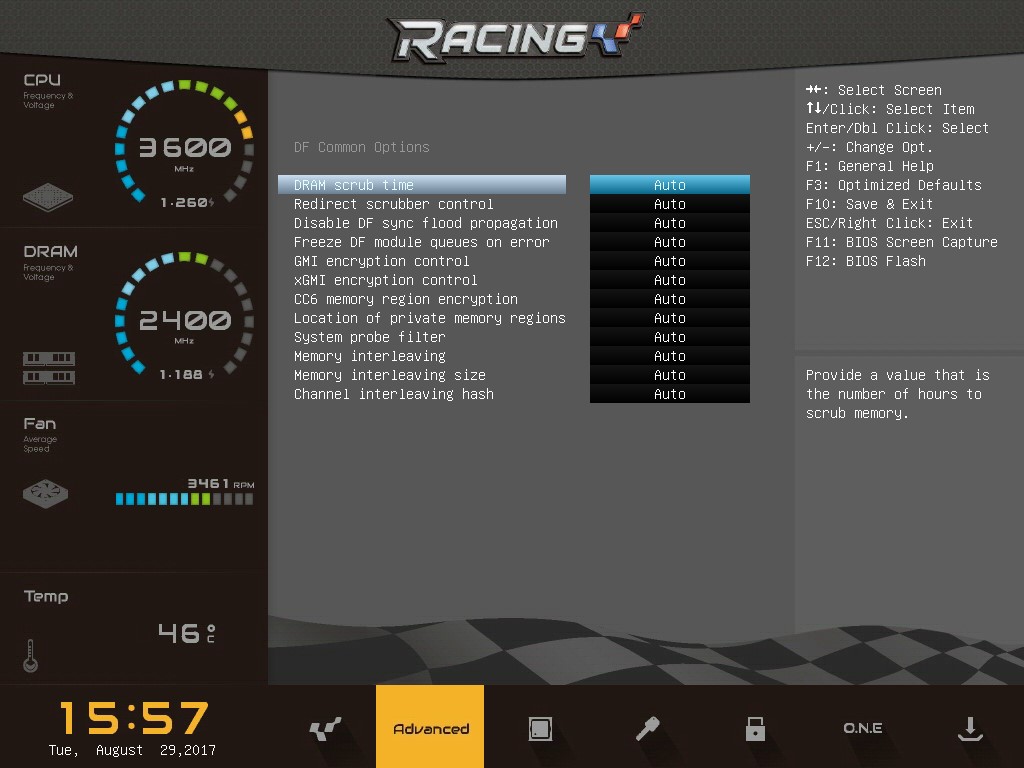
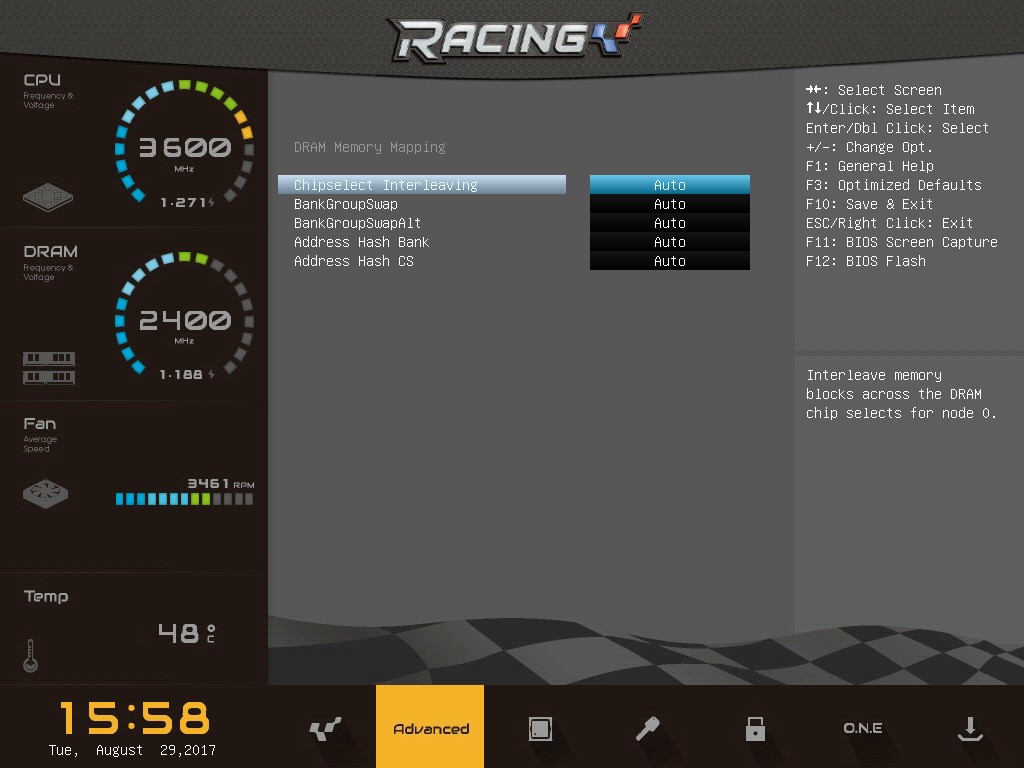
Under the DF Common Options submenu, we have various RAM settings, of which some seriously in depth reading is needed to understand. I won’t touch this one!

More memory options!

A submenu. Let’s look at each…
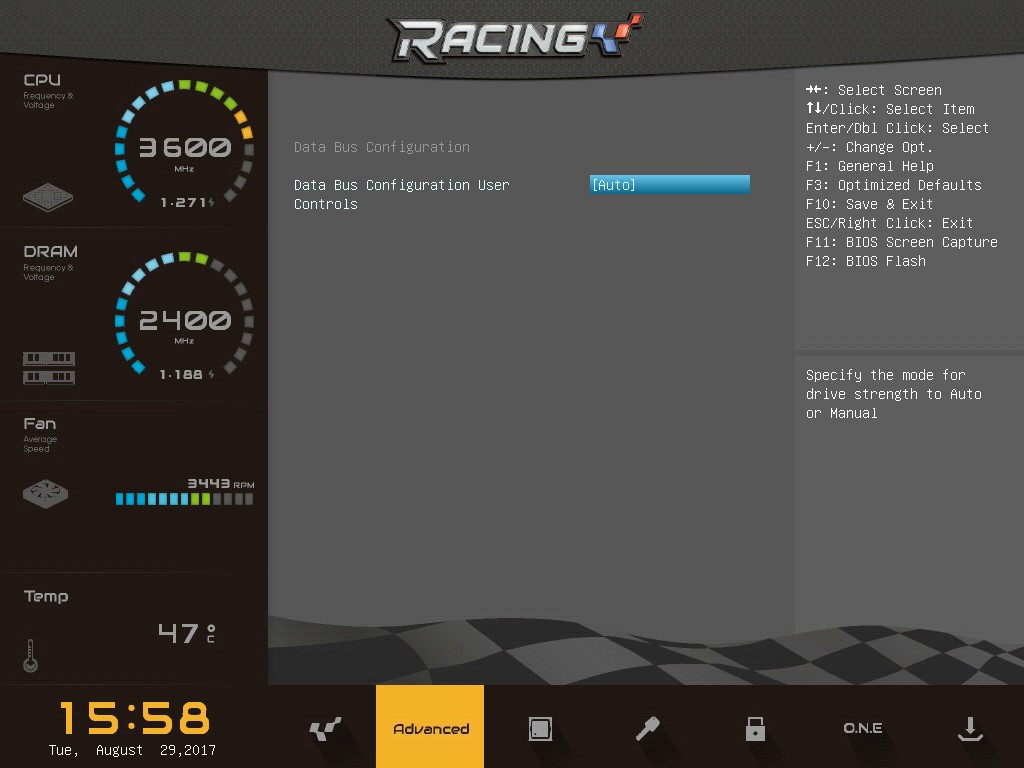
No mention of this in the user manual!

Sounds nasty, but is in fact one of the settings to enable ECC on compatible RAM.

Transparent Secure Memory Encryption, for those who are running Ryzen Pro processors.
So many memory submenus!

Fusion Controller Hub (AMD’s name for the system’s PCH for those who are more used to the Intel way of doing things) settings. Just USB options here though!
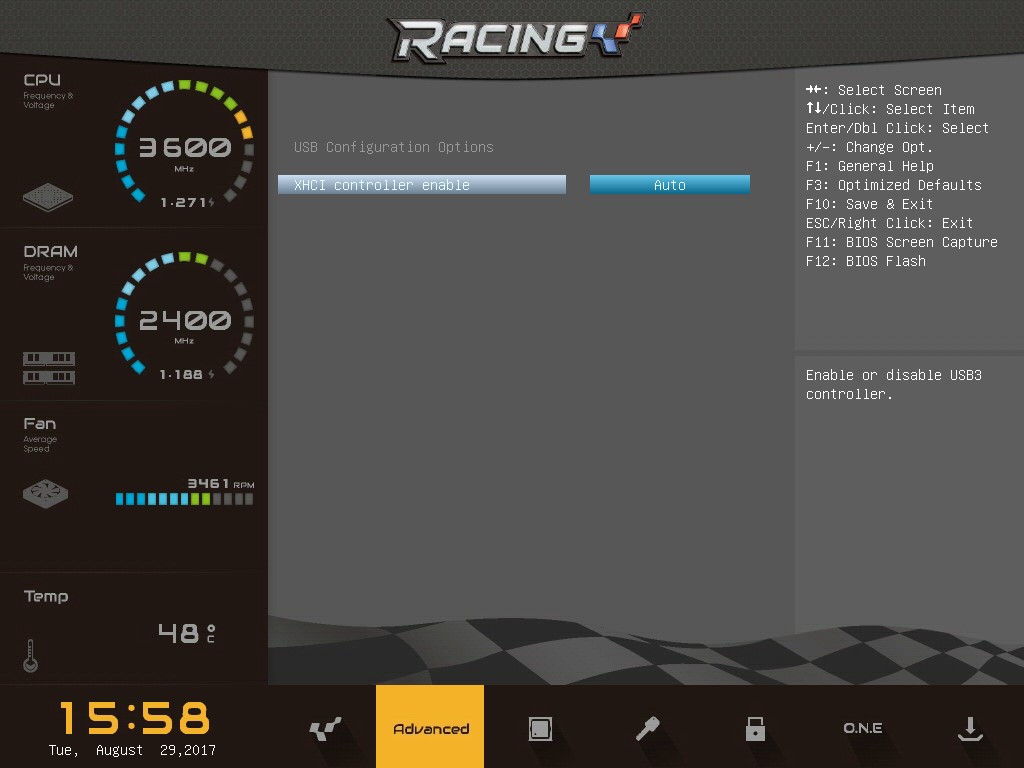
Simply, enable of disable the FCH’s USB3 controller.
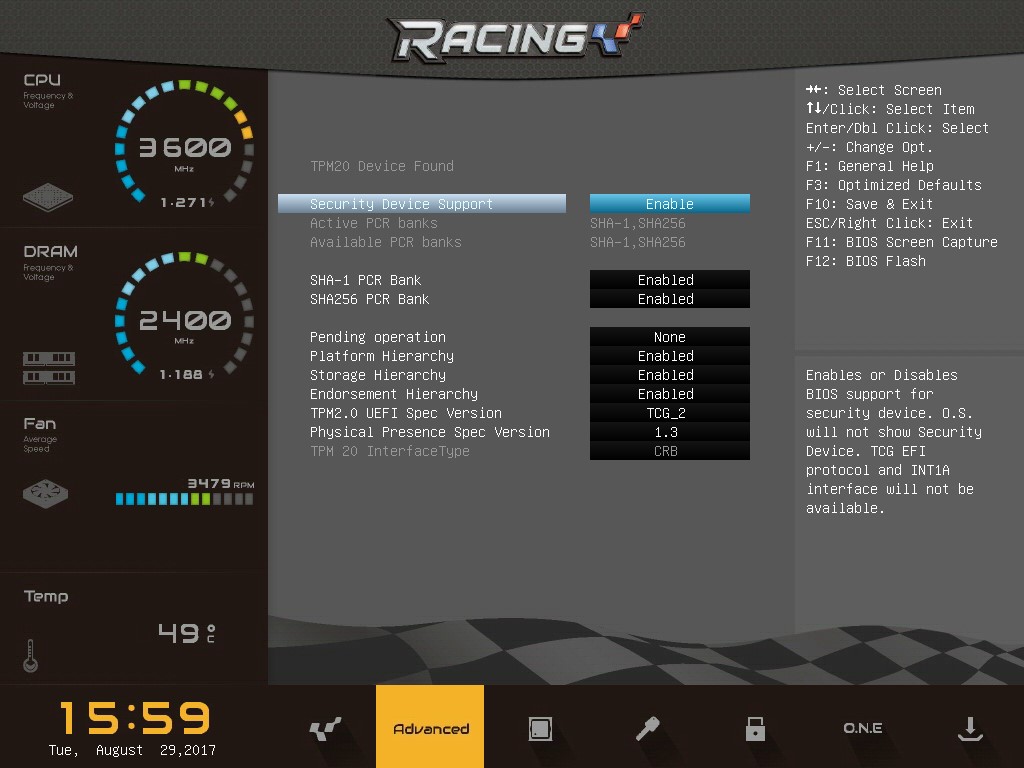
Enable or disable the integrated TPM in the Ryzen processor – and modify all the related settings.
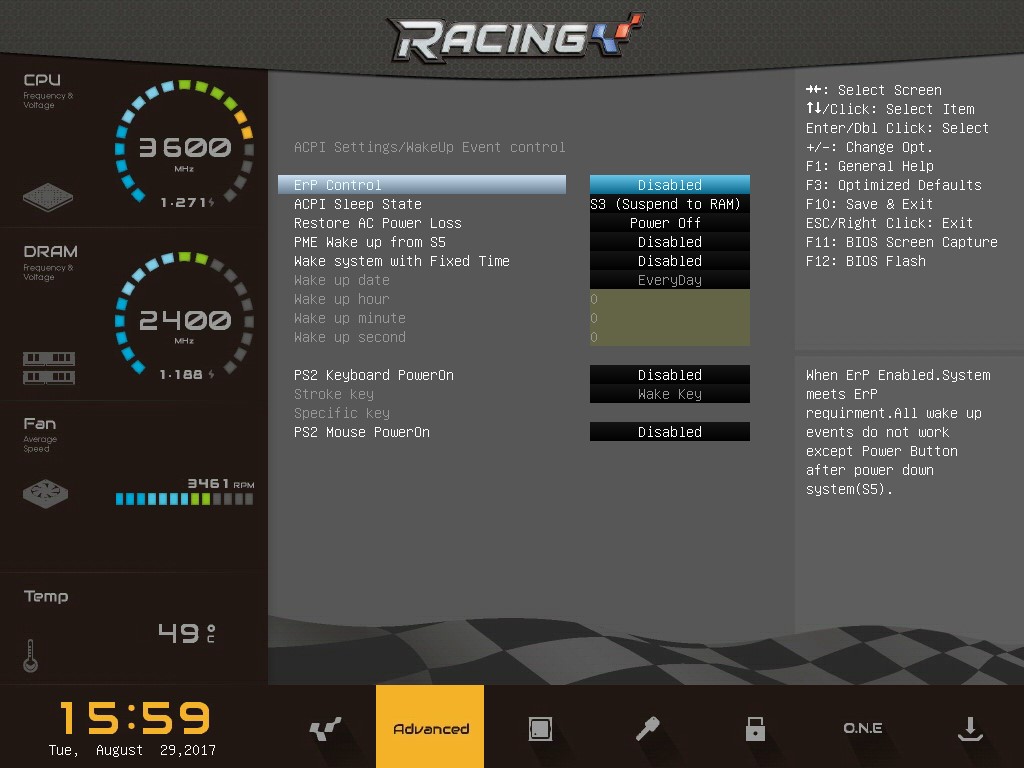
ErP Support determines whether to let the system consume less than 1W of power in S5 (shutdown) state. When the setting is enabled, all wake up events are disabled except the power button after power down system(S5). Not a mis-spelling of derp, but a way to hard disable sleep mode for a more efficient PC when the system is powered down.
If you aren’t using the above, the other settings adjust other modes that the system can be put into. You can also adjust functions that can power the system on, including wake timers, power returning after an outage and the like.
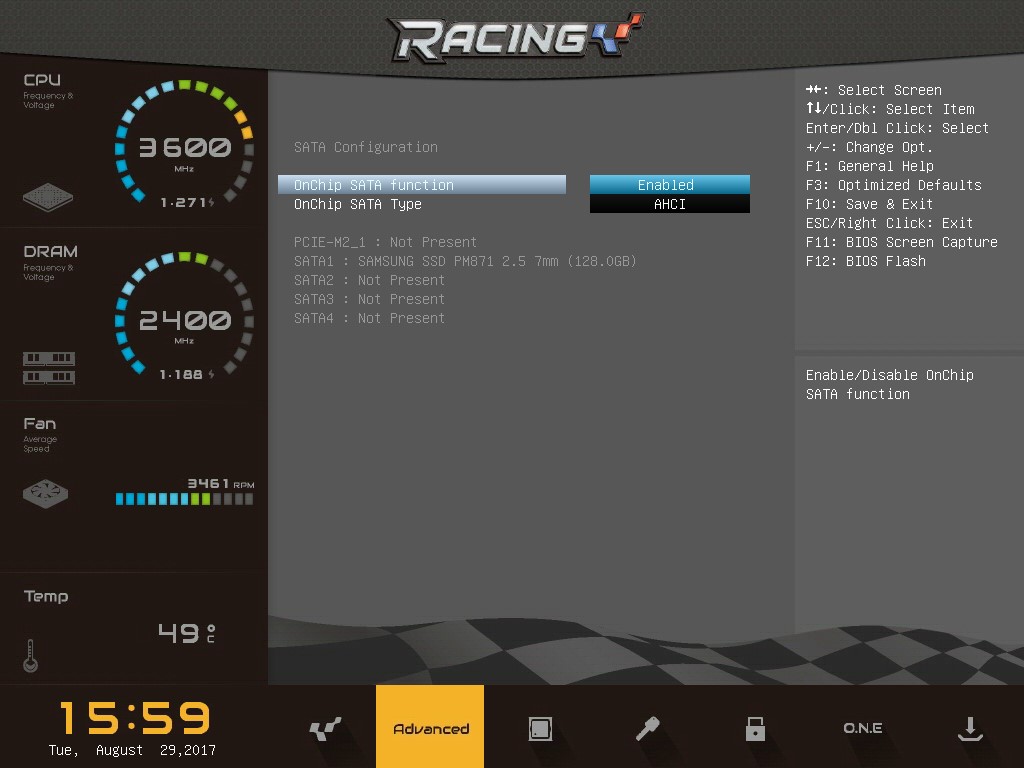
SATA devices are shown here, as well as the ability to change the SATA mode between AHCI and RAID modes.
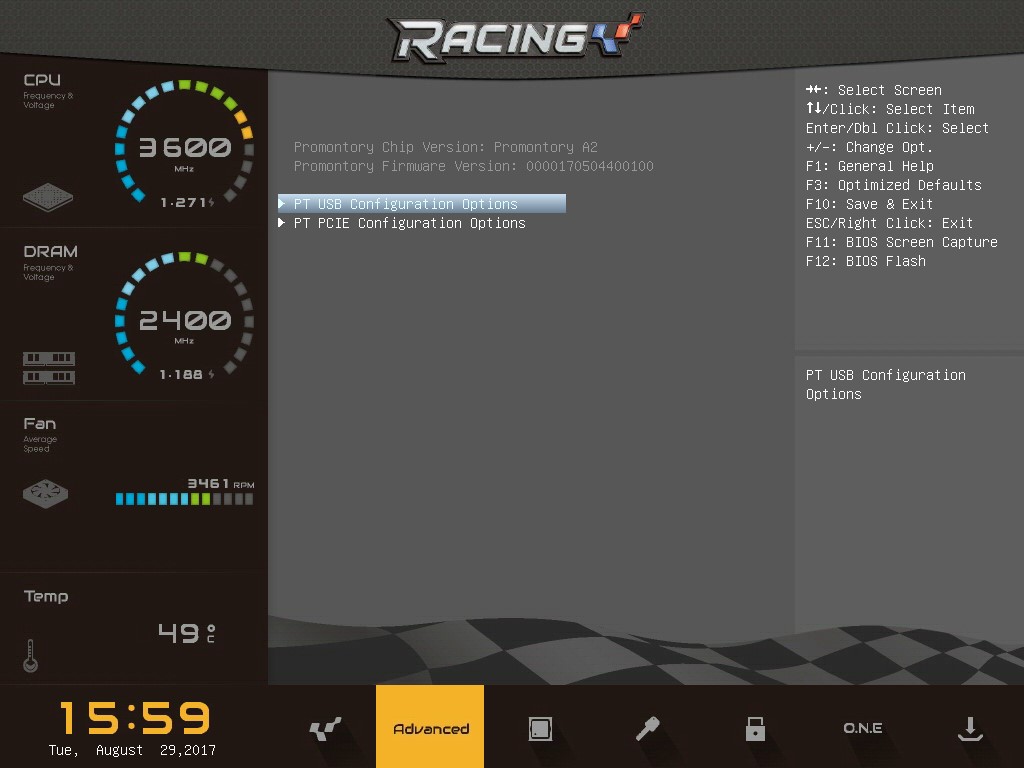
Promontory, the codename for the first generation Ryzen chipsets, can be configured here.
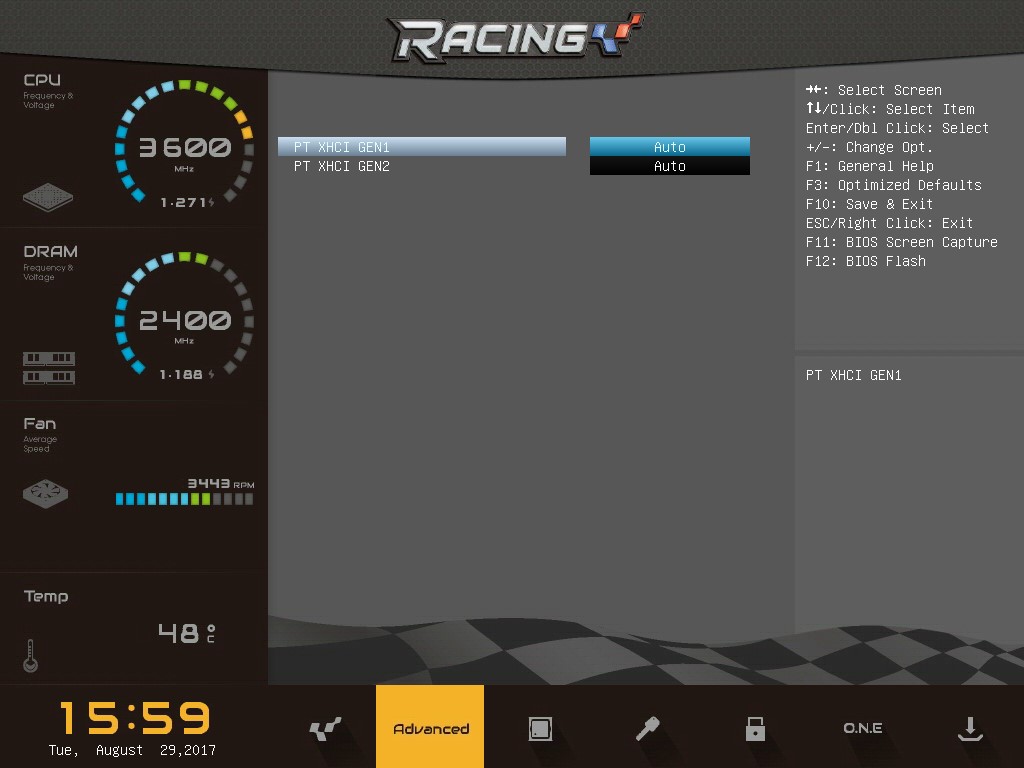
USB1 and USB2 compatibility modes – enable or disable them here.
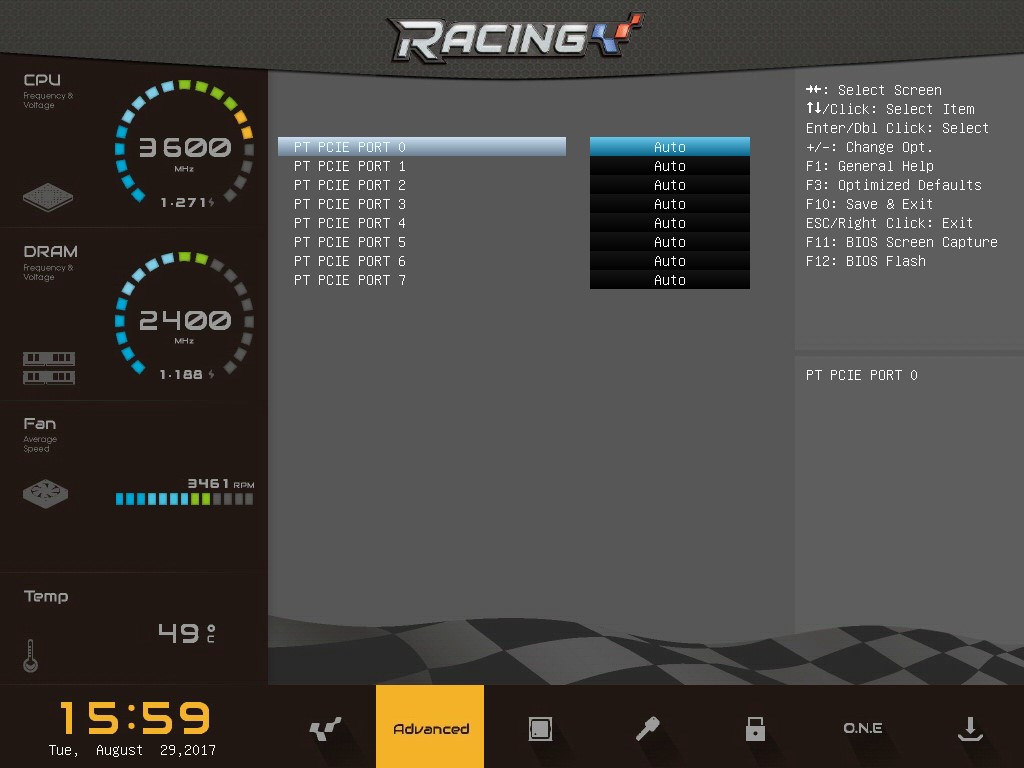
Not sure what’s going on here, just leave it at Auto!

Fans too loud, or system too hot? Here is where you can manually configure a solution.
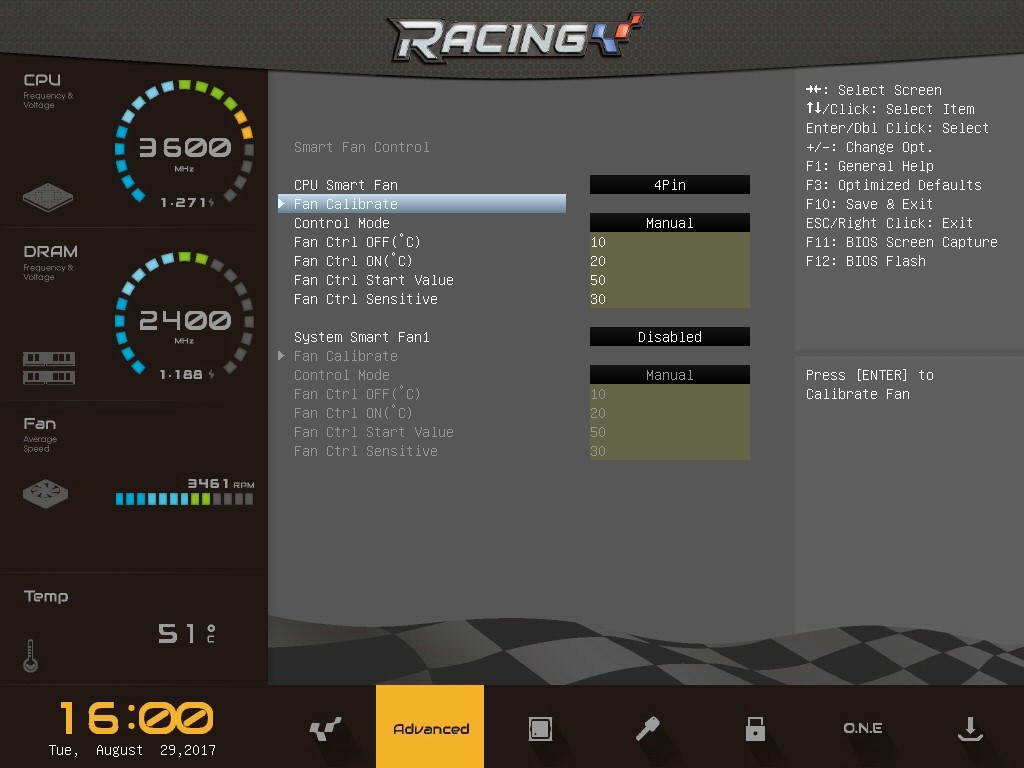
First, you need to enable the 4 Pin mode – otherwise the fan will run at full speed all the time! Once that is done, hit calibrate, and the system will cycle the fan from the lowest to highest PWM settings, and figure out your fan’s RPM curve. From there, you can configure the various settings to get the fan profiles to your own tastes – albeit not in a graphical form unlike previous UEFI environments we have seen.
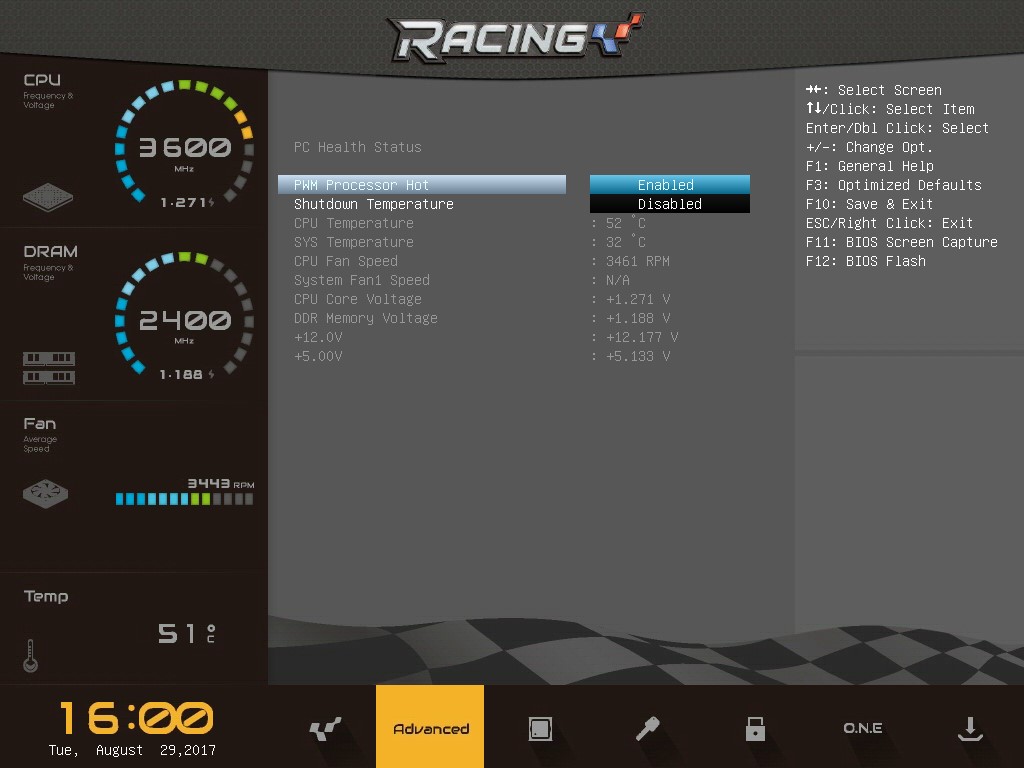
HW Monitor, pretty self explanatory.
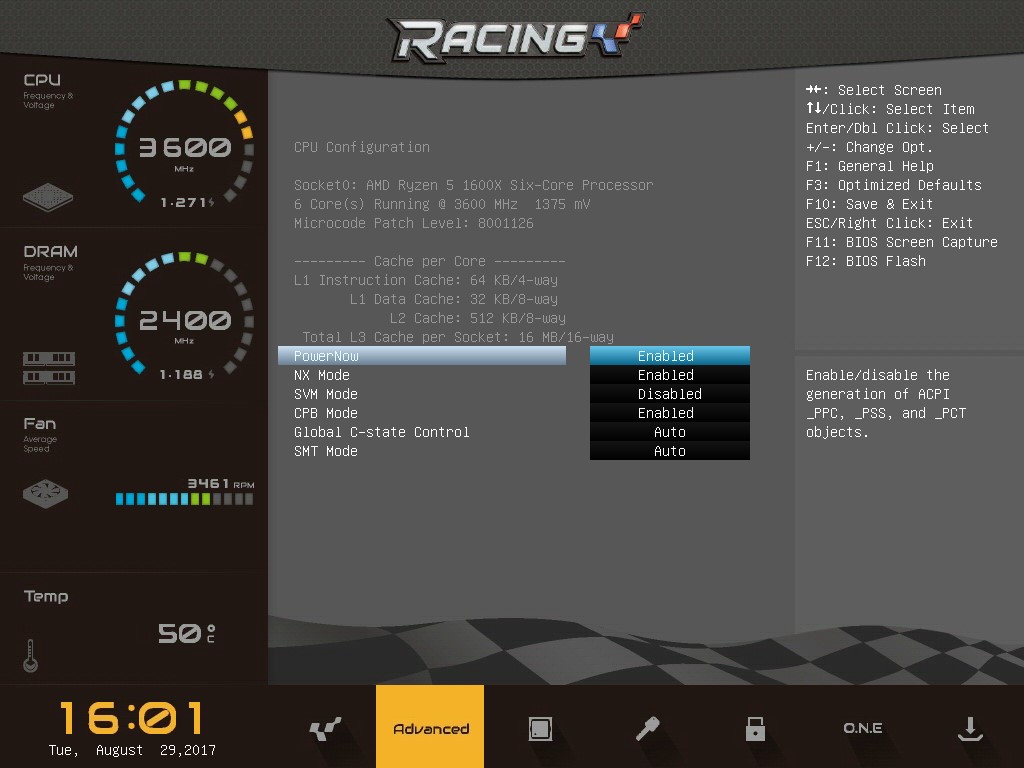
We are running a Ryzen 5 1600X according to the CPU Config menu – which is correct, thankfully!
Black magic, I’m sure.

Mmmm complicated! I really need to do some more reading into the nitty gritty of motherboard firmware.

This option enables or disables the UEFI Network Stack, enabling PXE boot, HTTP boot, and timers on the aforementioned boot types.

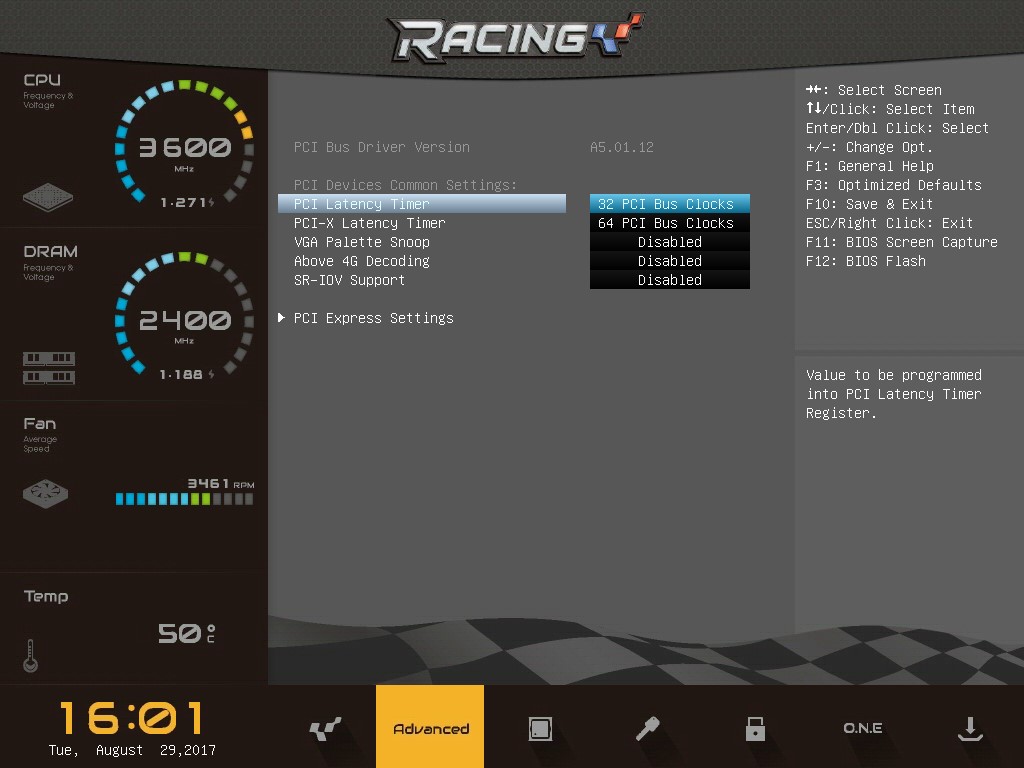
Compatibility stuff. If you need it, you know about it!

We don’t have a nVME device to test with, but if we did, there would be config options here.
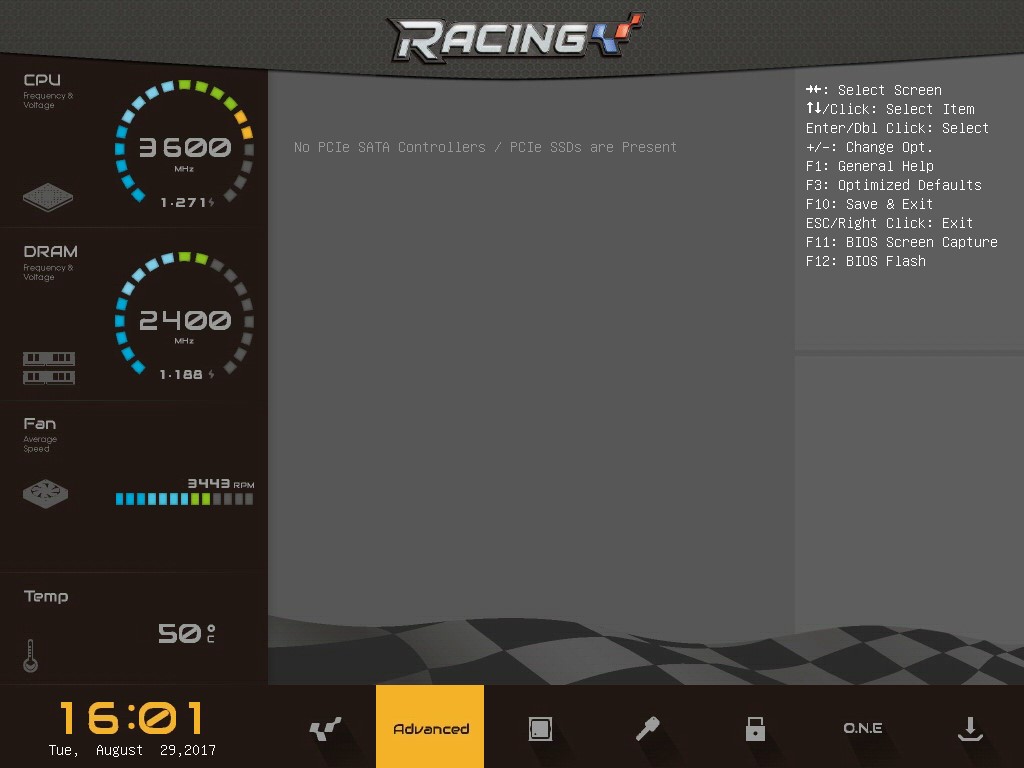
Same as above, but PCIe SATA controllers/SSDs!
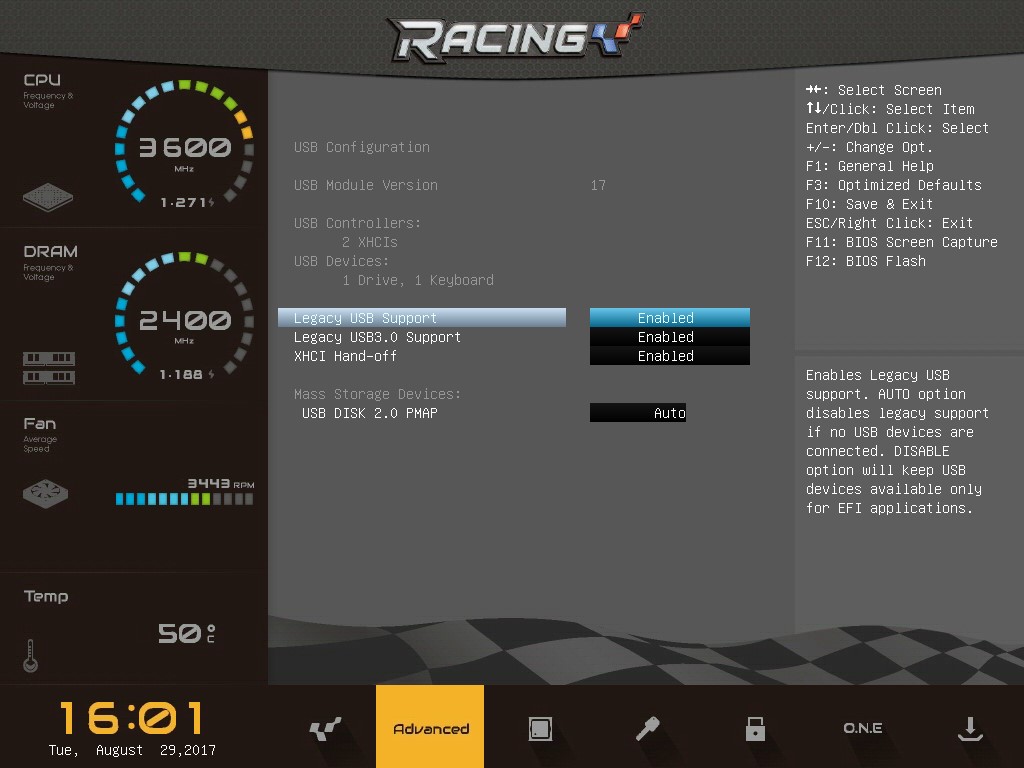
More USB settings. This screen also handily shows you what is connected via USB – great for checking if a device is truly dead, or just not supported in your OS of choice.
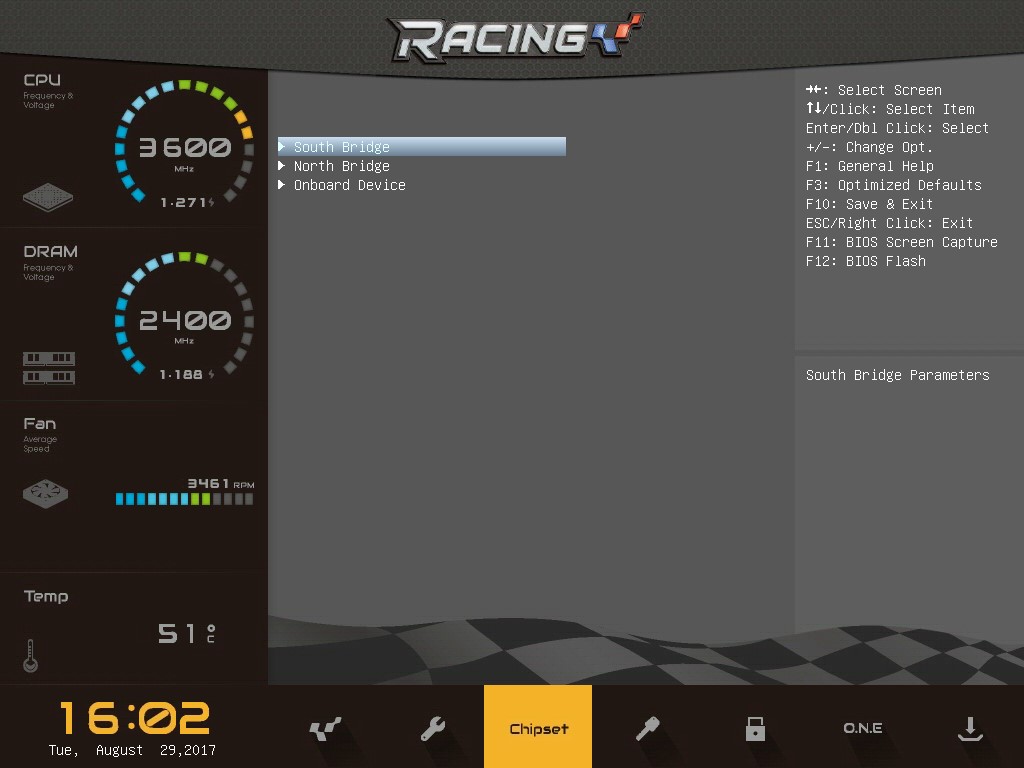
Ahhh, North Bridge and South Bridge, such antiquated terms. They still serve as categories for the functions that they used to provide, so I suppose there is still that!
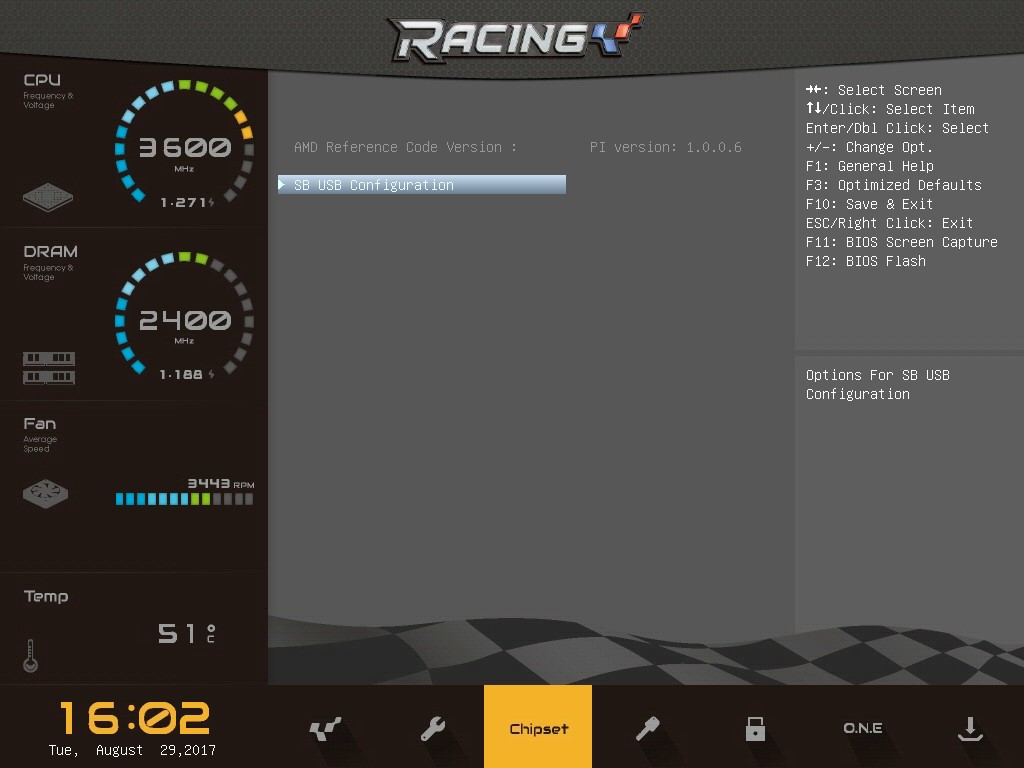
The only part of the old South Bridge architecture that is left is USB it seems, so here we find another USB submenu.
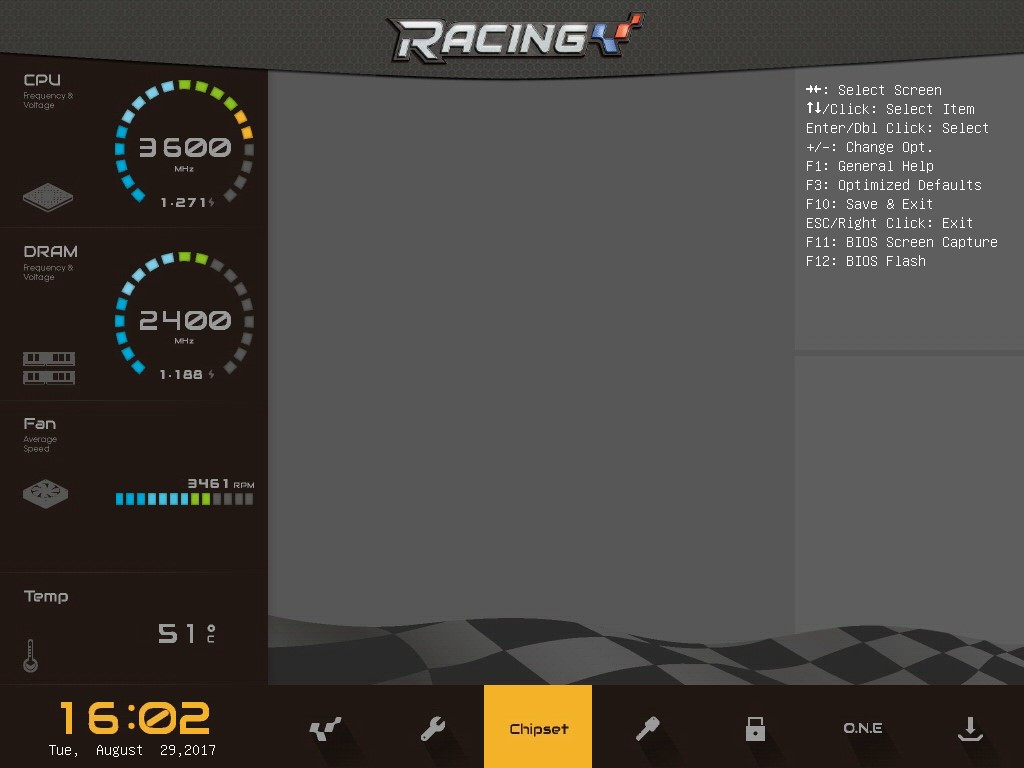
And a blank page. I’m not sure what happened here – maybe this page only populates if something is plugged into particular USB ports.
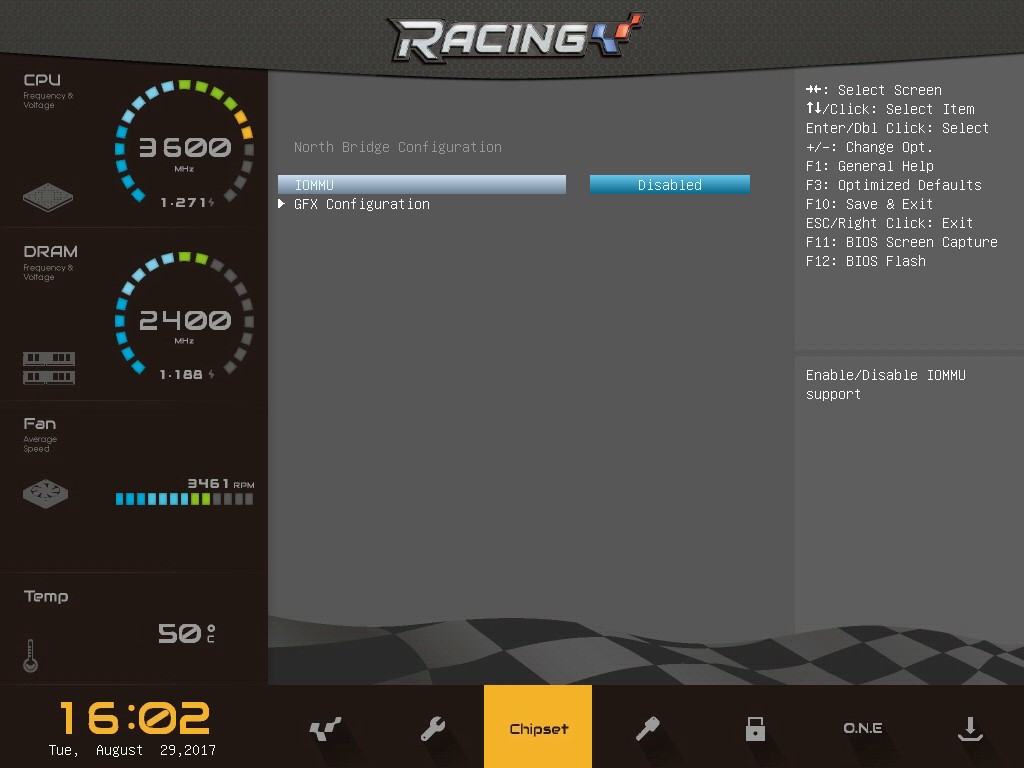
Under the North Bridge category, we have settings for IOMMU and GFX (Graphics). IOMMU is a method by which hardware is shared with virtual machines – so enable this if you’re really taking advantage of the core-dense Ryzen platform.
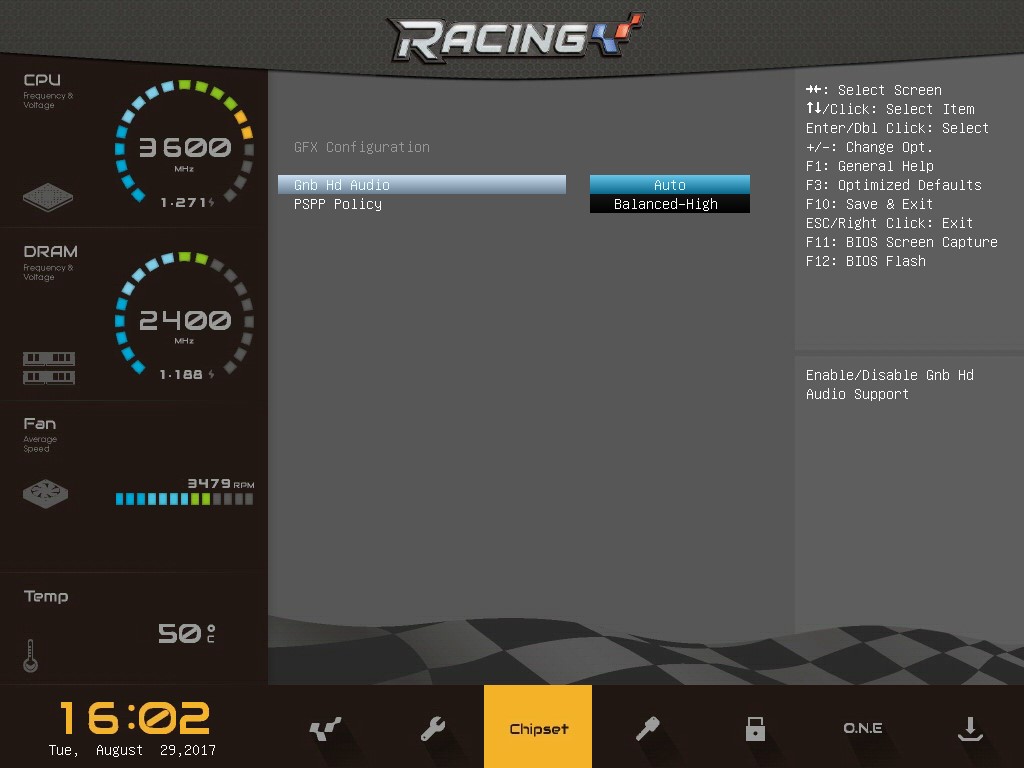
This submenu will be useful for those running the older Bristol Ridge, or the next generation Raven Ridge APUs. For those with regular Ryzen CPUs, just leave this alone.
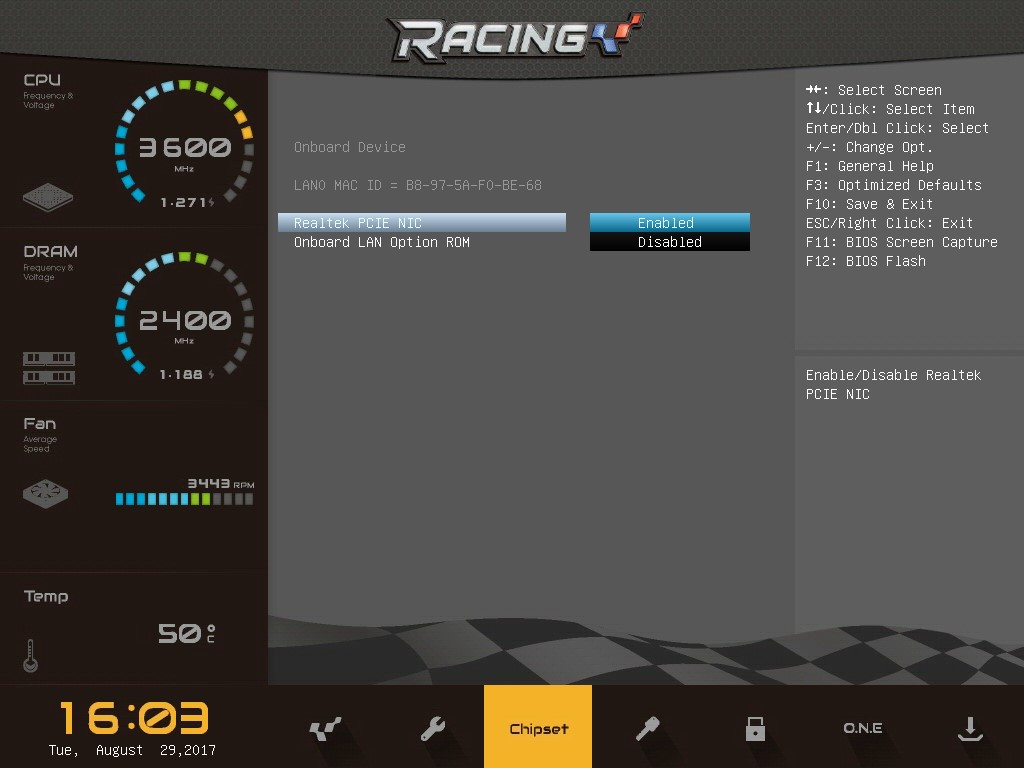
If you don’t need the integrated RealTek NIC, disable it here. If you do need it for booting off a network, enable the option ROM!
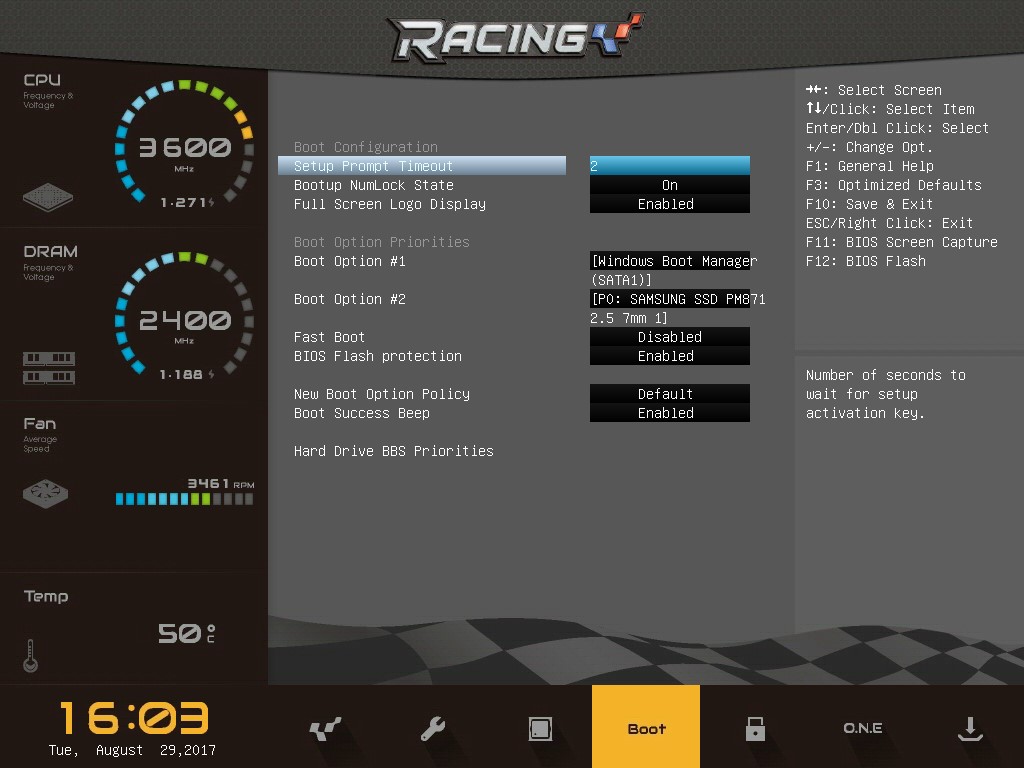
Boot options! We’re nearing the end of the available configuration options. Here we can set the boot device(s), whether or not the BIOSTAR logo is shown during POST, and other useful options.
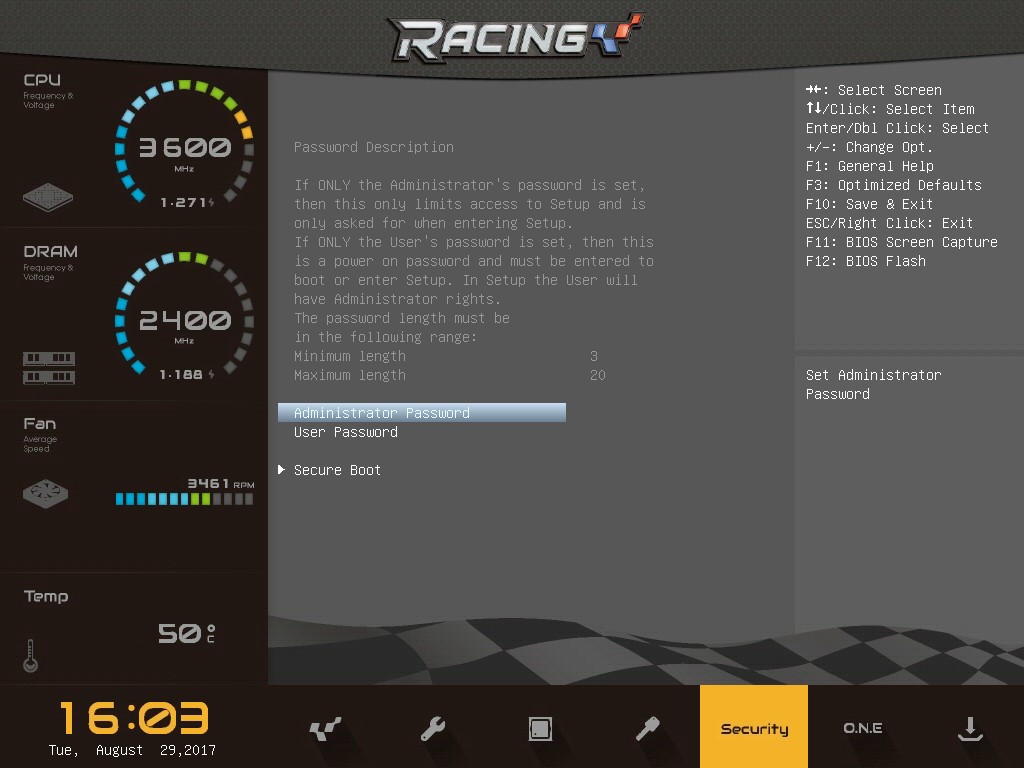
Keep your UEFI secure by setting a password here. Also, that pesky Secure Boot stuff is hiding in here. Ick.

Disabled, just like it should be.
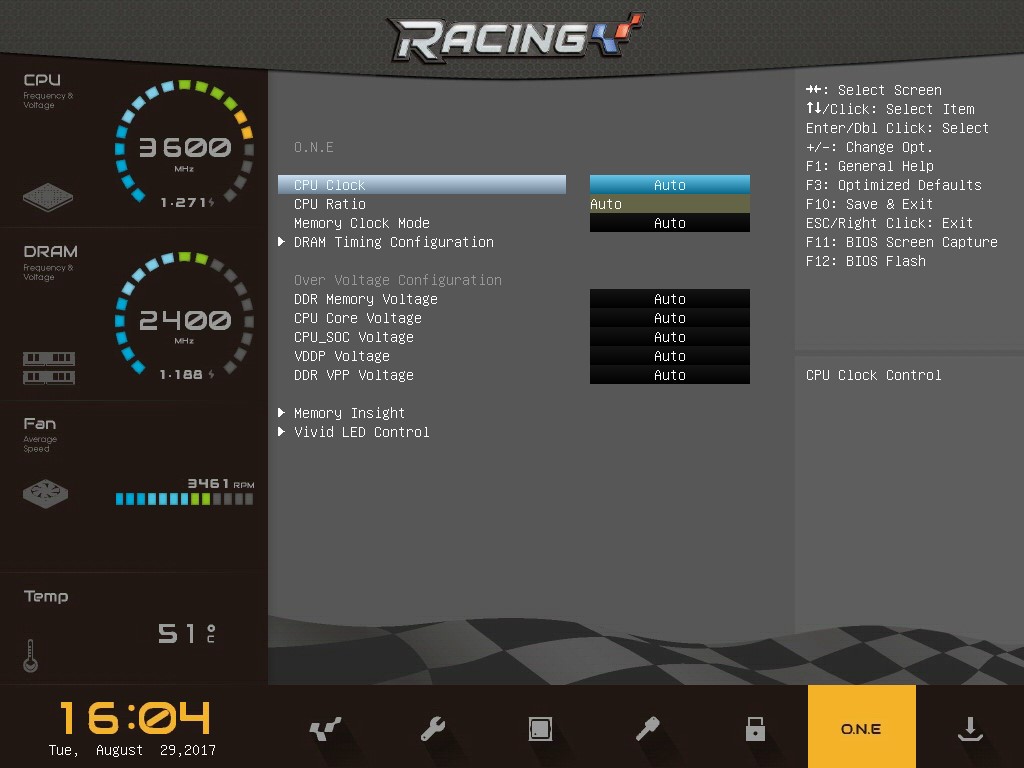
O.N.E. – BIOSTAR’s UEFI overclocking utility. Within this submenu we have access to all the overclocking options, including frequencies, voltages and the like. Also hiding in here is the LED control menu, which seems like an odd place to put it – maybe BIOSTAR expects us to configure the LEDs from their Windows utility, and the more confident Linux users are happy to skirt near the OC options to change the glow of their system?
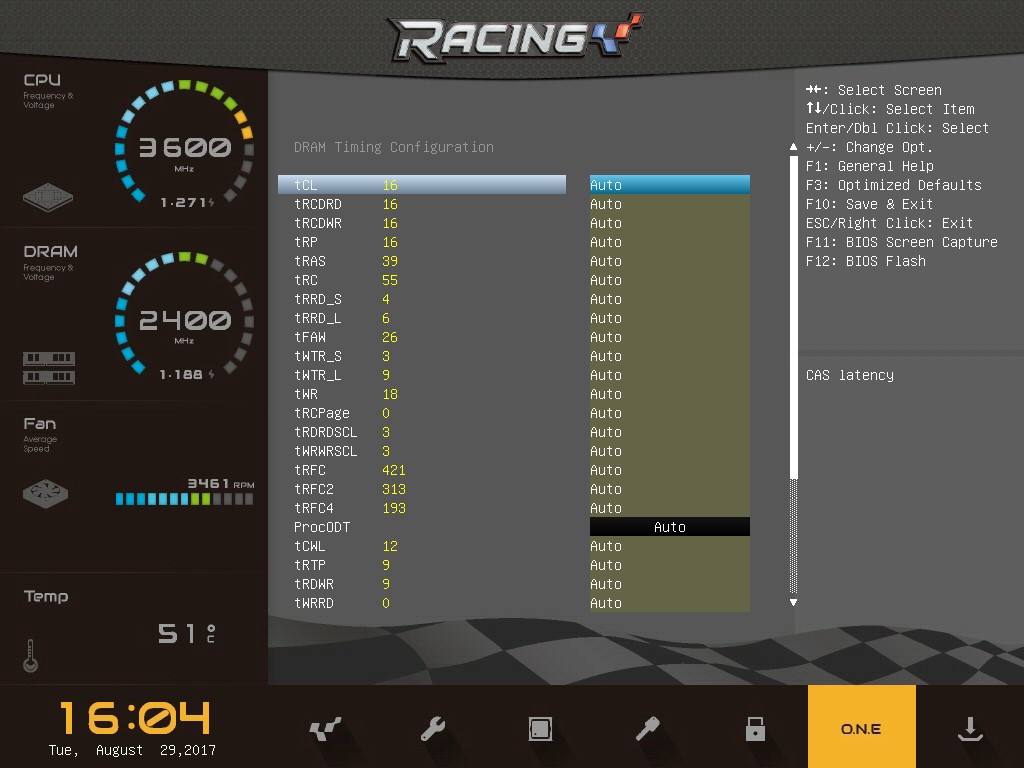
Ahhhhh, the many, many, many, many, many, many options for tweaking memory.

And more…
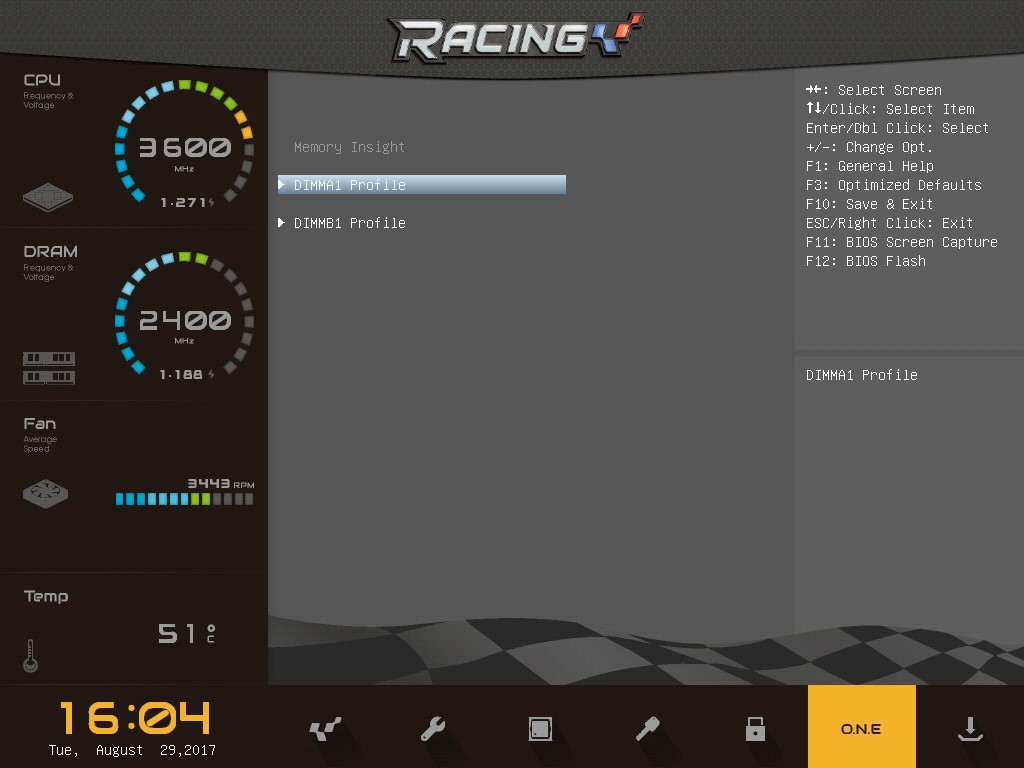
Memory Insight is like a hardware monitor for your RAM.
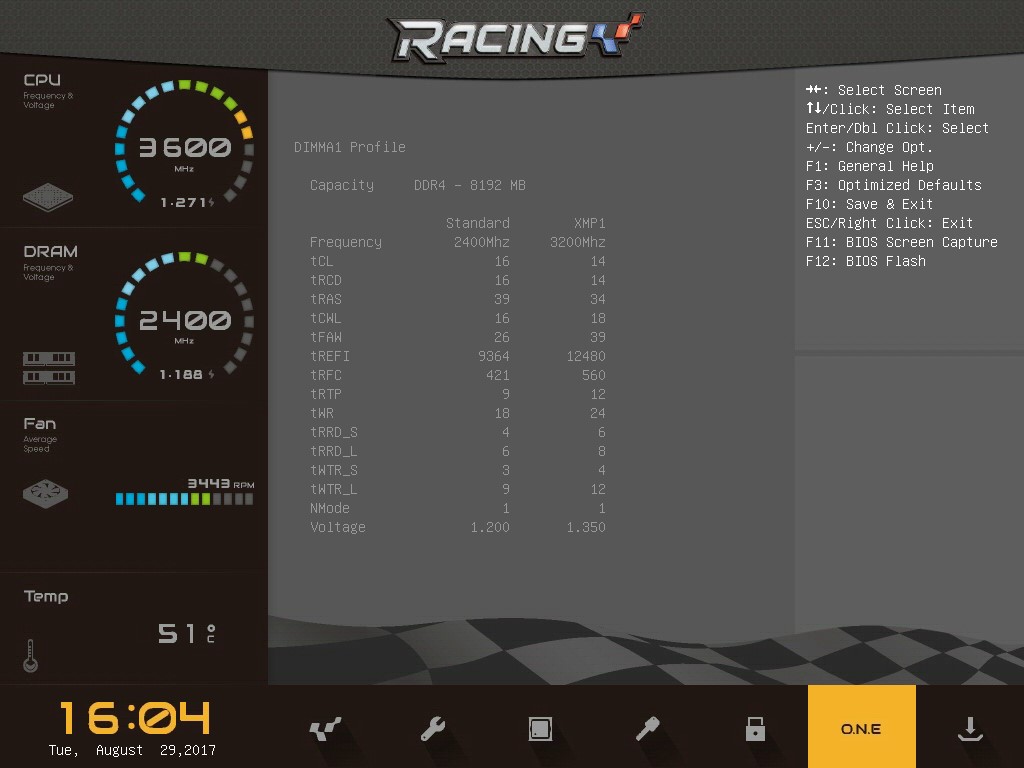
It basically reads out what the RAM is currently configured at, as well as any XMP profiles the module(s) may be programmed with.

Hey look, DIMM B matches DIMM A!
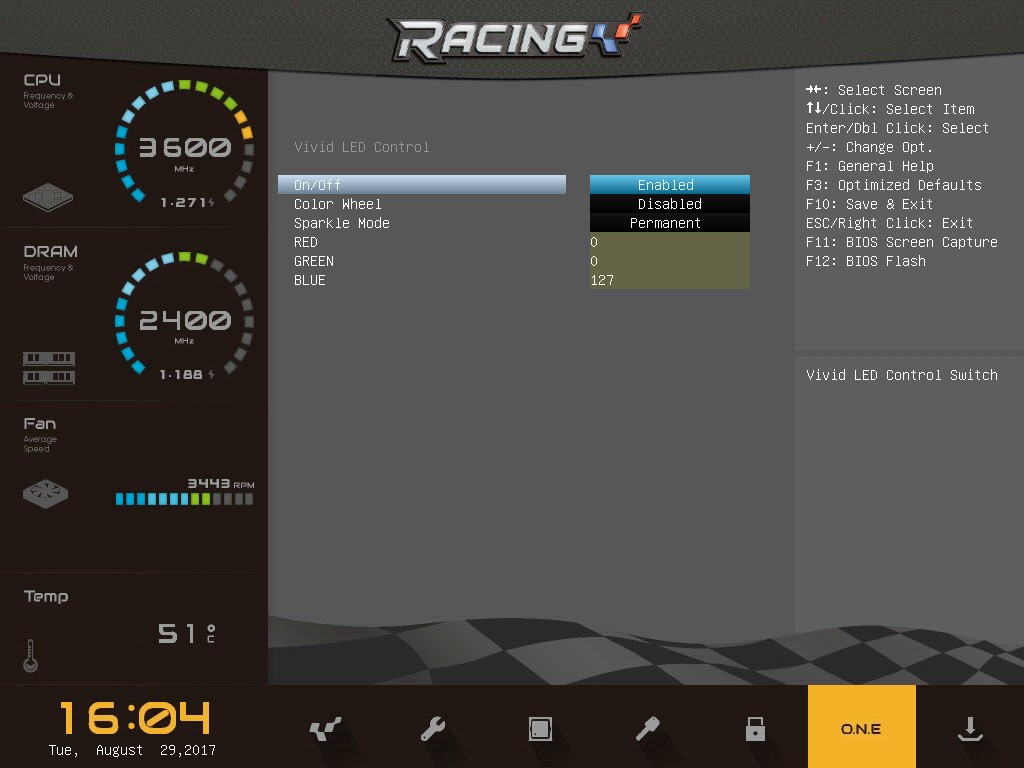
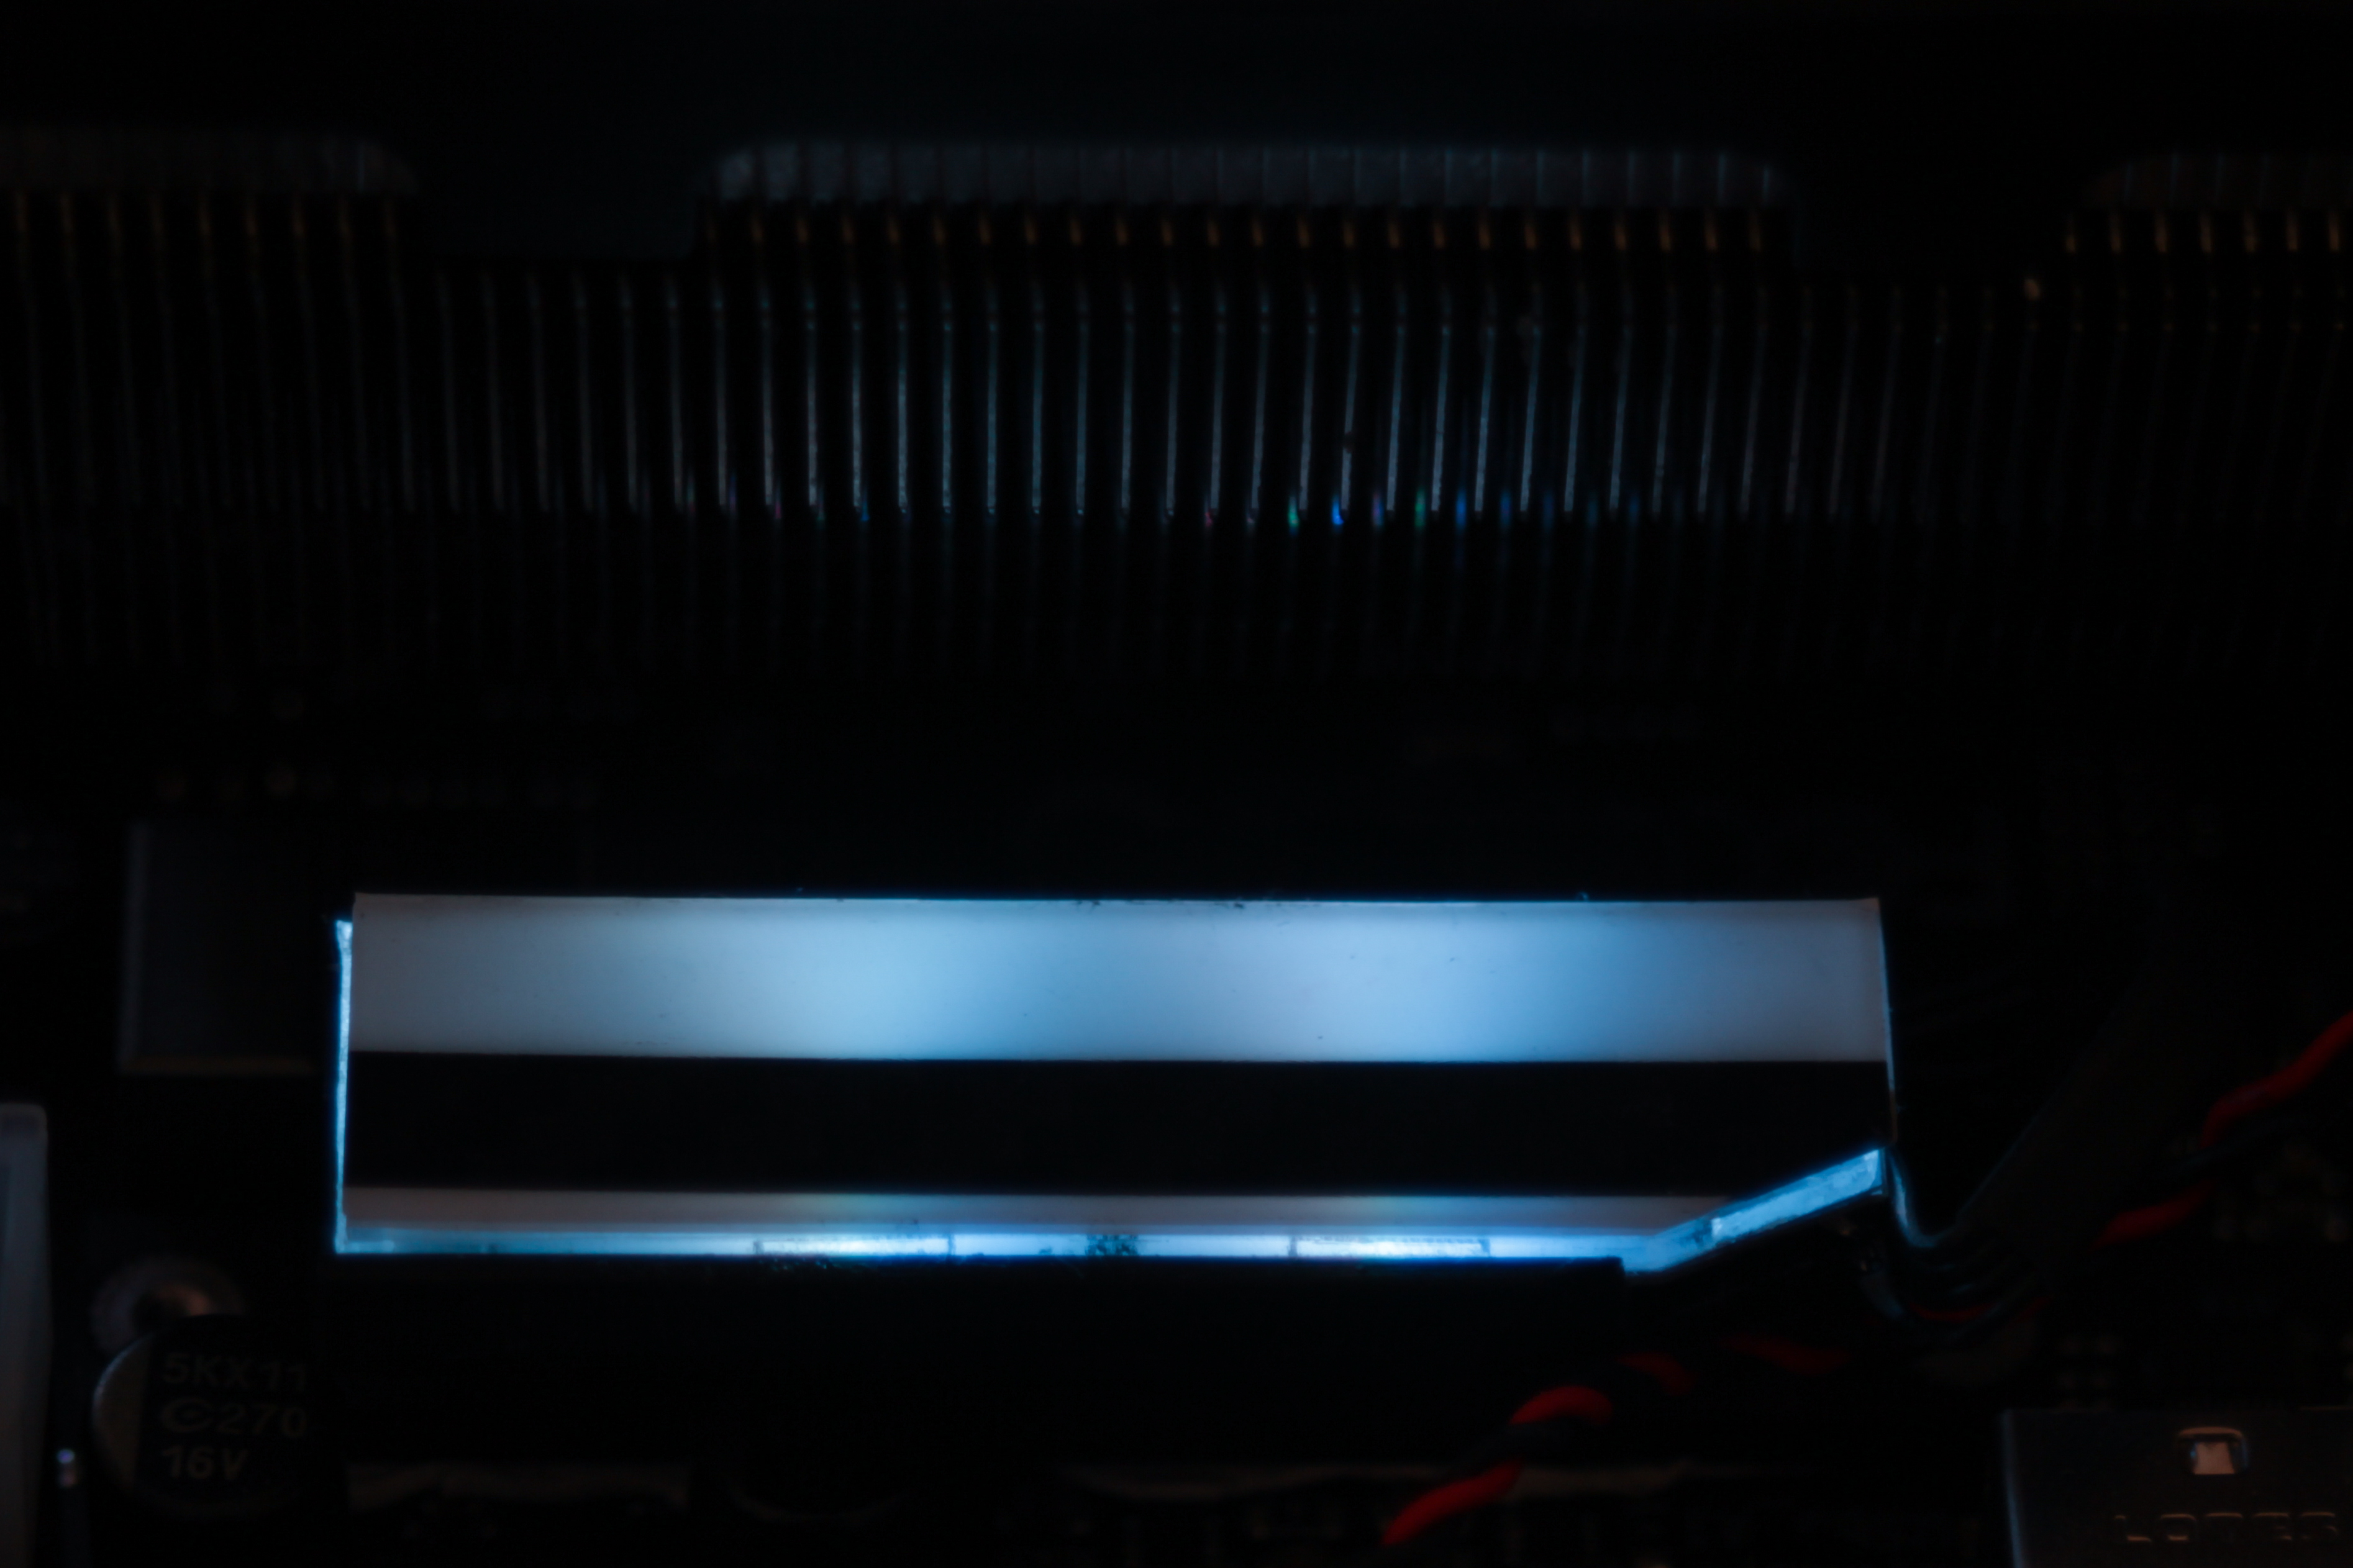
Time to shine! A very basic LED configuration is available in the VIVID LED submenu, and includes 0-127 values for the Red, Green and Blue channels, as well as basic mode types.
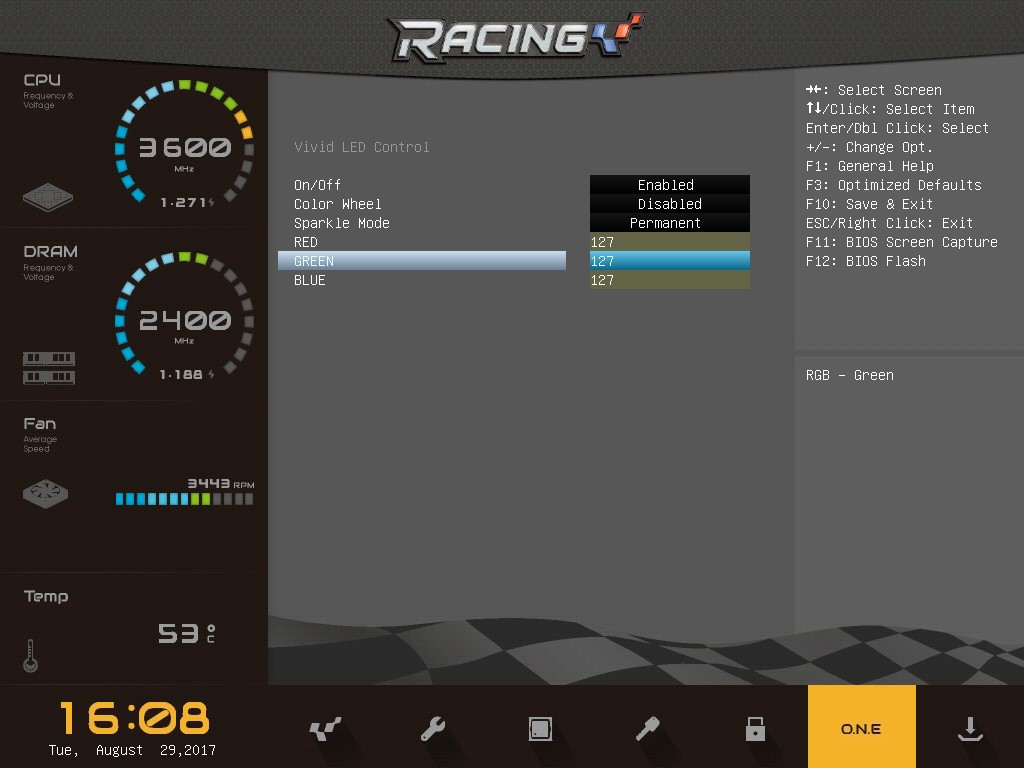
This is “white” as the values are maxed out. However, due to the unbalanced LED intensities, the actual hue of the RGB VRM heatsink tended towards a blue tone.

Escape! You can save multiple profiles in the BIOSTAR X370GTN’s UEFI environment, which is handy if you have various use cases for the system, such as gaming, overclocking, virtual machinea and the like. Let’s get out of here and on to the build!
[mks_separator style=”blank” height=”2″]
The Build
To test the BIOSTAR X370GTN we used the following hardware and configuration;
| Motherboard | BIOSTAR X370GTN |
| Case | Open bench |
| CPU | AMD Ryzen 5 1600X |
| RAM | G-Skill Flare X 16GB 3200 MHz F4-3200C14D-16GFX |
| SSD | Samsung 800 Series 128GB |
| GPU | Gigabyte GTX 750TI 2GB OC LP |
| Power Supply | FSP Dagger 600W |
| CPU Cooler | Noctua NH-L12 |
| Display | AOC 23.6″ LCD, 1080p |
| BIOS Version | V3 |
The build went smoothly, as is to be expected with any modern motherboard. I found no component conflicts, and there was sufficient clearance around critical components (RAM retention levers, PCIe retention clip, etc) to ease assembly and disassembly as needed. Hitting the power button for the first time after building a system is always a little nerve wracking, but the BIOSTAR X370GTN booted first time, no problems.
The Windows 10 install on the test SSD automatically found all the needed drivers, downloaded and installed them, with no little yellow triangles in the Device Manager warning me of issues.
[mks_separator style=”blank” height=”2″]
The Results
As performance results are useless without a control, or the very least, a couple of alternate motherboards, I only went for outright overclocking limits on this round of testing. In the future, once we have looked at numerous AM4 motherboards, I will look at a performance roundup of sorts.
Maximum RAM Overclock: 3633 MHz
Maximum CPU Overclock: 4214 MHz
Keep an eye out for an upcoming AM4 ITX roundup, where I will compare performance of these boards versus the Gigabyte AB350 and ASRock X370/AB350 boards!
[mks_separator style=”blank” height=”2″]
The Software
Like most motherboard manufacturers, BIOSTAR supplies custom software to add to the experience of your new system – utilities such as overclocking tools, customisation utilities and other configuration programs.
Firstly, BIOSTAR’s overclocking utility, RACING GT, is the token OC tool for the BIOSTAR product family.
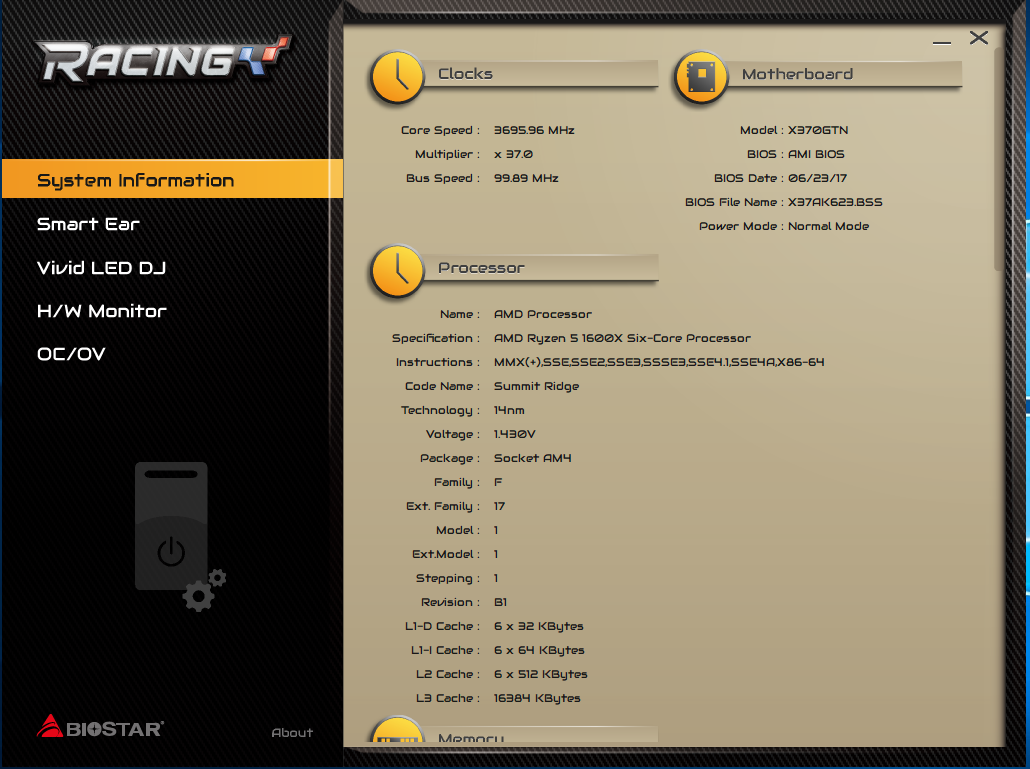
The Racing GT software incorporates numerous features, including hardware information, as seen here.

This includes in depth RAM timing information!
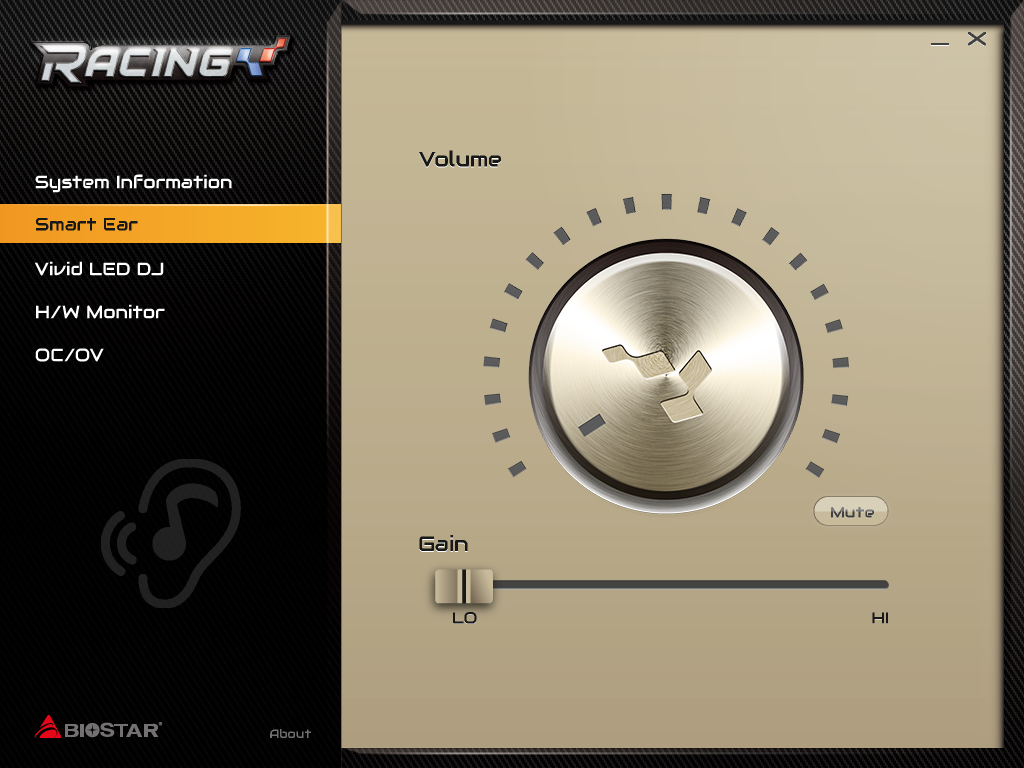
Smart Ear – add amplification to your audio output to account for low, medium or high-impedance headphones.

LED controls! All pretty self explanatory, really.
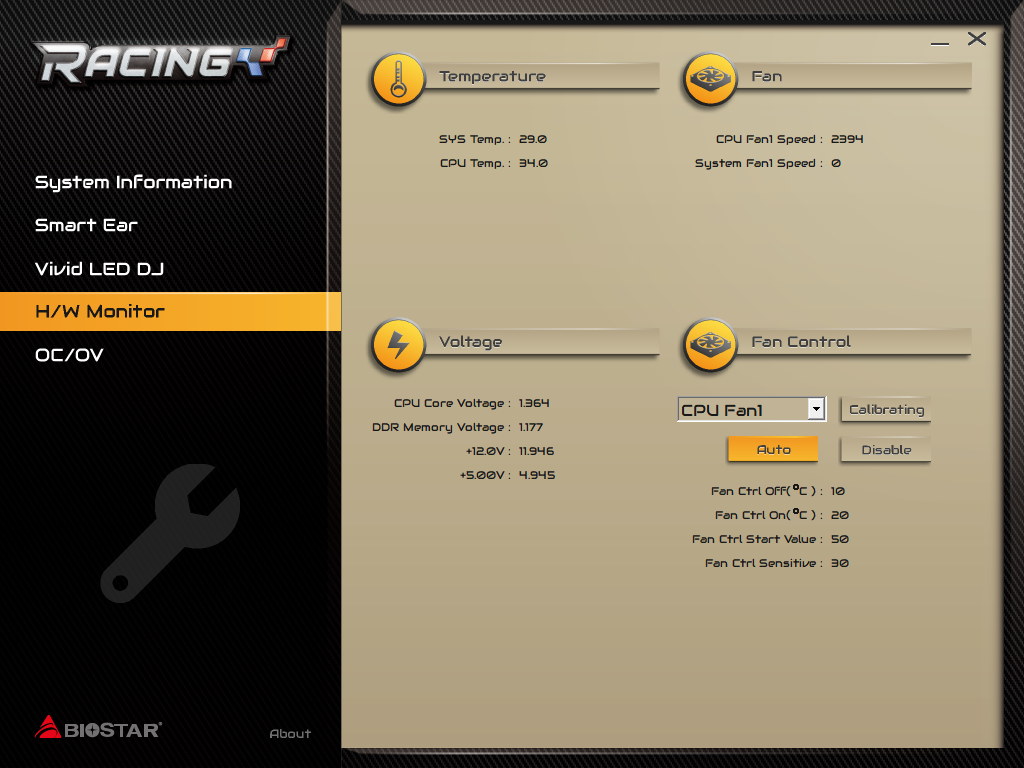
Hardware monitoring is also included in the tool, giving general information as to how your system is doing.
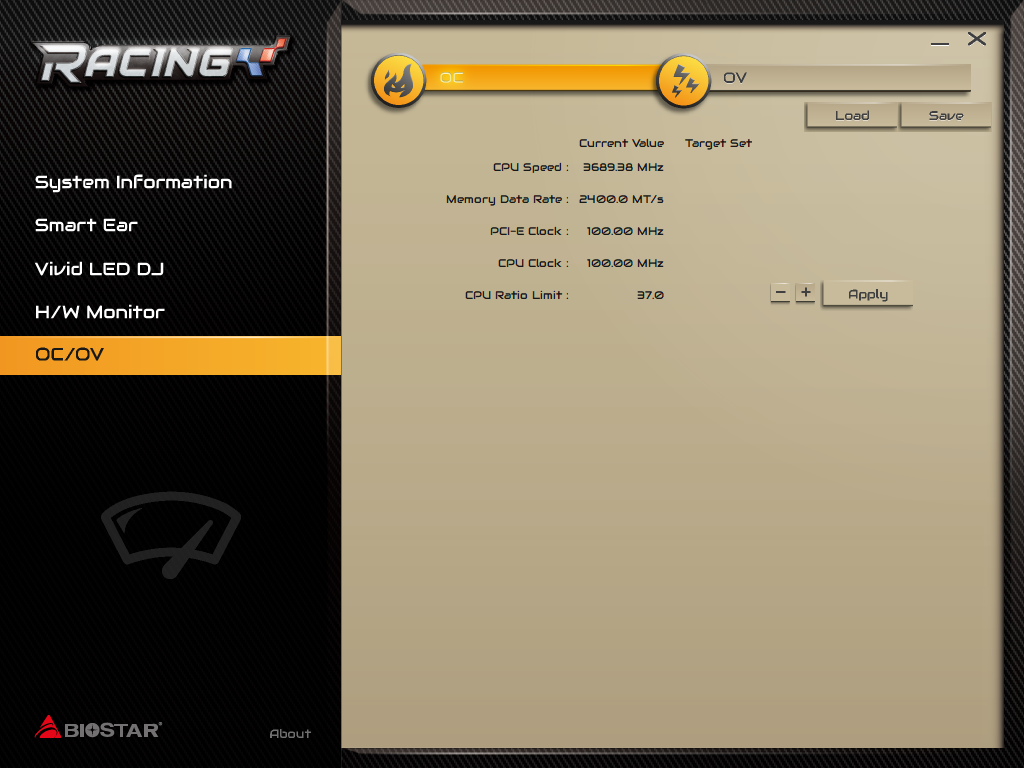
Overclocking is limited to multiplier adjustments on the CPU – not as in depth as Ryzen Master. However, I had issues with Ryzen Master with this board, with the software crashing when I tried to apply any overclock.
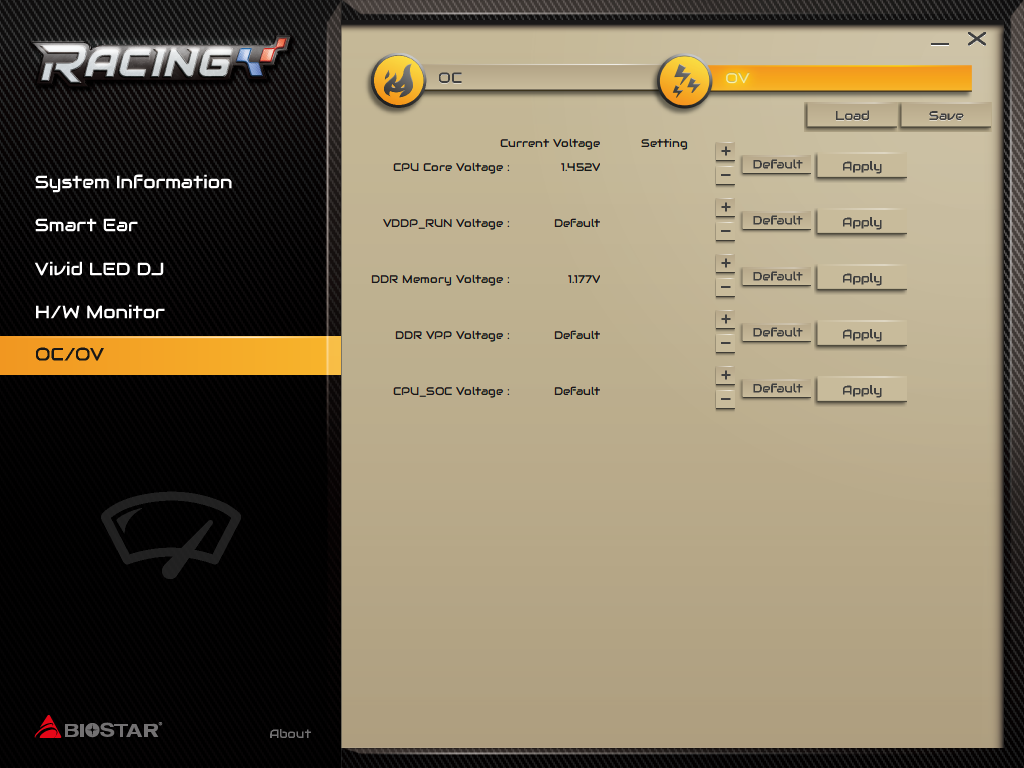
Also adjustable are the voltages, which is great.. if we had more control over the other system bus multipliers and clocks.
[mks_separator style=”blank” height=”2″]
Secondly, we have the FLY.net utility, a QOS application to optimise network traffic whilst gaming or streaming.
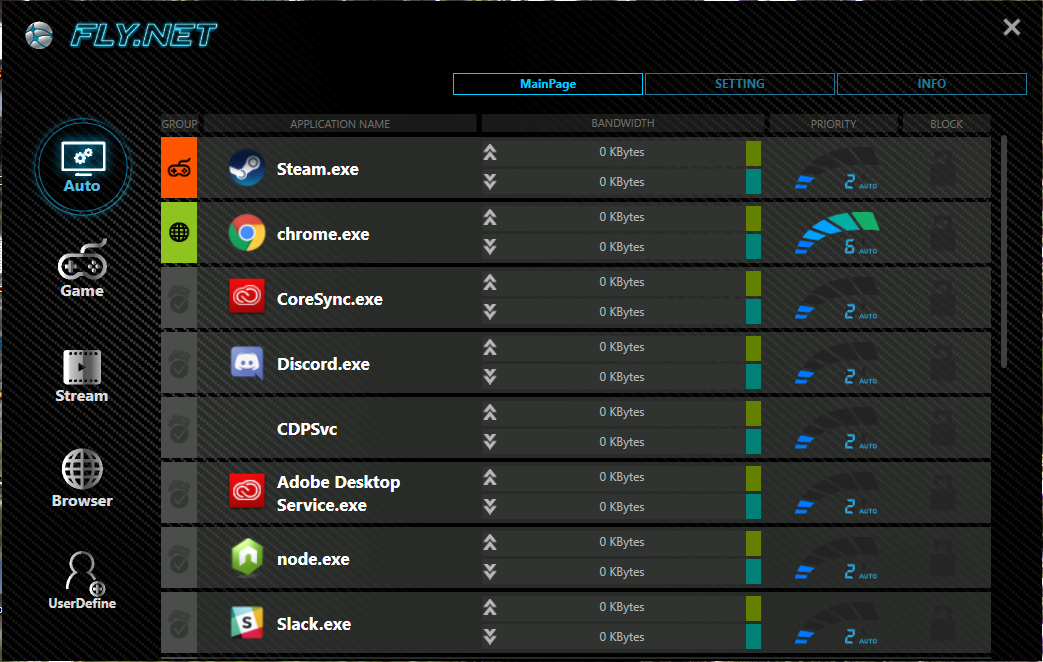
The utility allows you to change the priority of network traffic by the application that is using it.

Such as in gaming mode, where Steam and any game client are given priority over any other traffic.
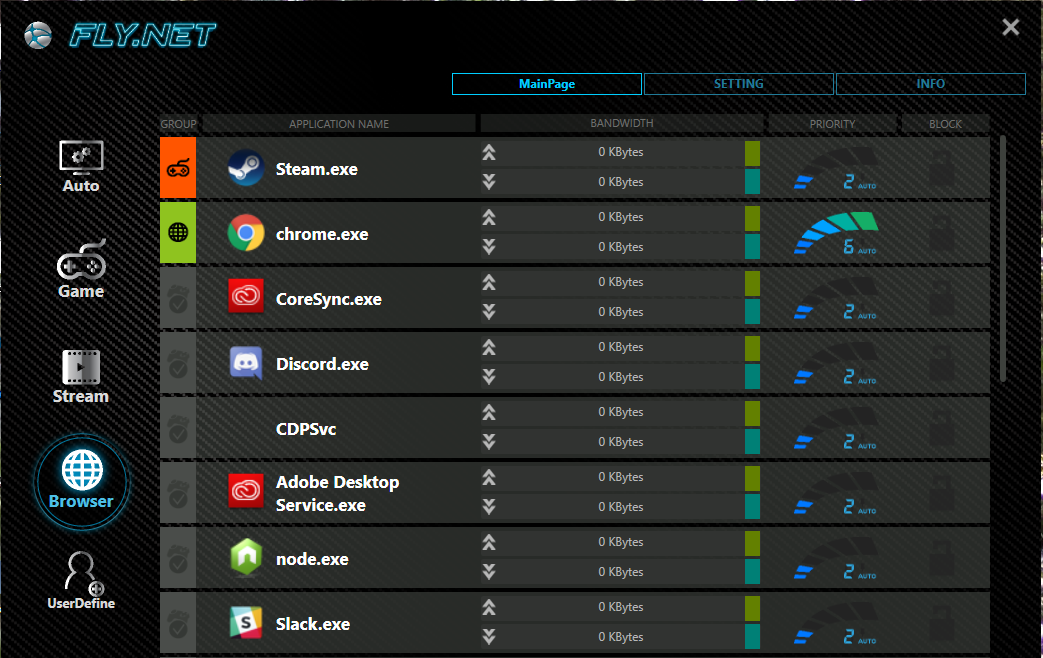
Or web browsing, where your browser gets priority, so you don’t get the spinning circle of doom on YouTube.

The settings are basic, but enable more options. The Info tab provides a graphical representation of your system’s config, albeit on a generic board outline.
[mks_separator style=”blank” height=”2″]
The Bifurcation
PCIe bifurcation is a major discussion point within our community, with the possibility of splitting up your single PCIe slot into dual (or more) expansion slots. This can be achieved on boards that support it, by either a passive or active riser, depending on the situation and board support.
To test support, I use an Ameri-Rack ARC1-PELY423-CxV3 riser, which is an active riser, using the P16C20400SLE chip, some passives, and a flexible ribbon cable. In addition to this, I install an EVGA GT210 GPU and a RAID card (PCIe x4 card) or a Realtek NIC (PCIe x1) in the two slots on the riser. I test in both configurations (hence using the single slot card!).
Alas, this board didn’t seem to work with the bifurcation riser we test with. The board refused to boot with the RAID card in place, and booted but flat out ignored a GPU when I managed to get it to boot with the GT210 and a HD5450 in place.
[mks_separator style=”blank” height=”2″]
The Conclusion
The BIOSTAR X370GTN sits at an interesting price point – matching the cheapest AM4 M-ITX motherboard, even though this board has the top-tier X370 chipset. BIOSTAR manages this by not including wireless connectivity, as well as lesser ethernet and audio solutions compared to the more expensive contemporaries.
However, this doesn’t make the X370GTN a good, or bad, buy necessarily – it’s important to pick a motherboard that covers what you need most. If you need more USB3, an ideal layout, and visible RGB, this is the AM4 M-ITX board for you. If you need WiFi, either buy a USB adapter, or look at the Gigabyte and ASRock offerings in this market segment.
Pros
- The cheapest X370 M-ITX board
- More USB3 on the rear I/O area than the competition
Cons
- RGB LEDs on the VRM heatsink isn’t the best effect
- UEFI interface is laggy with mouse input
- No WiFi
- Ryzen Master isn’t fully compatible with the board, and crashes when used for OC
Niggles
- Plain steel I/O shield
- No birfucation
The Forum
Discuss this review in the ongoing discussion thread in our community forum.