
Sometimes, we just need that extra level of customization in a computer enclosure. Of course, with products like the In-Win Chopin, we are sometimes able to get options like picking the colour of the accent portion of the case, if we are so fortunate. I suppose that’s nice enough.
With the Aerocool Dream Box, however – the subject of today’s review – we get quite a bit more tweak-ability, if you will. With parts that seem to be based on the OpenBeam style kits (extruded aluminium beams), the Dream Box offers almost unlimited options when it comes to building what you want. In fact, the Dream Box is so customizable that you aren’t even limited to building PC enclosures – you can just as well use the system to build other handy fixtures, as we will demonstrate in short order.
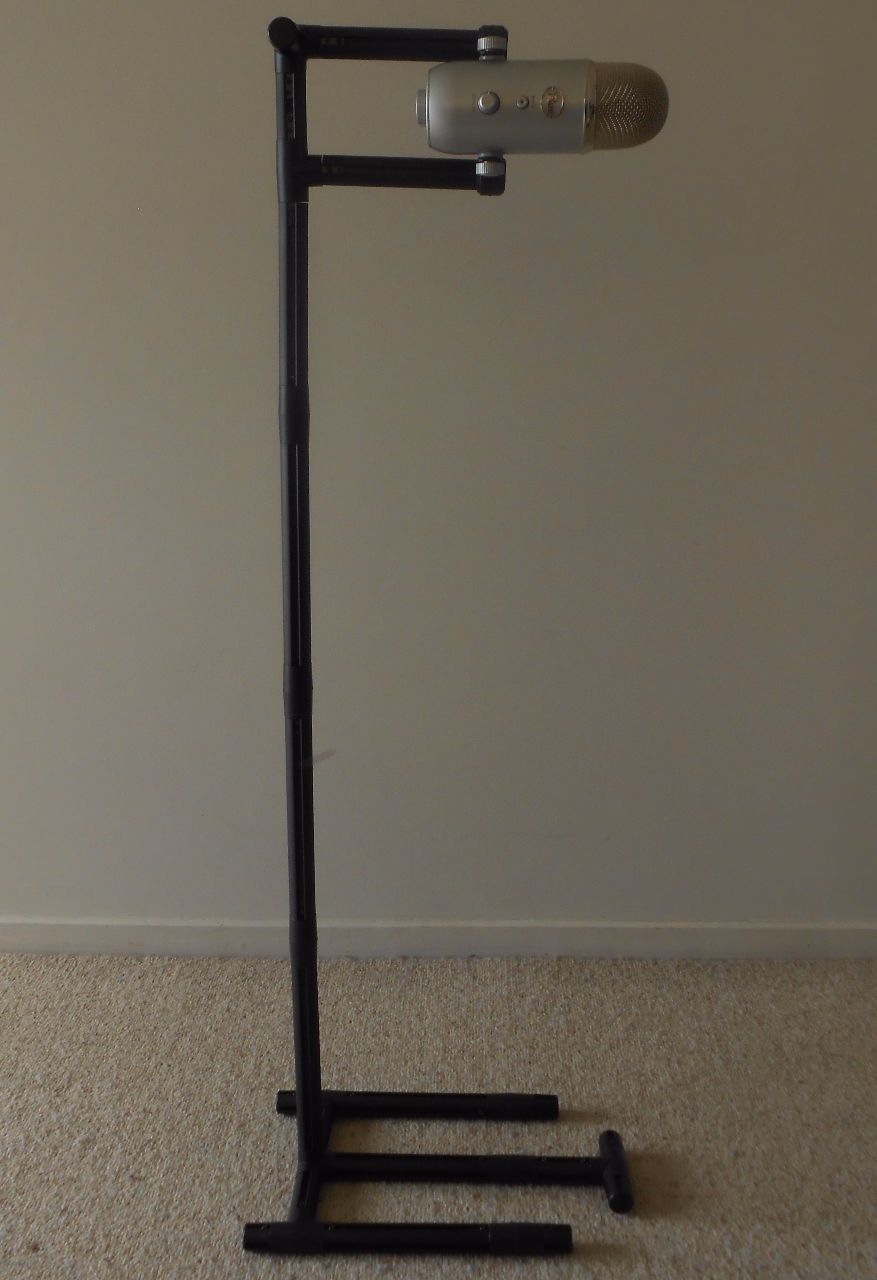
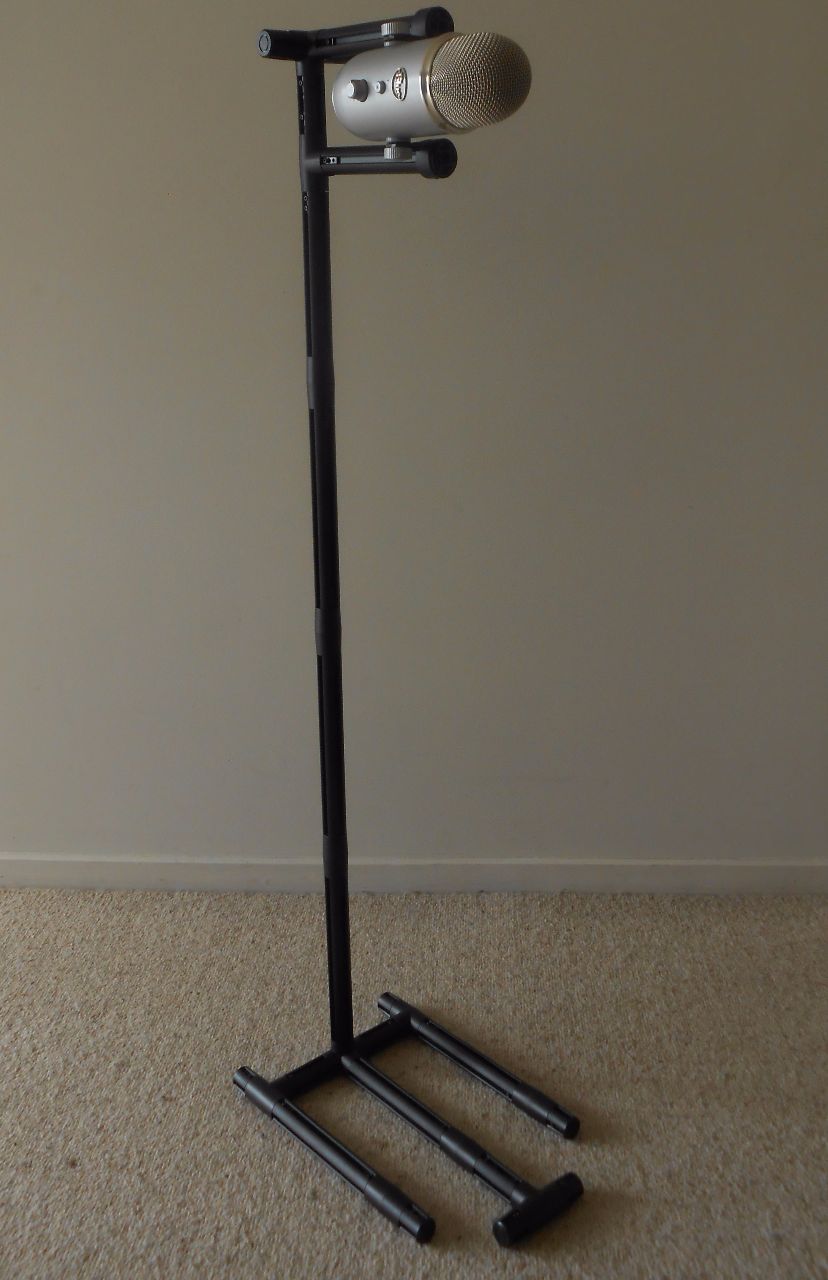
And indeed, that’s one of the greatest advantages of a kit like this – it’s not just a PC case, and its utility thus extends far beyond that of a metal box. Aerocool illustrates this themselves with examples of creations on the Dream Box website that include a helicopter model, and even a wild boar, of all things! Further, I’ve used the Dream Box in a couple of different ways myself.
Enough idle chat regarding the Dream Box, though – let’s take a peek and see how well it holds up as an enclosure.
[mks_separator style=”blank” height=”2″]
About Aerocool (from their website);
AeroCool Advanced Technologies (AAT) was founded in 2001. At the earlier stage of operation we were committed to share our technical expertise and innovative design in providing total-solution for thermal management in industrial and personal computers.
With our solid and innovative design experience in thermal engineering, AAT was the first company to adapt U-shape heat pipe and heat column (1″ diameter heat pipe) technologies to CPU cooler design for desktop computer.
These new applications became a trend and leading the market in heat pipe application in desktop computer industry. Our unique and innovative design also made “AEROCOOL” as one of the favorite brand name in over-clocking and PC DIY (Do-It-Yourself) market.
With this successful experience in thermal products, AAT has expanded its product lines to computer peripherals such as computer case, fan, mutli-function control panel and power supply etc.
With our creative thinking and innovative design, we had launched some successful PC cases and multi-function control panels (for example, we were the first company to introduce “Double-Bay” (2 standard 5-1/4″ bay) front panel controller).
Today Aerocool is one of the market leaders in the “Gaming Market”. Our strong brand and product image are well received by gamers and enthusiasts world-wide. We offer a full line of performance products including gaming cases, gaming PSUs, gaming mouse, gaming headsets, gaming keyboard, gaming headsets, Multi-functional panels and fans.
Aerocool will continue to innovate and deliver the best user experience to gamers world-wide.
[mks_separator style=”blank” height=”2″]
Components
The box includes the following;
| Type | Size | Quantity |
| Aluminium Pipe | 80mm | 7 |
| Aluminium Pipe | 150mm | 12 |
| Aluminium Pipe | 200mm | 8 |
| C Clip | 20 | |
| 4-Way Bracket | 9 | |
| 3-Way Bracket | 6 | |
| 90 Degree 2-Way Bracket | 8 | |
| 45-Degree 2-Way Bracket | 6 | |
| 180 Degree 2-Way Bracket | 8 | |
| End Cap | 12 | |
| Structural Bar | 4 | |
| Structural Bar | 4 | |
| PSU Bracket | 1 | |
| 90 Degree Bracket | 2 | |
| IO Unit | 1 | |
| Screws and Nuts | Lots! |
[mks_separator style=”blank” height=”2″]
Unboxing the Dream Box
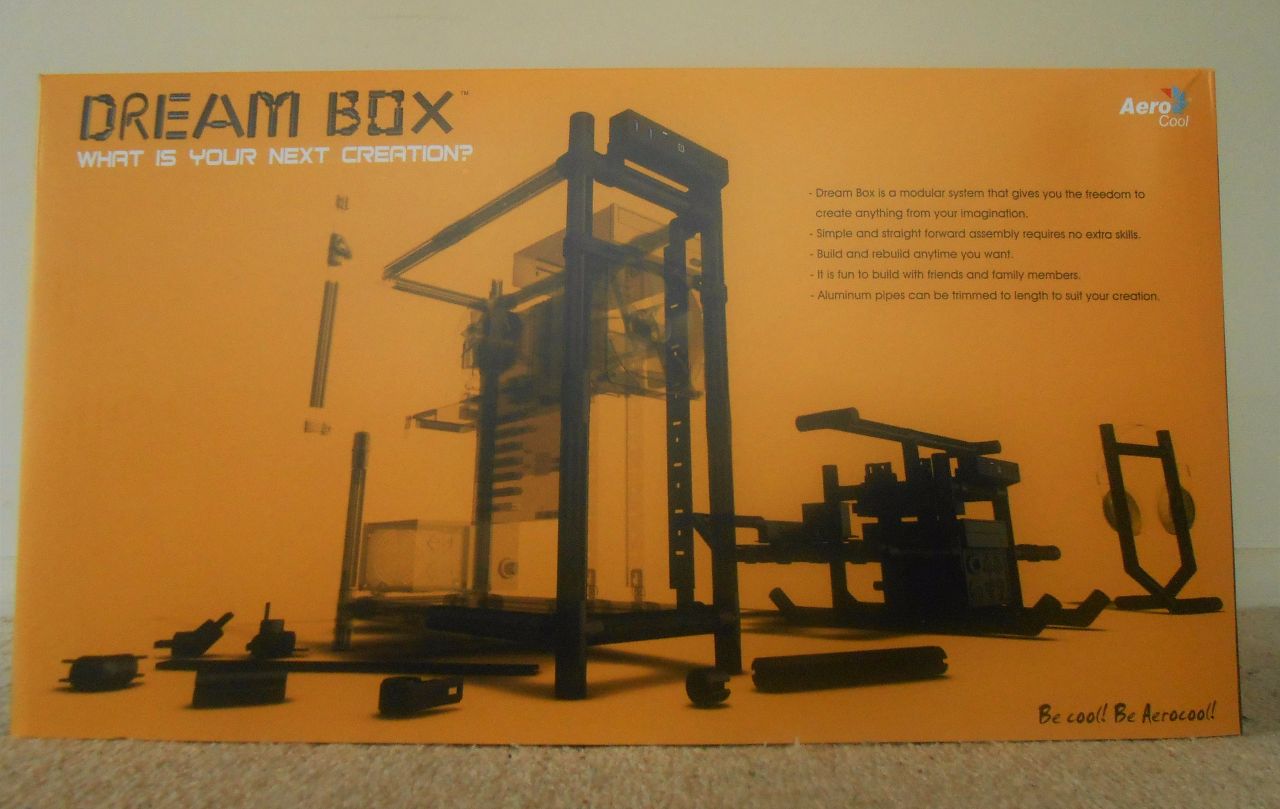
Alright, let’s get started! After unpacking the enclosure from the box it shipped in, we find that Aerocool has elected to go with a very bright and bold design for the packaging, perhaps accentuating the strong design language of the parts within. Not a bad look, in my opinion.
[mks_separator style=”blank” height=”2″]
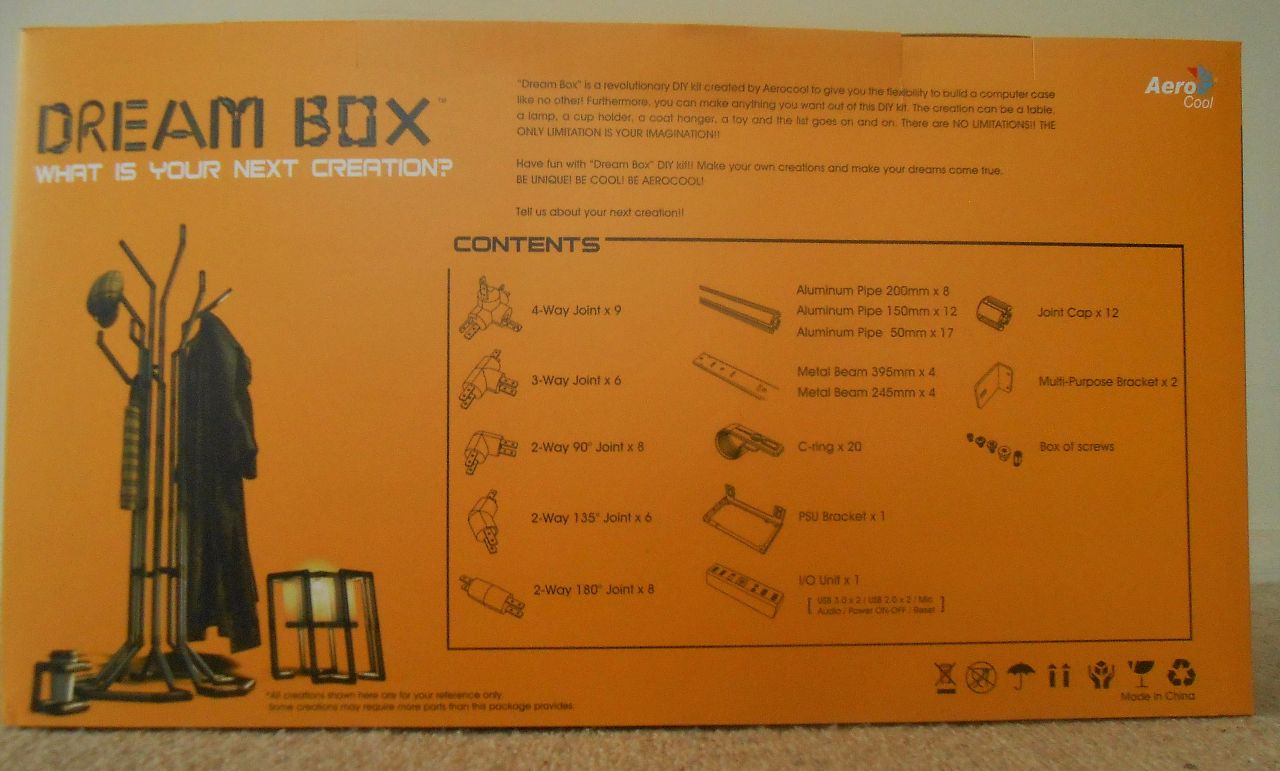
On the rear of the box, the various components of the Dream box are listed, along with with some more build ideas. This is a particularly helpful inclusion given the modular nature of the Dream Box, though you’d best consider what and how you want to build before you buy.
[mks_separator style=”blank” height=”2″]
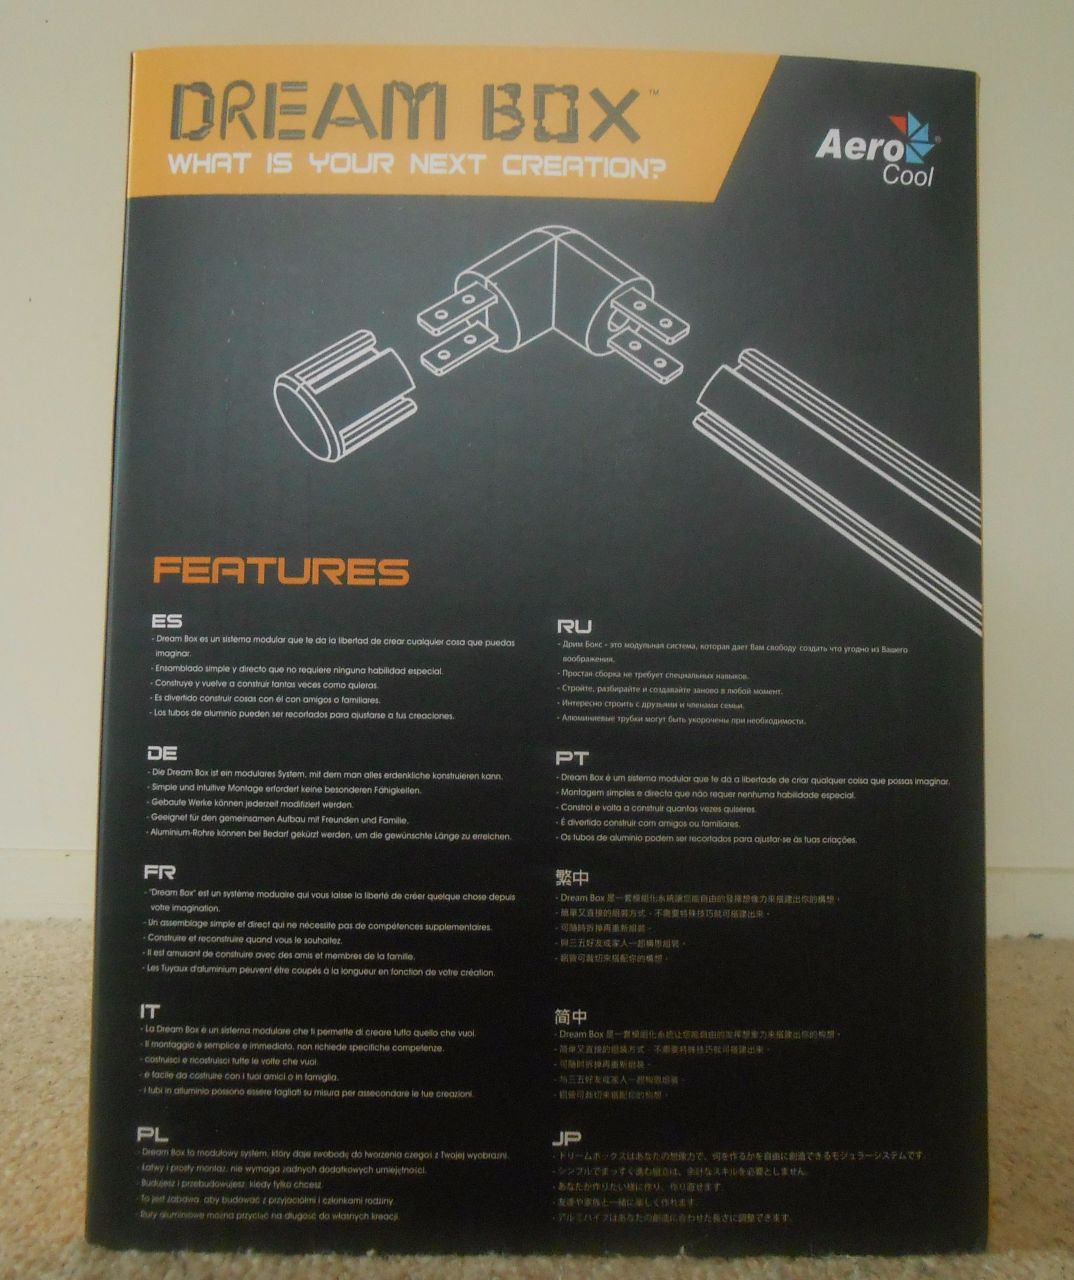
Turning the box to the side, the bullet points from the front of the box have been translated into a bunch of different languages, for those who cannot read the linguistic disaster that is the English language. (Ed. note: Silent letters! What’s up with that?)
[mks_separator style=”blank” height=”2″]
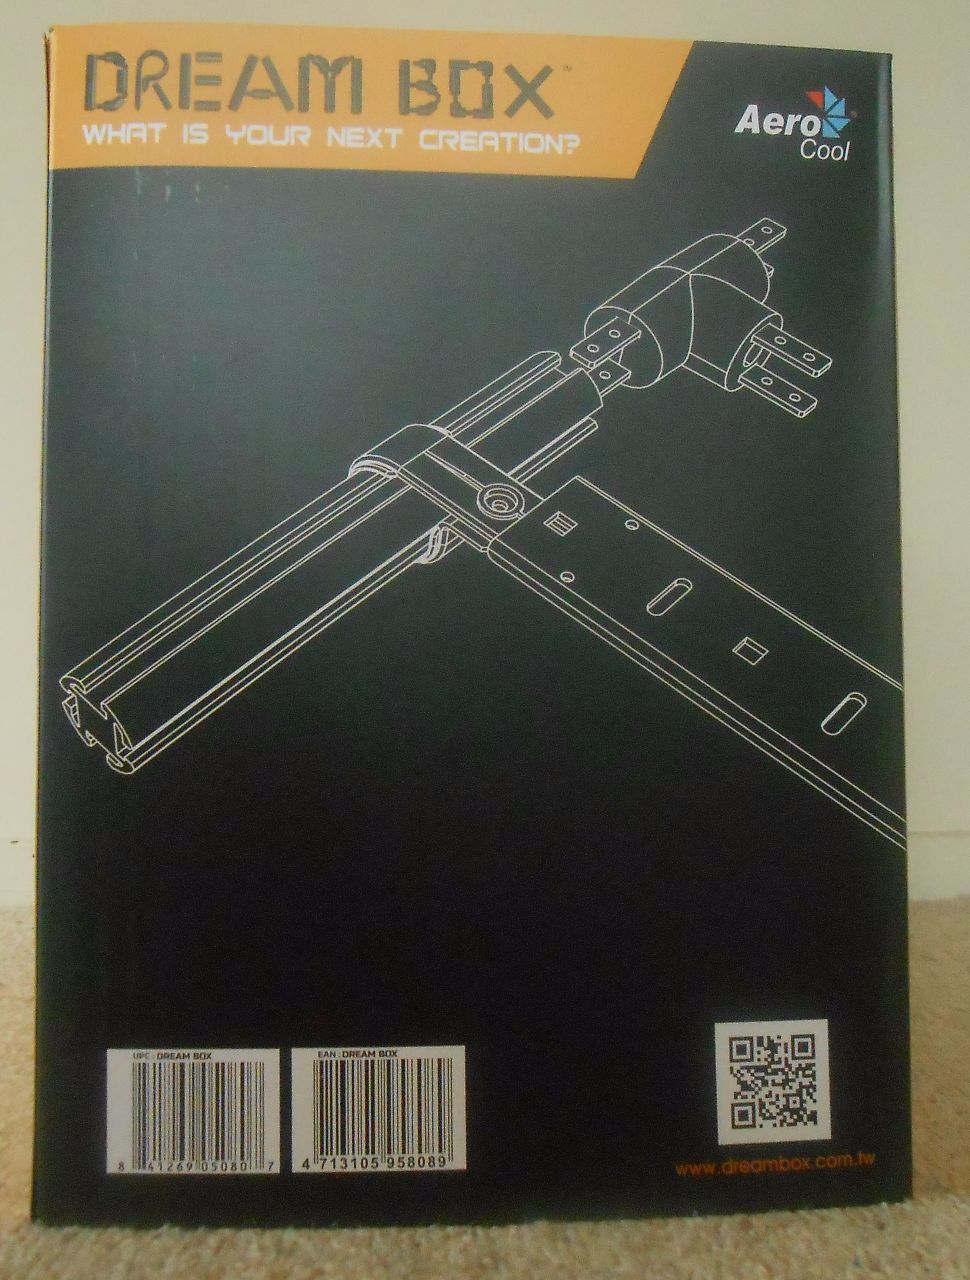
Flipping the box around, we find that the remaining panel has a wireframe graphic printed on this side. The QR code links to the Dream Box website, thankfully. No sneaky Rickrolls here…
[mks_separator style=”blank” height=”2″]


Above are the components included in the kit. We will detail these below… except the screws, because everyone knows what a M3 screw looks like and does. Right. Right?
[mks_separator style=”blank” height=”2″]
In Detail
“ALUMINUM PIPE”
The aluminum “pipe” (really a beam more than a pipe!) comes in three lengths, measuring 50mm, 150mm and 200mm in length. The aluminum beams form the major structural component of the kit. They use a straightforward T-slot-style format like the tradition aluminium extrusion kits, enabling parts to be mounted at any point along the length of the beam.
Although not a feature Aerocool themselves would advertise, for the modders out there who are comfortable making cuts, the choice of aluminum means it’s easy enough to trim the beams to an exact length if you have a very particular final design in mind.

[mks_separator style=”blank” height=”2″]
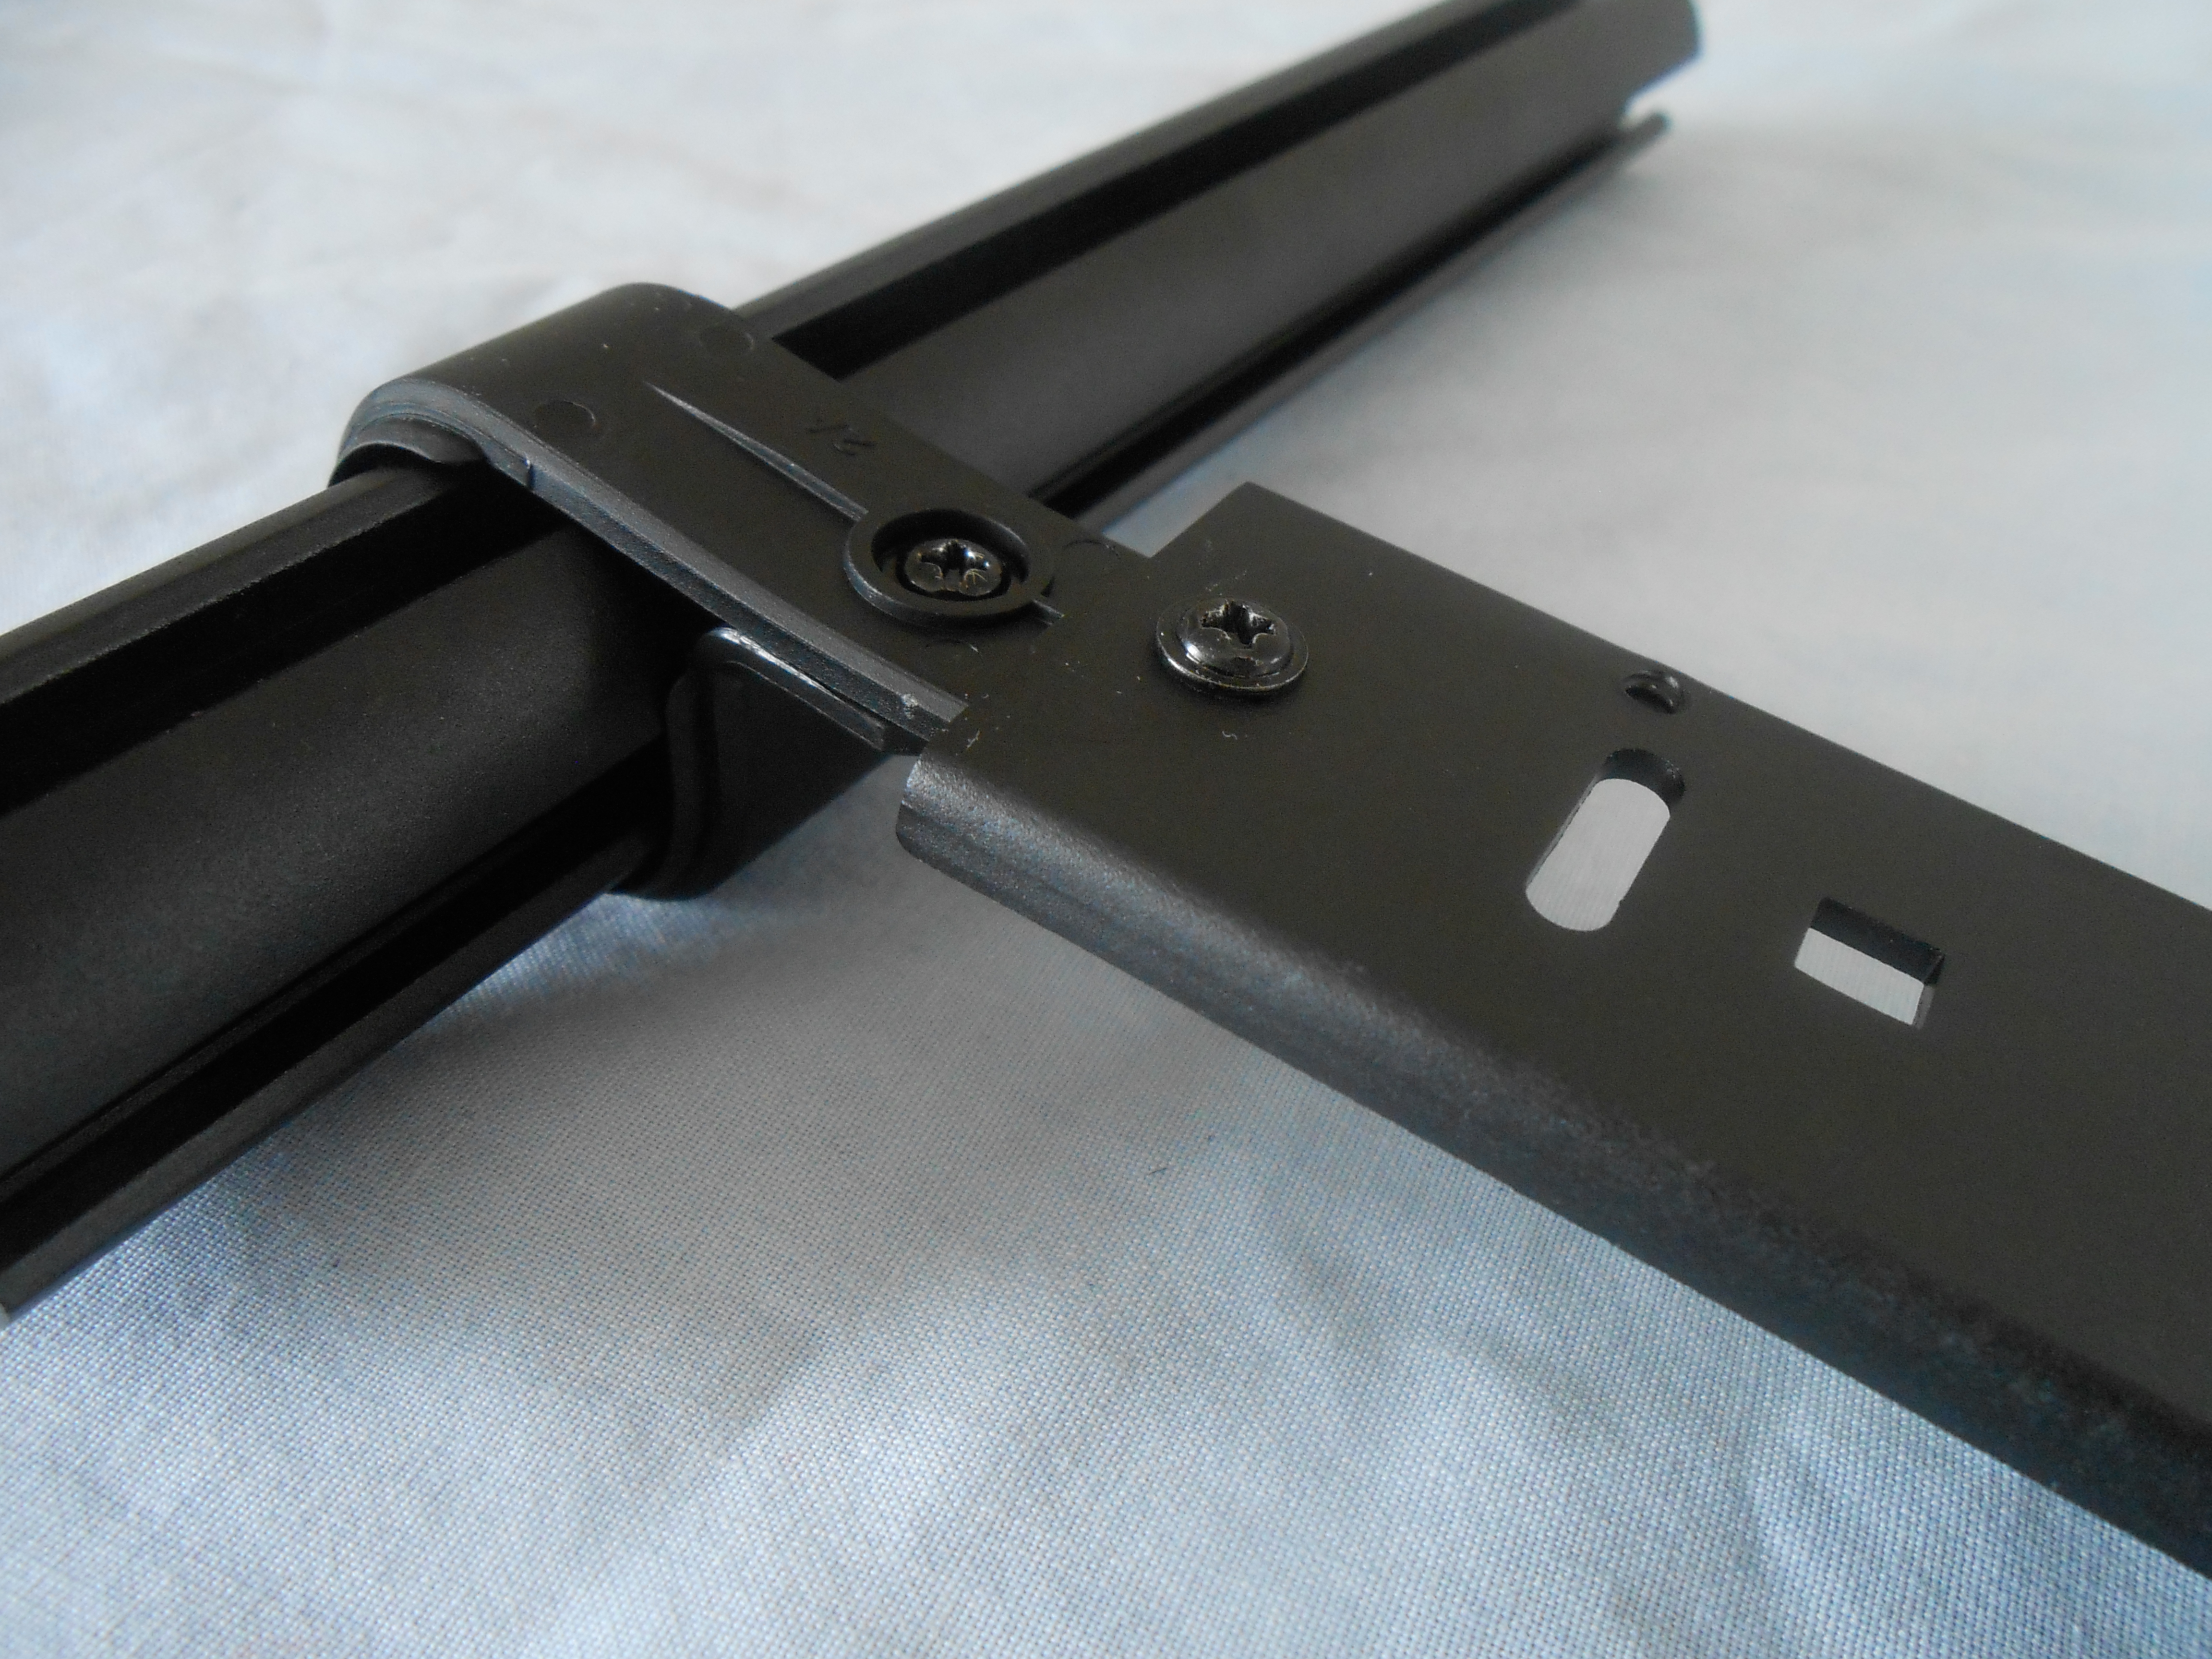
“METAL BEAM”
The metal “beam” (really a bar rather than a beam!) comes in two lengths – 245mm and 395mm long. These bars include mounting holes and slots to assist in the mounting of motherboards, hard drives, optical drives and other components. They can also be used as further structural support within your creation as well.
The bars are mounted to the aluminium beams with the included C-Rings (see below).

[mks_separator style=”blank” height=”2″][mks_separator style=”blank” height=”2″]
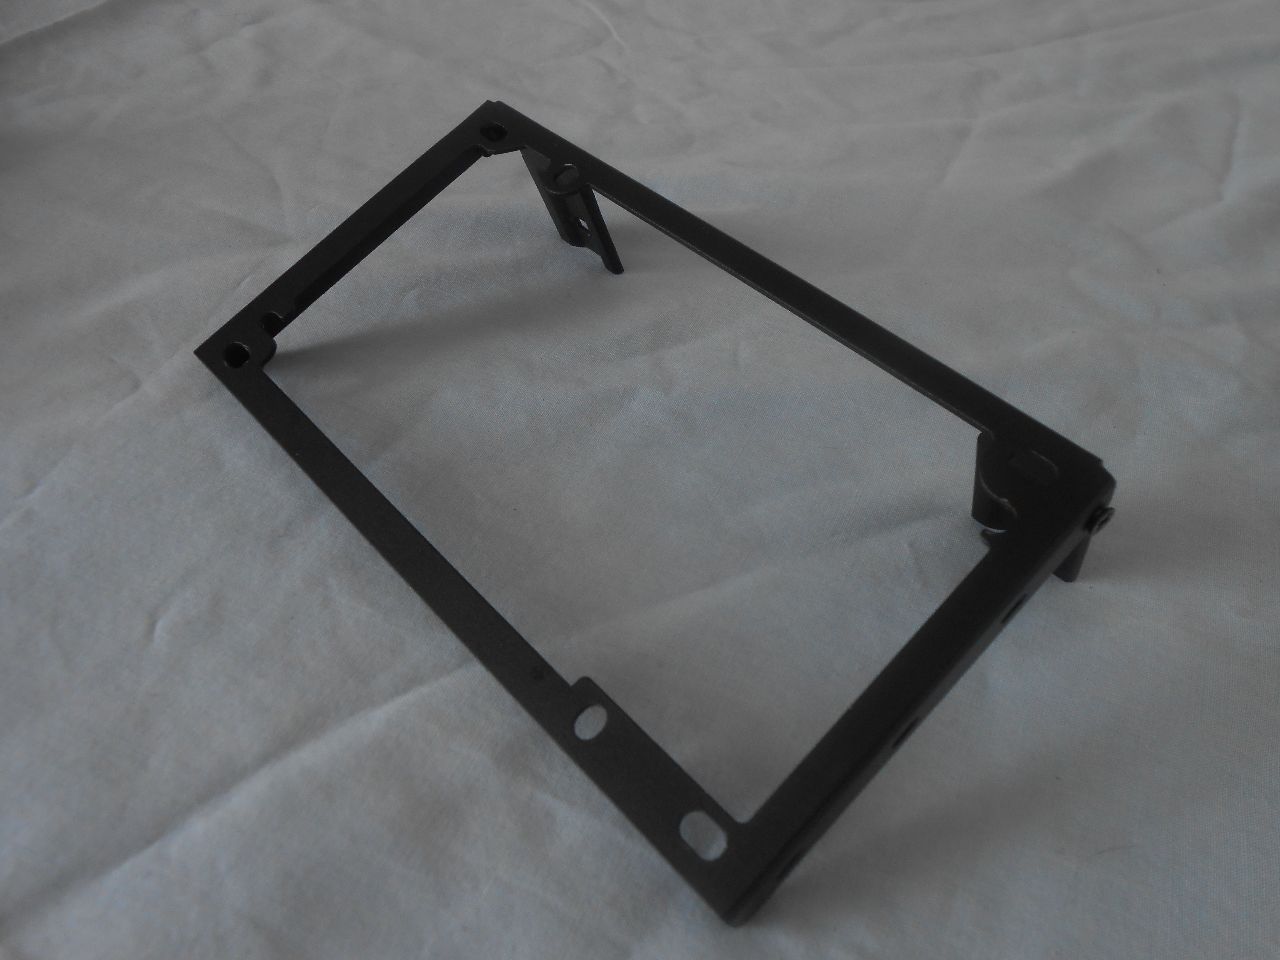
“PSU BRACKET”
Perhaps unsurprisingly, you can mount a power supply unit to your build with this straightforward part. The bracket disappointingly only supports an ATX power supply, which is a shame, as I would have liked to see a SFX bracket included as well. You’ll have to buy an aftermarket adapter, it seems.
In any case, and once again, the C-Rings are used with this part to mount it to the rest of your design.
[mks_separator style=”blank” height=”2″][mks_separator style=”blank” height=”2″]
“MULTI-PURPOSE BRACKET”
A simple, right-angled bracket, that has two screw holes and a slot. Not much else to say:

[mks_separator style=”blank” height=”2″][mks_separator style=”blank” height=”2″]
“I/O UNIT”
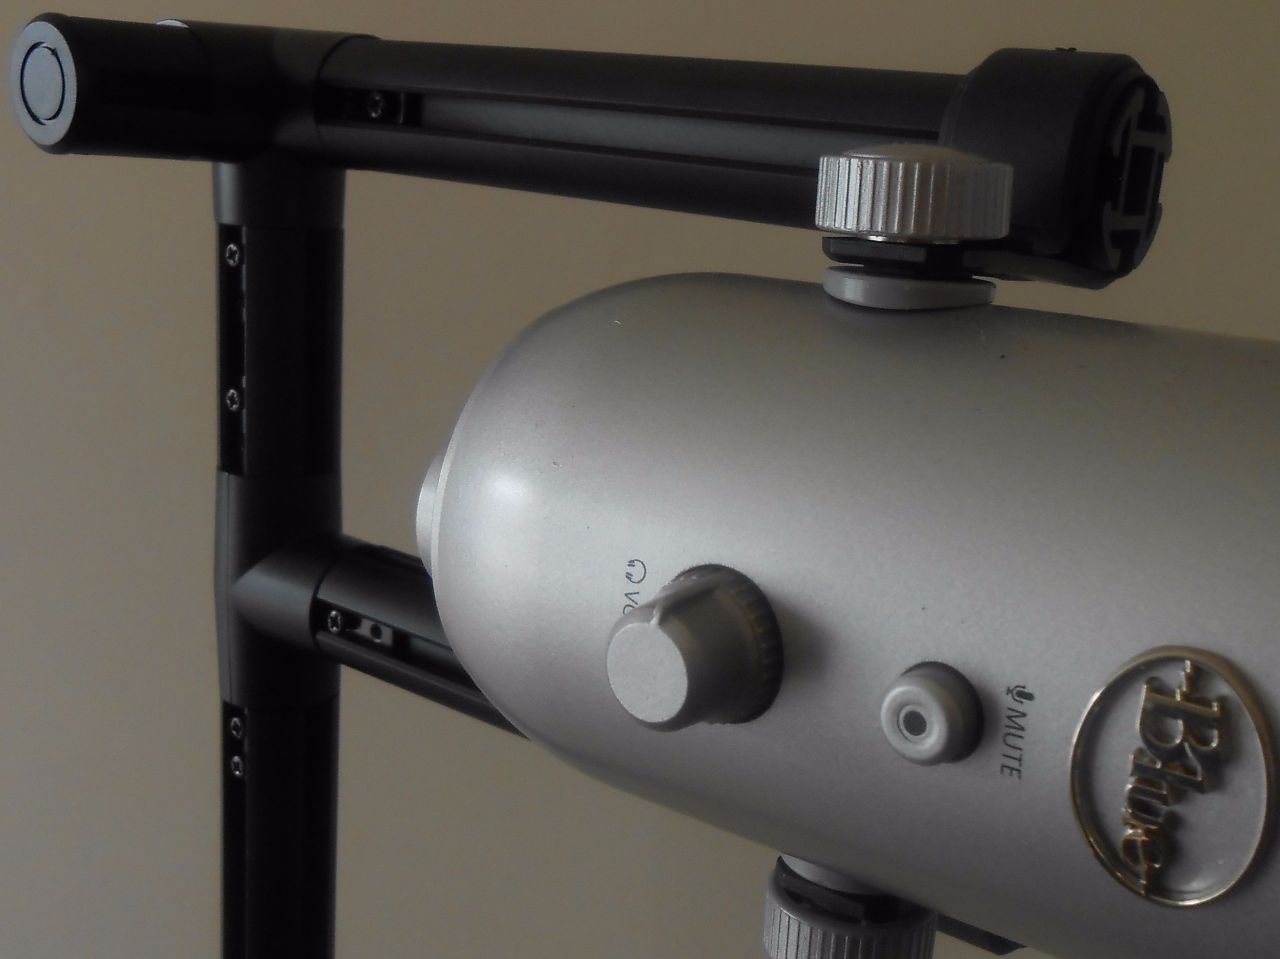
This I/O unit provides the power and reset buttons, MIC & headphone jacks, two USB 2.0 and two USB 3.0 connections. This unit can be mounted to an aluminum beam with two C-Rings.
[mks_separator style=”blank” height=”2″][mks_separator style=”blank” height=”2″]
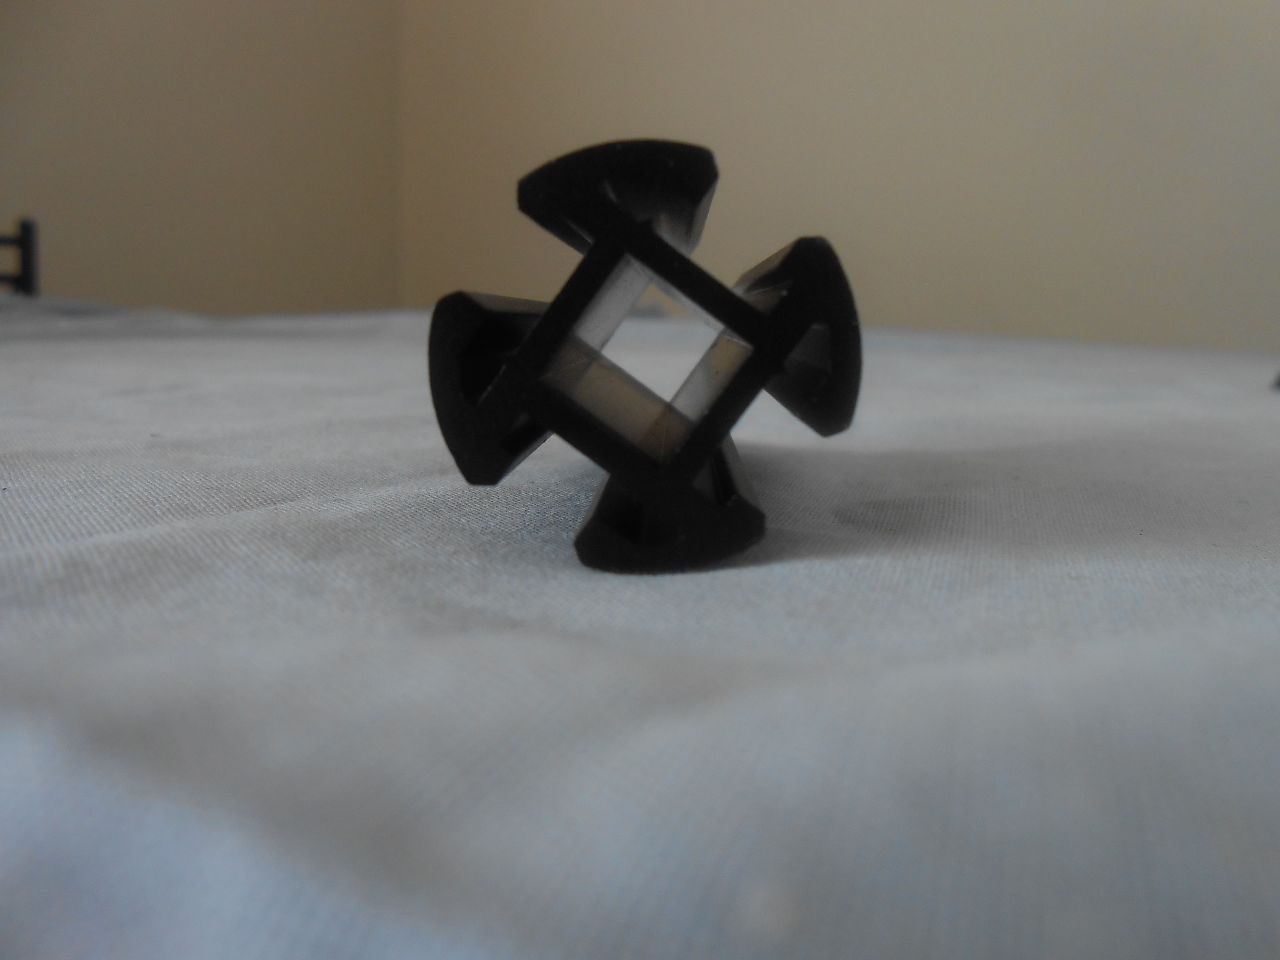
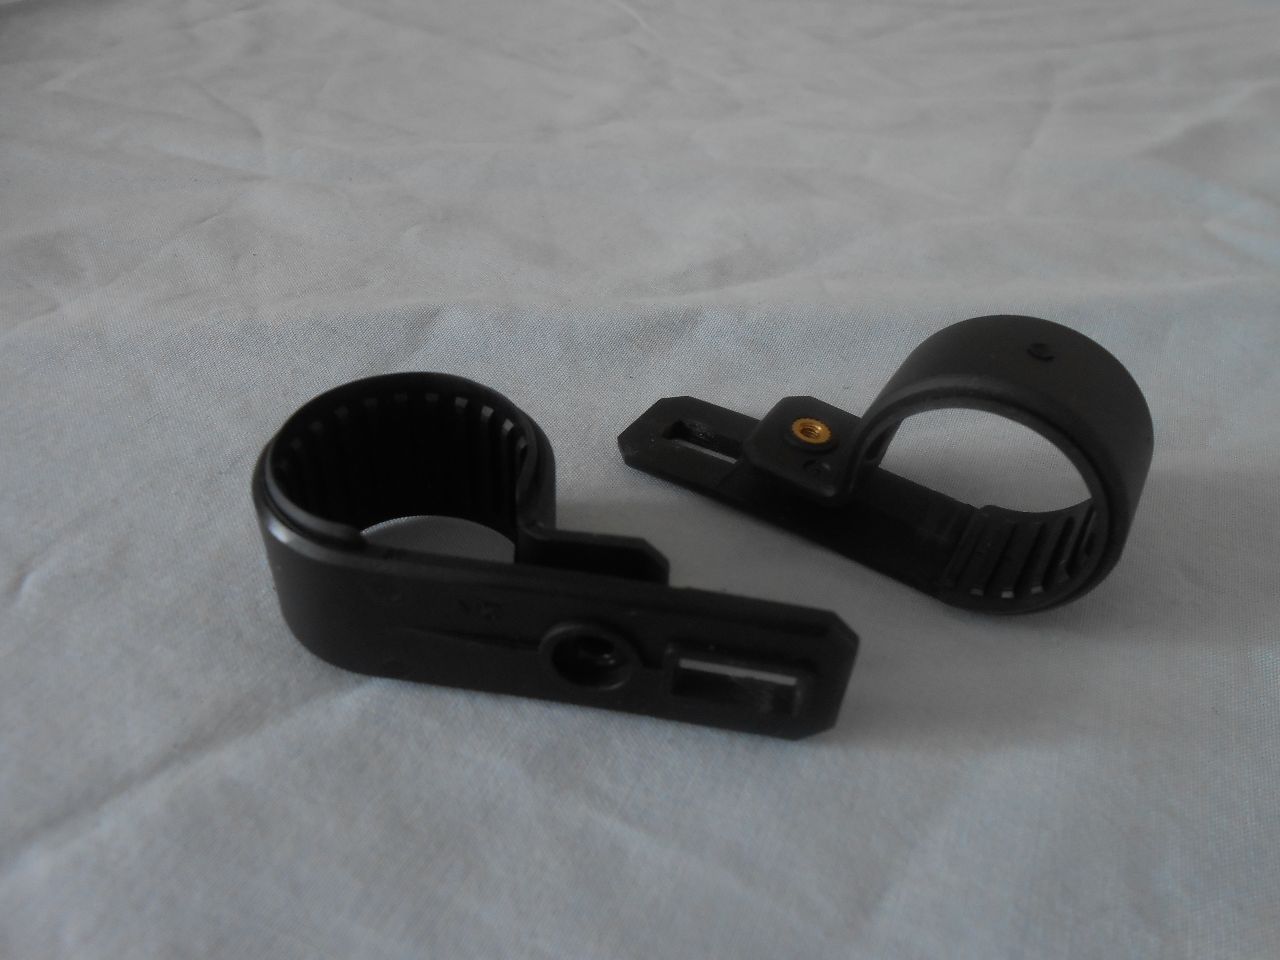
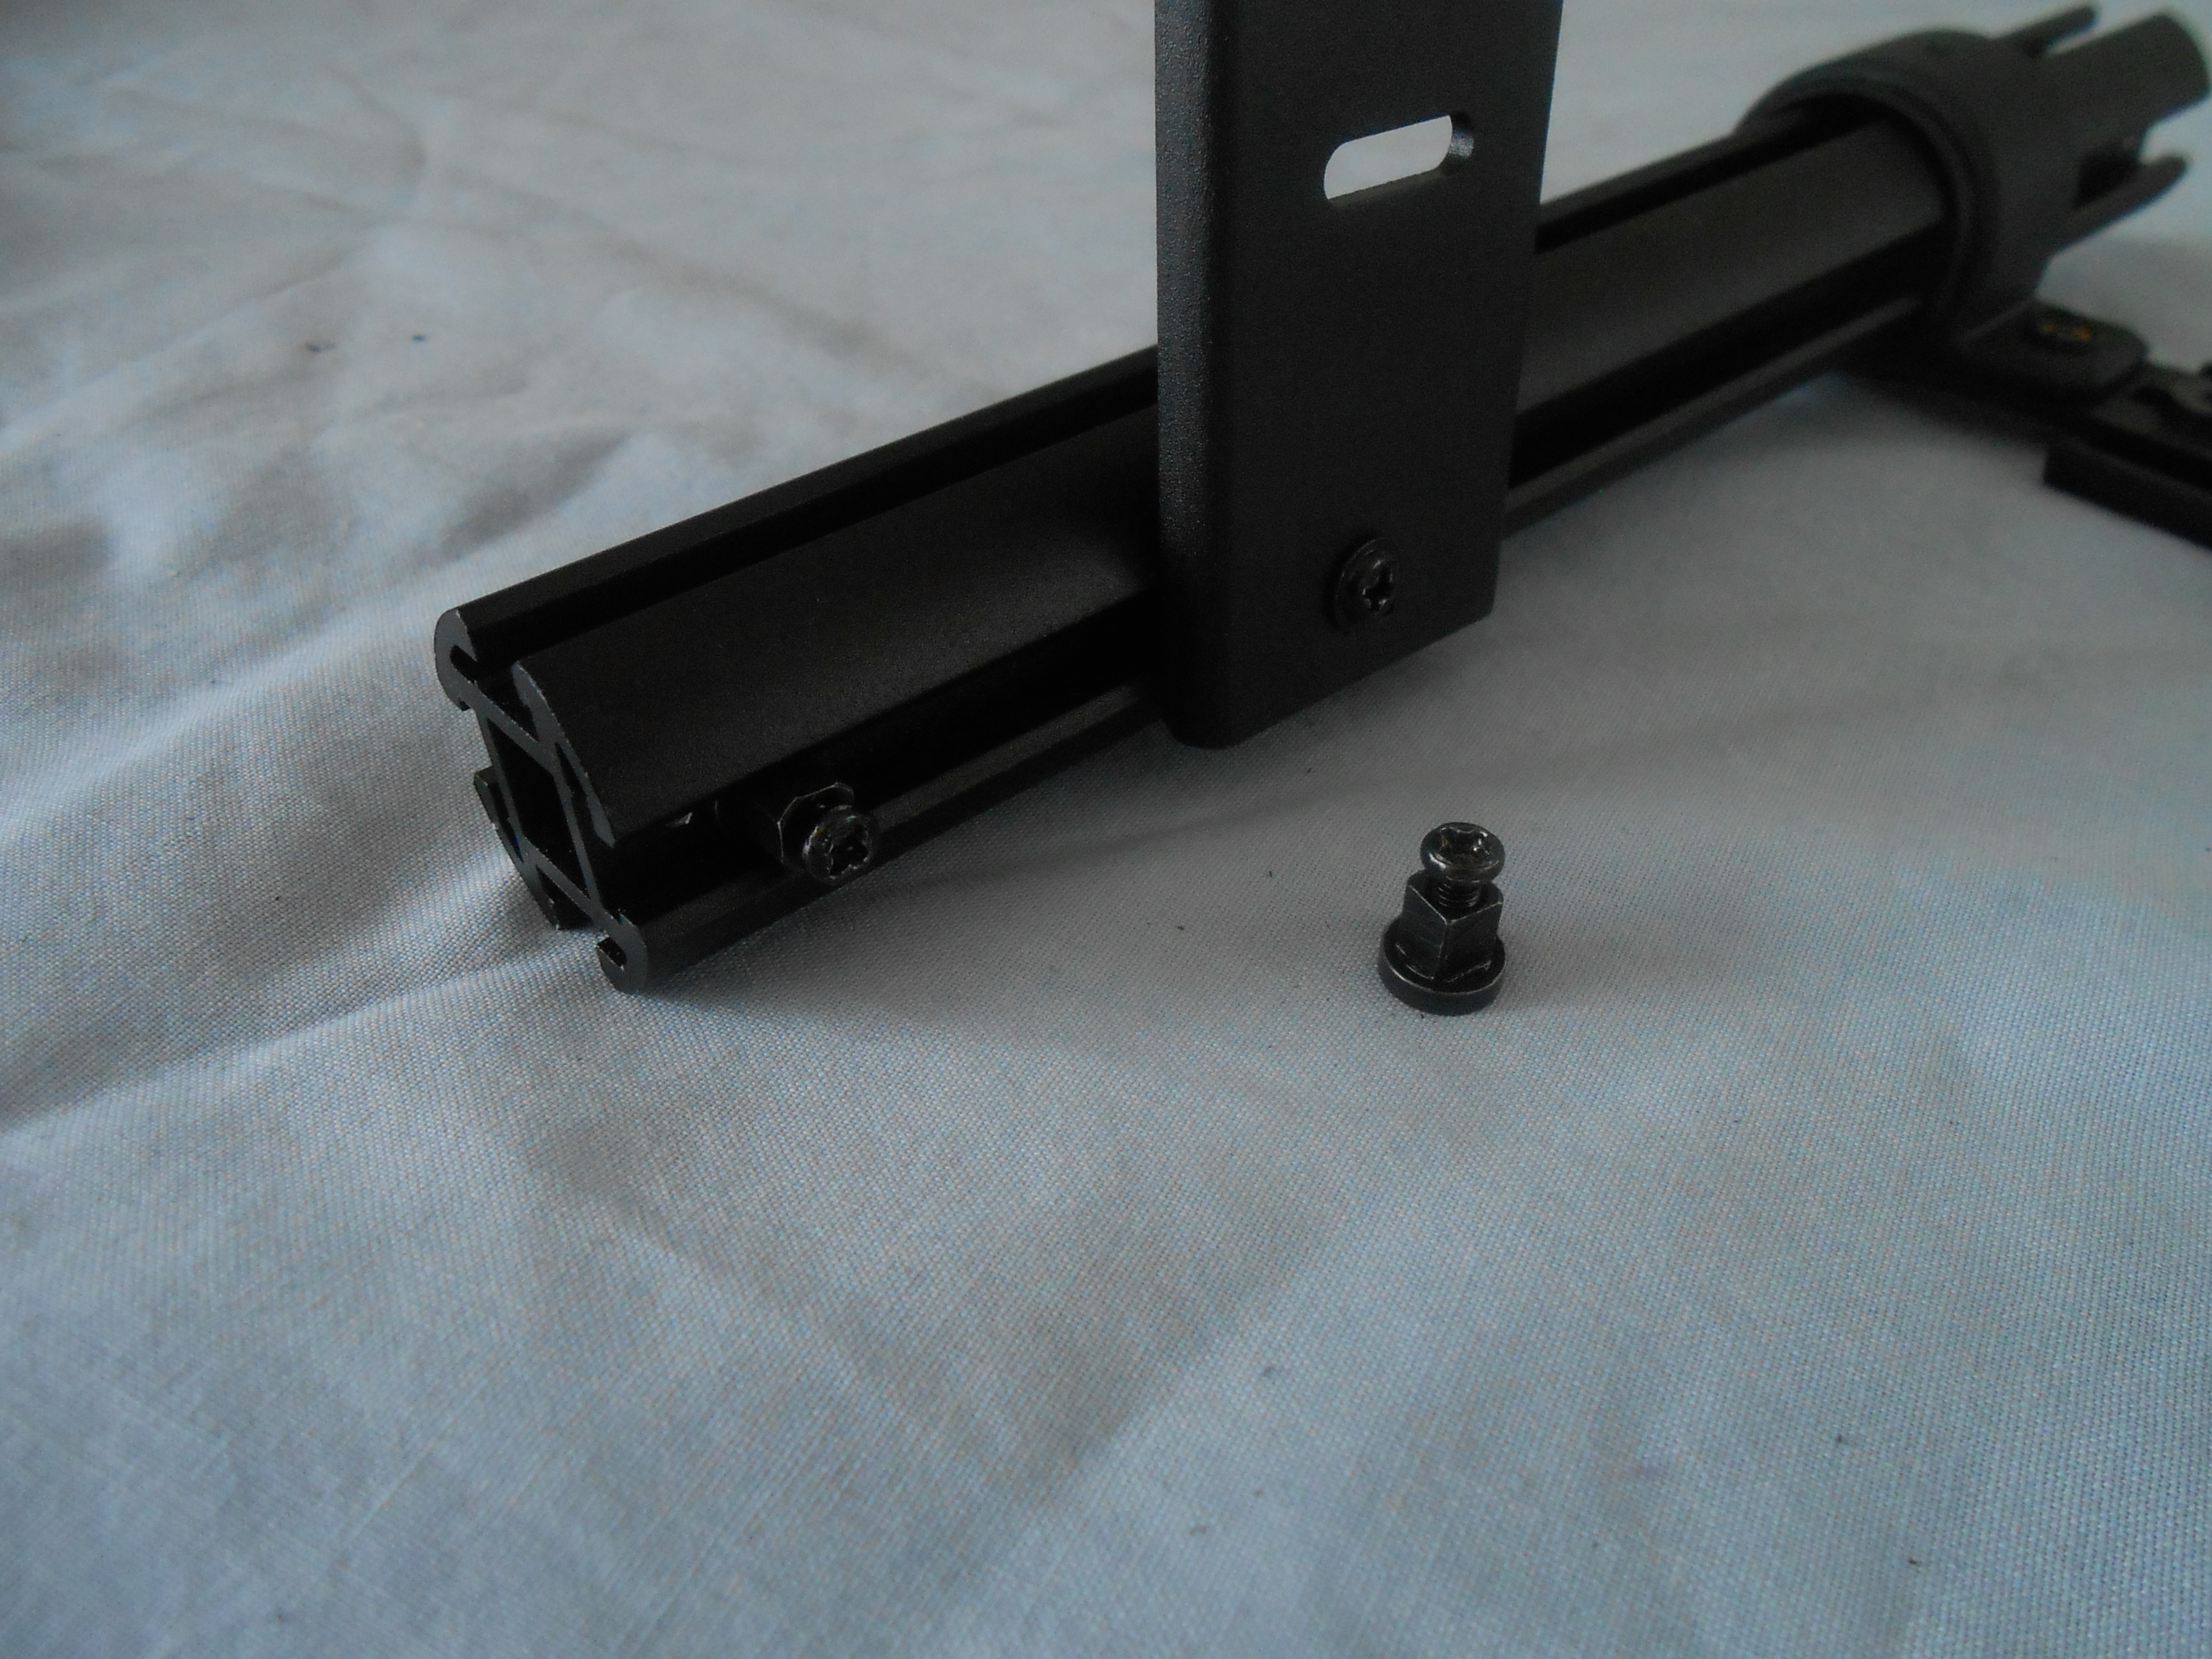
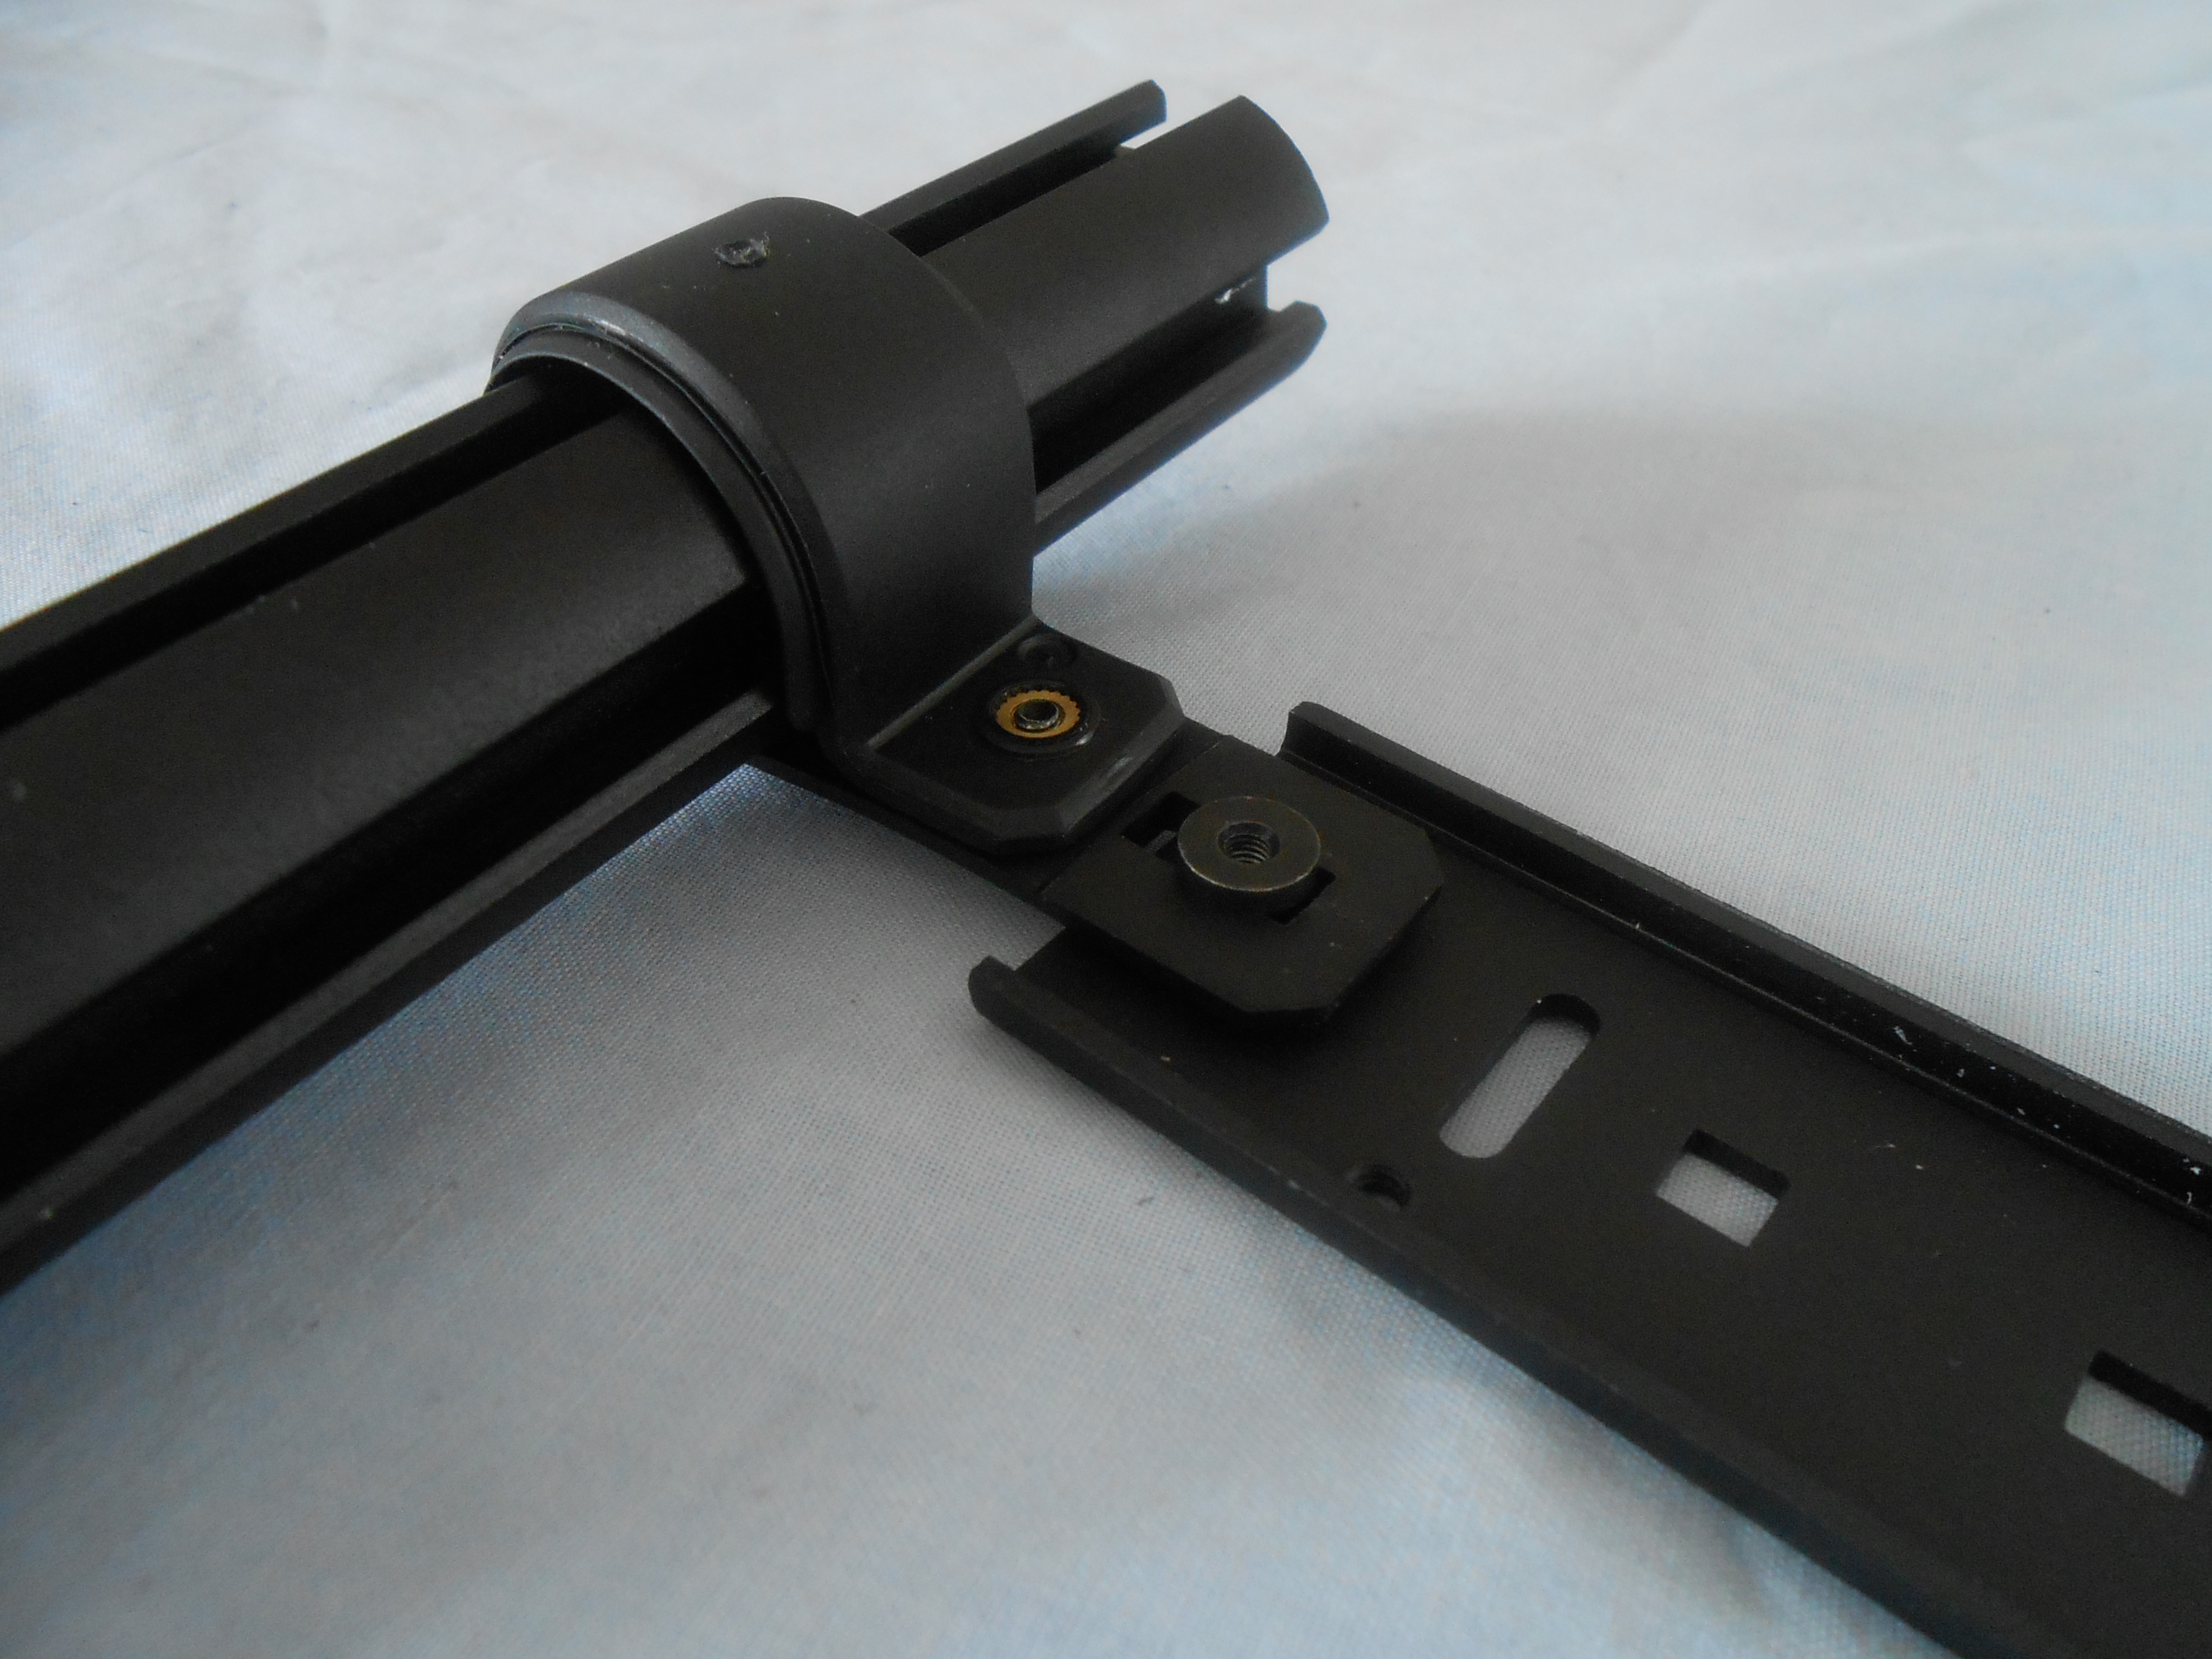
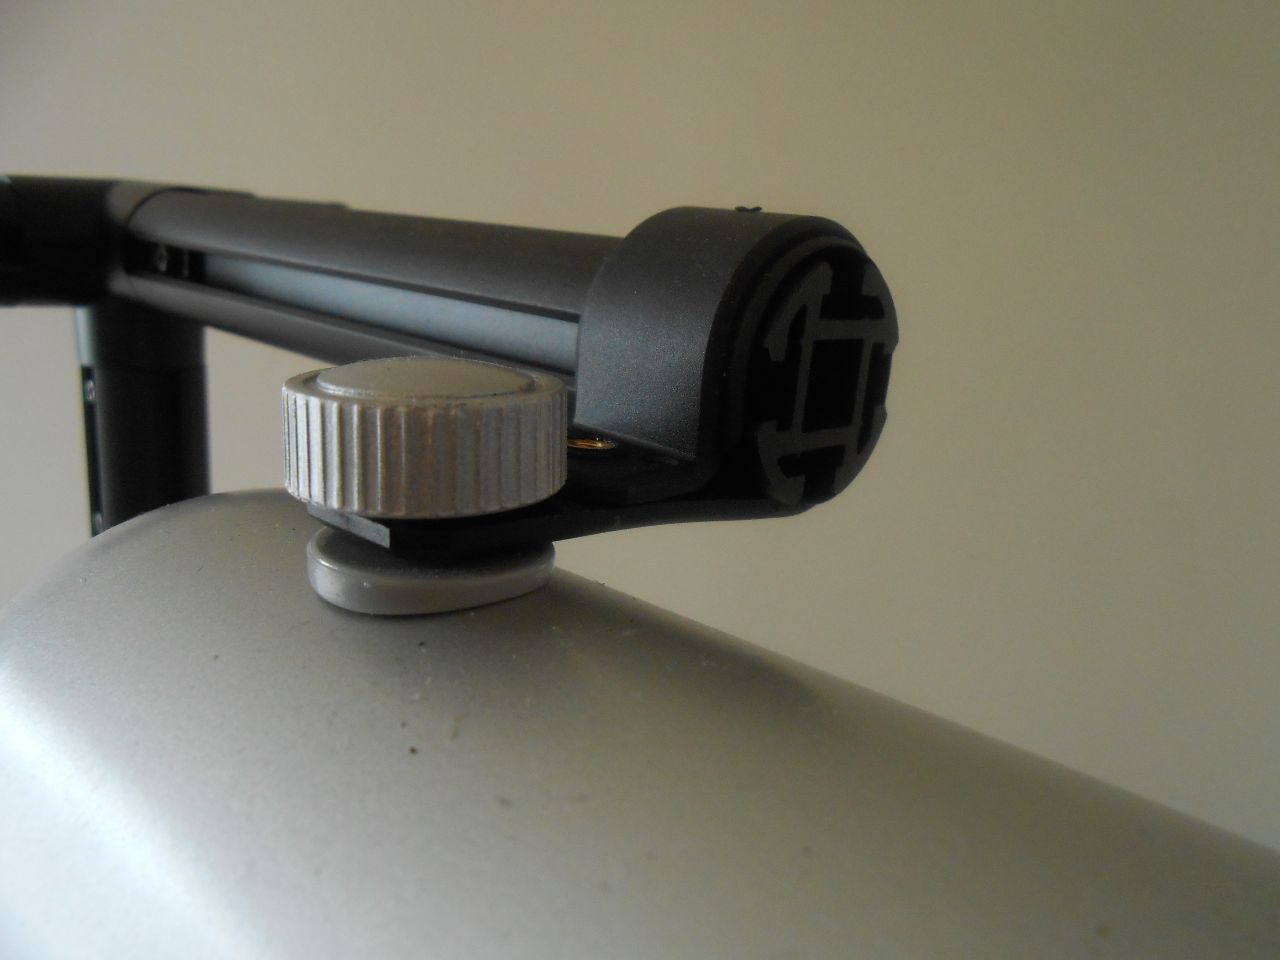
“C-RING”
These are the main mounting parts in the Dream Box kit. They attach around the aluminium beams, are securely clamped to it with a screw and nut, and can be used to attach most of the other components to the beams. The C-Rings are made from a dense plastic, with rubber padding to assist in holding the part in place. Metal would have been preferable, but they are definitely robust.
[mks_separator style=”blank” height=”2″][mks_separator style=”blank” height=”2″]
“4-WAY JOINT”
This joint allows you to connect with aluminum beams in four directions. Useful for mid panel cross beams, etc.
[mks_separator style=”blank” height=”2″][mks_separator style=”blank” height=”2″]
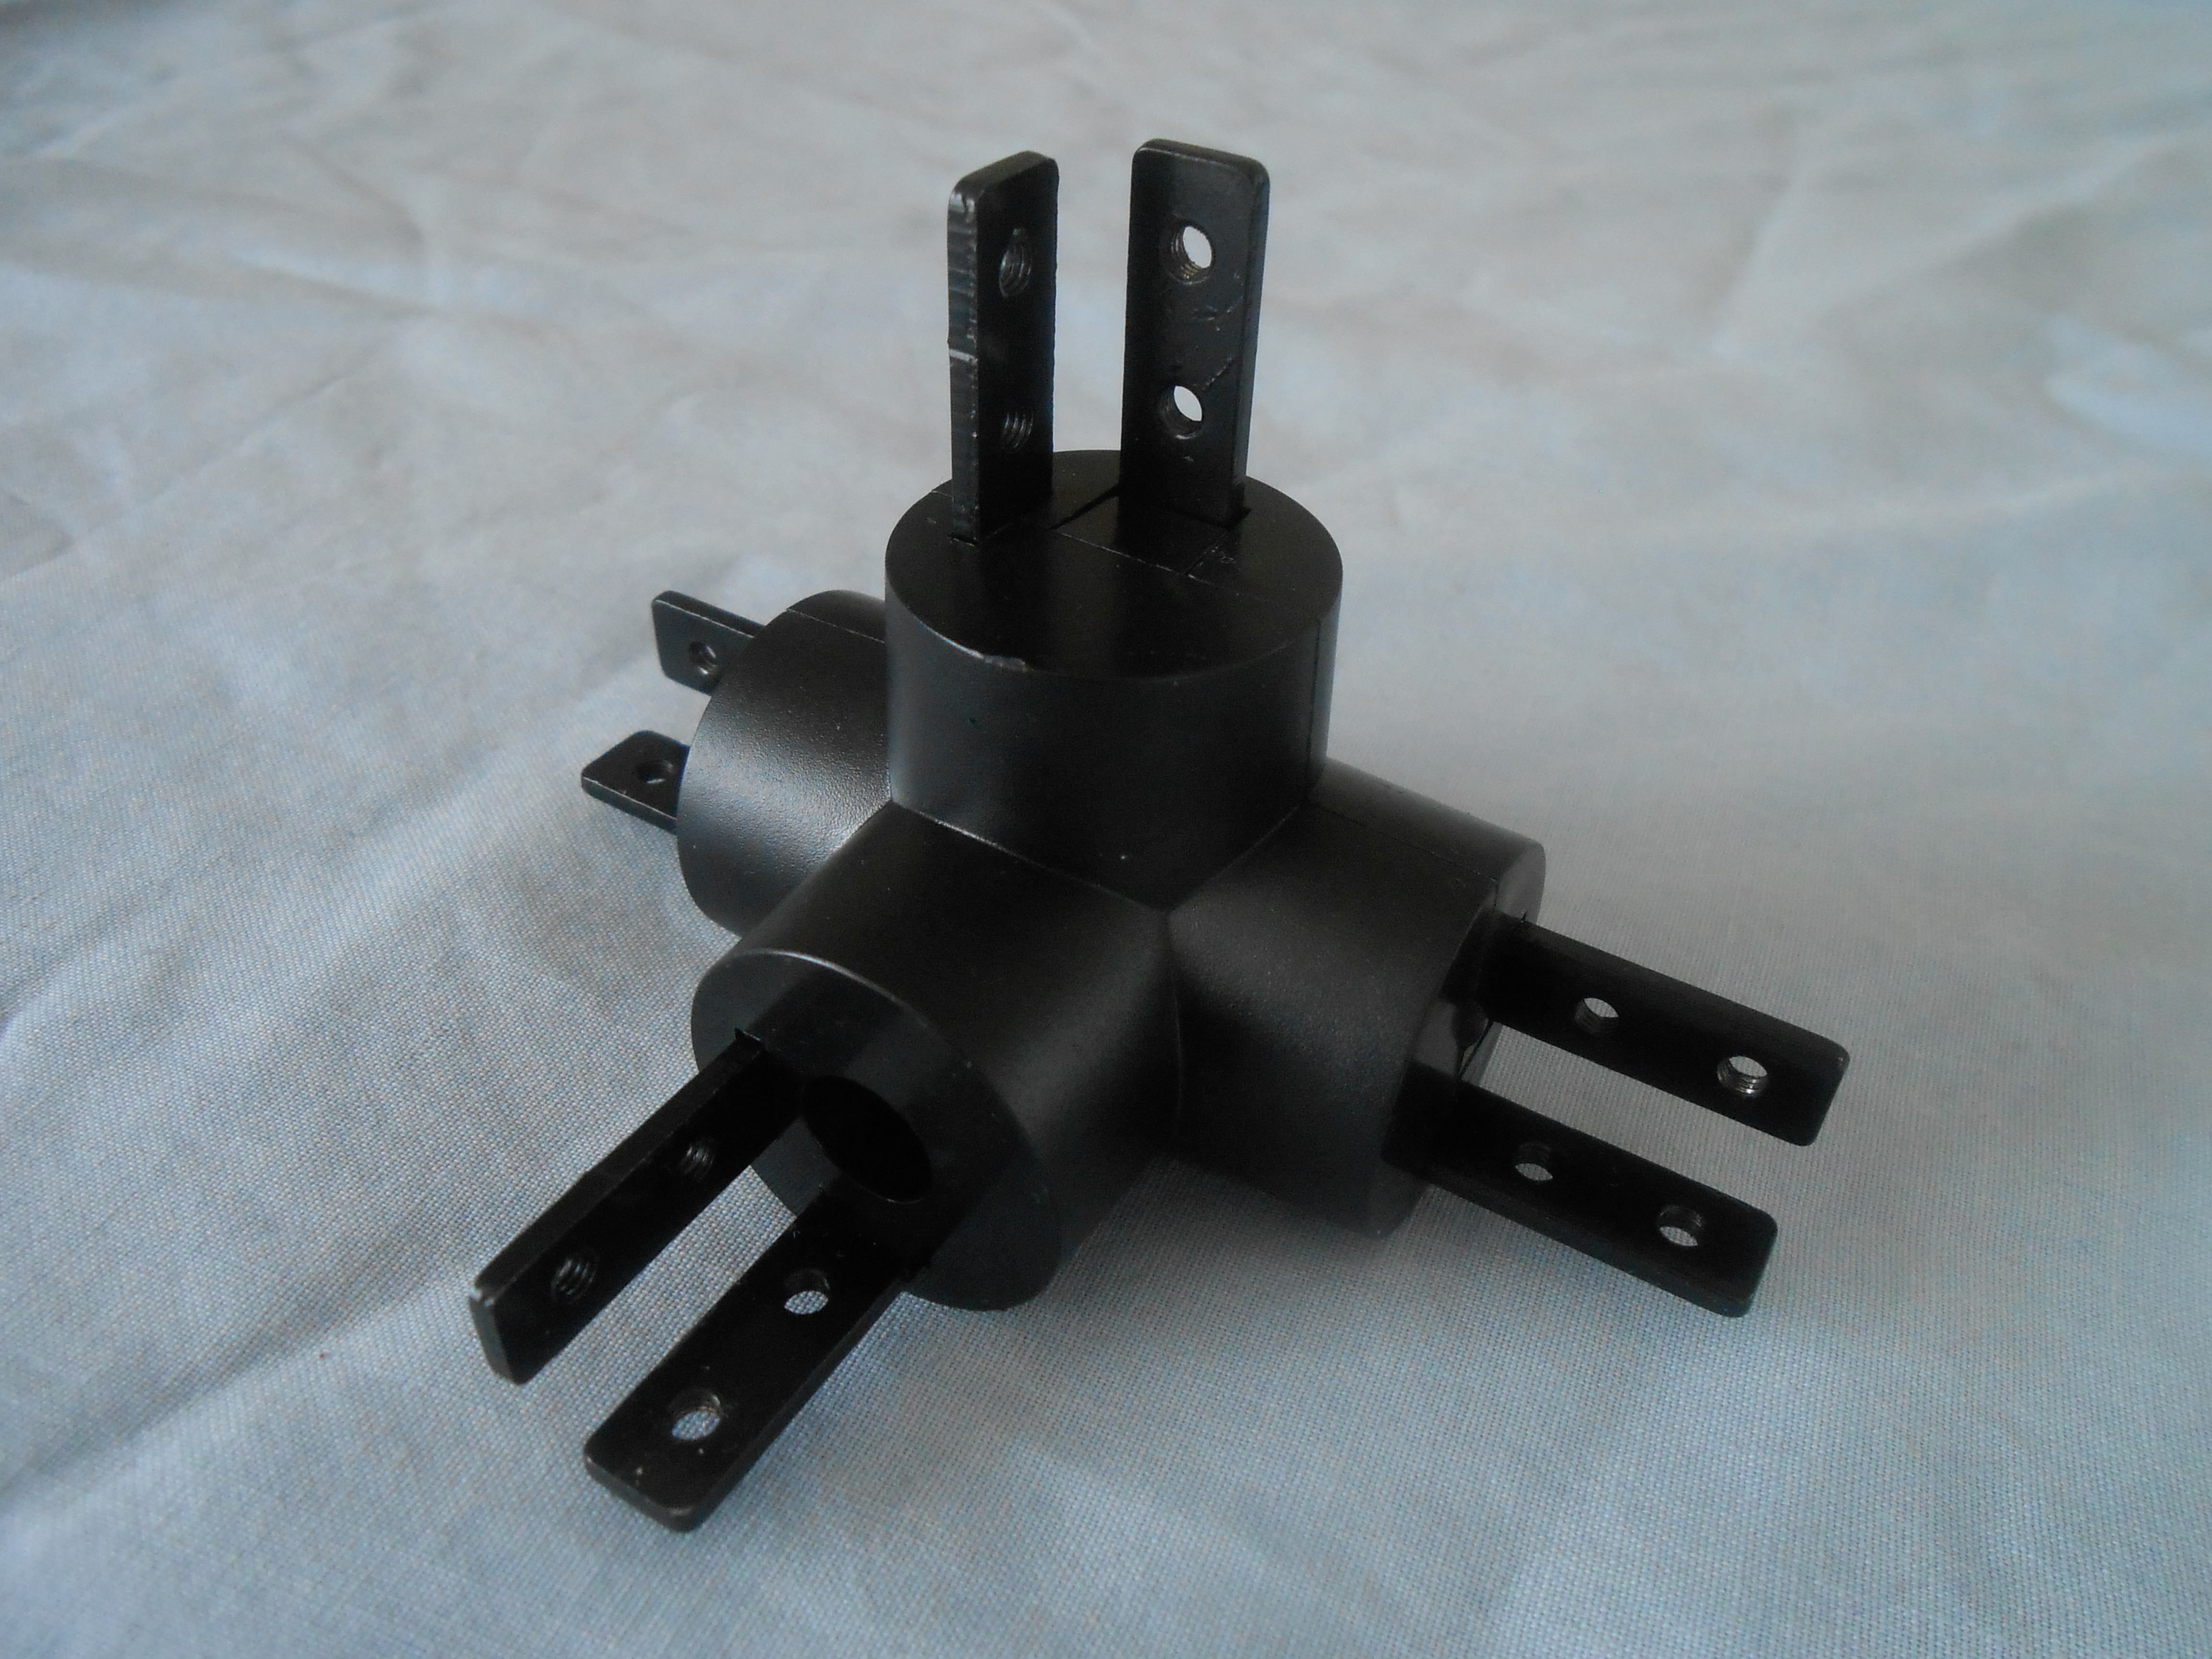
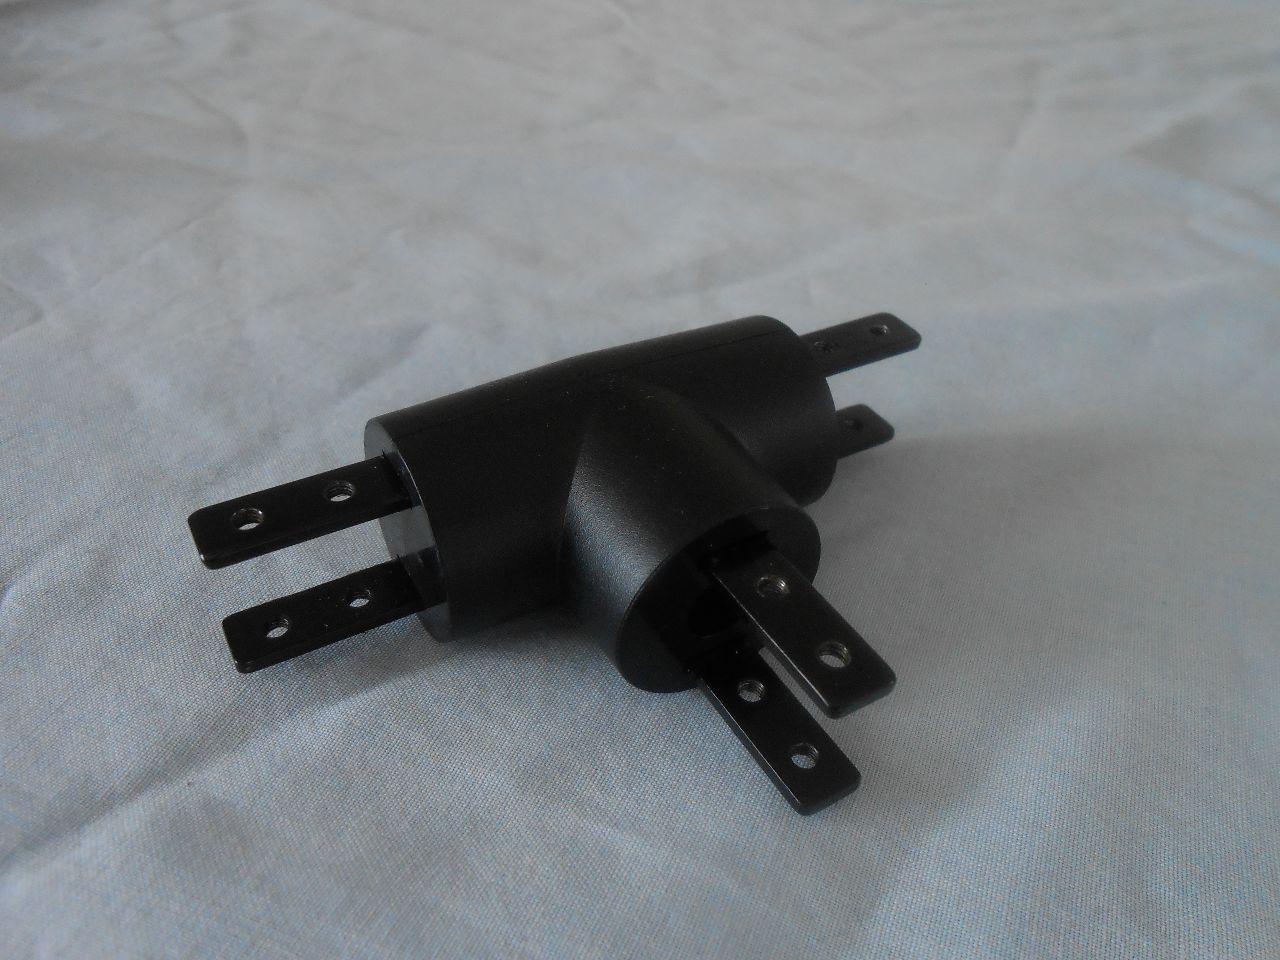
“3-WAY JOINT”
This joint allows you to connect with aluminum pipes in three directions.
[mks_separator style=”blank” height=”2″][mks_separator style=”blank” height=”2″]
“2-WAY 90° JOINT”
This joint allows you to connect with aluminum pipes in two directions, but at a 90∘ angle.
[mks_separator style=”blank” height=”2″][mks_separator style=”blank” height=”2″]
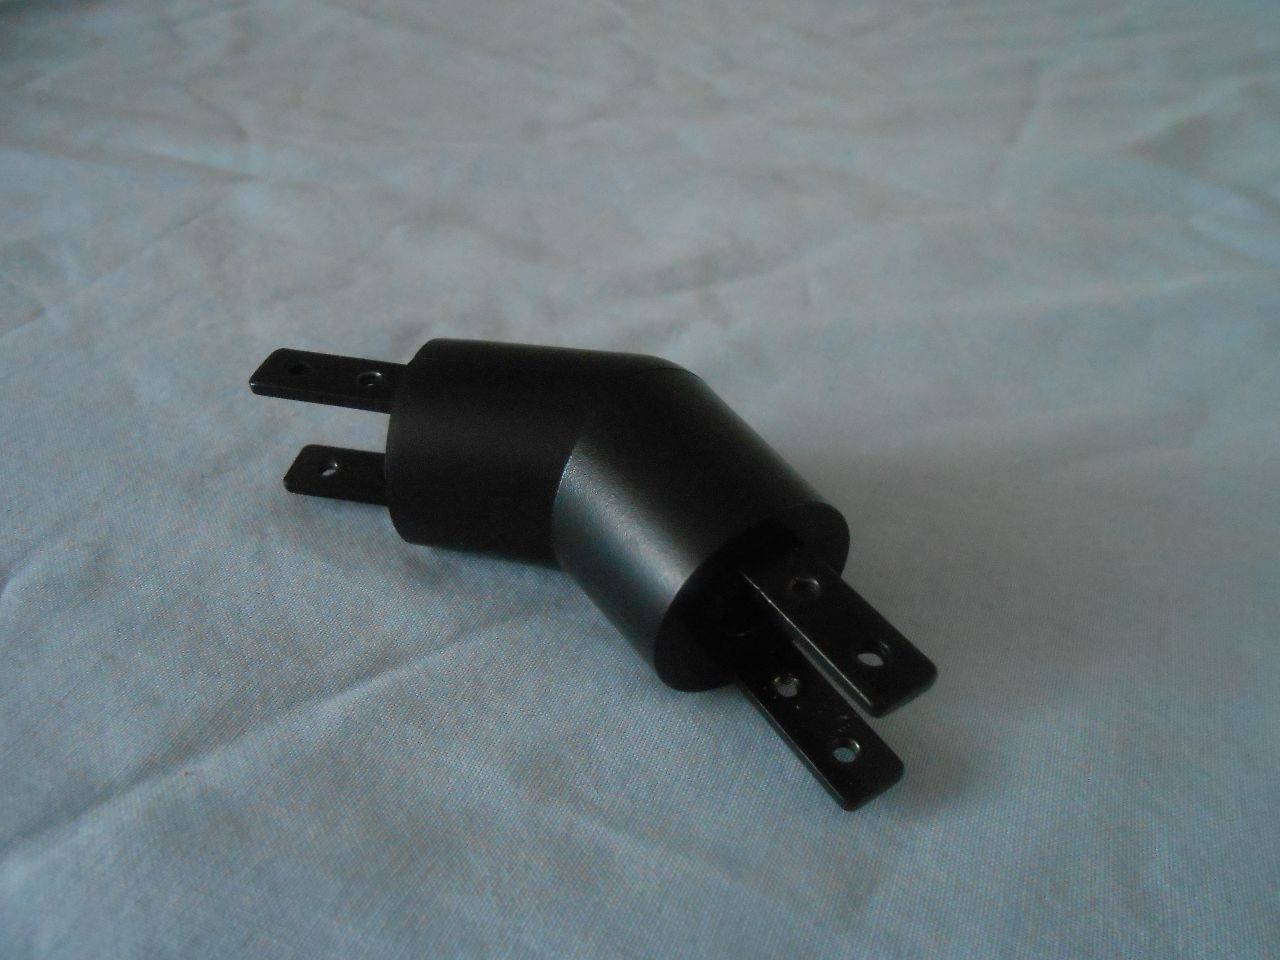
“2-WAY 135° JOINT”
This joint allows you to connect with aluminum pipes in two directions, but at a 135∘ angle.
[mks_separator style=”blank” height=”2″][mks_separator style=”blank” height=”2″]
“2-WAY 180° JOINT”
This joint allows you to connect with aluminum pipes in two directions, but at a 180∘ angle (i.e. in a straight line)

[mks_separator style=”blank” height=”2″]
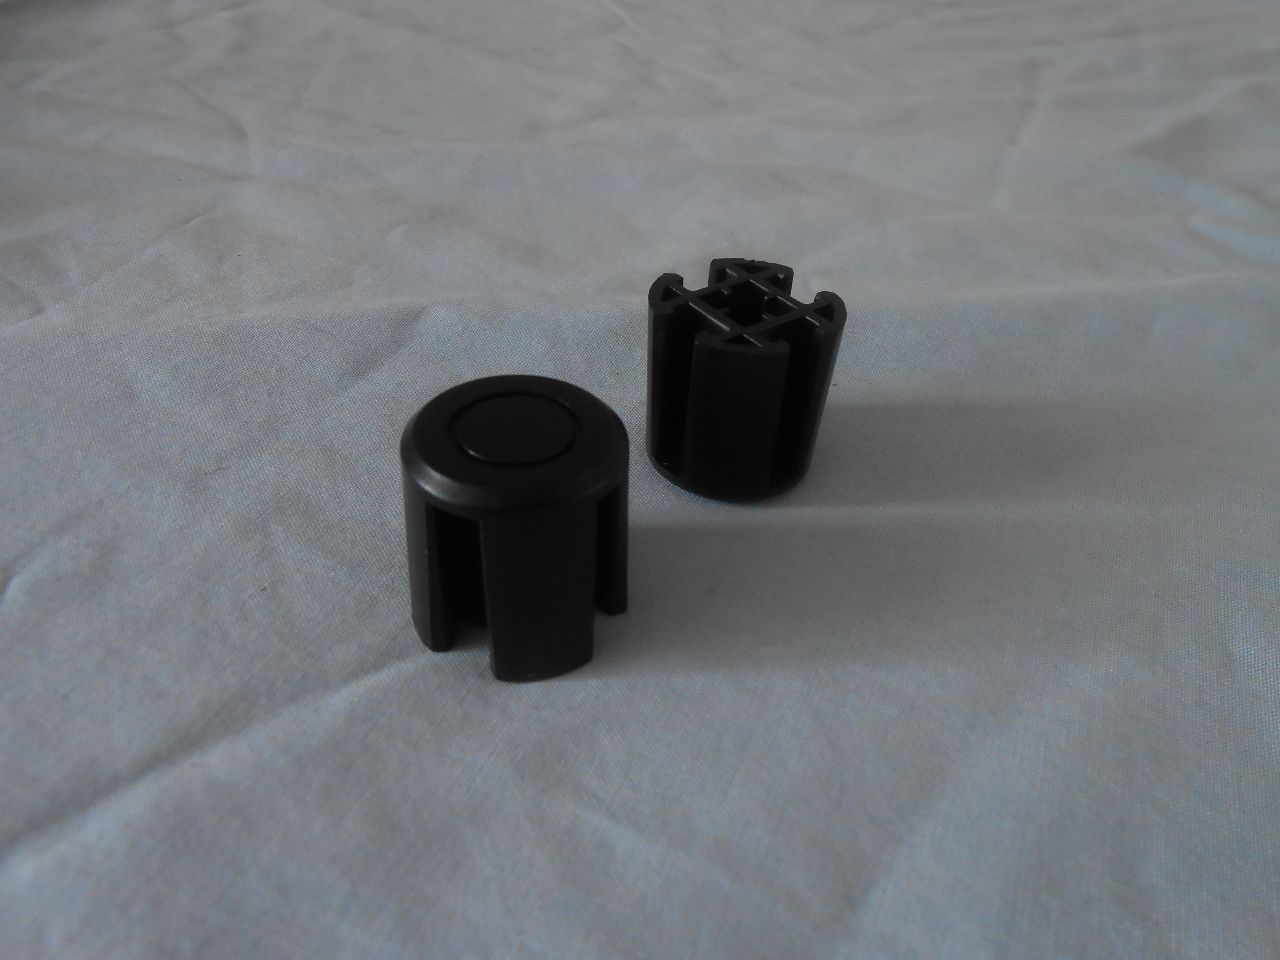
“JOINT CAP”
Finally, you can use this cap to close off the unused part of a joint. It can also be used as a foot of a design.
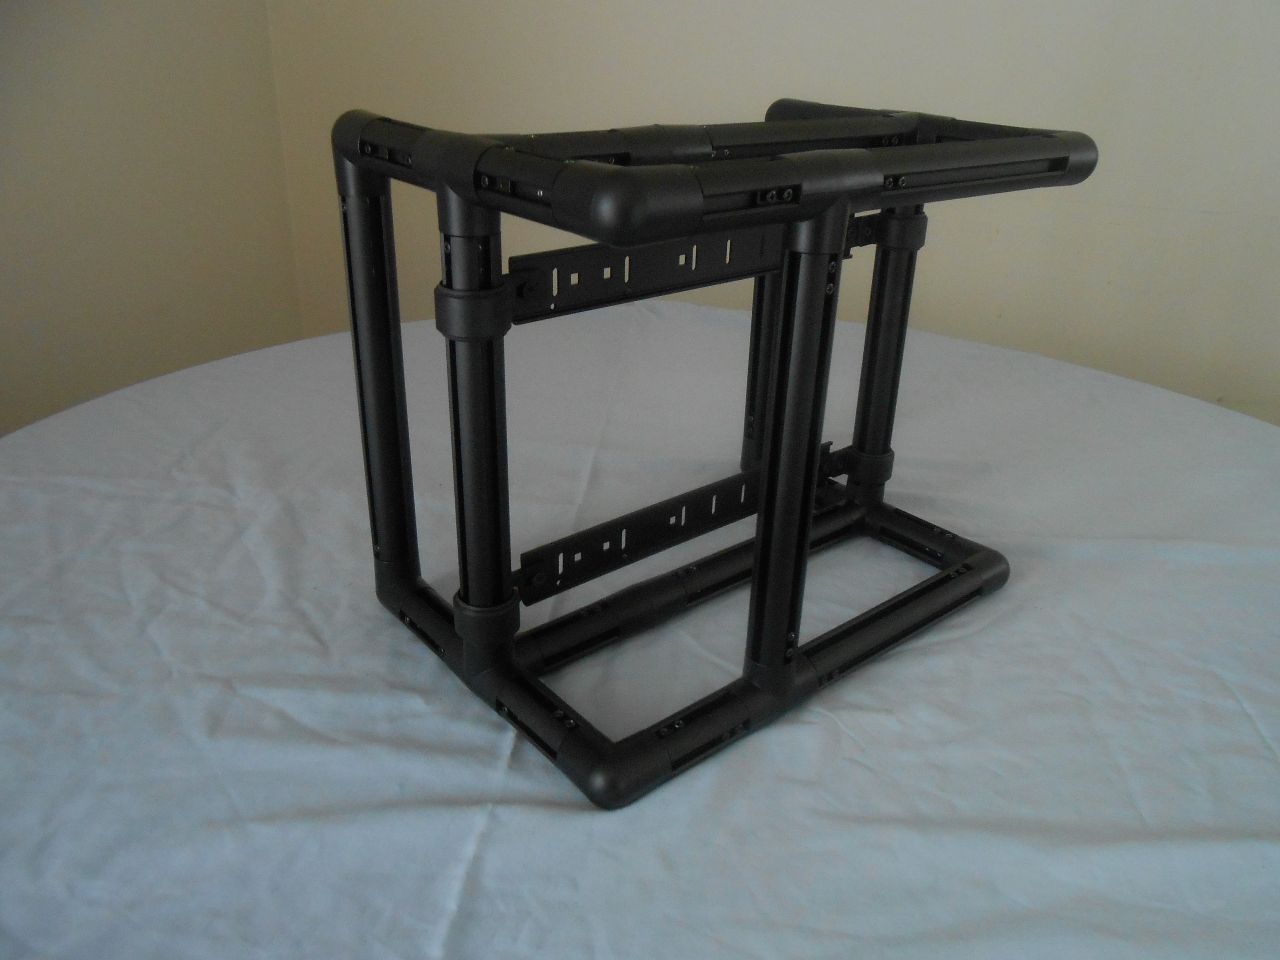
Building the Dream Box


The Builds

Conclusion
- A proper corner piece needs to be included. The ability to make a pure cube, with three beams coming away from the joiner, would make building a case easier and cleaner
- Less screws, or pre-threaded screws, would be a great upgrade. Having to thread M3 screws into holes with powdercoating in them became quite tiresome. (And while you’re at it, make them hand-tightenable!)
- Re-usable ties would be appreciated. The cable ties included in the kit are very much single use. The addition of reusable ties, or velcro strips (as I have used in the test bench images above) would add to the re-usability of the kit significantly.
- A proper HDD and SSD bracket – none was included!
- And, along the same lines, a SFX bracket would be appreciated. In most case products, a SFX to ATX adapter would work, but in an open design like the Dream Box, it seems the same adapter would lead to wasting of space and external volume.
Overall, I really like the Dream Box. While there are a few areas that need improvement in my opinion, the overall package is a very good product.