
At 20 litres, the Raijintek Ophion Evo just hits the limit of SFF volume, but it offers a lot to entice Large Form Factor (LFF) fans to the right side of PC building – our SFF world. From satisfying the current trend of RGB and tempered glass, to the ability to mount fairly high end hardware, the chassis is a taste of SFF for the masses.
We had a quick look at the Ophion and Ophion Evo at Computex 2018, now it’s time to look deeper at the Ophion Evo. Ophion was an elder Titan god in Greek mythology, ruling the Earth – lets see if the Raijintek chassis lives up to the name.
The Specs
| Model | Ophion Evo |
| MSRP | 130 EUR (Approx US$150 at time of writing) |
| Dimensions, including all protrusions and case feet) | 290mm (H), 185mm (W), 375mm (D) (20.1 L) |
| Motherboard Support | M-ITX |
| Drive Support | 2 x 2.5″ at the front, 2 x 2.5″ or 1 x 3.5″ at the bottom if fan is not installed |
| Expansion Card Support | Dual slot, up to 330mm |
| Cooling Support | 2 x 120mm top, 1 x 120mm bottom. CPU cooler up to approx 80mm |
| PSU | ATX, up to 250mm depending on top cooling loadout |
| Material | Steel, Aluminium, Tempered Glass |
| Colour | Black |
As a side note, the Ophion (Air) will be hitting the markets at the same time, around the end of August 2018, at a MSRP of 110 EUR, or roughly US$120.
The Case
Here it is, in the metal, the Raijintek Ophion Evo. This variant of the Ophion line is focused on watercooling, be it custom loop or a closed loop cooler. Made from a mix of aluminium, steel and tempered glass, offering what could be a value for money focused chassis.
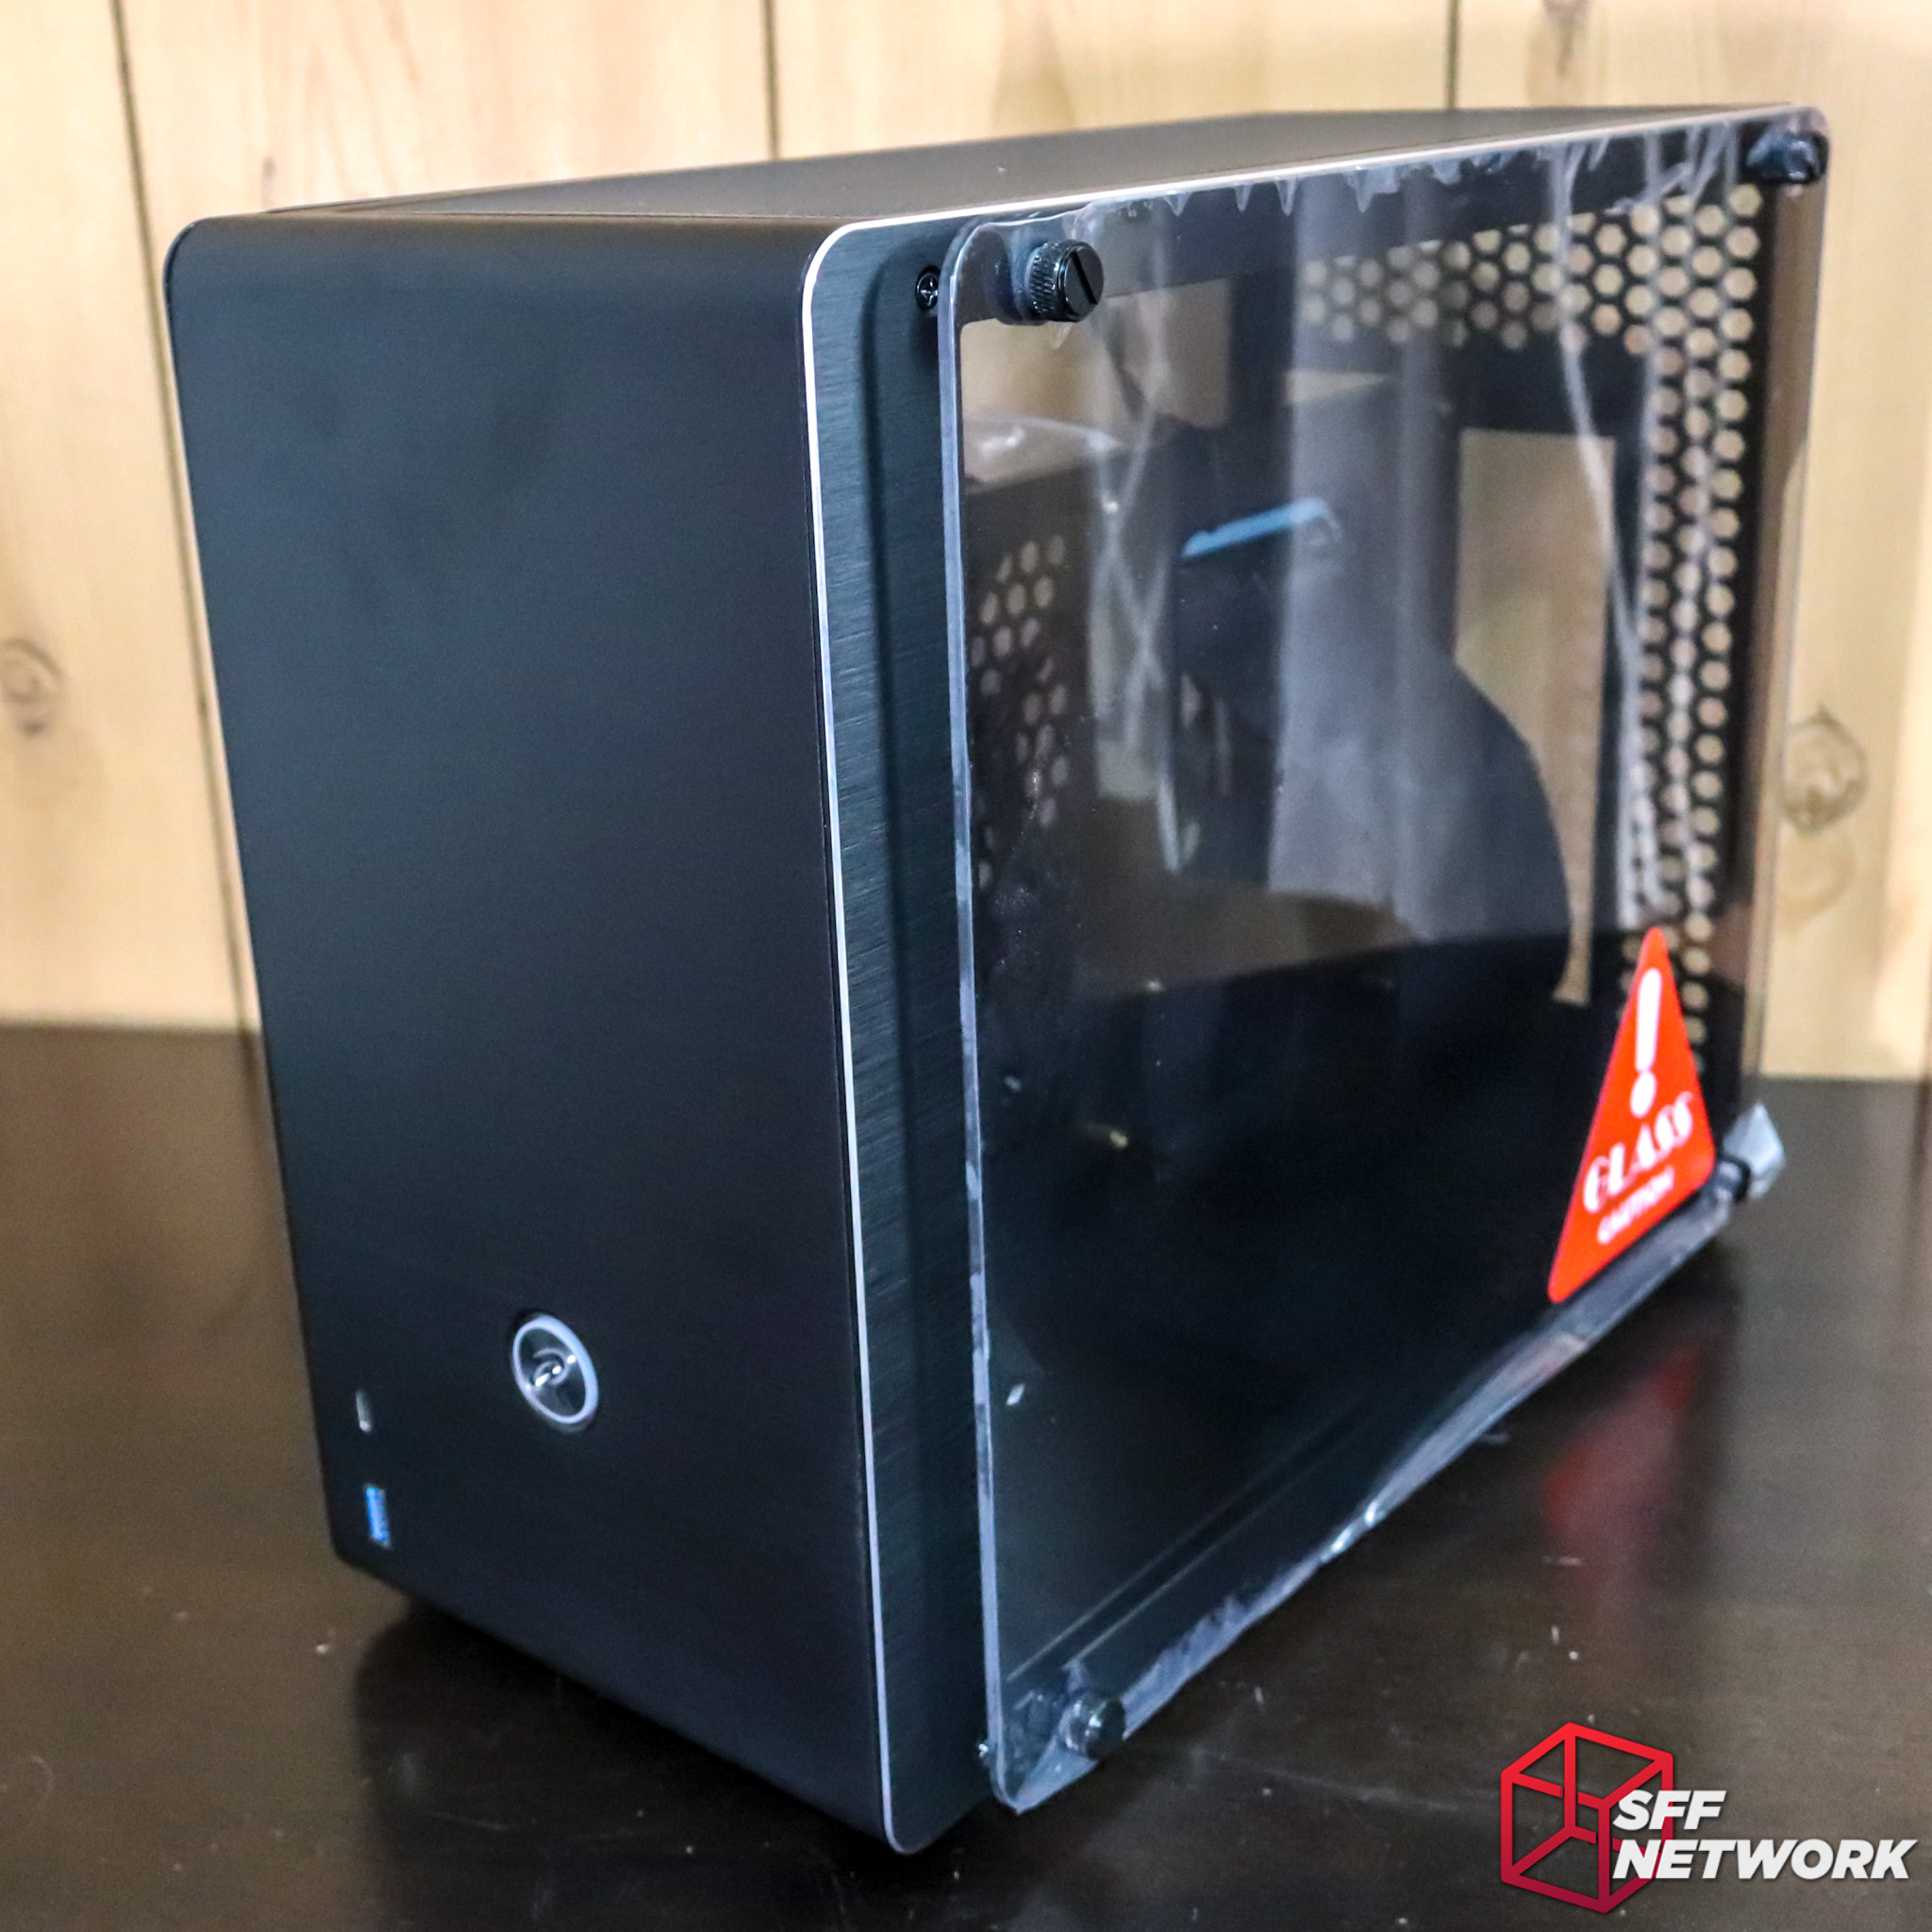
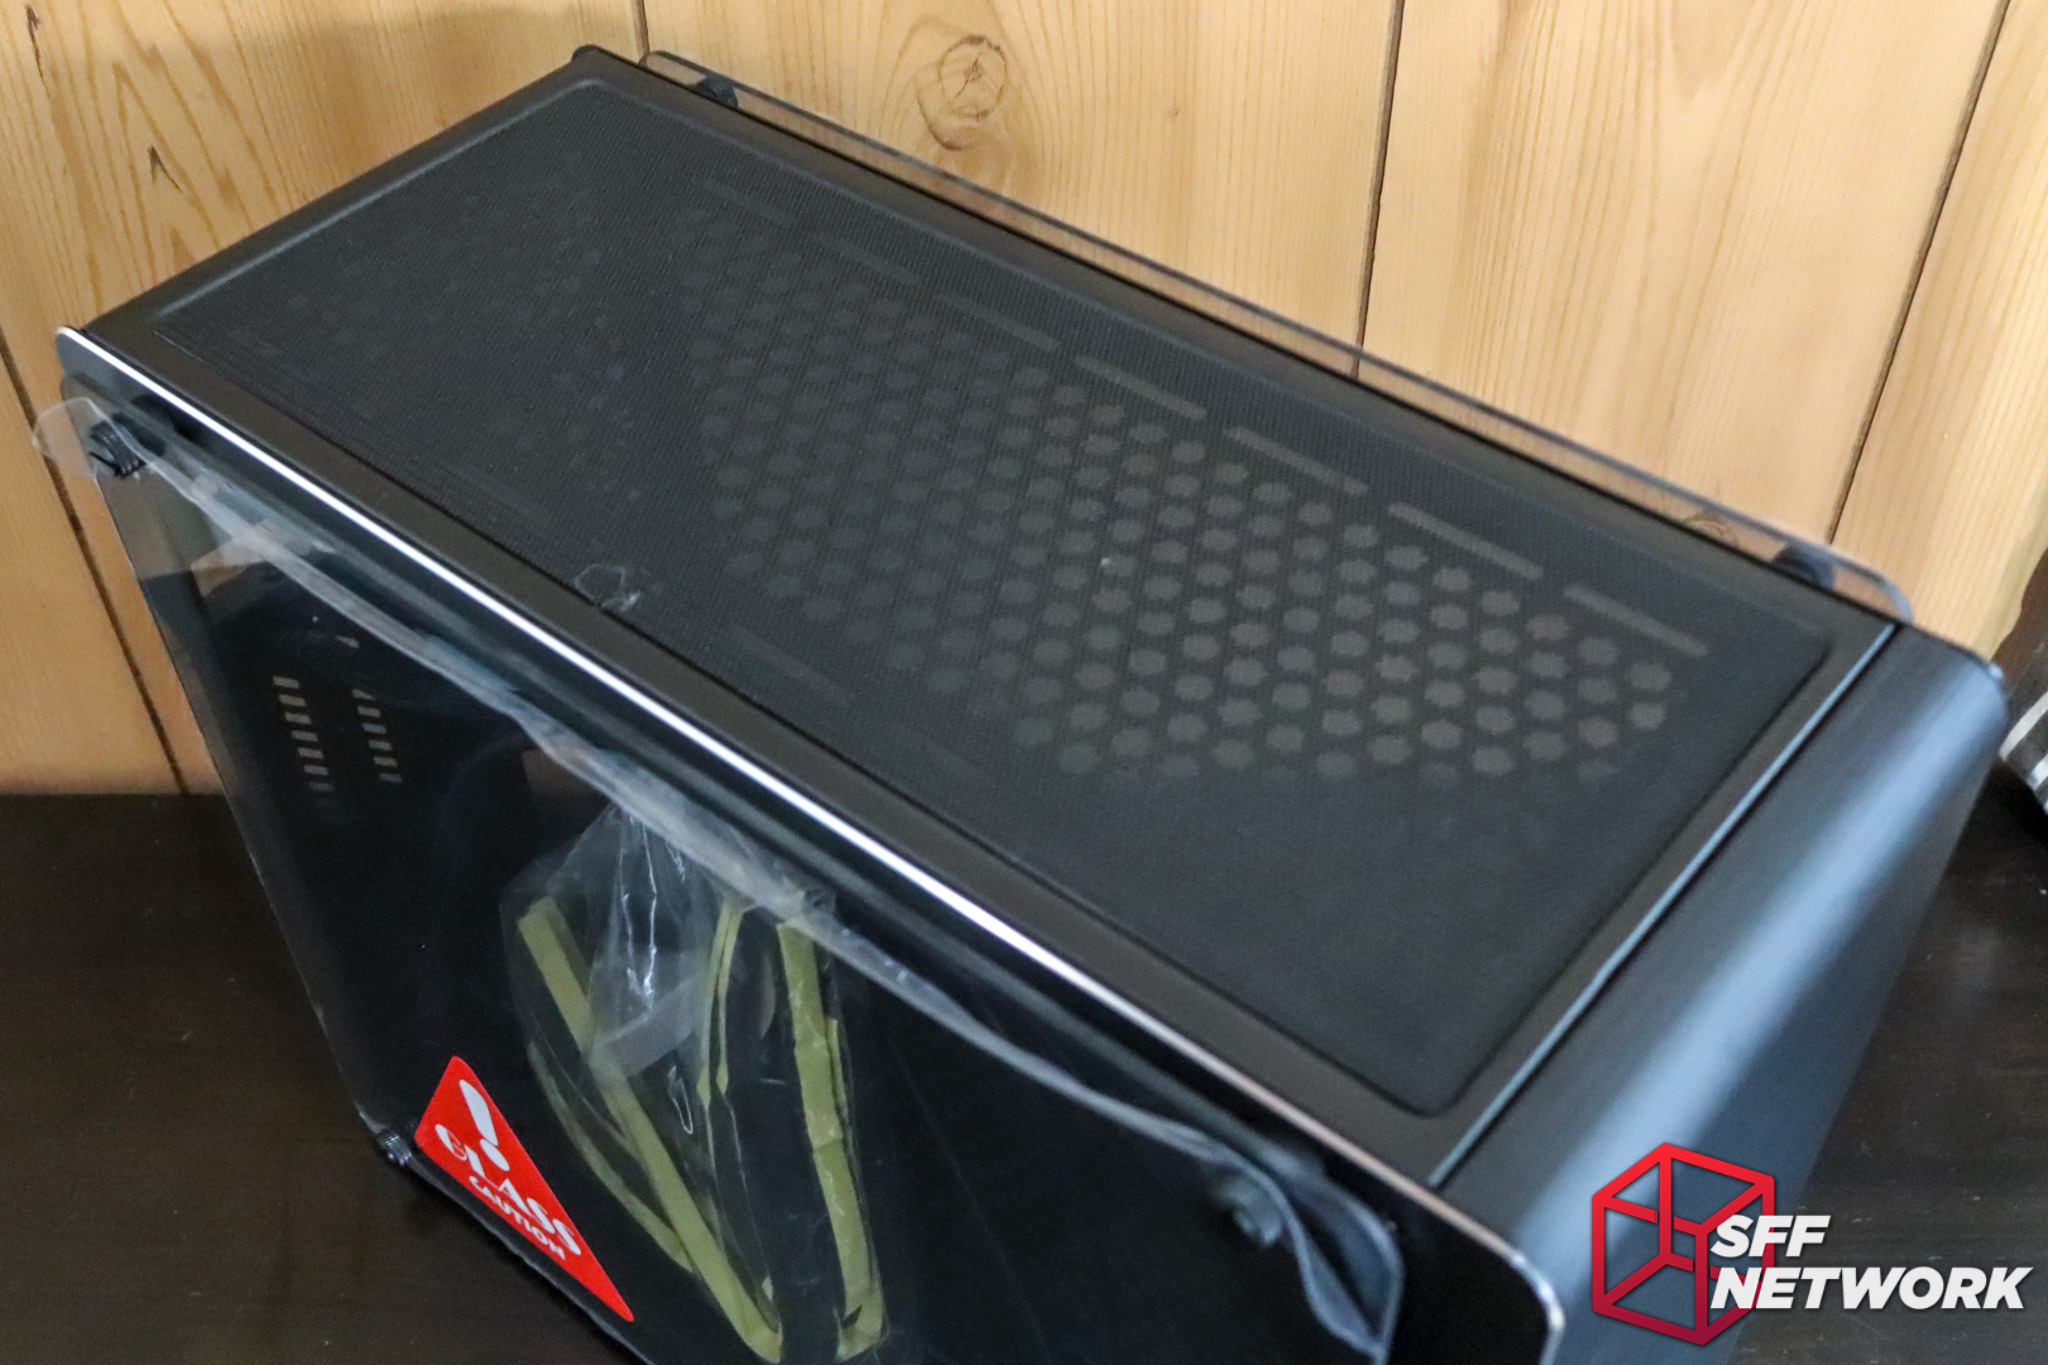
Finished in a black anodising, with a diamond-cut style edge, the Ophion is going for a premium look, not a particularly flashy one. Leave that to the lighting, I figure. An interesting design aspect is already apparent – the spacing of the glass away from the chassis. No airflow blocking here, unlike some LFF mainstream cases.

A symmetrical design is implemented, with tempered glass on each side.
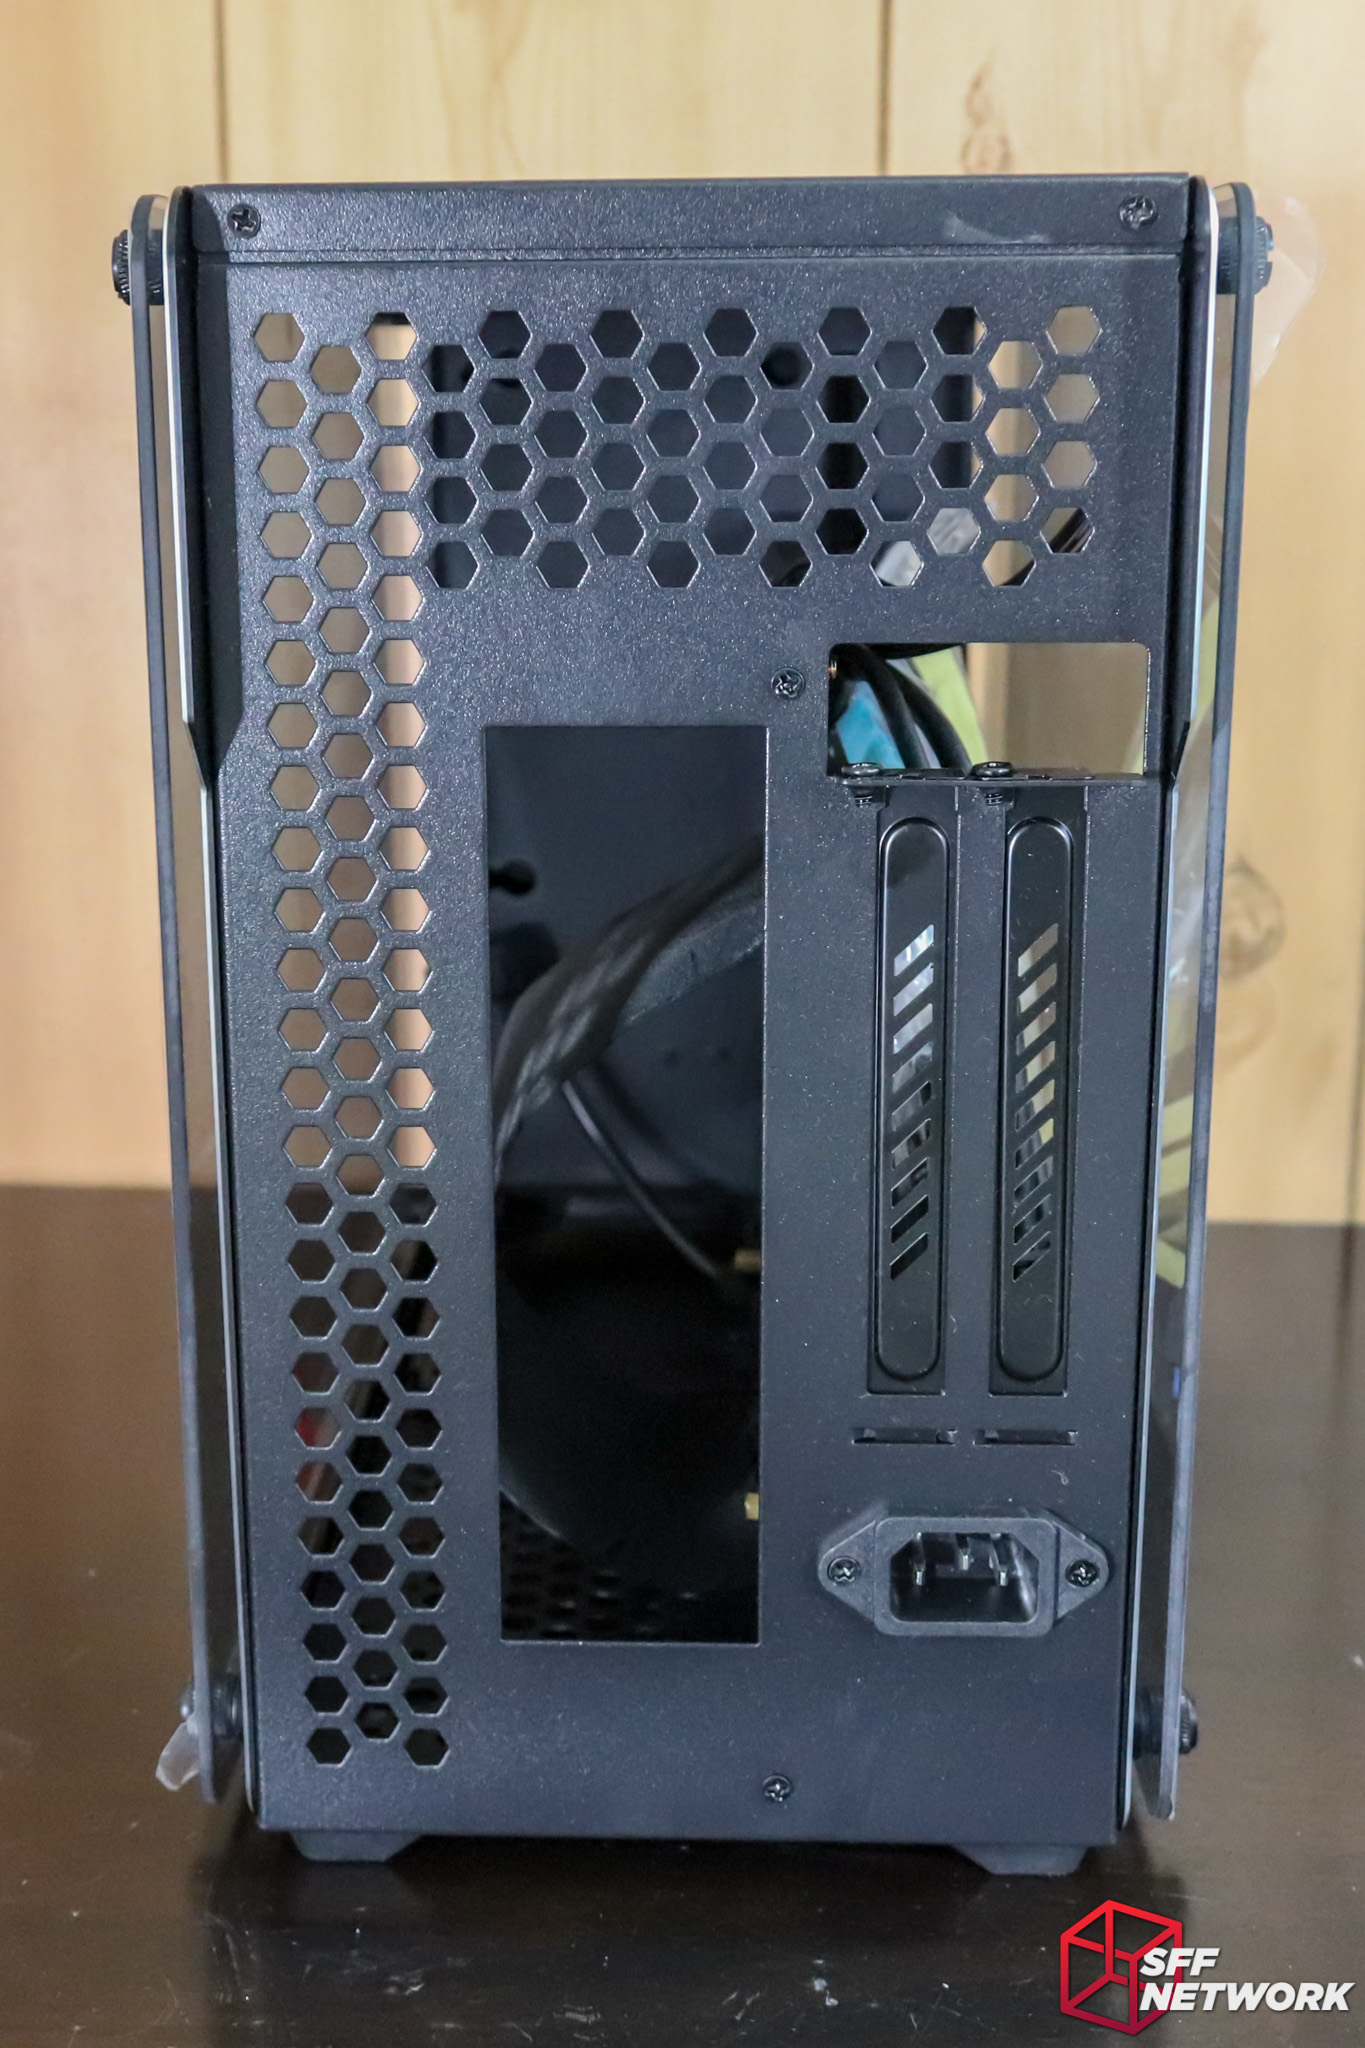
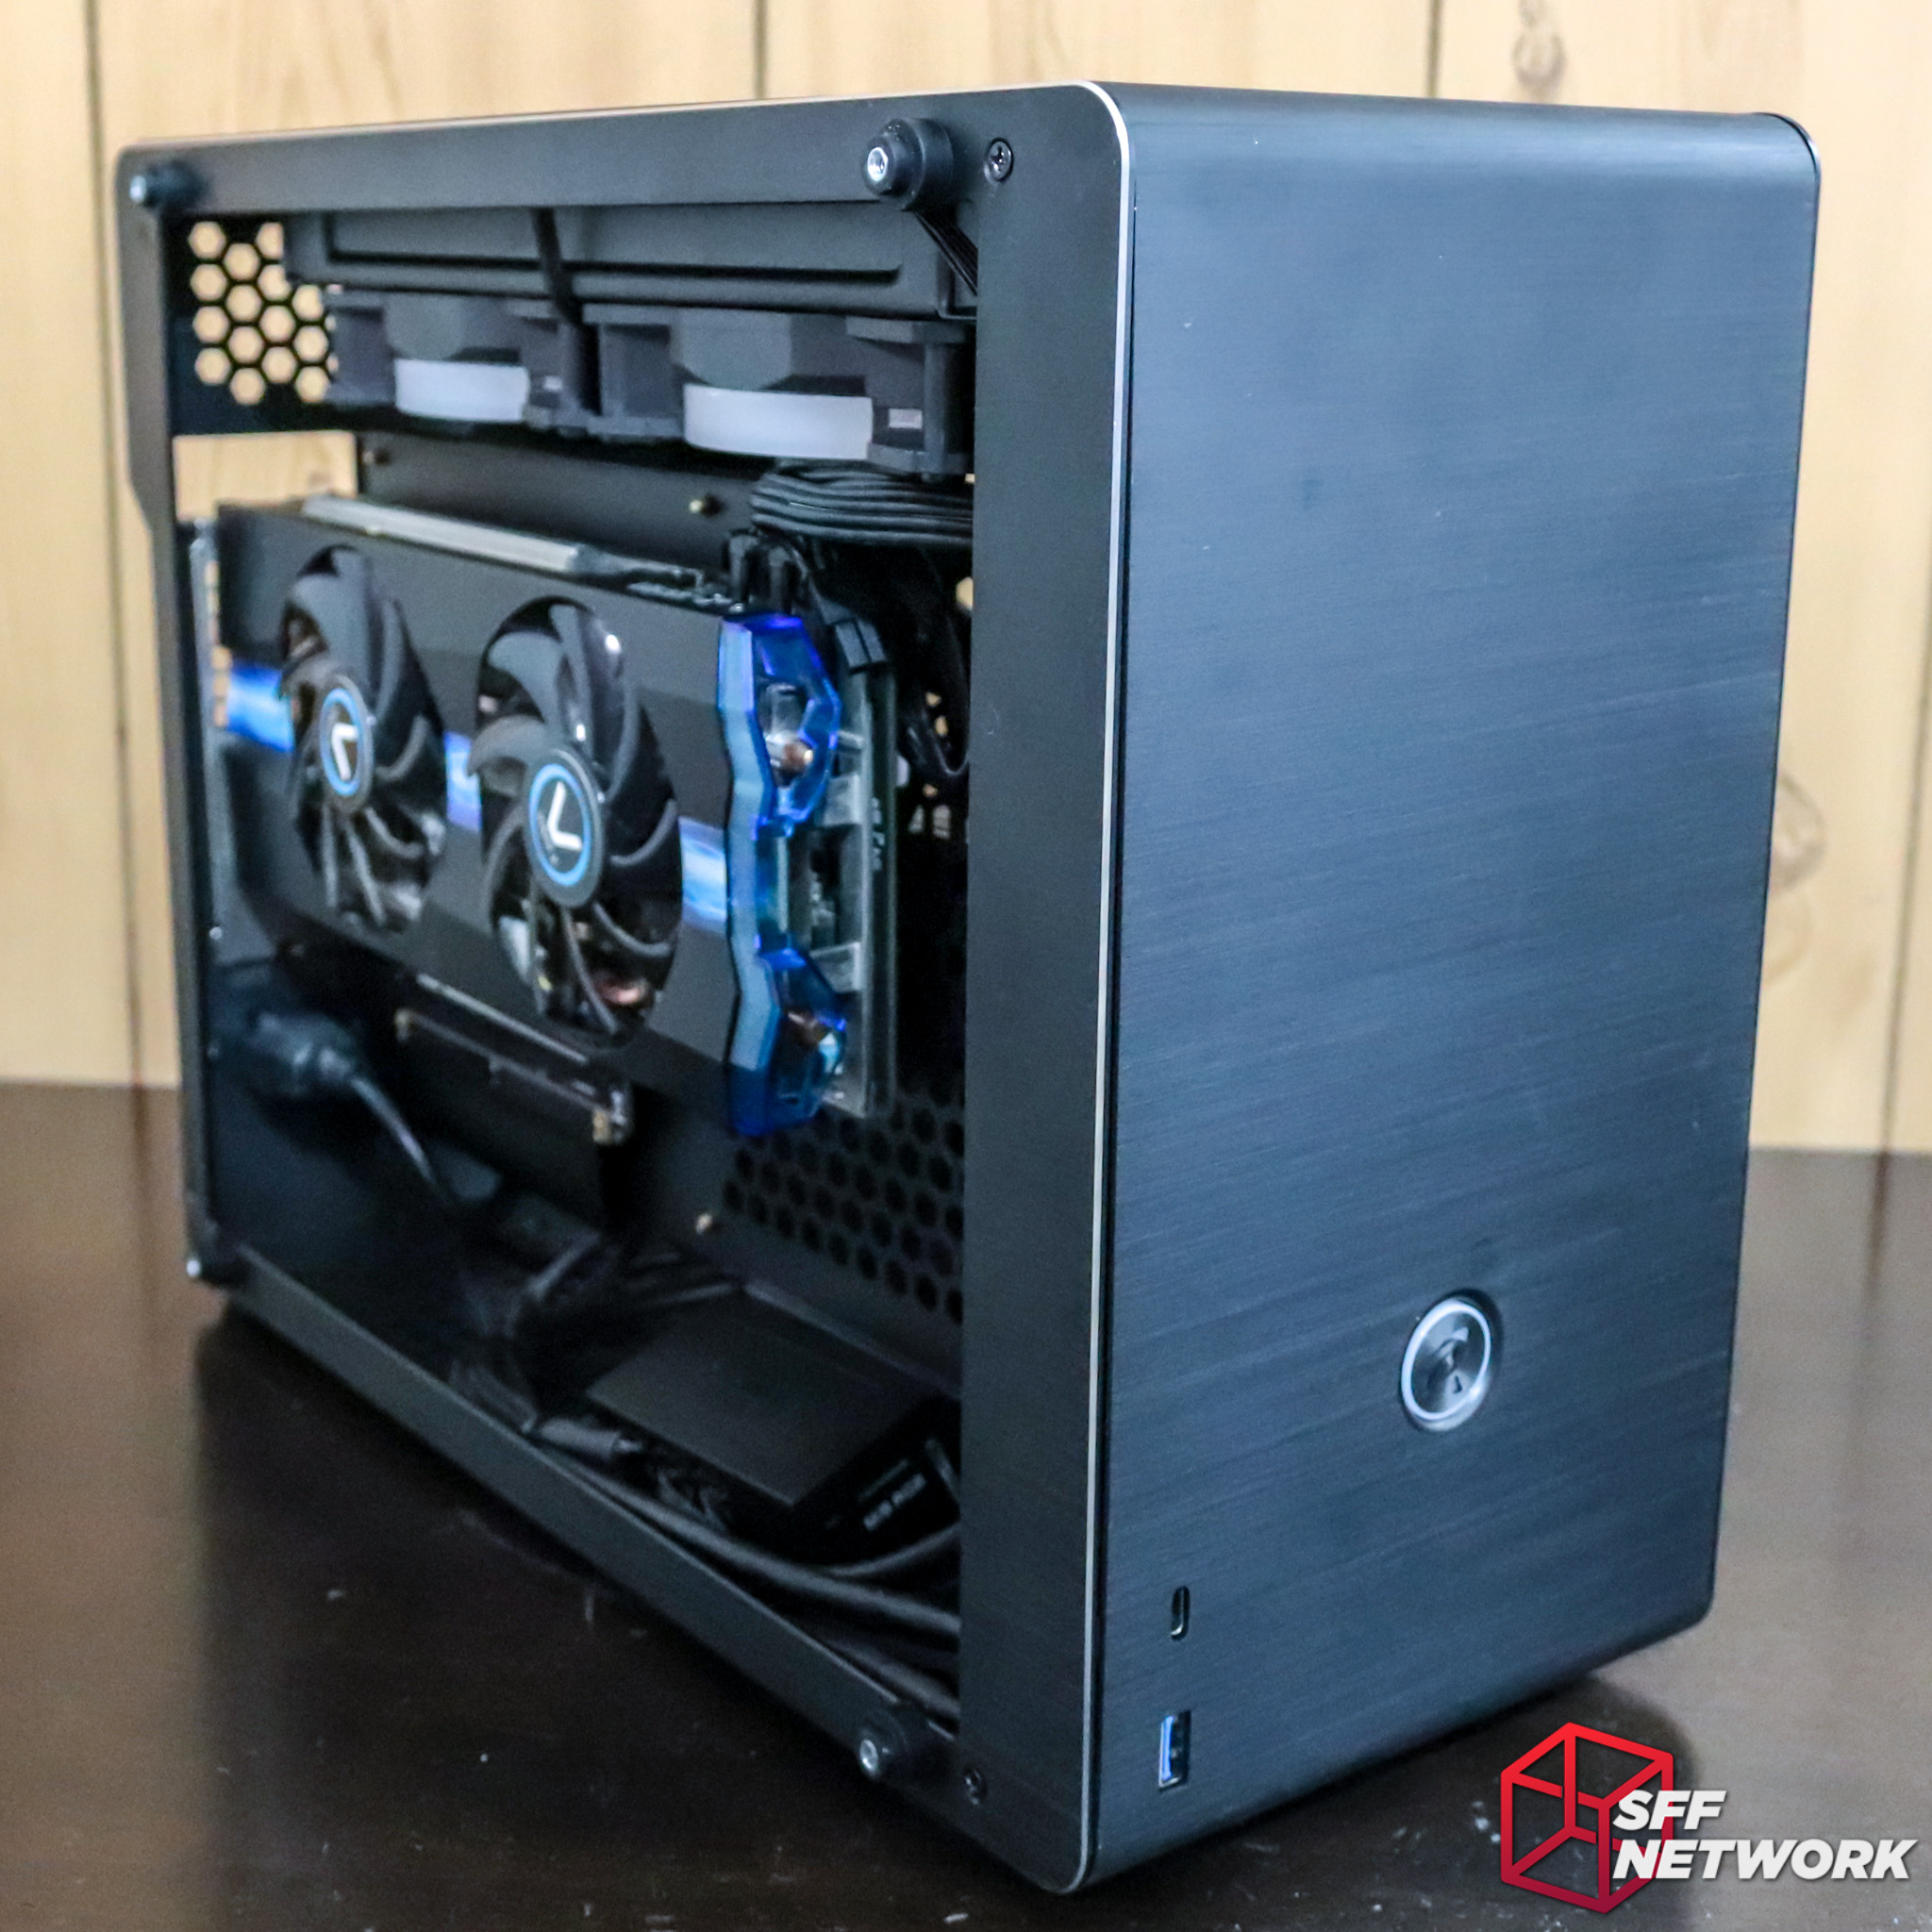
A back-to-back layout – ideal for showing off all your hardware. Only single or dual slot cards need apply, however, if you’re running a triple slot card, what are you doing looking at SFF? Be gone, heathen.
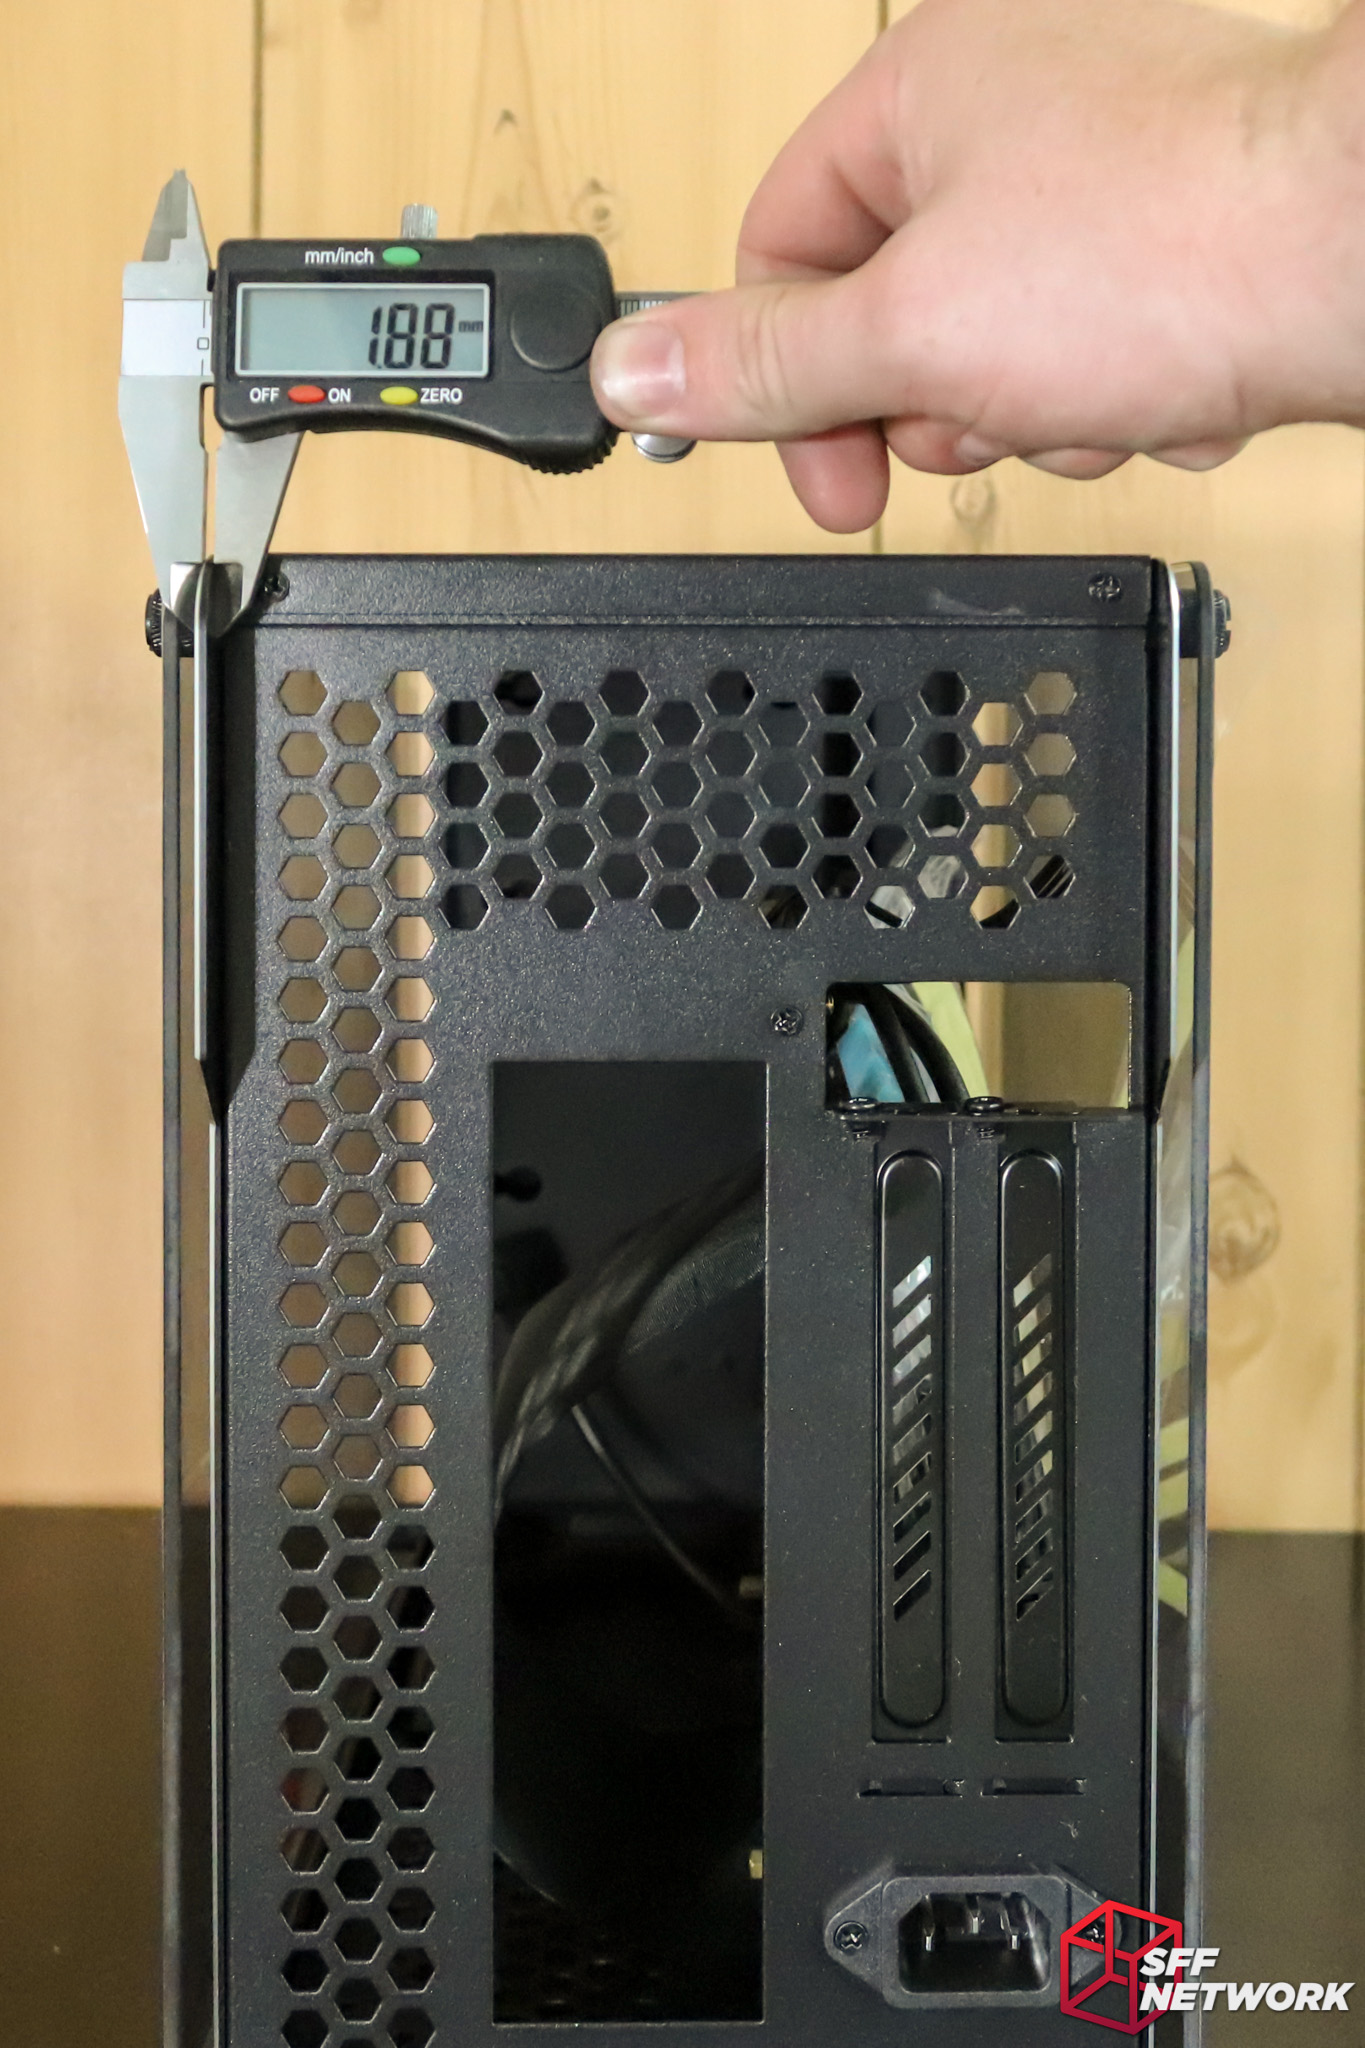
The aluminium side panels measure in at just under 1.9mm thick. The two panels, as well as the front curved portion are made from the same thickness material.

2.86mm thick tempered glass!
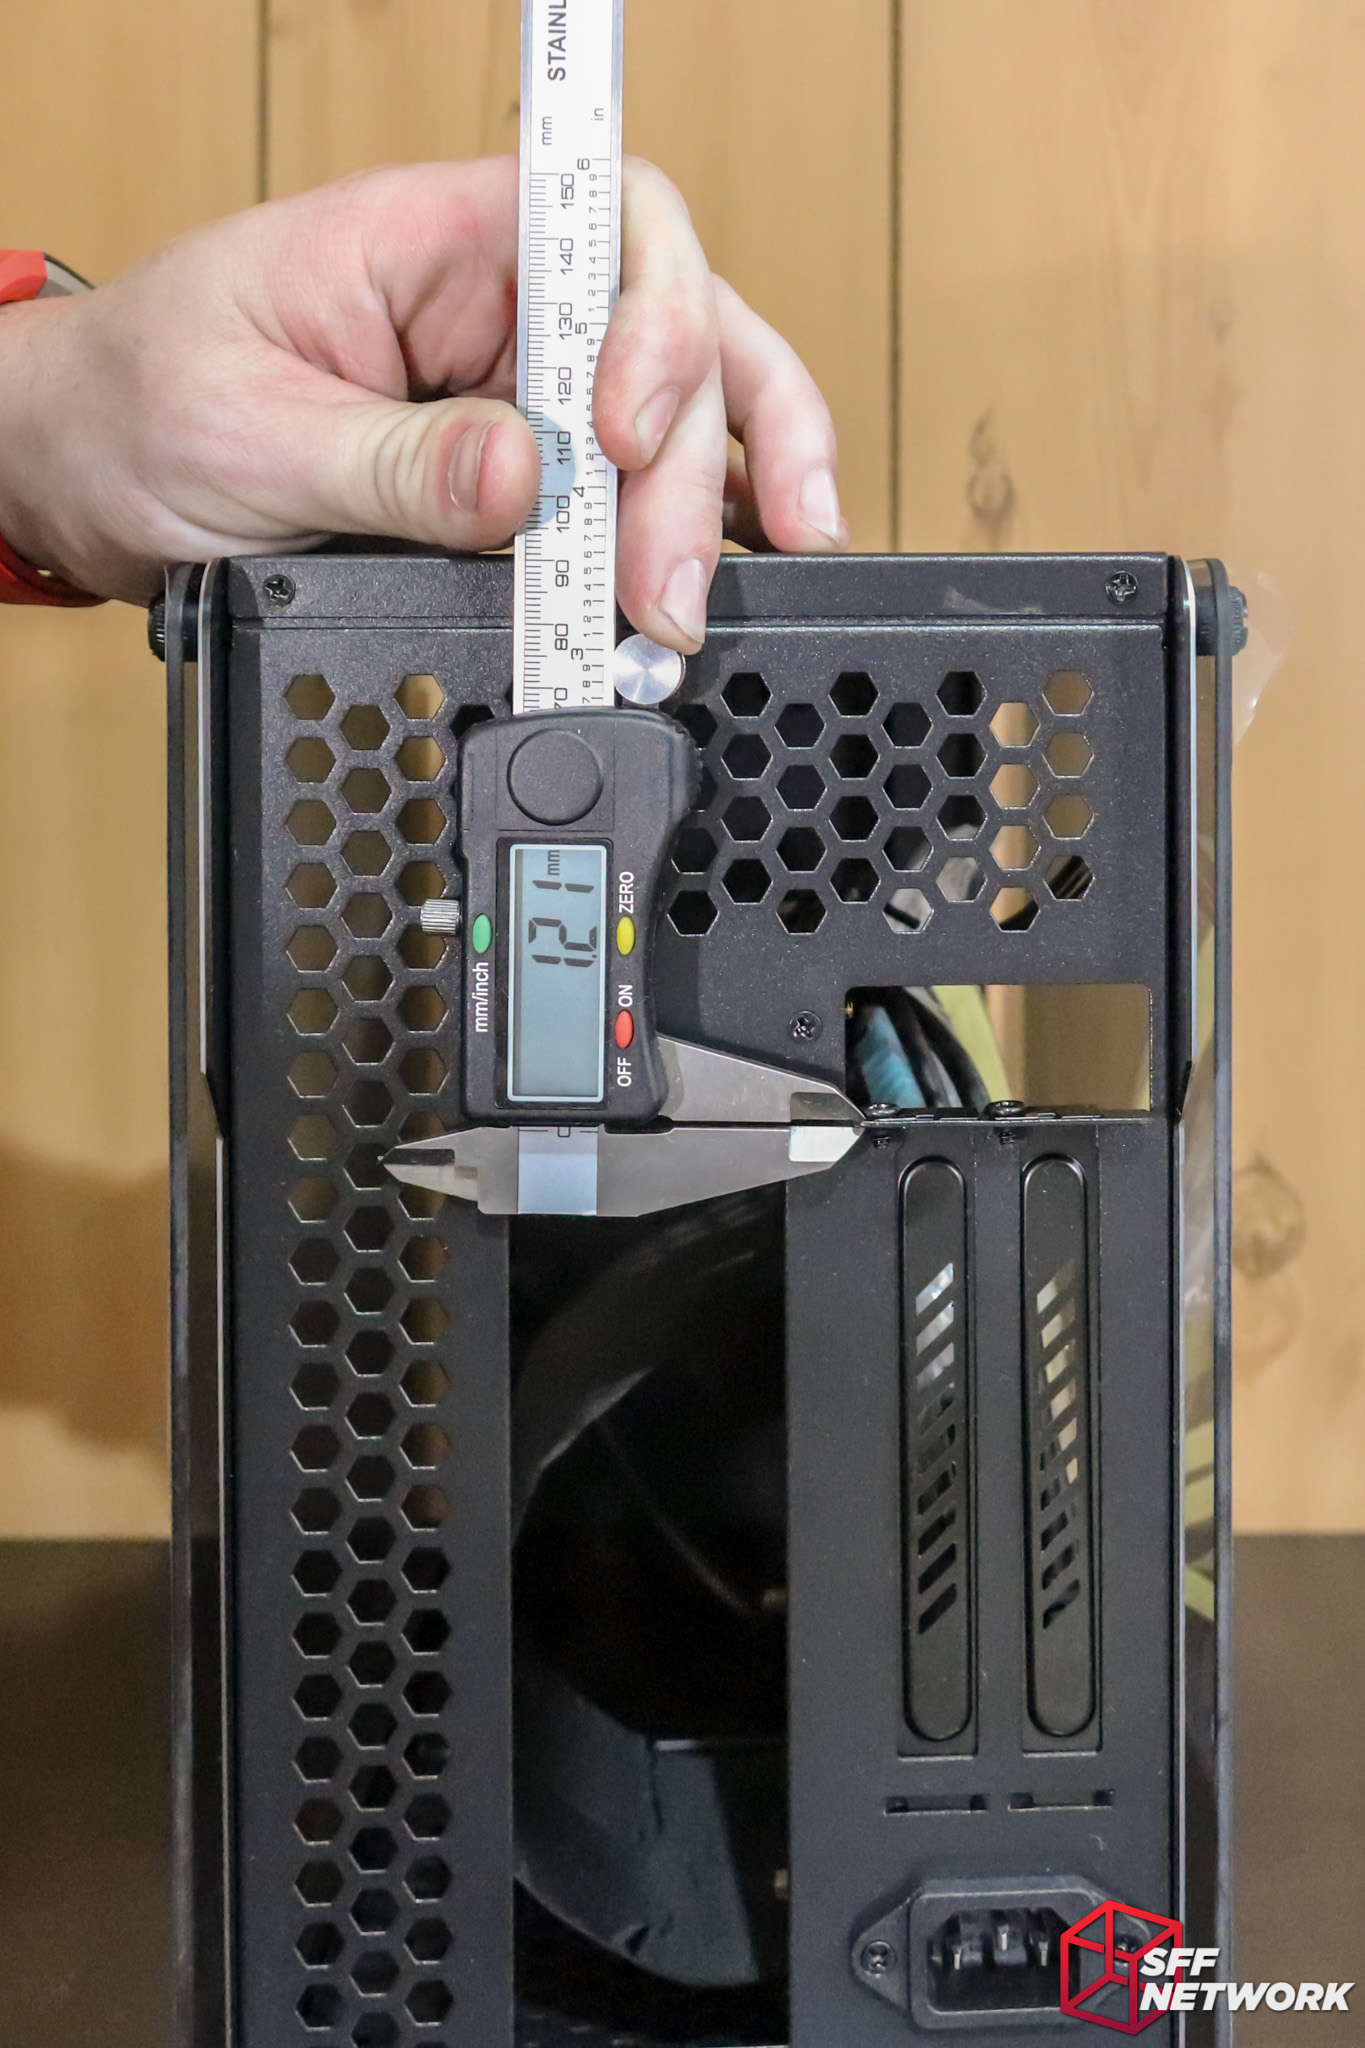
The steel chassis itself, including the powdercoating, measures in at a stout 1.2mm – much thicker than the usual 0.7mm SECC steel found on lower end cases.

175mm in width, including the thumbscrews that hold the glass on.
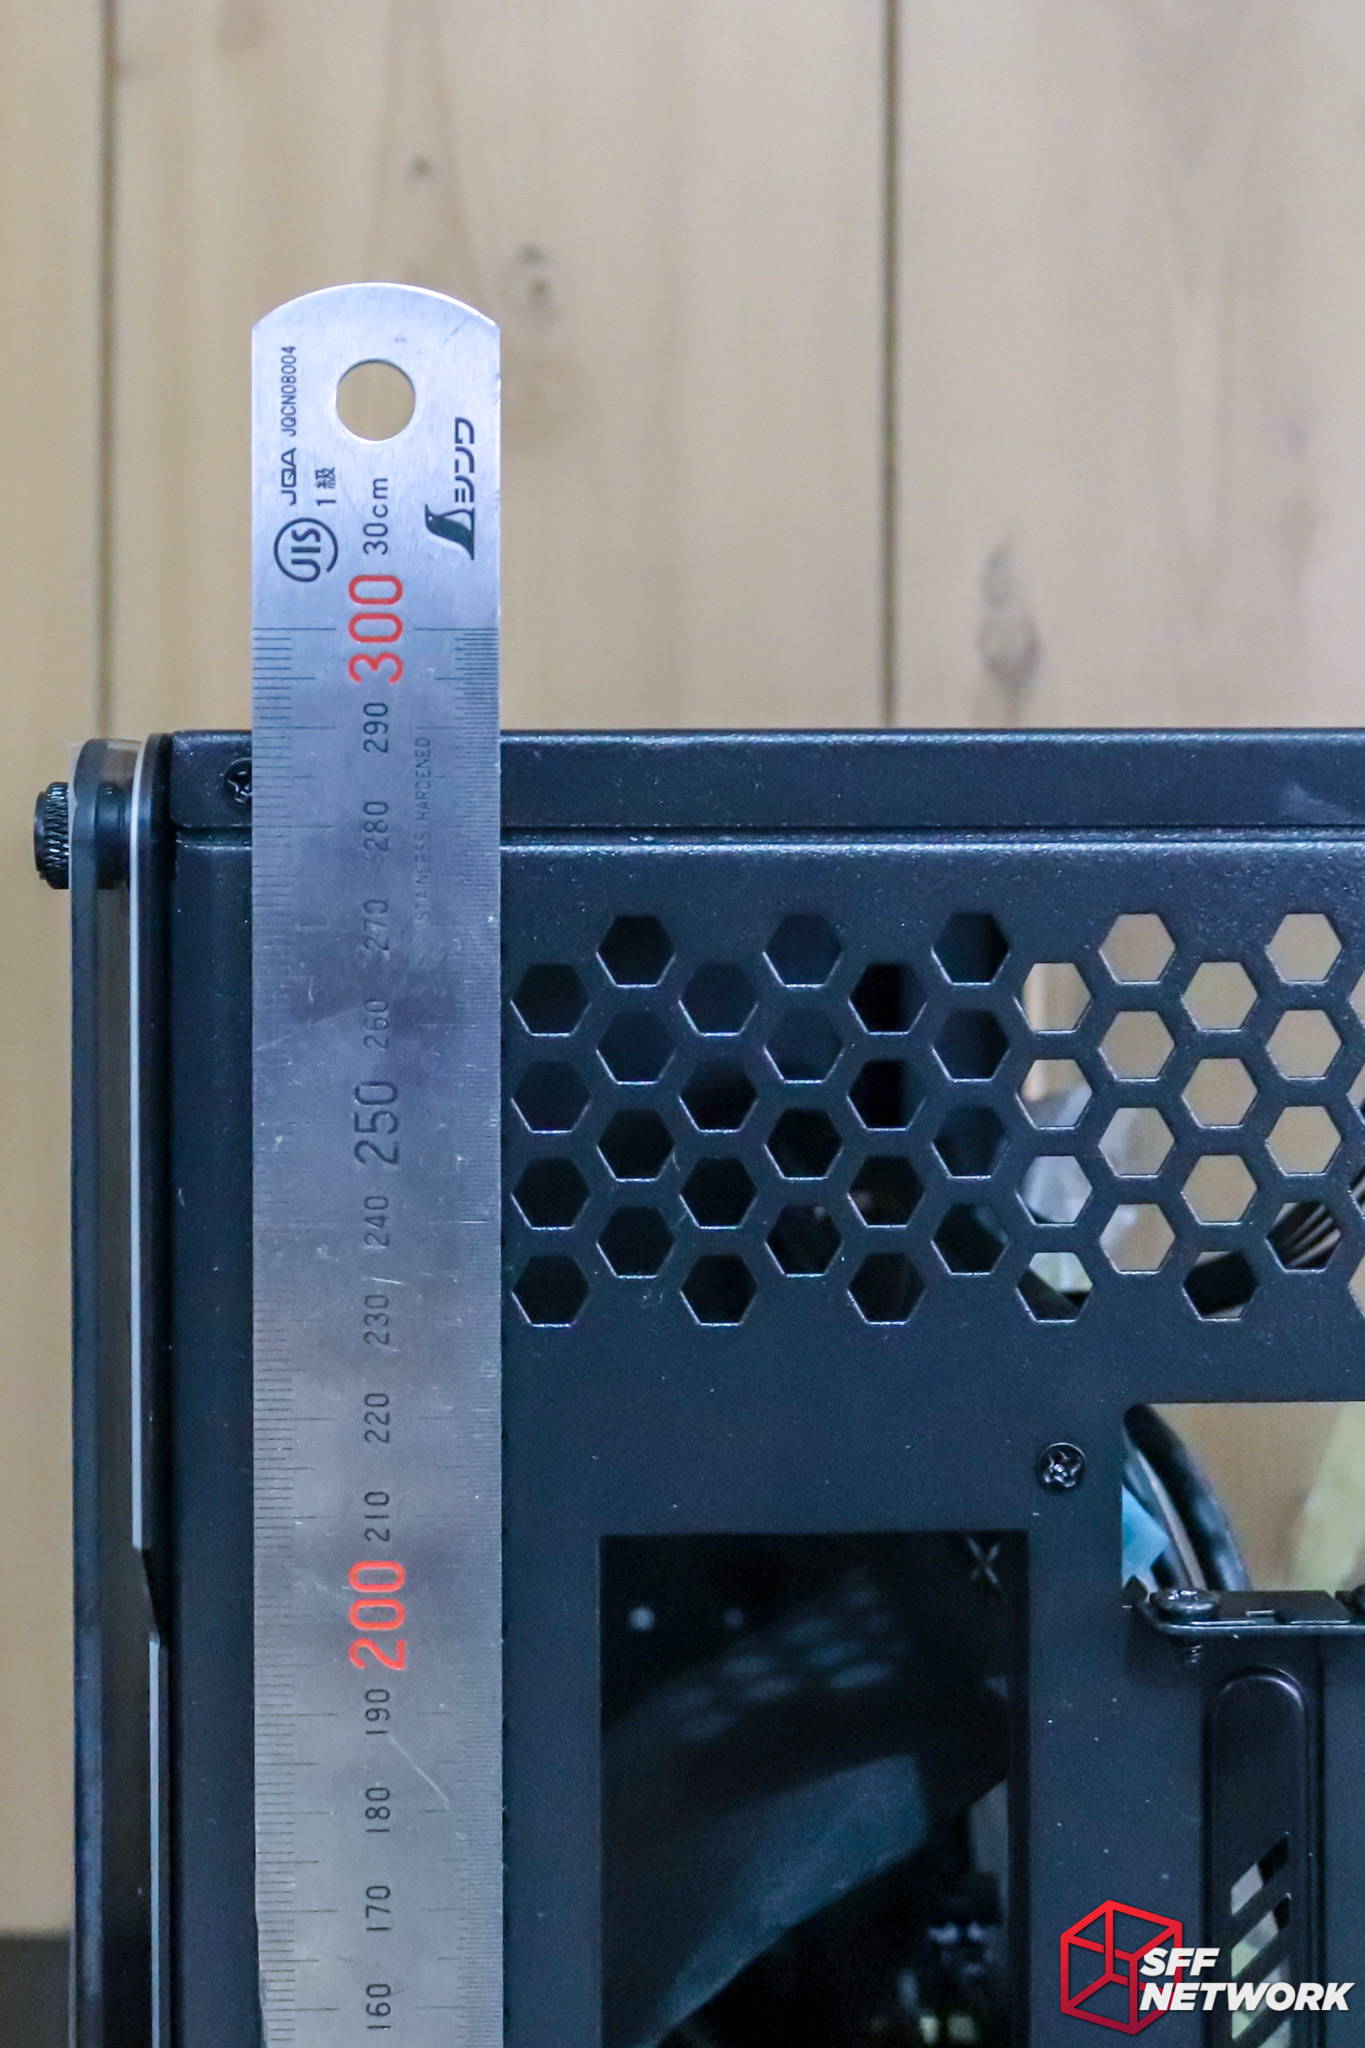
Including case feet, we’re measuring in at 290mm. Combined with the 375mm depth, we have a total of 20.1 litres. Just larger than SFF’s “official” volume limit. A little big, but I’d consider this a much better stepping stone to SFF than the likes of the Corsair 250D/380T, Phantek Evolv ITX or the Bitfenix Prodigy. If you’re going small, go small dangit!
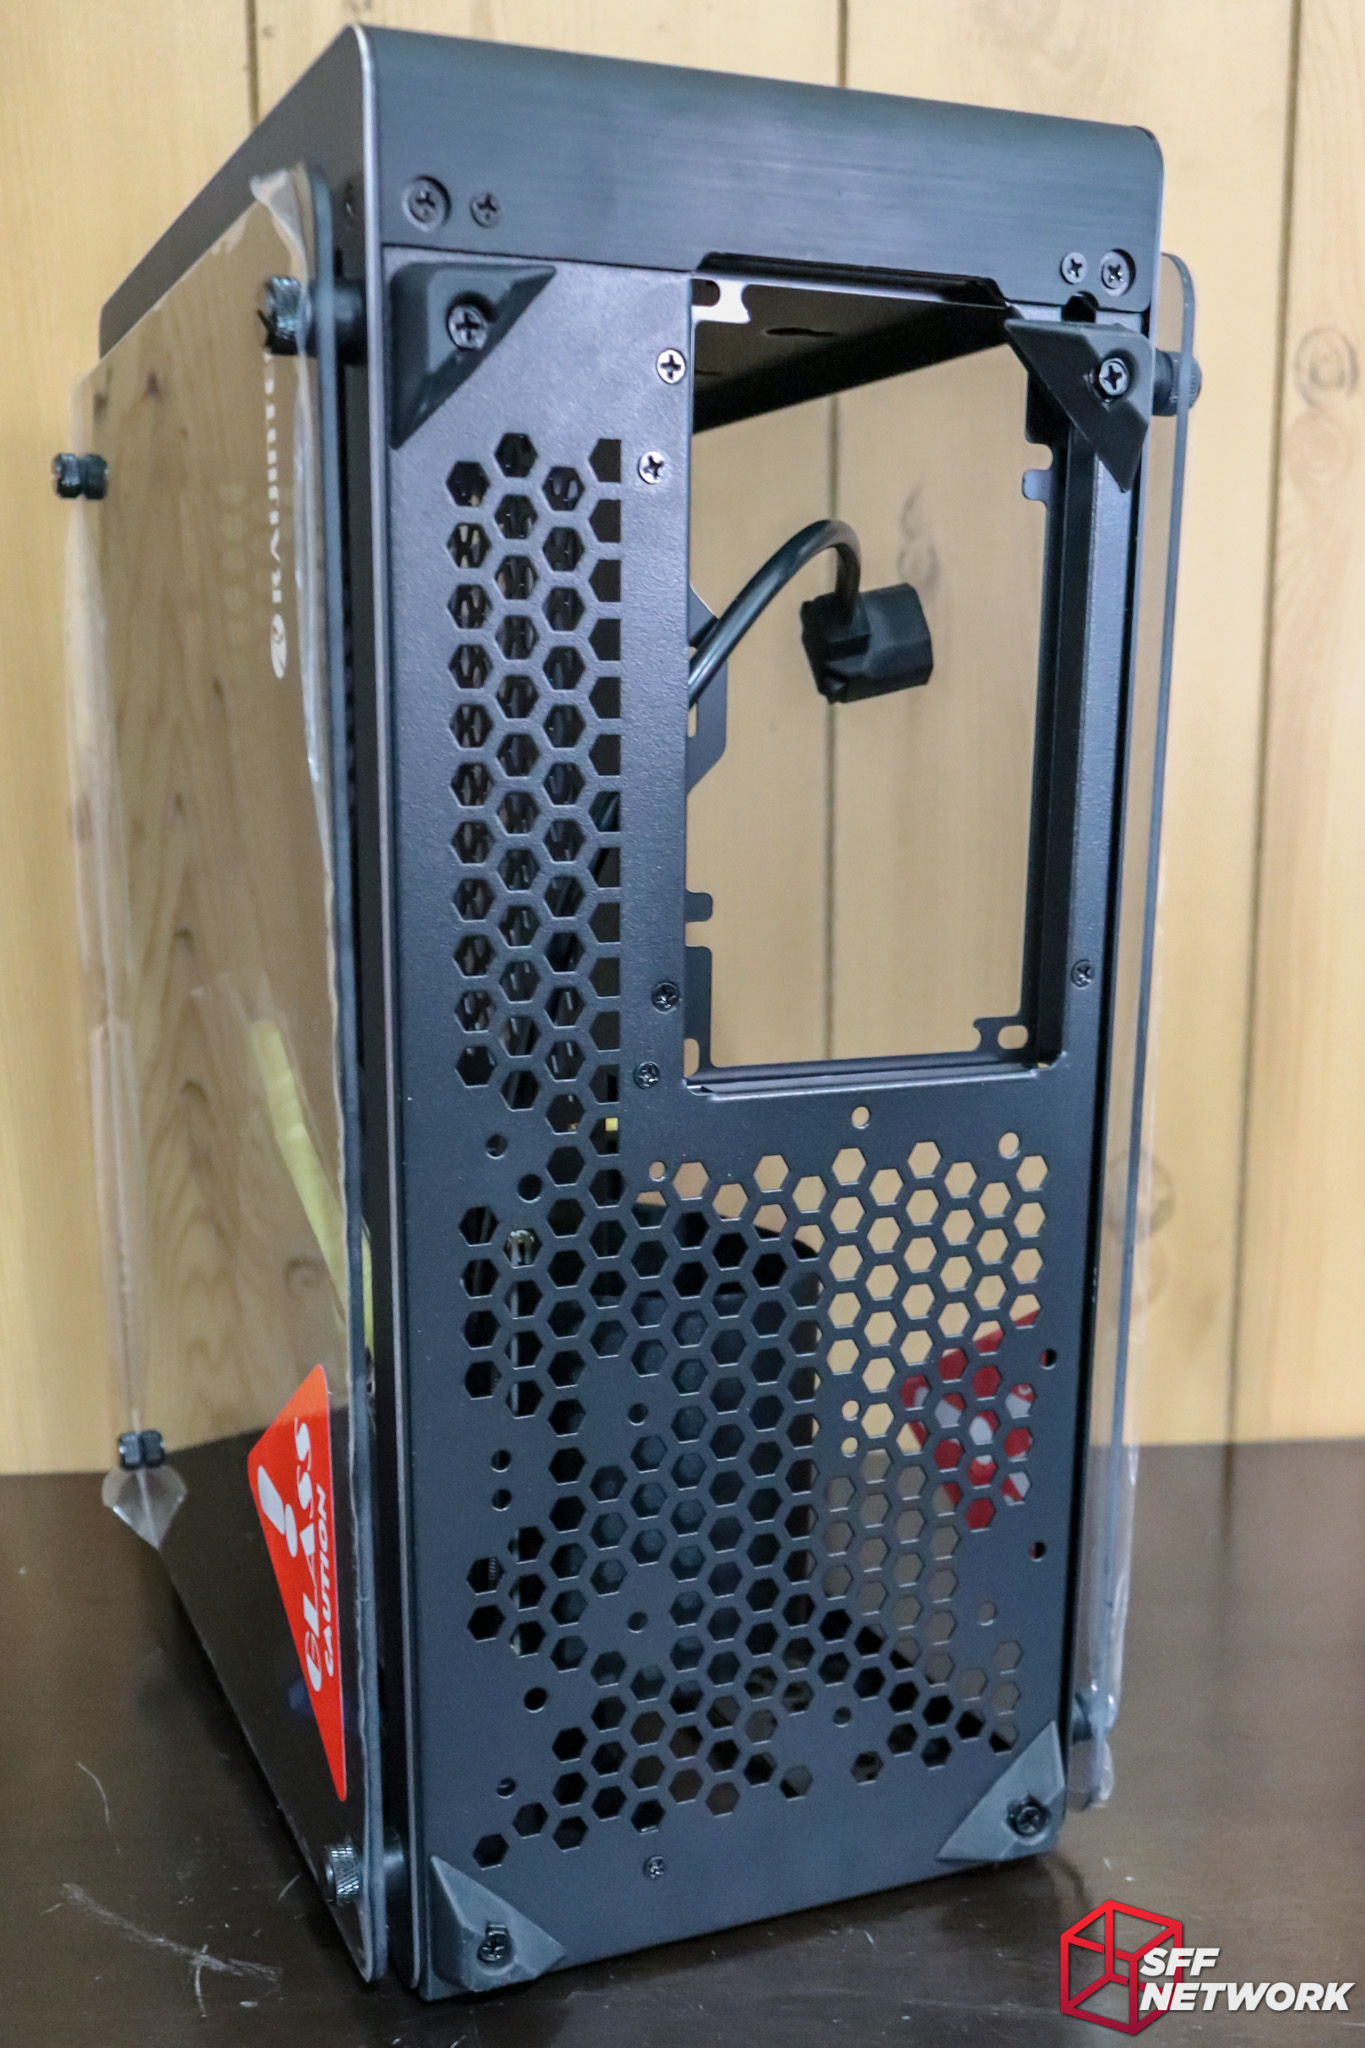
The top exhaust section is filtered. “But what good does that do” you ask? Well, such a filter prevents passive dust accumulation – dust that enters your system via gravity and regular airflow once your system is powered down. Plus, it smooths out the aesthetics!
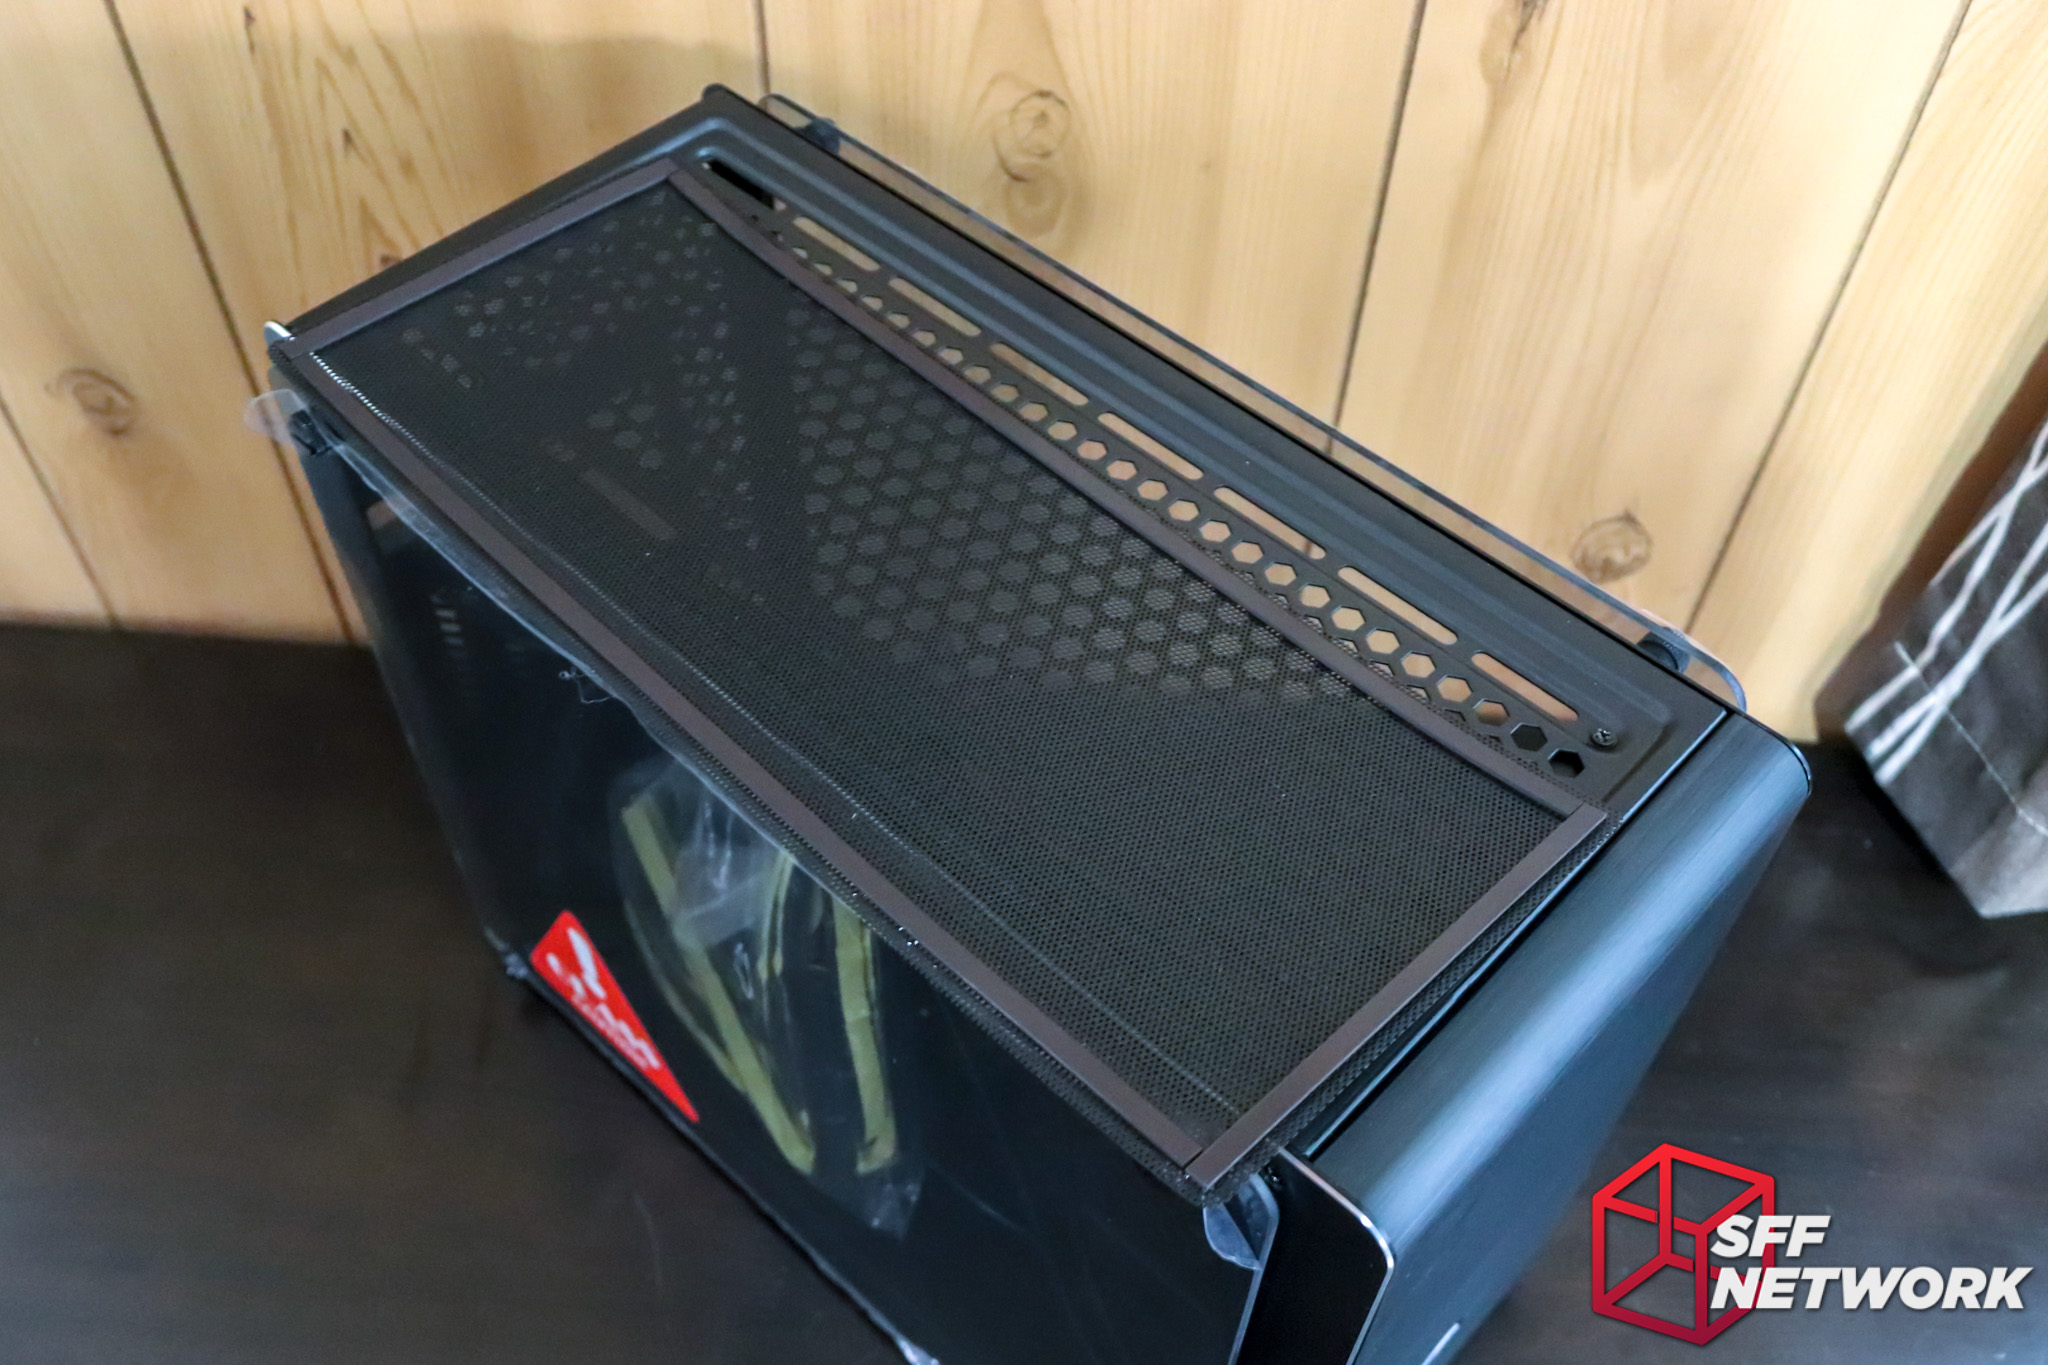
Magnets! The filter element is held down with strip magnets.
Yeah, the filter hides the necessary ugly caused by supporting a large range of possible cooling options.
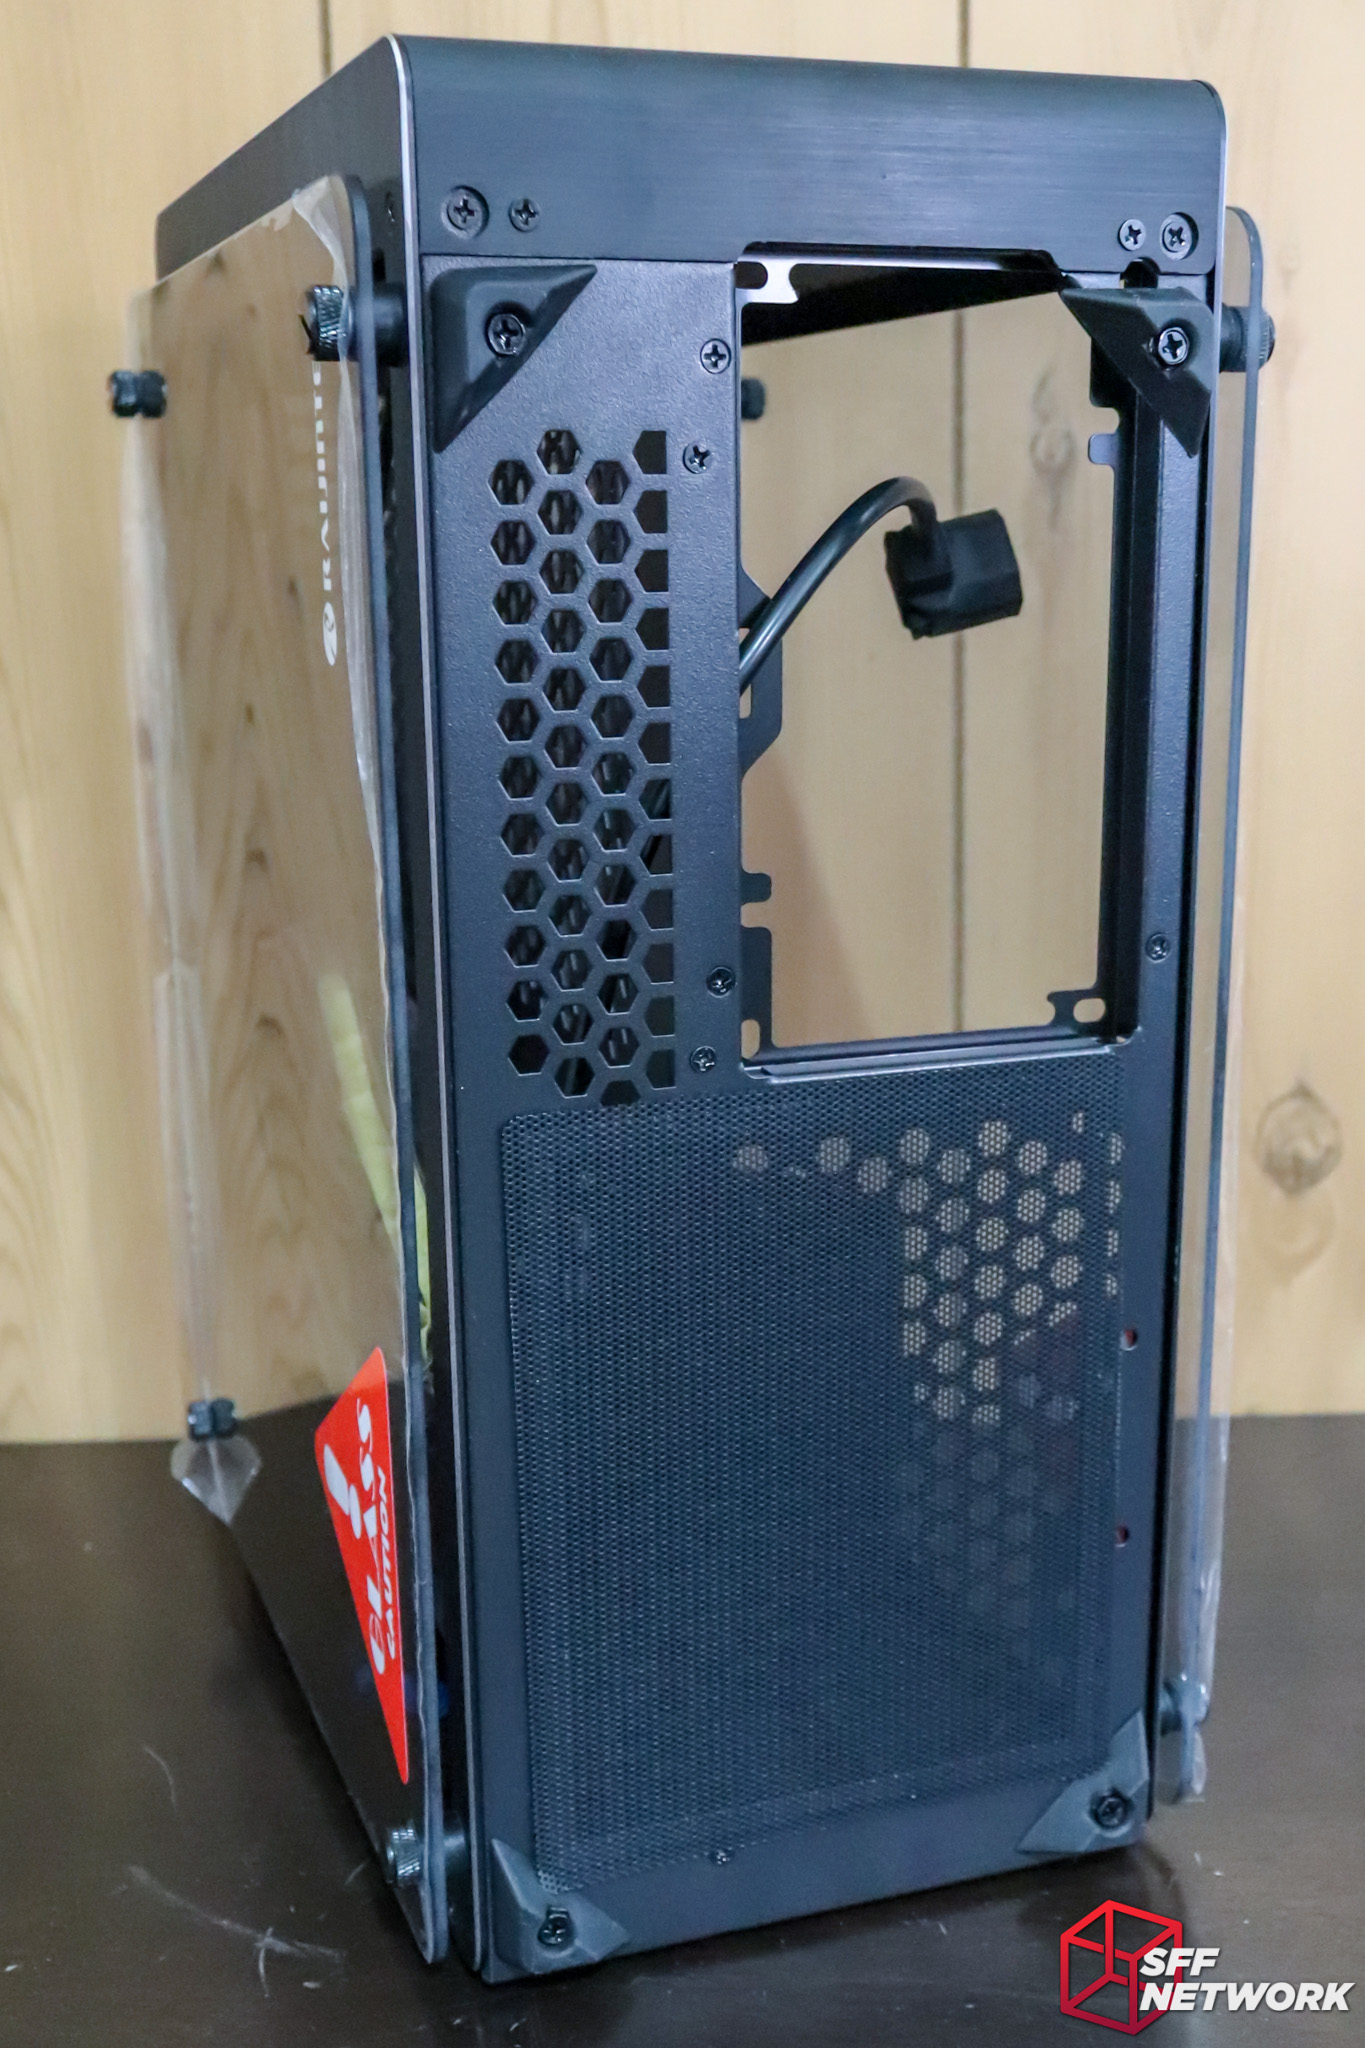
At the bottom of the Ophion Evo we see where the PSU resides, with support of up to an ATX power supply. Another magnetically mounted filter for a possible bottom mount intake fan is included.
The case’s feet aren’t just any old fare, with an angular styling allowing for maximum PSU and intake airflow.
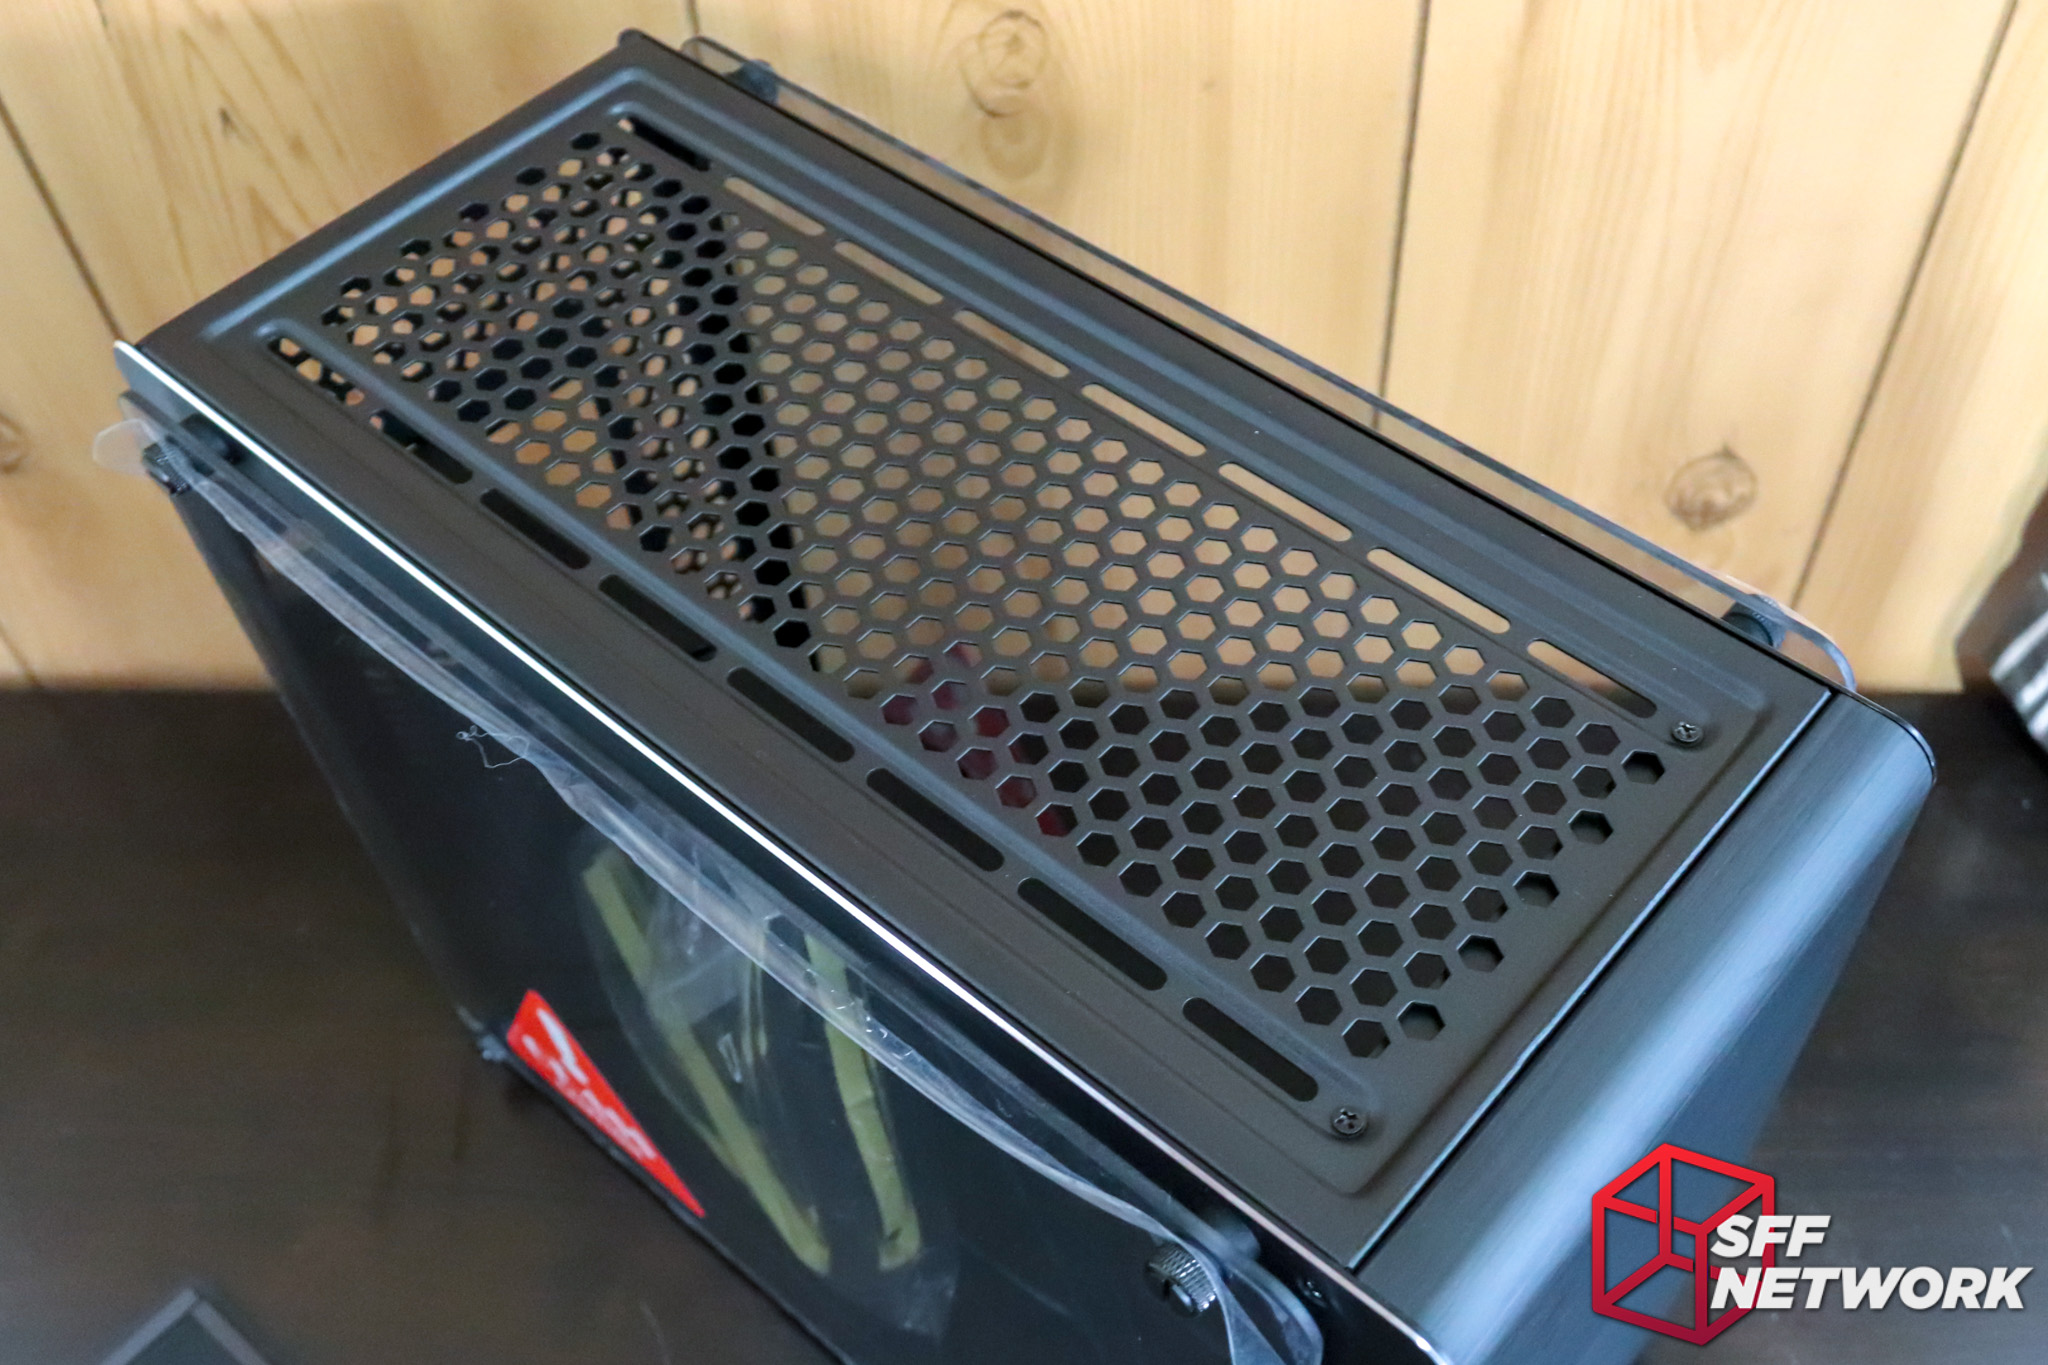
Without the filter, we can see the various holes for bottom mount options – an intake fan (120mm), a single 3.5mm hard drive, or dual 2.5″ drives. No vibration dampening on these bottom drive mounts – I’d advise against using a mechanical drive here.
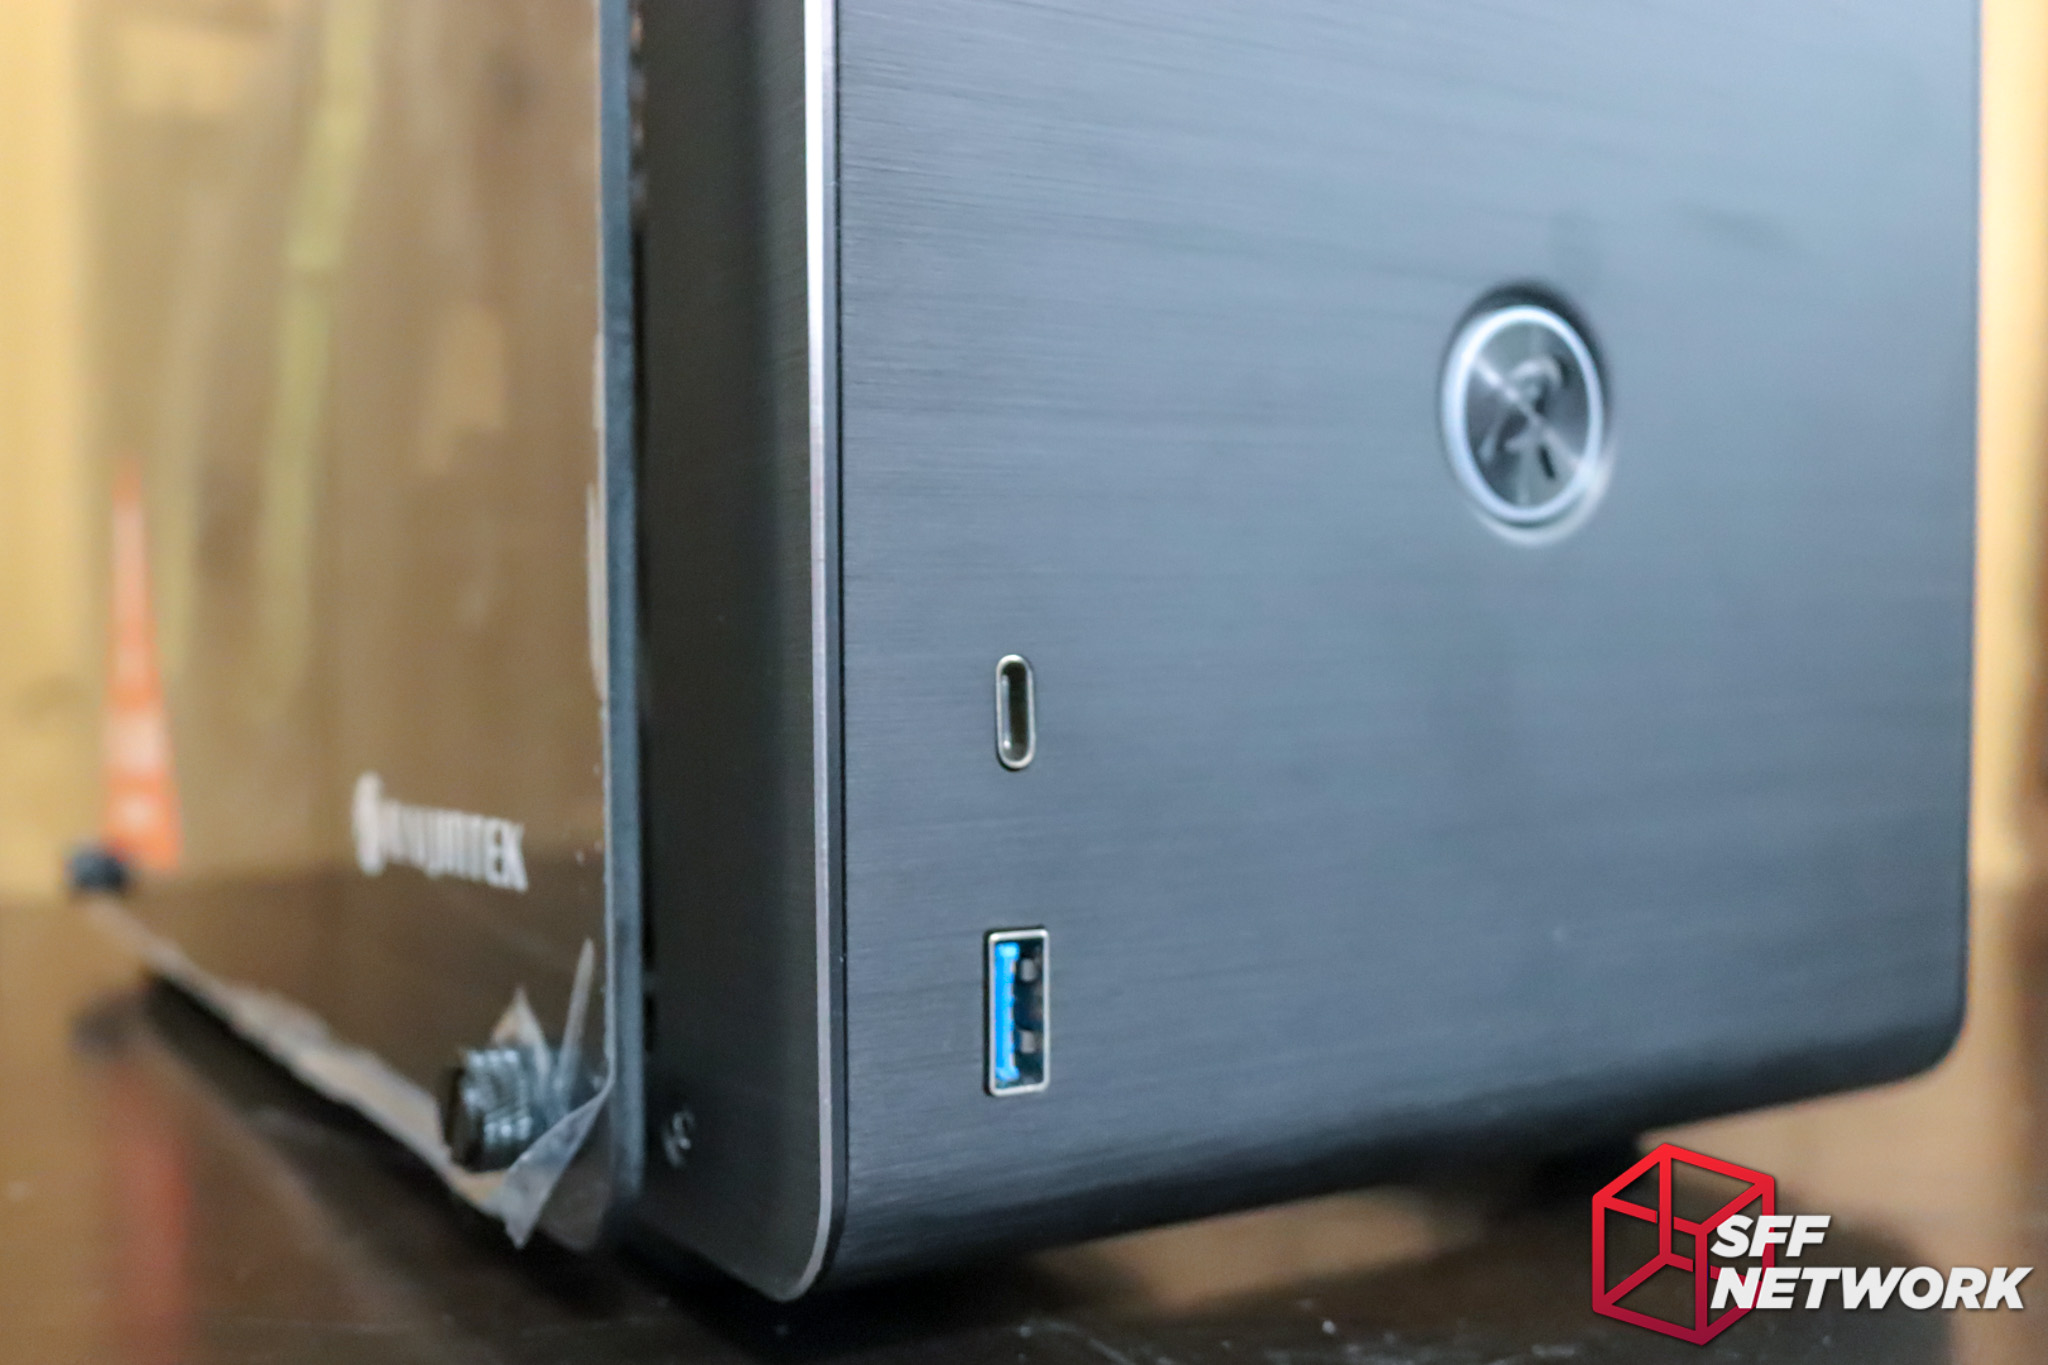
Front IO is minimal, with no audio jacks. However, a USB 3 and USB3 Type-C port are featured. I theorise that the current trend towards USB DAC audio solutions (covering the dearth of really good on-board audio solutions) will lead to many cases without front audio ports.
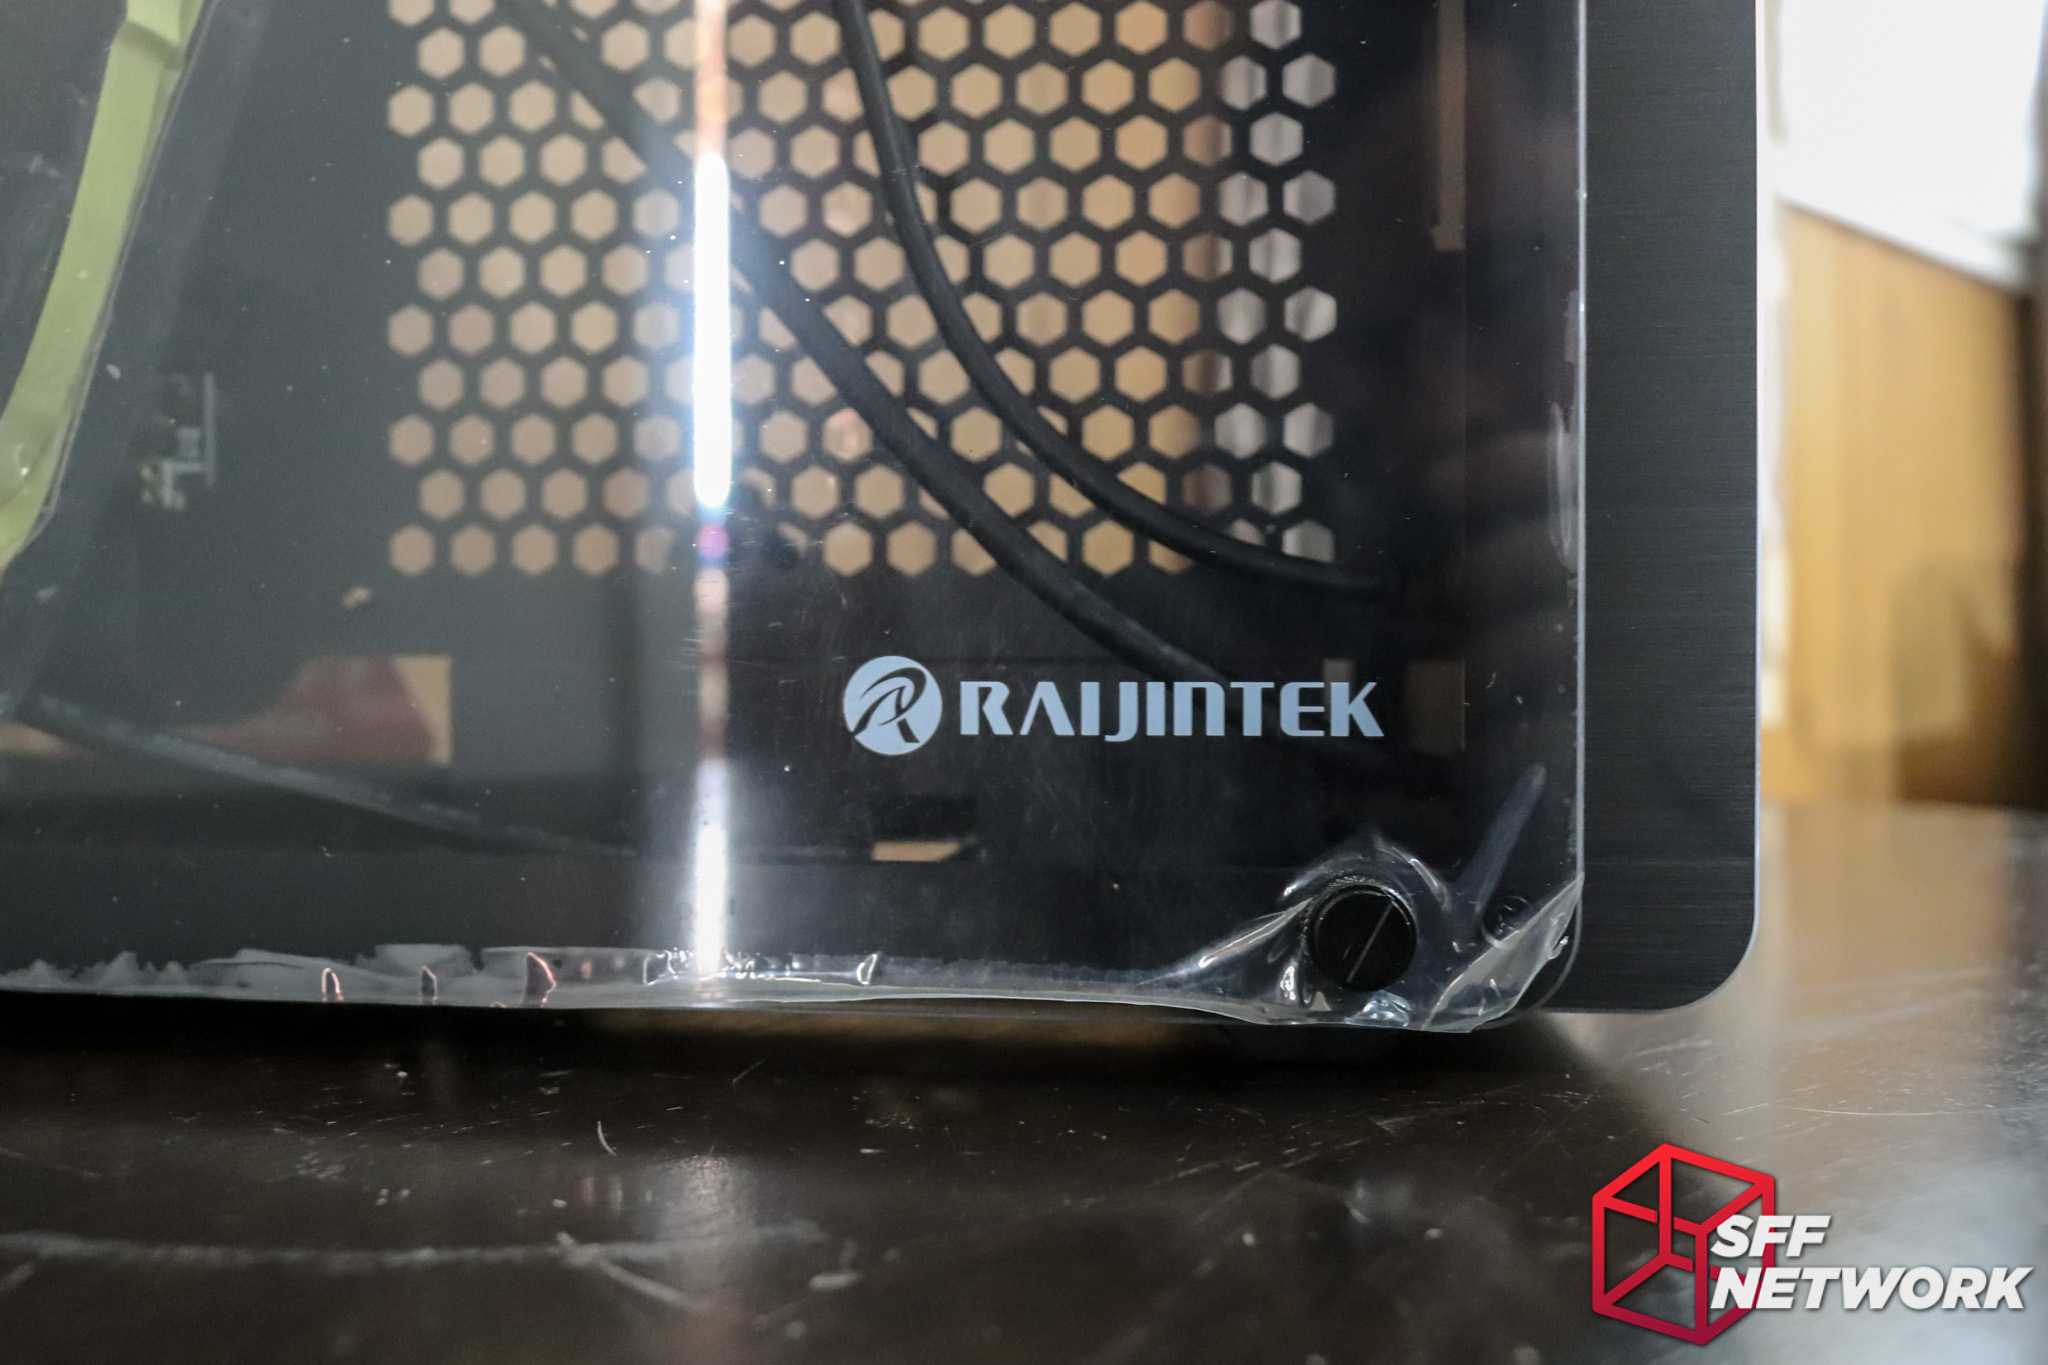
Raijintek’s logo is etched on one of the tempered glass panels. Rather subtle.

Yup. This review unit survived the trip all the way to little ol’ New Zealand intact, so the packaging is well implemented (albeit not shown as this pre-retail sample came in a plain cardboard box with large cell foam protection).

The sole other feature on the front panel is a power button with the Raijintek “R” logo milled out of it. The switch behind this button? Not so great. Unfortunately it does let the chassis down somewhat, with a simple tactile switch-like “click” upon deeply depressing this plastic button. Also pictured: black anodisation’s tendancy to be a fingerprint magnet. Woops!
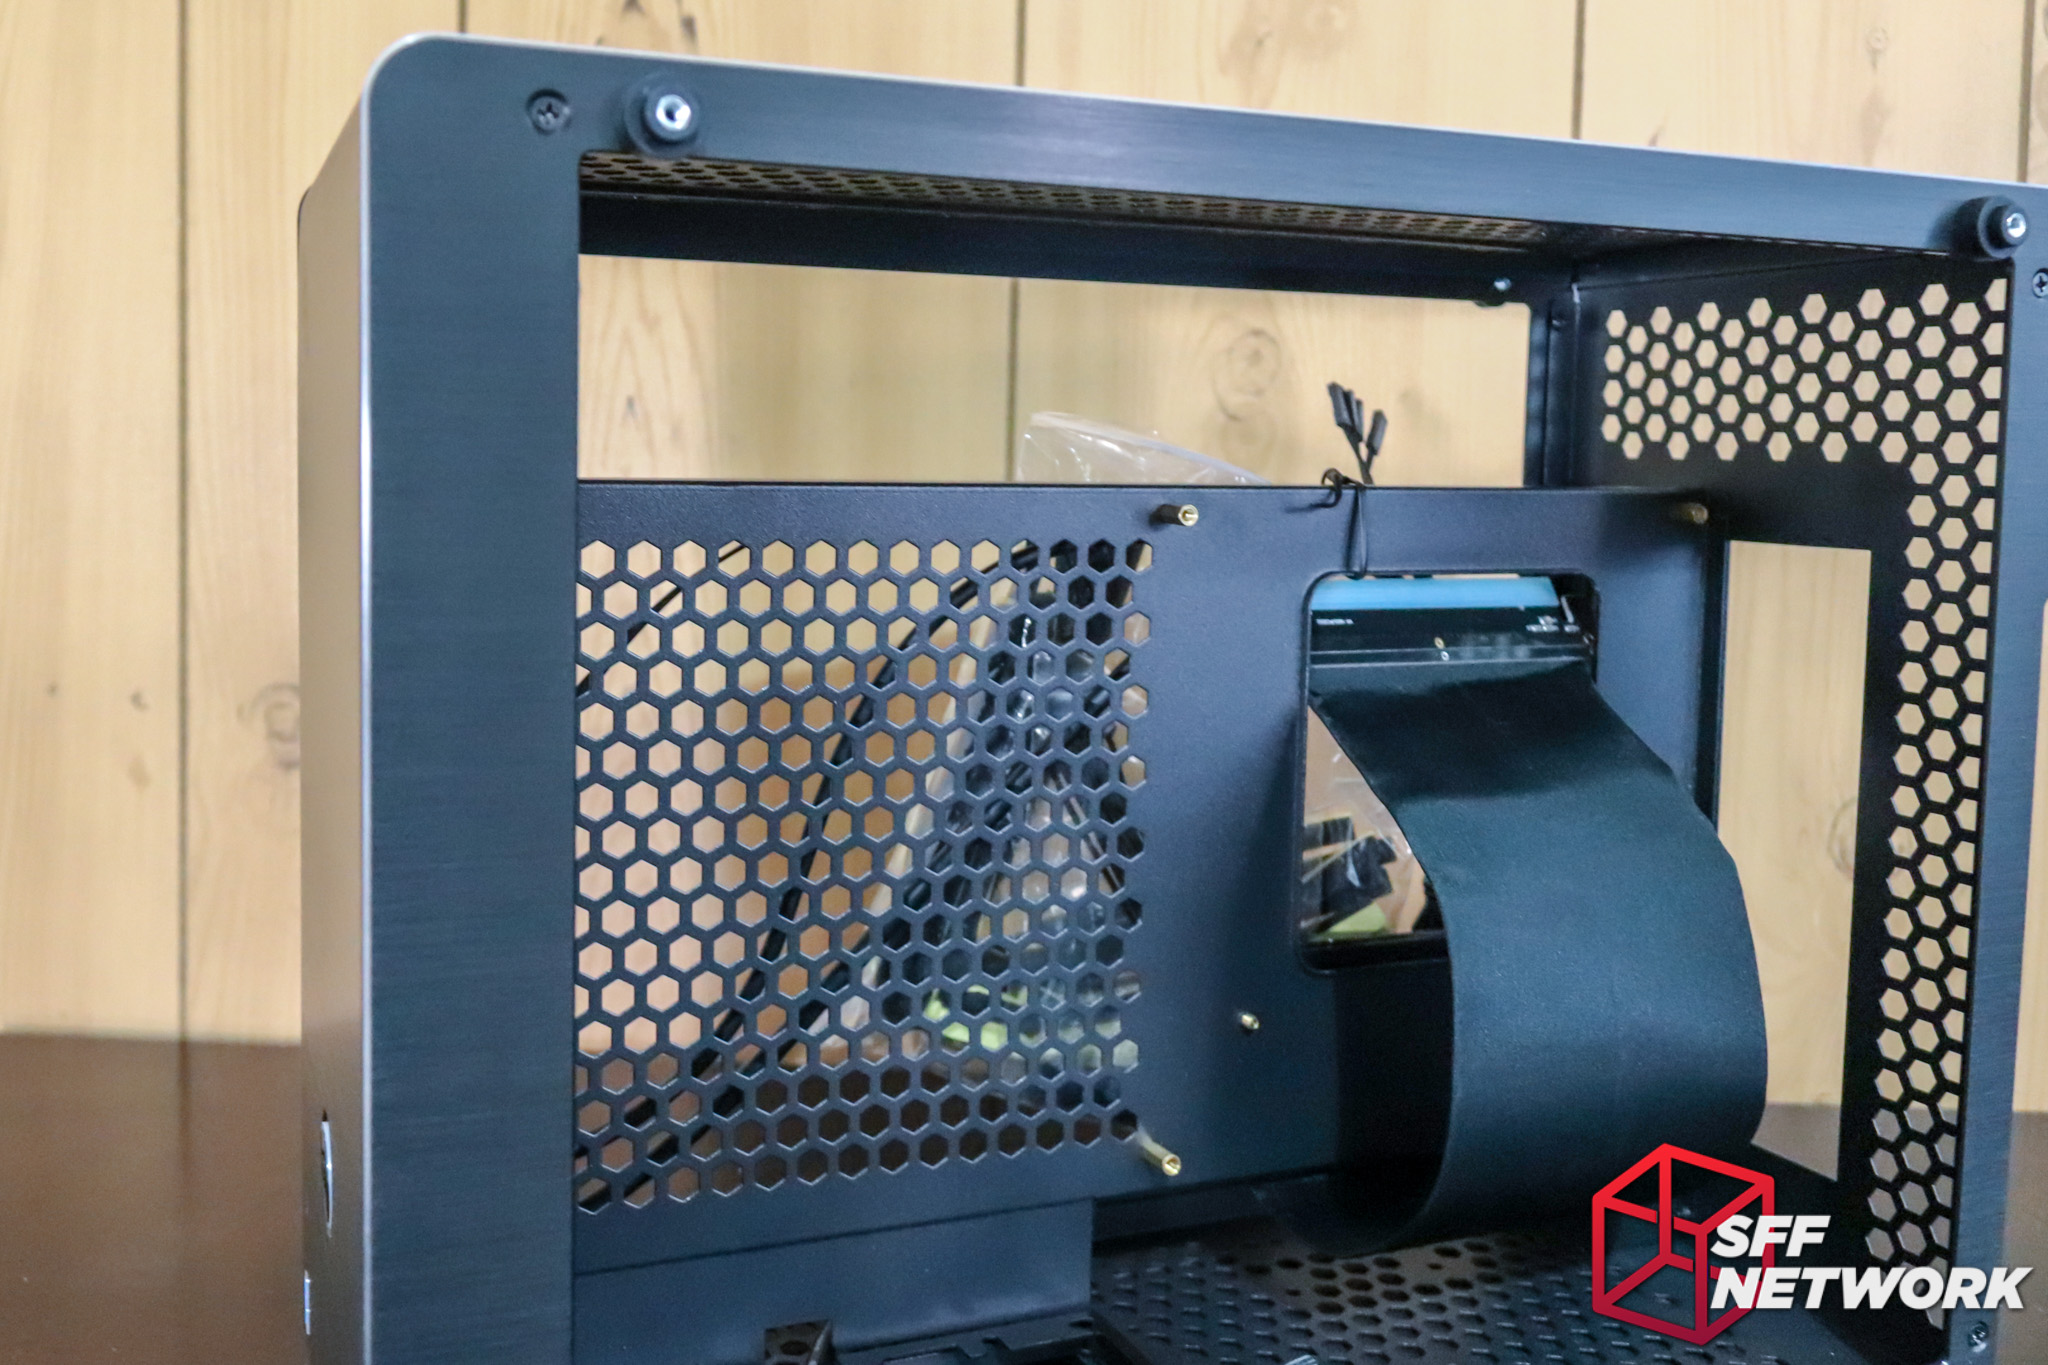
Off with the glass, time to dive in. We can see at first, the empty space at the top for a radiator and fans. Moving down, the centre “spine” to which the motherboard and riser cable attach to is made from the same steel as the rest of the chassis. The chassis came with the standoffs pre-mounted. Nice – it’s only a small touch but it shows Raijintek actually cares. Nothing worse than buying a case and every screw, standoff and accessory in a plastic baggy.
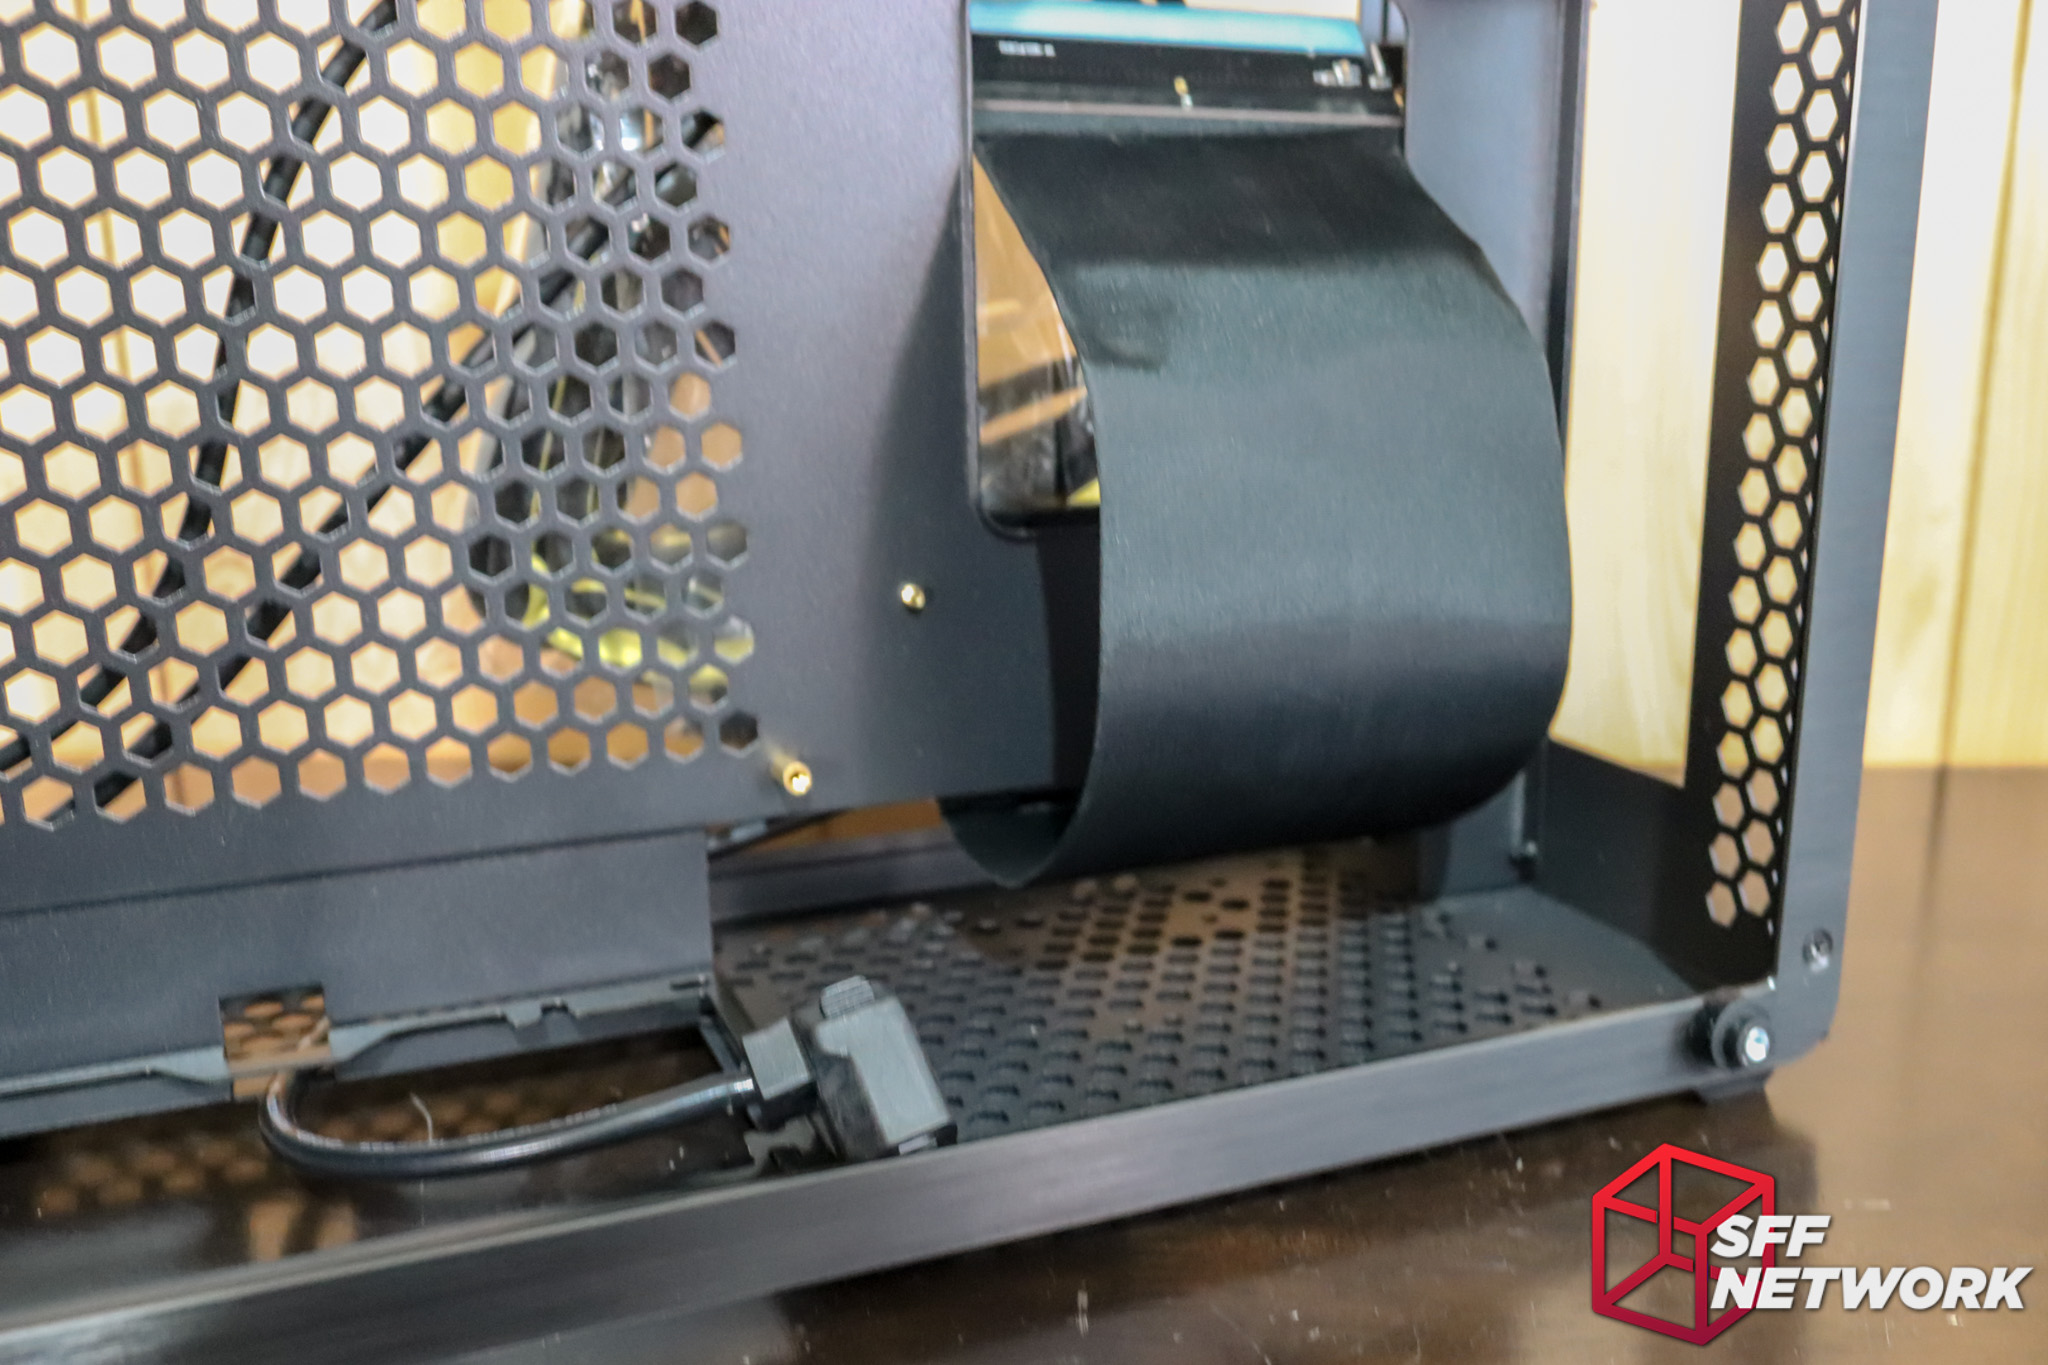
The flexible PCIex16 riser routes under the central spine, up under the motherboard, and then does a 270 degree turn to slot into the PCIe slot at what would be the top of the motherboard. Quite the routing! Also visible here is the internal power passthrough cable, which has a remarkably small plug end.

To the expansion card side, and a bag of screws and accessories. As I can’t confirm this is the final screw loadout, I’ll leave it be for now.
Cards up to 330mm long can be slotted in here, even the monstrous AMD “New Zealand” dual GPU HD7990!
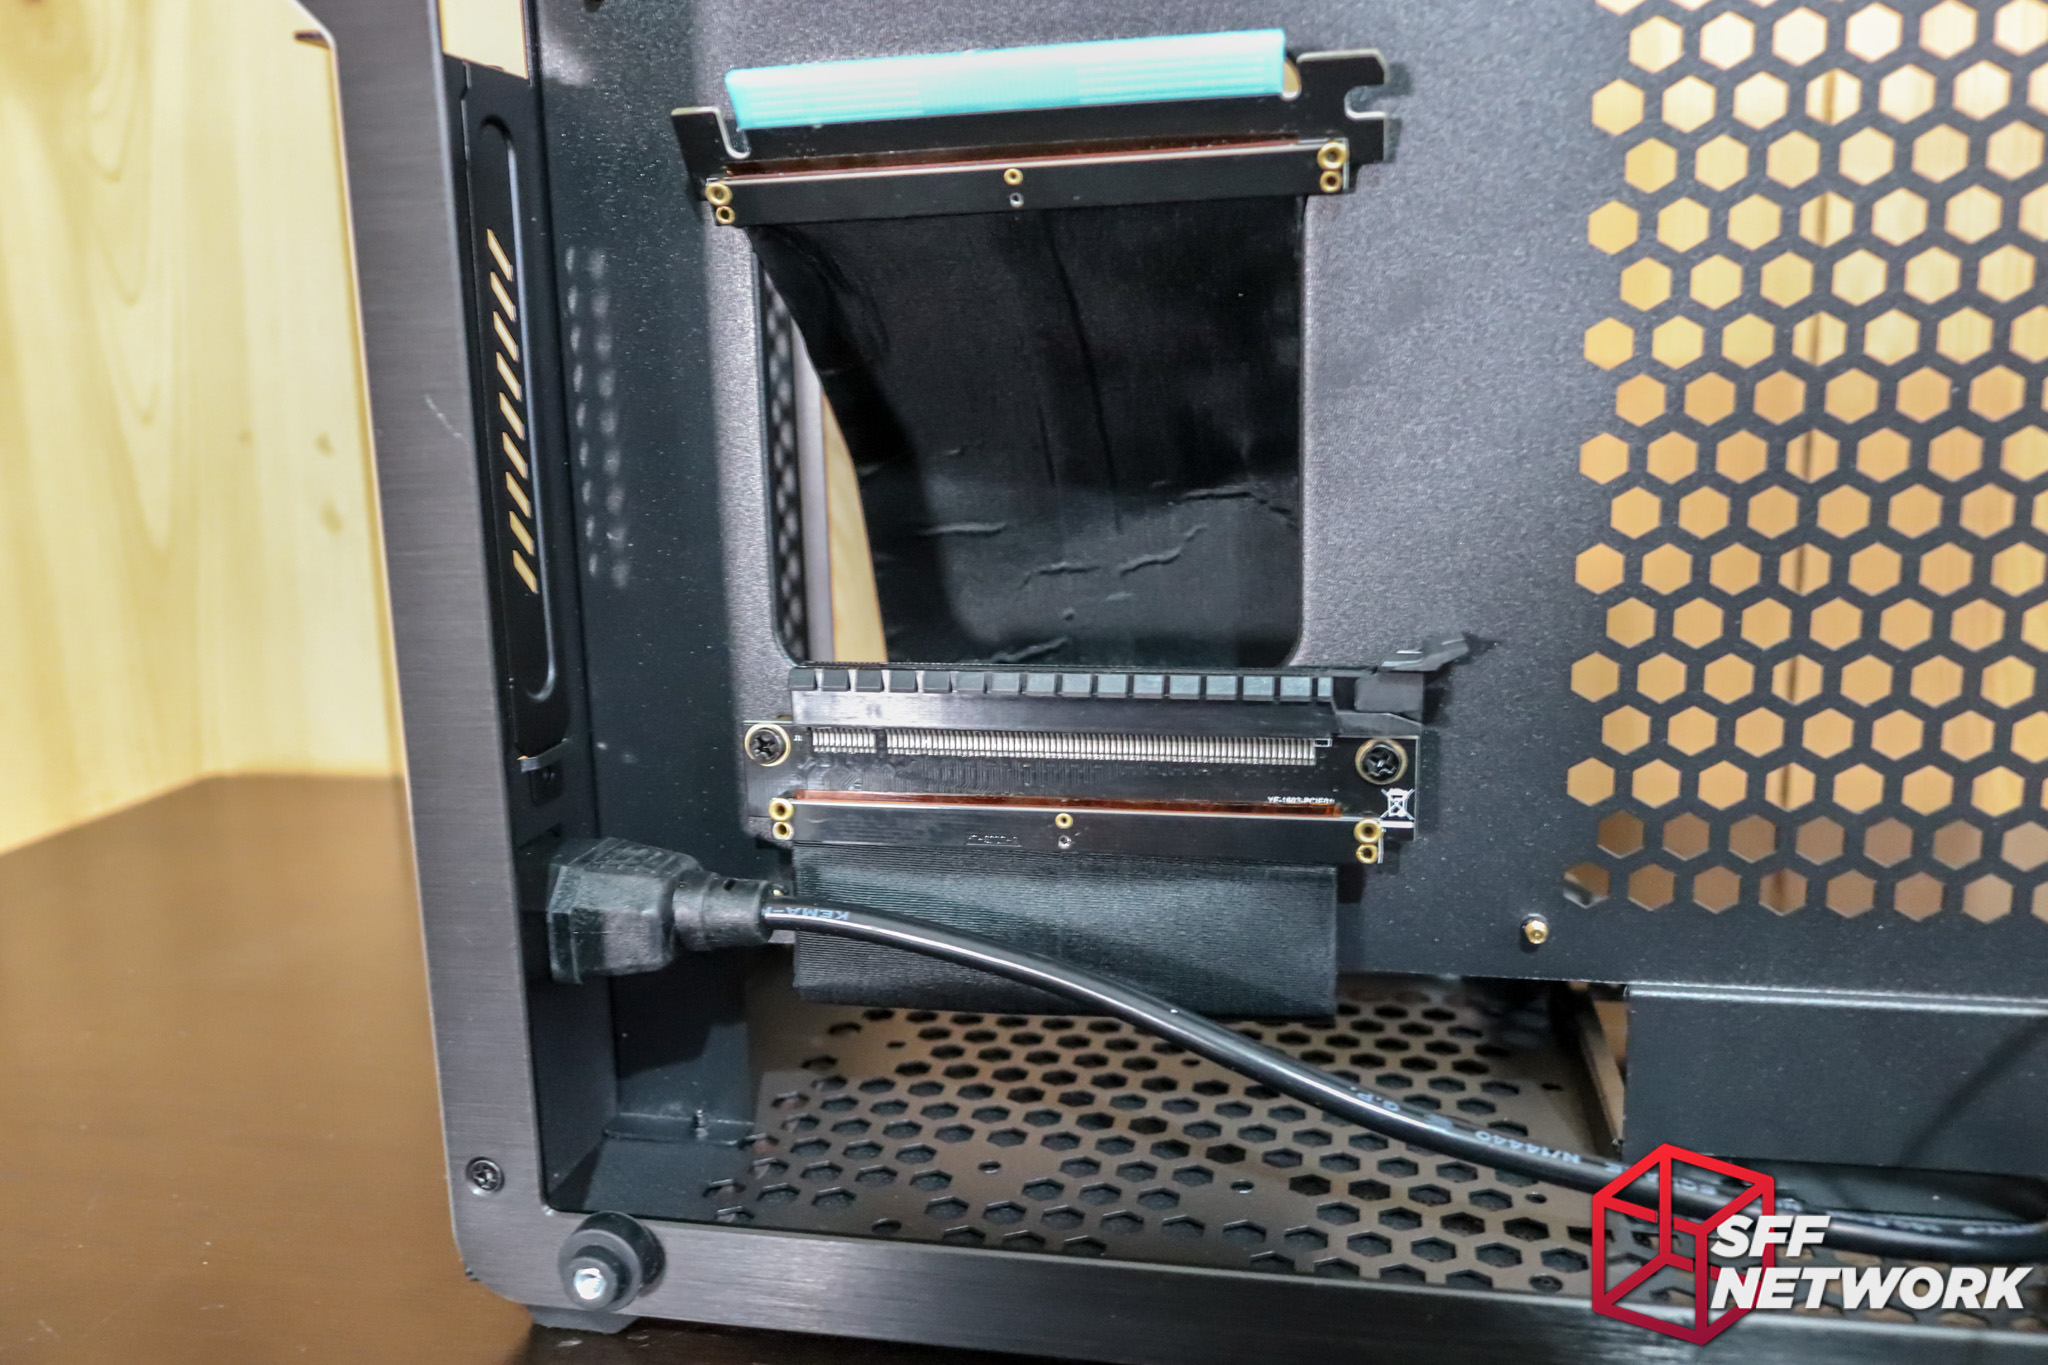
The riser hard mounts to the case, adding a second point of rigidity to the card mounting, meaning that the rear bracket alone isn’t responsible for holding an expansion card.

Towards the front, we see two more drive mounts, this time a pair of 2.5″ items. They support the included vibration dampening rubber grommets. Note that you’ll have to slot these drives into the front section, just behind the front aluminium panel, so the drives will be very well hidden. Slick!

The flat cable you see here is the front panel header stuff – power button, drive LED, power LED. Disappointingly, the cable ends in individual headers. Come on folks, the front panel header has been standard (outside of OEM boards) for over a decade now. I’m so tired of putting these two wire headers into motherboards, sometimes needing pliers!
Also here is the two USB3 cables from the front panel ports going to a single USB3 header.
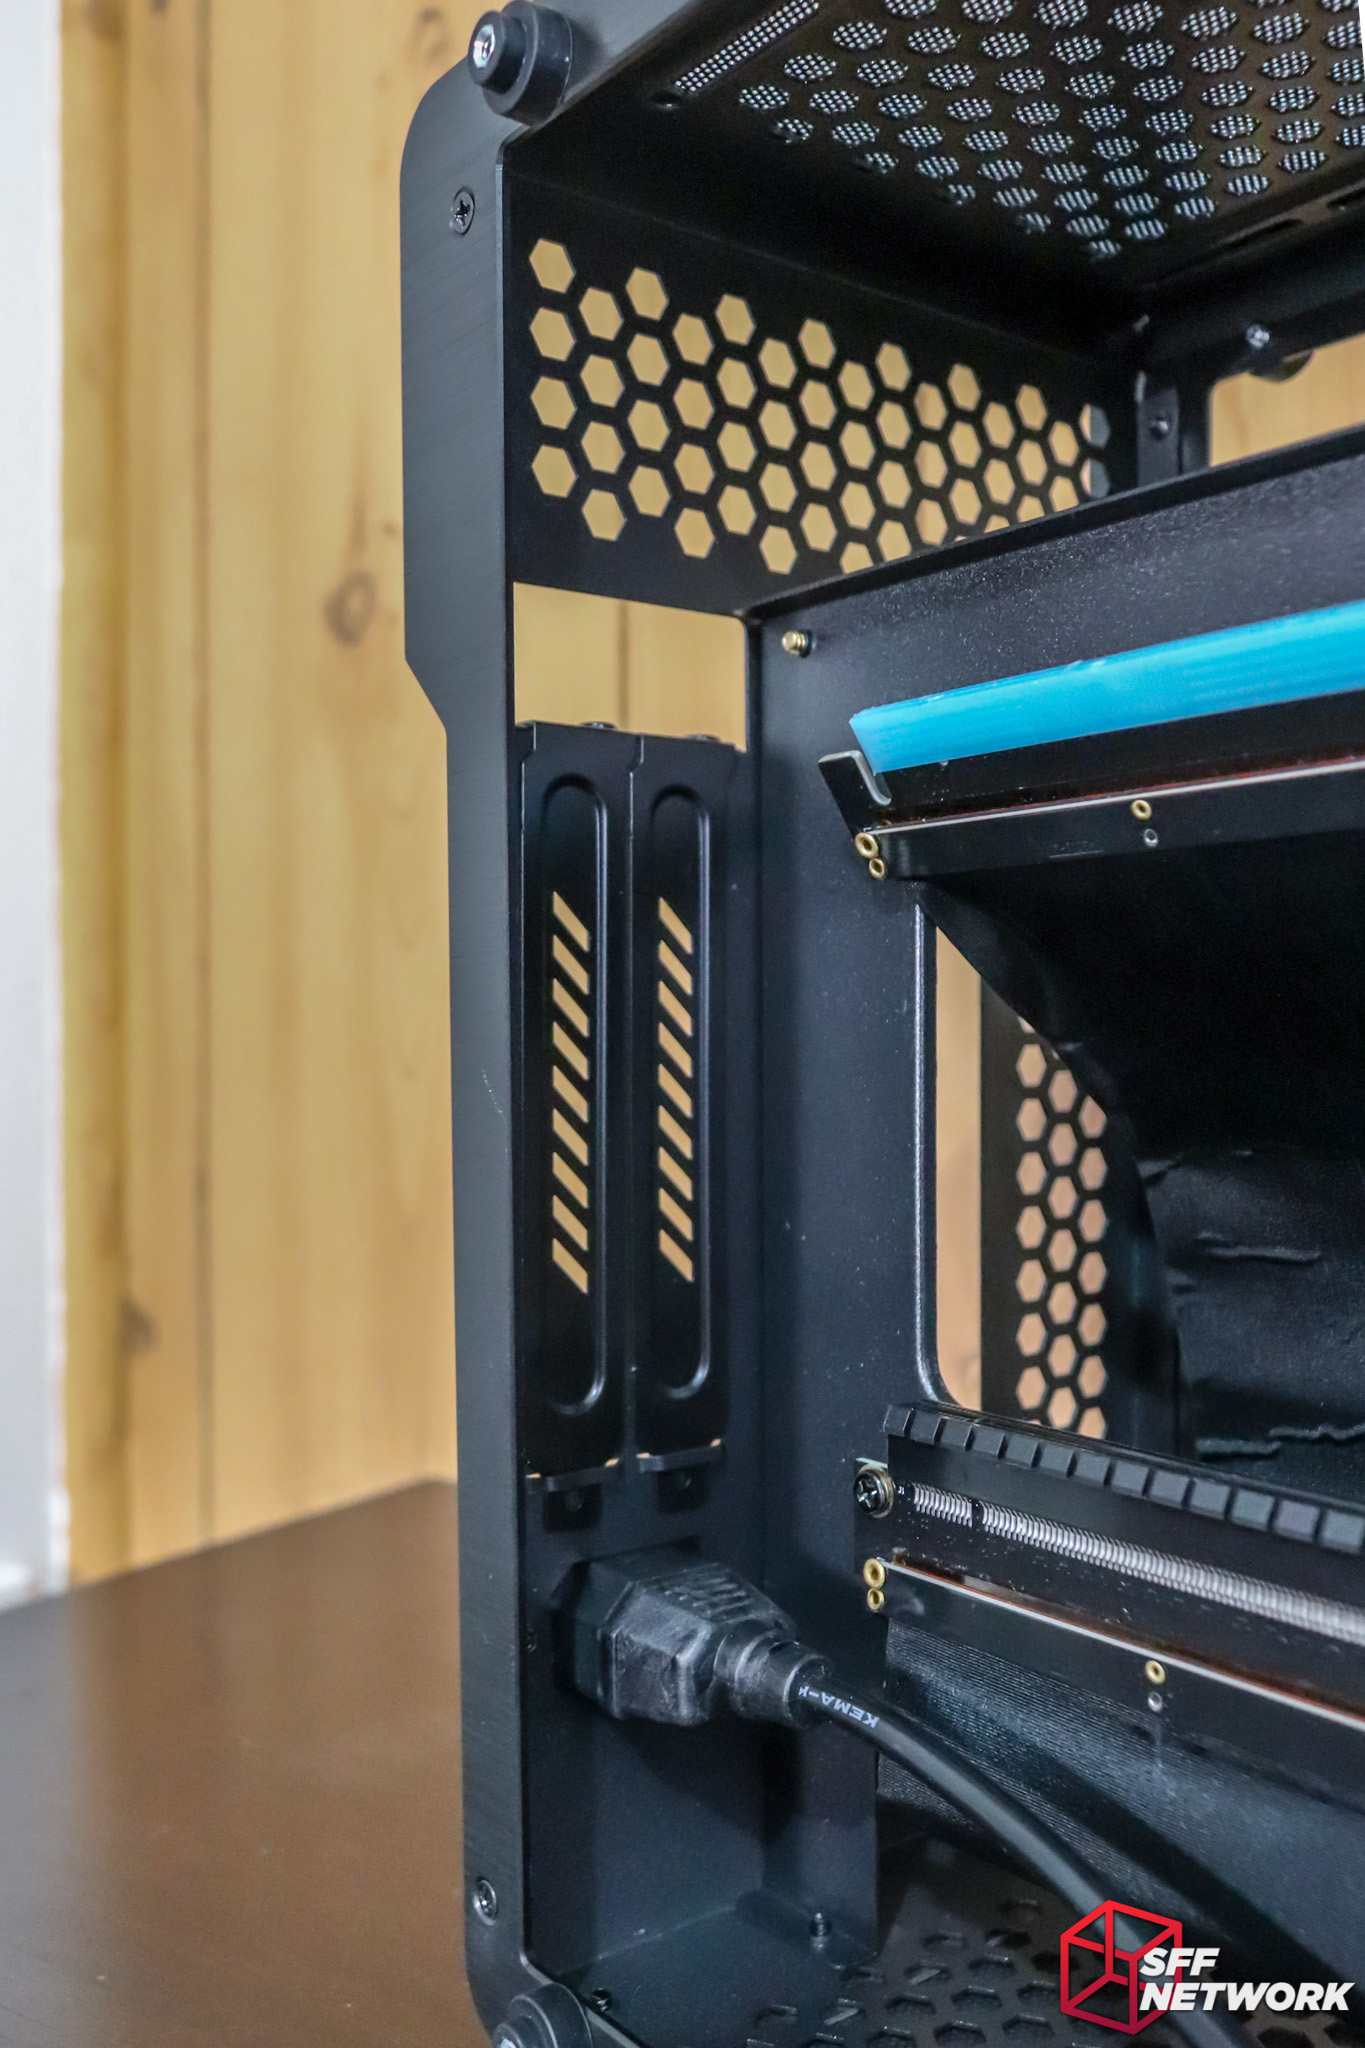
Thankfully, Raijintek has decided to design in retention hooks for the expansion cards – nobody wants their card flapping about because the bottom end of the rear bracket is left hanging! Just below this is a, once again, rather svelte power cable.
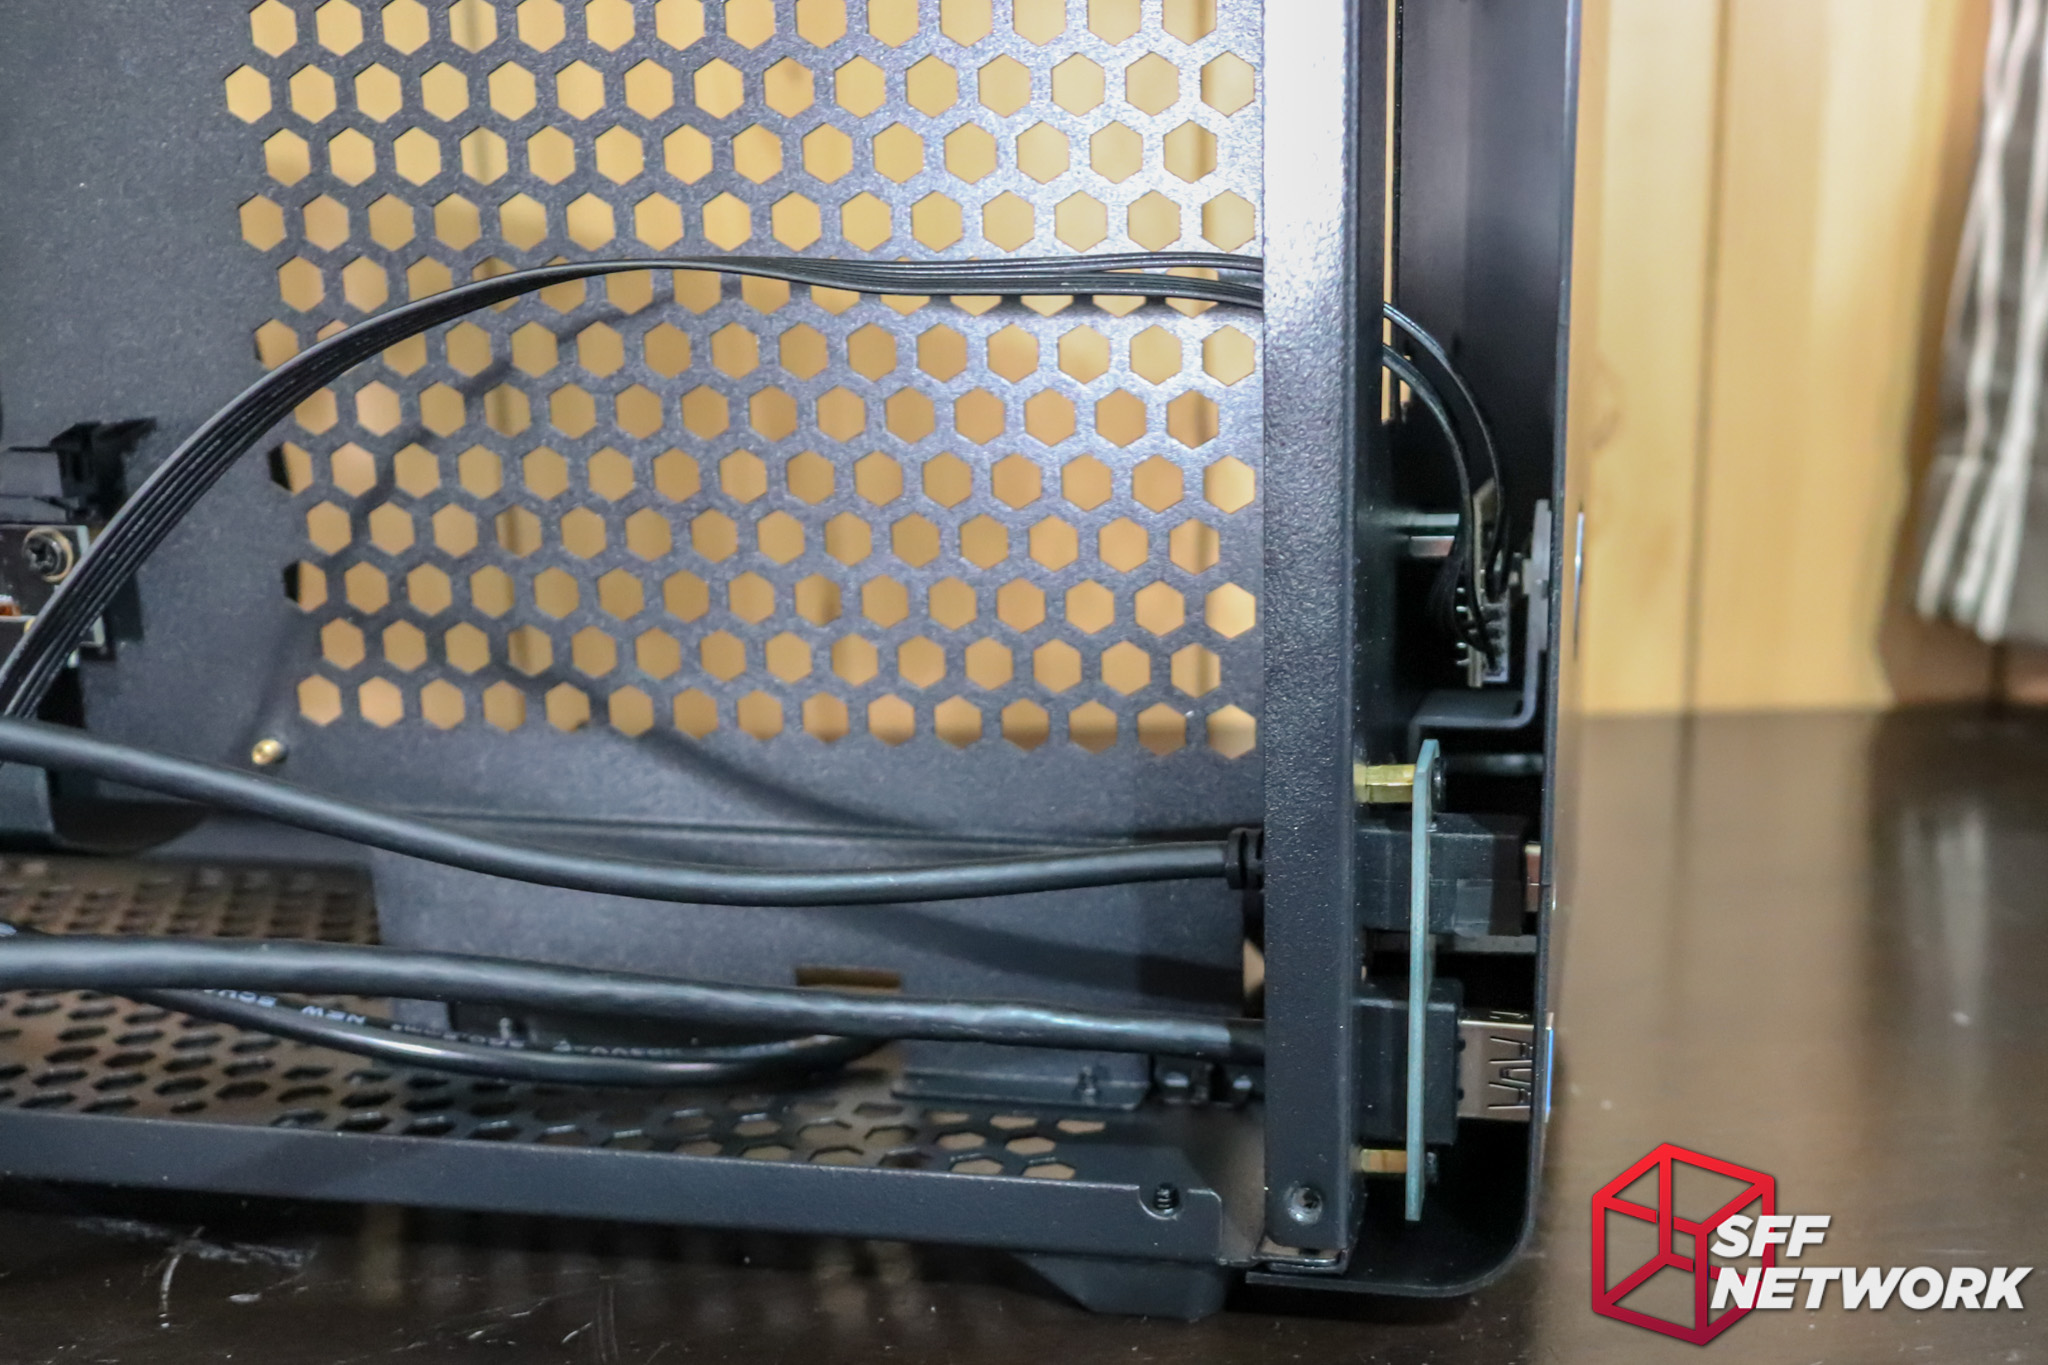
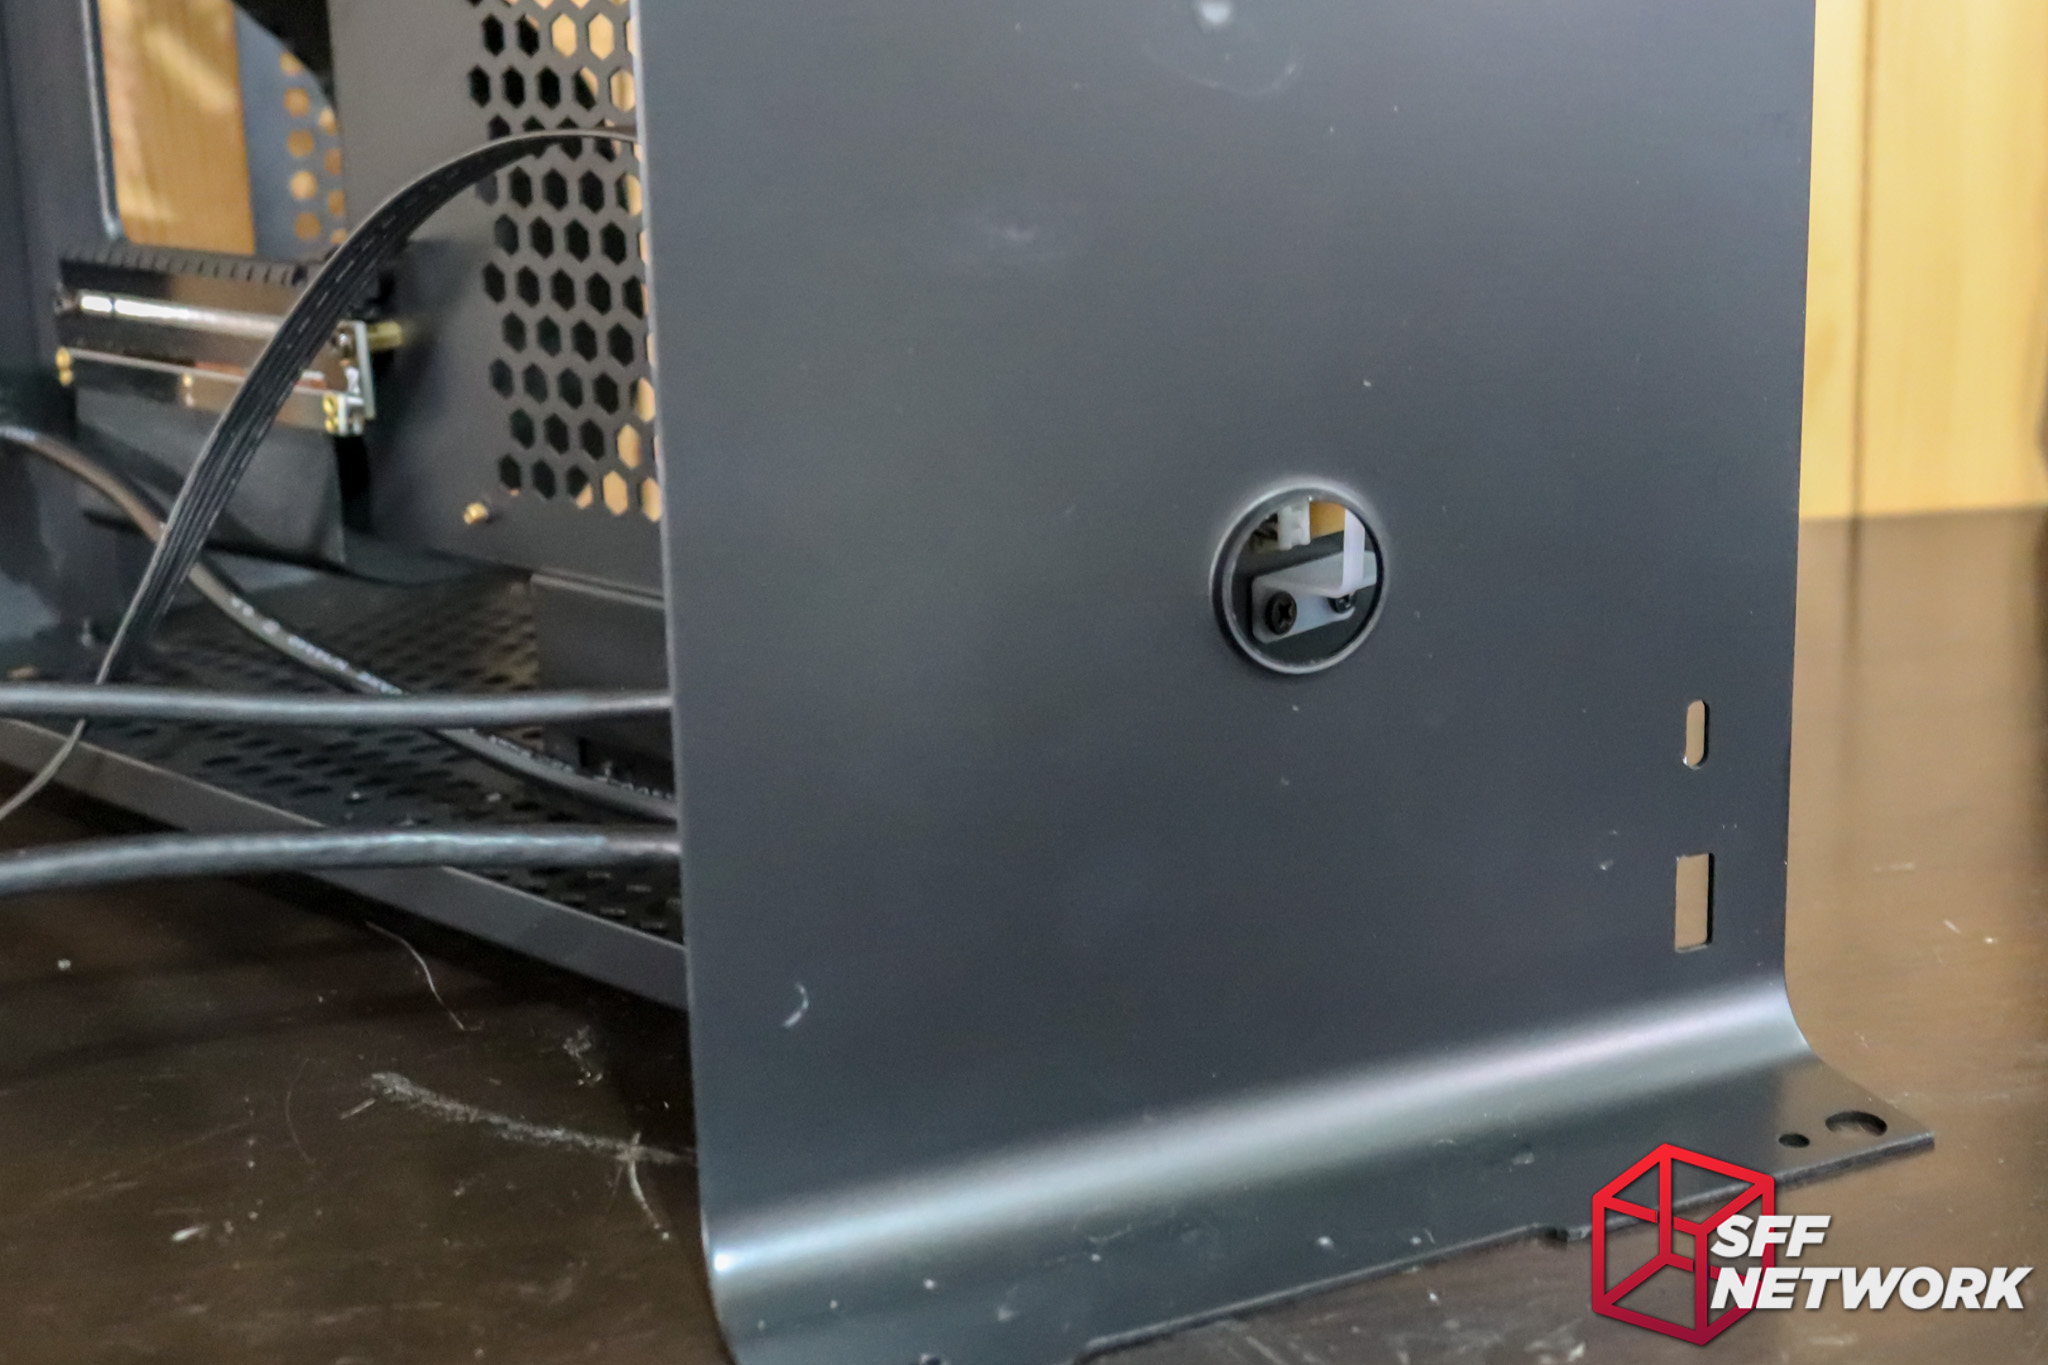
Hiding between the main chassis and the front panel is the front IO – leaving the interior of the chassis clean and well organised.
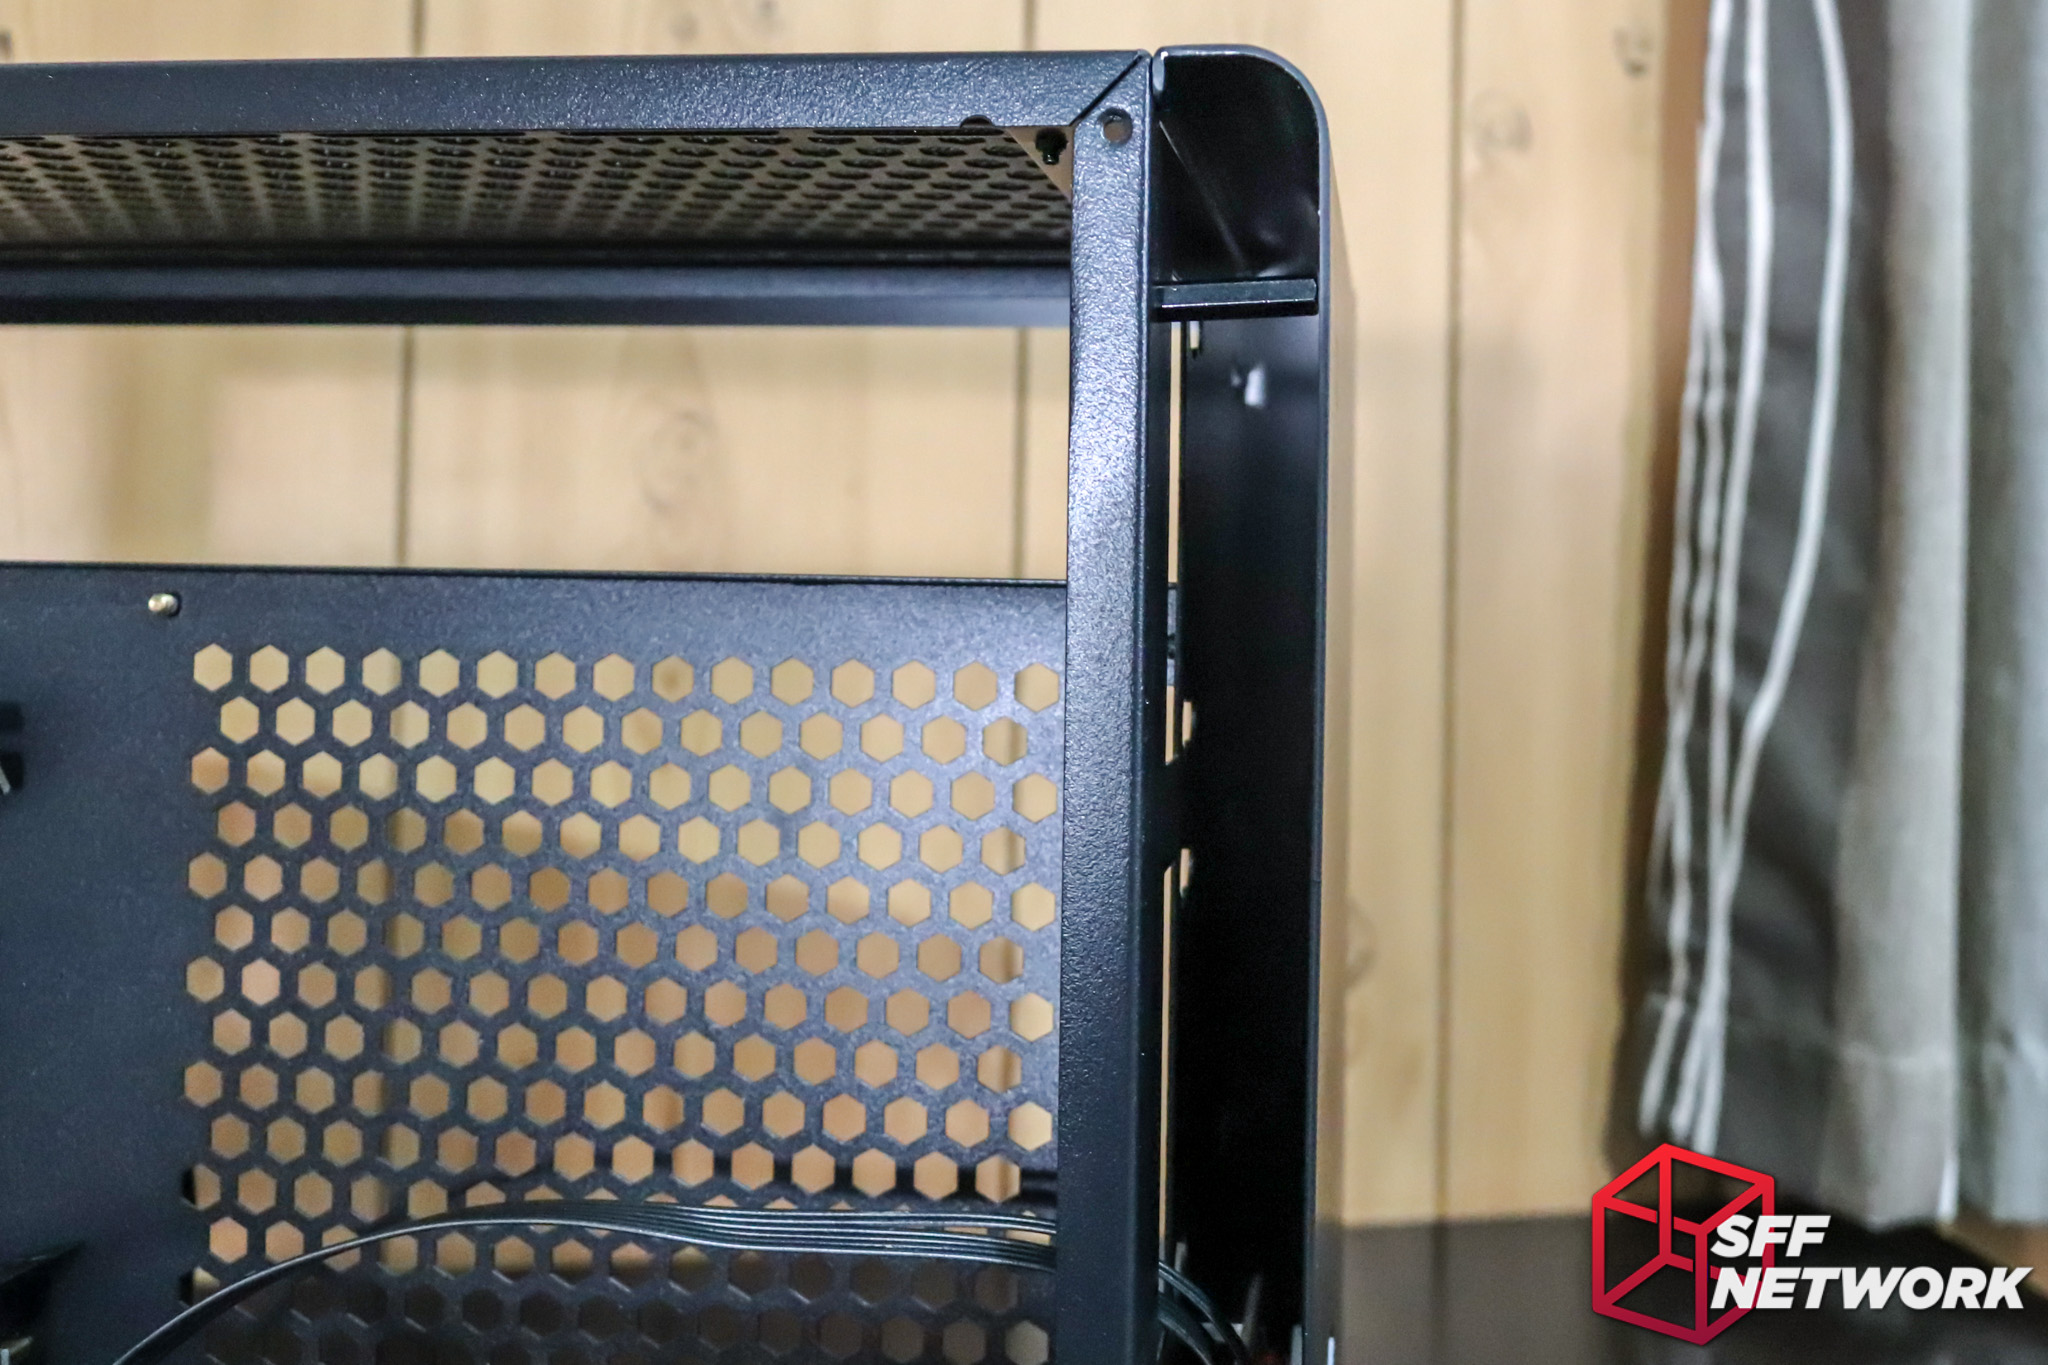
The blind standoff here just helps keep the front panel the right distance away from the chassis. Every little bit helps!
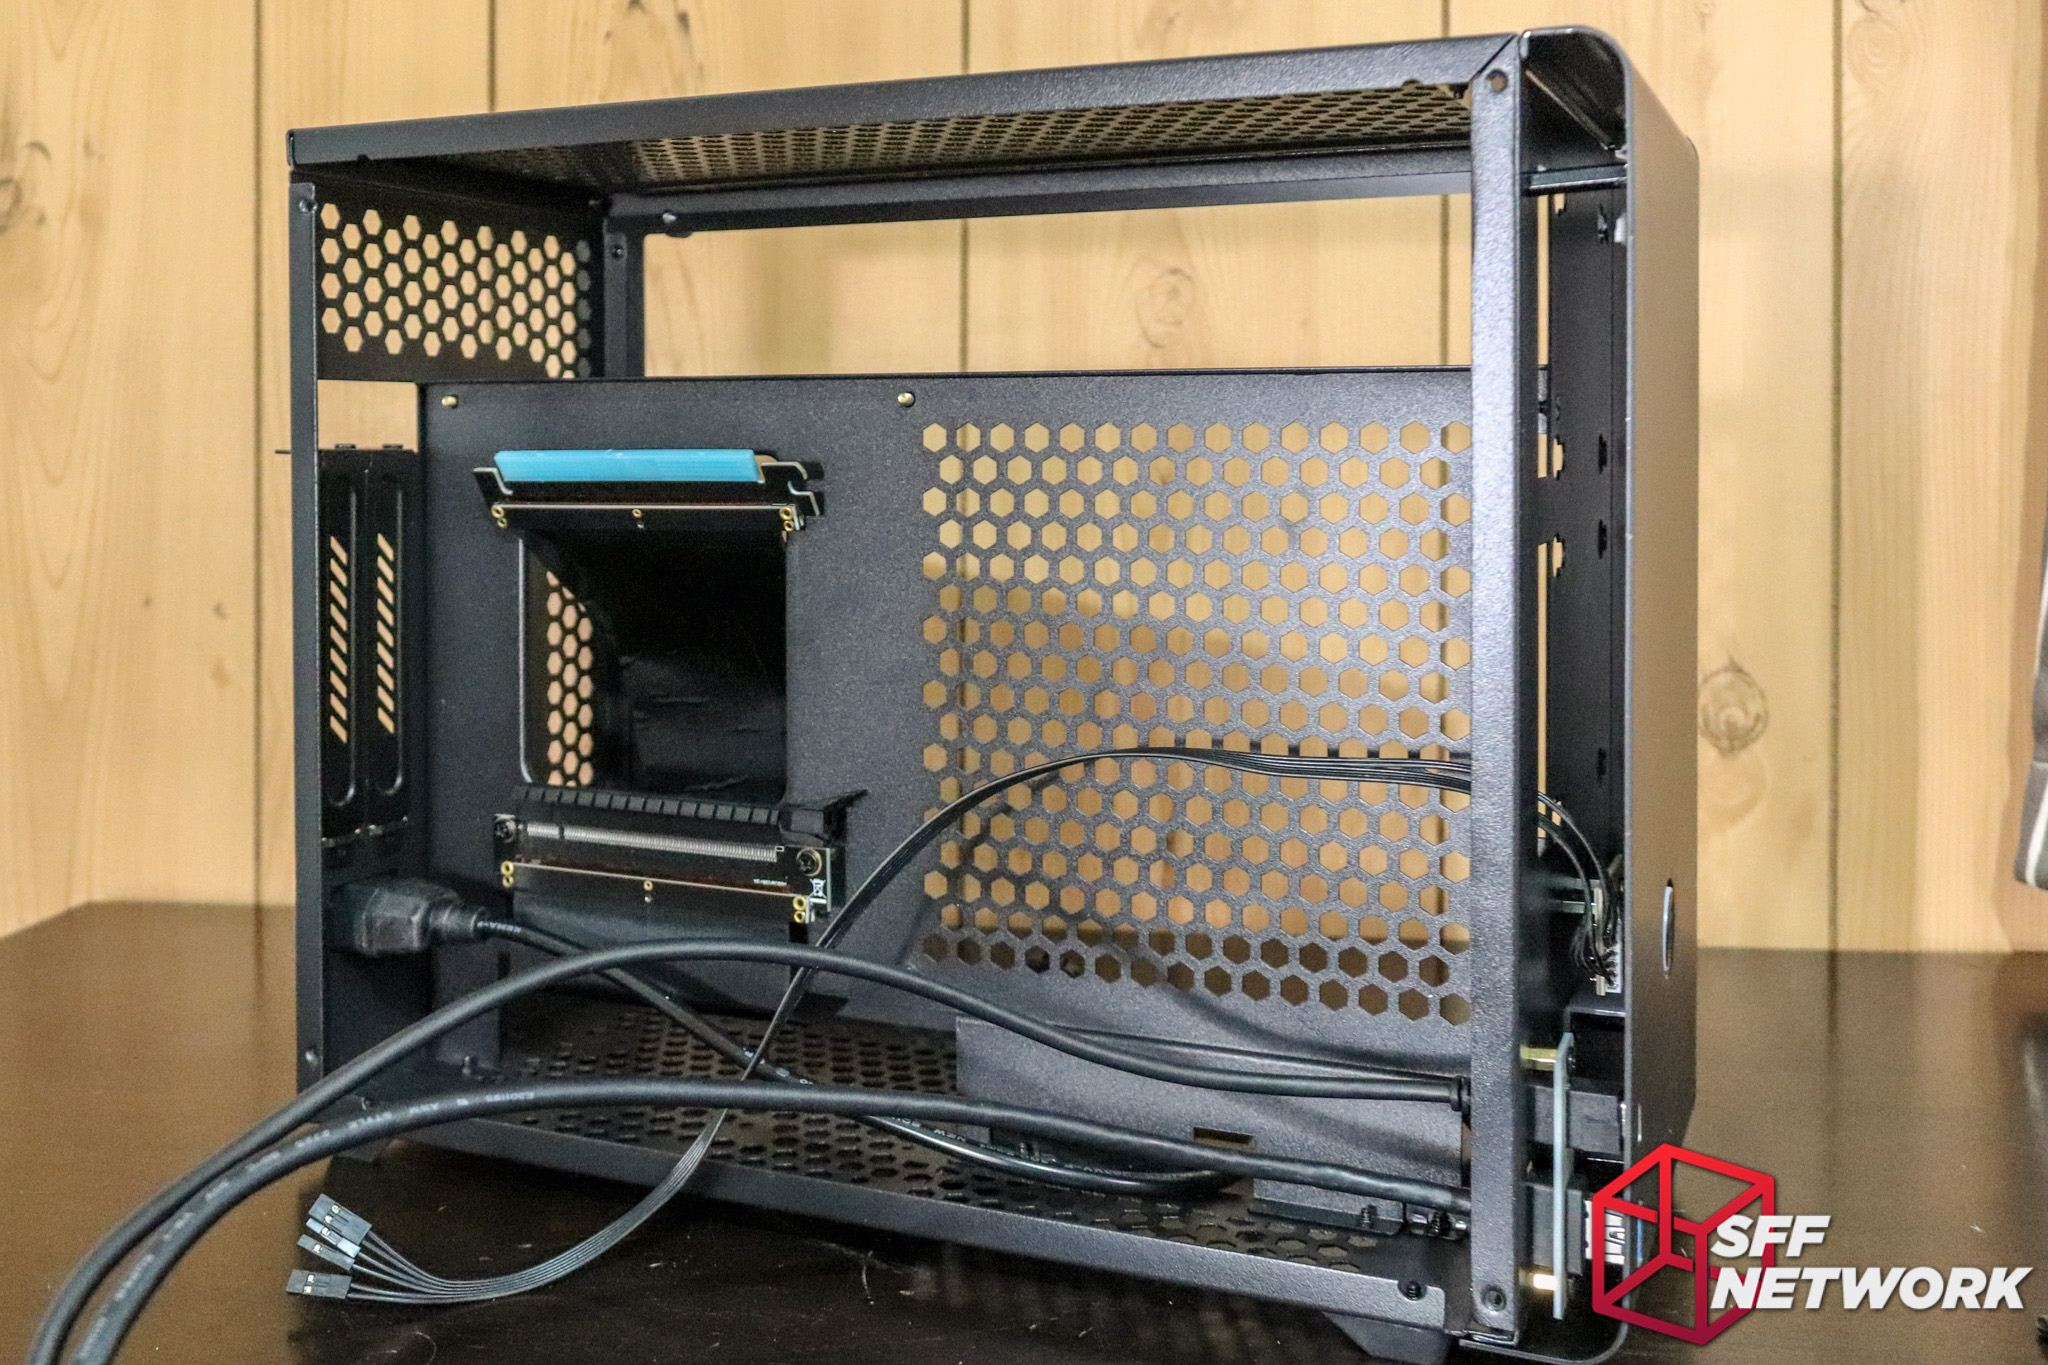
So, here’s the chassis in it’s entirety. Thought has definitely been put into airflow, with any exposed surfaces turned into vented panels – no dead airflow spots in this chassis.
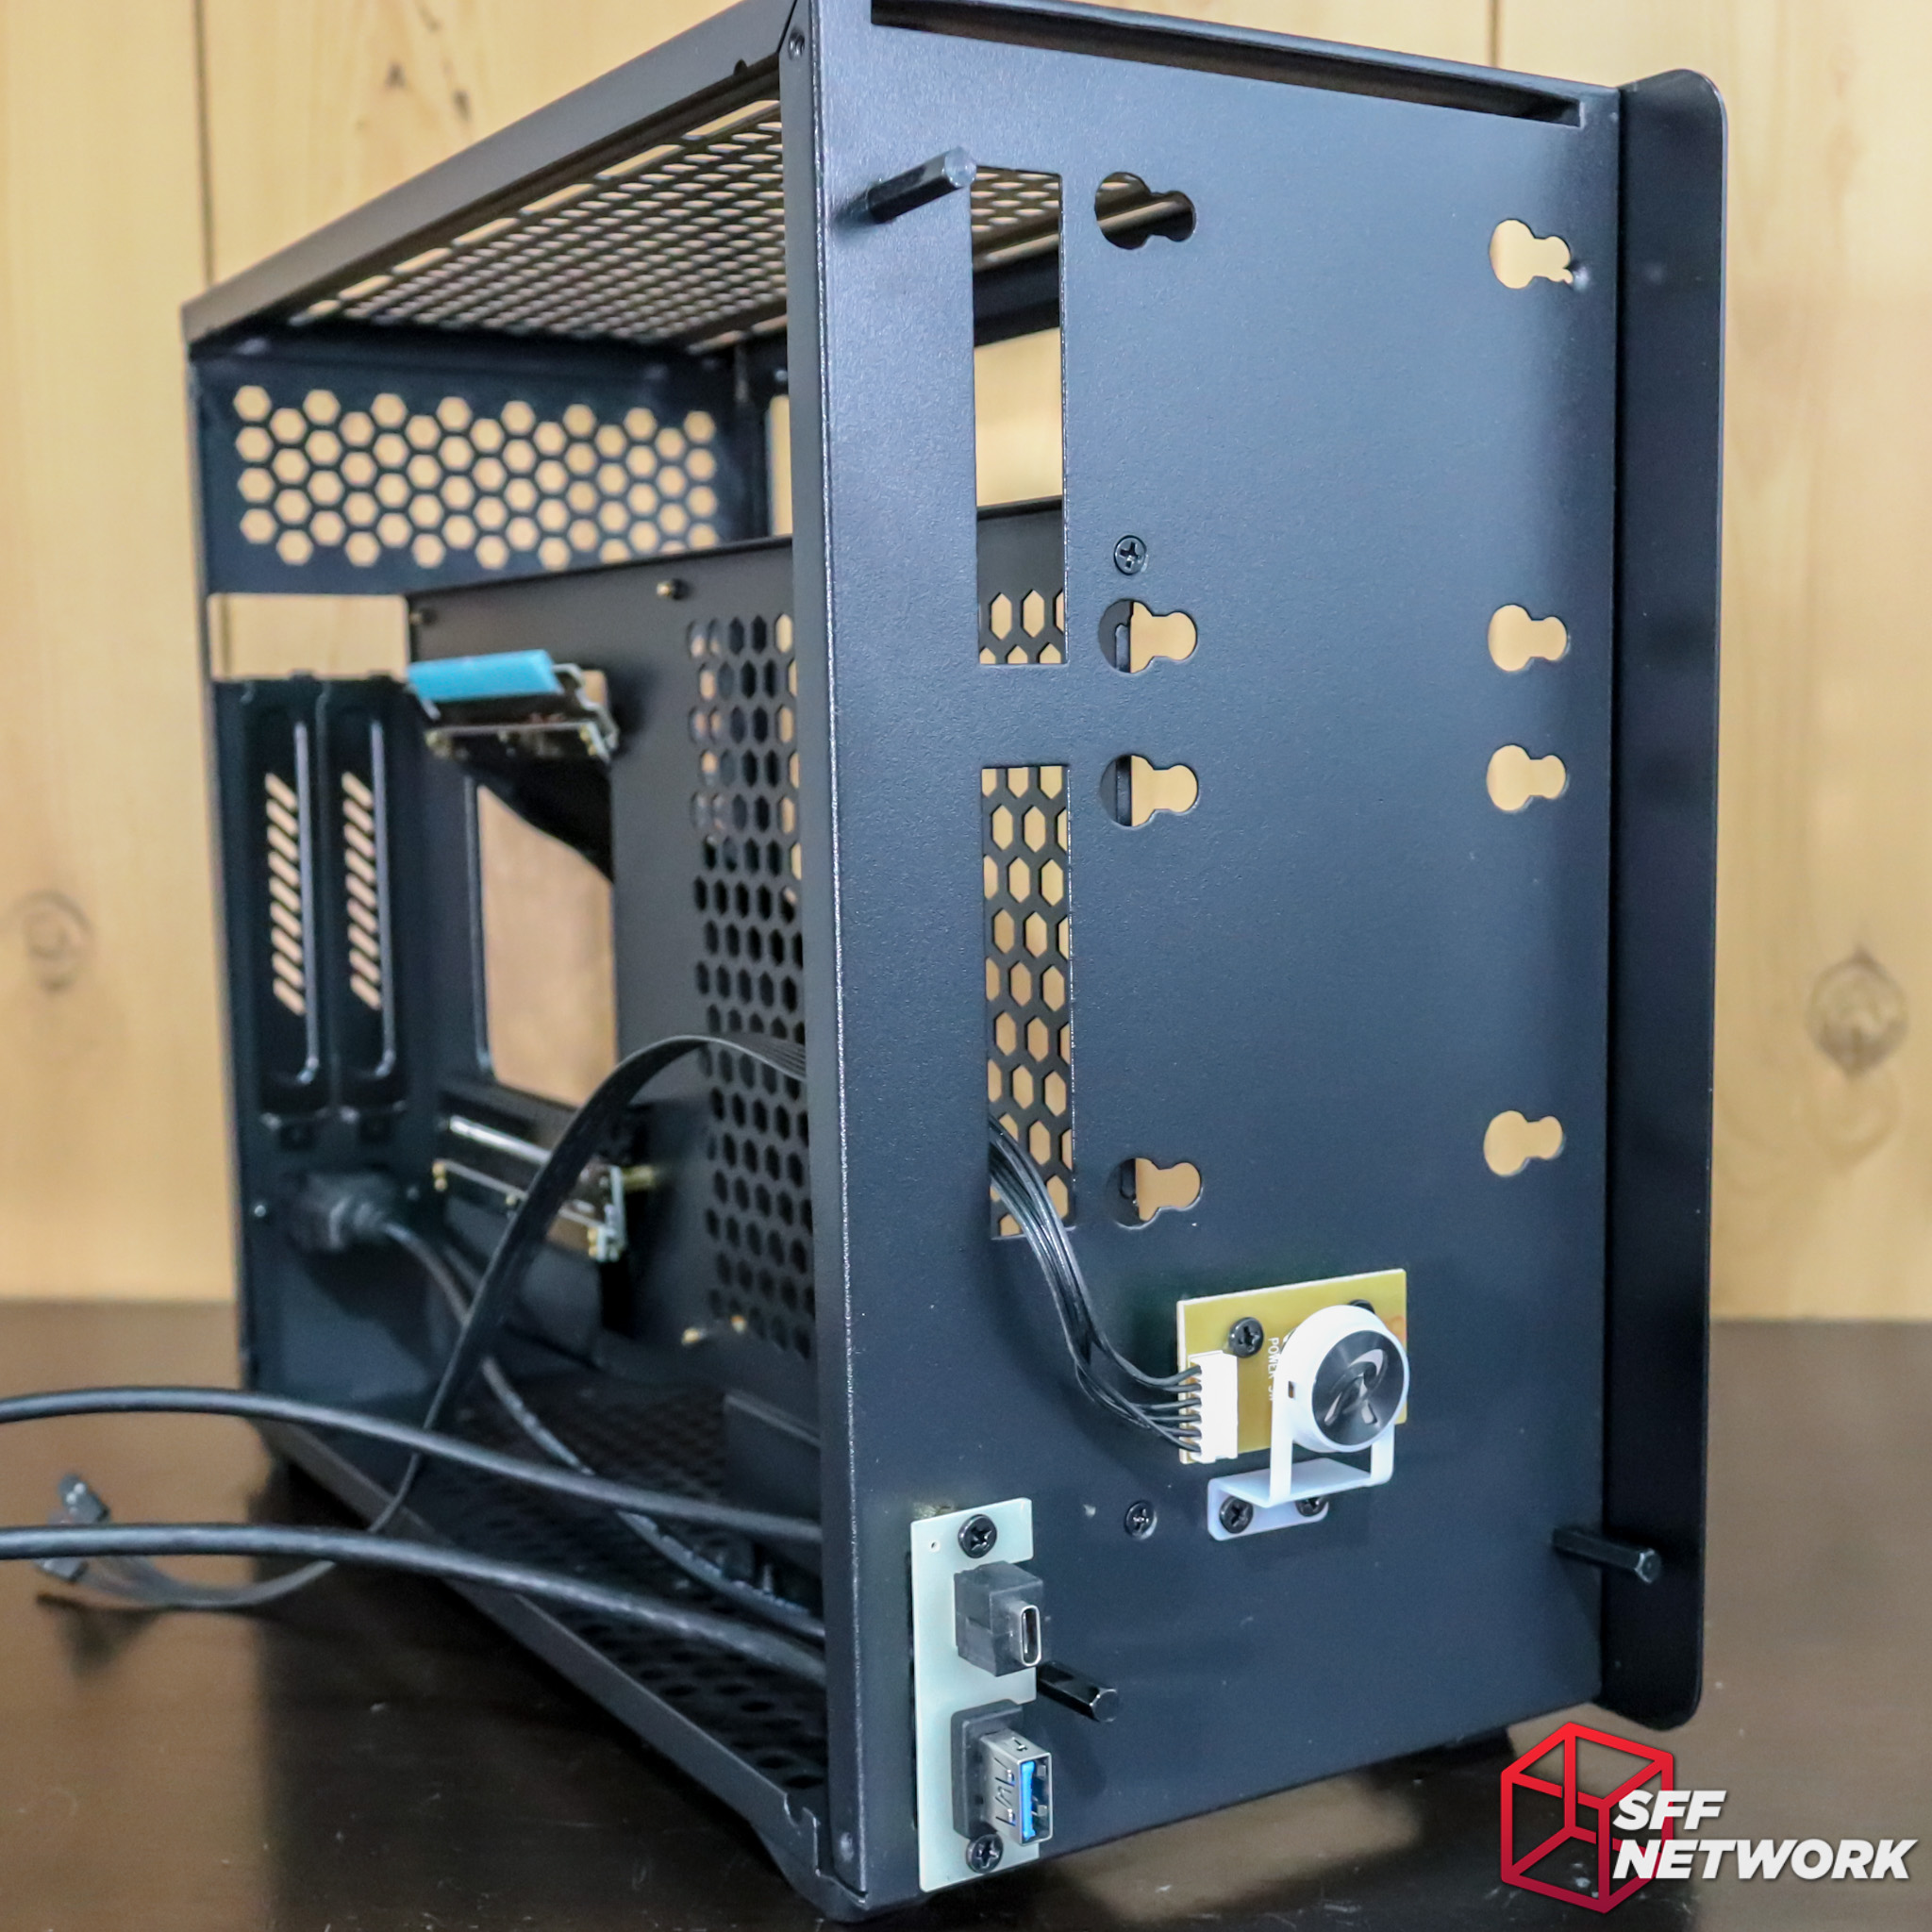
With the four screws (two at the top, two underneath) removed from the front panel, it slides off easily. This reveals the two front 2.5″ drive mounts, and the two front IO assemblies. As above, I’m not a fan of the power switch, more could have been done to make this a more satisfying experience.
The power button hole is stamped into the panel, enabling a smooth transition (a nice touch considering the depth to which the power button needs to be depressed to activate it).
The Build
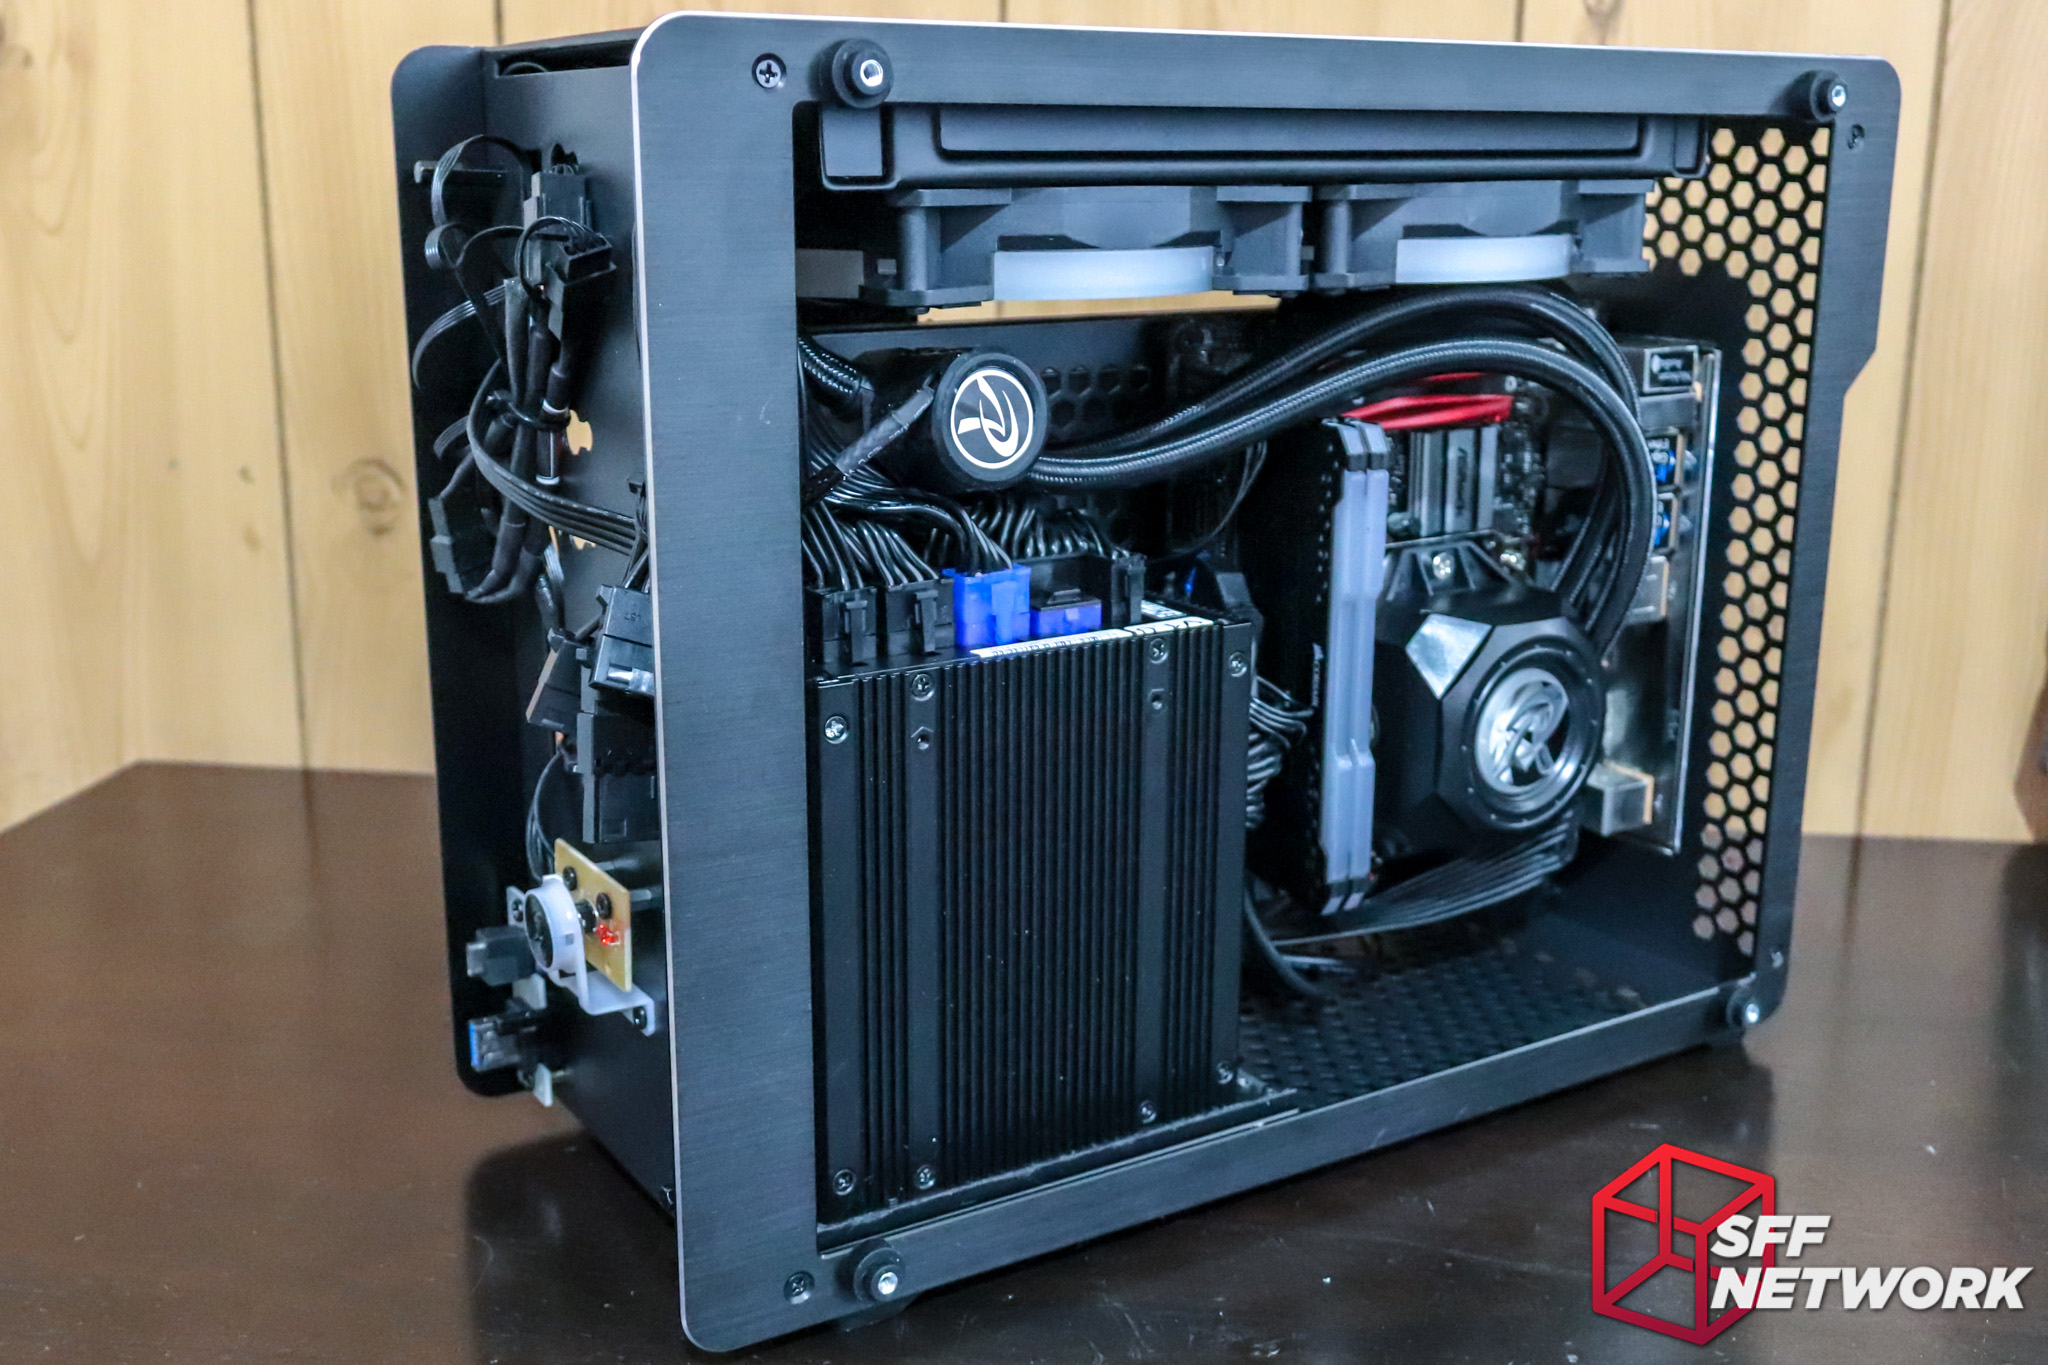
It all fits! Not surprising, considering the size of the chassis, though. Cable management took some thought, but was easily achieved. Using an ATX power supply would make things more difficult, especially longer length units.
System Specs:
- ASRock H370M-ITX/ac Motherboard (US$98 at Amazon.com)
- Intel i7-8700 (US$310 at Amazon.com)
- Corsair Vengeance Pro RGB 16GB (US$209 at Amazon.com)
- Silverstone NJ450-SXL Power Supply (US$190 at Amazon.com)
- Raijintek Orcus 240mm Closed Loop Cooler (US$105 at NewEgg.com)
- Sapphire R9-270X Vapor-X (on its last legs :( )
- Adata XPG 512GB NVMe drive (US$140 at Amazon.com)
Prices correct at time of publishing.
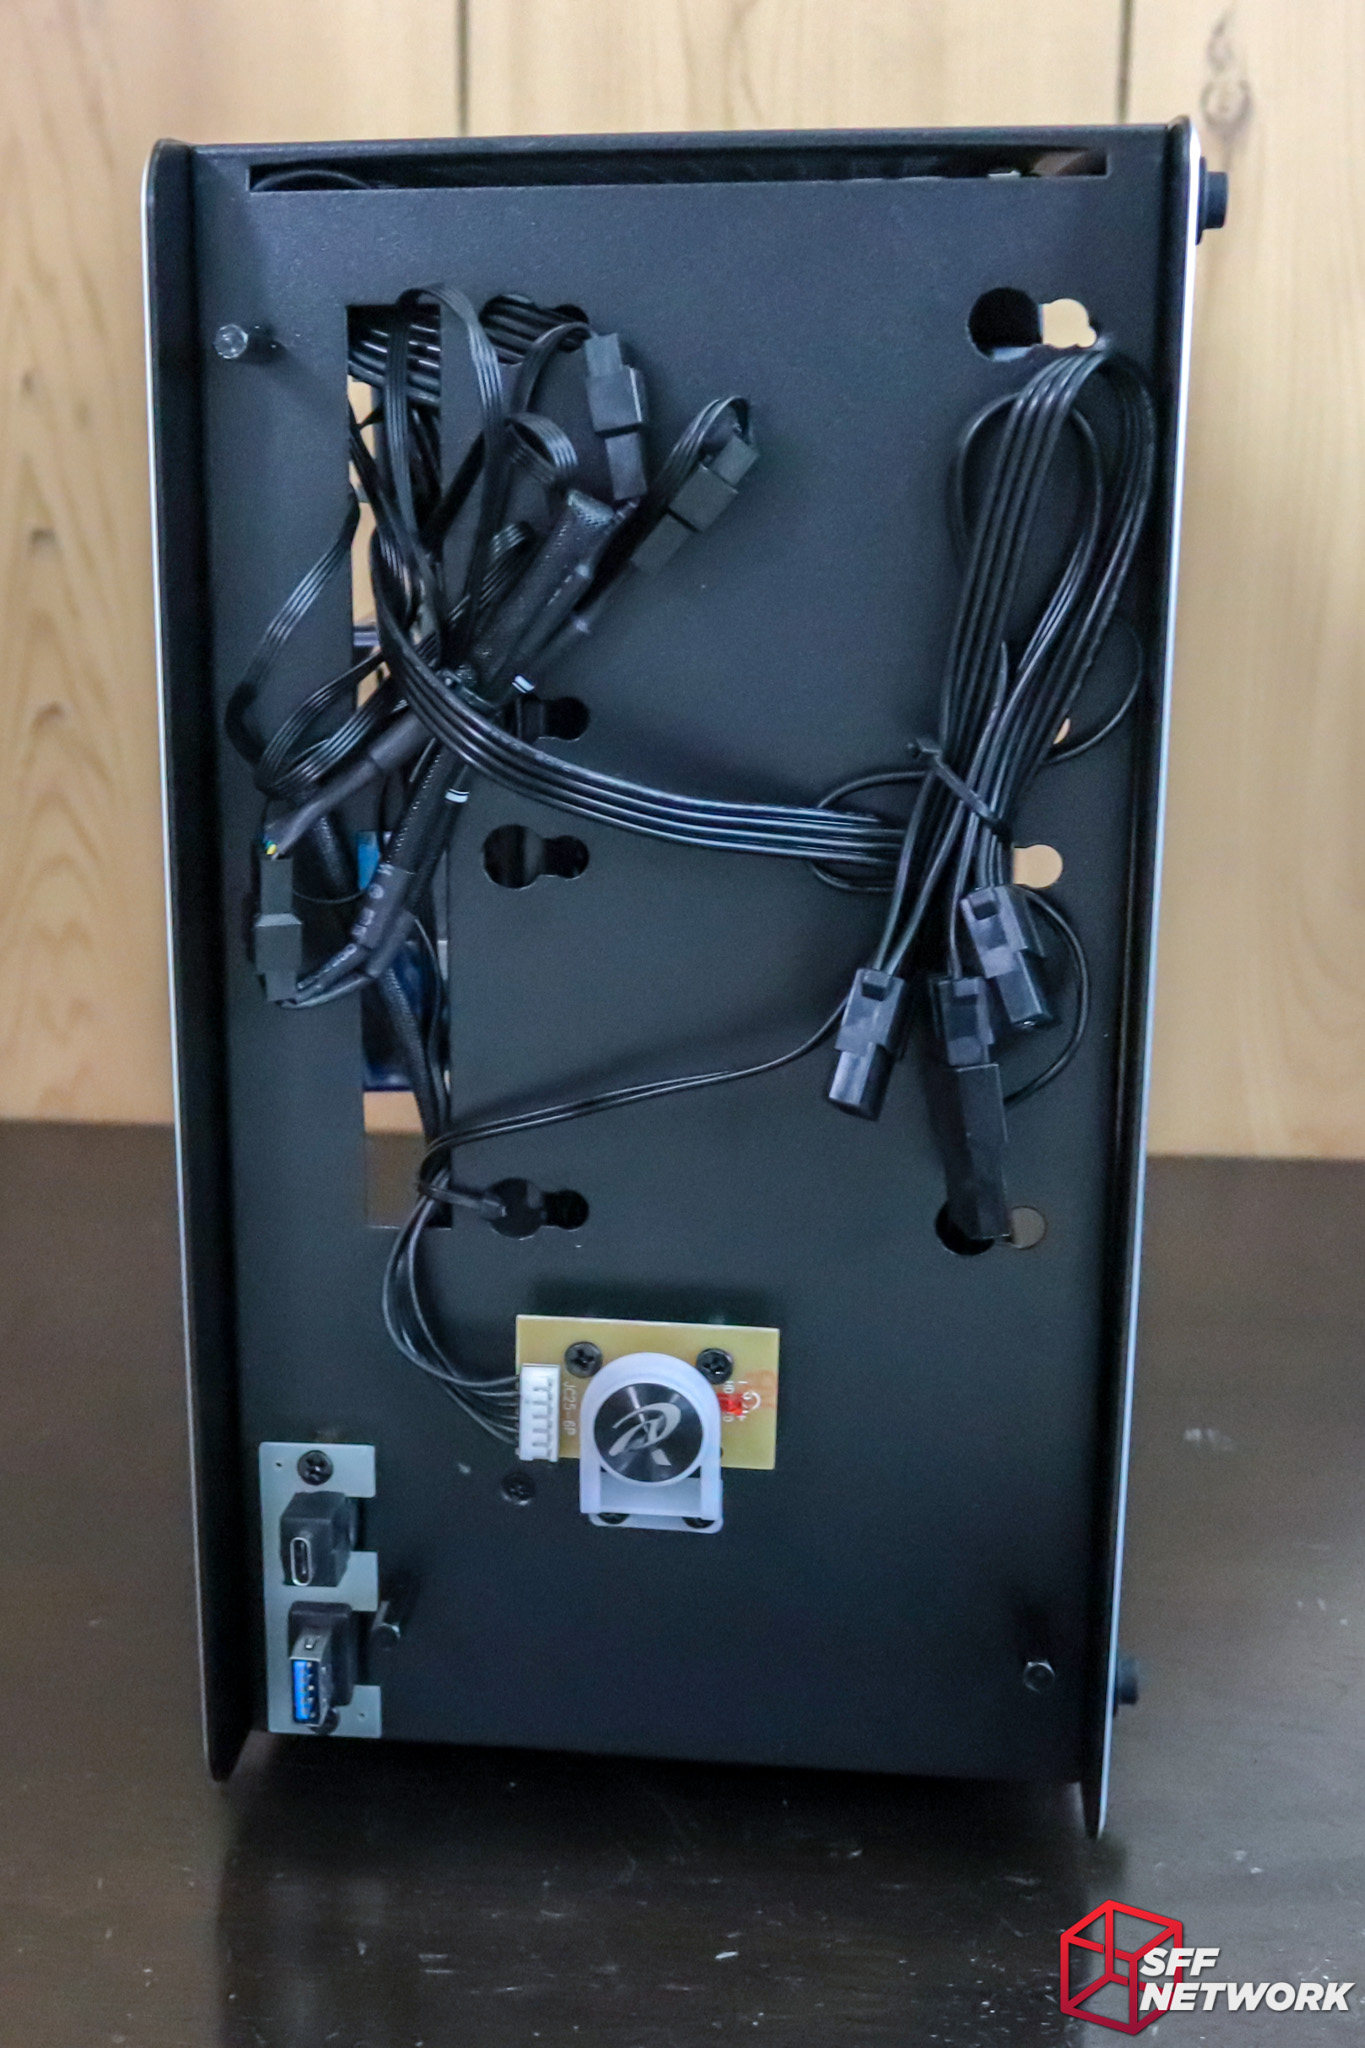
A great place to hide the cable mess! Sadly, I had to run a singular molex string off the PSU to power Raijintek’s RGB hub. Otherwise, no drive power cables would have been run!
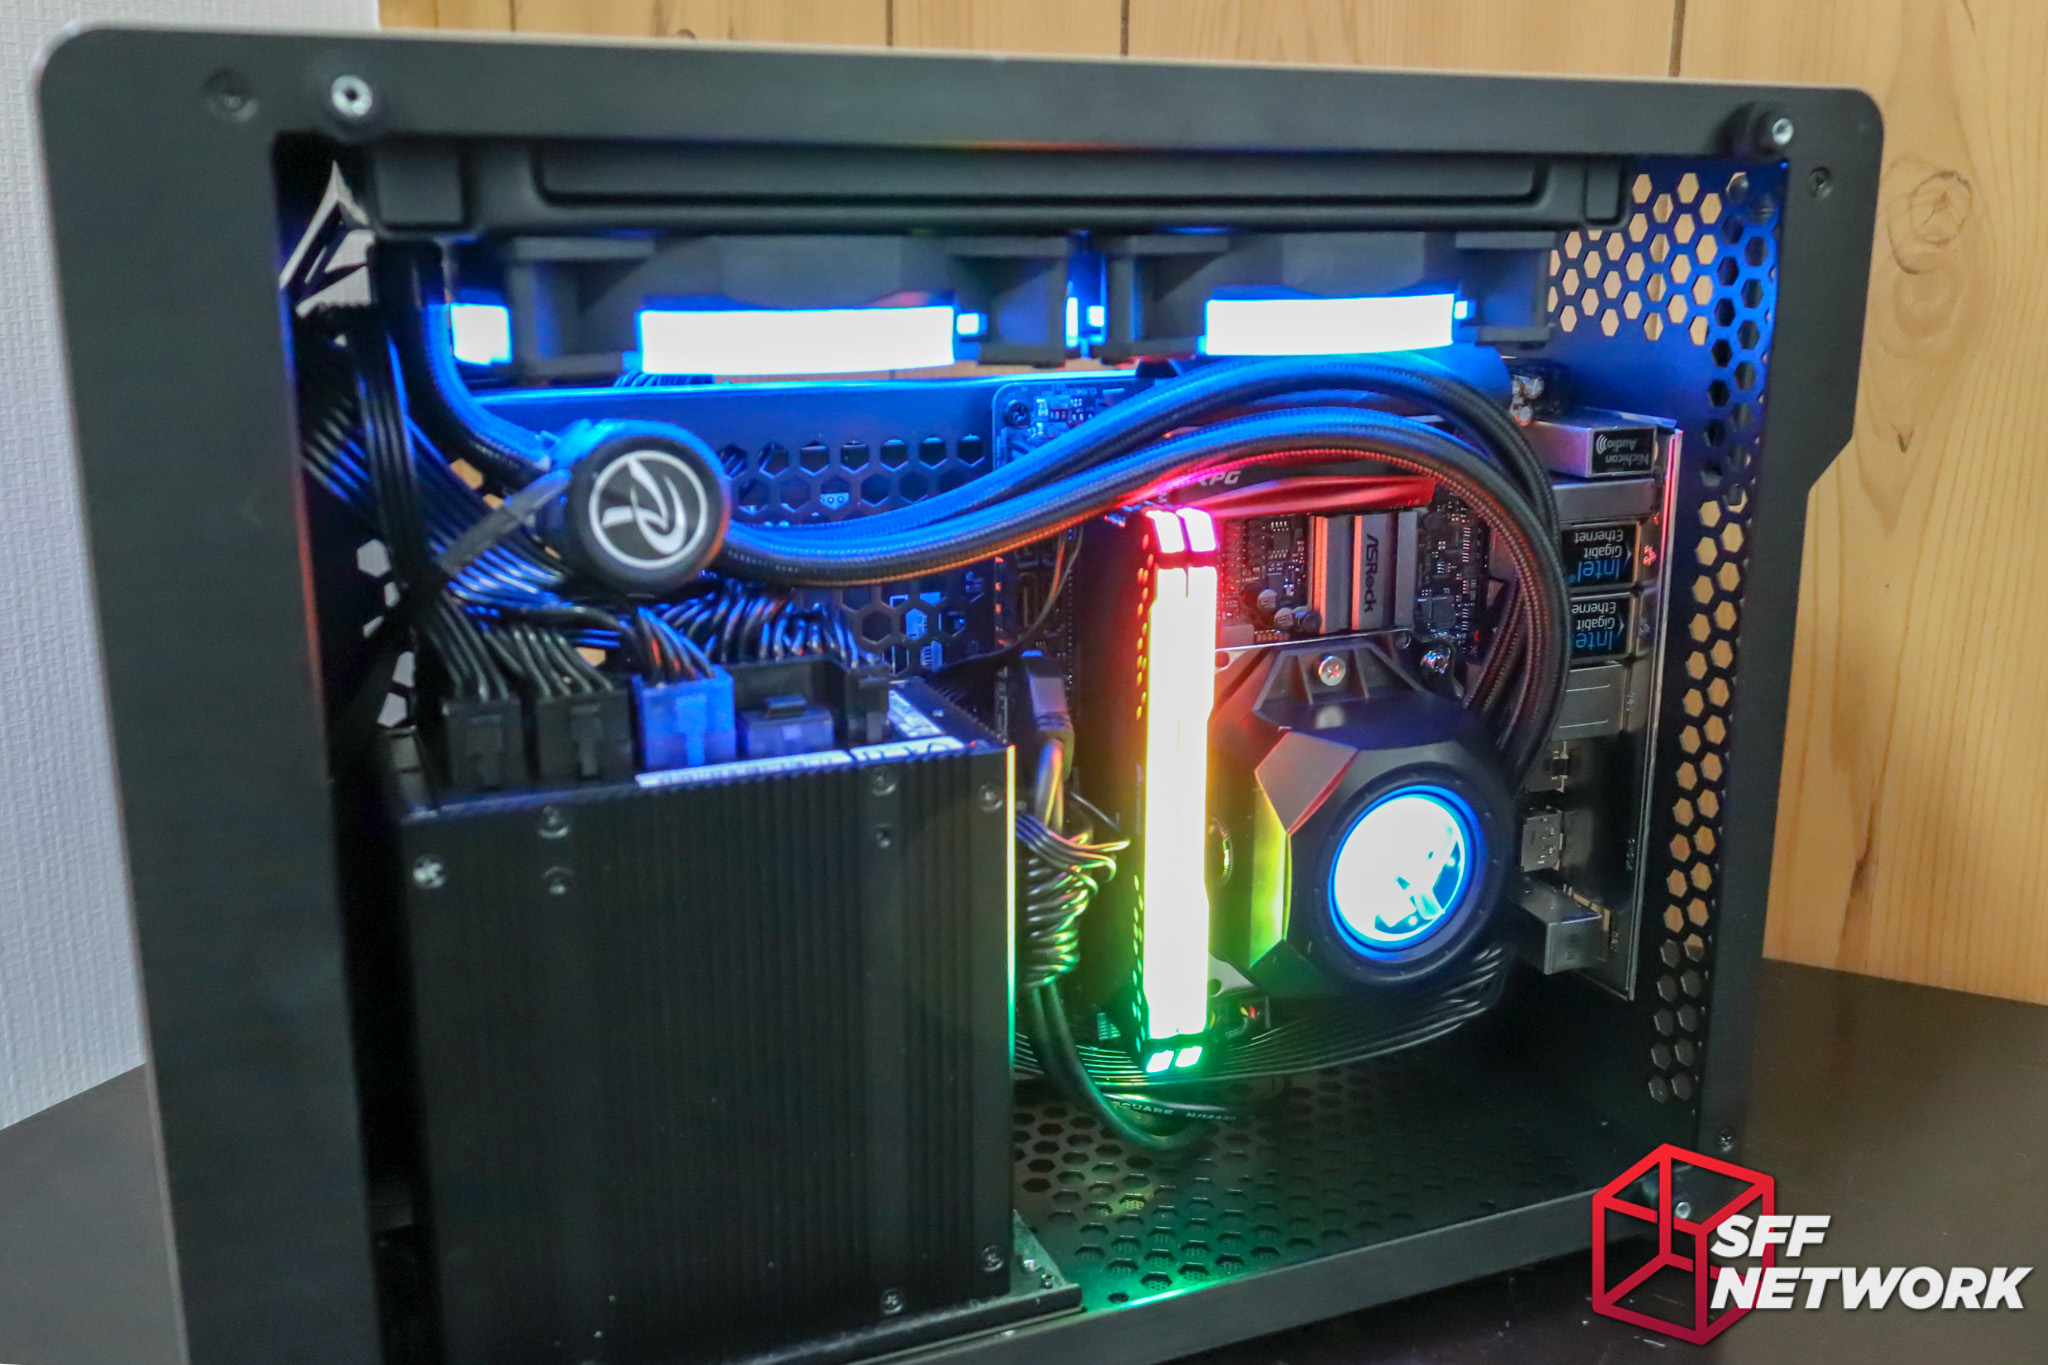
The GPU side of things is neat, tidy. The Raijintek RGB hub sits at the bottom – I later came to regret this as I had put the cables under too much tension and I managed to fry the hub. Woops! Sorry Raijintek.

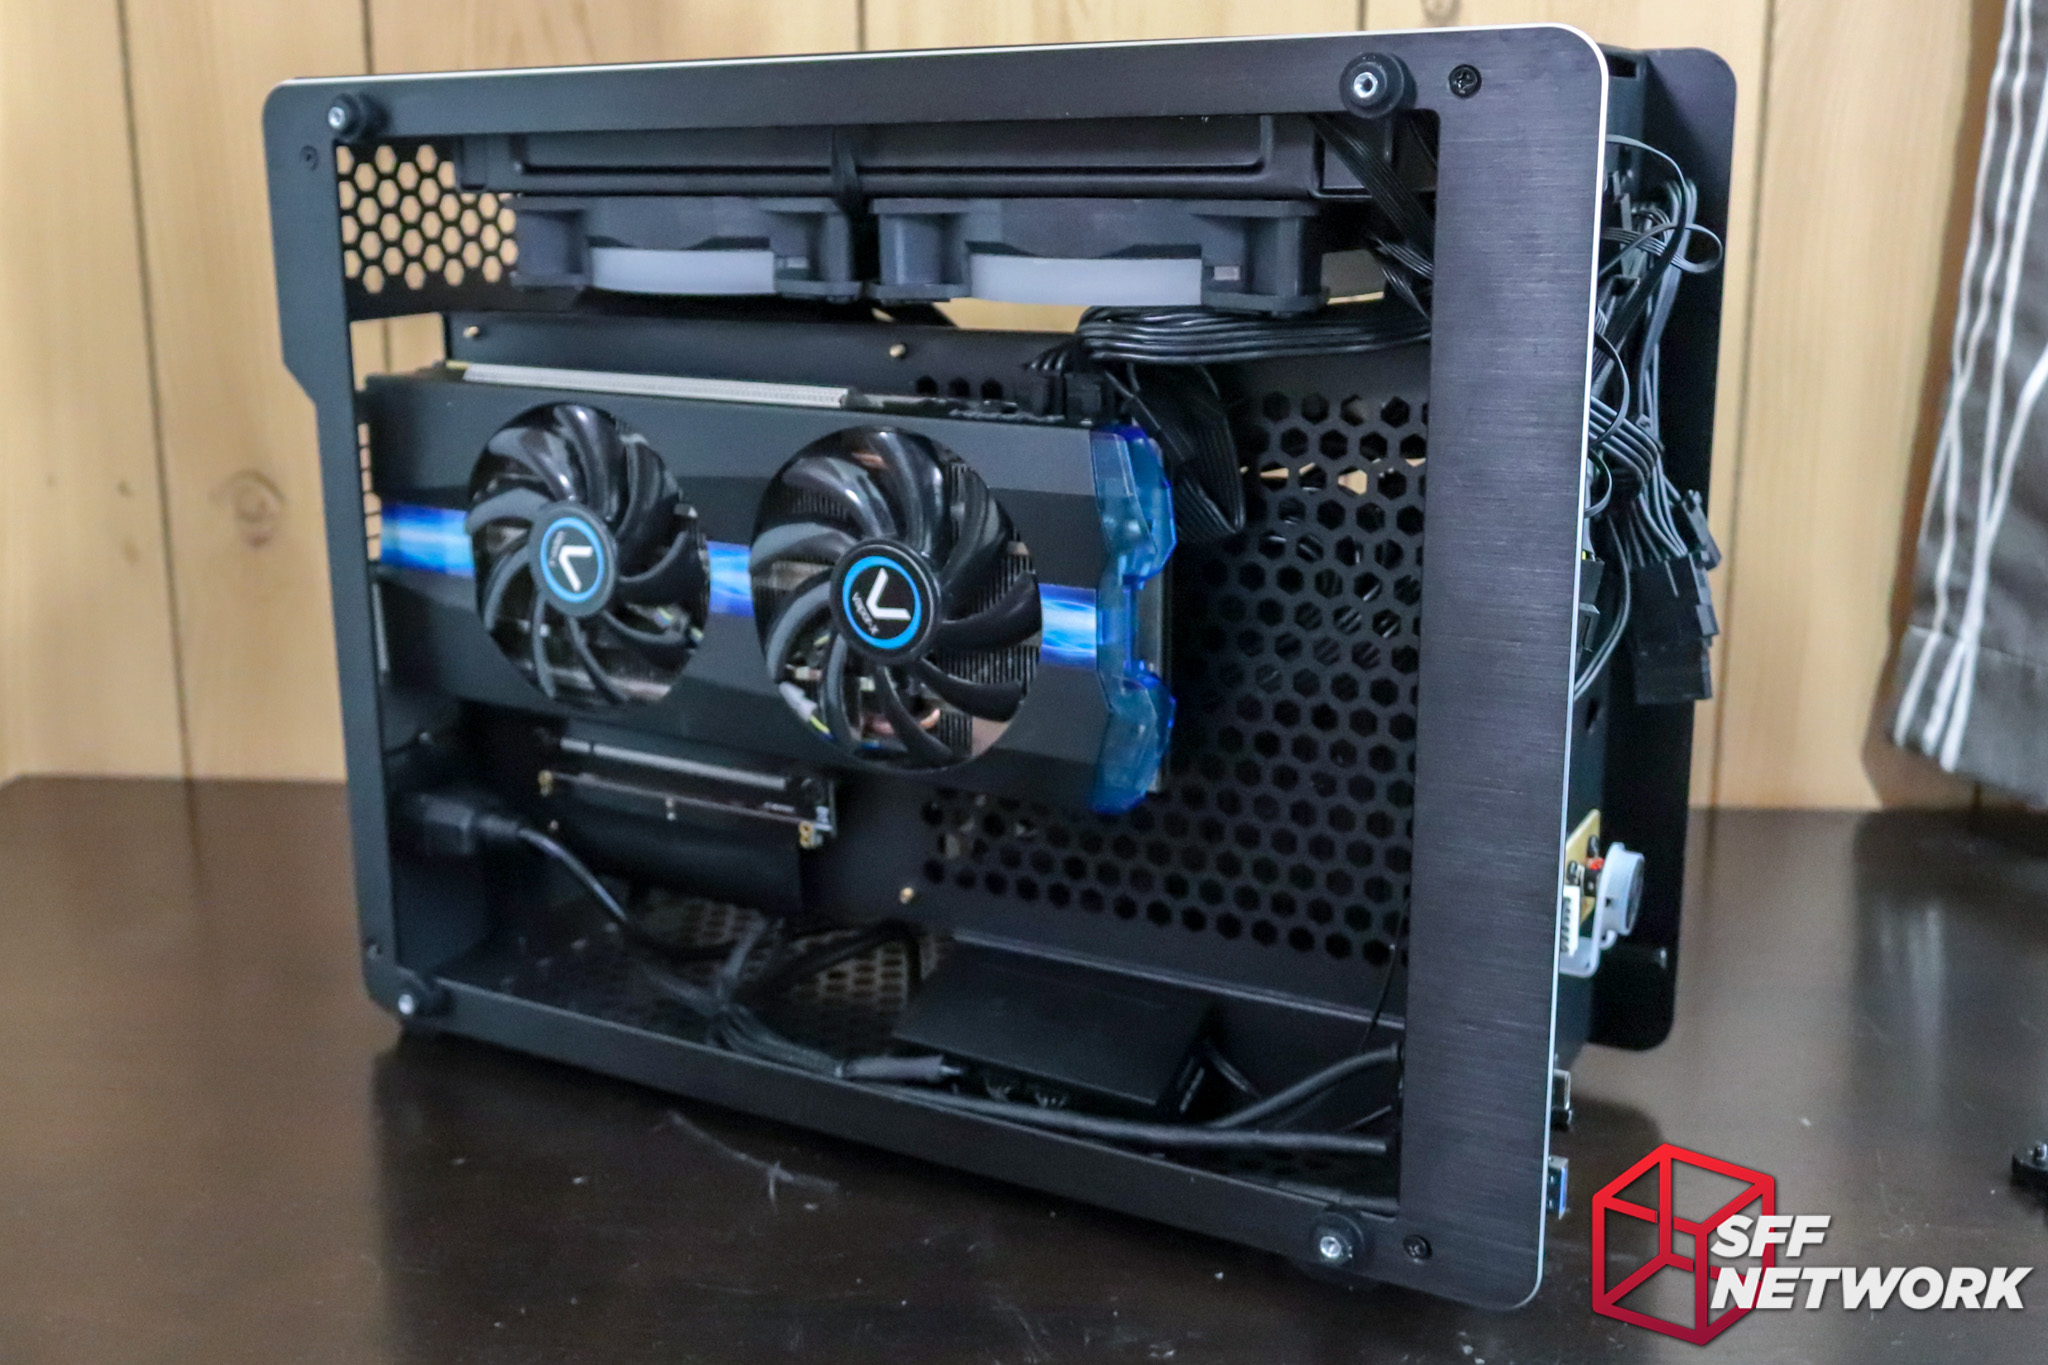
The back-to-back layout comes into it’s own when it comes down to a condensed rear IO section.
Slick.
Let’s see if it boots. It does!
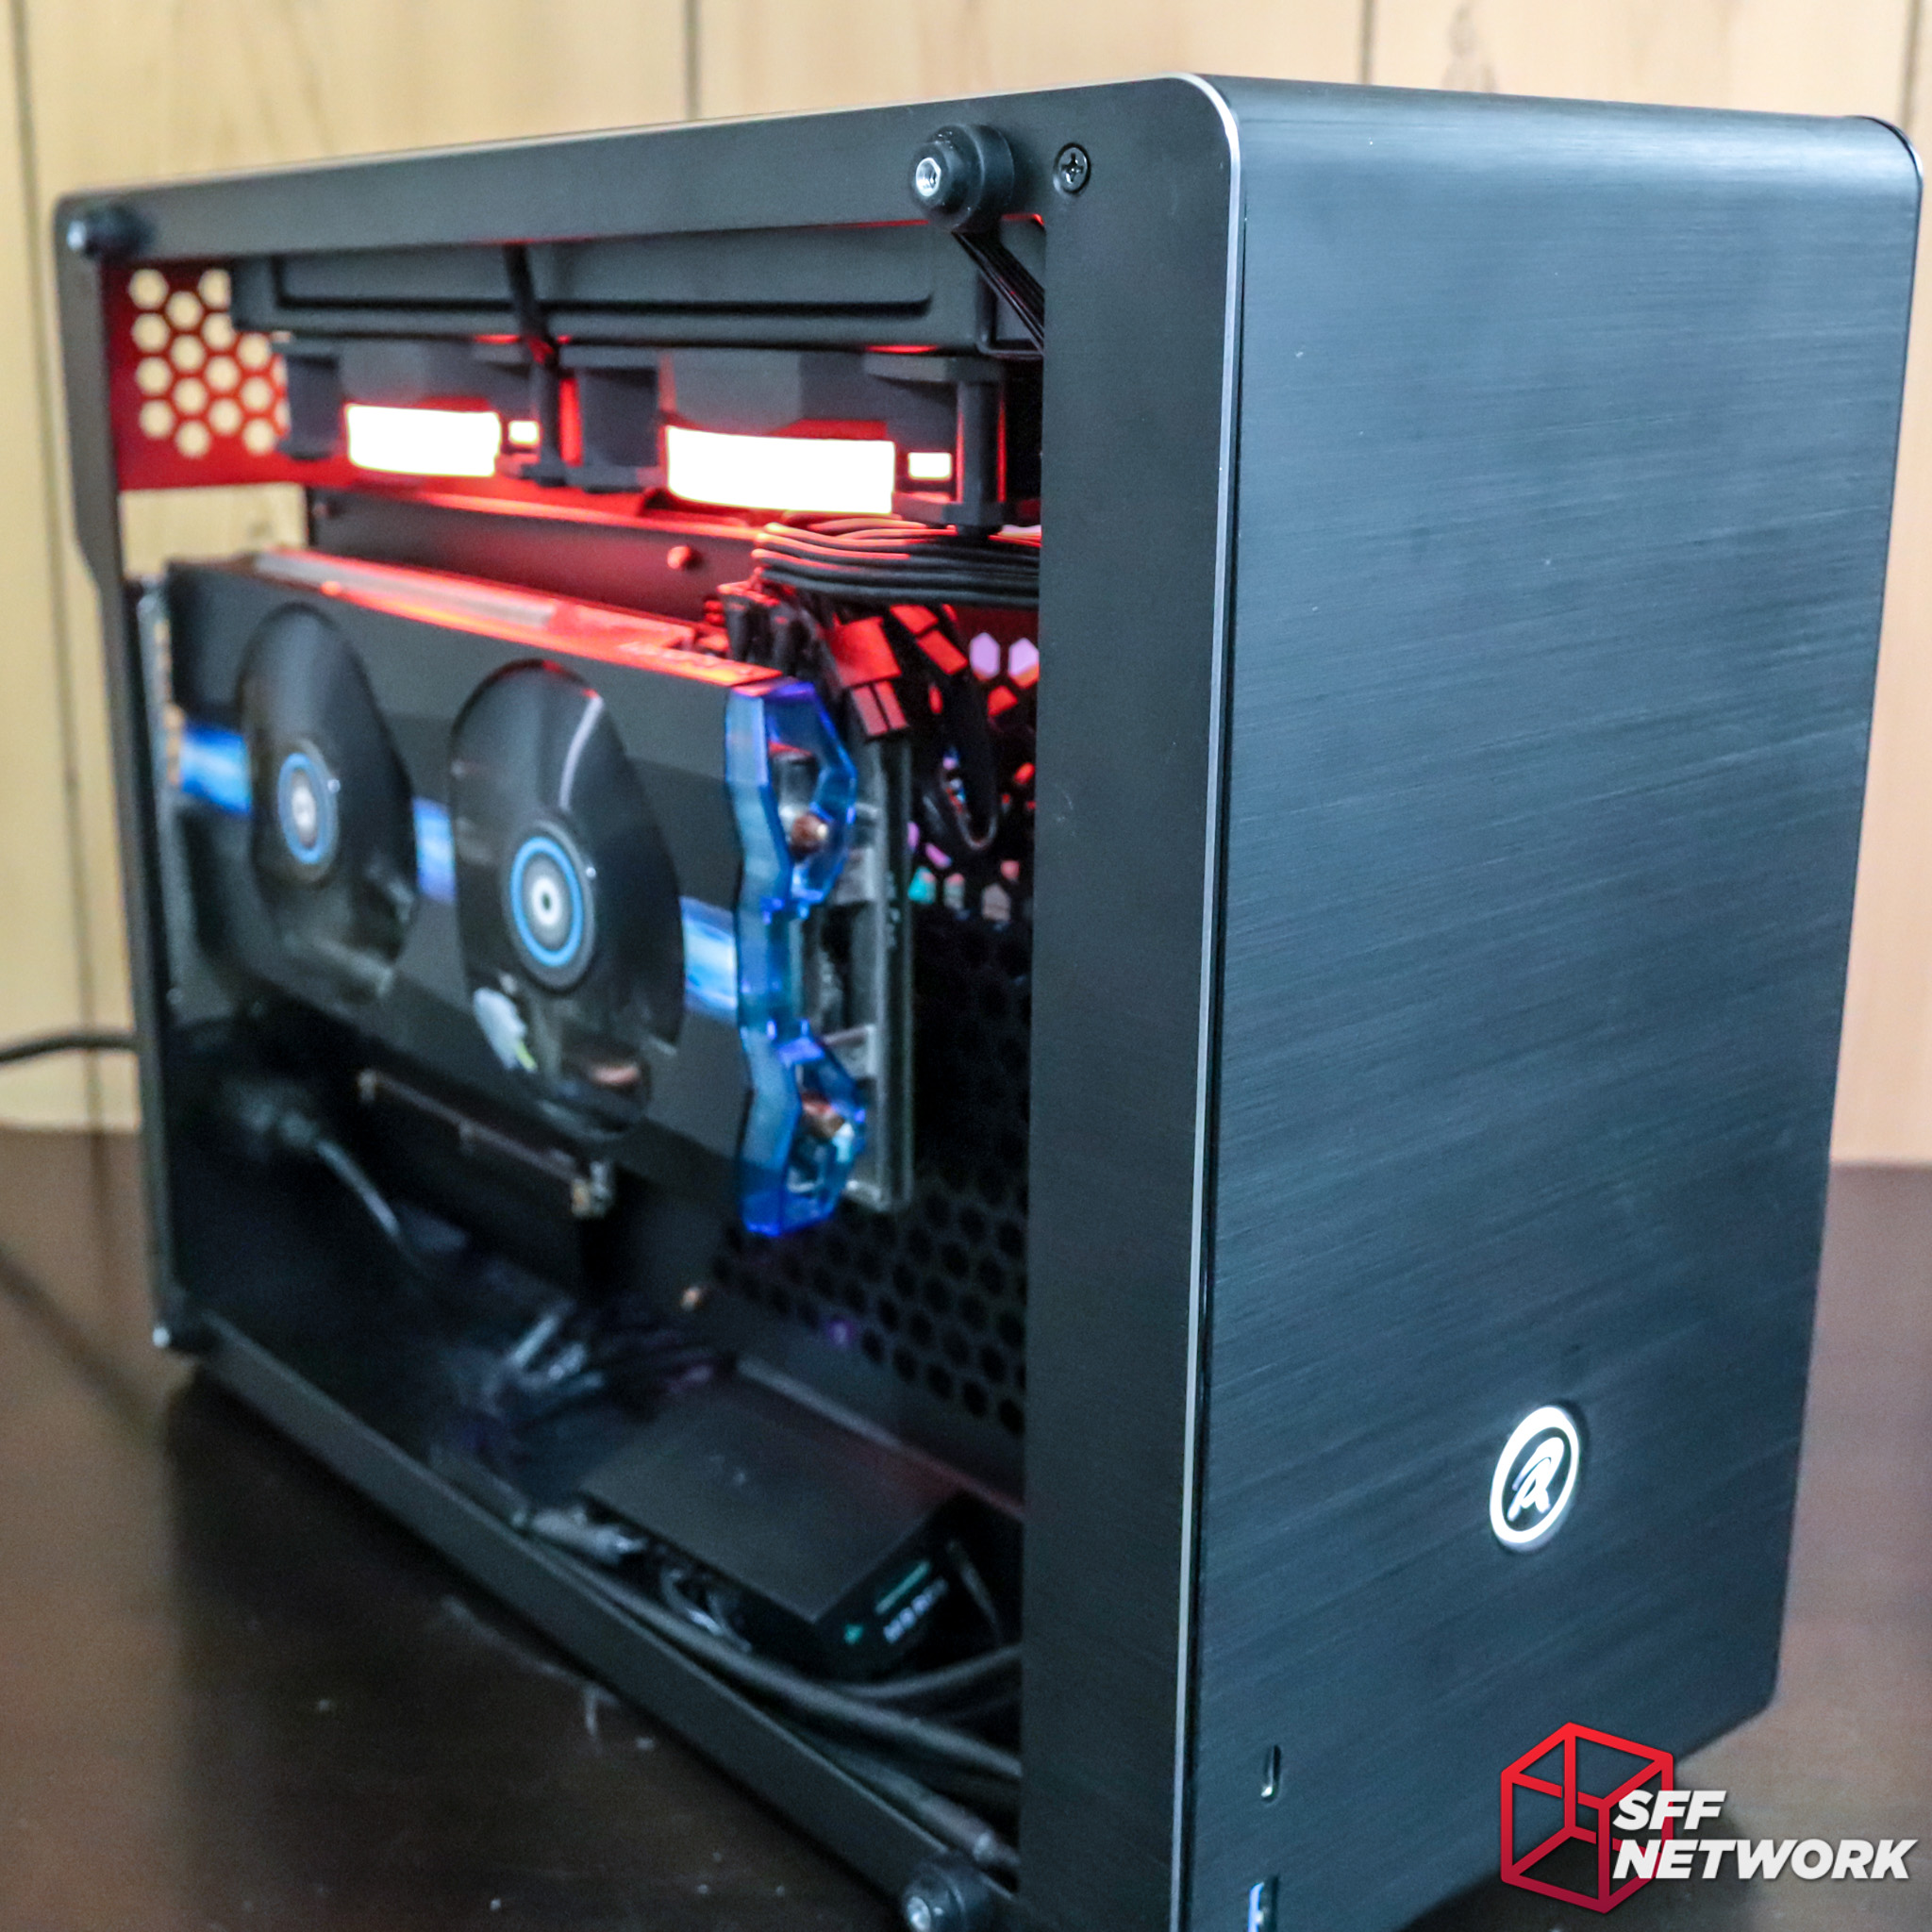
RGB in full swing. I’ll get to configuring the colour scheme a bit better soon. In a case such as this, excellent cable management is a must – or else it just ends up being an eyesore.

With the glass reinstalled, and a more subtle RGB config set. As a user recently said in the forum – the great thing about RGB is that you can turn it off! However, there’s something to be said for a clean lighting setup.
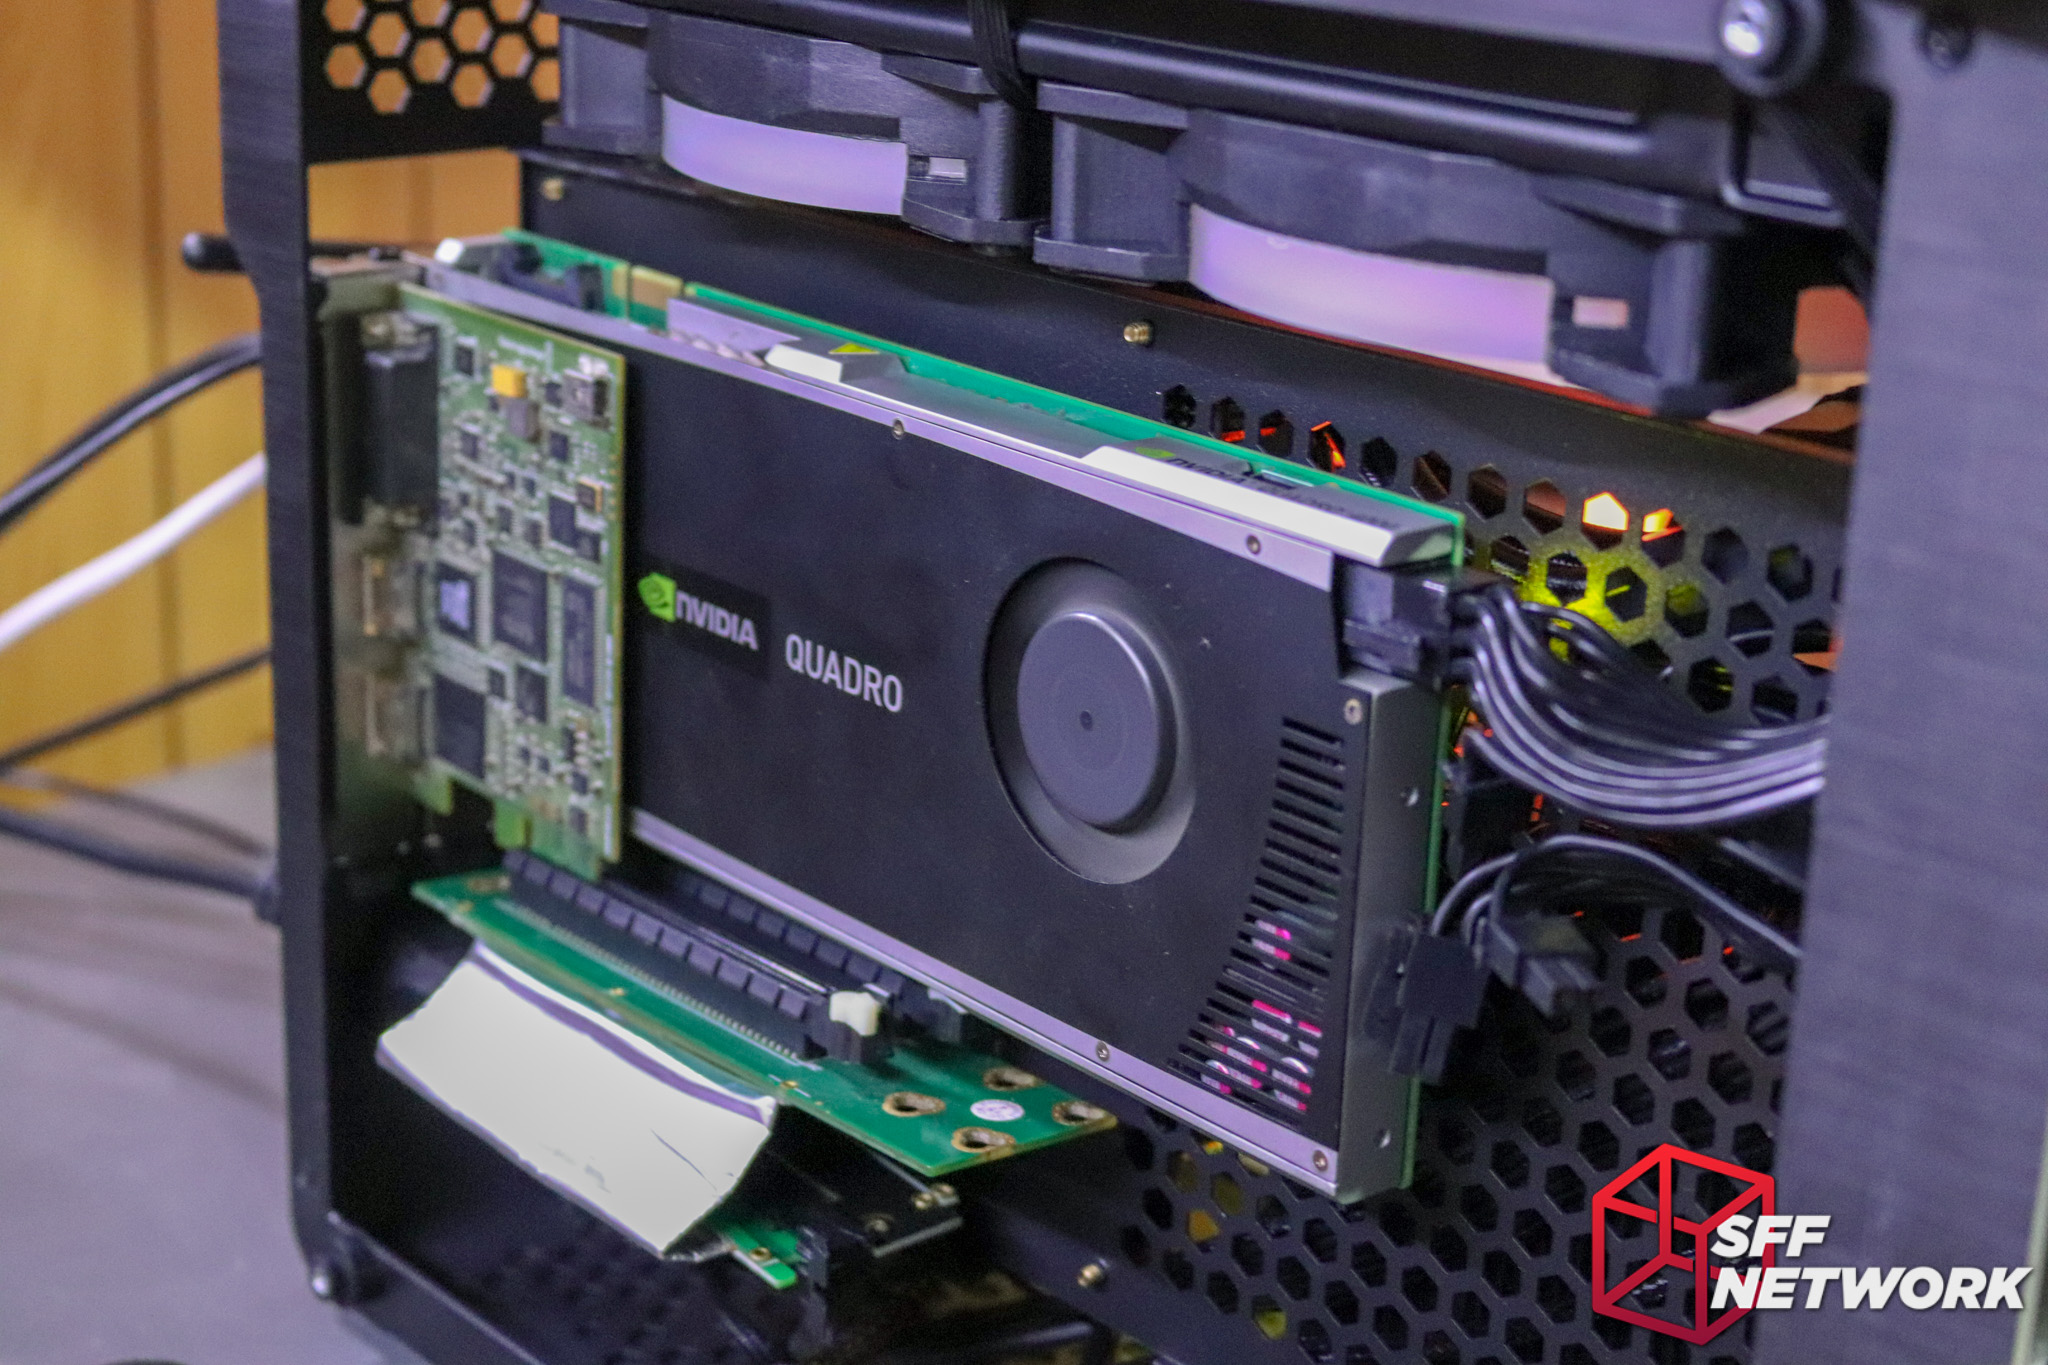
As an aside, due to the layout of the case, there’s room for a bifurcation riser, meaning this Quadro and BlackMagic capture card configuration is possible!
The Conclusion
We’re used to a world of US$200 indie cases, or US$50 budget SFF cases. The Raijintek Ophion and the Evo variant we looked at today offer something to fill in the much ignored mid-range. Something semi-premium without the price tag of some of the smaller cases on the market.
There’s something I’ll give cases like the Bitfenix Prodigy, is that it enticed folks into smaller systems. The Raijintek Ophion Evo gives consumers a better stepping stone, one that appeals to the current trend of RGB and tempered glass, but gives them a case that is actually smaller than a mid tower. Some may move down to this level and stay here, and for some, this is just a taste on the way down to uSFF systems.
During testing, I recorded temperatures only slightly above bench testing numbers, a sign of the great airflow design of the chassis. One thing to note though, I wasn’t throwing insane heat at the chassis – only the output of the aforementioned system built in the chassis. A hotter system (say, an overclocked processor and a less efficient graphics card) may result in warmer numbers, although not to the same extent as a chassis with lesser airflow capacity.
With excellent cooling characteristics (albeit at the expense of dust ingress and noise egress) and capacity for even the most high end M-ITX configuration, I give the Raijintek Ophion Evo my recommendation to anyone looking for a case at the larger end of SFF. For those not looking for watercooling support, the cheaper and smaller Ophion (air) is a great option as well.
Pros
- Easy to cable manage
- Subtle aesthetics
- Back-to-back config enables custom expansion card loadouts
- Cable management room in the front of the chassis
- Included filters
- A great stepping stone into the world of SFF for LFF folks
- High airflow capability
Cons
- Power button feels cheap
- Big!
Niggles
- Large gaps between the glass and chassis means the filters won’t stop all the dust!
- Semi-open design means the system is louder than in an otherwise “closed” case
Thoughts? Discuss them in the forum.
This review sample was provided by Raijintek.
Here at SmallFormFactor.net we give manufacturers the ability to be part of the community. We offer a right to reply to our hardware reviews. If a manufacturer responds with any feedback or corrections, their comments will be posted here.