In the search for a chassis to fit my slightly oversized M-DTX motherboard, I came across the Jonsbo C2. Jonsbo may not seem like a familiar name, but the company supplies quite a few different models to Rosewill.
I bought this case to run my every day system, so quality, quietness and cooling capacity were major decision points. So far in use, I would say that quality and quietness are of a good standard, however cooling leaves a bit to be desired. Let’s look at this product in a bit more detail:
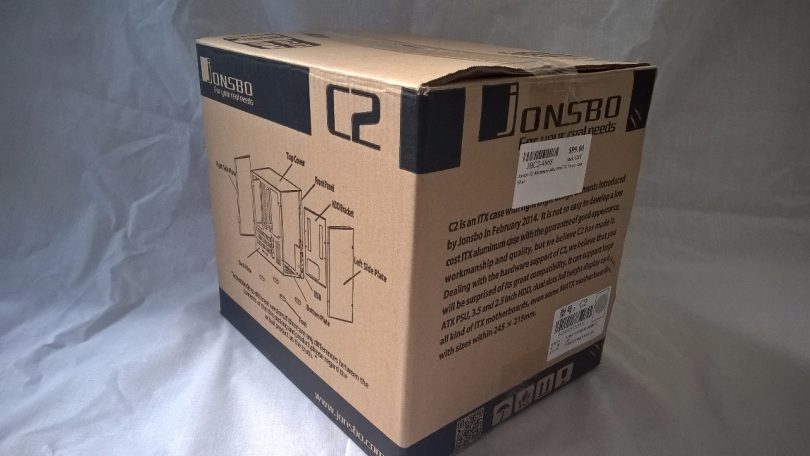
The box is very simple, but sufficiently thick enough to protect the case during shipping.
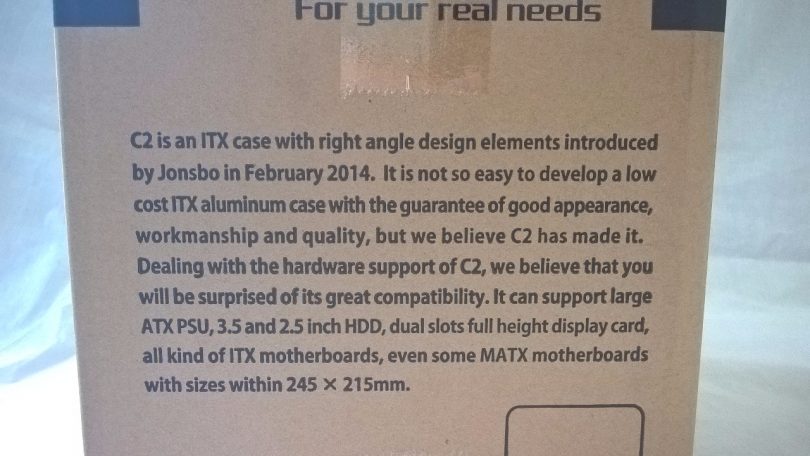
A bit of Giggle Translation here – but the main points do get across.
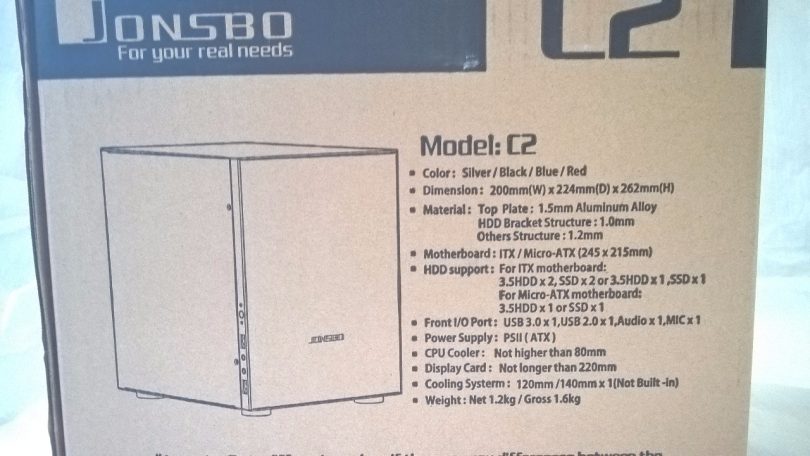
A quick run down of the specifications are on one side of the box. The model I chose was silver (which is practically bare aluminium).
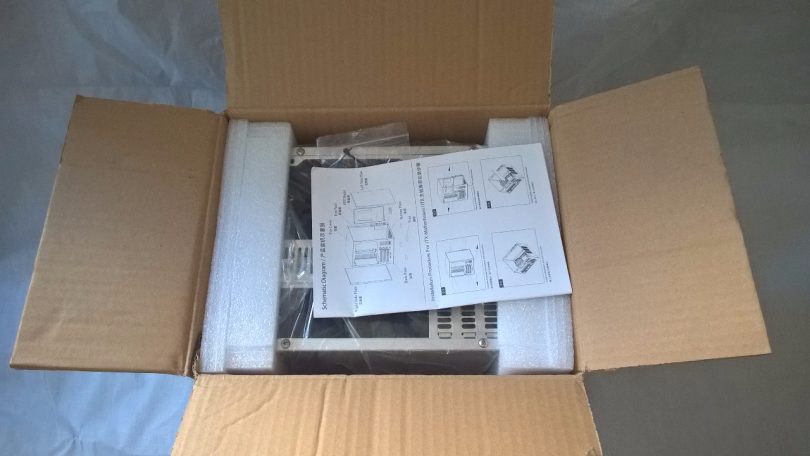
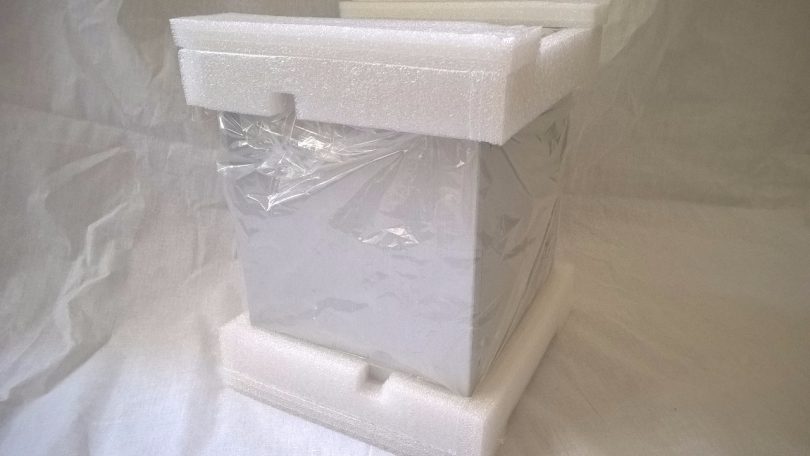
A first look inside the box. The case was well protected with foam around each end, and a plastic bag to seal against the elements. The user manual and accessory kit are placed on top.
Foam at each end helped protect the case, which arrived with no damage whatsoever.
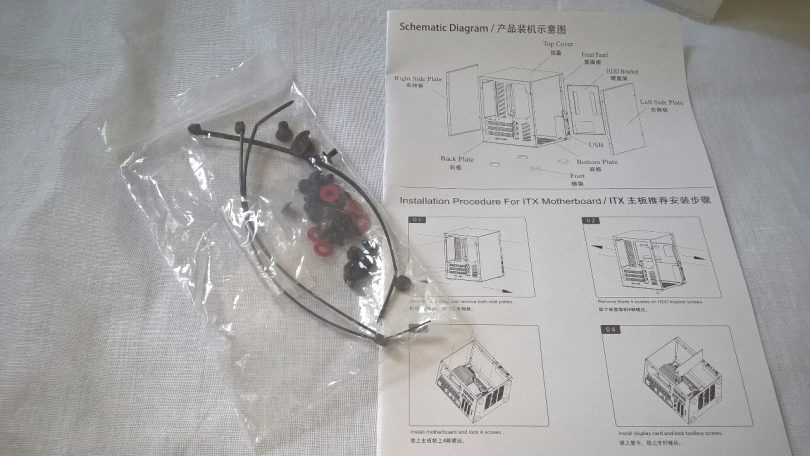
The accessory kit and manual are quite simple, with just enough to get by. I would have preferred the accessory kit to come with more cable ties and a USB3.0 => 2.0 header adapter at the very least, with rubber grommets for fans and drives as a bonus.
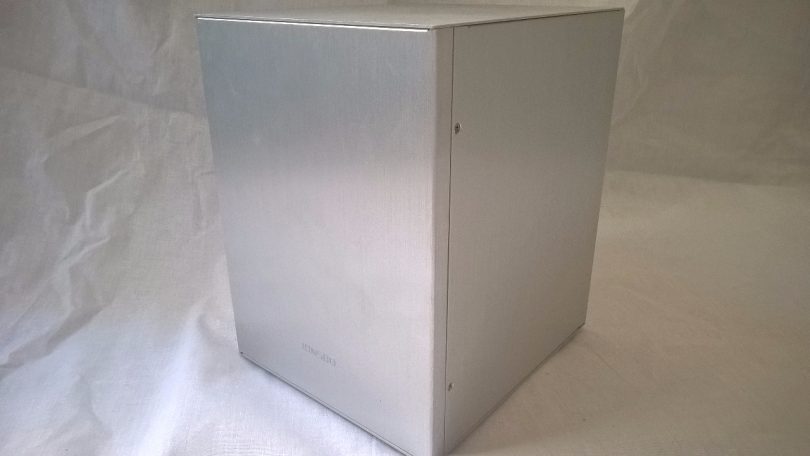
Now we see the case for the first time. The design is simplicity itself – no optical drives, fans or other cutouts on the front. The Jonsbo lettering appears to be a reflective vinyl stickers which should be able to be removed for even more minimalisticness.
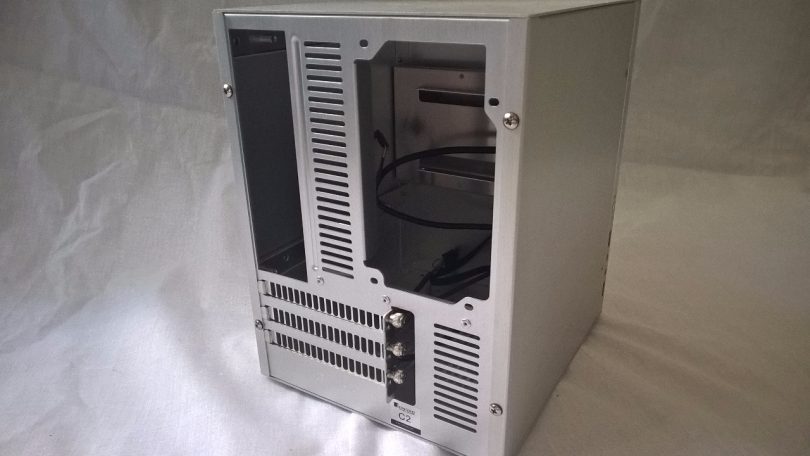
Now for the C2’s party piece – the layout. The motherboard sits in a vertical orientation with the expansion slots at the bottom. An ATX power supply (or SFX with an adapter plate of course) sits ‘above’ the CPU cooler. This does limit cooler height to 80mm, but there are many quality coolers available which can cope with most processors. The only situation that would cause issues here would be when you have a 100w or greater CPU.. (woops!)
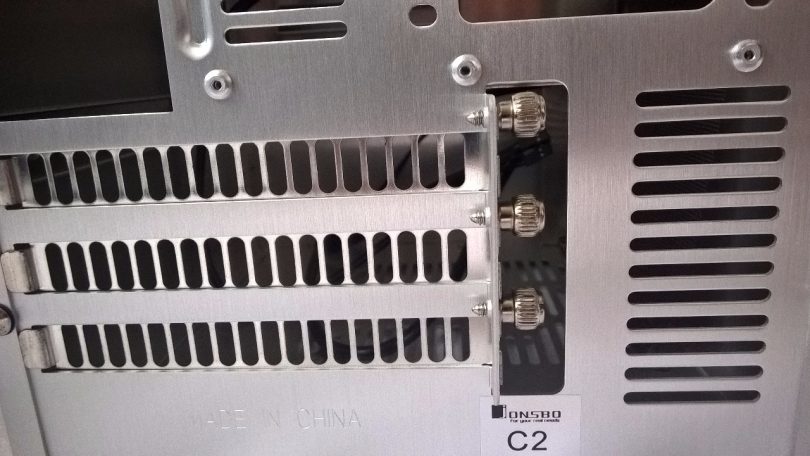
The rear expansion slots are clean, well cut, and come with vented slot covers. Thumbscrews are provided. The expansion slot retention does stick out of the back of the case, but this is an easy to live with sacrifice to get more space inside the case.
Note that this case has three expansion slots and a fairly sizeable blank panel underneath. Because of this, this chassis does support ‘slimmer’ M-ATX boards and triple slot graphics cards. With a caveat of course.
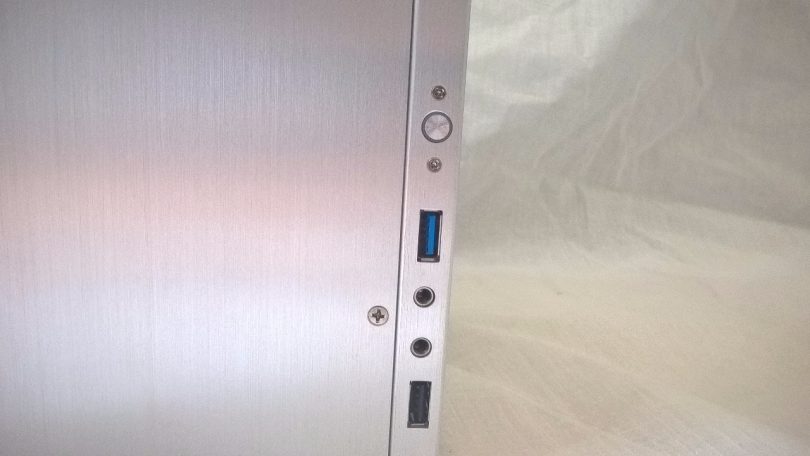
The front IO is to be found on the left side of the front panel. It features a USB2.0 port, a USB 3.0 port, headphone and microphone ports, and a small power switch. The power switch has a blue and a red LED behind it – blue for power and red for HDD activity. Due to the relative intensities of the LEDs, HDD activity shows up as a pinky purple light.
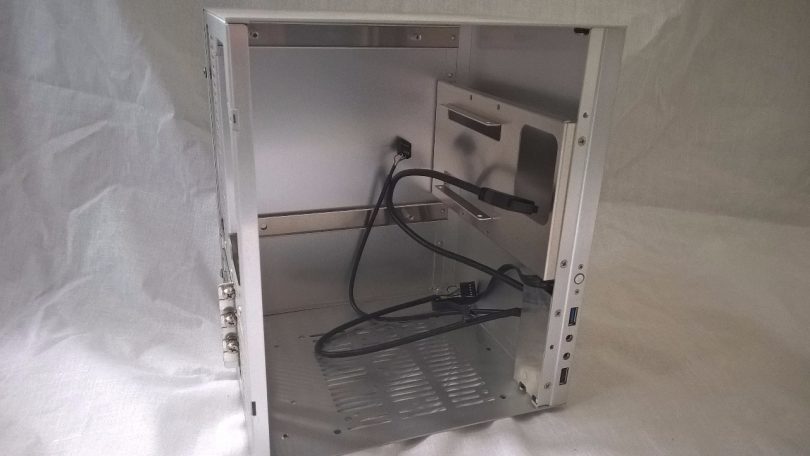
Now to look at the inside. The layout is very simple, with the drive bays at the front and bottom. The internal layout is all about space efficiency. The case can support boards up to 245mm long and 215mm wide. There is also a GPU length limit of 220mm. Moving to a M-ATX board may restrict the use of some of the drive bays though.
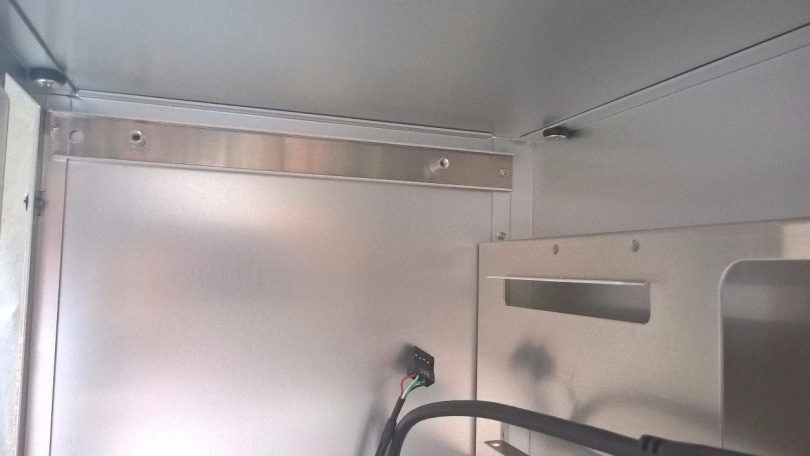
As you can see, the motherboard standoffs are attached to rails that go from the front to the rear of the case. This means that there is incredibly open access to the rear of the motherboard for changing cooler backplates. You can also see here that the top of the case is mounted with rubber grommets.
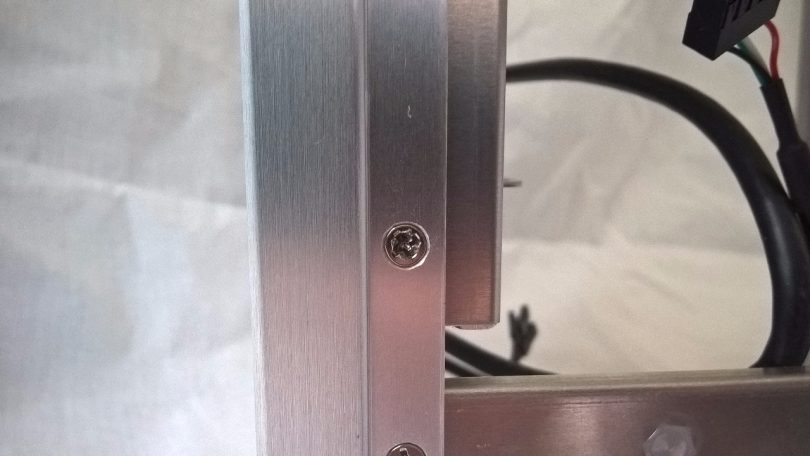
The only issue with build quality I could find in the entire chassis – a semi-stripped screw. It was still useable however, and I replaced it with a spare I had around.
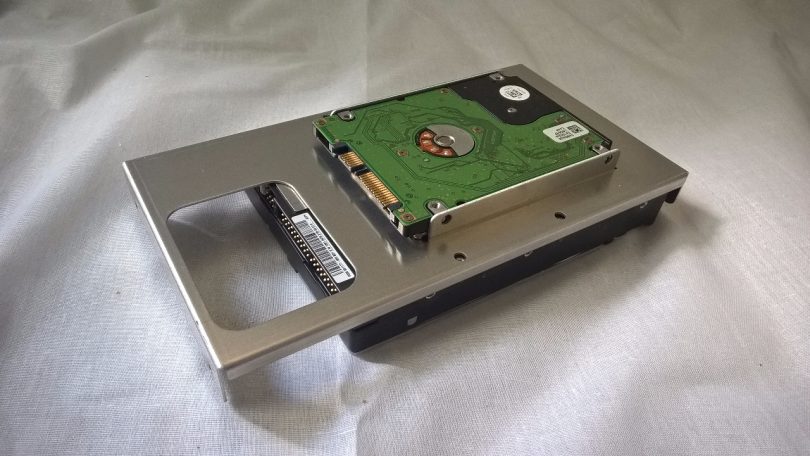
A close up of the removeable front drive tray. The tray supports two drives – a 2.5″ drive and a 3.5″ drive. There is no vibration dampening here though, and the tray itself also mounts solidly to the chassis. High RPM 3.5″ drives need not apply here.
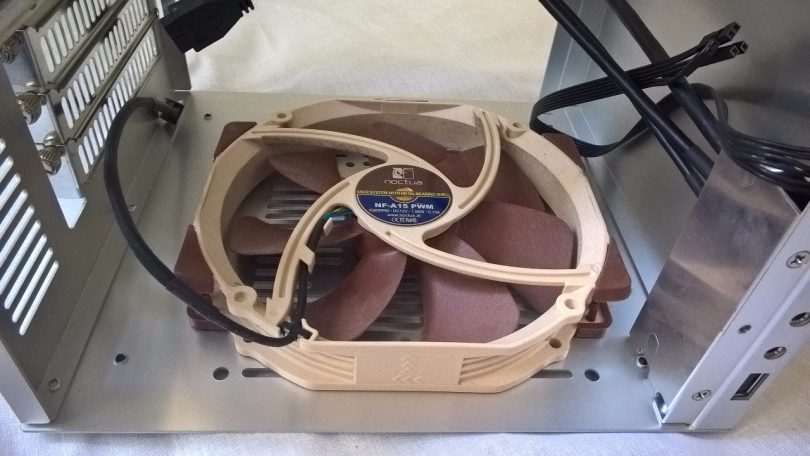
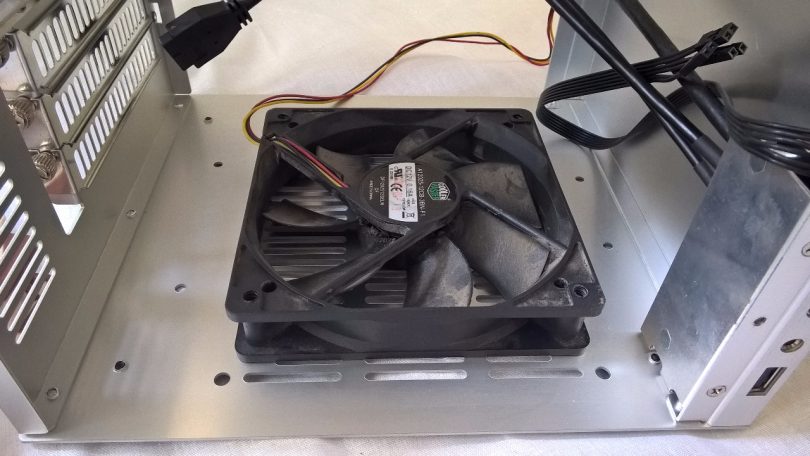
The bottom of the case is incredibly flexible, with various options available to you. I have outlined a few in the pictures here. Here is a 150mm Noctua fan with 120mm mounting holes.
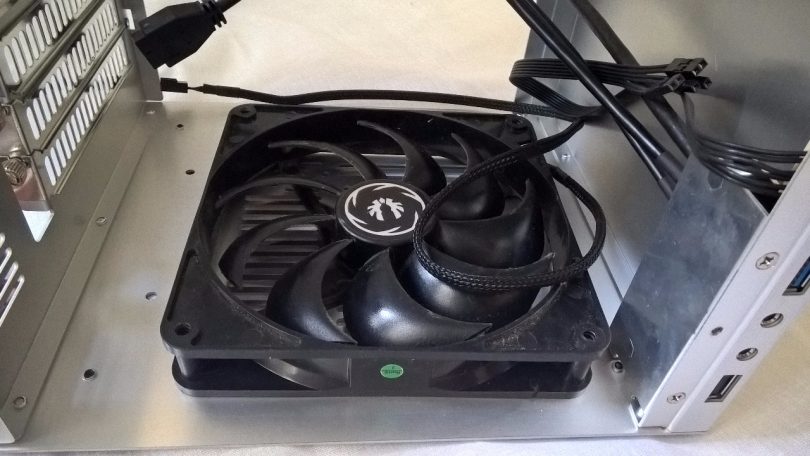
A 140mm fan fits fine here, with appropriate screw holes.
And a fuzzy 120mm fan has mounting holes too.
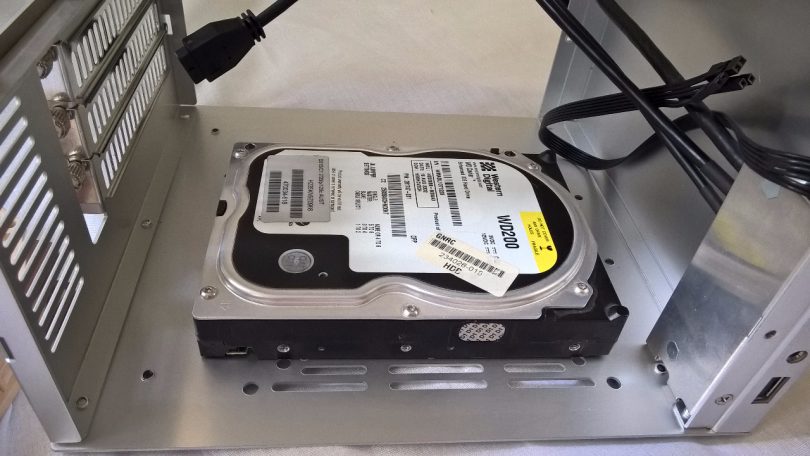
A 3.5mm drive mounts down here too, though it has no vibration dampening.
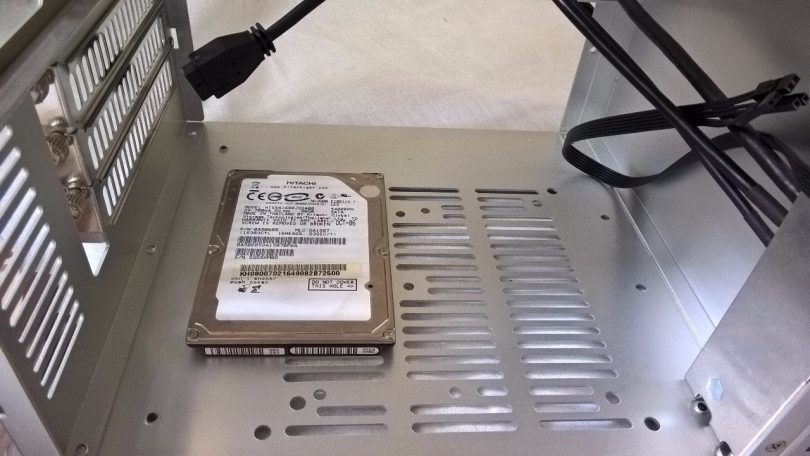
A 2.5mm drive is also accommodated for down here. I would guess that a second 2.5″ drive would be able to be installed using the fan intake slots.
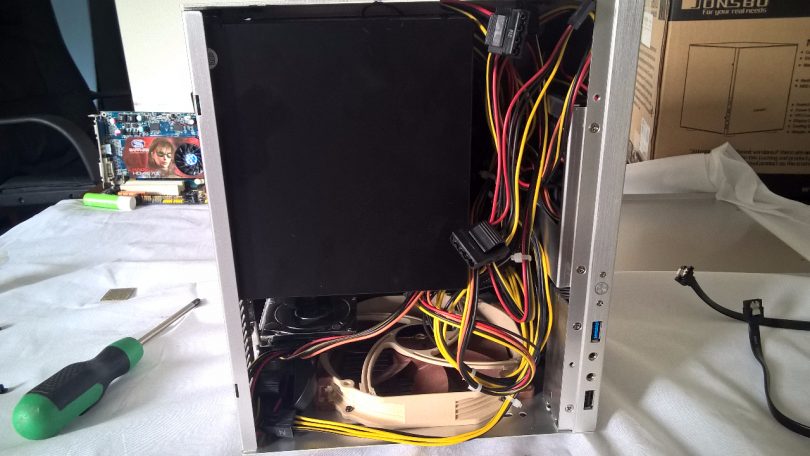
Cable management is for the weak! In all seriousness, there is very little provision in the chassis for cable management, especially with the use of a full ATX PSU. It’s a case of install everything, put the PSU in it’s place and then double check that the fans can still turn. A SFX PSU may make life a little easier here, but either way, modular is the way to go.
Conclusion
As I write this, my FX-8350 is sitting at 60 degrees at moderate load in the Jonsbo C2. This is on a cheap aftermarket cooler (still better than the stock cooler!) but still not good. Over the coming weeks I will be investigating ways to make this case perform better and be able to cope with my 125W CPU and 20w GPU.
However, this case is a well built unit, with simple but unique design elements that add up to a case that is definitely value for money at the NZ$99 that I paid.
And for those who are wondering, the Jonsbo C2 has an external volume of 11.7 litres.
UPDATE: I’ve built and rebuilt my system in the case (trying to get the setup right) and be warned: there are a large amount of sharp edges in the case. Not since the days of Socket 462 and 478 have I experienced such a bloody build. However, once the build is together, it looks very nice.
[mks_separator style=”blank” height=”2″]
Thoughts? Discuss them here.
[mks_separator style=”blank” height=”2″]
Here at SmallFormFactor.net we give manufacturers the ability to be part of the community. We offer a right to reply to hardware reviews. If a manufacturer responds, their comments will be posted here.

