
When I last left off, I had just finished covering a little bit of the case’s interior layout. As I stated last time, I like to work from the inside out. I was pretty happy with the placement of the parts in the concept. There was minimal wasted space, and I felt I had a design that could be easily maintained. I tend to go pretty complex given the chance, but I did have a slightly different goal here. I kept reminding myself to keep it as simple as possible.
It was finally time to plan the exterior of the case. I’d sketched a few basic ideas out on Post-It notes while sitting at work, so I had some basic idea of the direction I was headed. I didn’t do it this time around, but I’ve also got a few sketch apps on my phone that I like to utilize for brainstorming whenever possible. I like to know that I can document any ideas no matter when they come to me. A lot of ideas never make it any further than that, but there are still quite a few that get used or updated for new designs.
What you’re going to see now, is me just throwing ideas on the screen to see what sticks. I want the exterior to wrap the interior as closely as possible. I always work in metric, since I find it’s infinitely more accurate when working on such a small scale. Not to mention that most hardware manufacturer dimensions are given in metric as well. My advice is to go ahead and get used to working in metric, and save yourself a headache later.
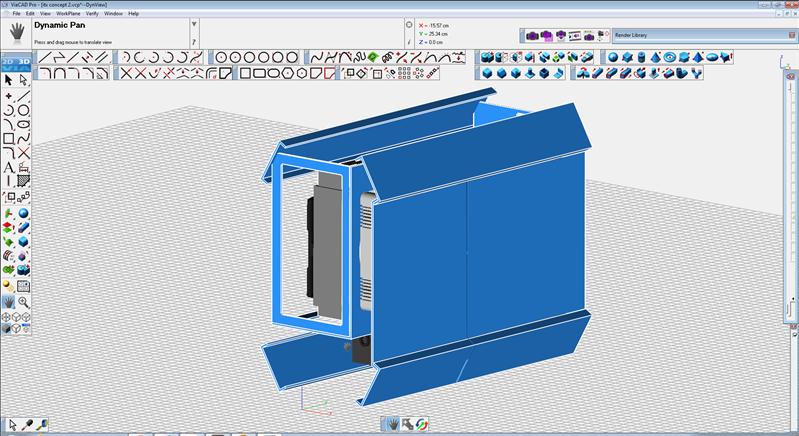
I start by making a simple shroud to cover the top, and add a front and rear panel to the central support tray. You’ll also notice that I’ve already started to modify my interior layout slightly. I’ve moved the fan to the outside of the tray, and started playing with hard drive placement. This will allow me to move up to a radiator at least 50mm thick. Granted, this will make the finished case slightly wider than planned, but I gain much more than I would lose.
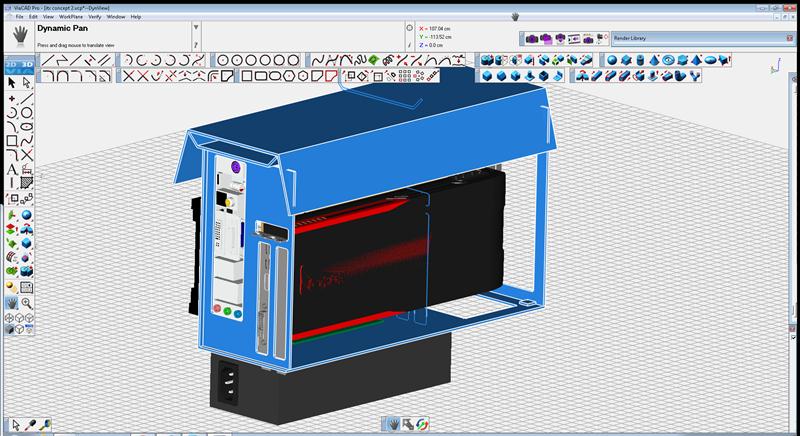
The exterior begins.
It was at this point I really started thinking about the overall shape I wanted. I needed something completely unique, but I also wanted it practical. I’m not really into ‘fluff’ cases, I tend to design with a slightly more industrial feel. This case was no different. The end goal was an industrial/military yet slightly futuristic look.
One of the most important things to consider in a scratch build case, is simply how you’ll fasten it all together. Coming up with a great design is only part of equation. You’ve got to come up with a reliable method for attaching any exterior panels to some sort of interior frame. The other option is to make the exterior of the case, the actual frame itself. That’s method I’ll be using here. No matter which you choose, you need to make sure that the case affords an acceptable level of structural integrity when finished. You don’t want to end up with anything that feels flimsy or prone to falling apart. That’s a great way to damage hardware. Design to be solid from the beginning.

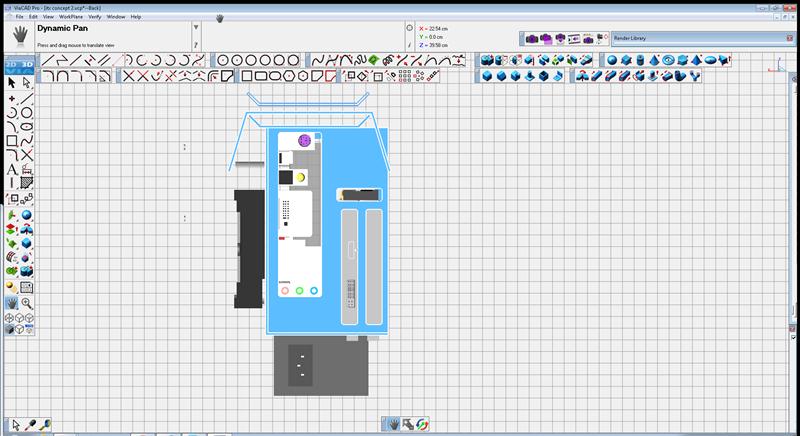
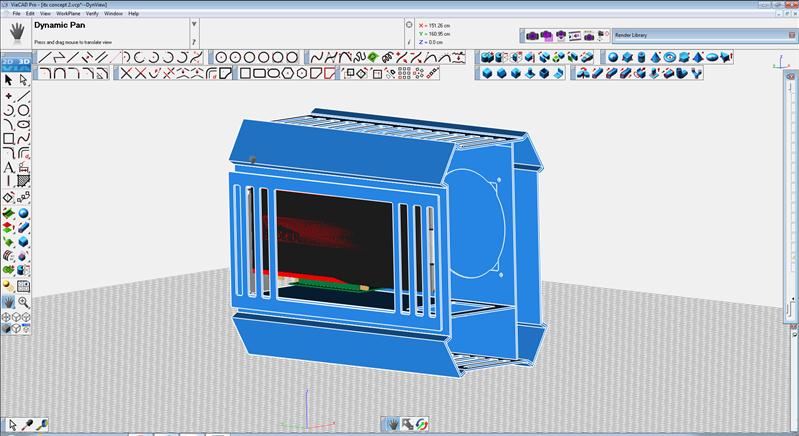
Ah, now this is more like it… I’ve made room for a second 3.5” hard drive, and have a pretty defined shape in mind. A few things to note. I’m using a similar design philosophy to my Draken concept. Each corner from top to bottom, left to right, is the same. The side panels are identical to each other, as well as the top and bottom panels. Although this case could easily be made by hand, it’s really designed to be milled on my Romaxx CNC machine. The duplication of parts ensures ease of manufacturing.
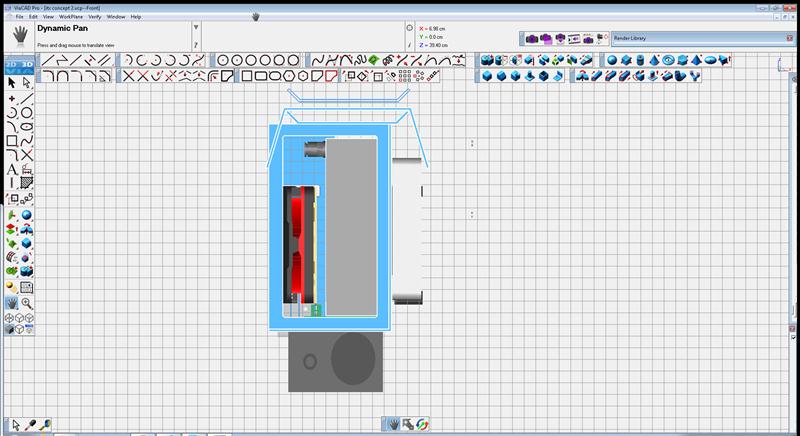
The exterior details. Almost there..
Now, although I said I wasn’t fan of the ‘fluff’ aspects of case design, I do want something to set this case apart. I’ll be adding a few panels to concept that aren’t needed from a structural standpoint, but will fit in well with the industrial theme I’m after. They will have the added benefit of offering some protection to the case however. This is a LAN gaming case, and I fully expect it to get knocked around a little.
Here is my first attempt at a side panel. After designing this, I decided I disliked it quite a bit.
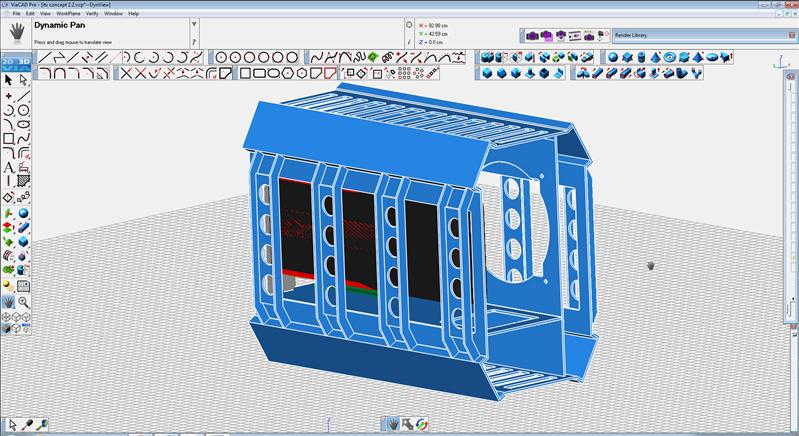
It’s important to not lock yourself into any particular idea. If something doesn’t feel quite right, then adapt. Keep changing until it clicks for you. That’s exactly what I did here…
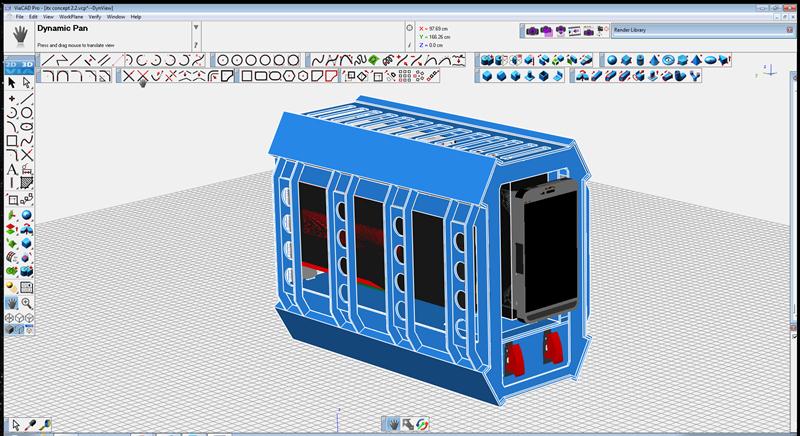
At this point things are really coming together. I’m feeling very confident in the design, and I’ve just got a few details left to figure out. I decide to work on things like power switch placement. A pair of covered toggle switches fit the theme well. Oh, and what else made its way to the front of the case? Despite repeatedly telling myself to keep this concept simple, I just couldn’t help myself. A little Android decides to join the party… I’ll cover more specific functions of how it relates to the PC in a future article.
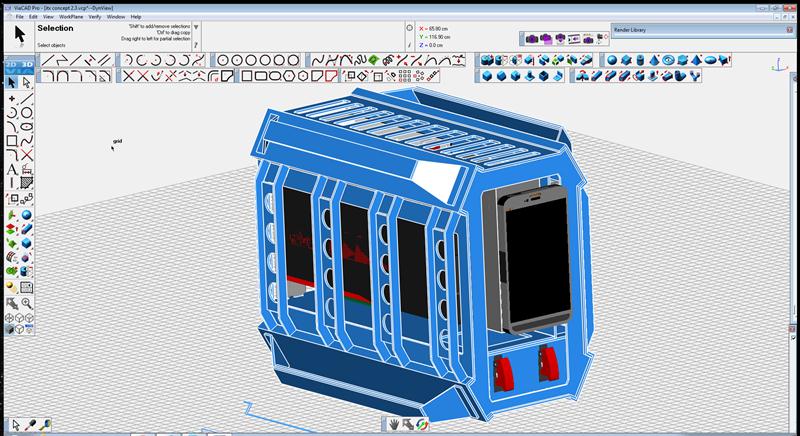
Since this is a LAN rig, I wanted to make it easy to transport and handle… Literally ‘handle’. I’ve decided to add some to each corner of the rig. Not only do they have an actual function, but I feel they help balance the overall look.
That entails my first revision. I still wasn’t sold on the overall style of the handle, and that’s where confusis offered his input and I made a revision.
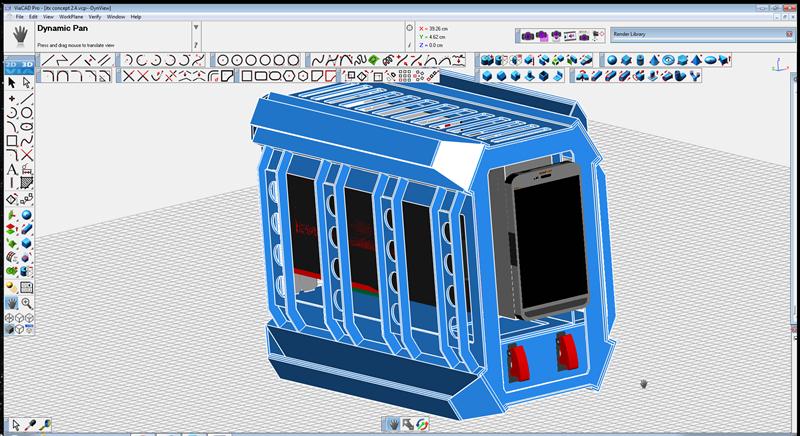
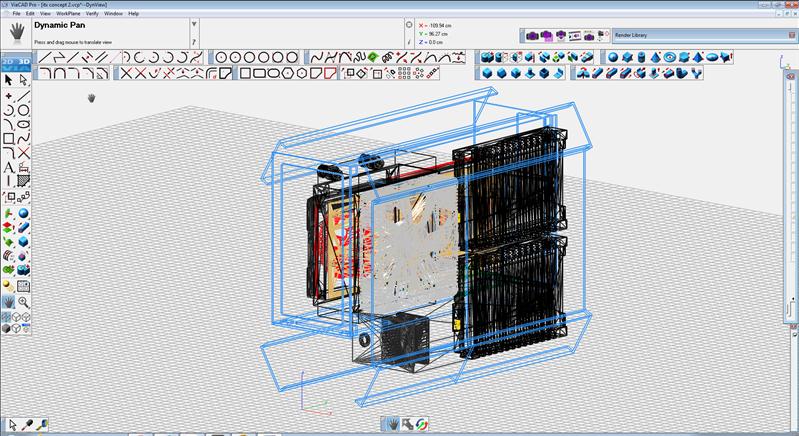
At this point I had my strongest “Hell yeah!” moment yet. I’d come a long way from where I started, and you can see all the changes that were made. I’m still not done yet, but it’s so close now. In the next update, I’ll cover the rest of the details and comment a bit more on the design process I haven’t already covered.