
This review has been provided by forum member Duality92! Editing has been performed by John Morrison.
I would like to take this opportunity to thank ECS for this product sample, they have provided me with an ECS Liva Z2 for the purpose of this review.
ECS is no newcomer in the Mini PC world, this is the third unit I have reviewed, the others being the Liva Plus and the miniscule Liva Q.
The Liva Z2 is the latest generation of the fanless Mini PC lineup from ECS. It sports the Intel Gemini Lake CPU, which were released in Q4 2017.
Specifications
| Processors |
Pentium® N5000 (4 cores at 1.1 GHz with 2.7 GHz Burst) Celeron® N4100 (4 cores at 1.1 GHz with 2.4 GHz Burst) Celeron® N4000 (2 cores at 1.1 Ghz with 2.6 GHz Burst) |
| Memory | 2*SODIMM slots with up to 8GB of DDR4, comes with either 1*4GB or 2*4GB of DDR4-2400 |
| Storage |
32GB or 64GB of eMMC memory Slot for a 2.5” drive (SSD or HDD) |
| Ports | 1* 3.5mm Combo Jack 1*Integrated Digital Mic 1*Gigabit LAN 3*USB 3.1 Gen1 Type-A Ports 1*USB 3.1 Gen1 Type-C Port 2*USB 2.0 Ports 1*HDMI Port (HDMI 2.0) 1*HDMI Port (HDMI 1.4) |
| Wireless | Intel® WiFi 802.11ac & Bluetooth 4.2 |
| Dimensions | 132 x 118 x 56.4 mm with 75mm and 100mm VESA compatibility |
| OS | Comes with Windows 10 Home, unactivated. |
| Power | The power brick is 19V, rated for 3.42A |
Packaging and Contents
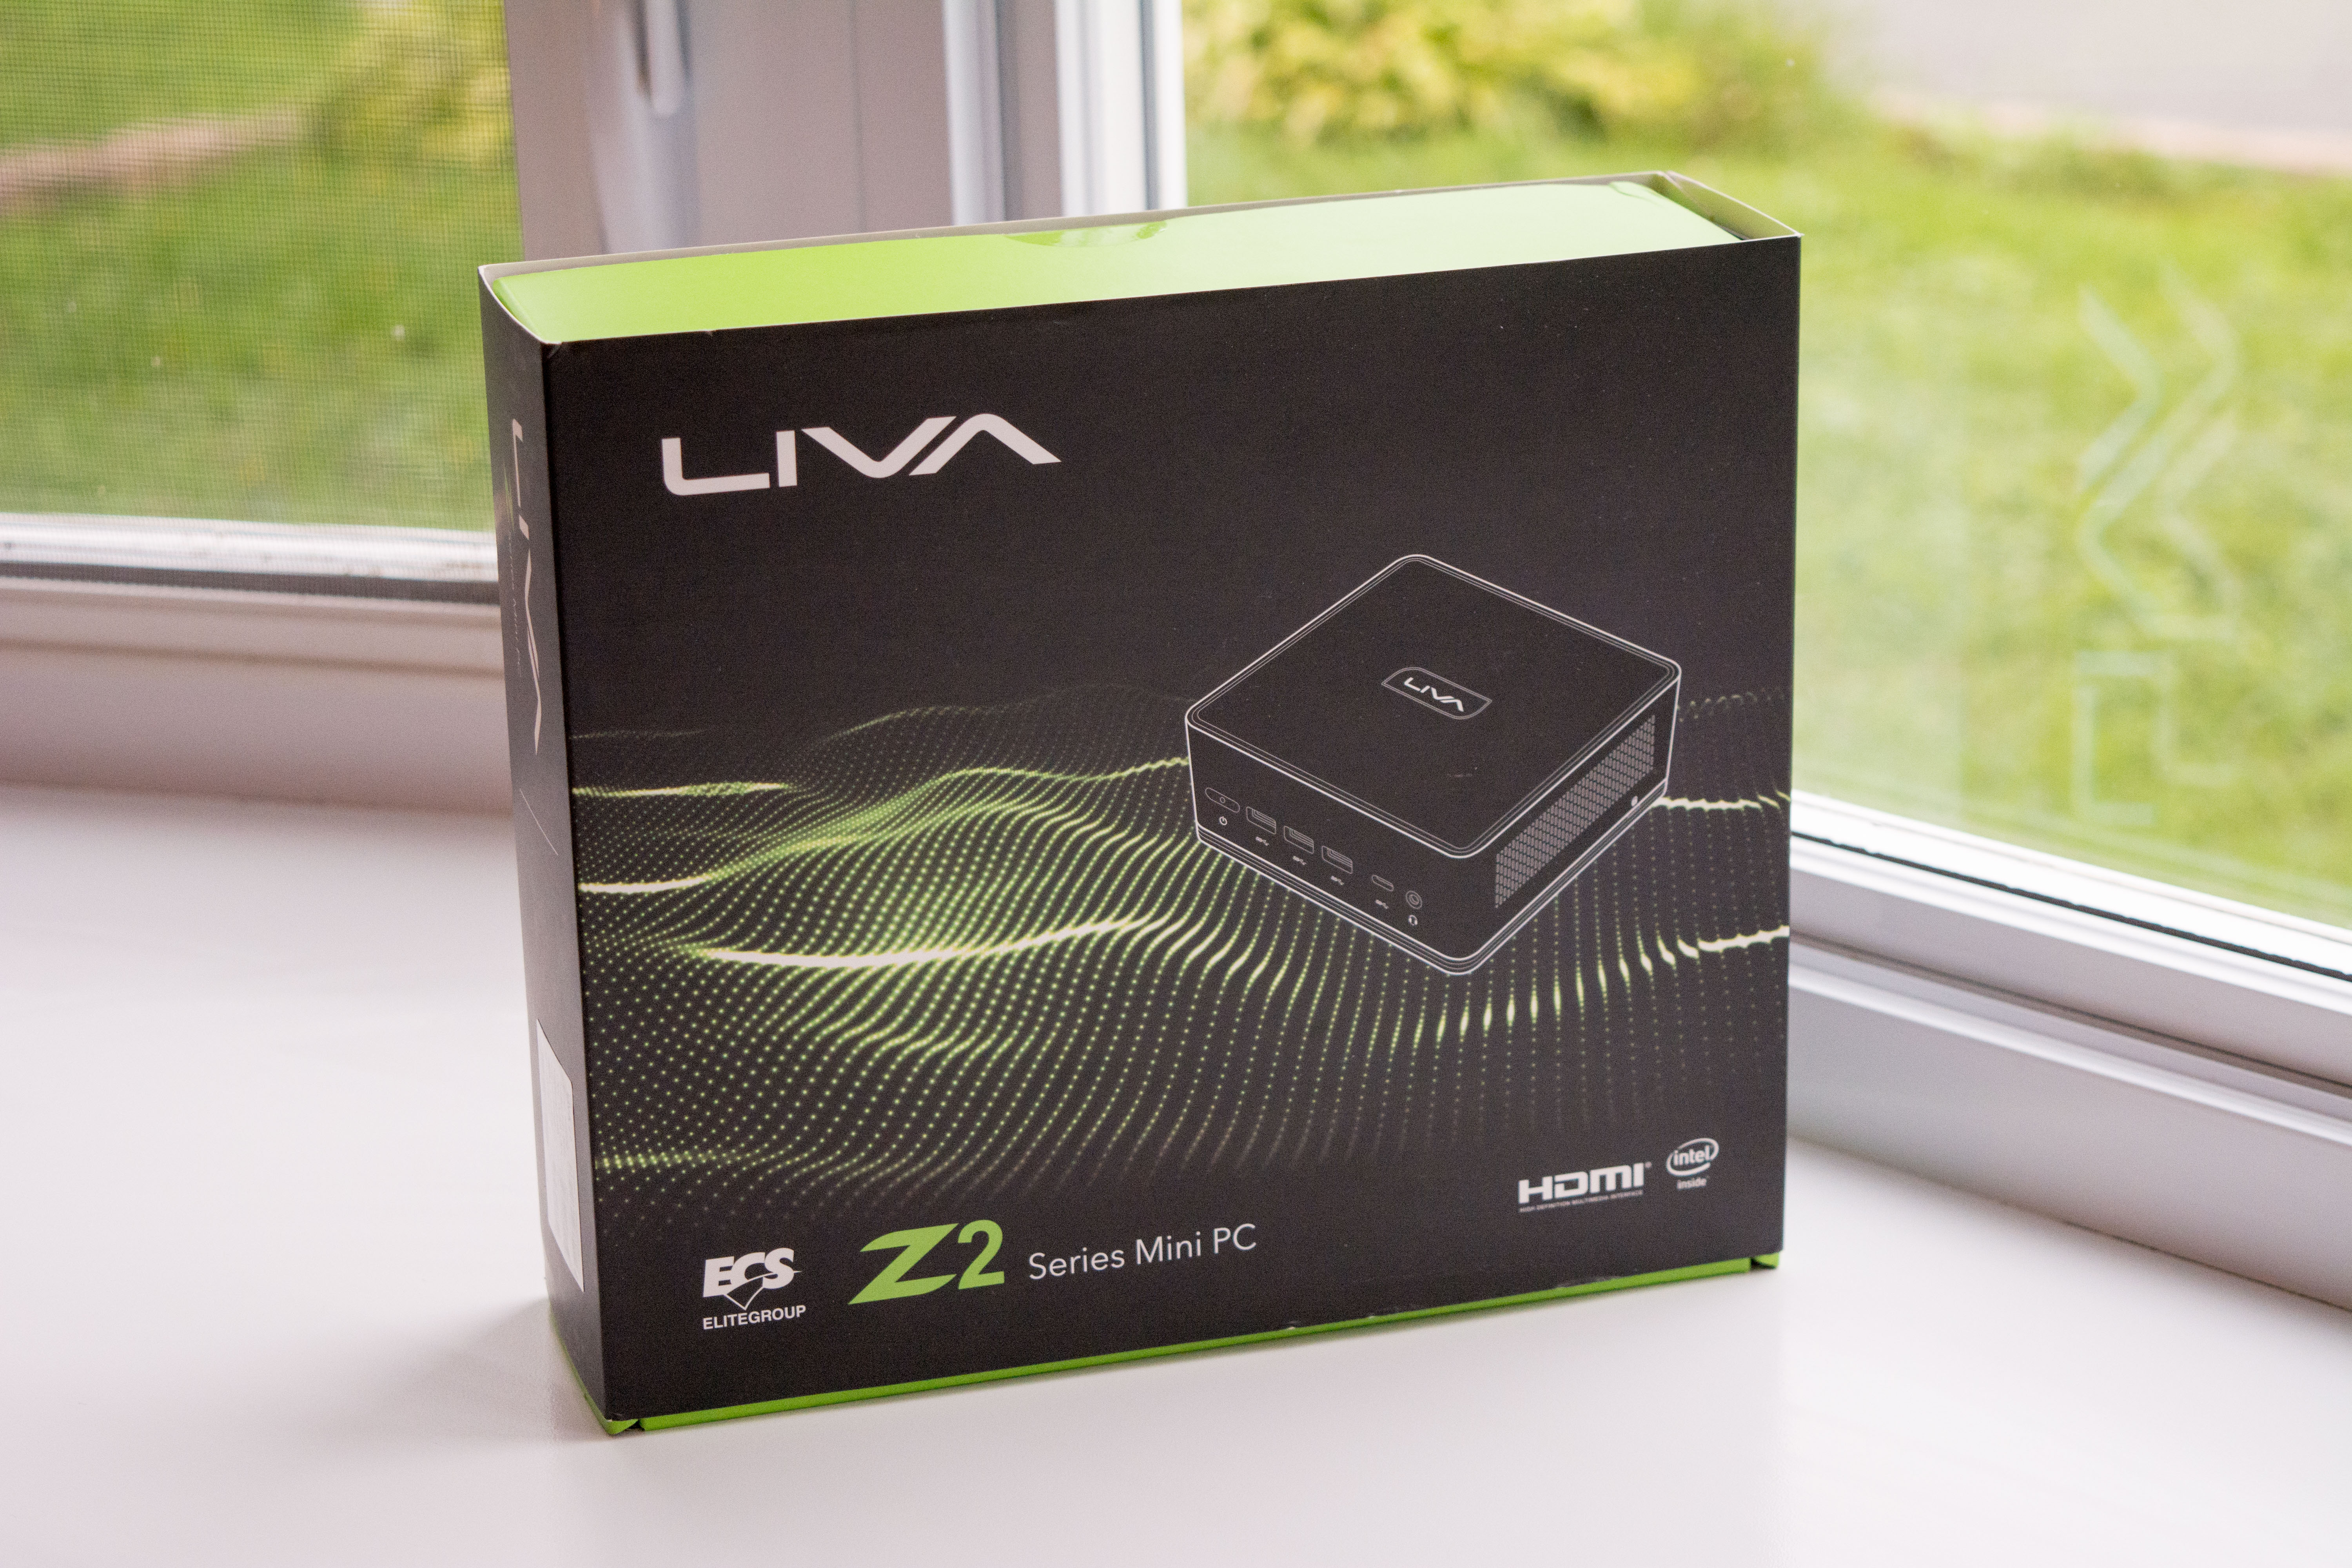
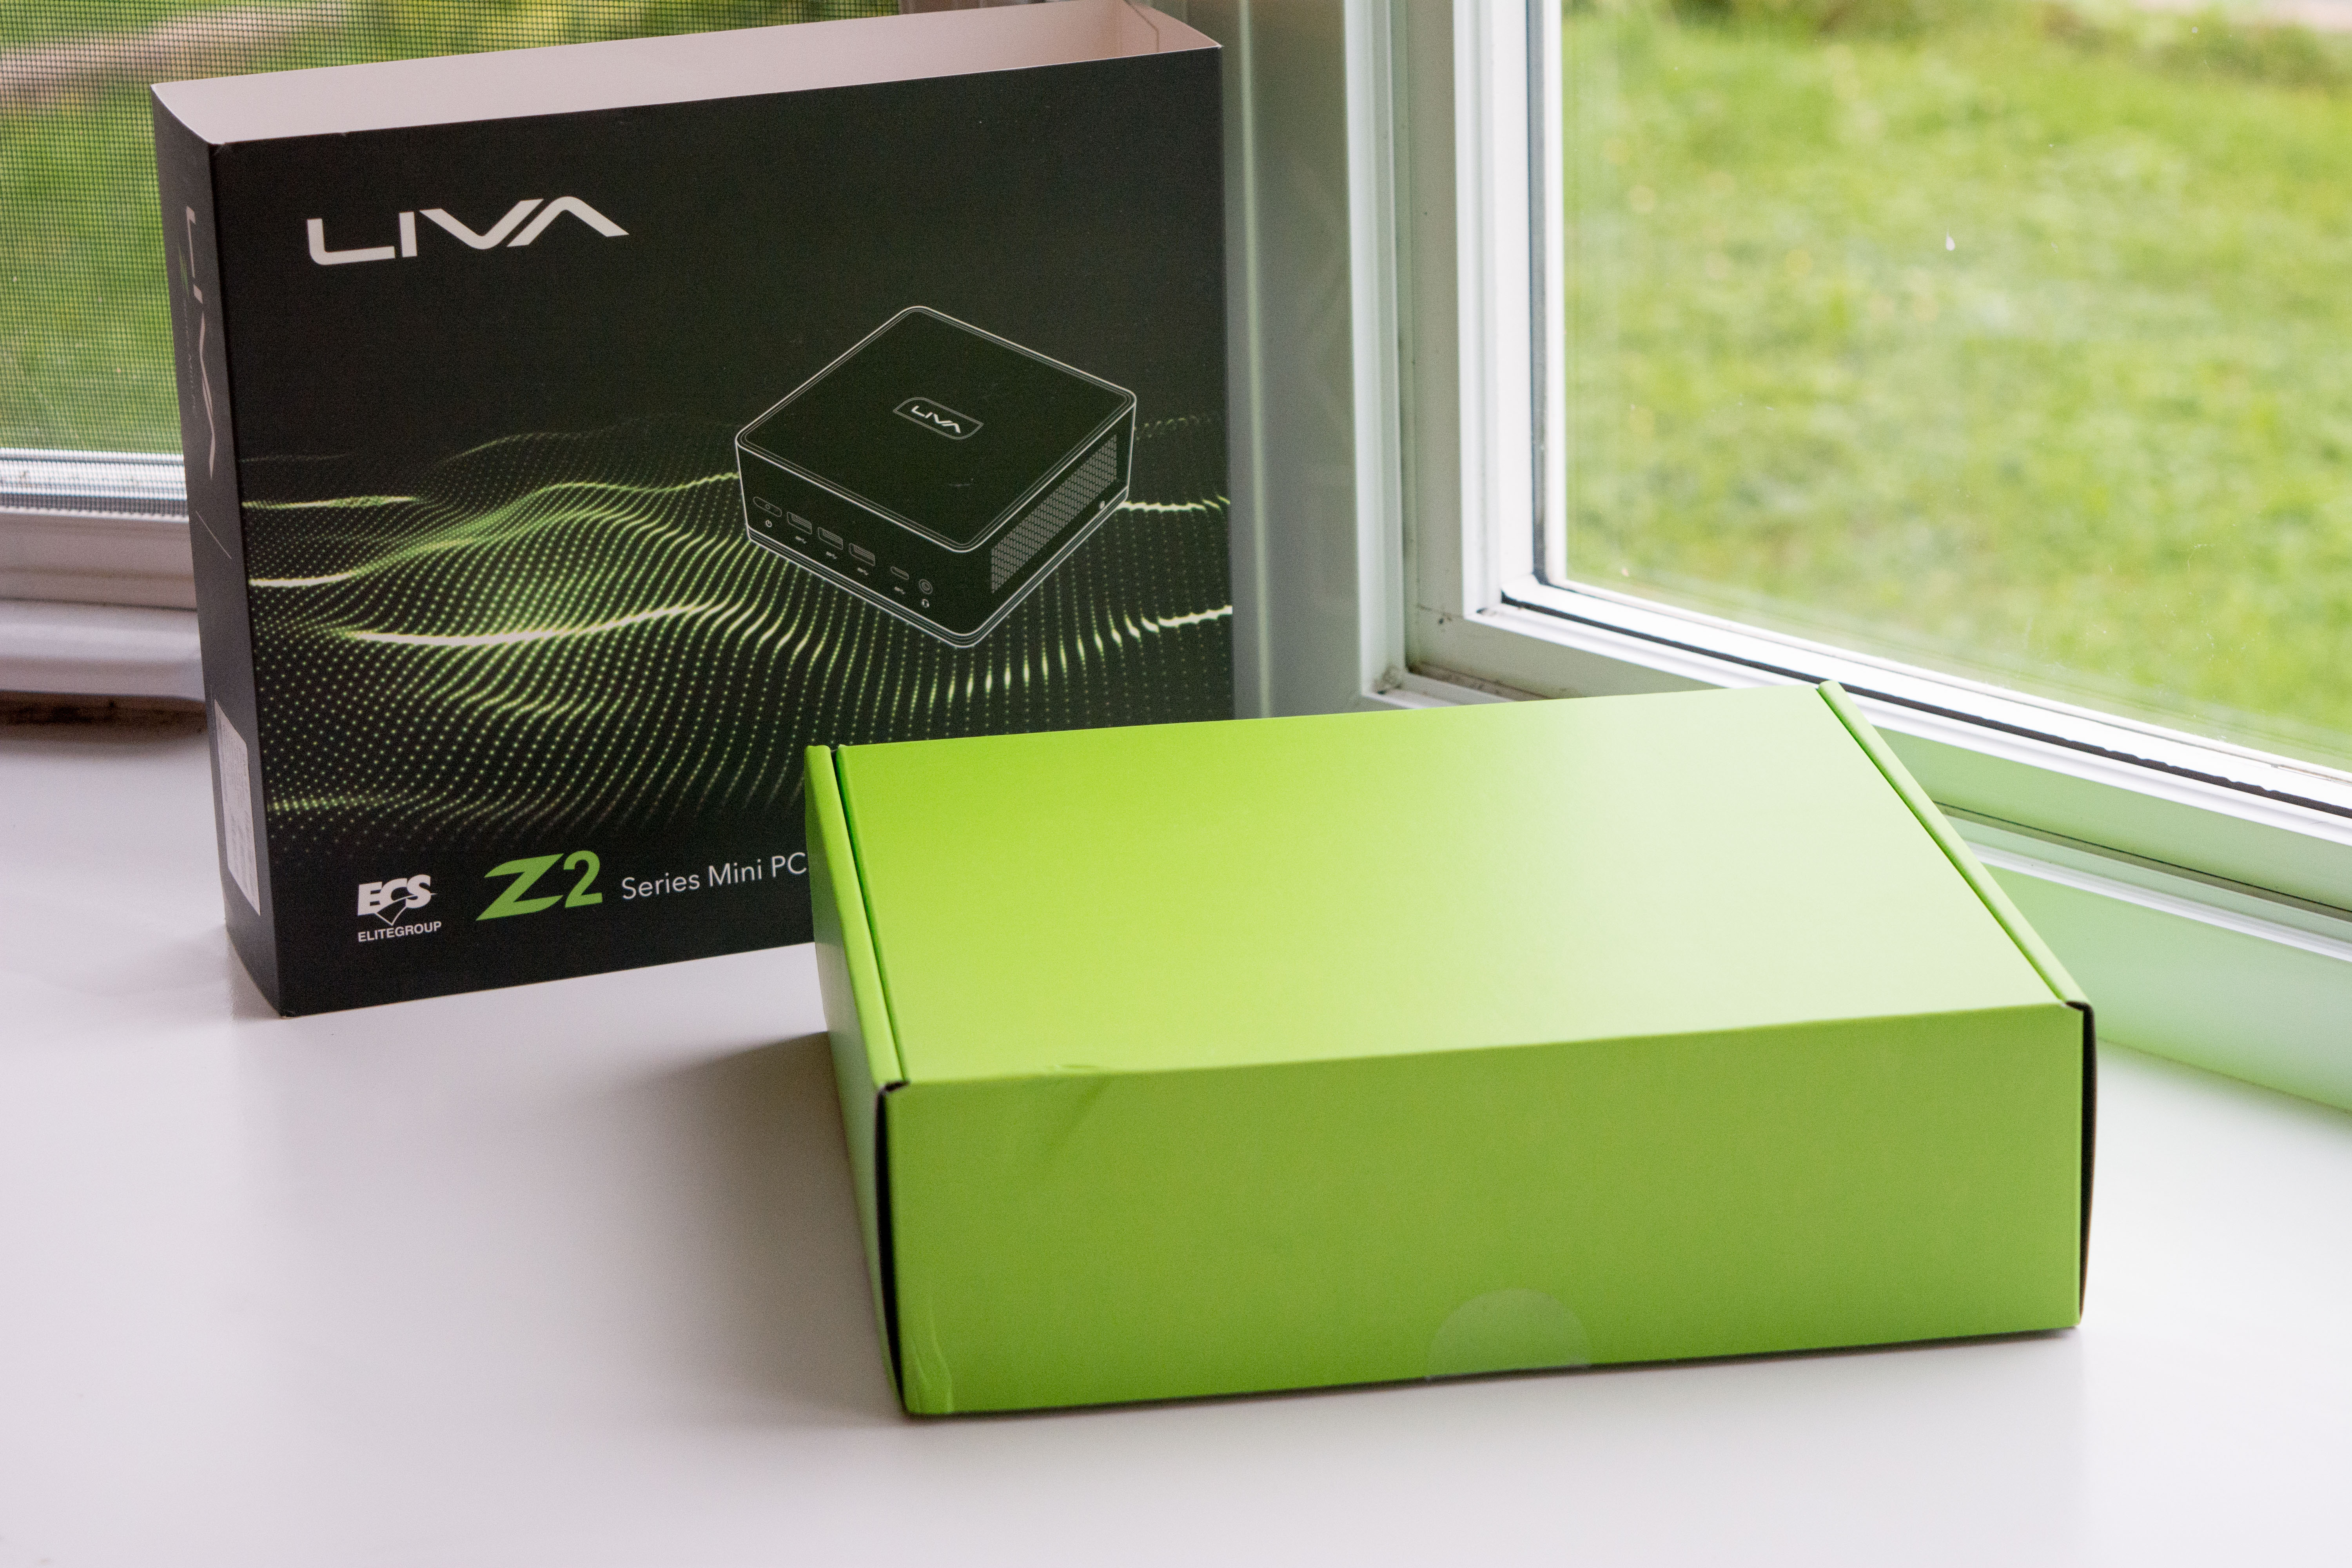
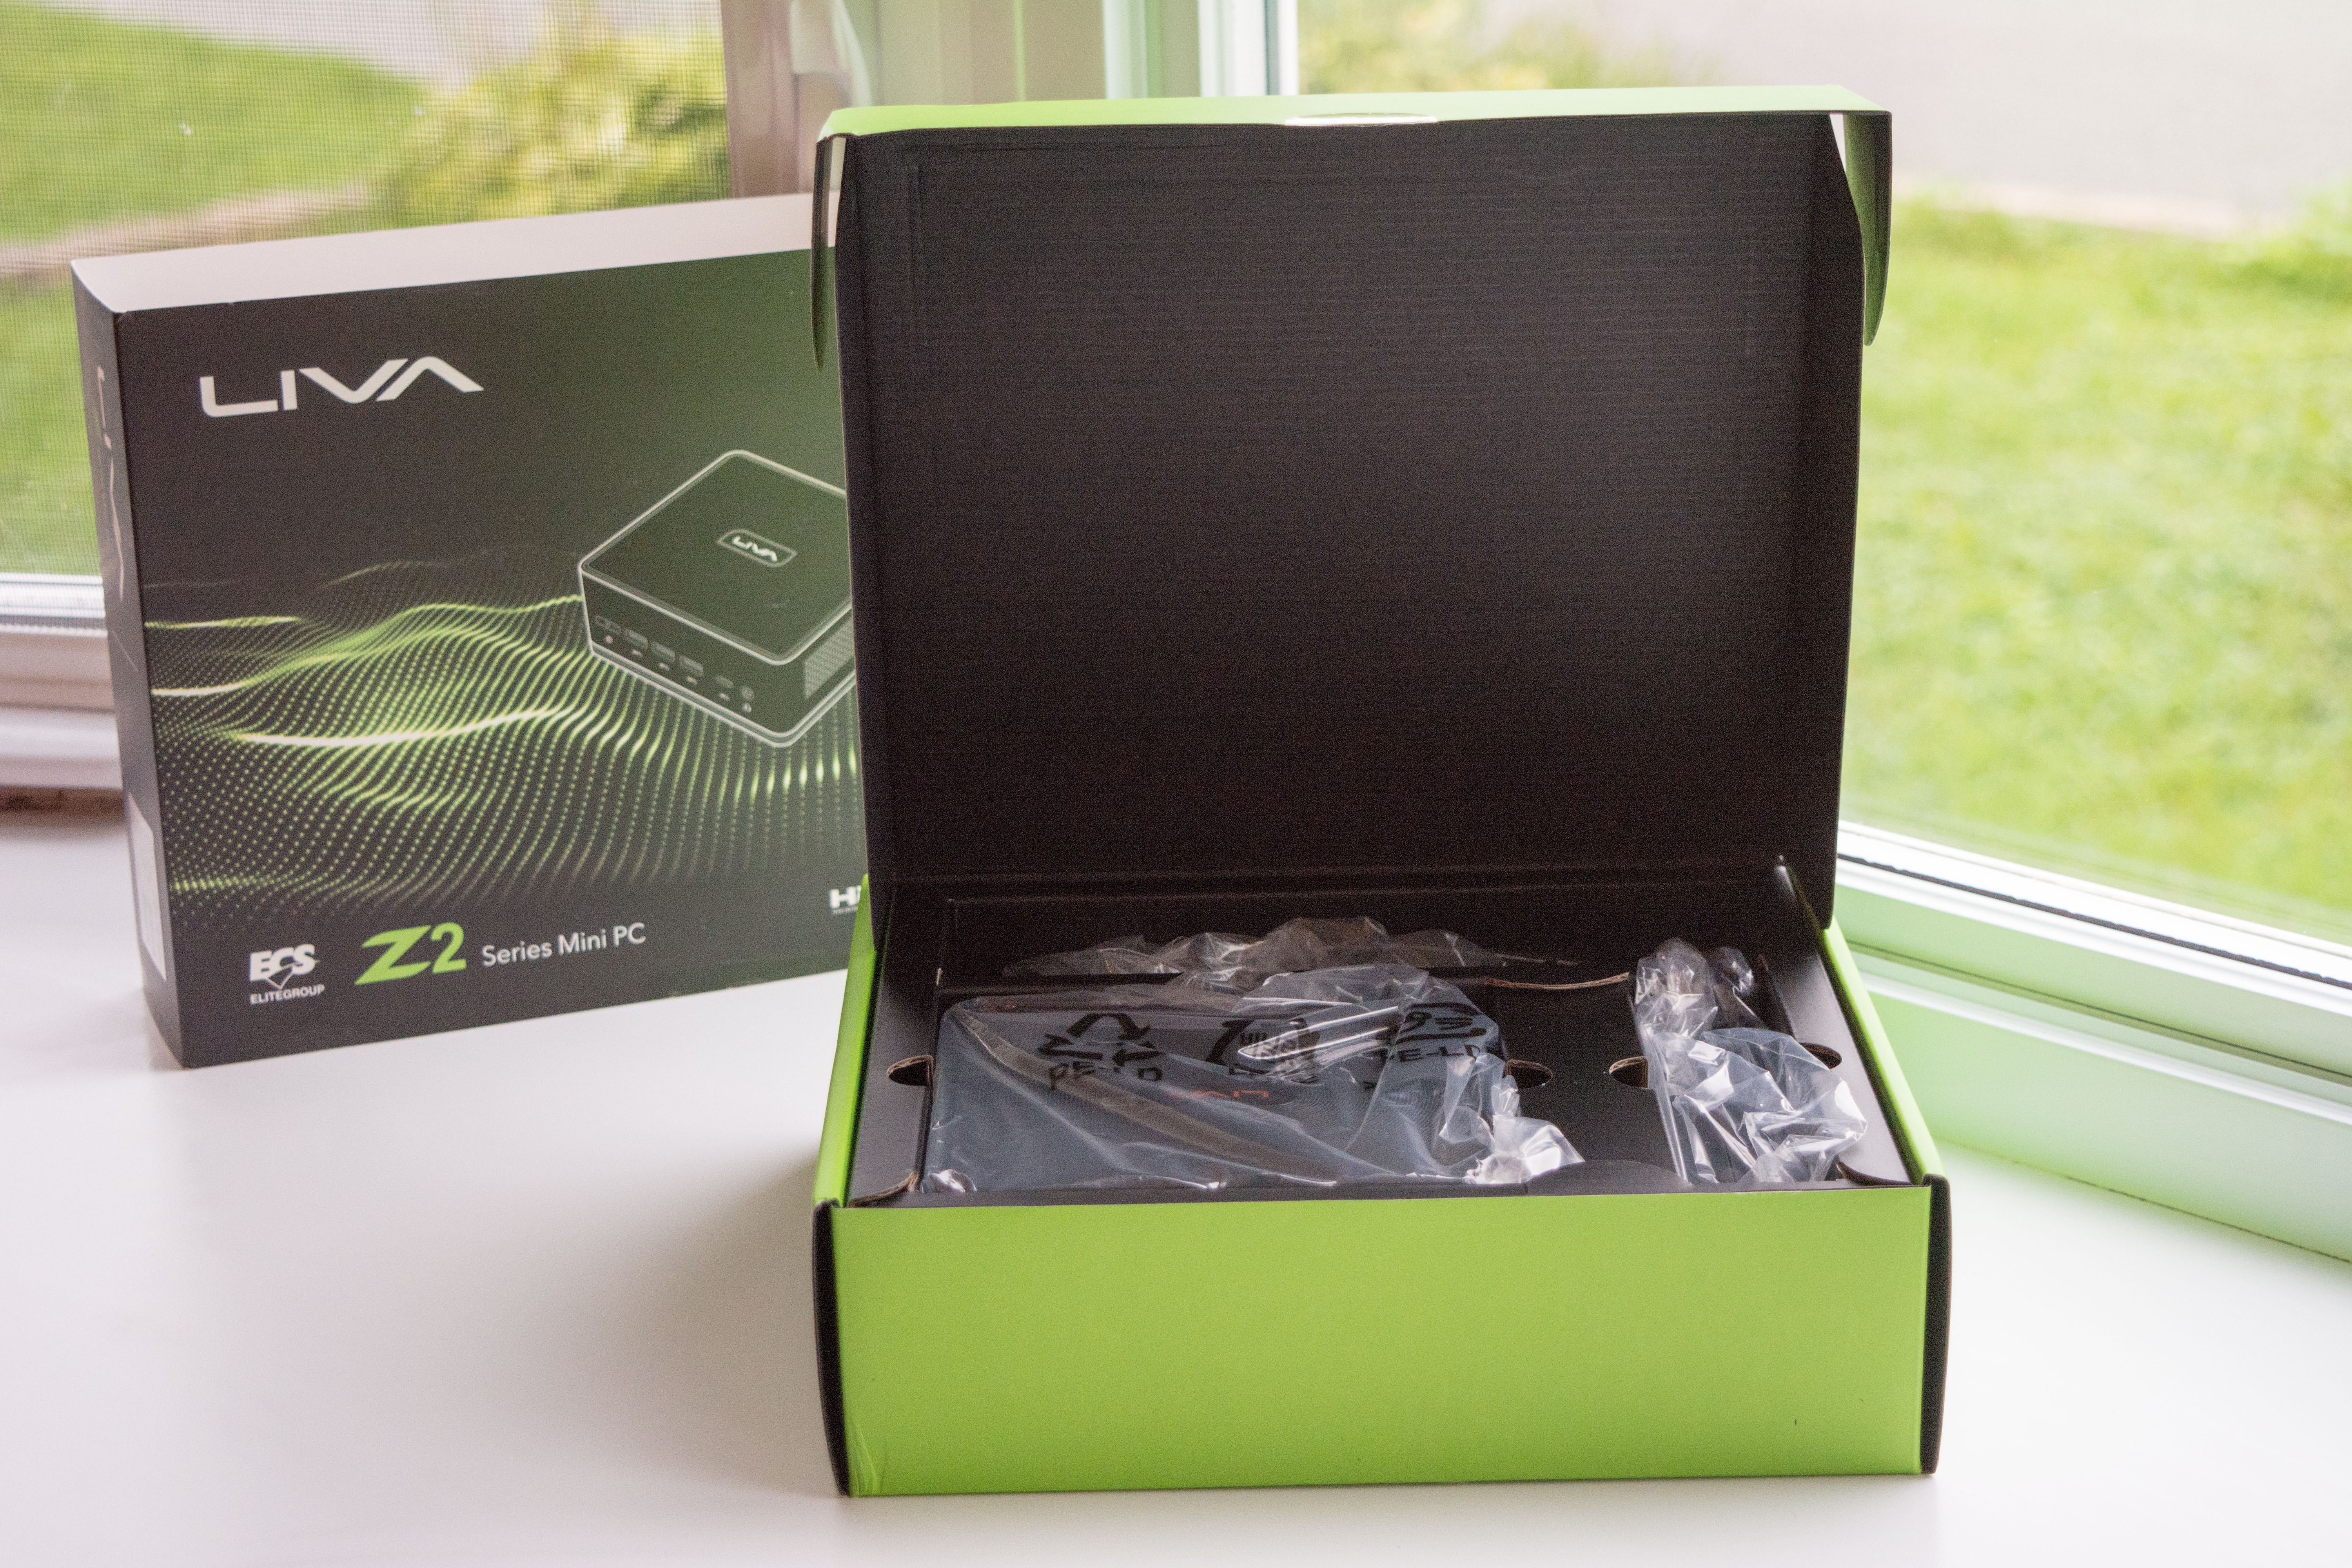
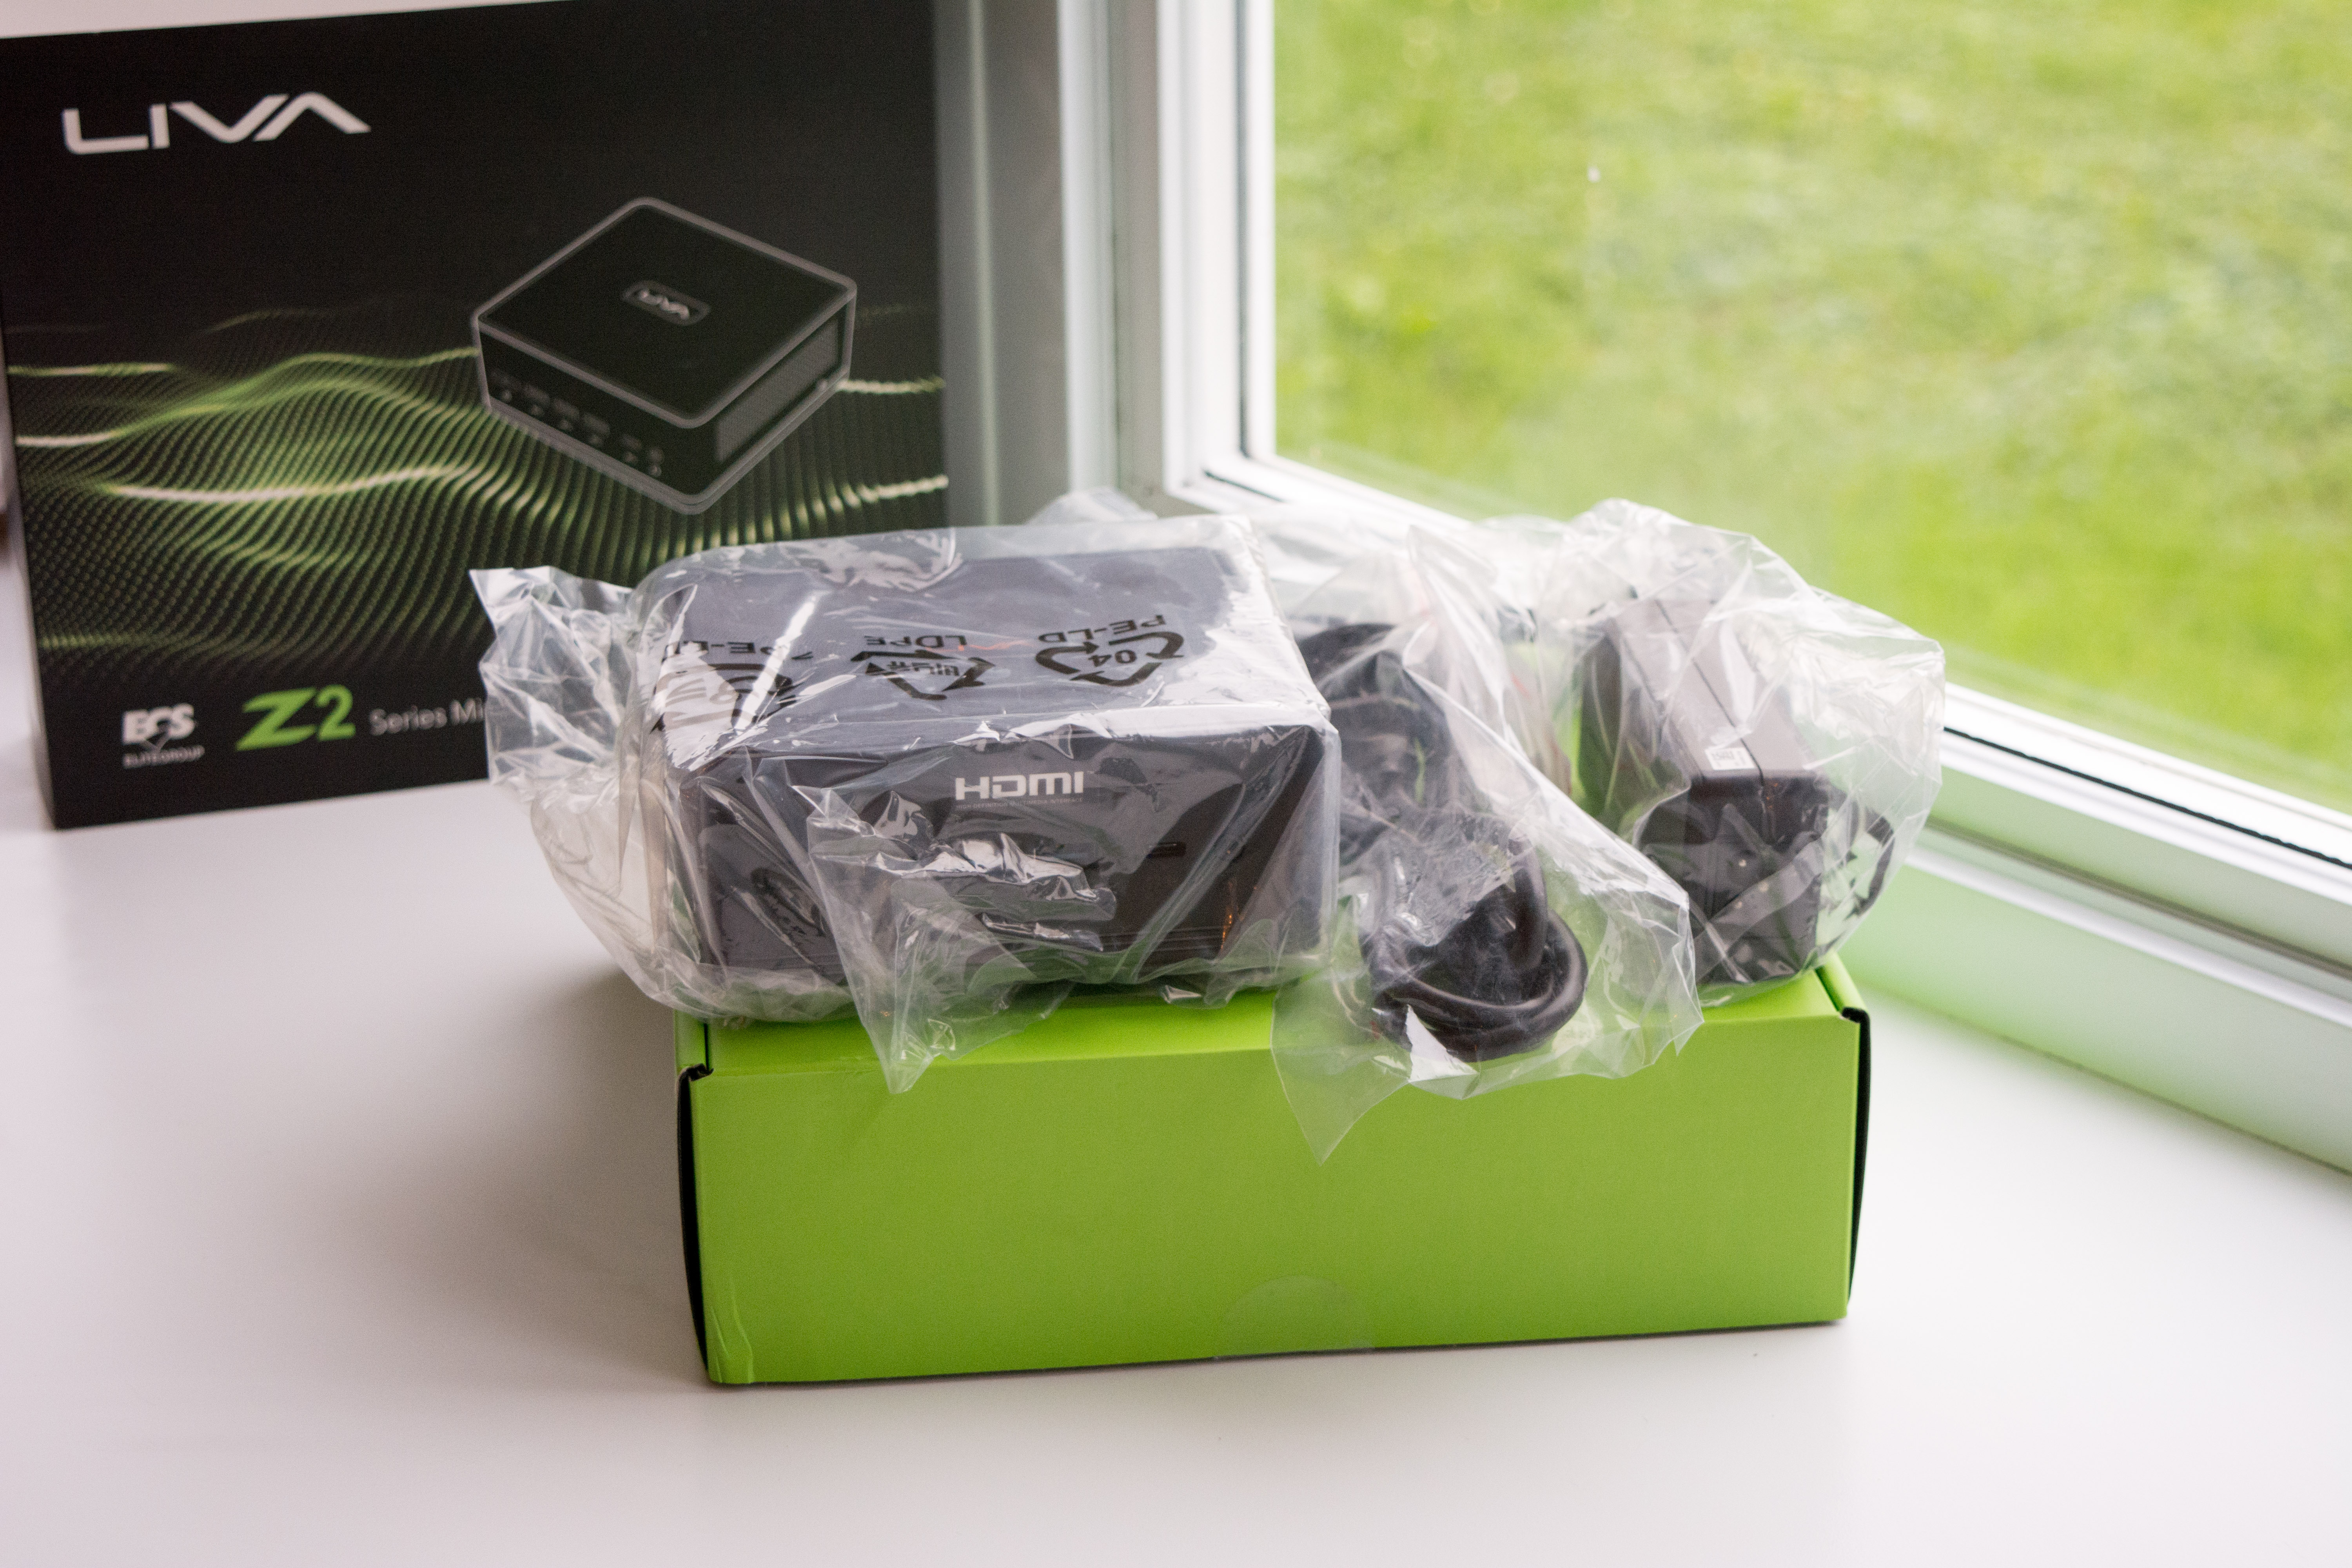
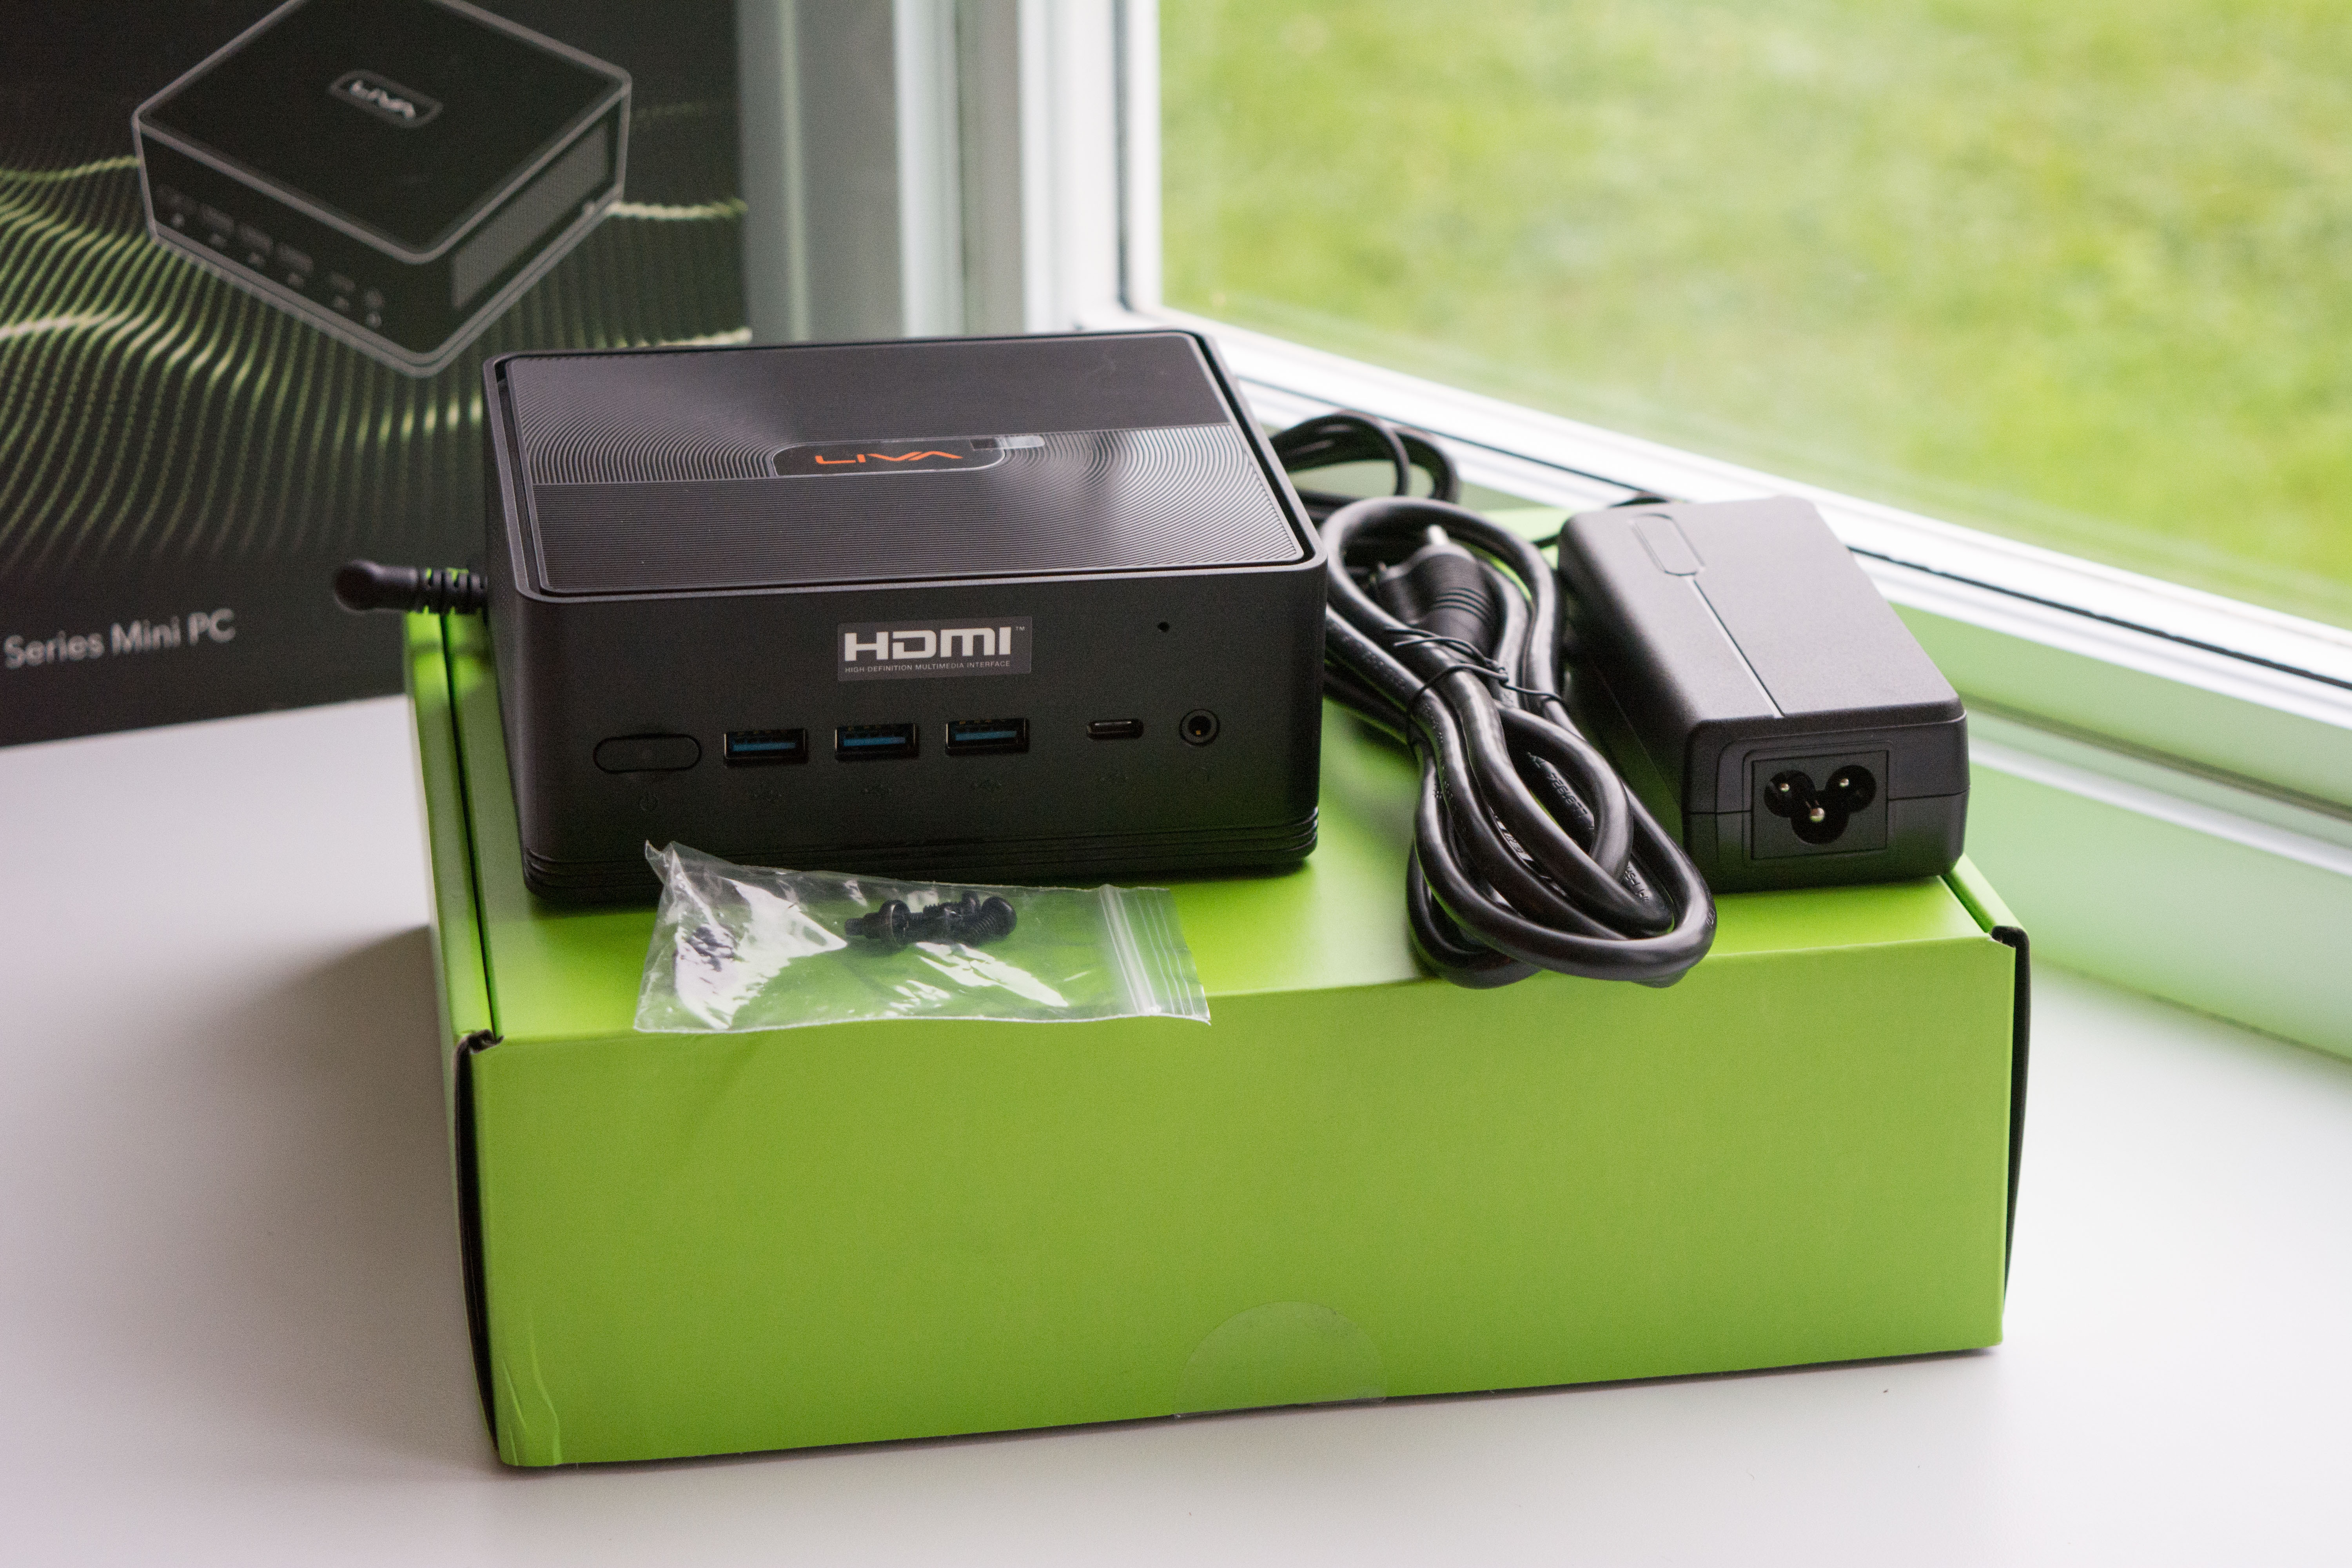
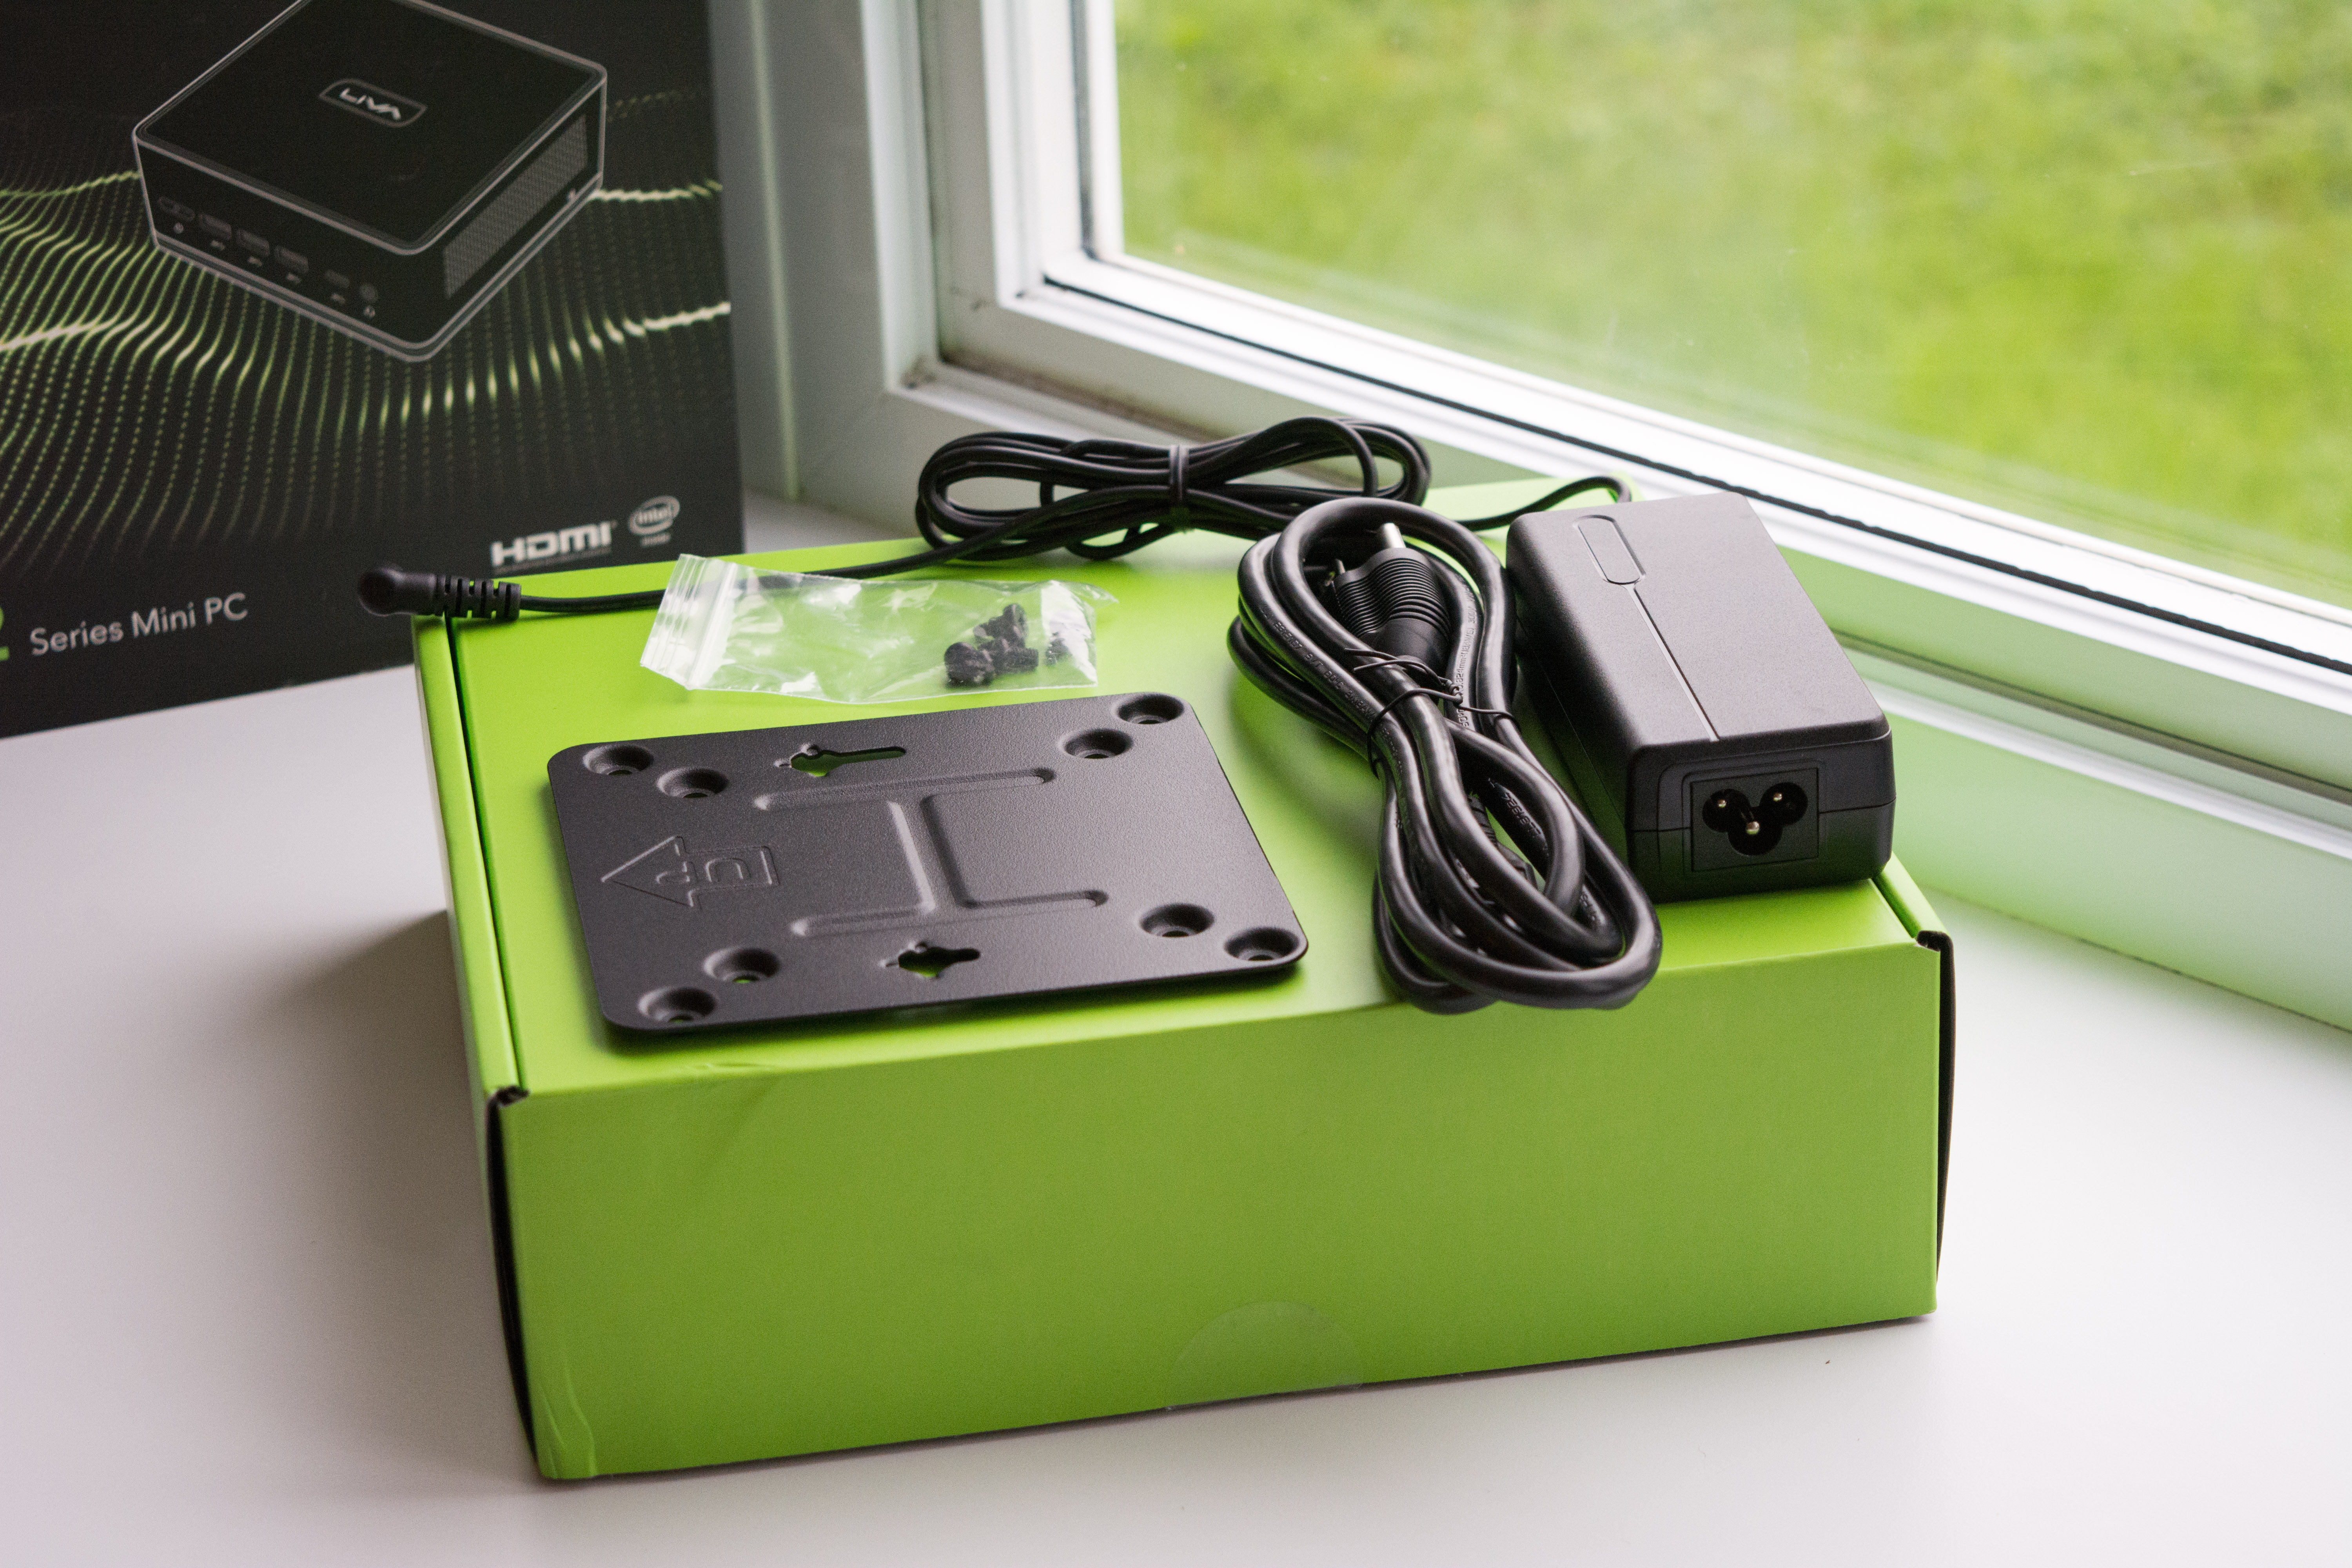
The ECS Liva Z2 comes with great packaging, a green box inside a fully color graphic cardboard sleeve. When we open the box, we can see that each individual item is well packaged and adequately secured inside it. Each item has its little section inside the box, which is nice to see.
Power Brick

Product Link : https://www.apd.com.tw/en/portfolio-item/da-65c19/
Not much information is available on this power brick apart that it is rated for 19V at 3.42A, so 65W. It is made by Asian Power Devices. The website makes me believe that it may be an OEM.
Exterior
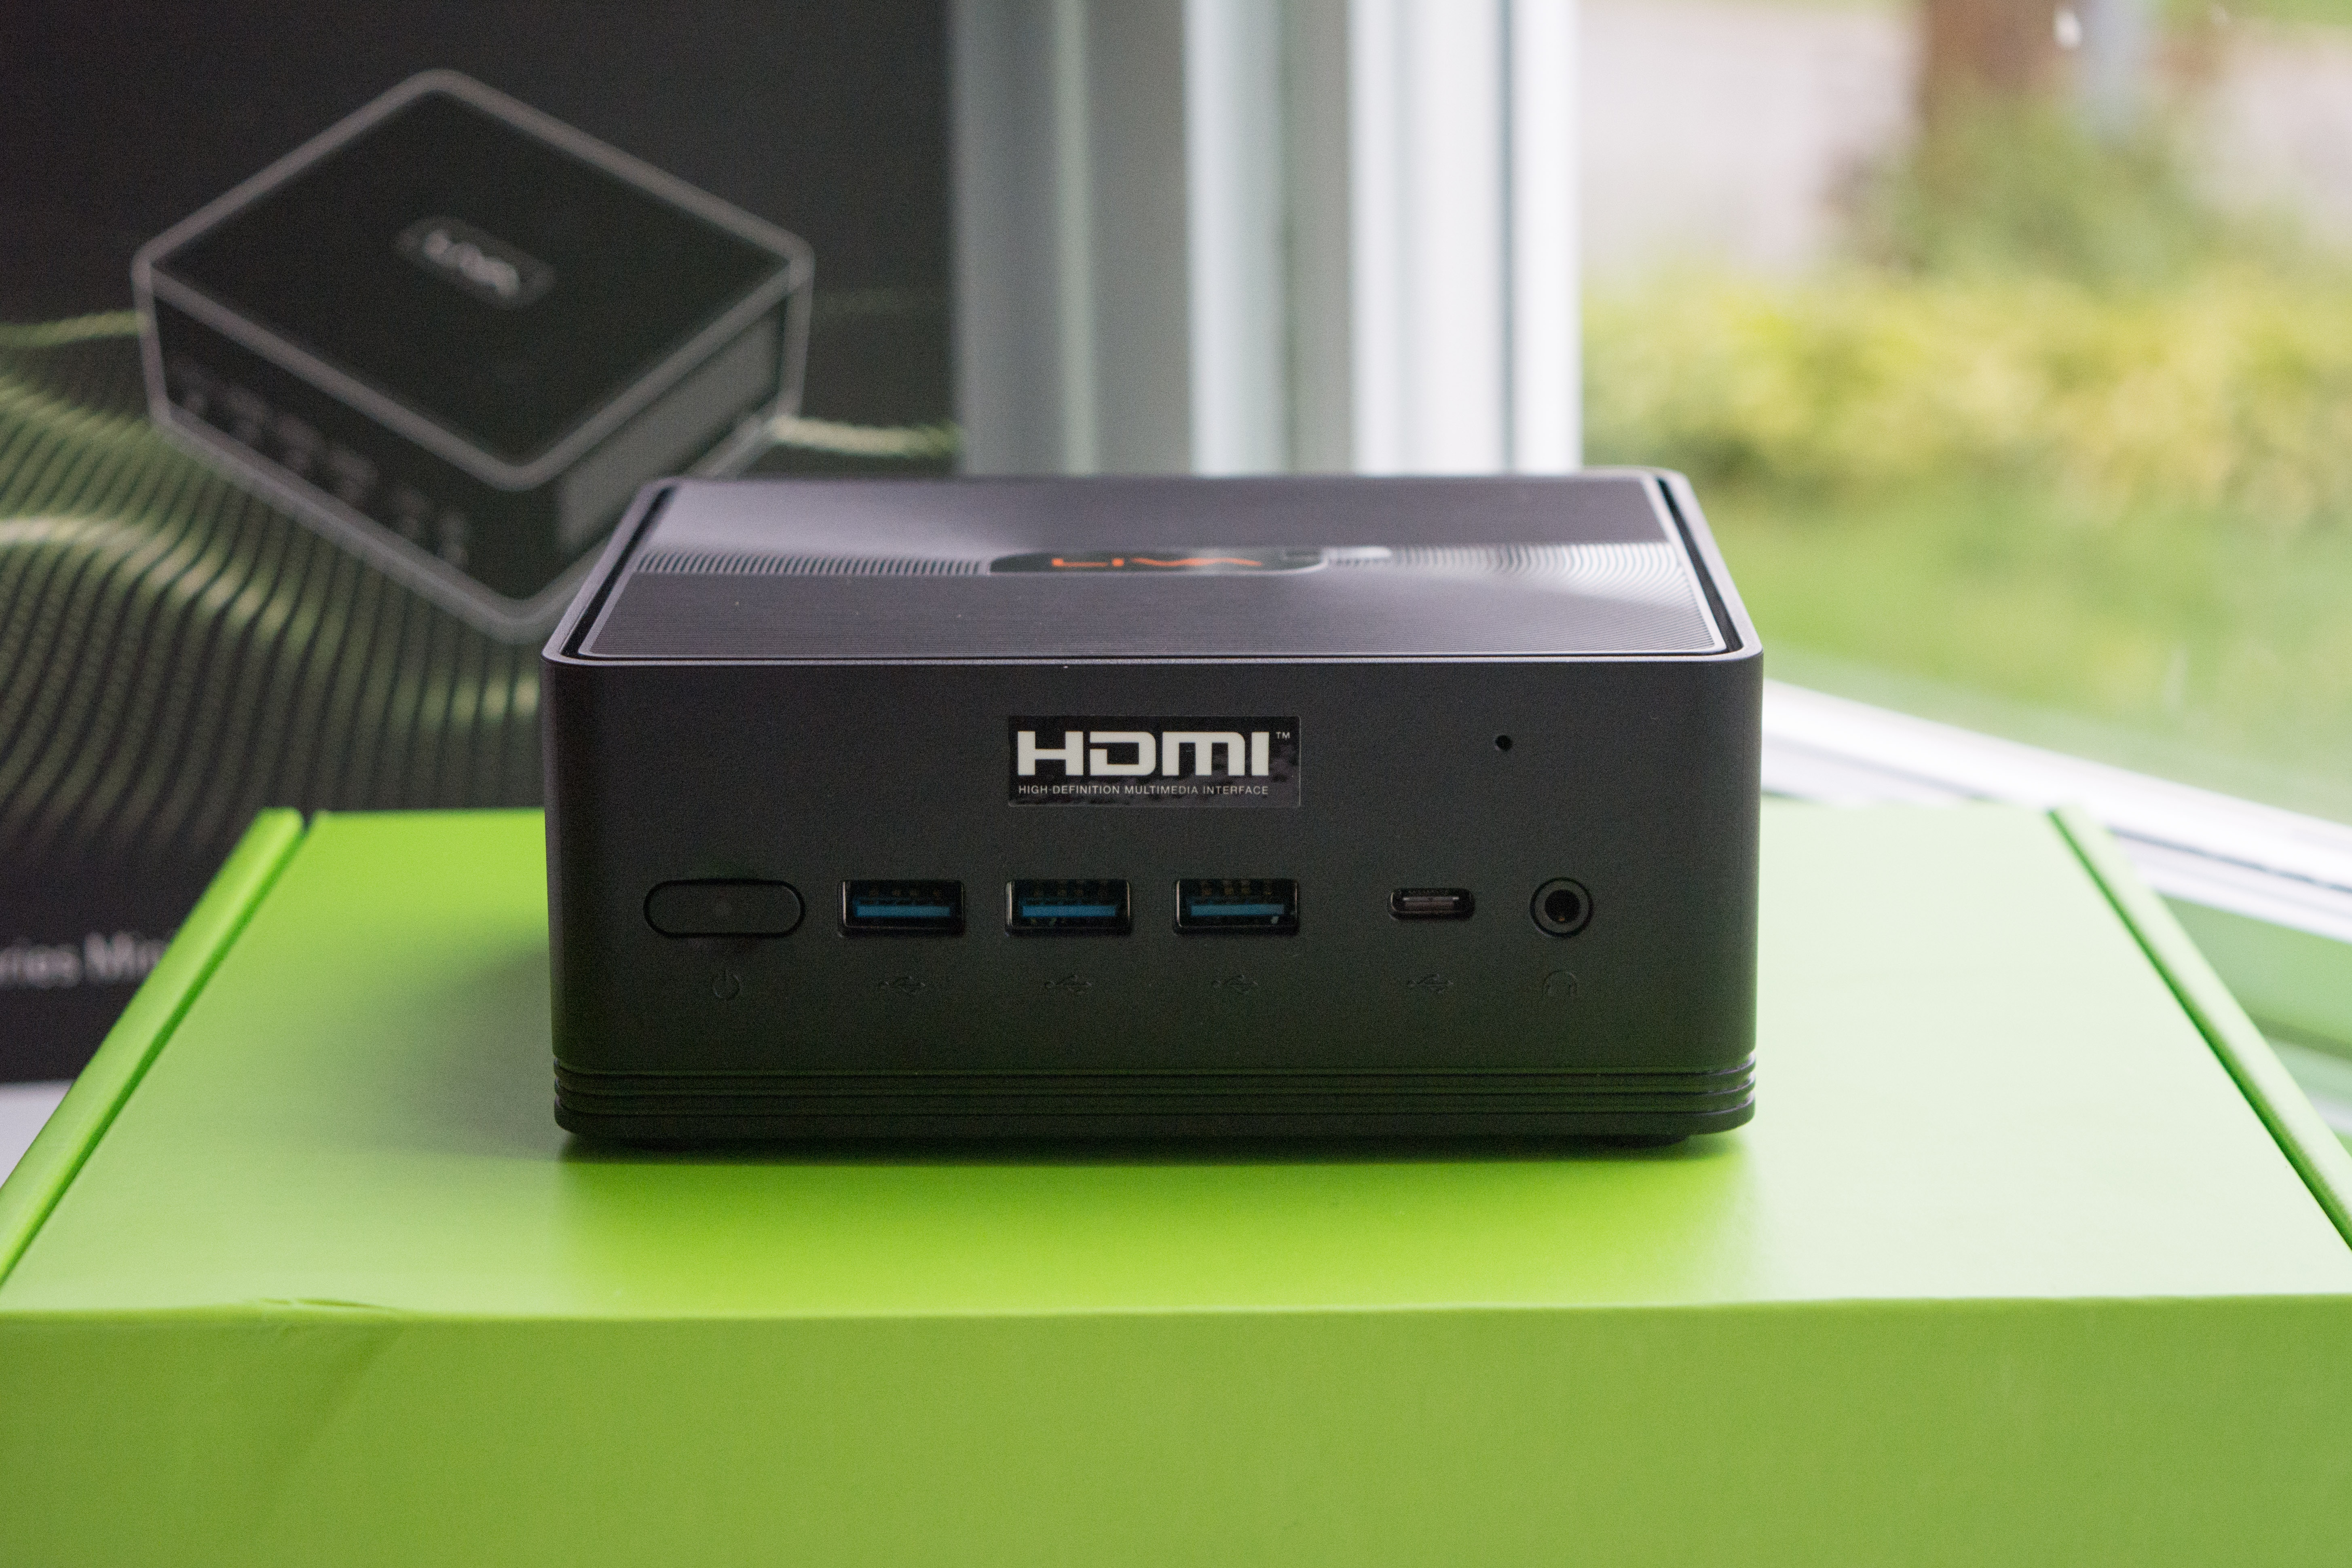
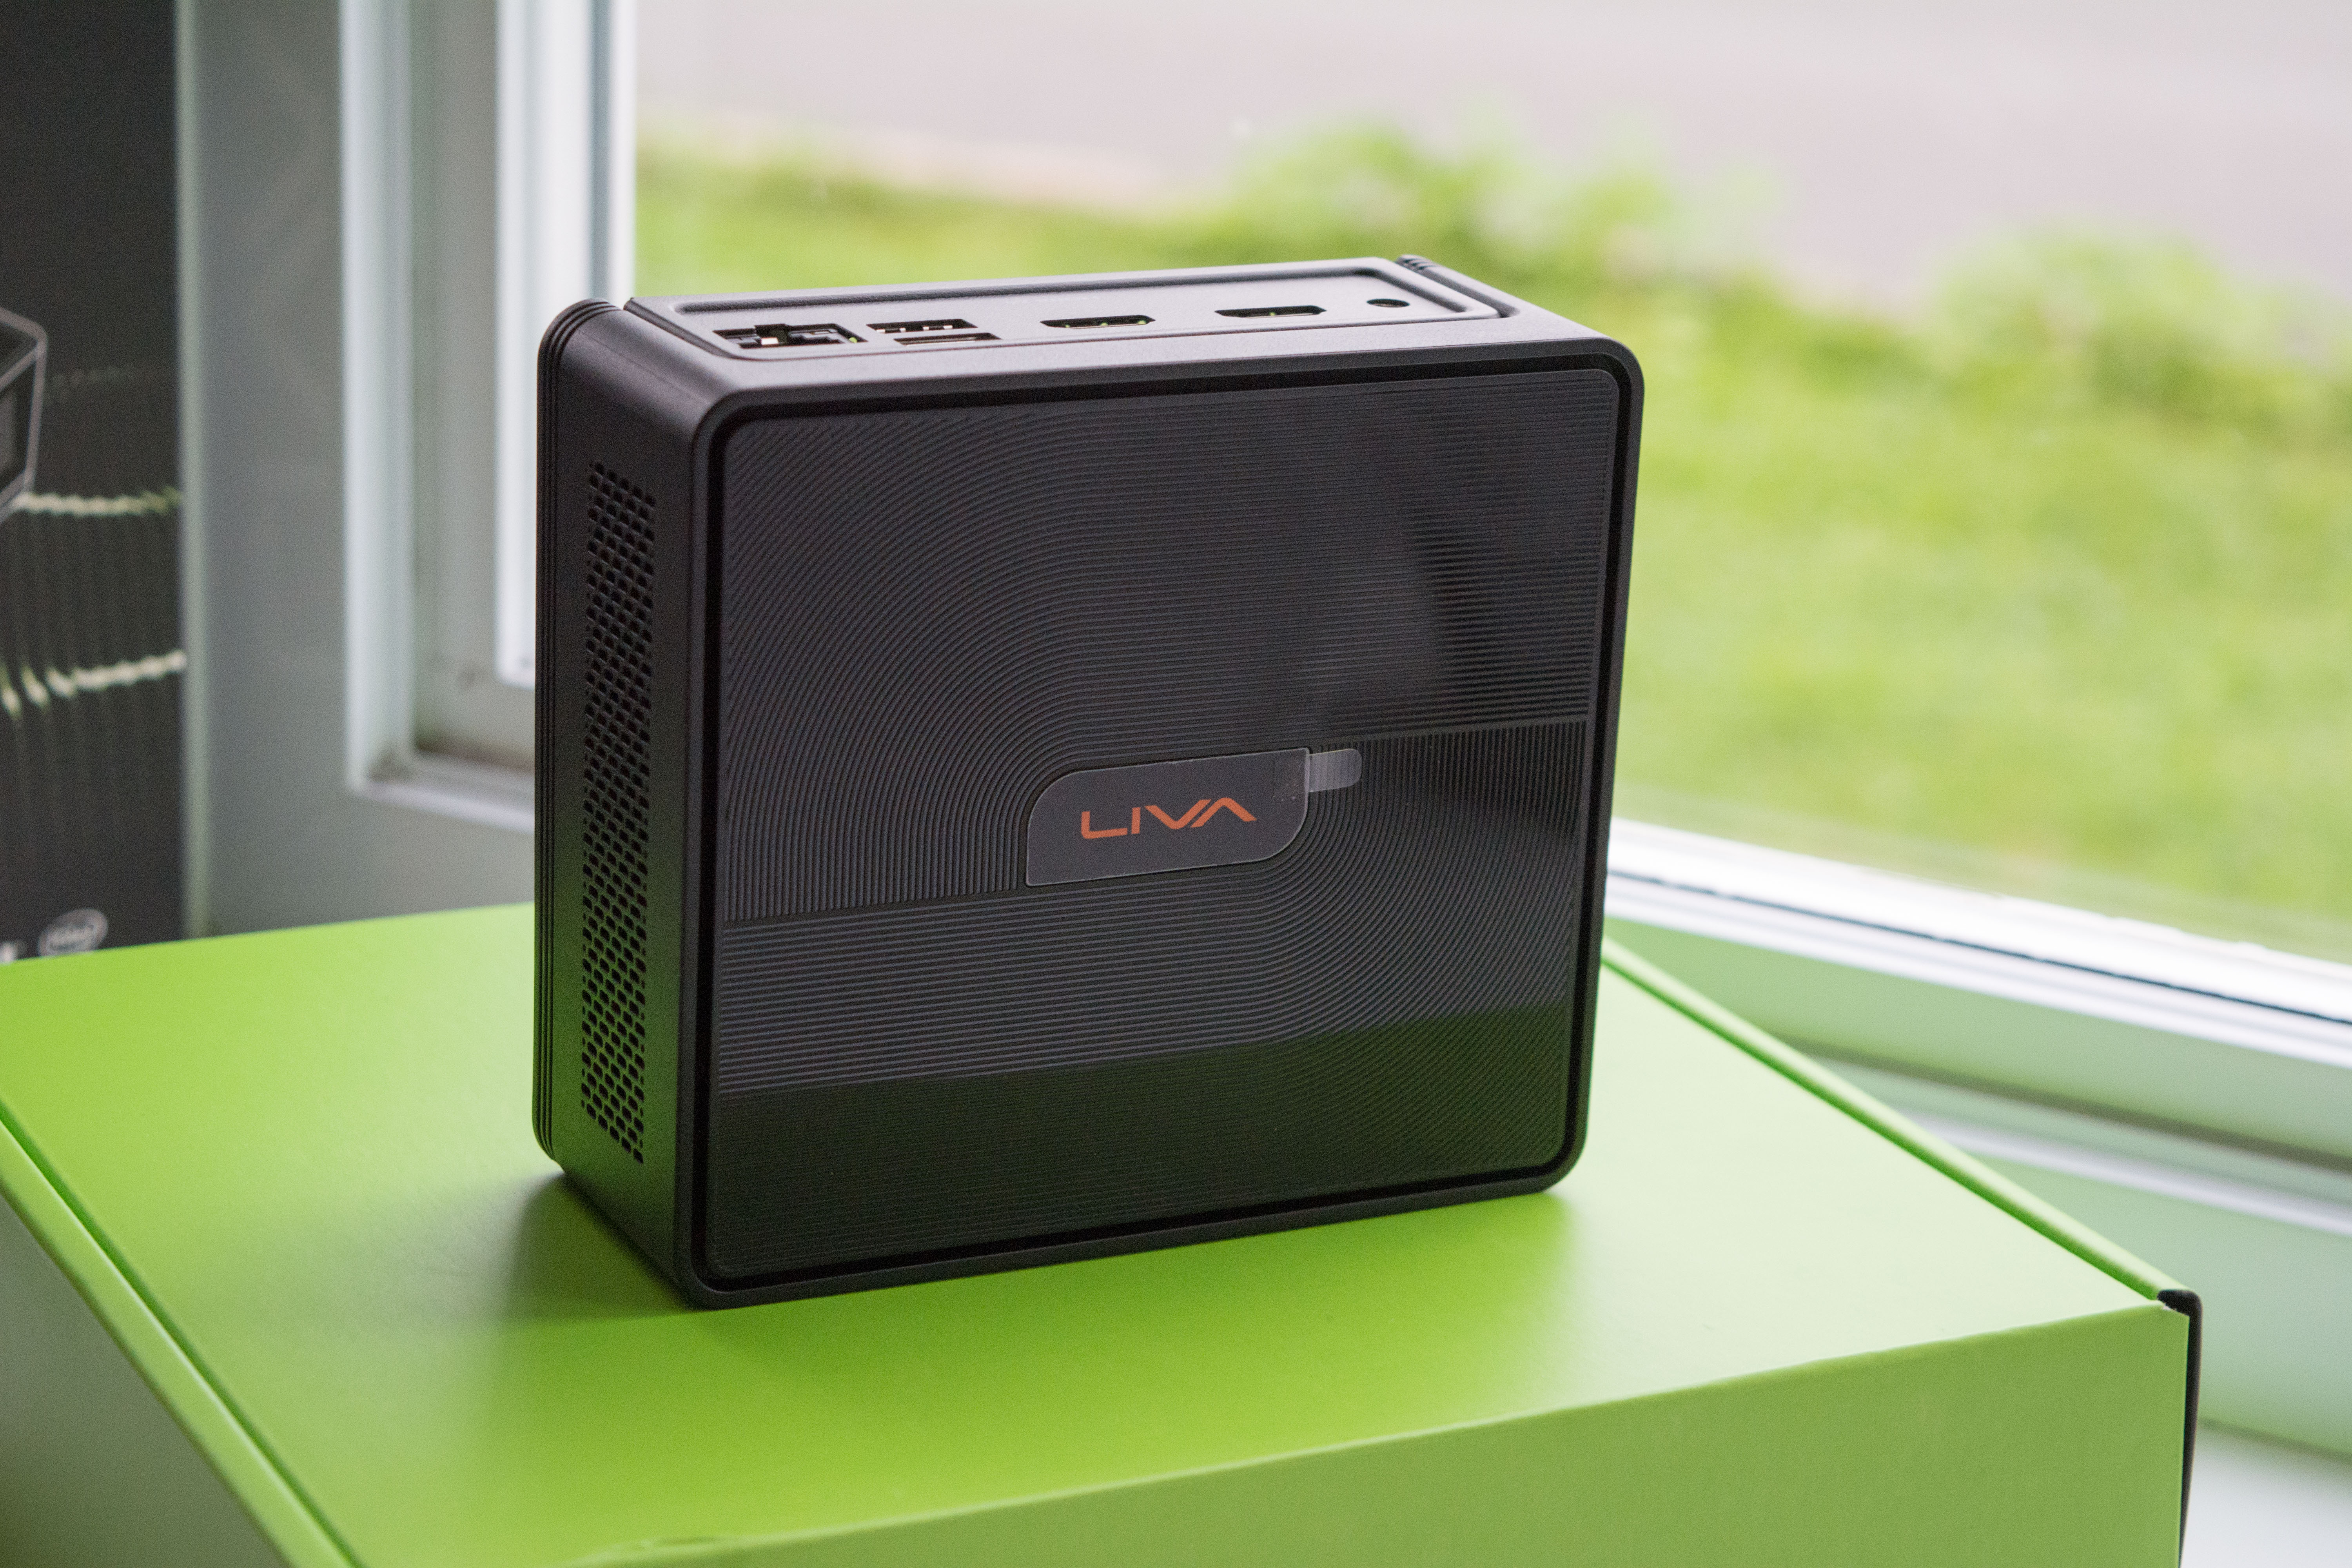
The exterior has ports facing both front and back.
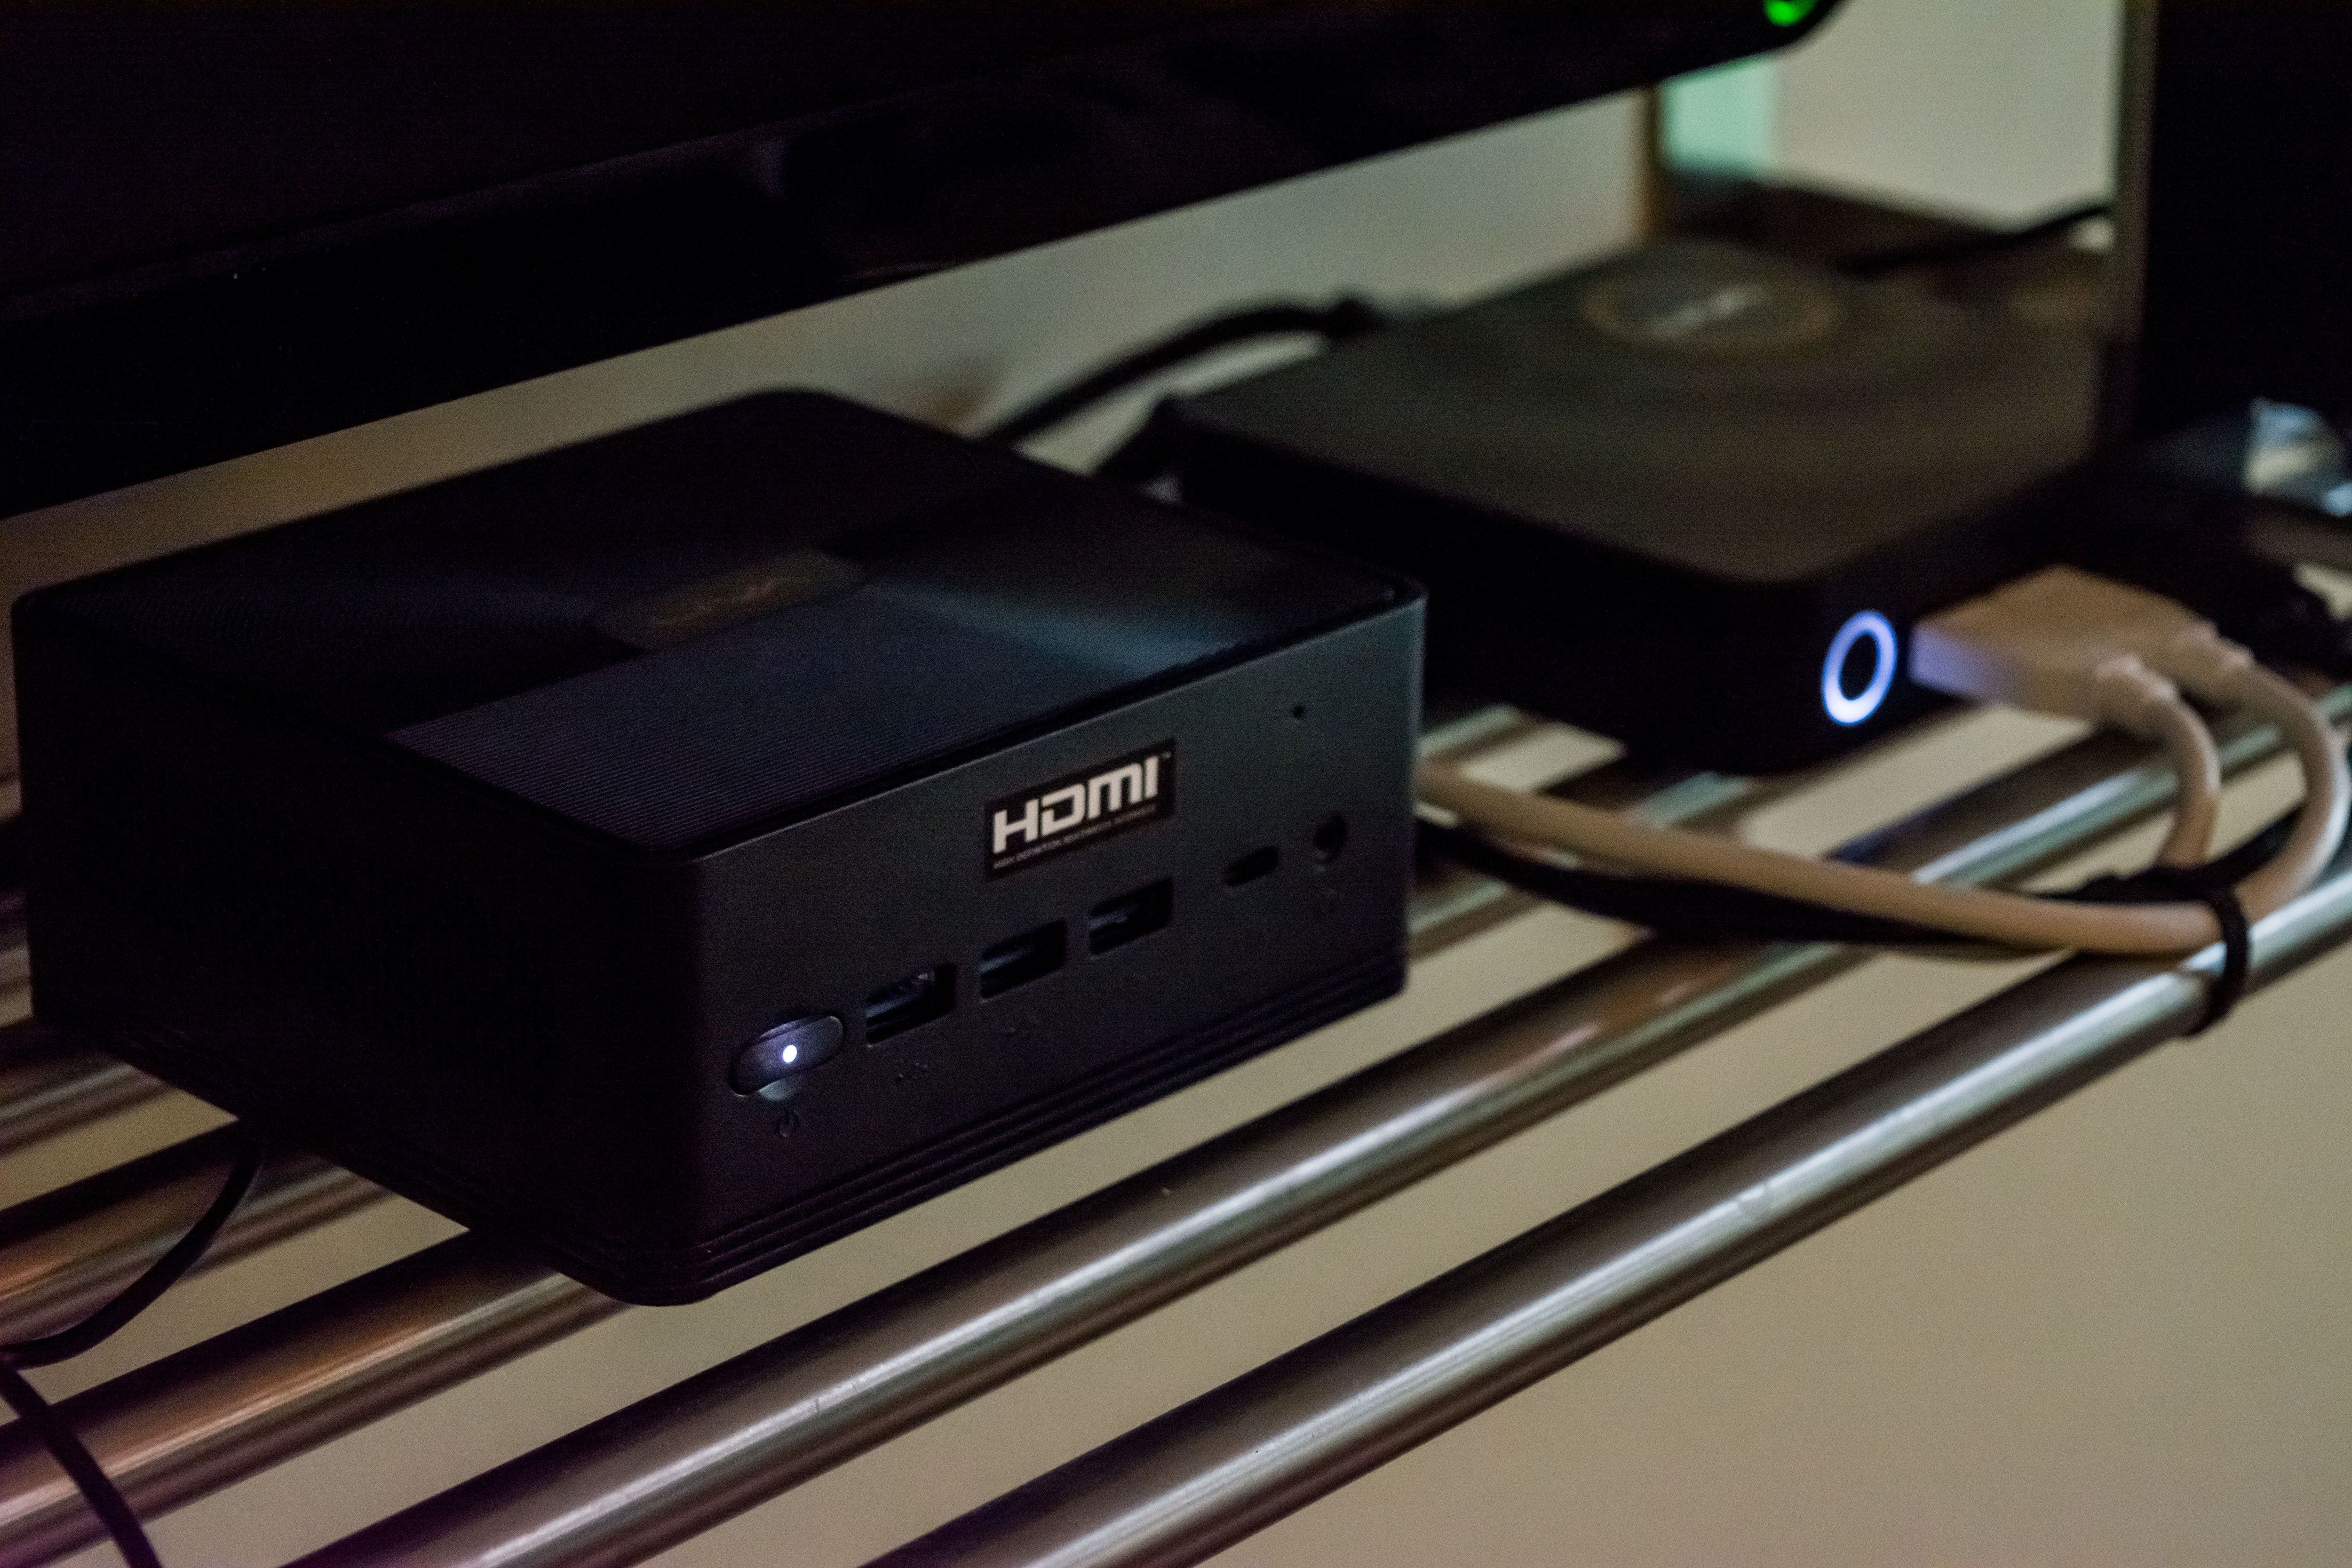
The front ports, much like the ECS Liva Z Plus, has three USB Type-A 3.1 ports along with a Type-C. It also has a combo headphone/microphone jack. The power button is also here along with a tiny hole, which we will see later, is the integrated digital microphone. The front has an HDMI sticker, which in my opinion doesn’t really belong on the front as removing it can leave residue on the visible part of the computer, if you have it placed in a visible location.
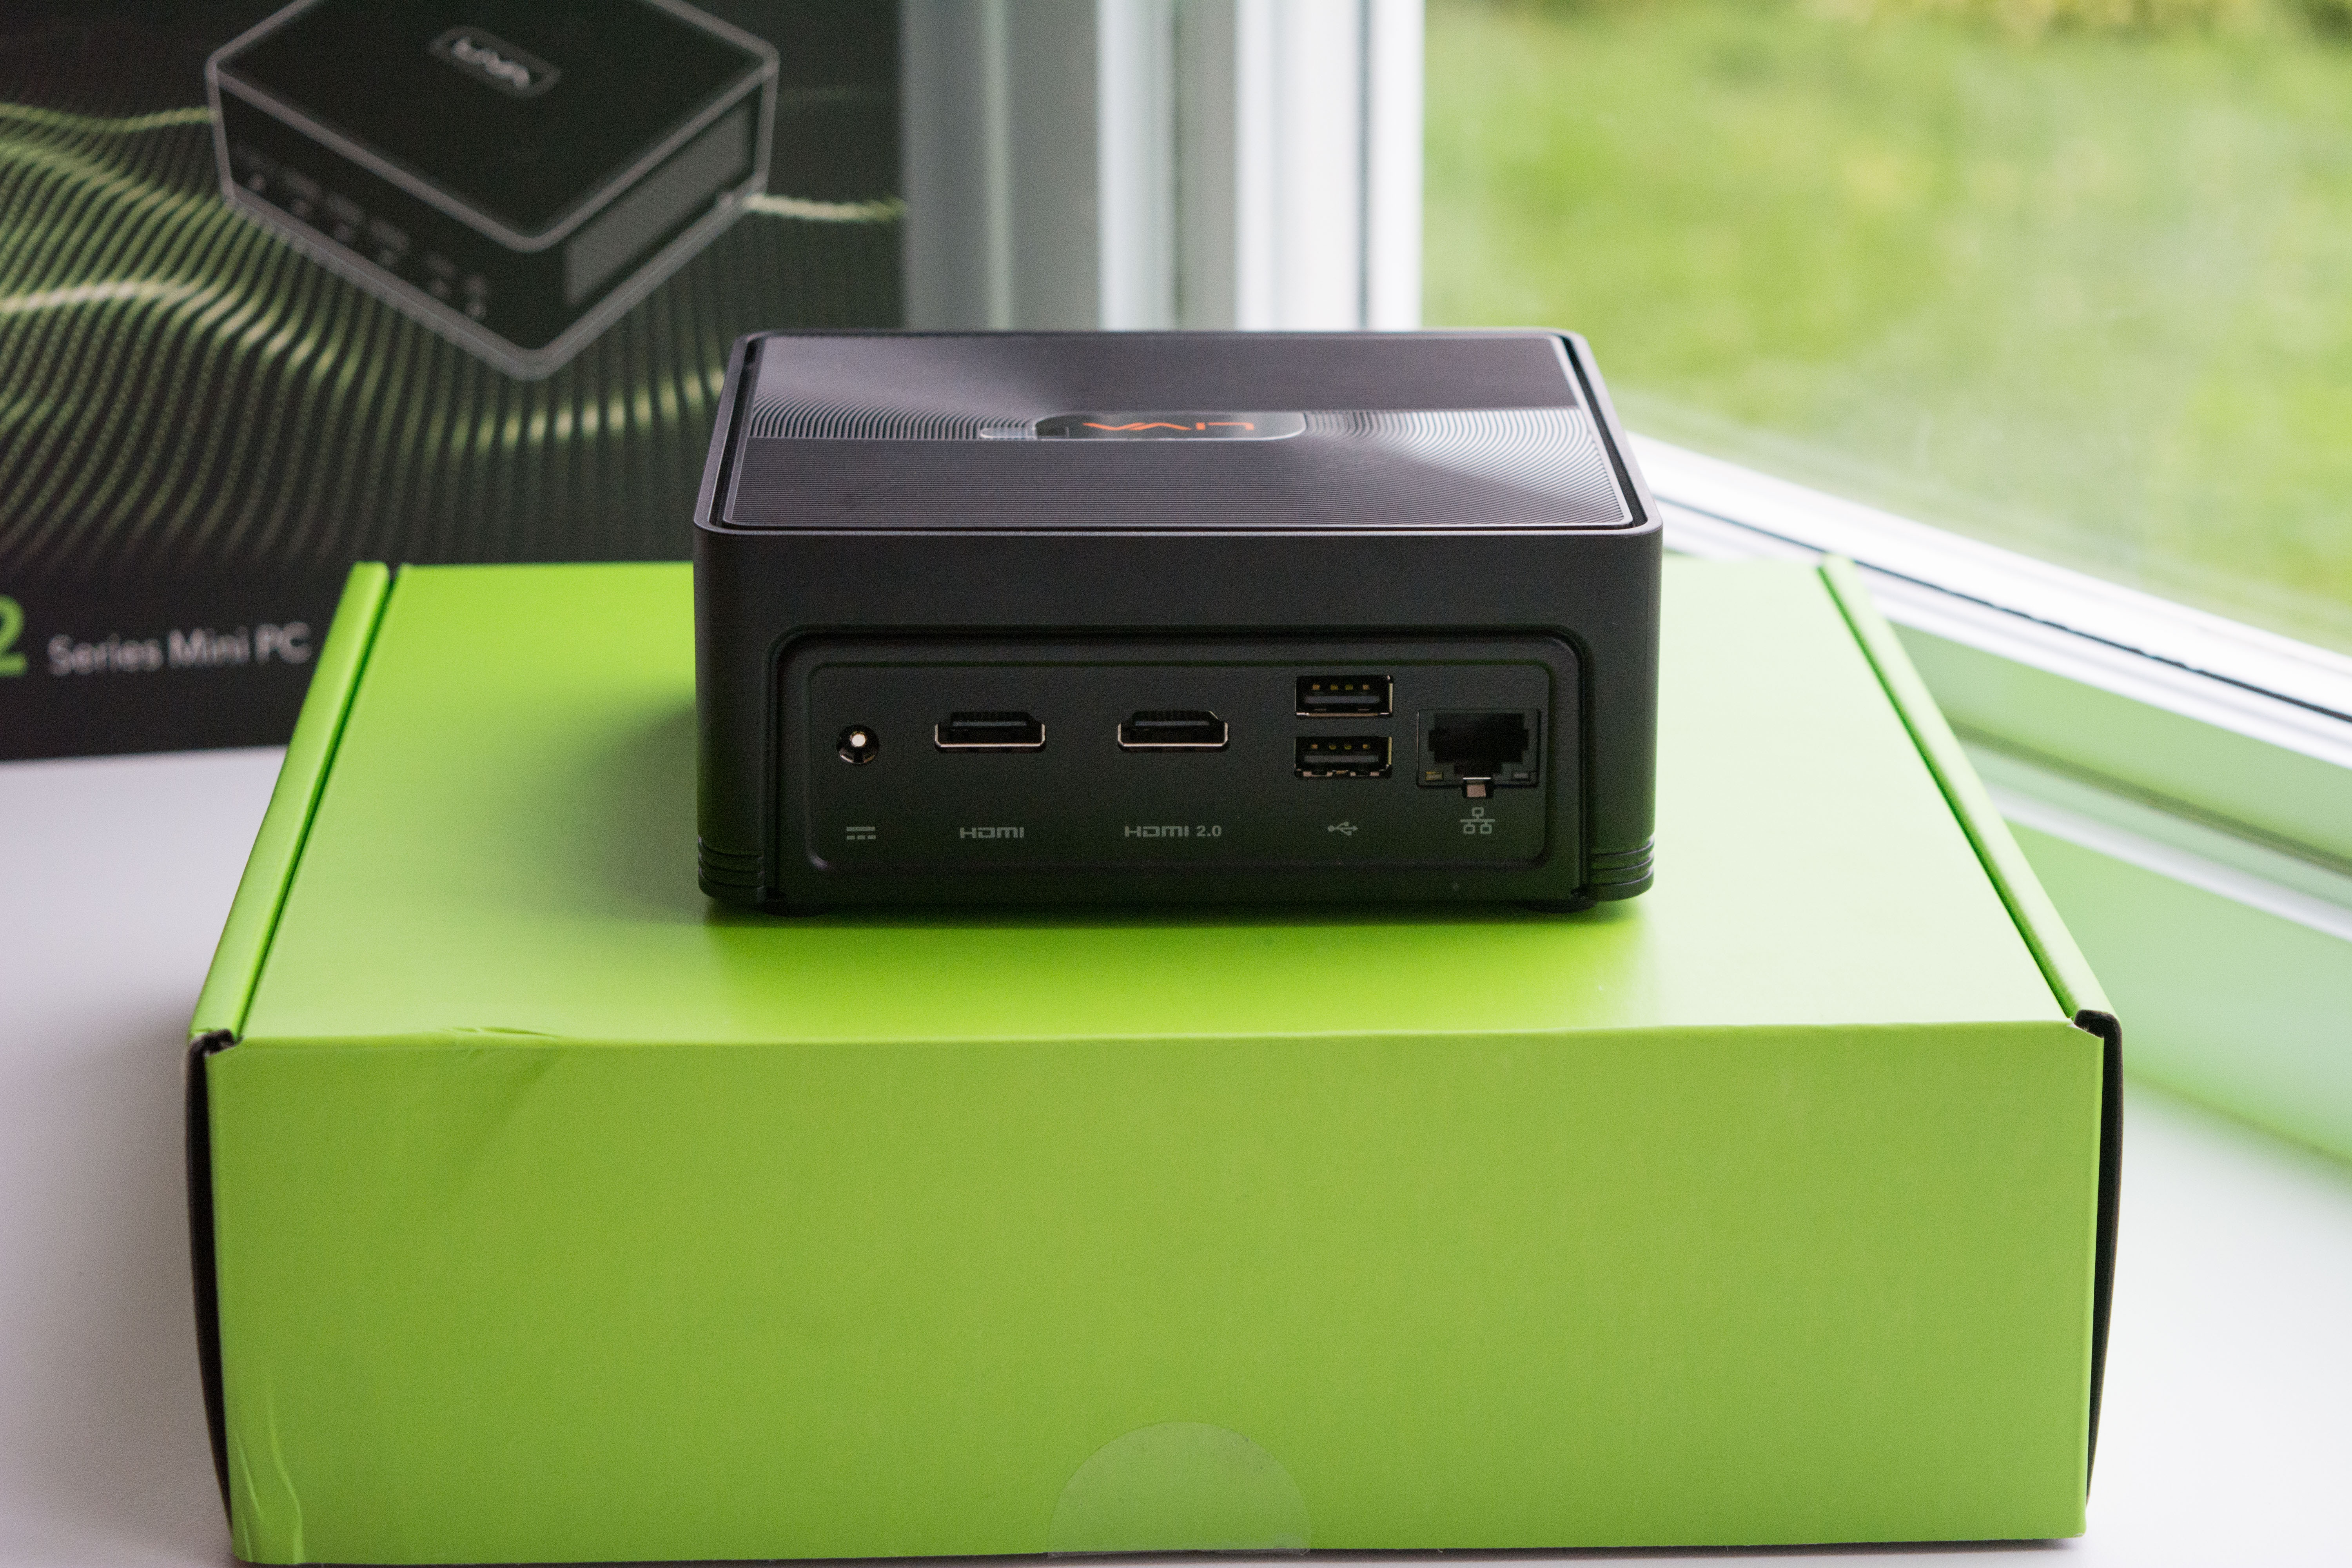
The rear ports are HDMI 1.4, HDMI 2.0, two Type-A USB 2.0 along with a Gigabit LAN port. This is also where the 19V barrel connector is found.
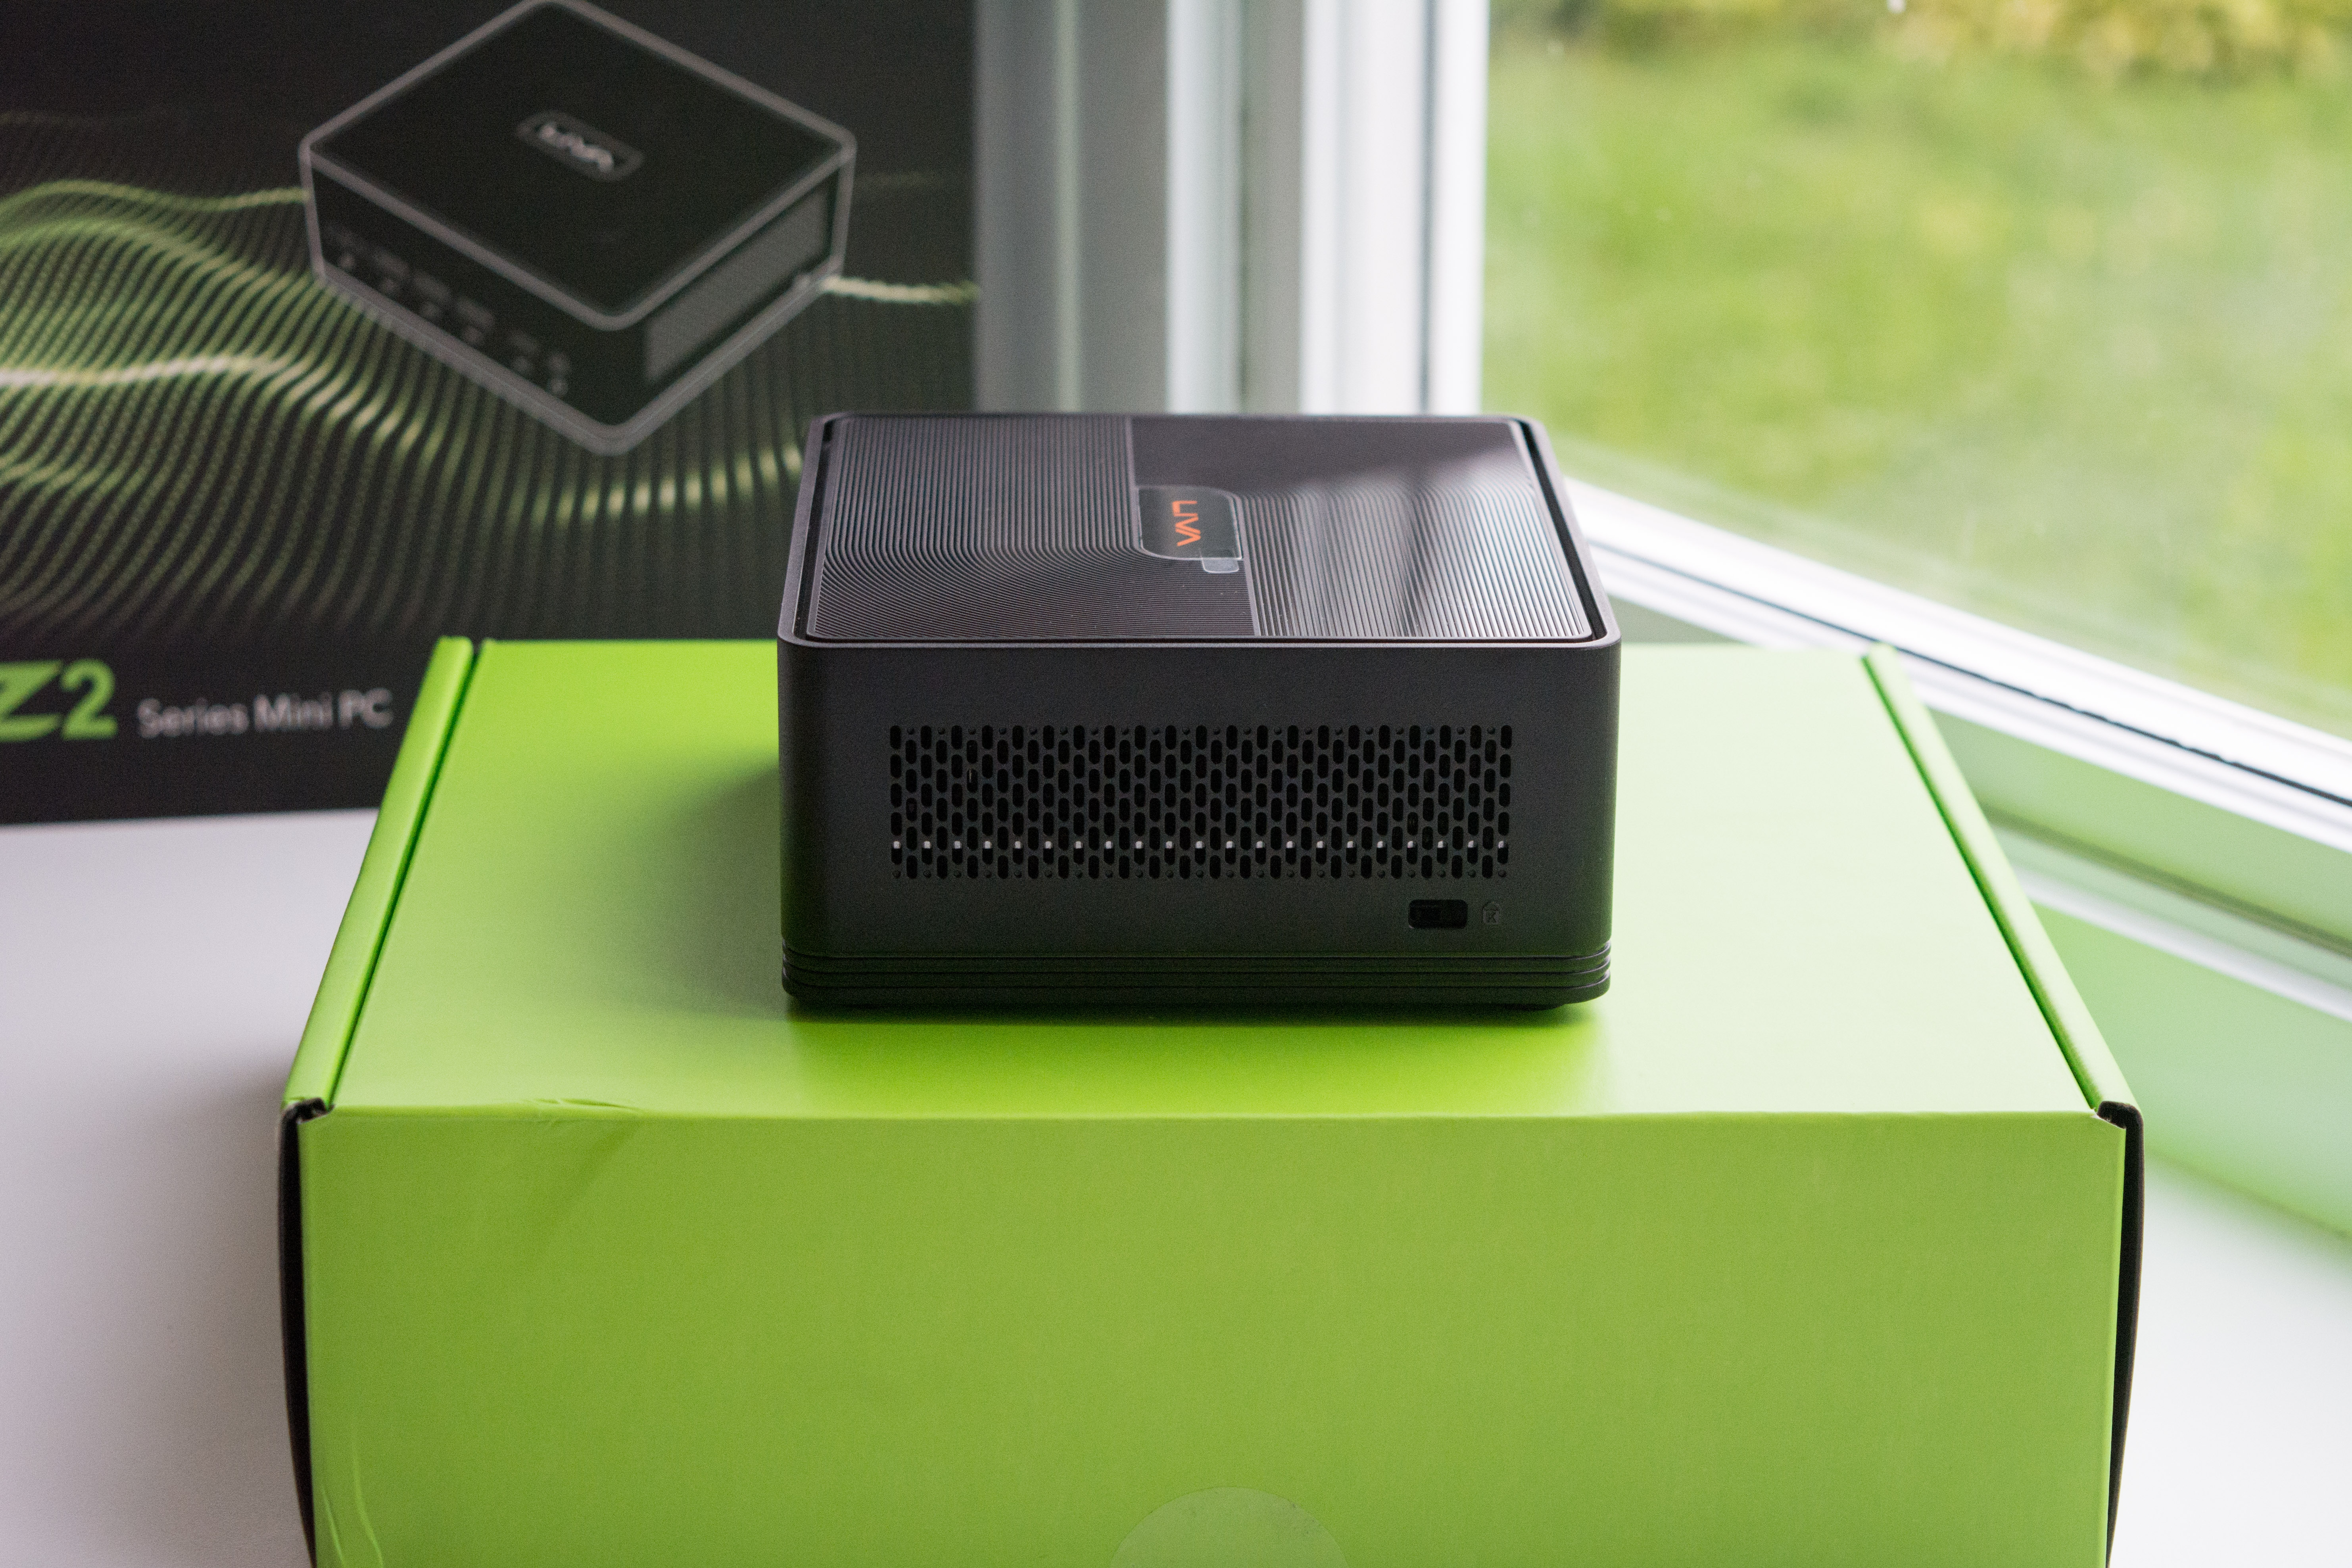
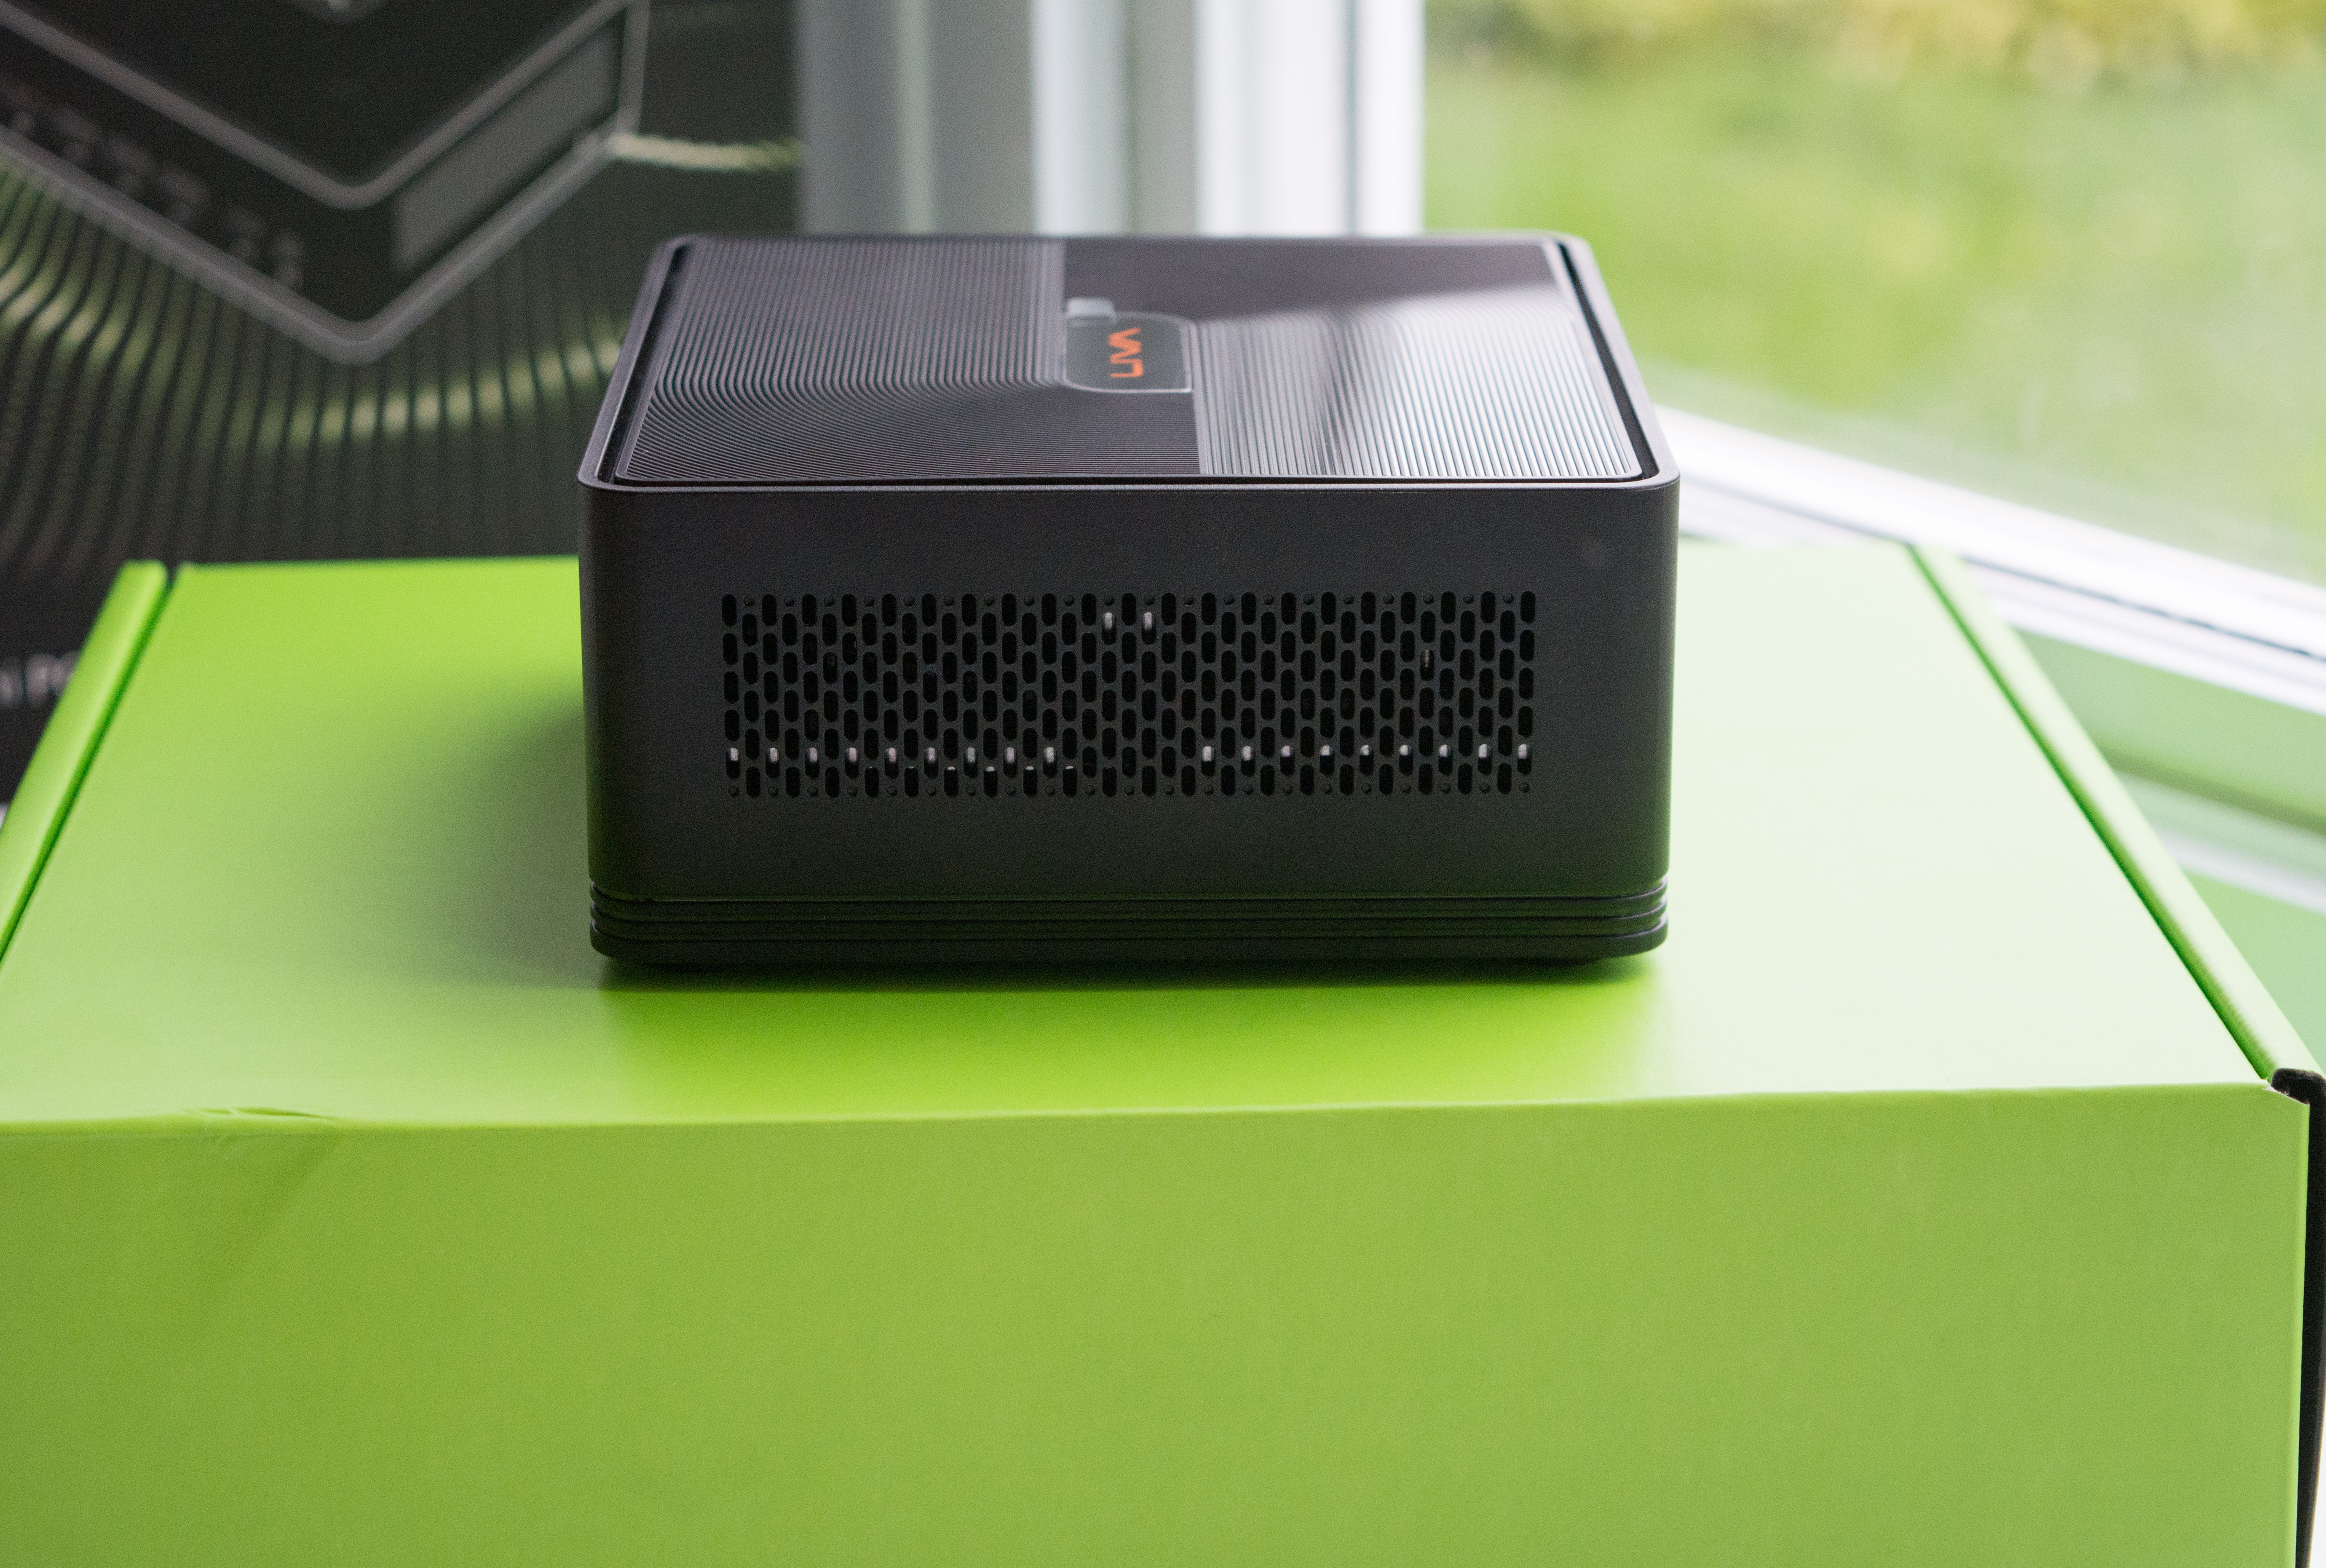
Both sides has a ventilated mesh designed into the plastic outer body which enables the passive internals to breathe.
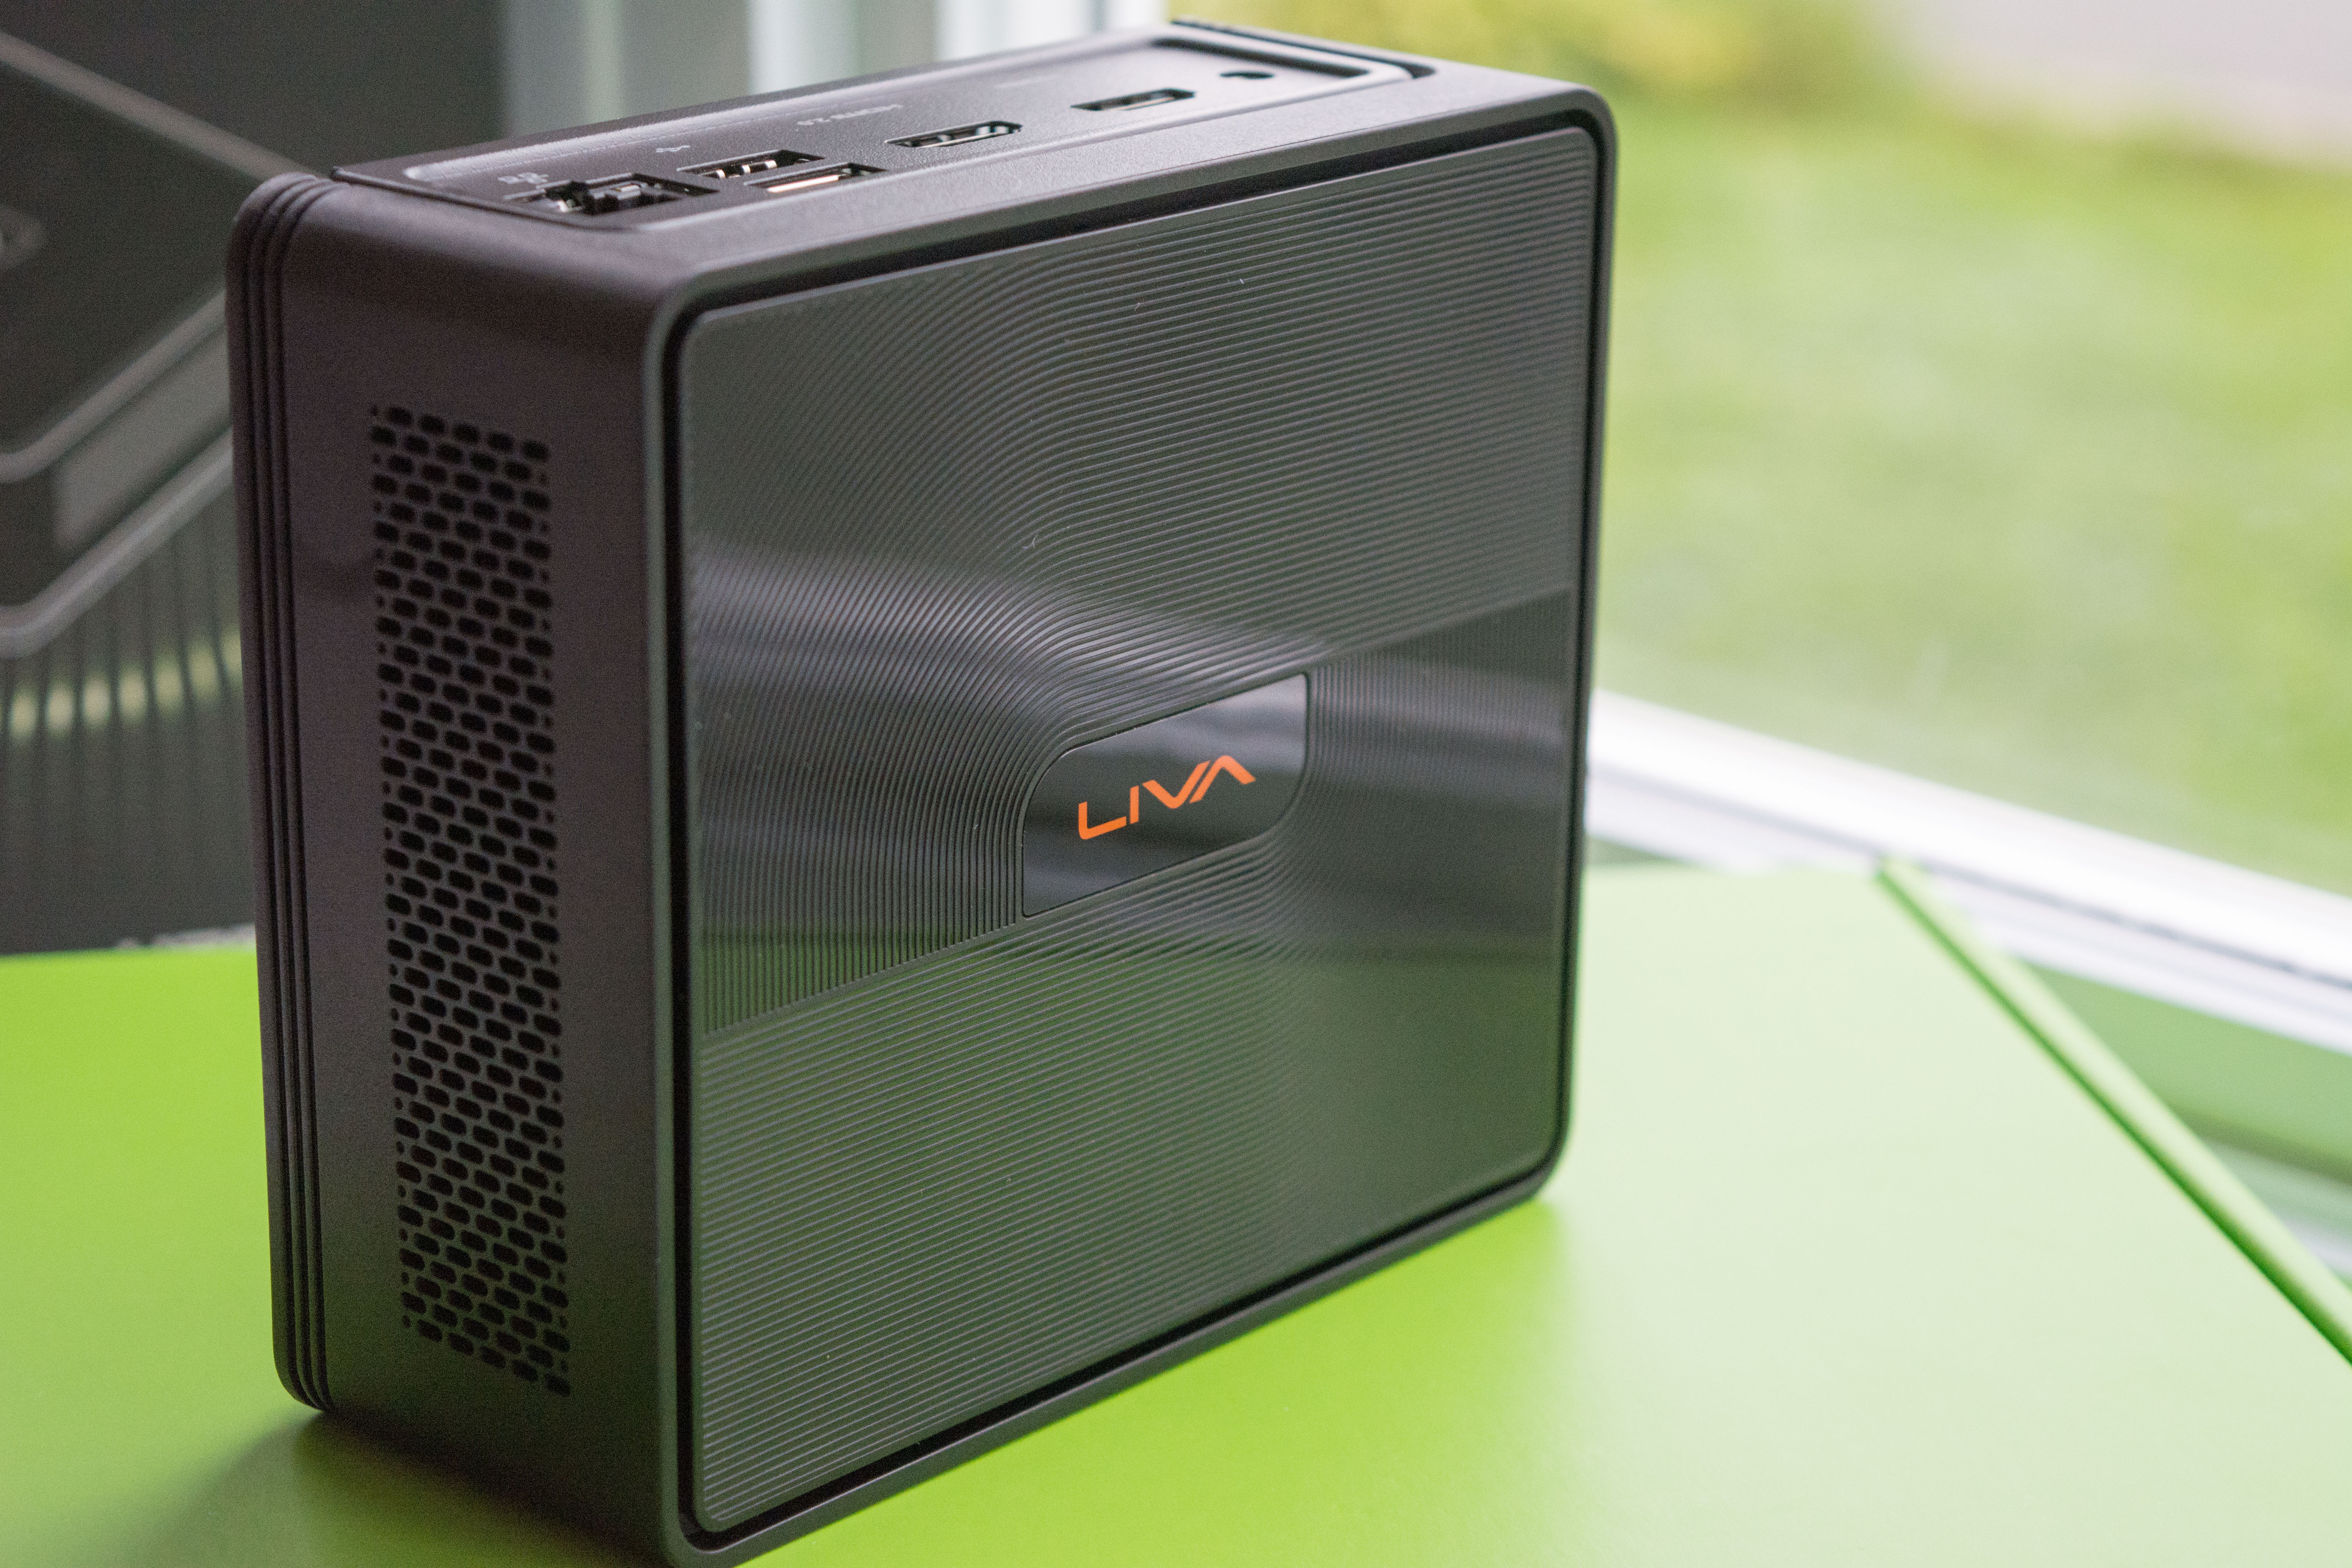
The top of the shell, has details offset from the LIVA logo in the middle along with an edge that is also slightly ventilated.
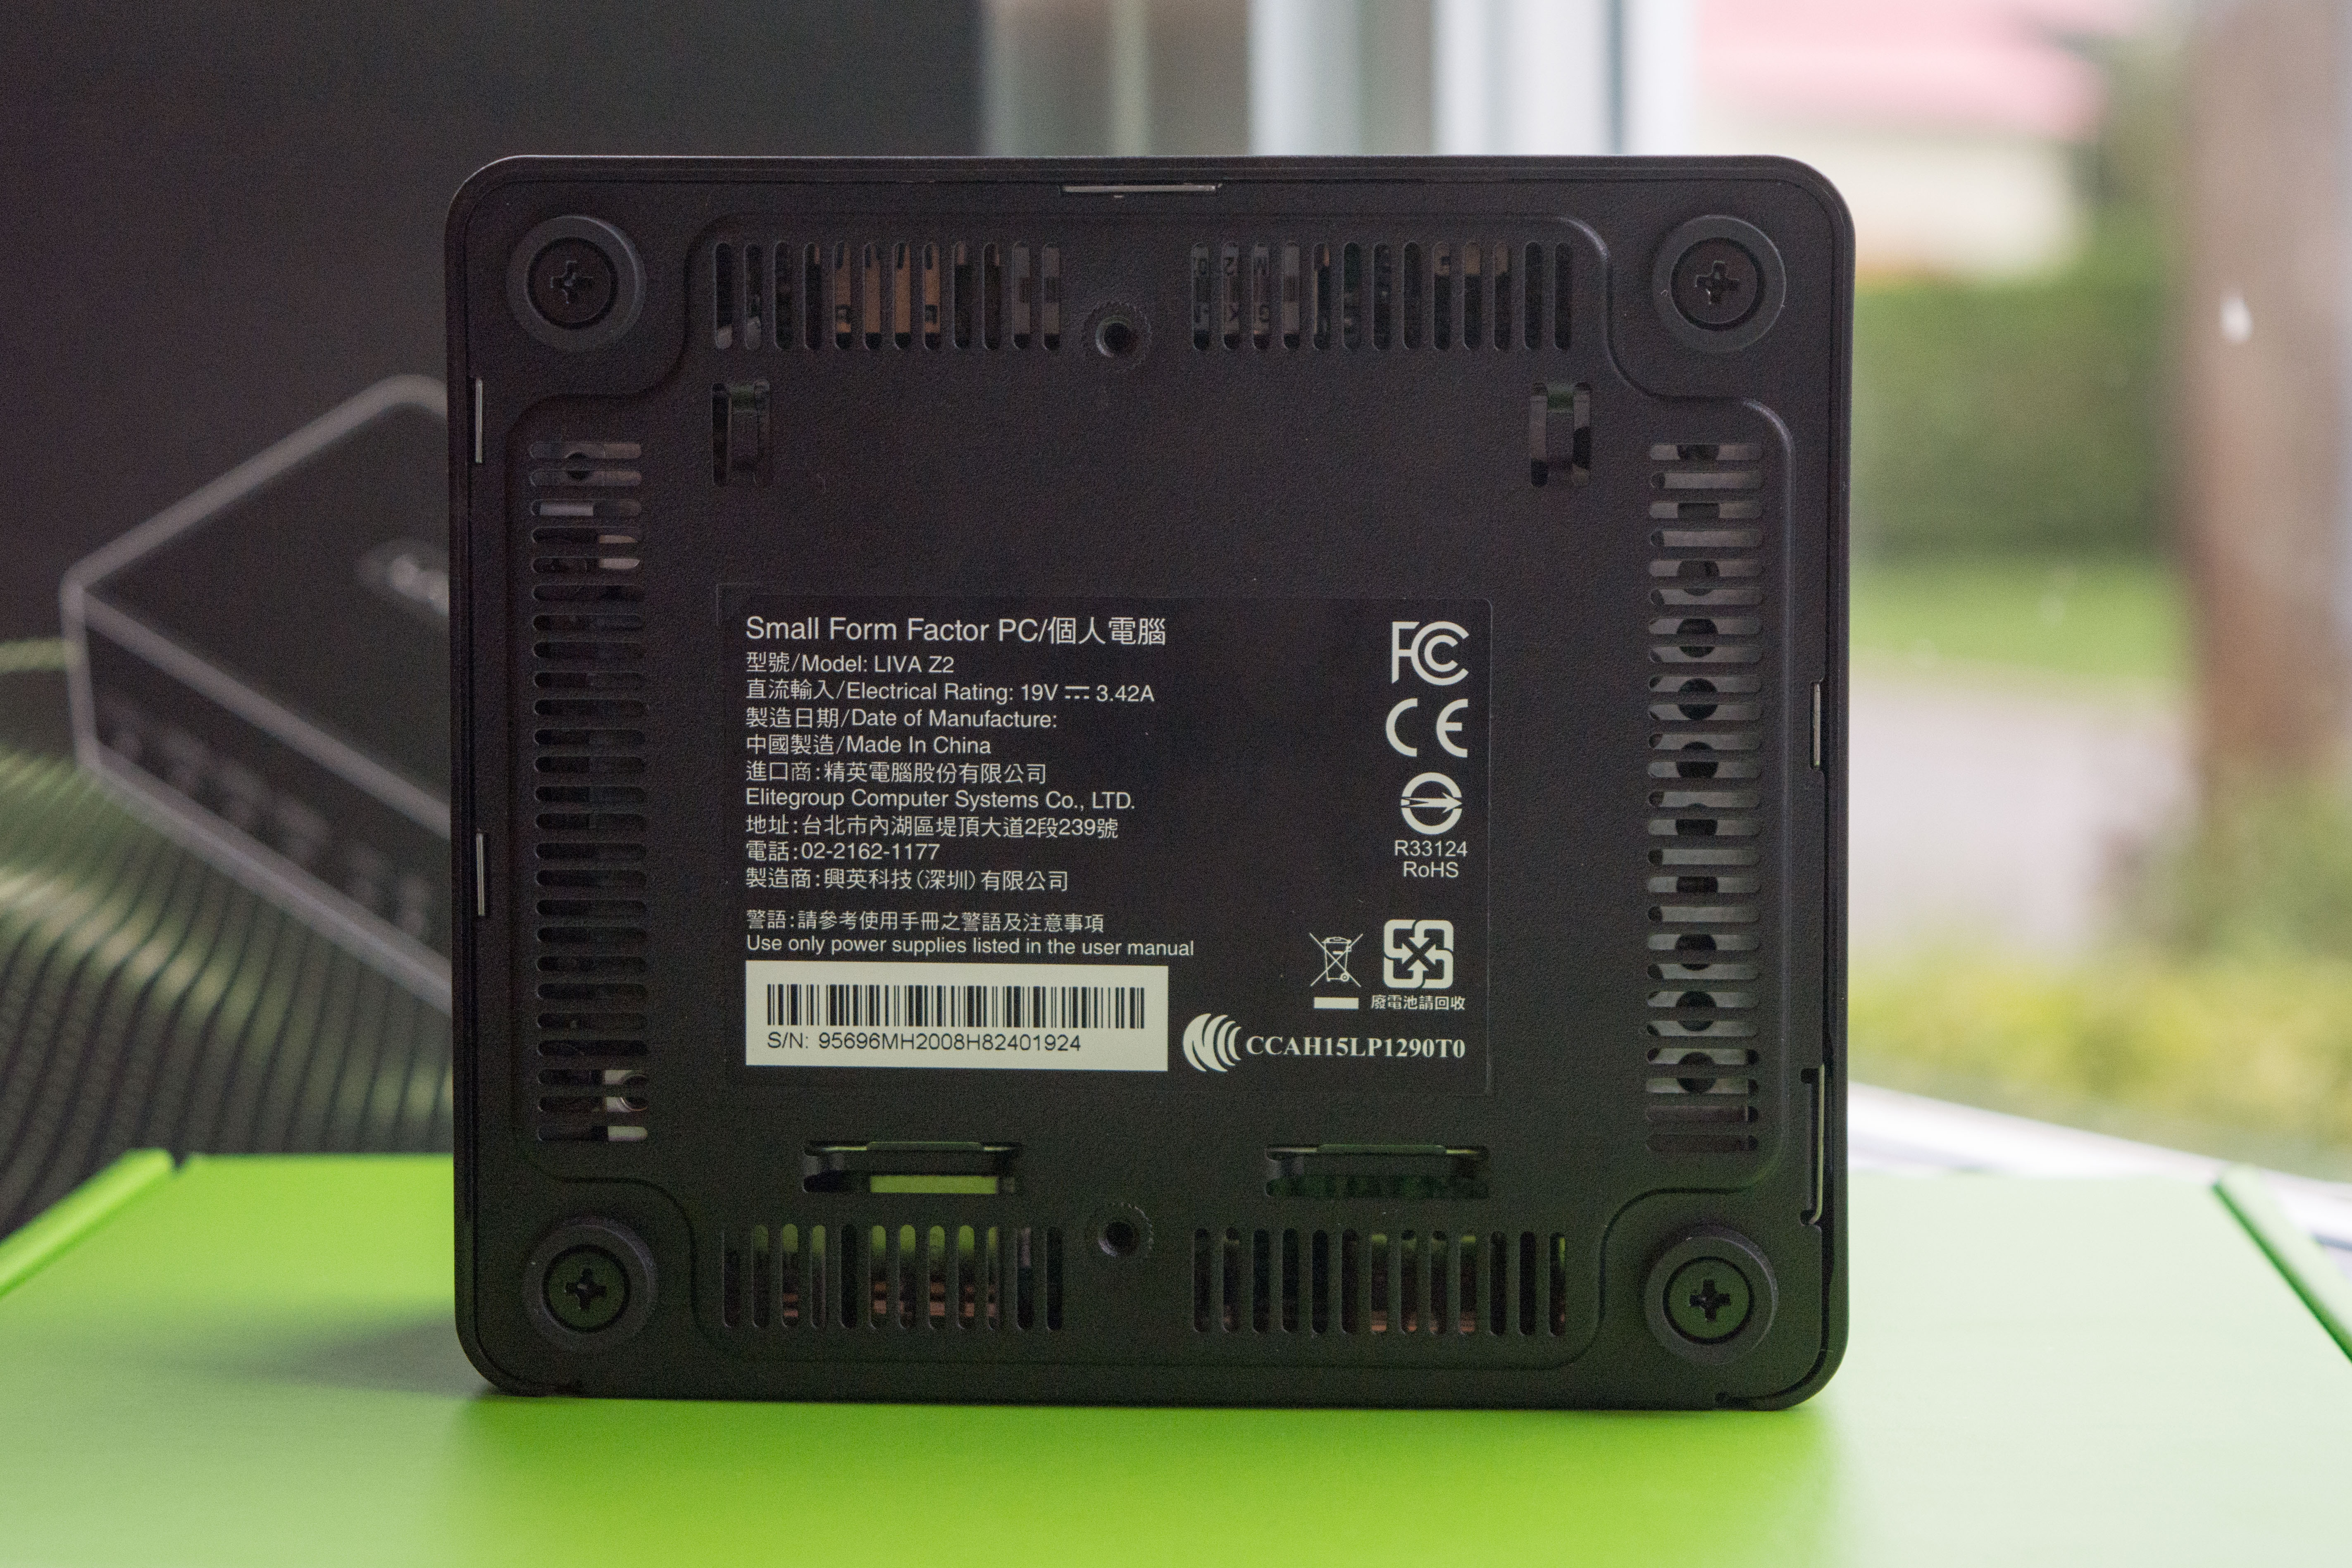
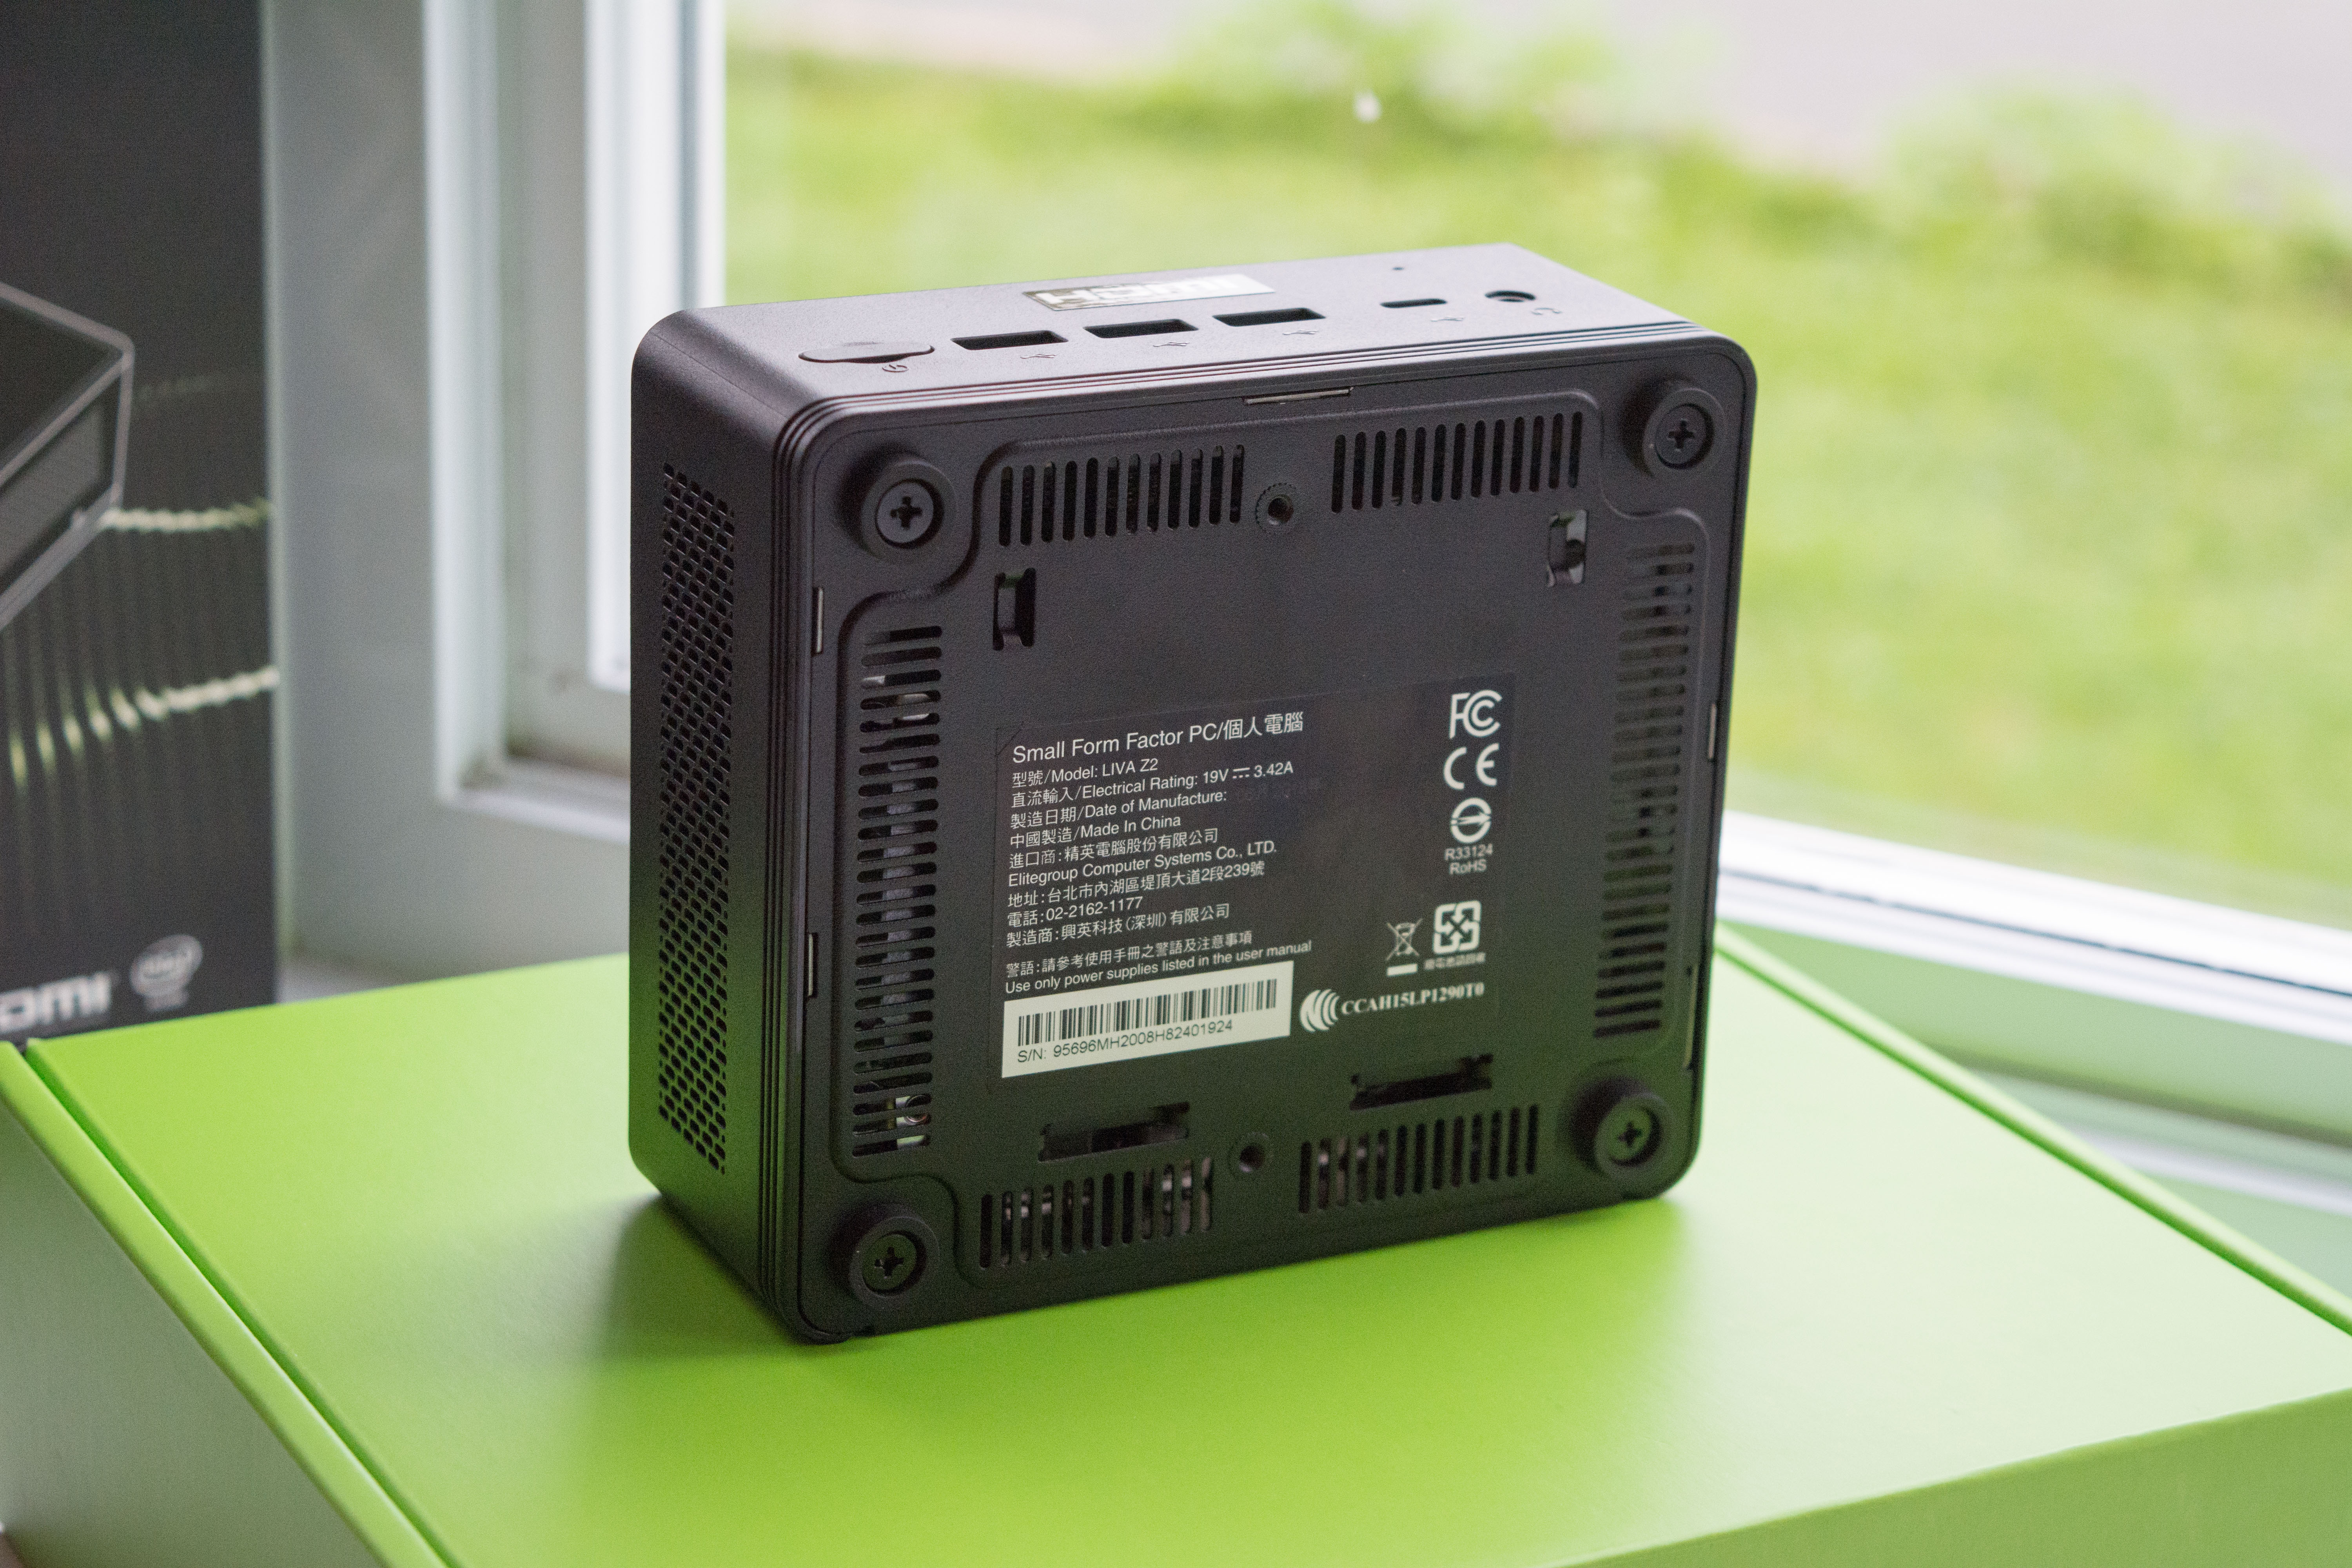
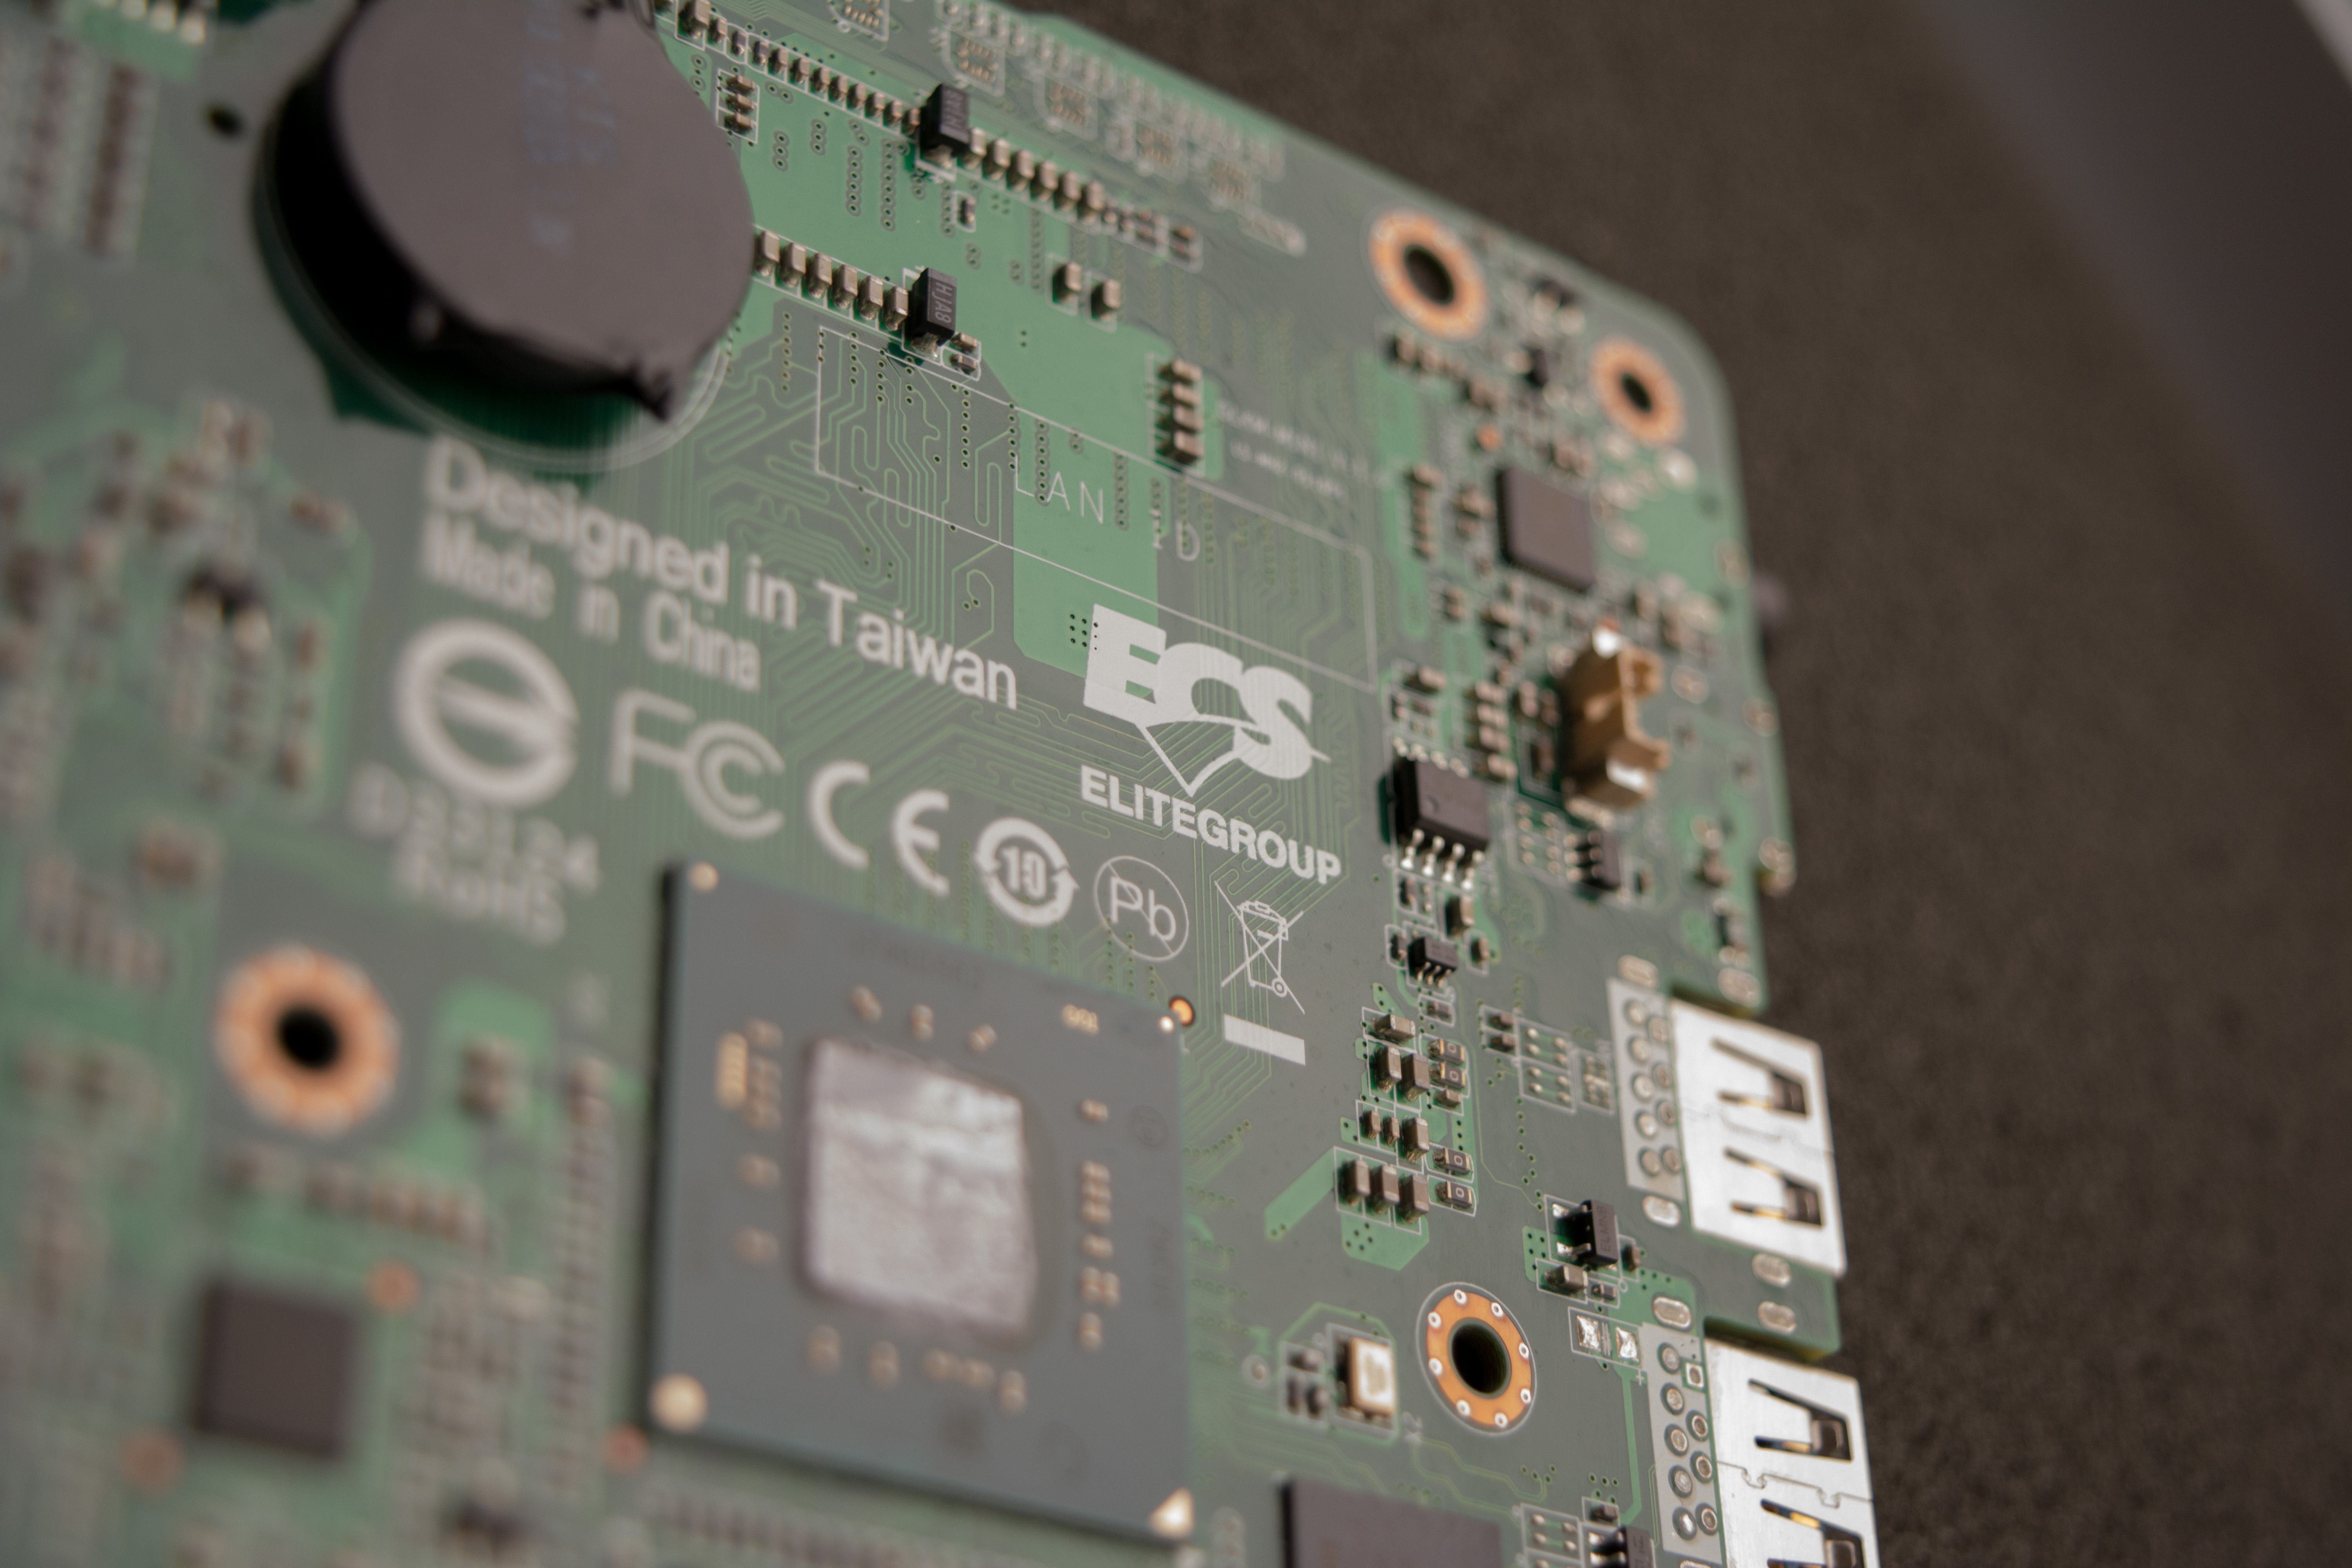
The bottom of the case, which is made of steel, has the mount for the VESA plate adapter. We can also see it is ventilated as well, which brings up to total amount of ventilated sides to 4 (sides, top and bottom). There’s also information, mostly in Chinese about the system along with serial number.
Disassembly
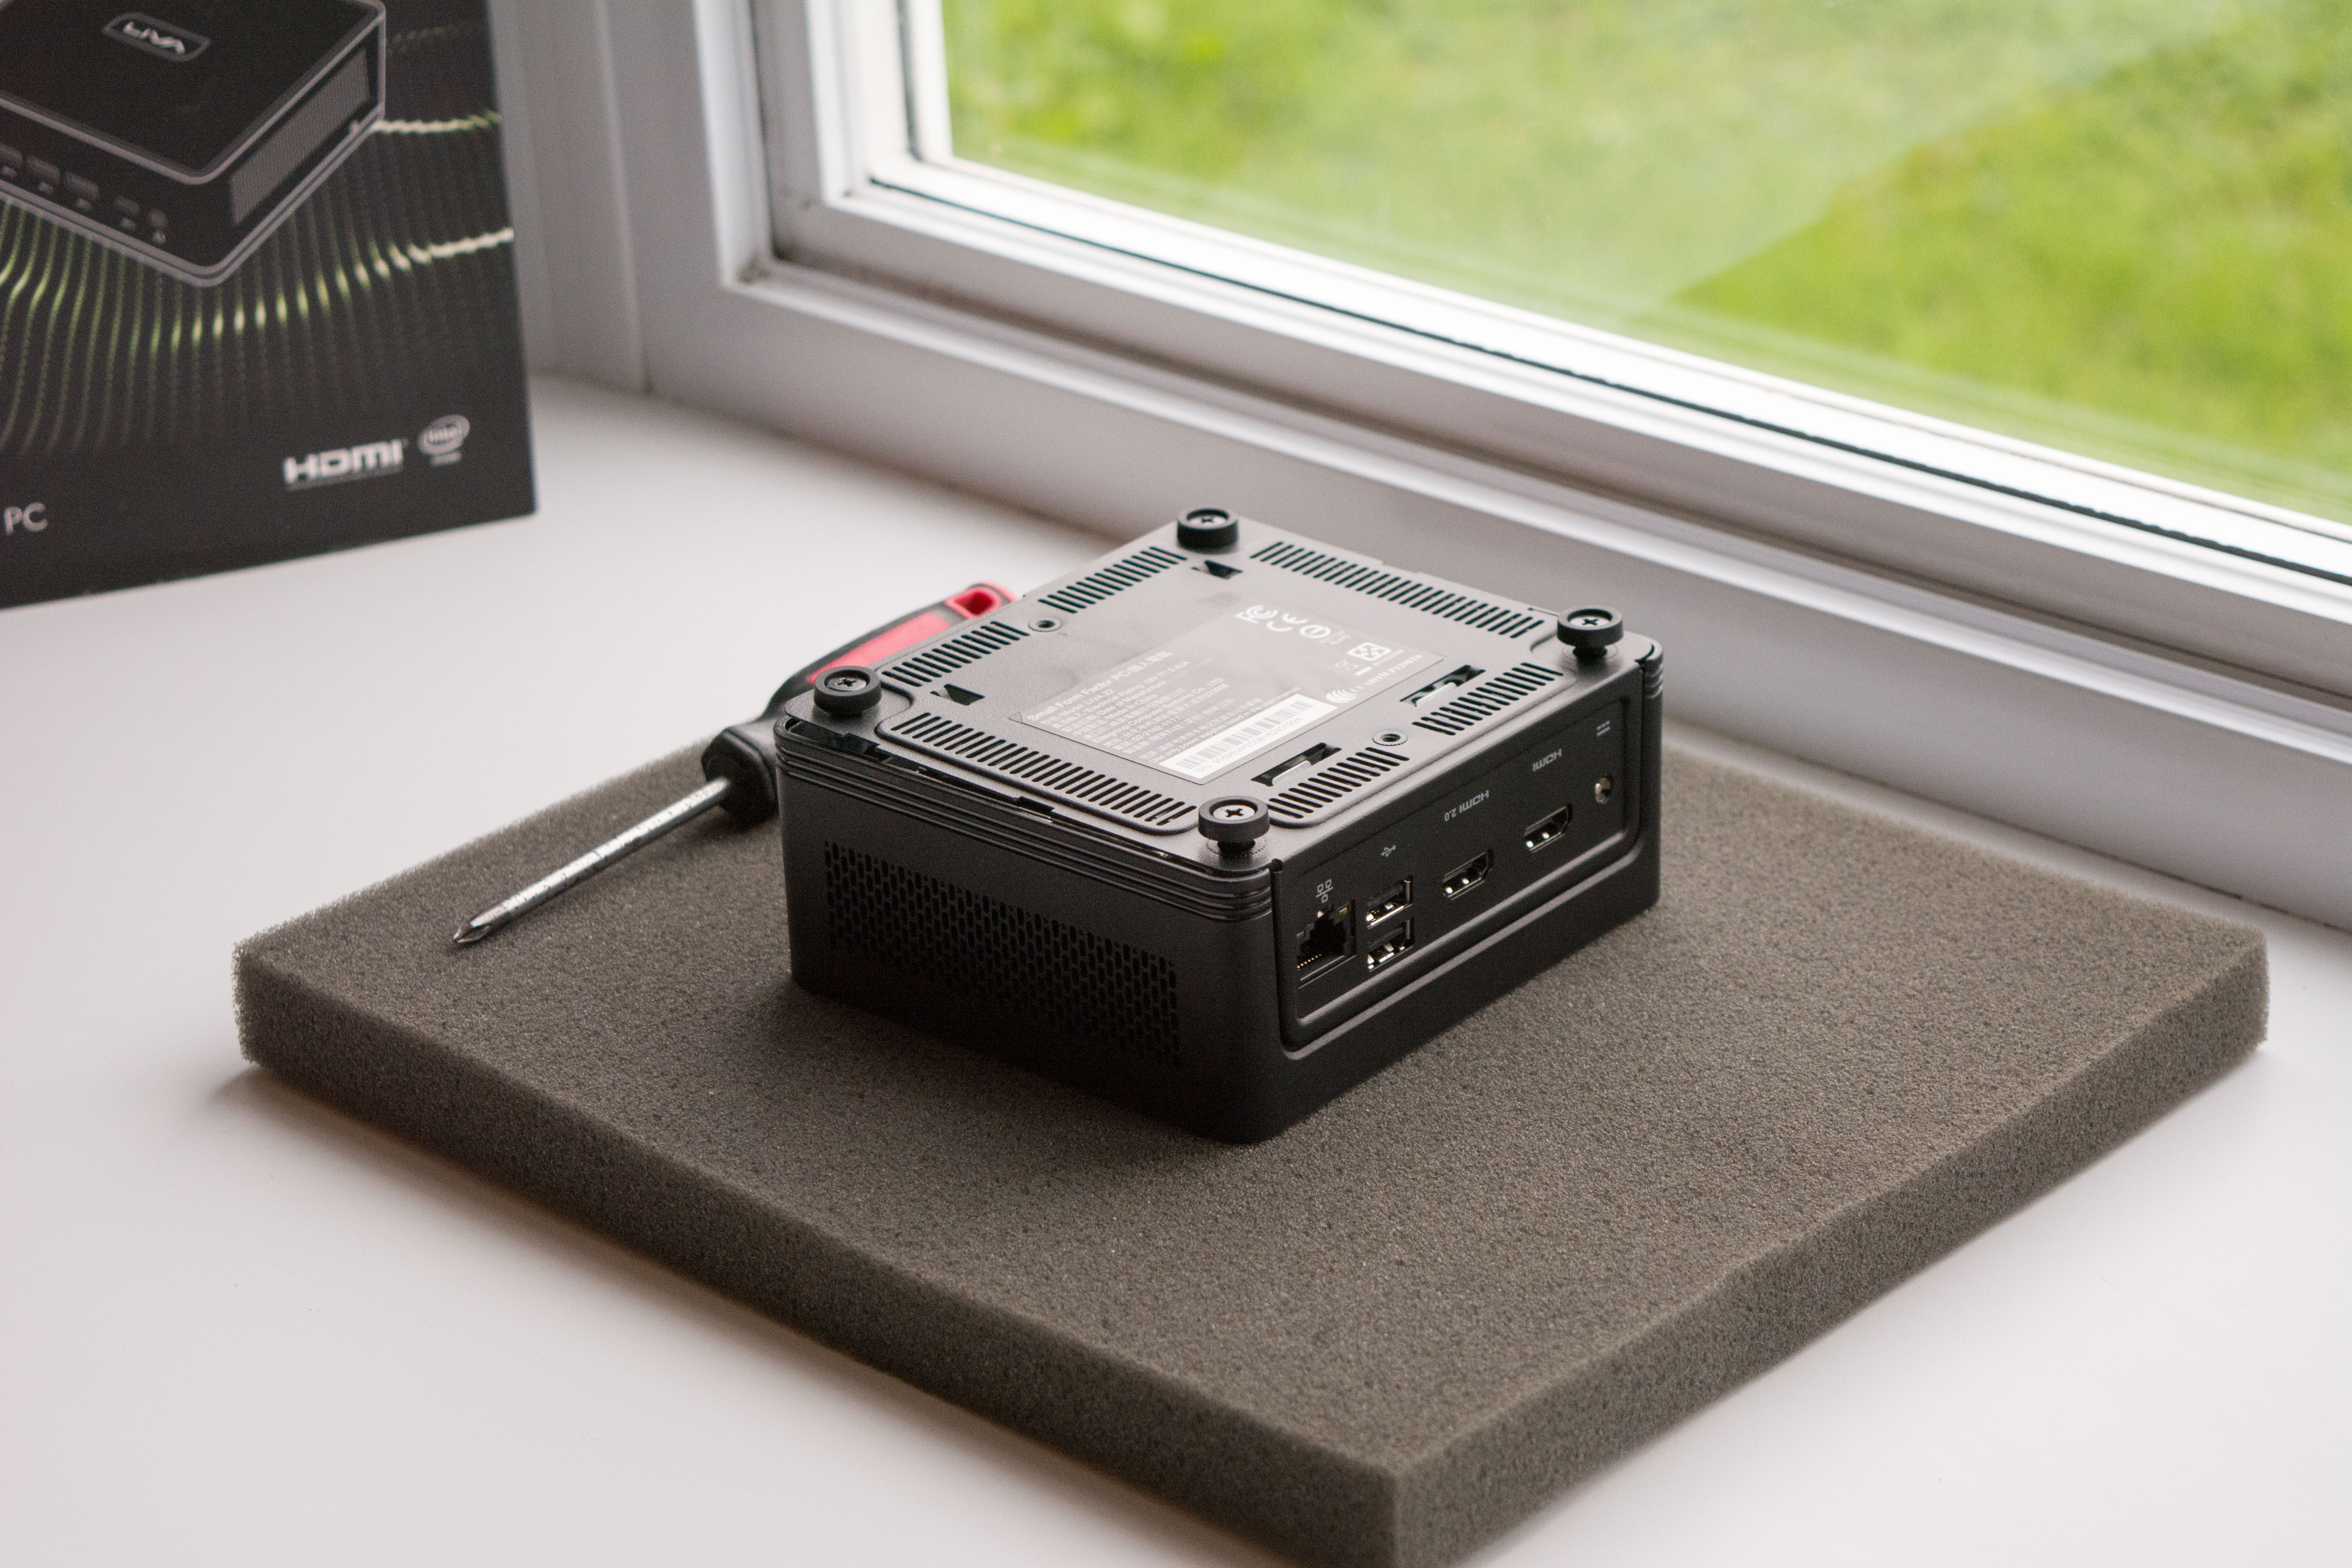
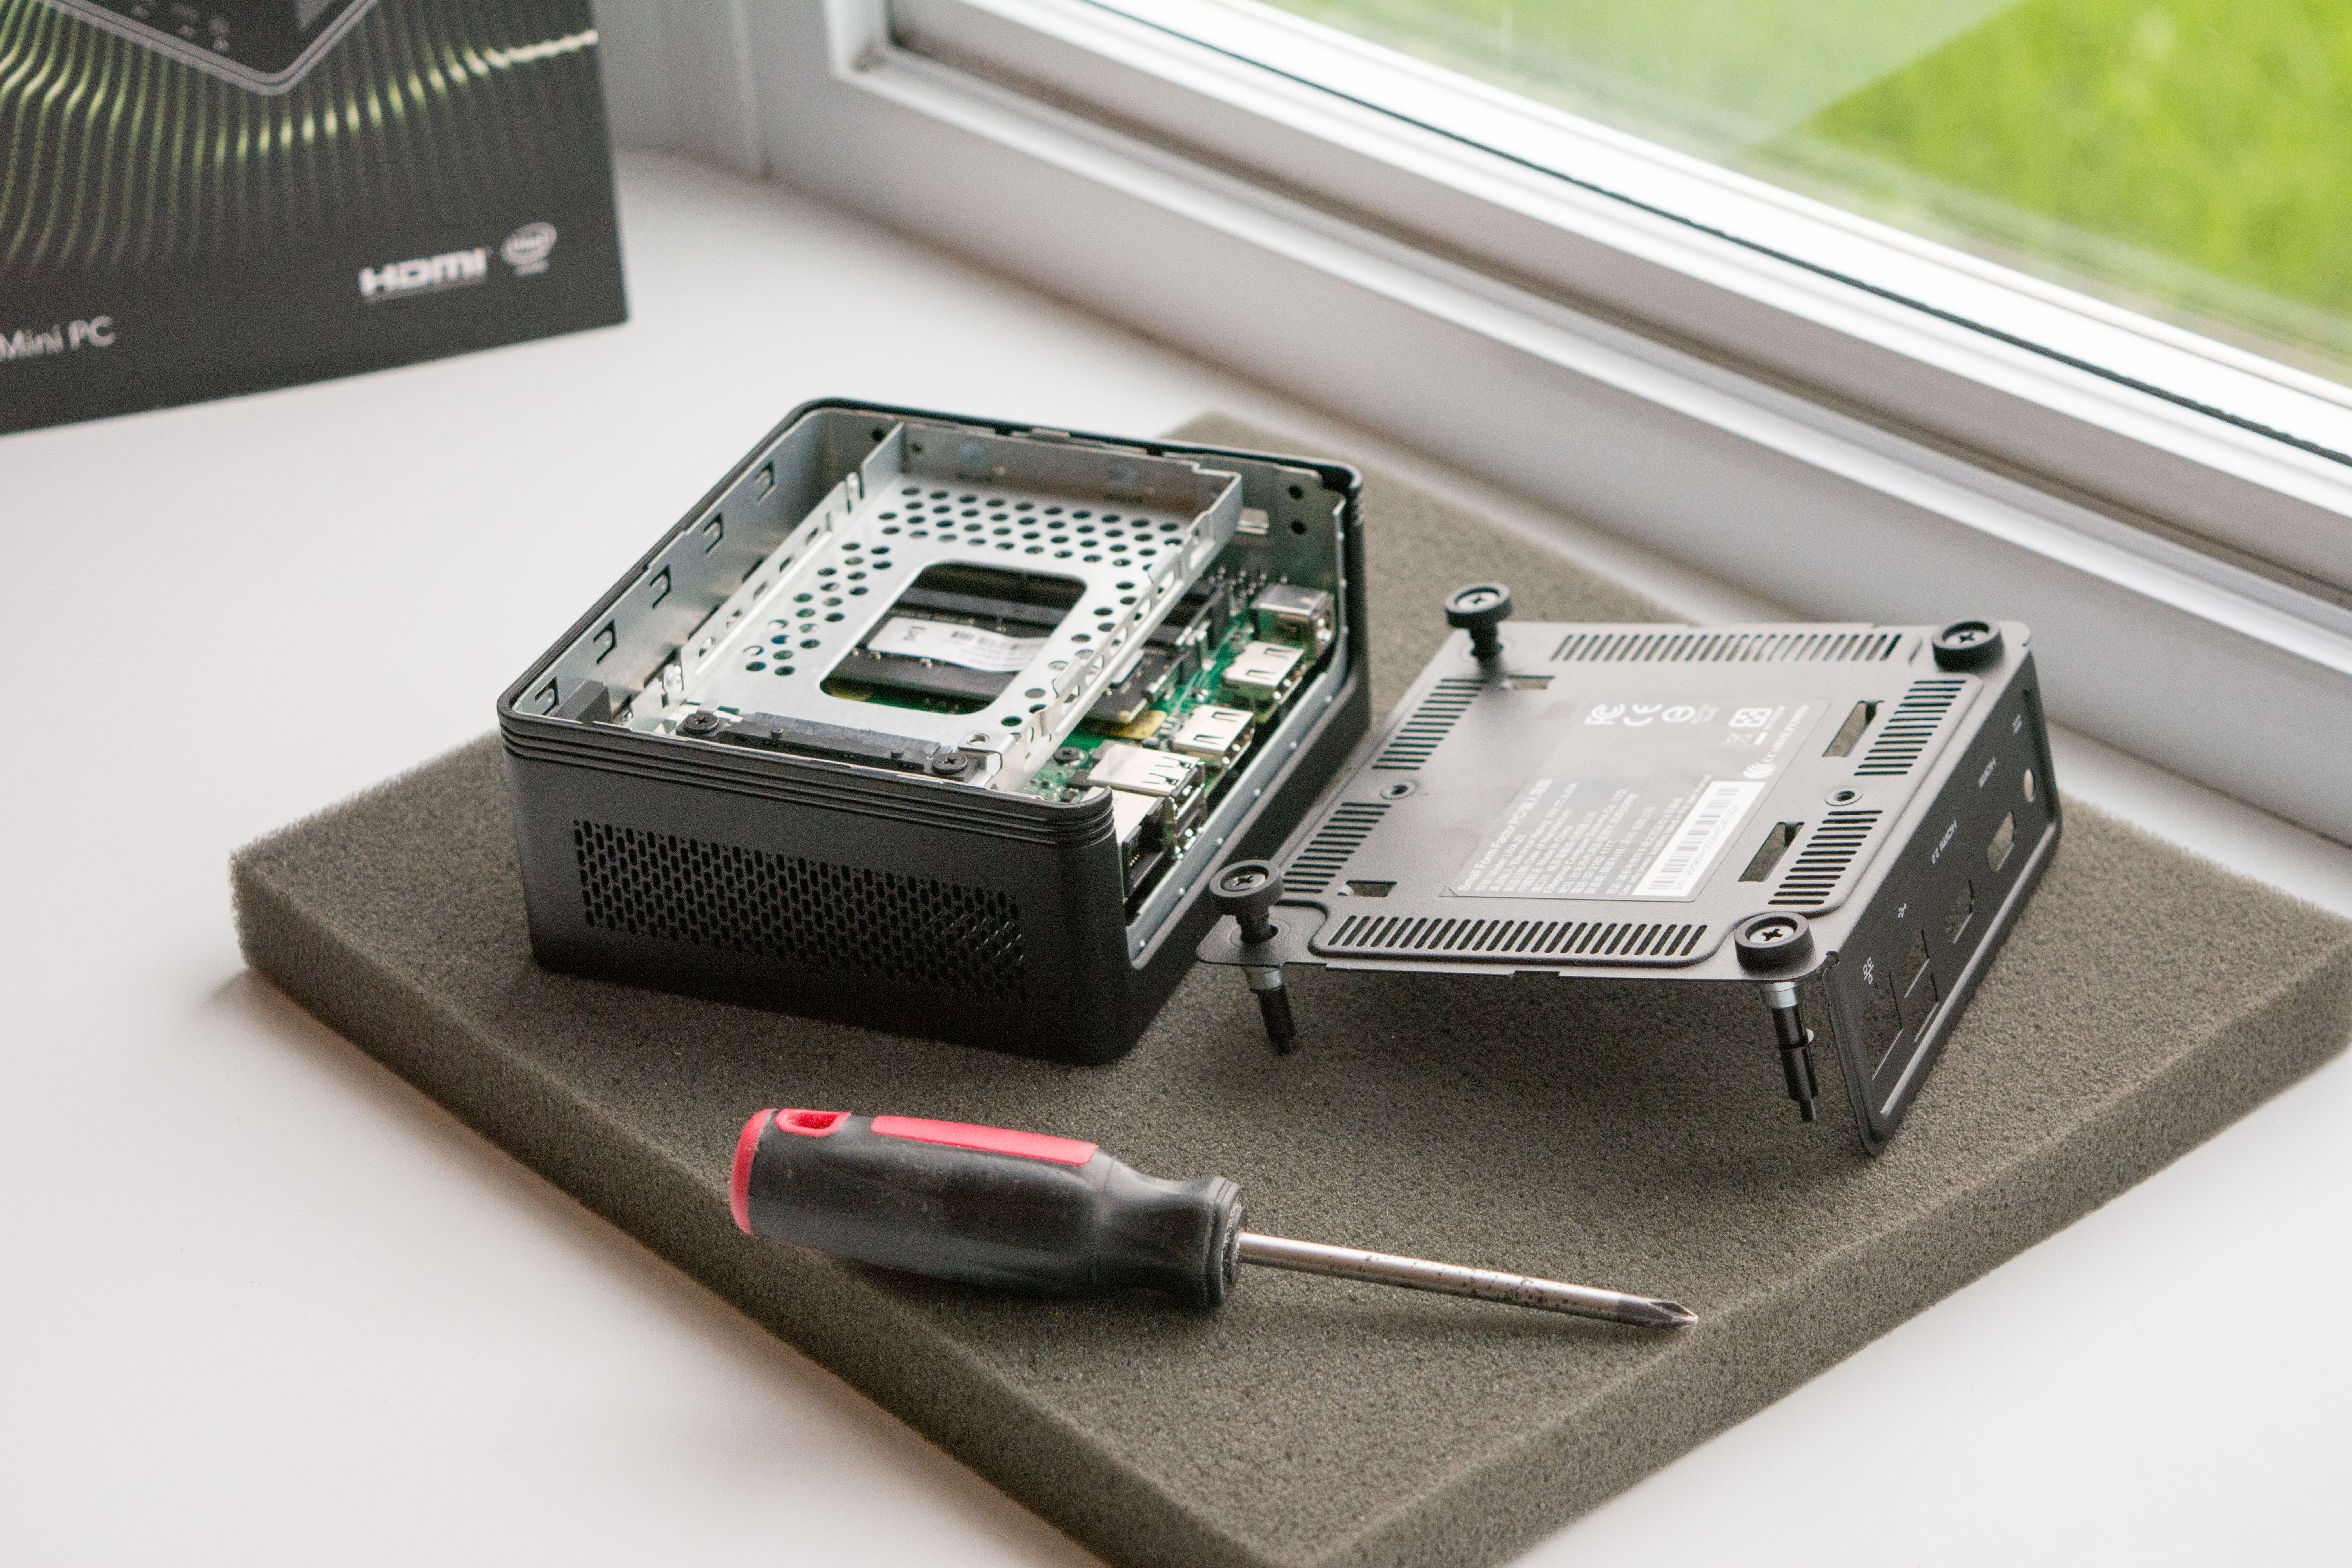
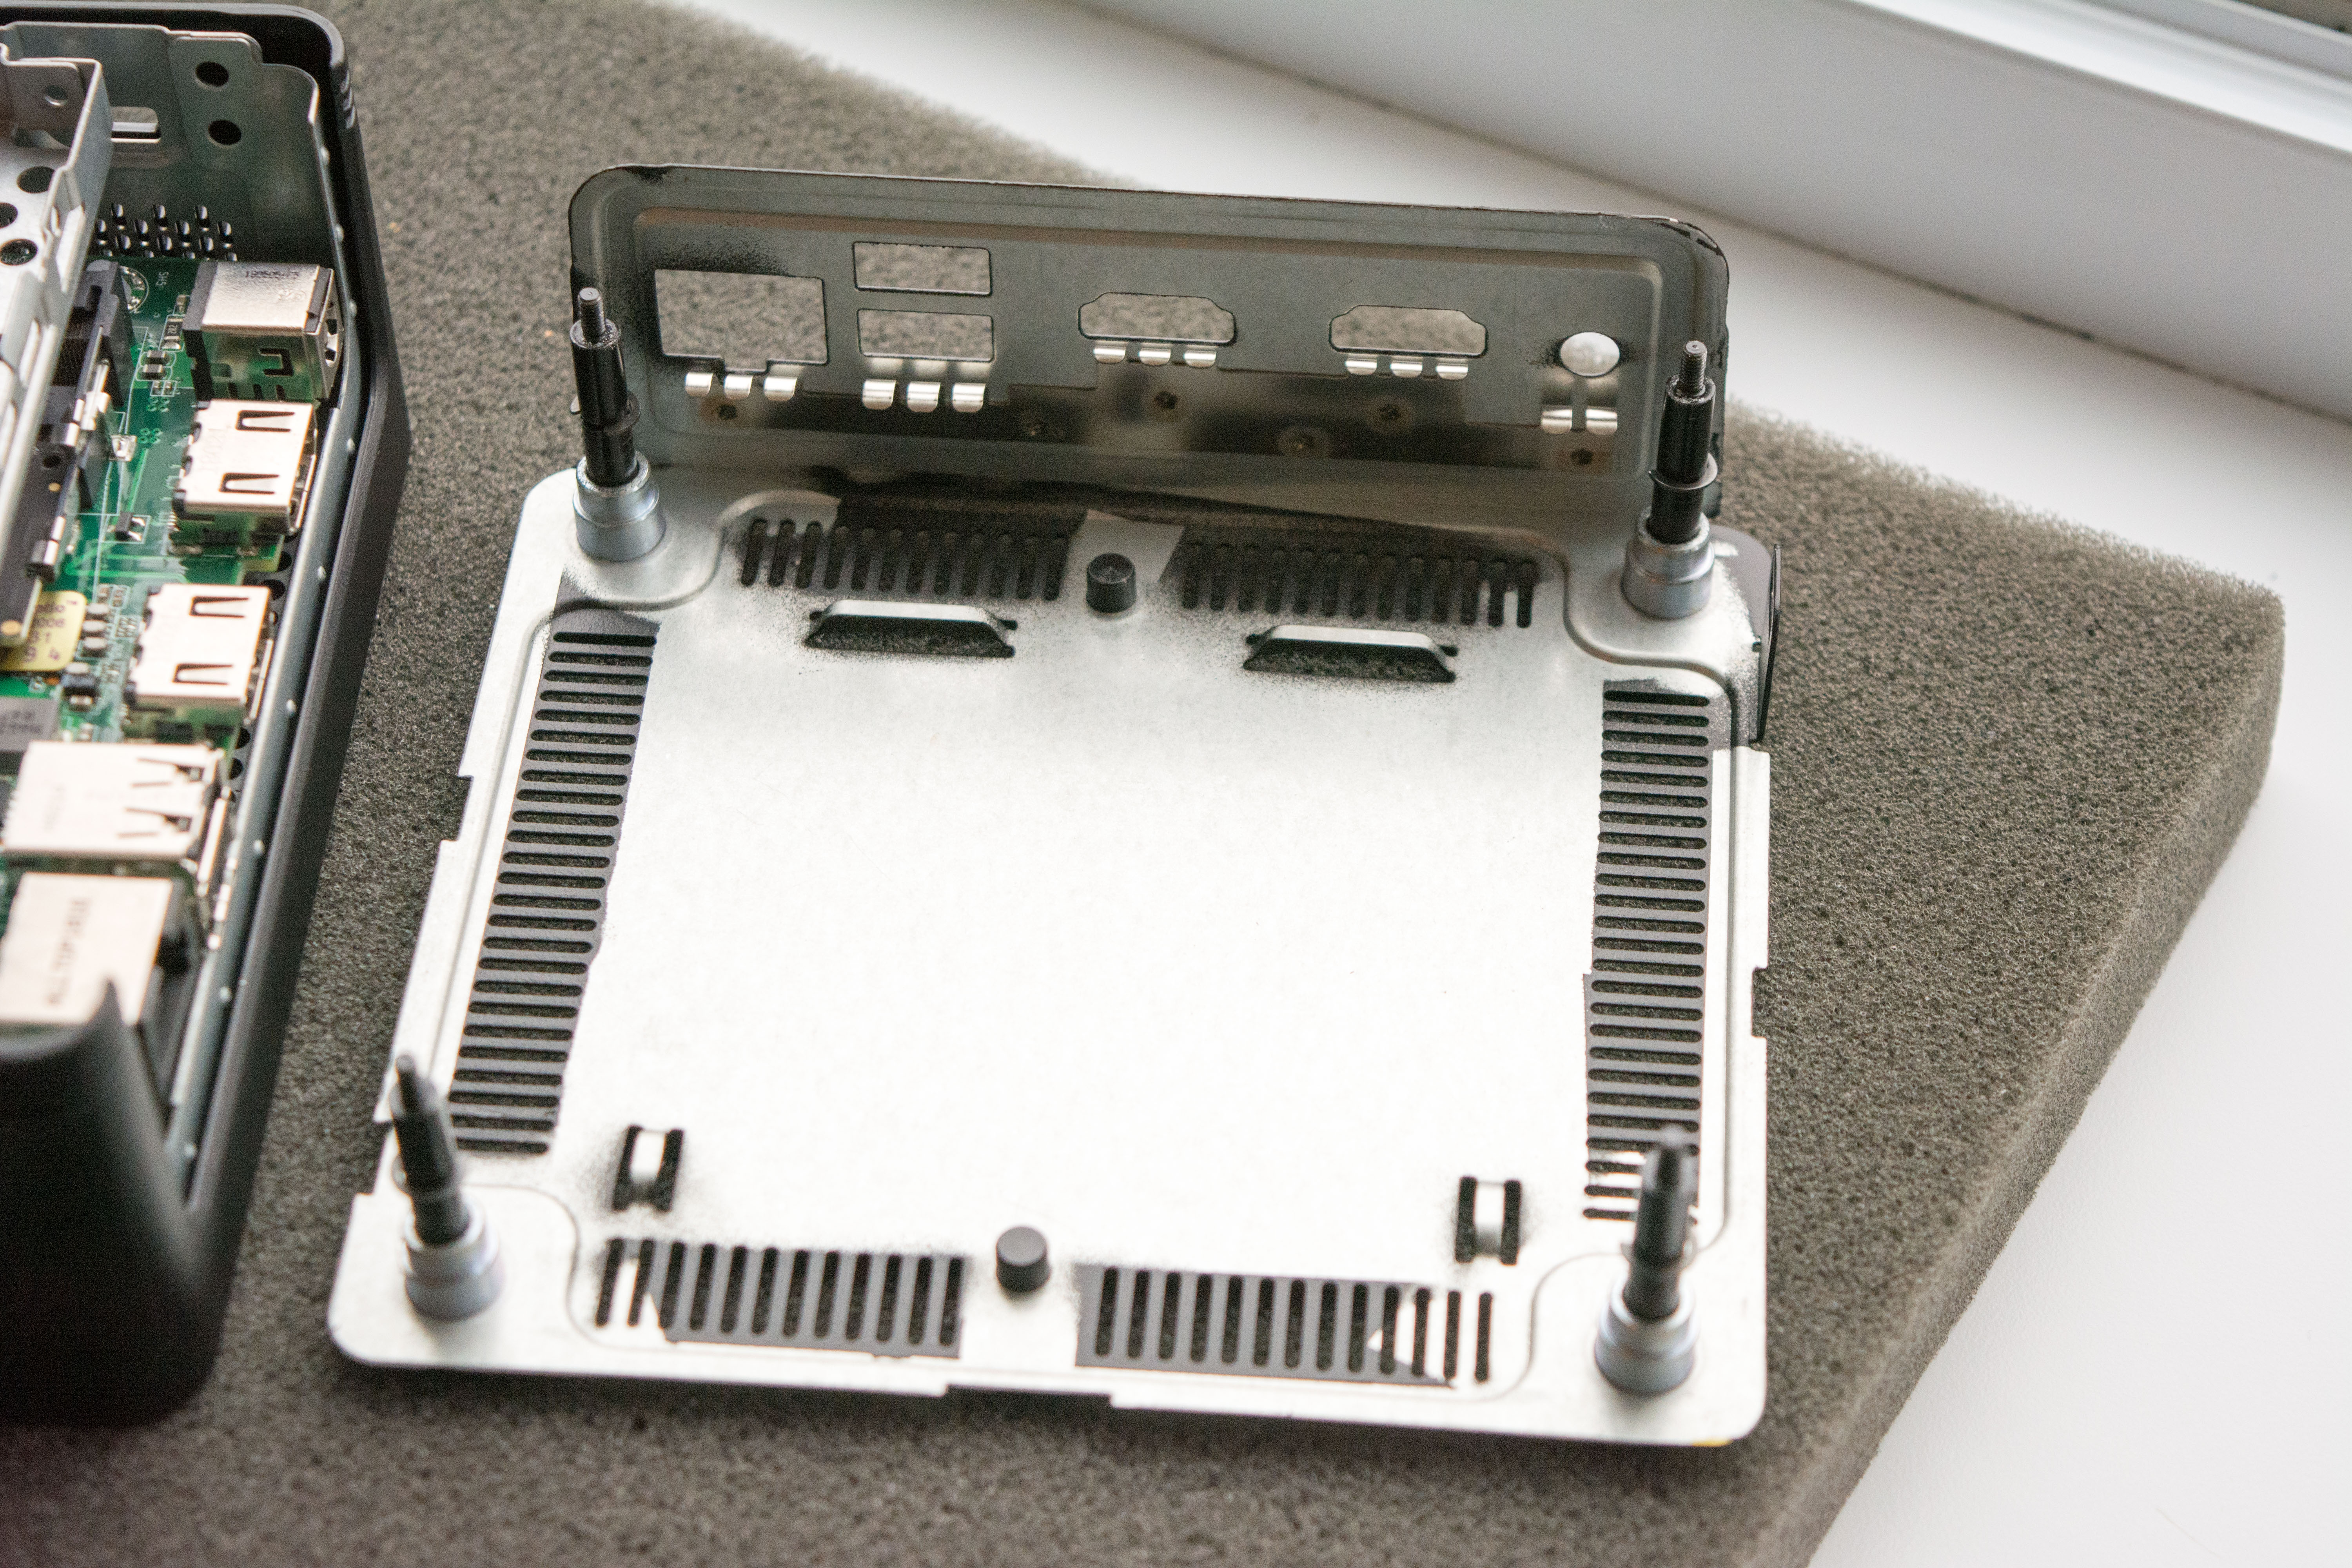
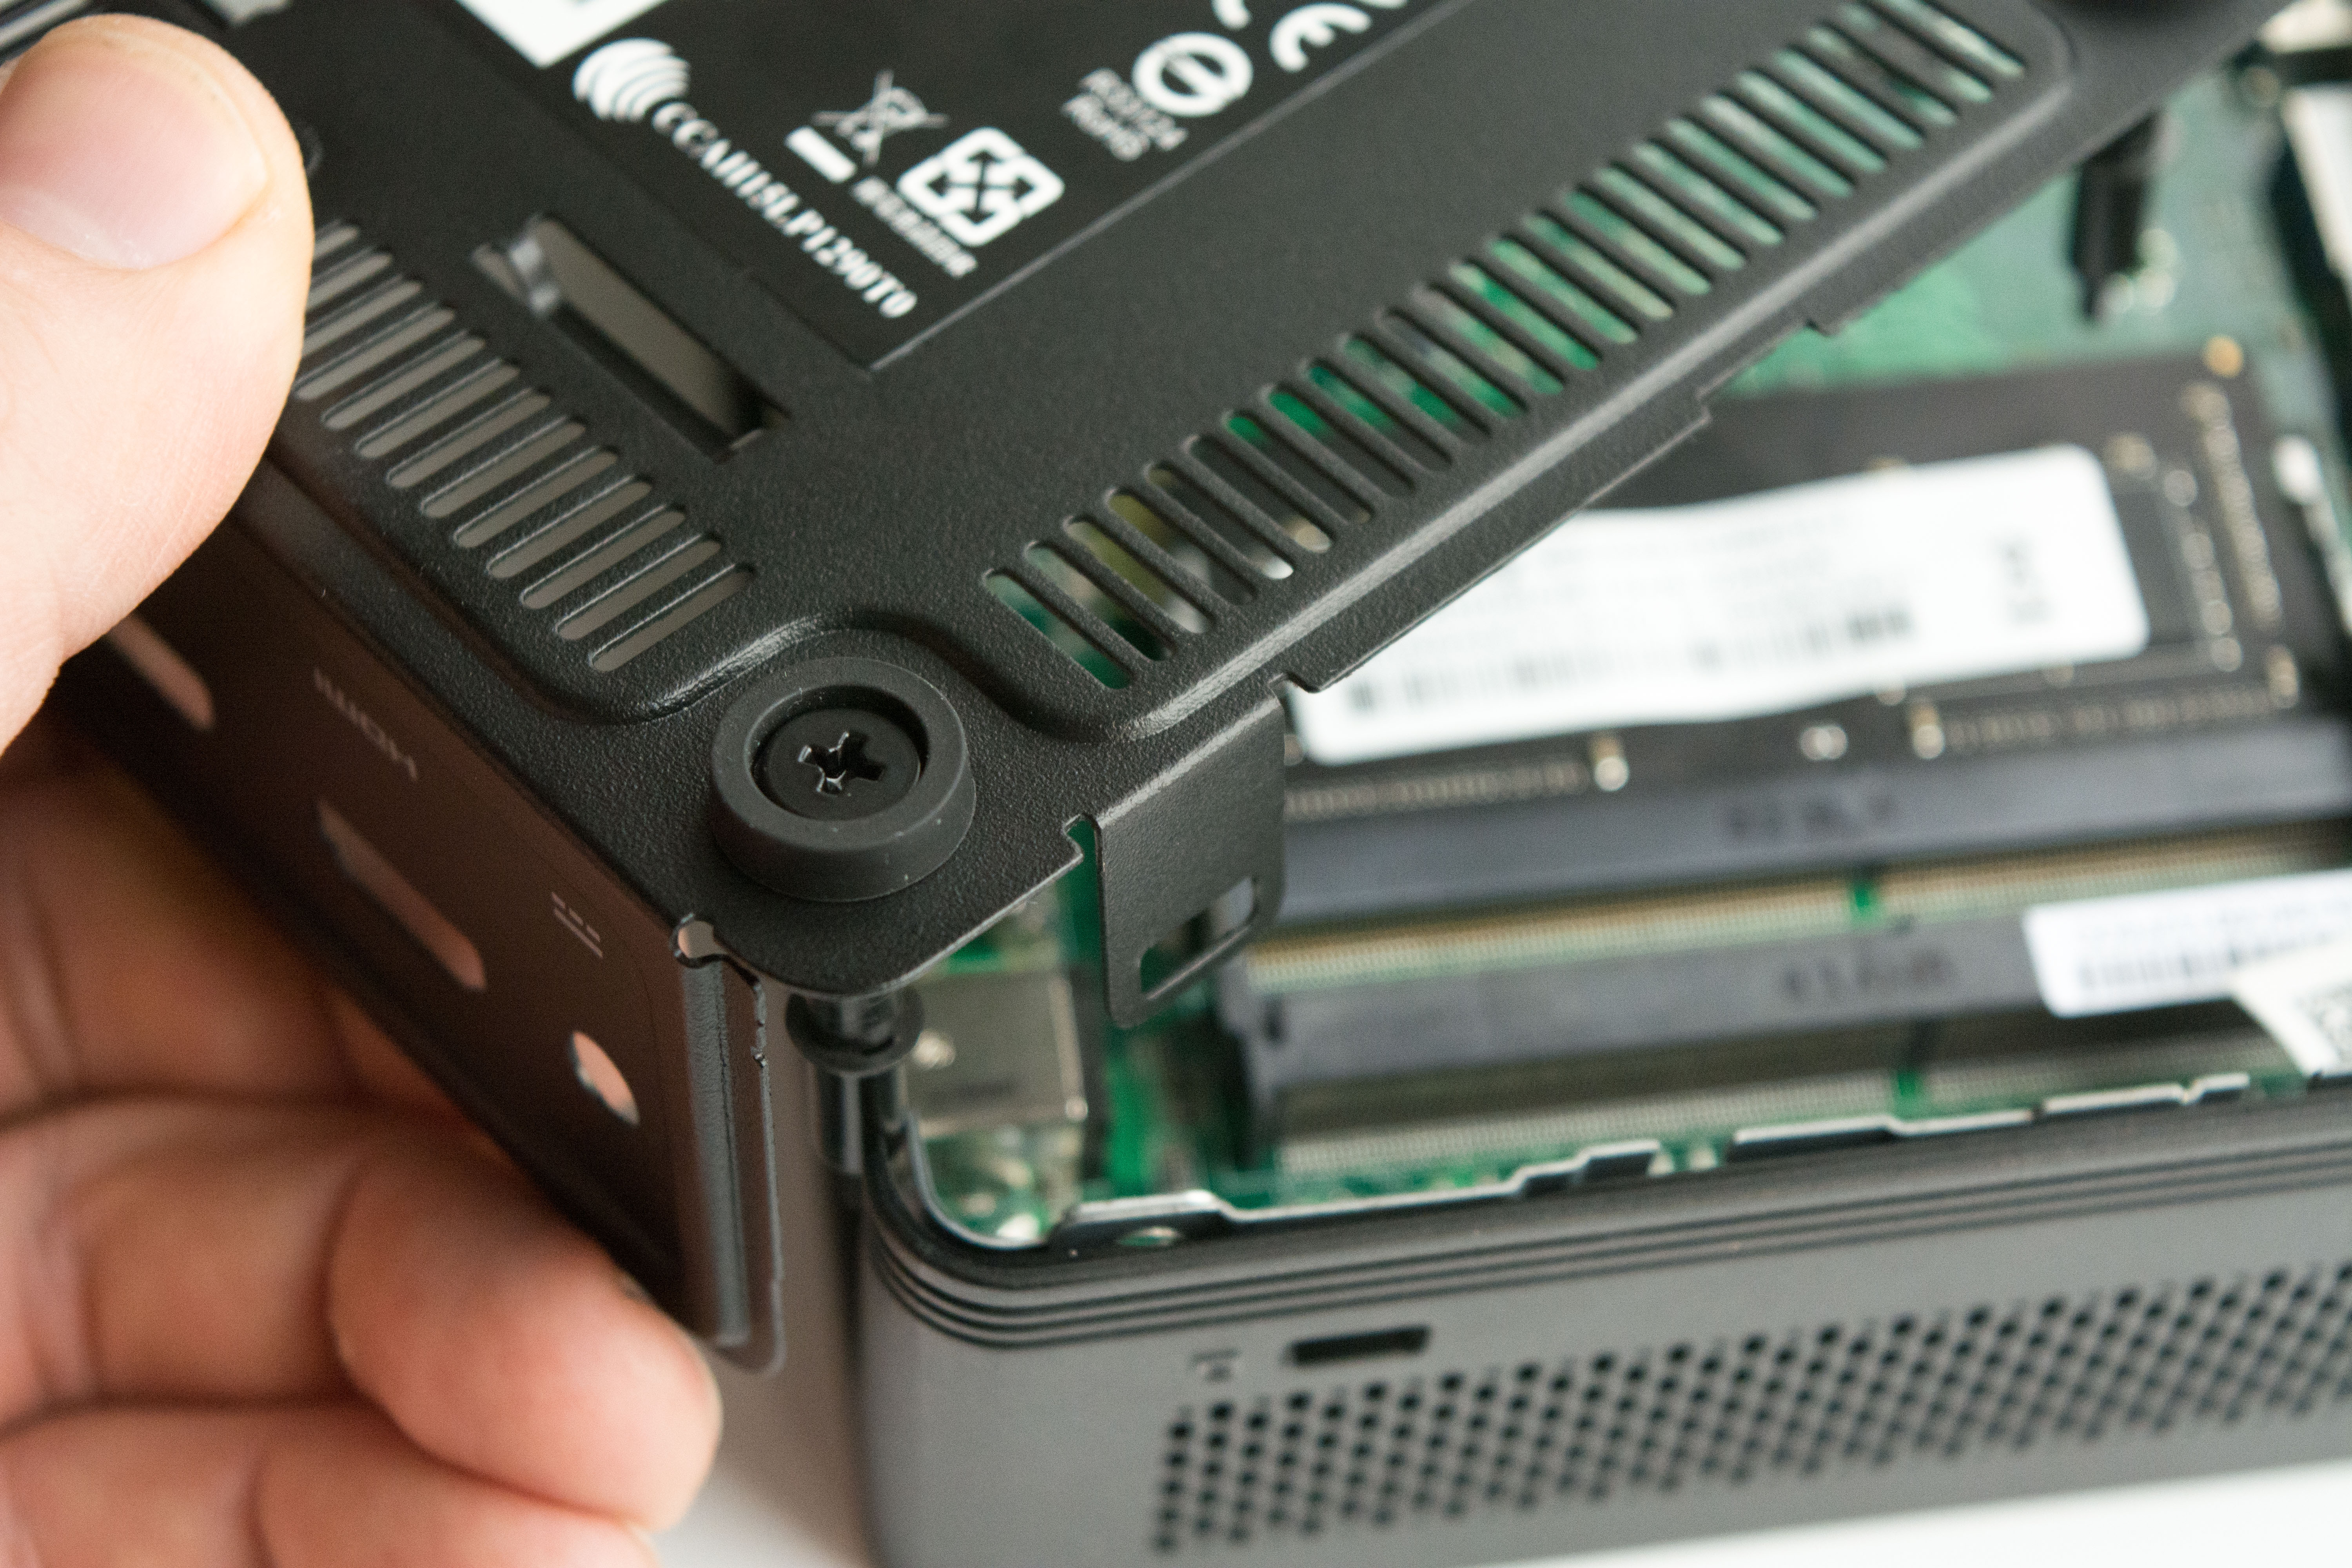
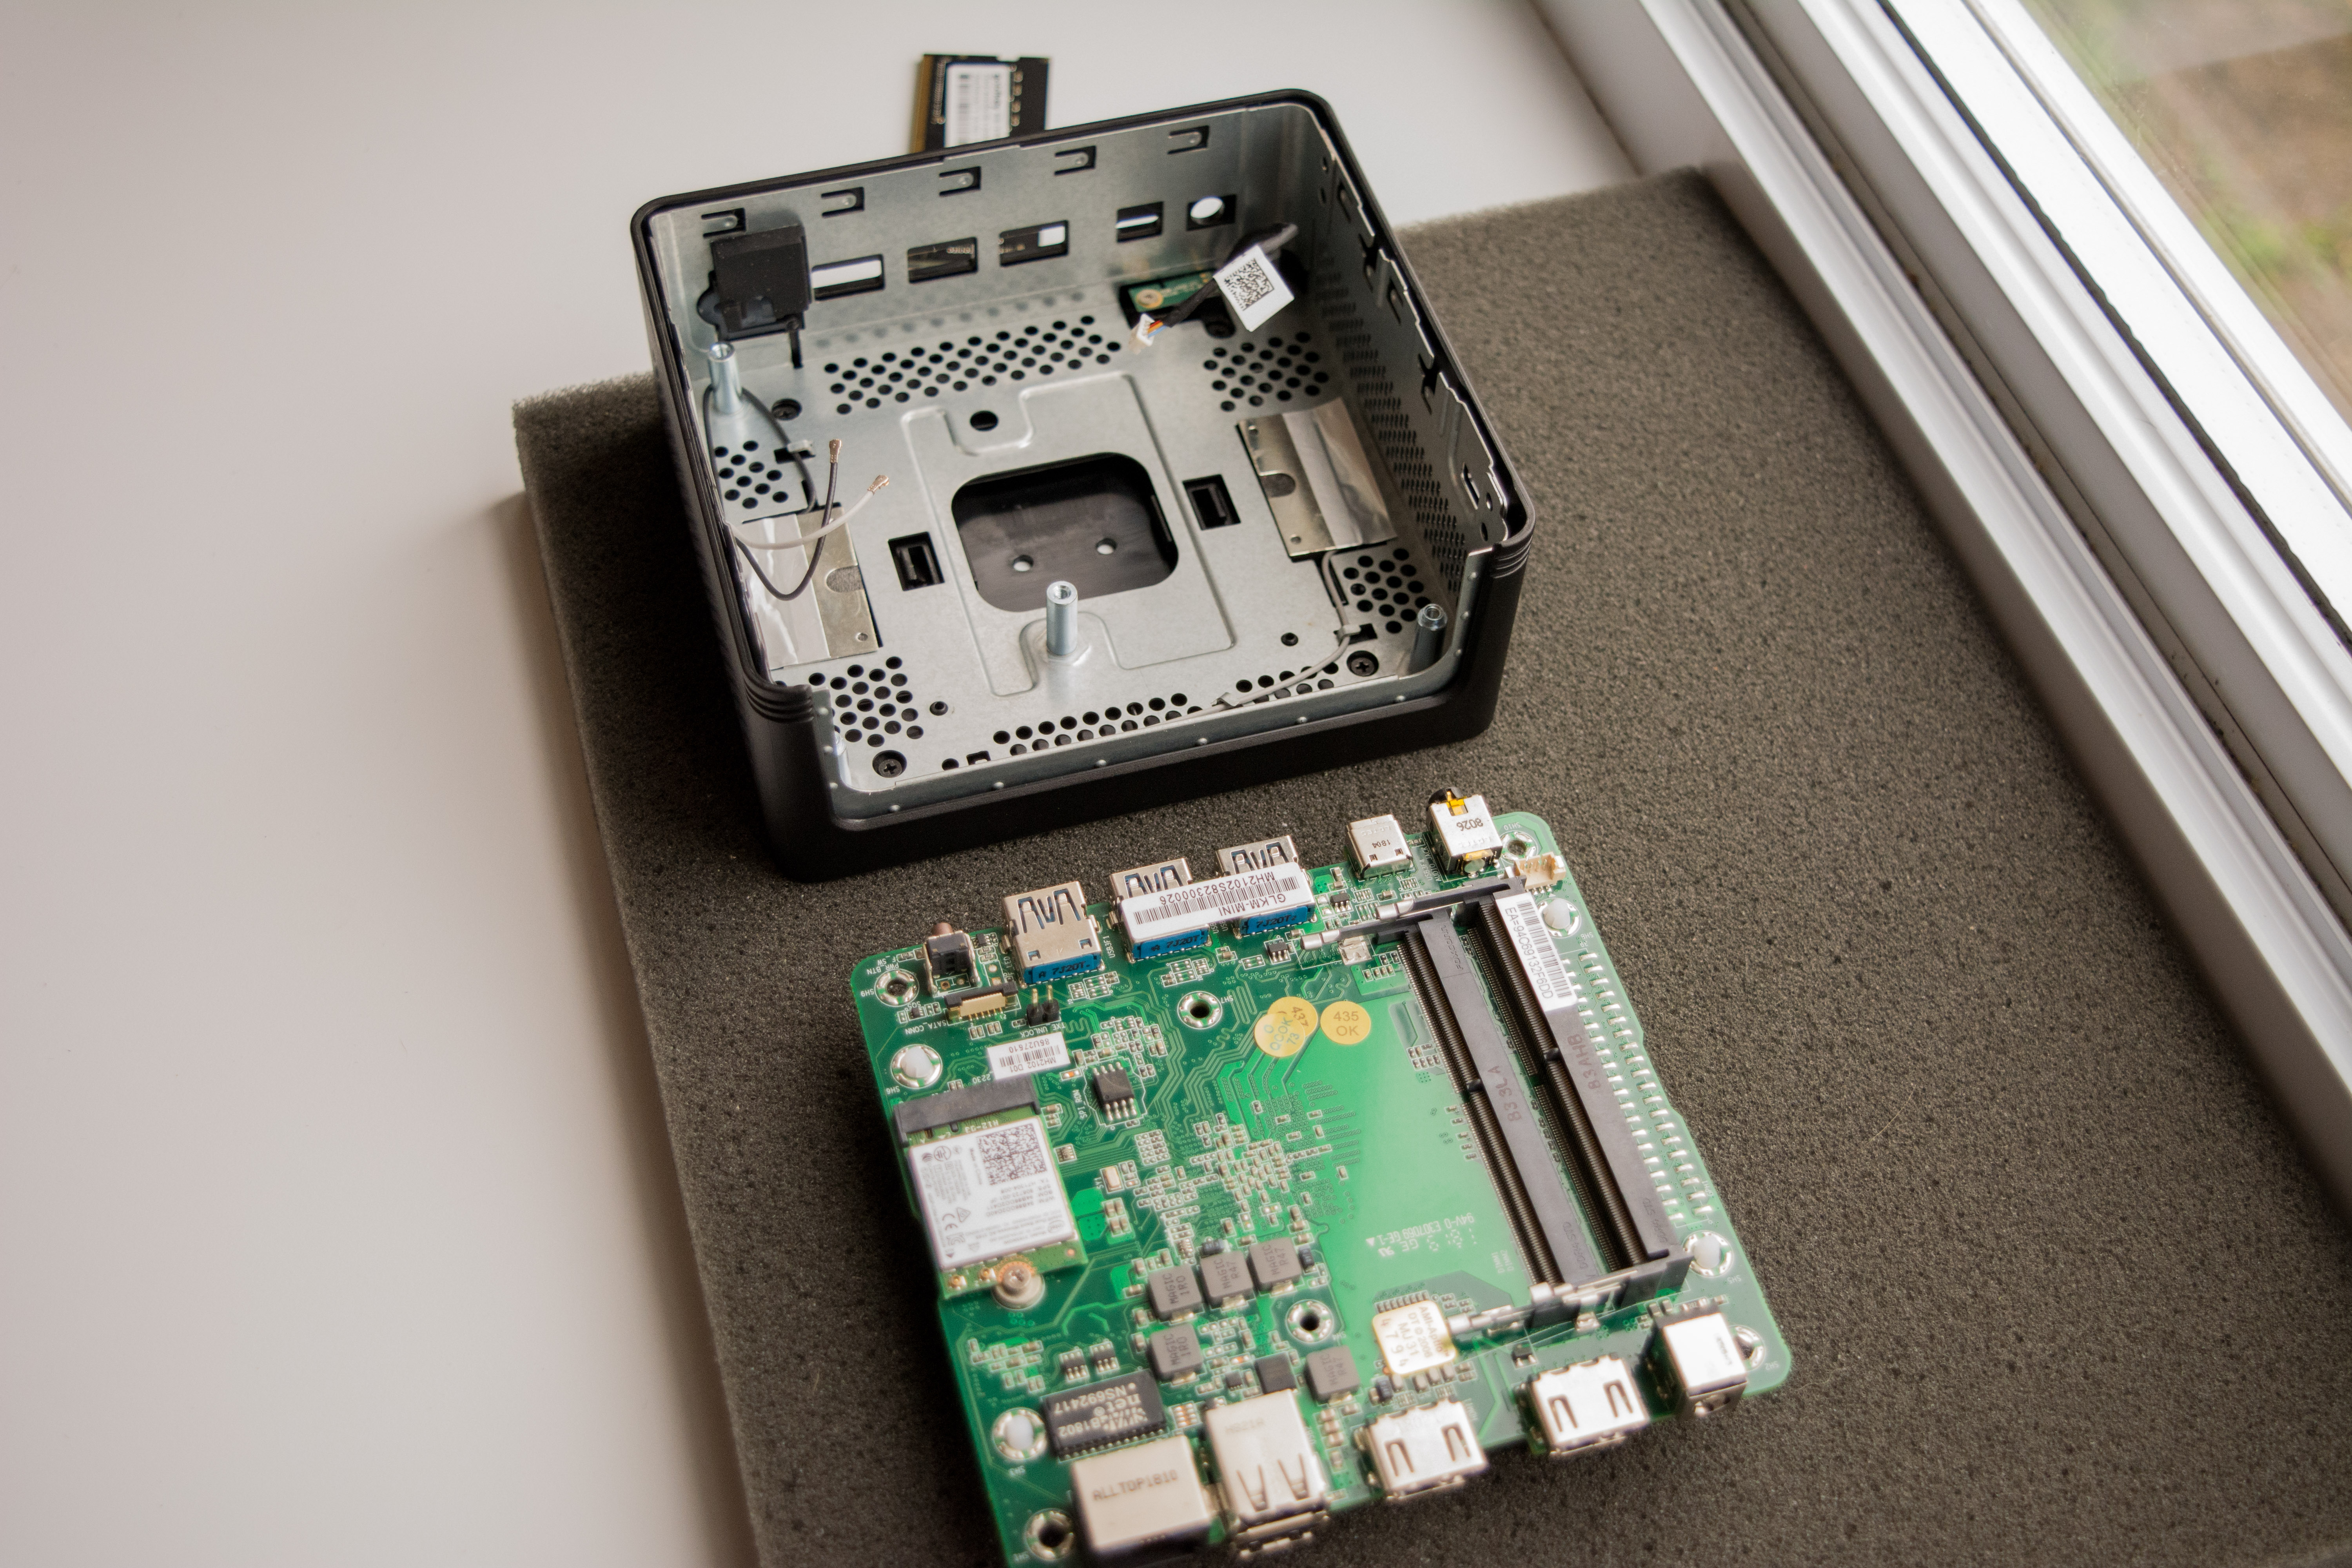
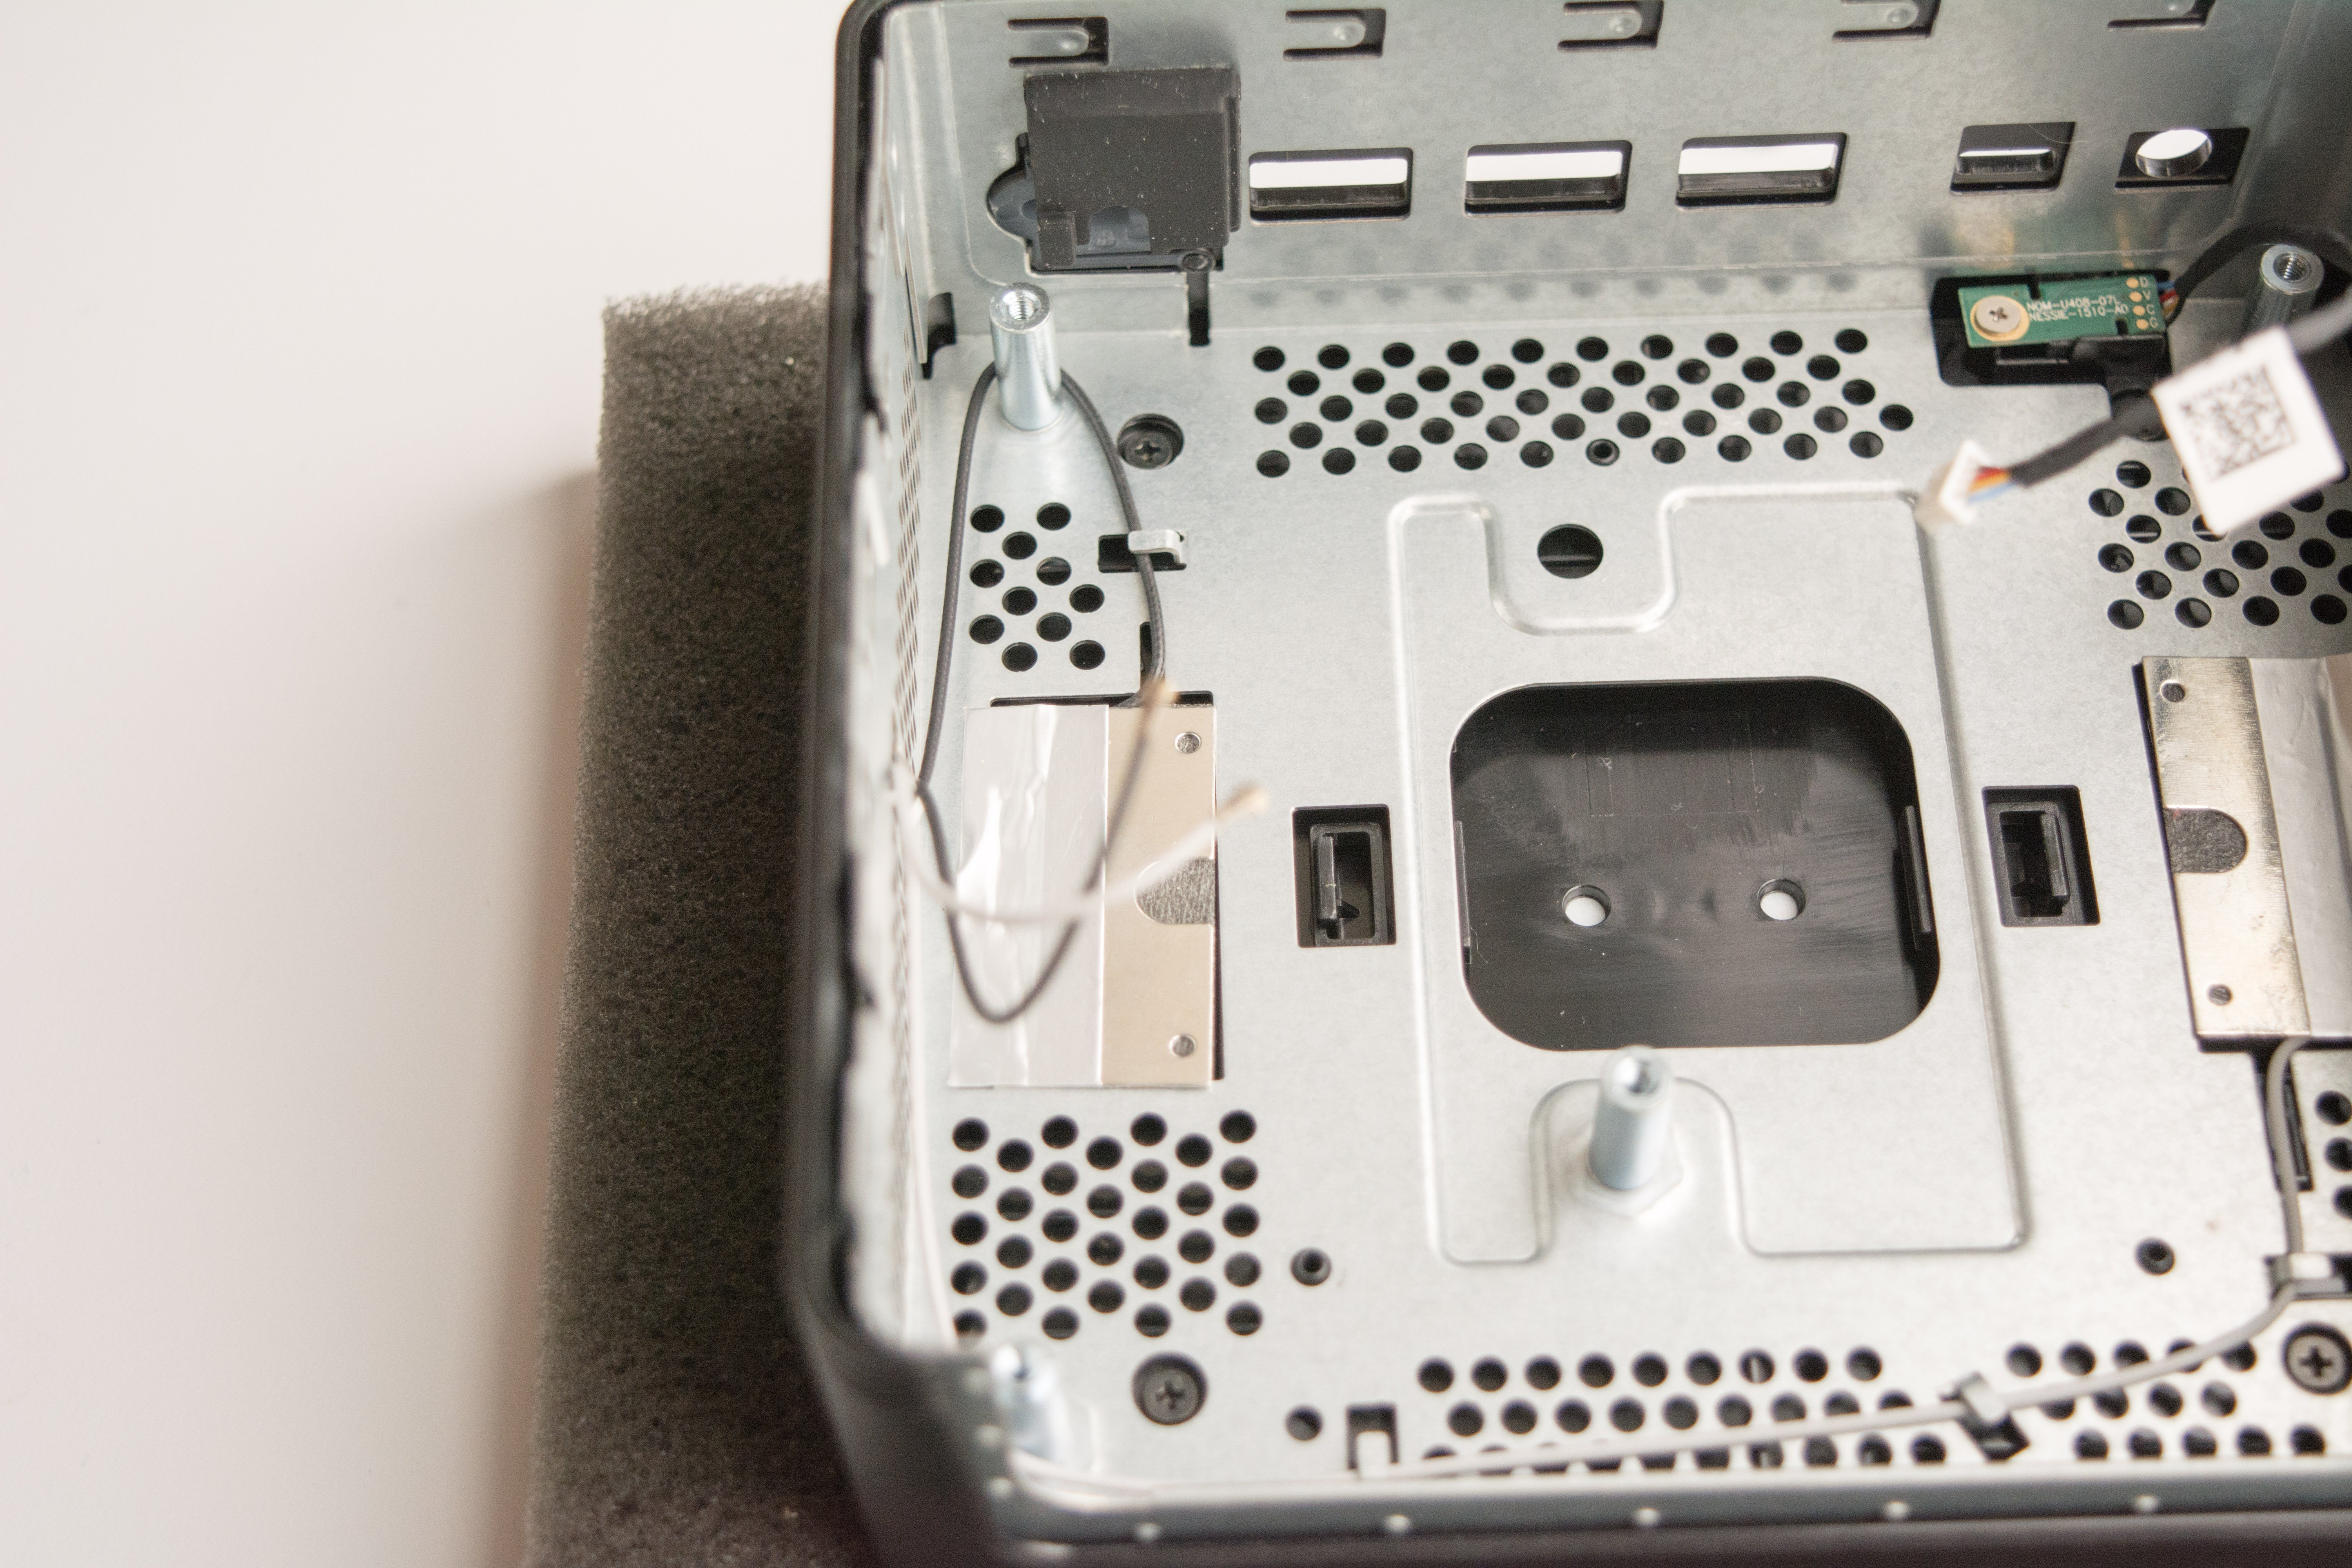
The ECS Liva Z2 is very easily disassembled: you remove the bottom four screws, which are inside the feet as seen earlier. With this open, we see right off the bat the structure of the system, it is composed of a steel inner frame along with an outer plastic shell. We can see the 2.5” drive caddy here, able to hold normal thickness SSDs and HDDs (excluding the 15mm ones). We can also see the Kensington lock is not only on the plastic, but on the actual metal frame too, making it hard for any individual with poor intentions to tamper with or steal.
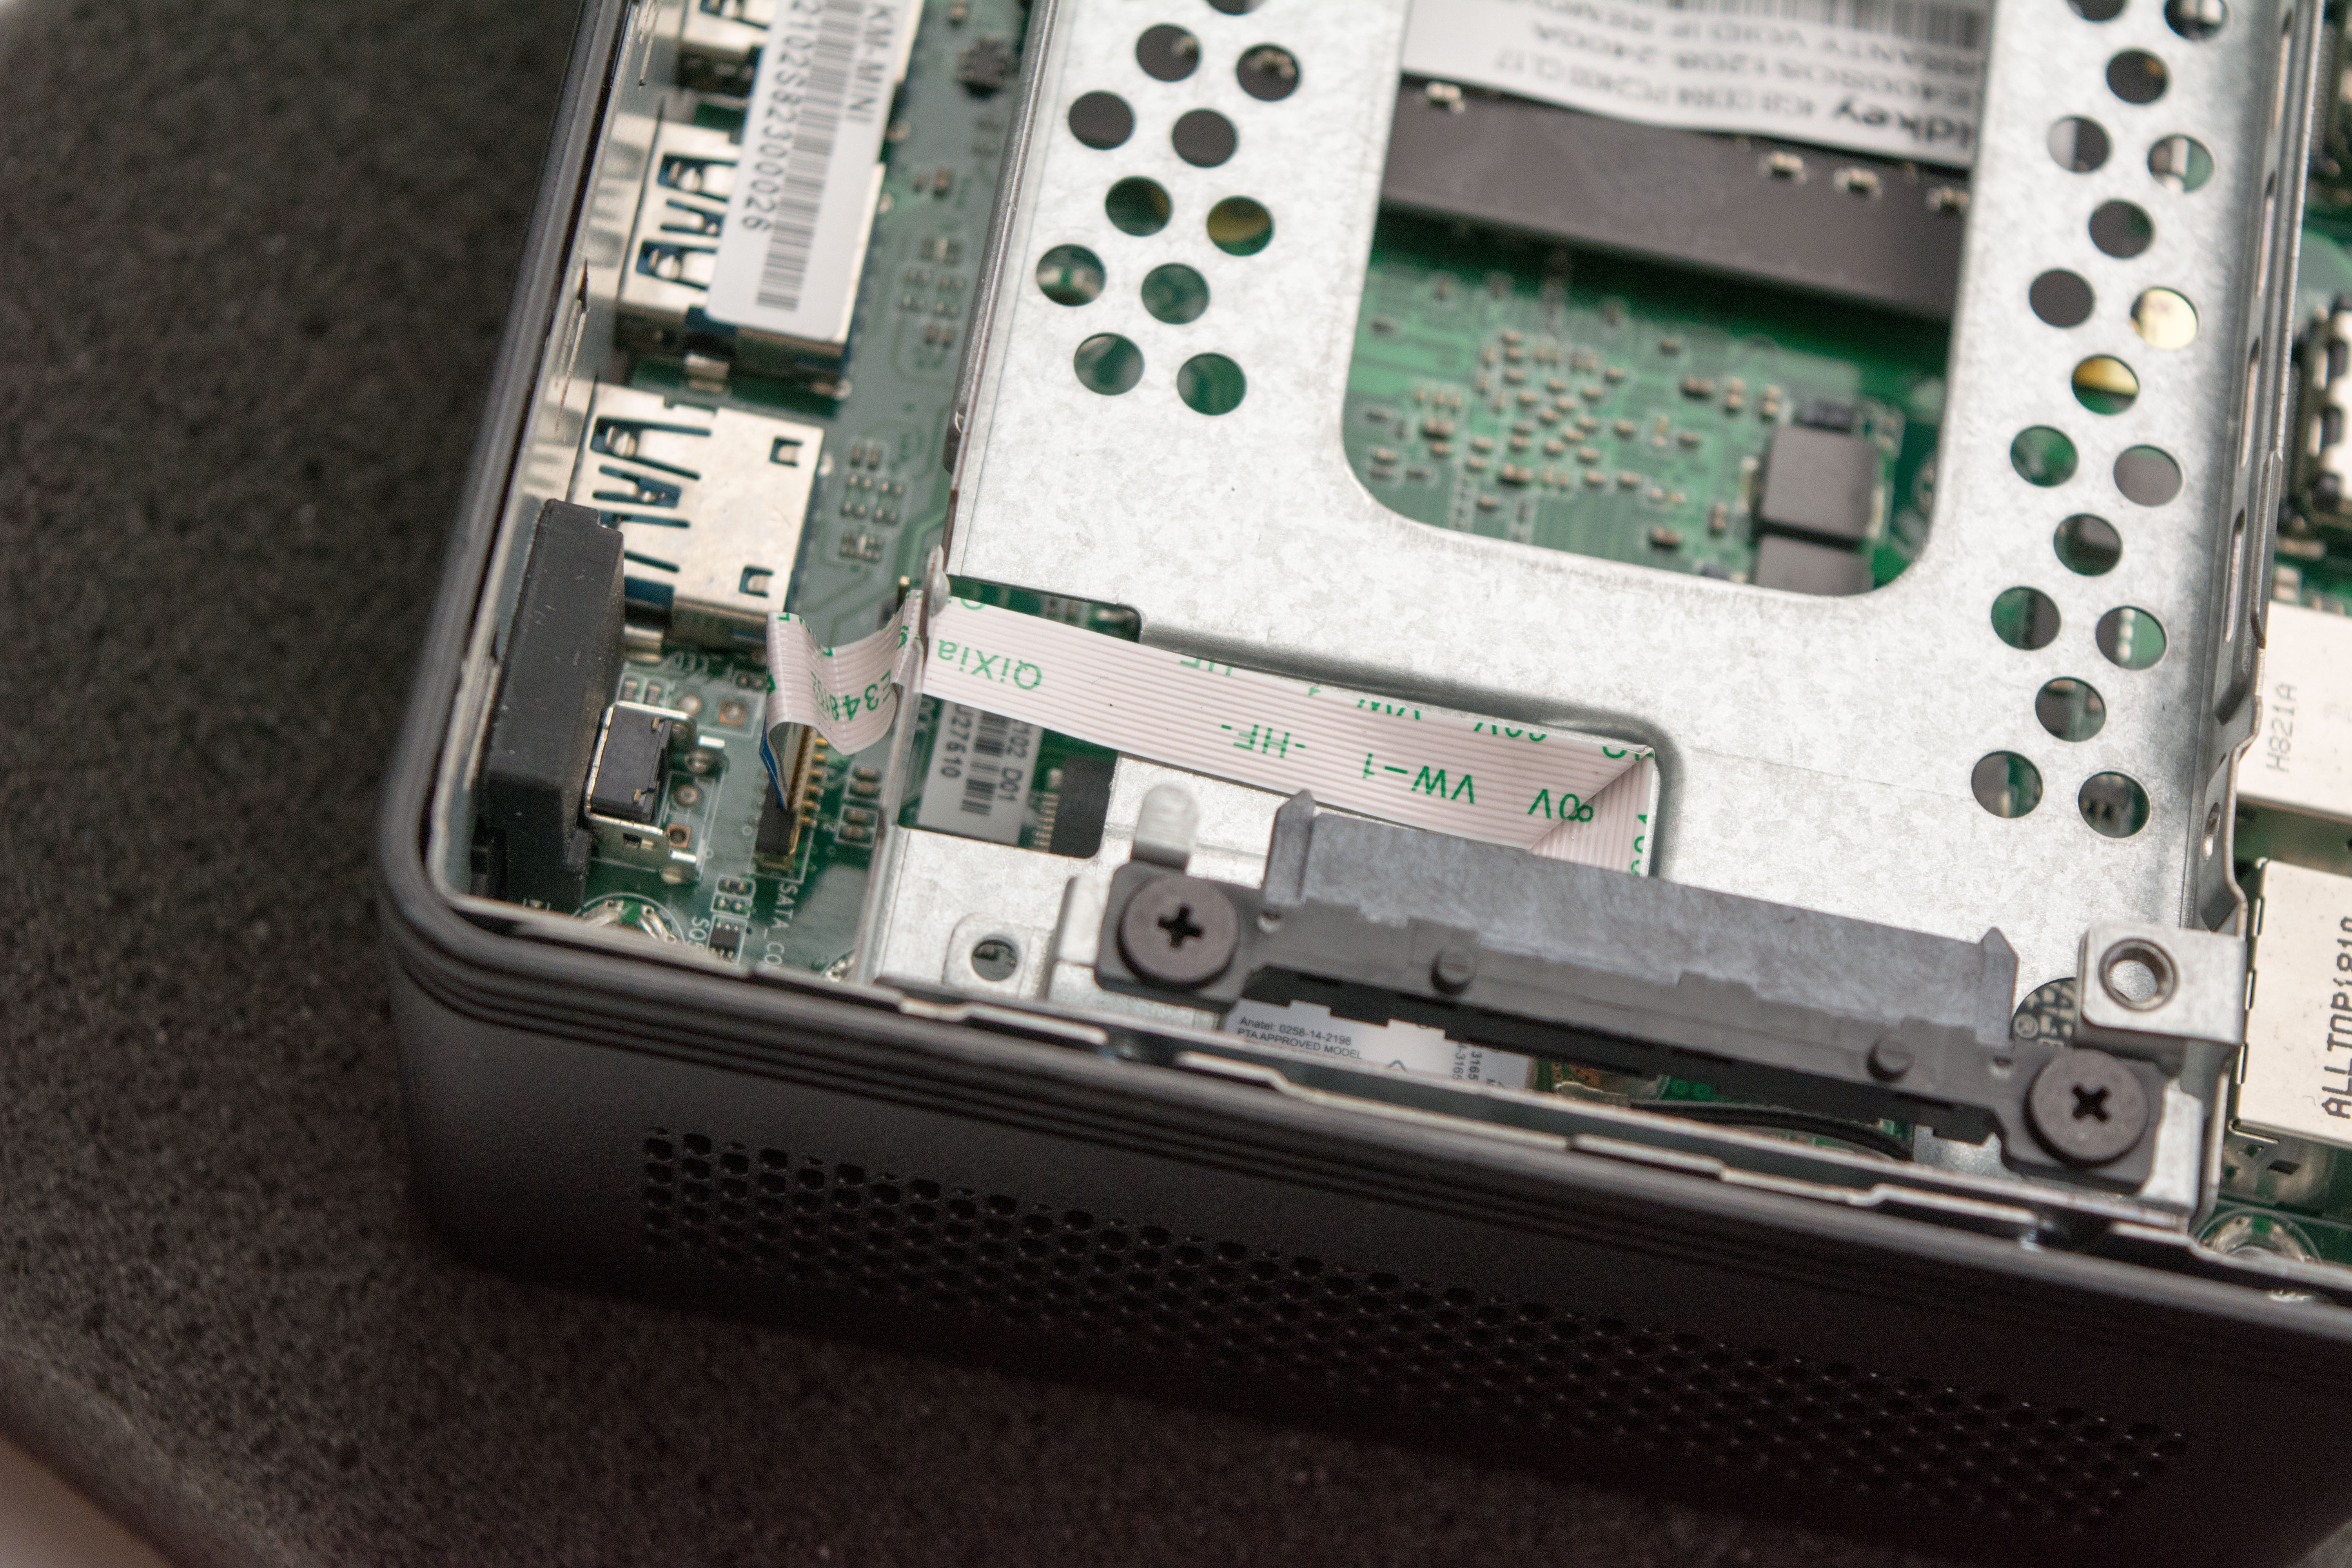
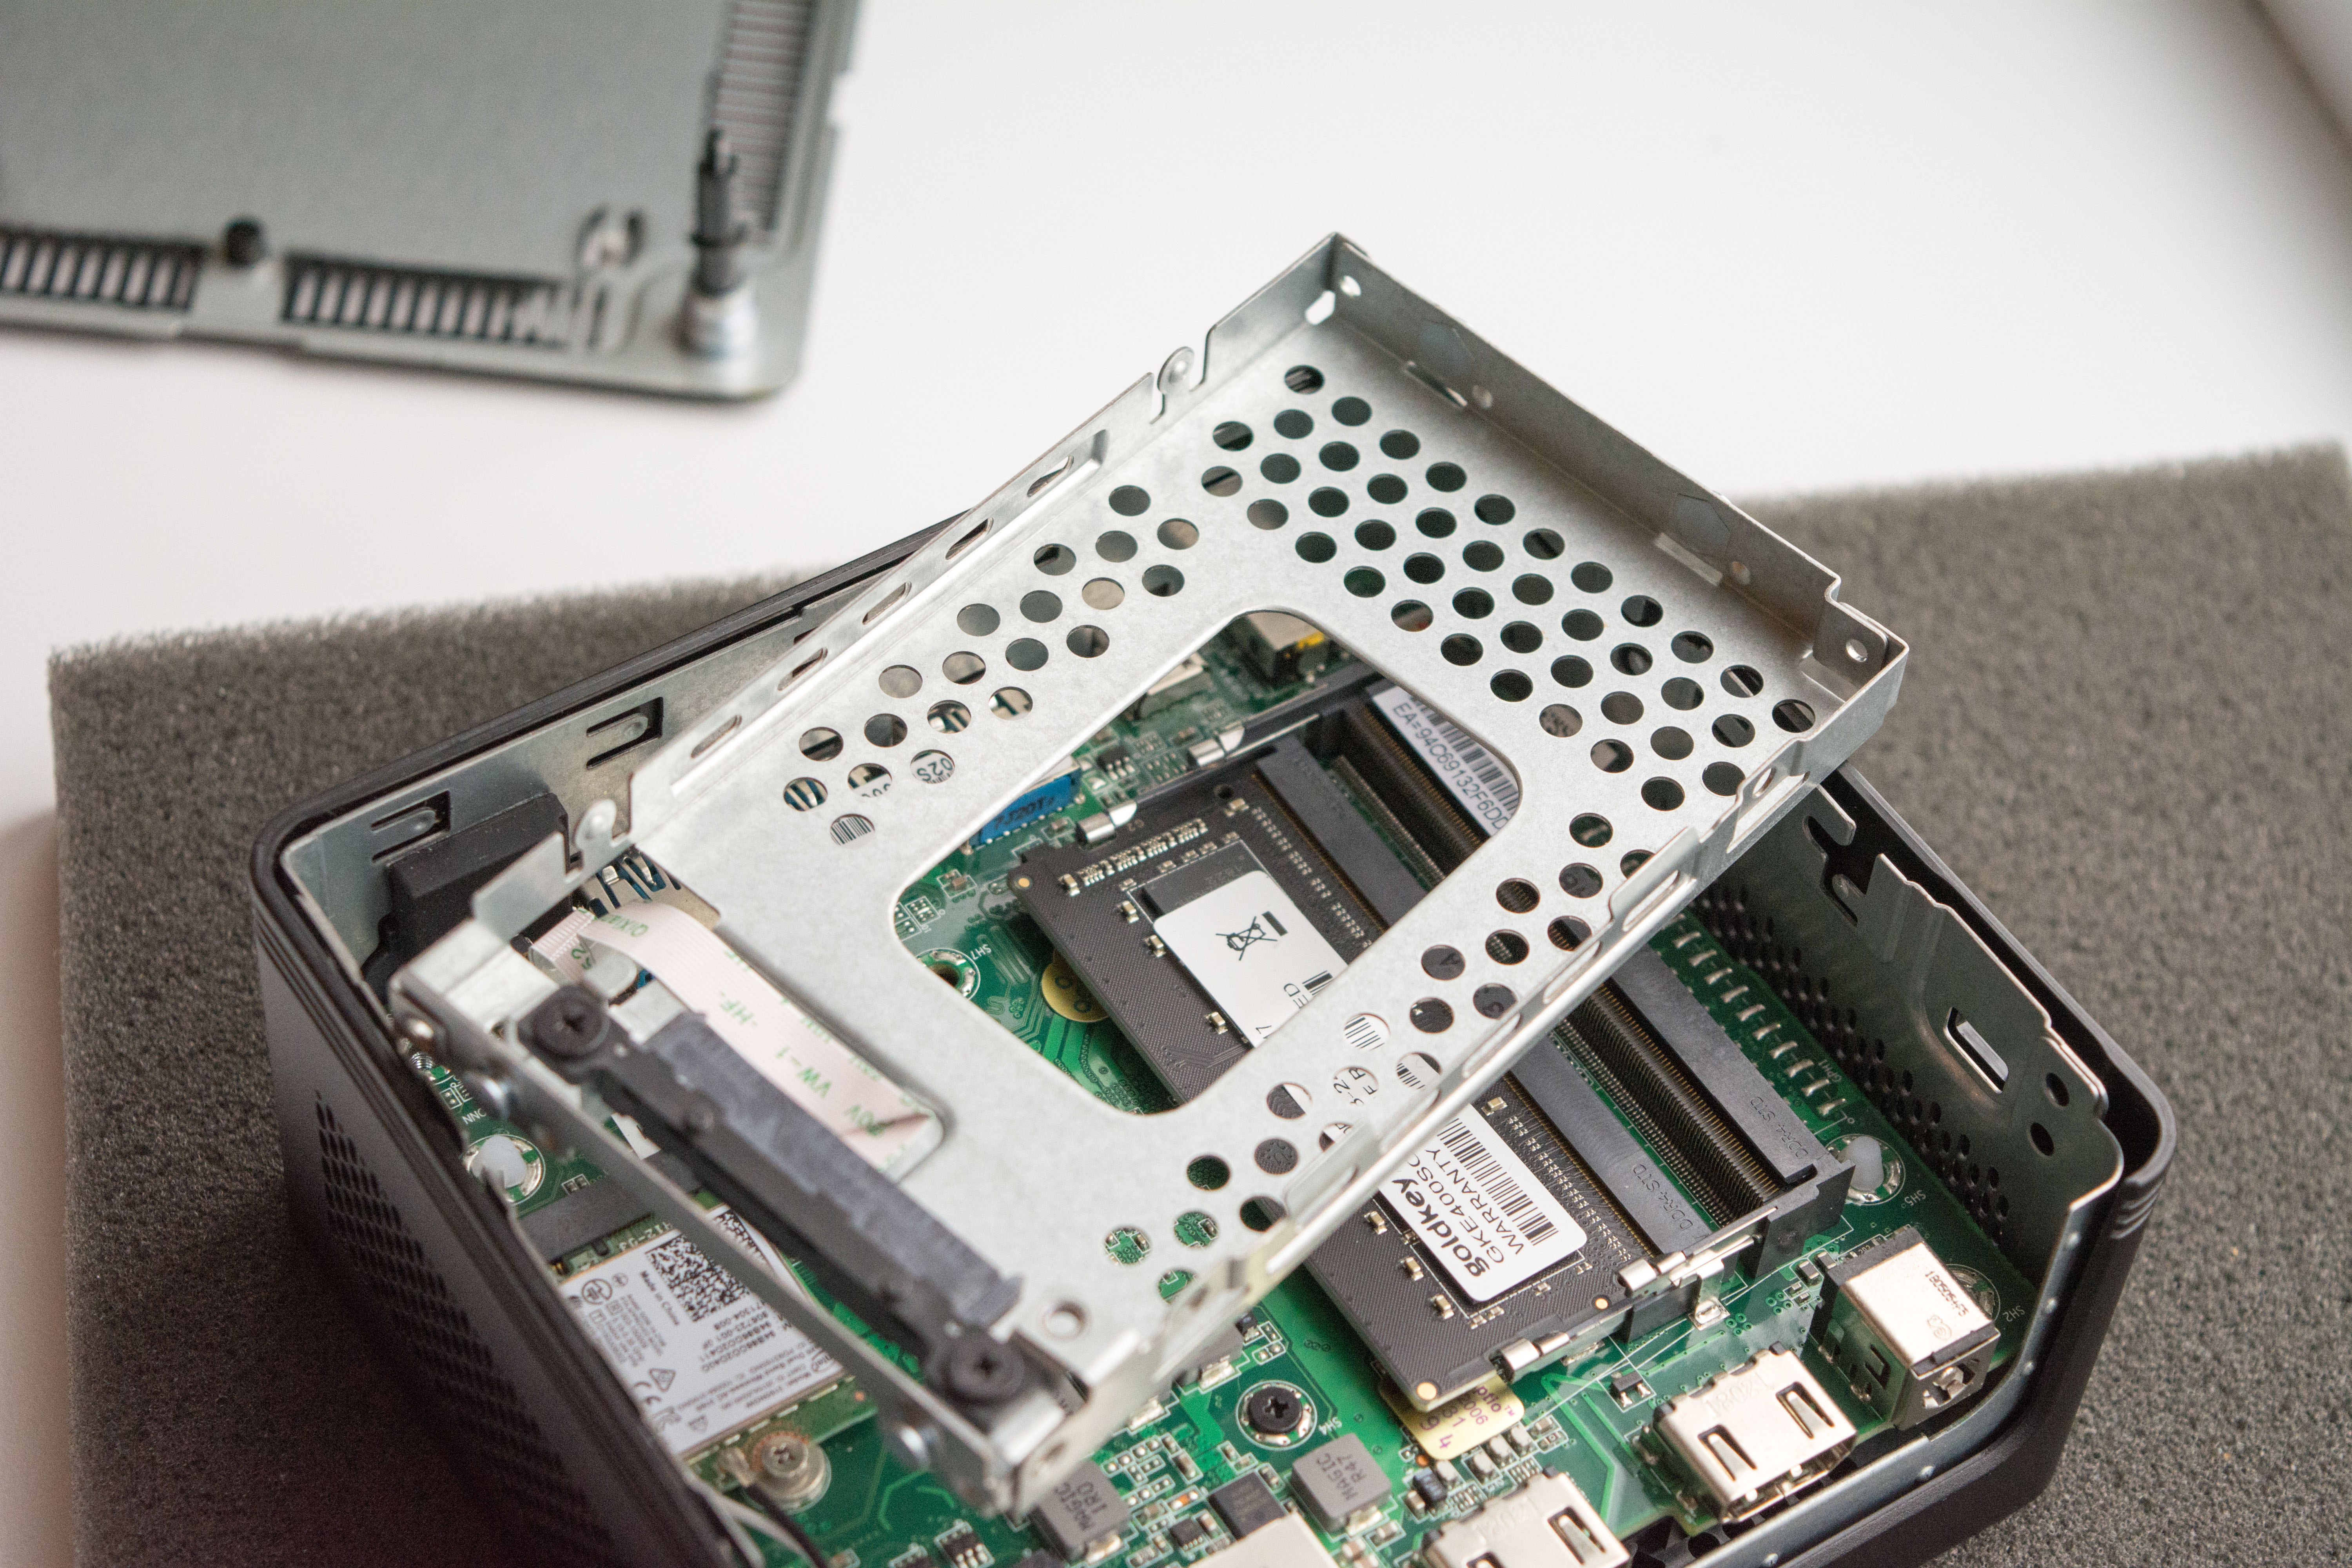

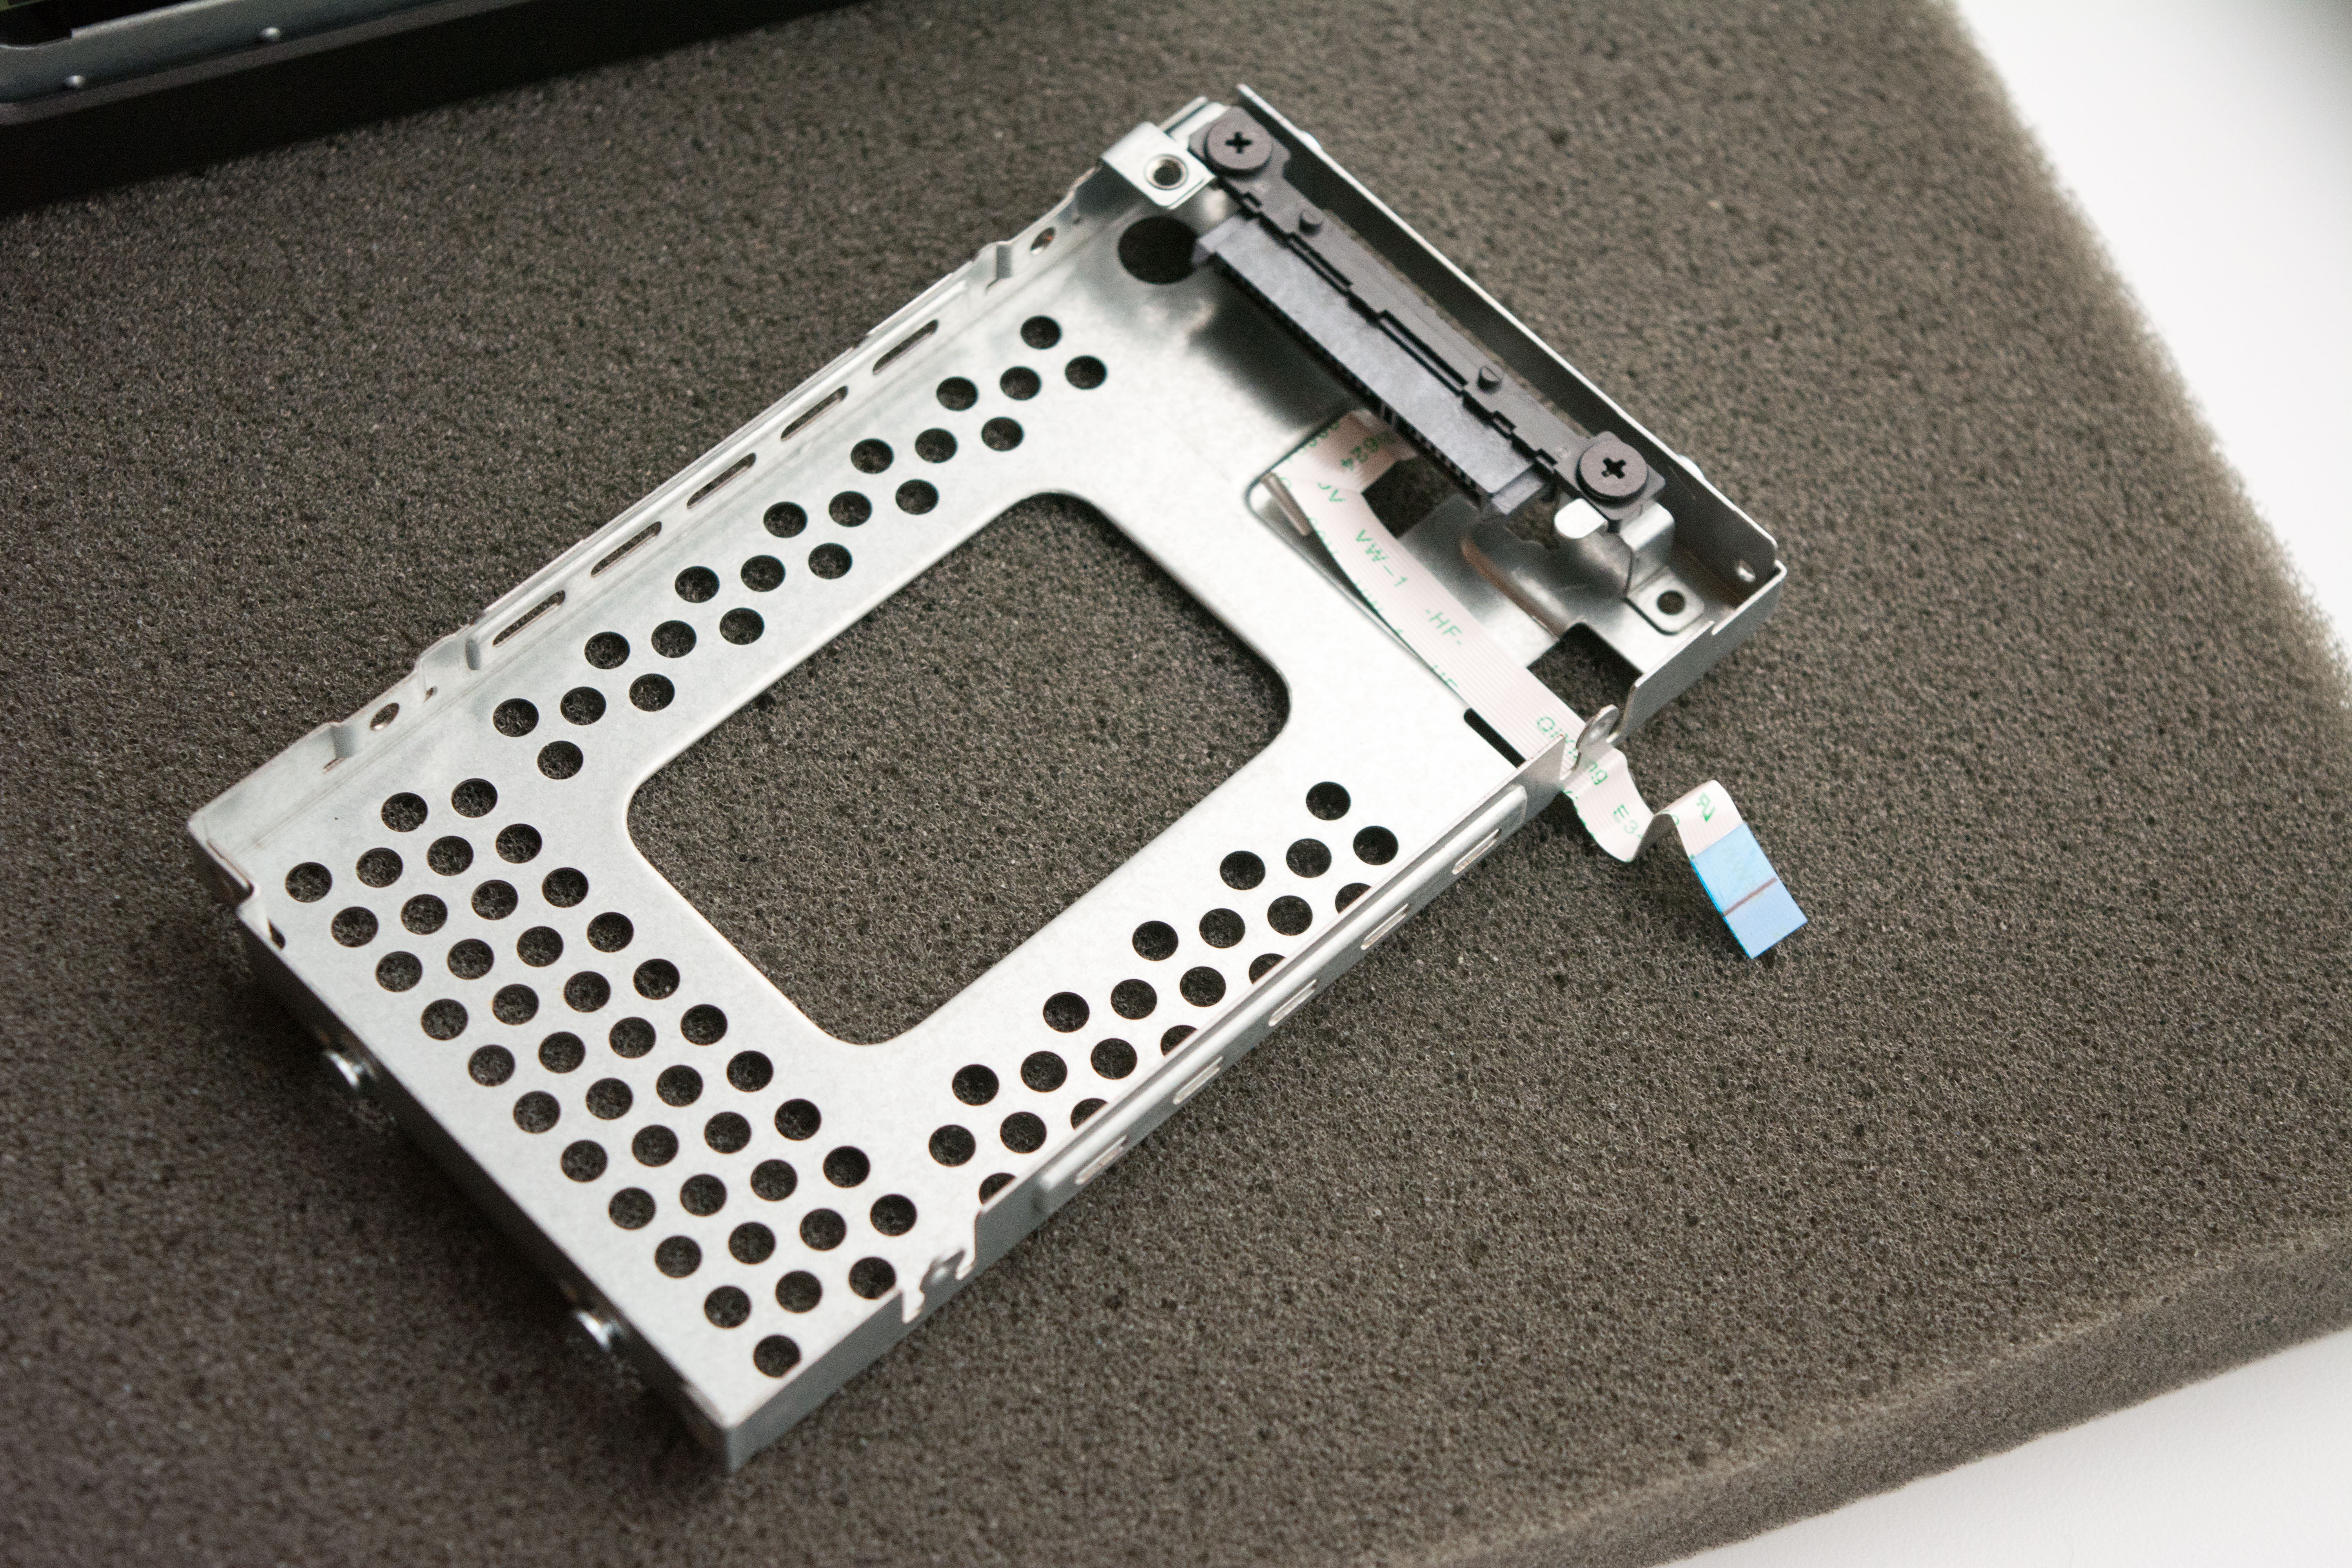
The caddy is held on by two screws and is helped on the other end by two pins that slide into the steel frame. The SATA power and data connector is fed through a small flat ribbon cable that connects directly to the system board.
Components

Product Page : https://www.goldkey.com.tw/?product=laptop-memory-ddr4
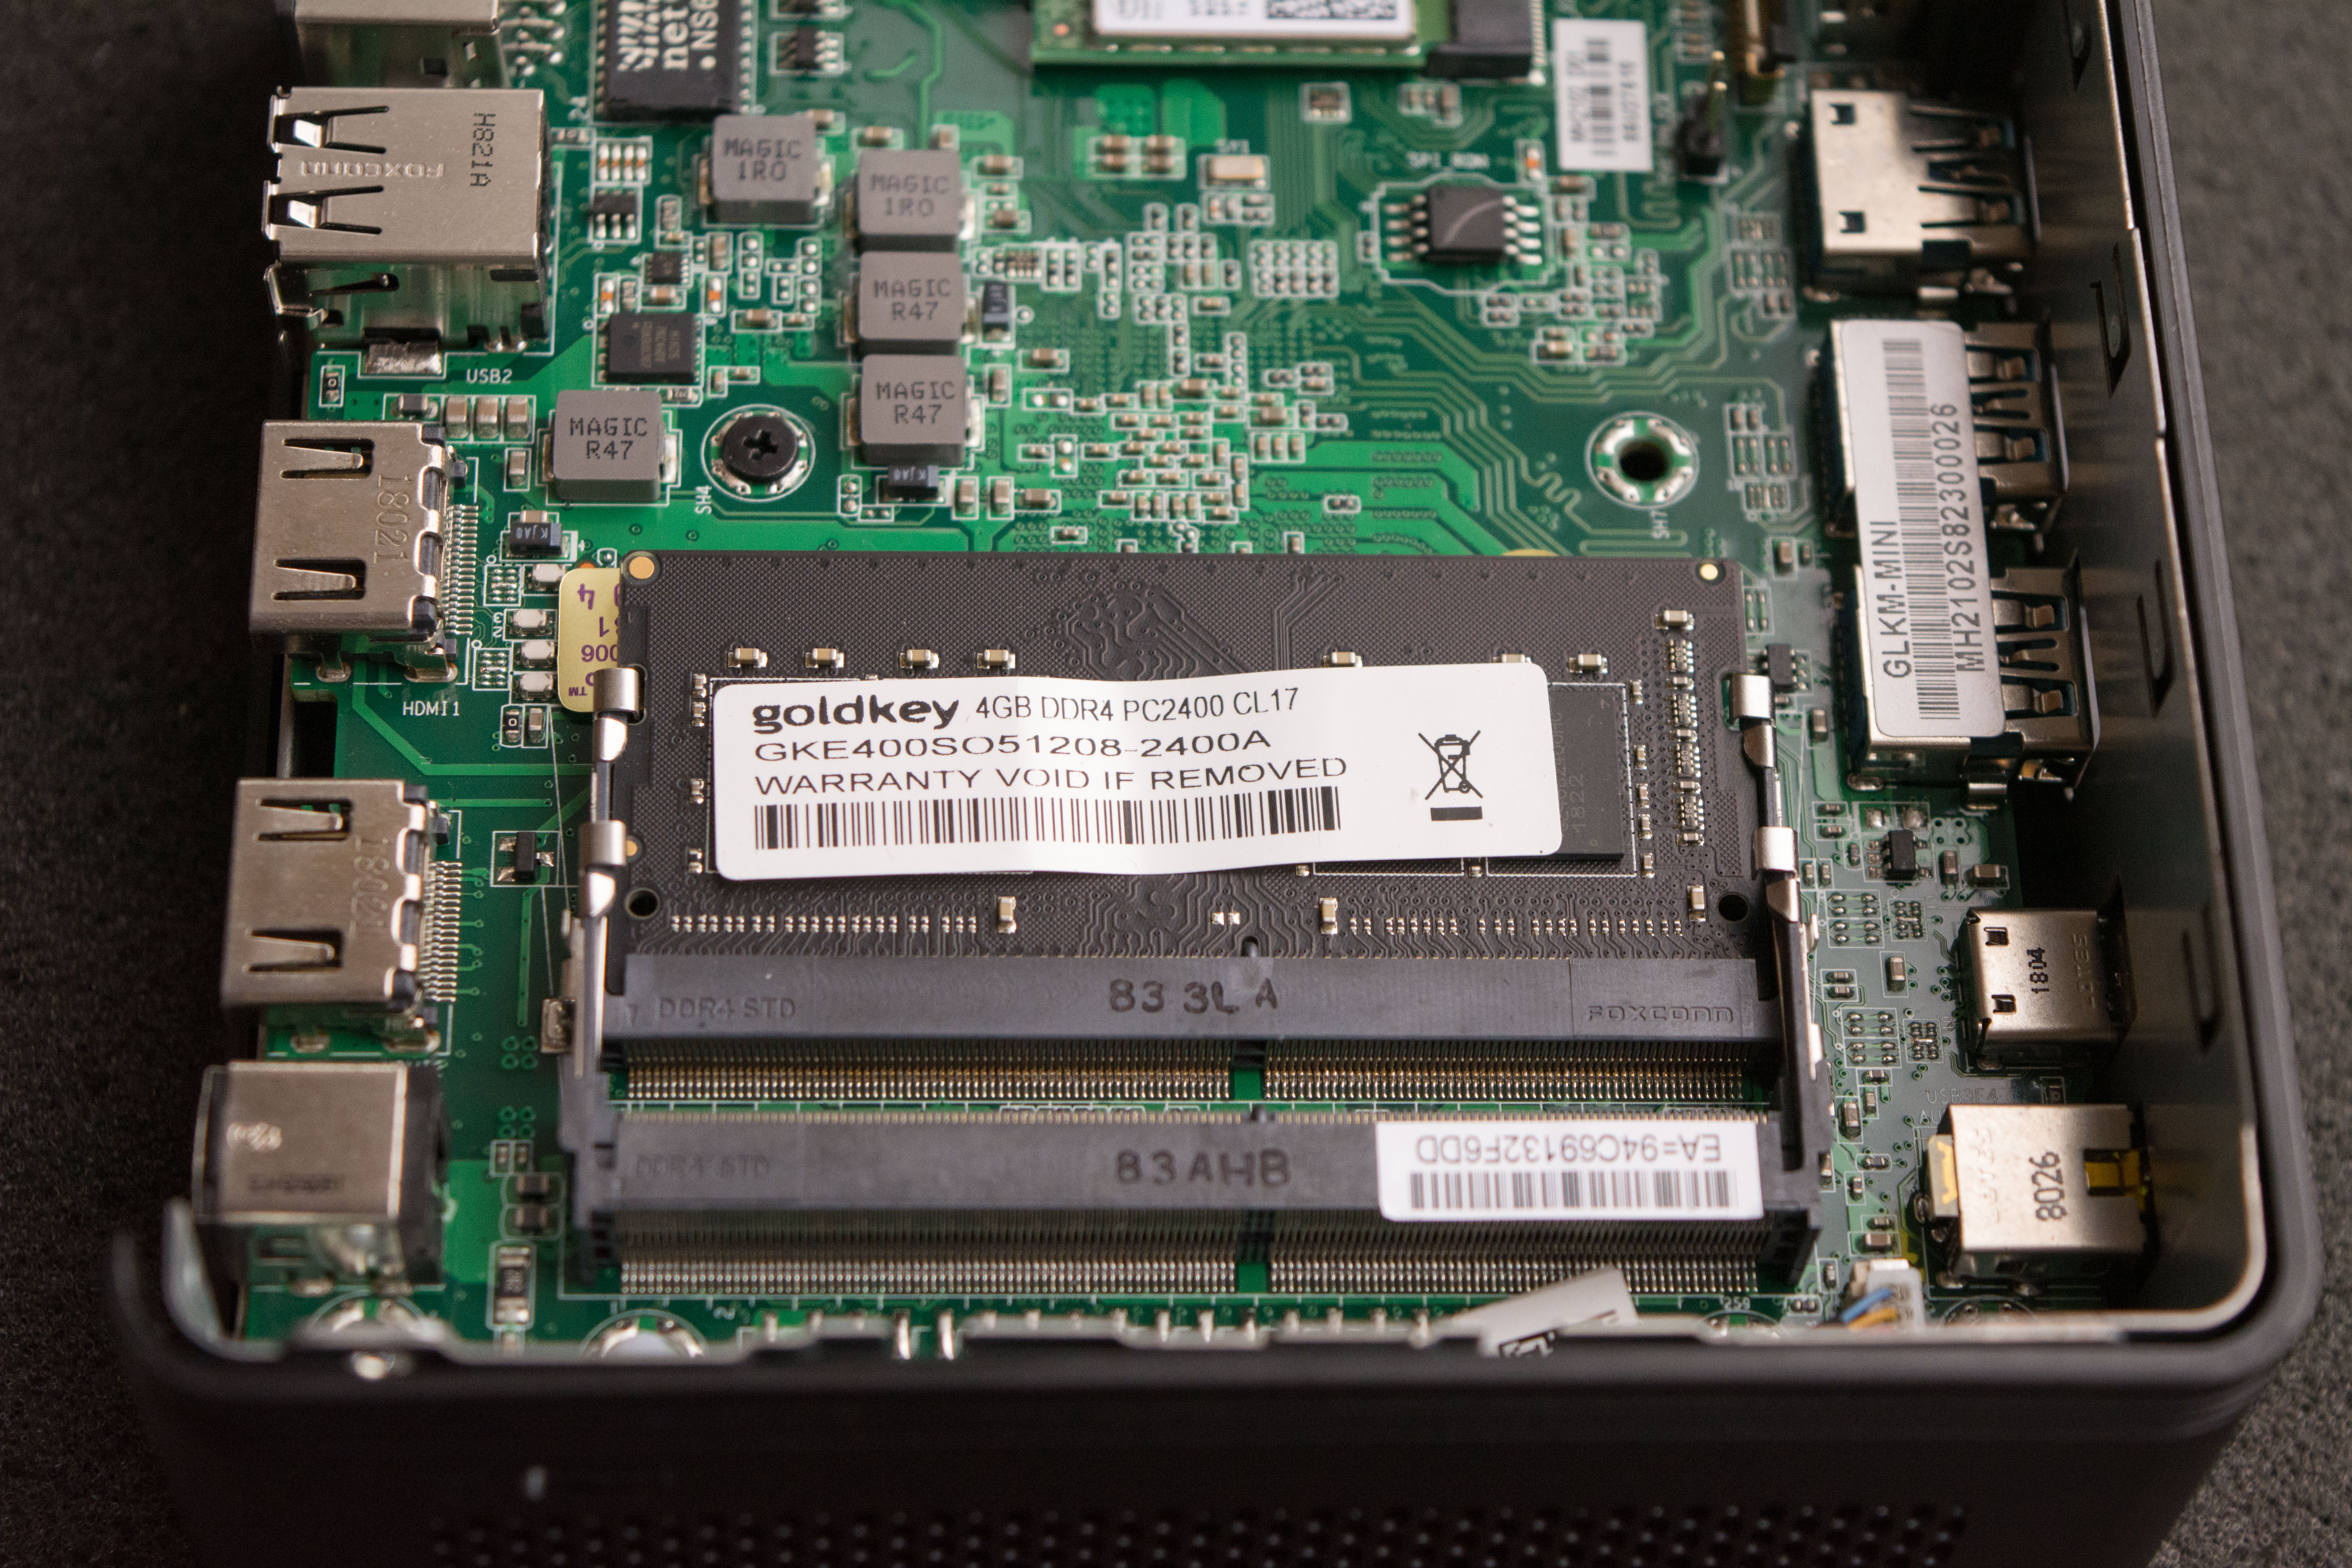
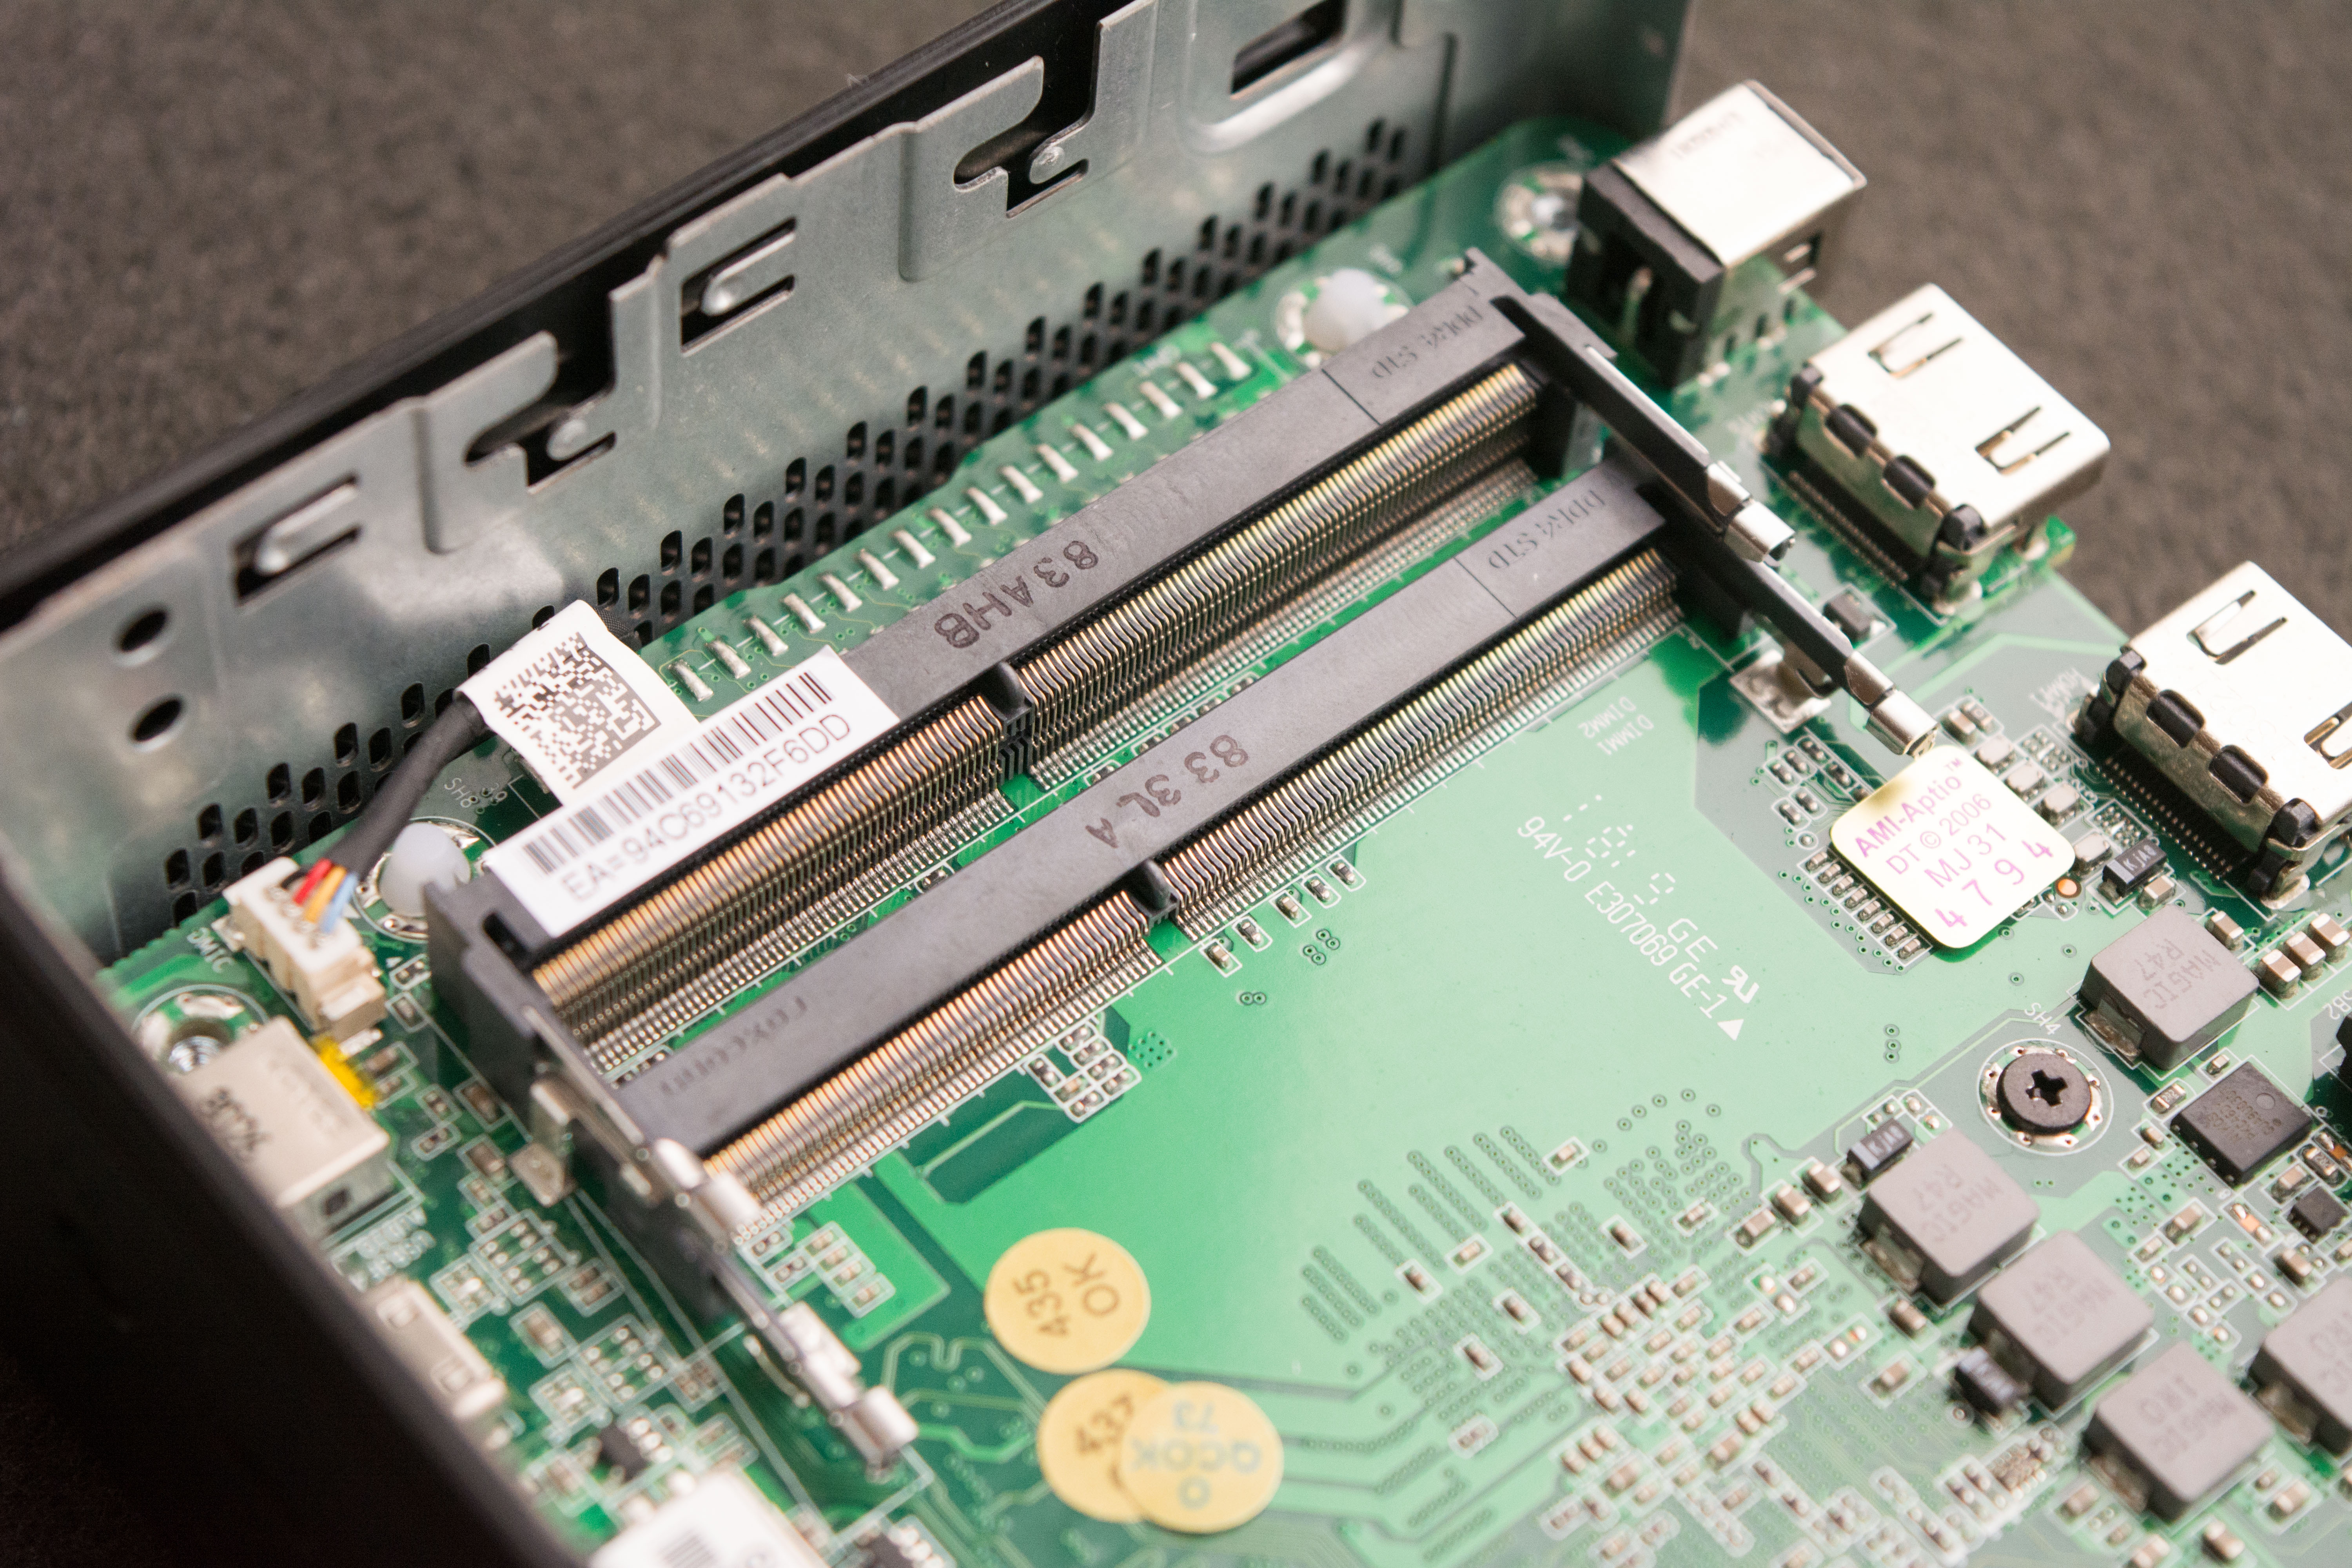
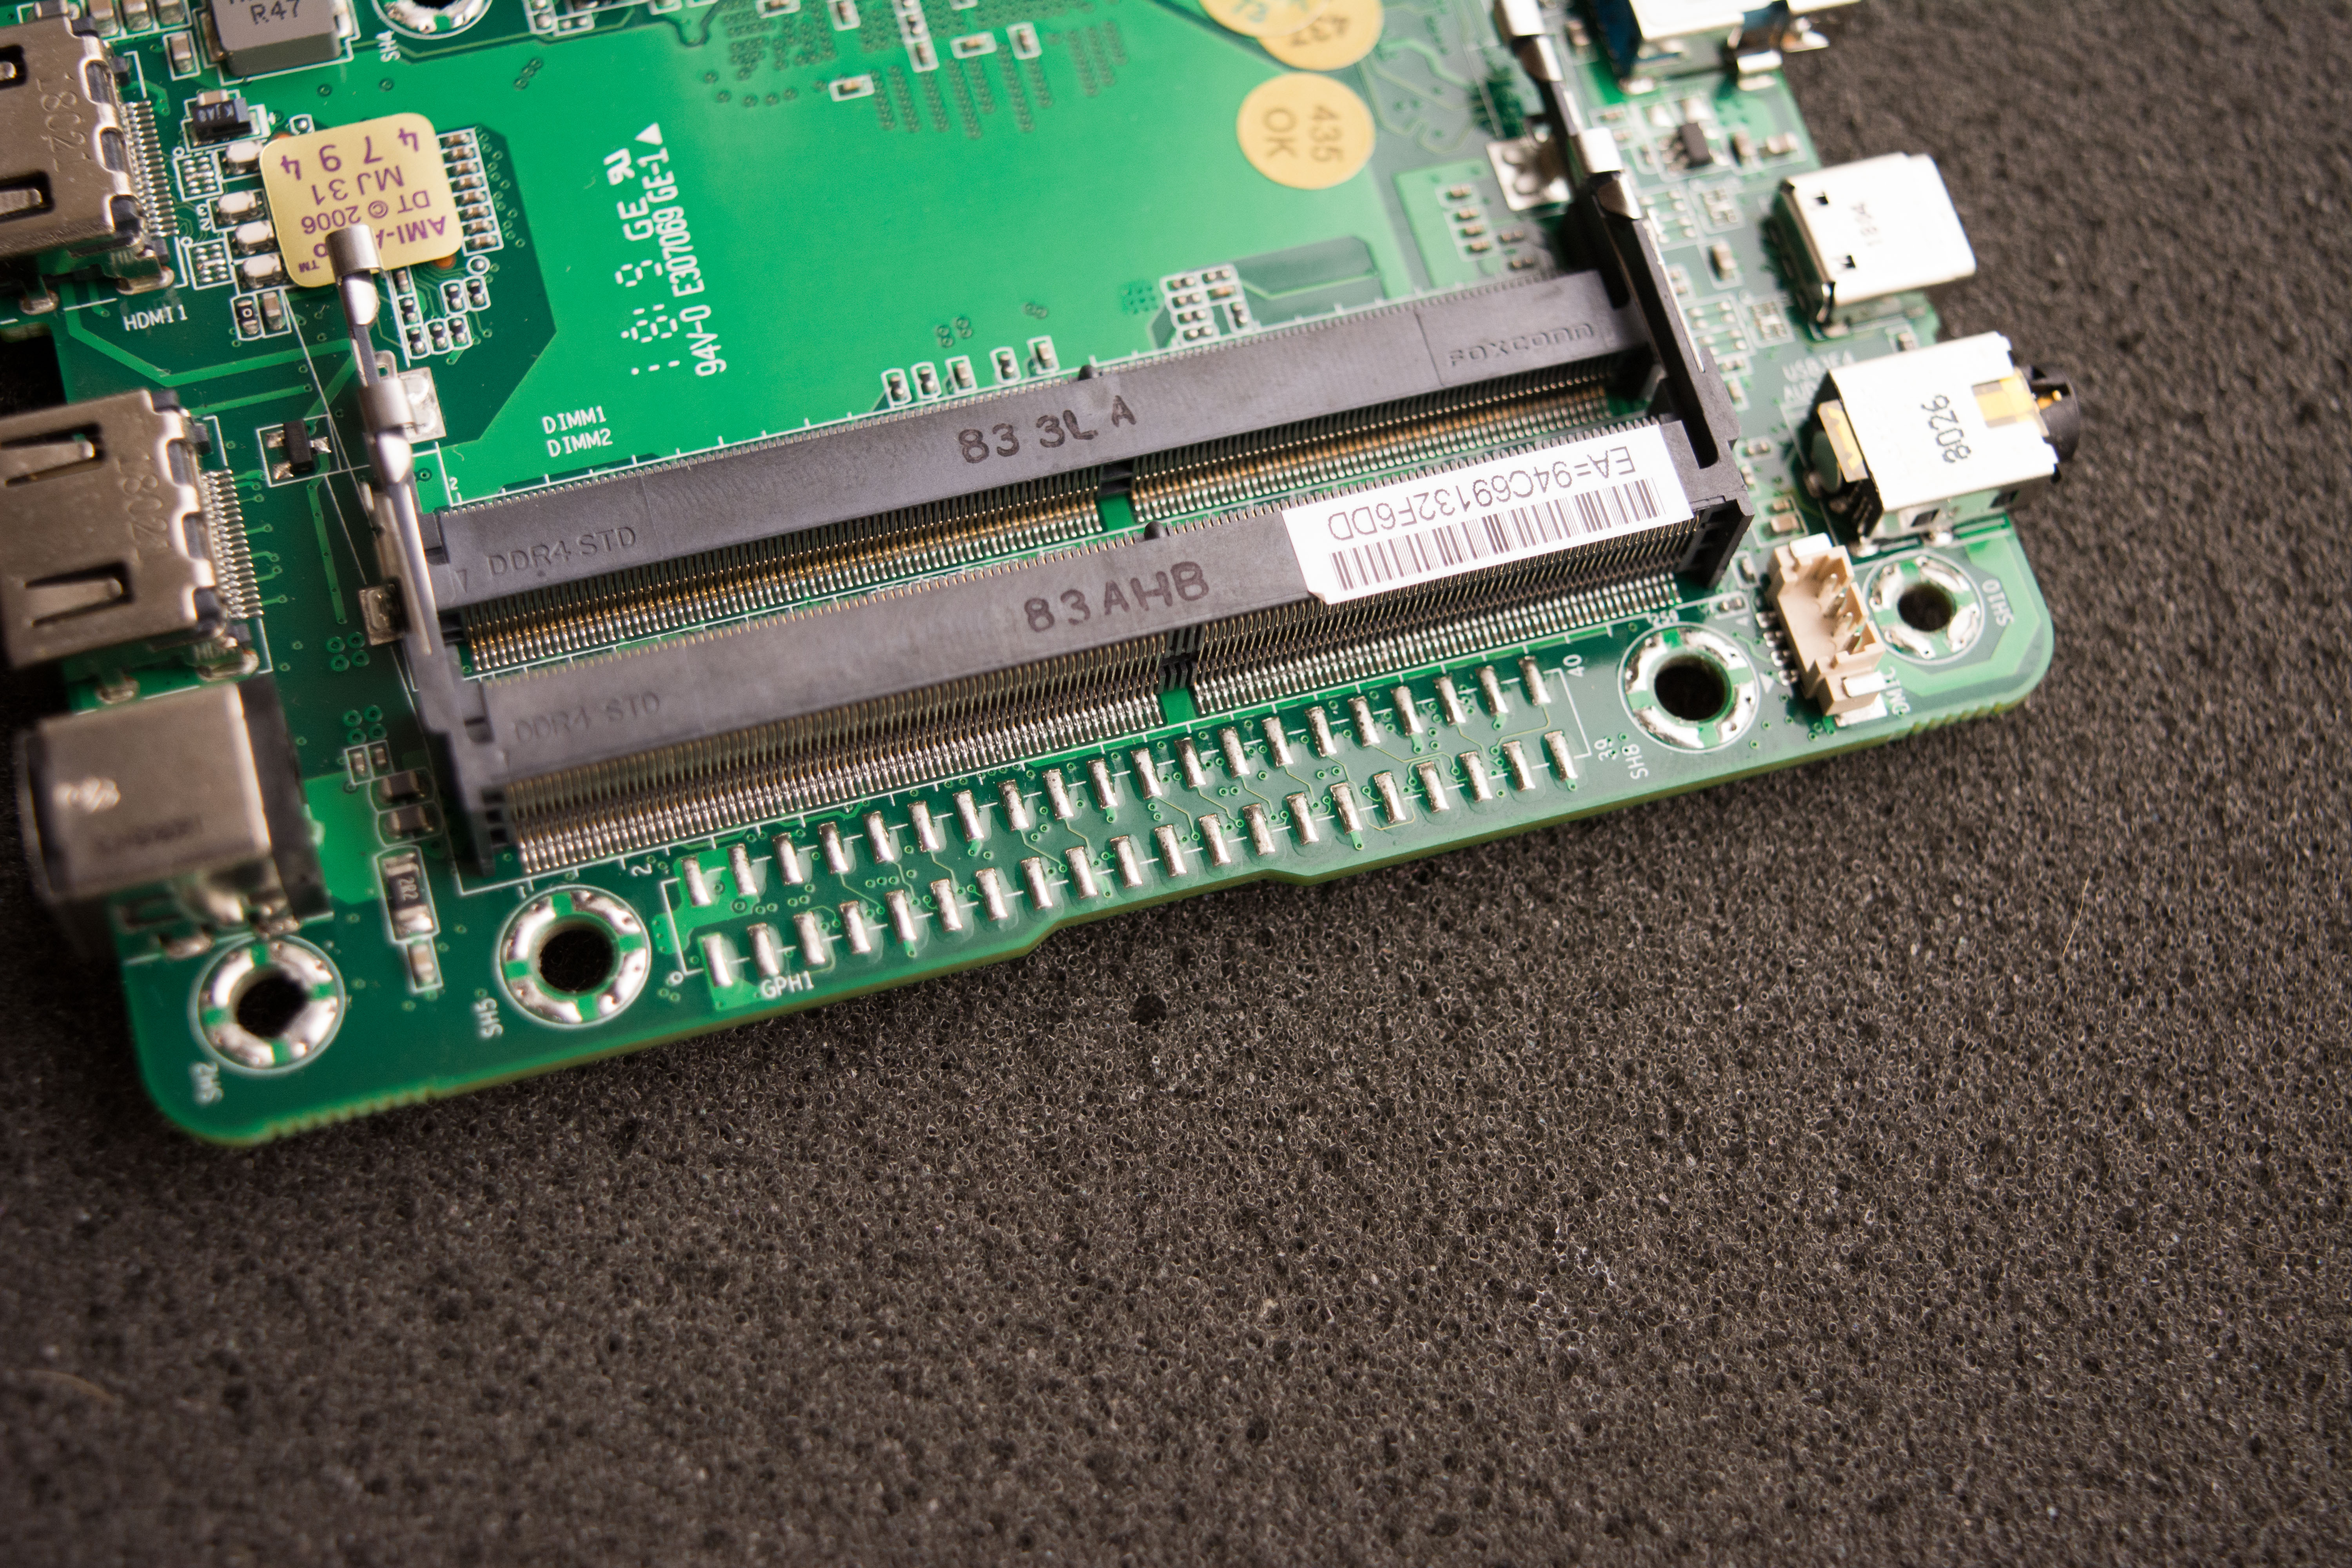
The RAM by default in the configuration I received is 4GB of DDR4-2400 C17 branded from Goldkey, a company I personally have not heard of. From research, they seem to be in the memory business for quite a bit since they’ve made ram since at least DDR1. The chips used on this are HYNIX H5AN4G8NAFR or H5AN4G8NBJR, which is one of the most common types of chip used on DDR4 SODIMM memory. This configuration leaves us with a SODIMM slot free if one would want to add another SODIMM DDR4 4GB module (since the system only supports up to 8GB of DDR4)
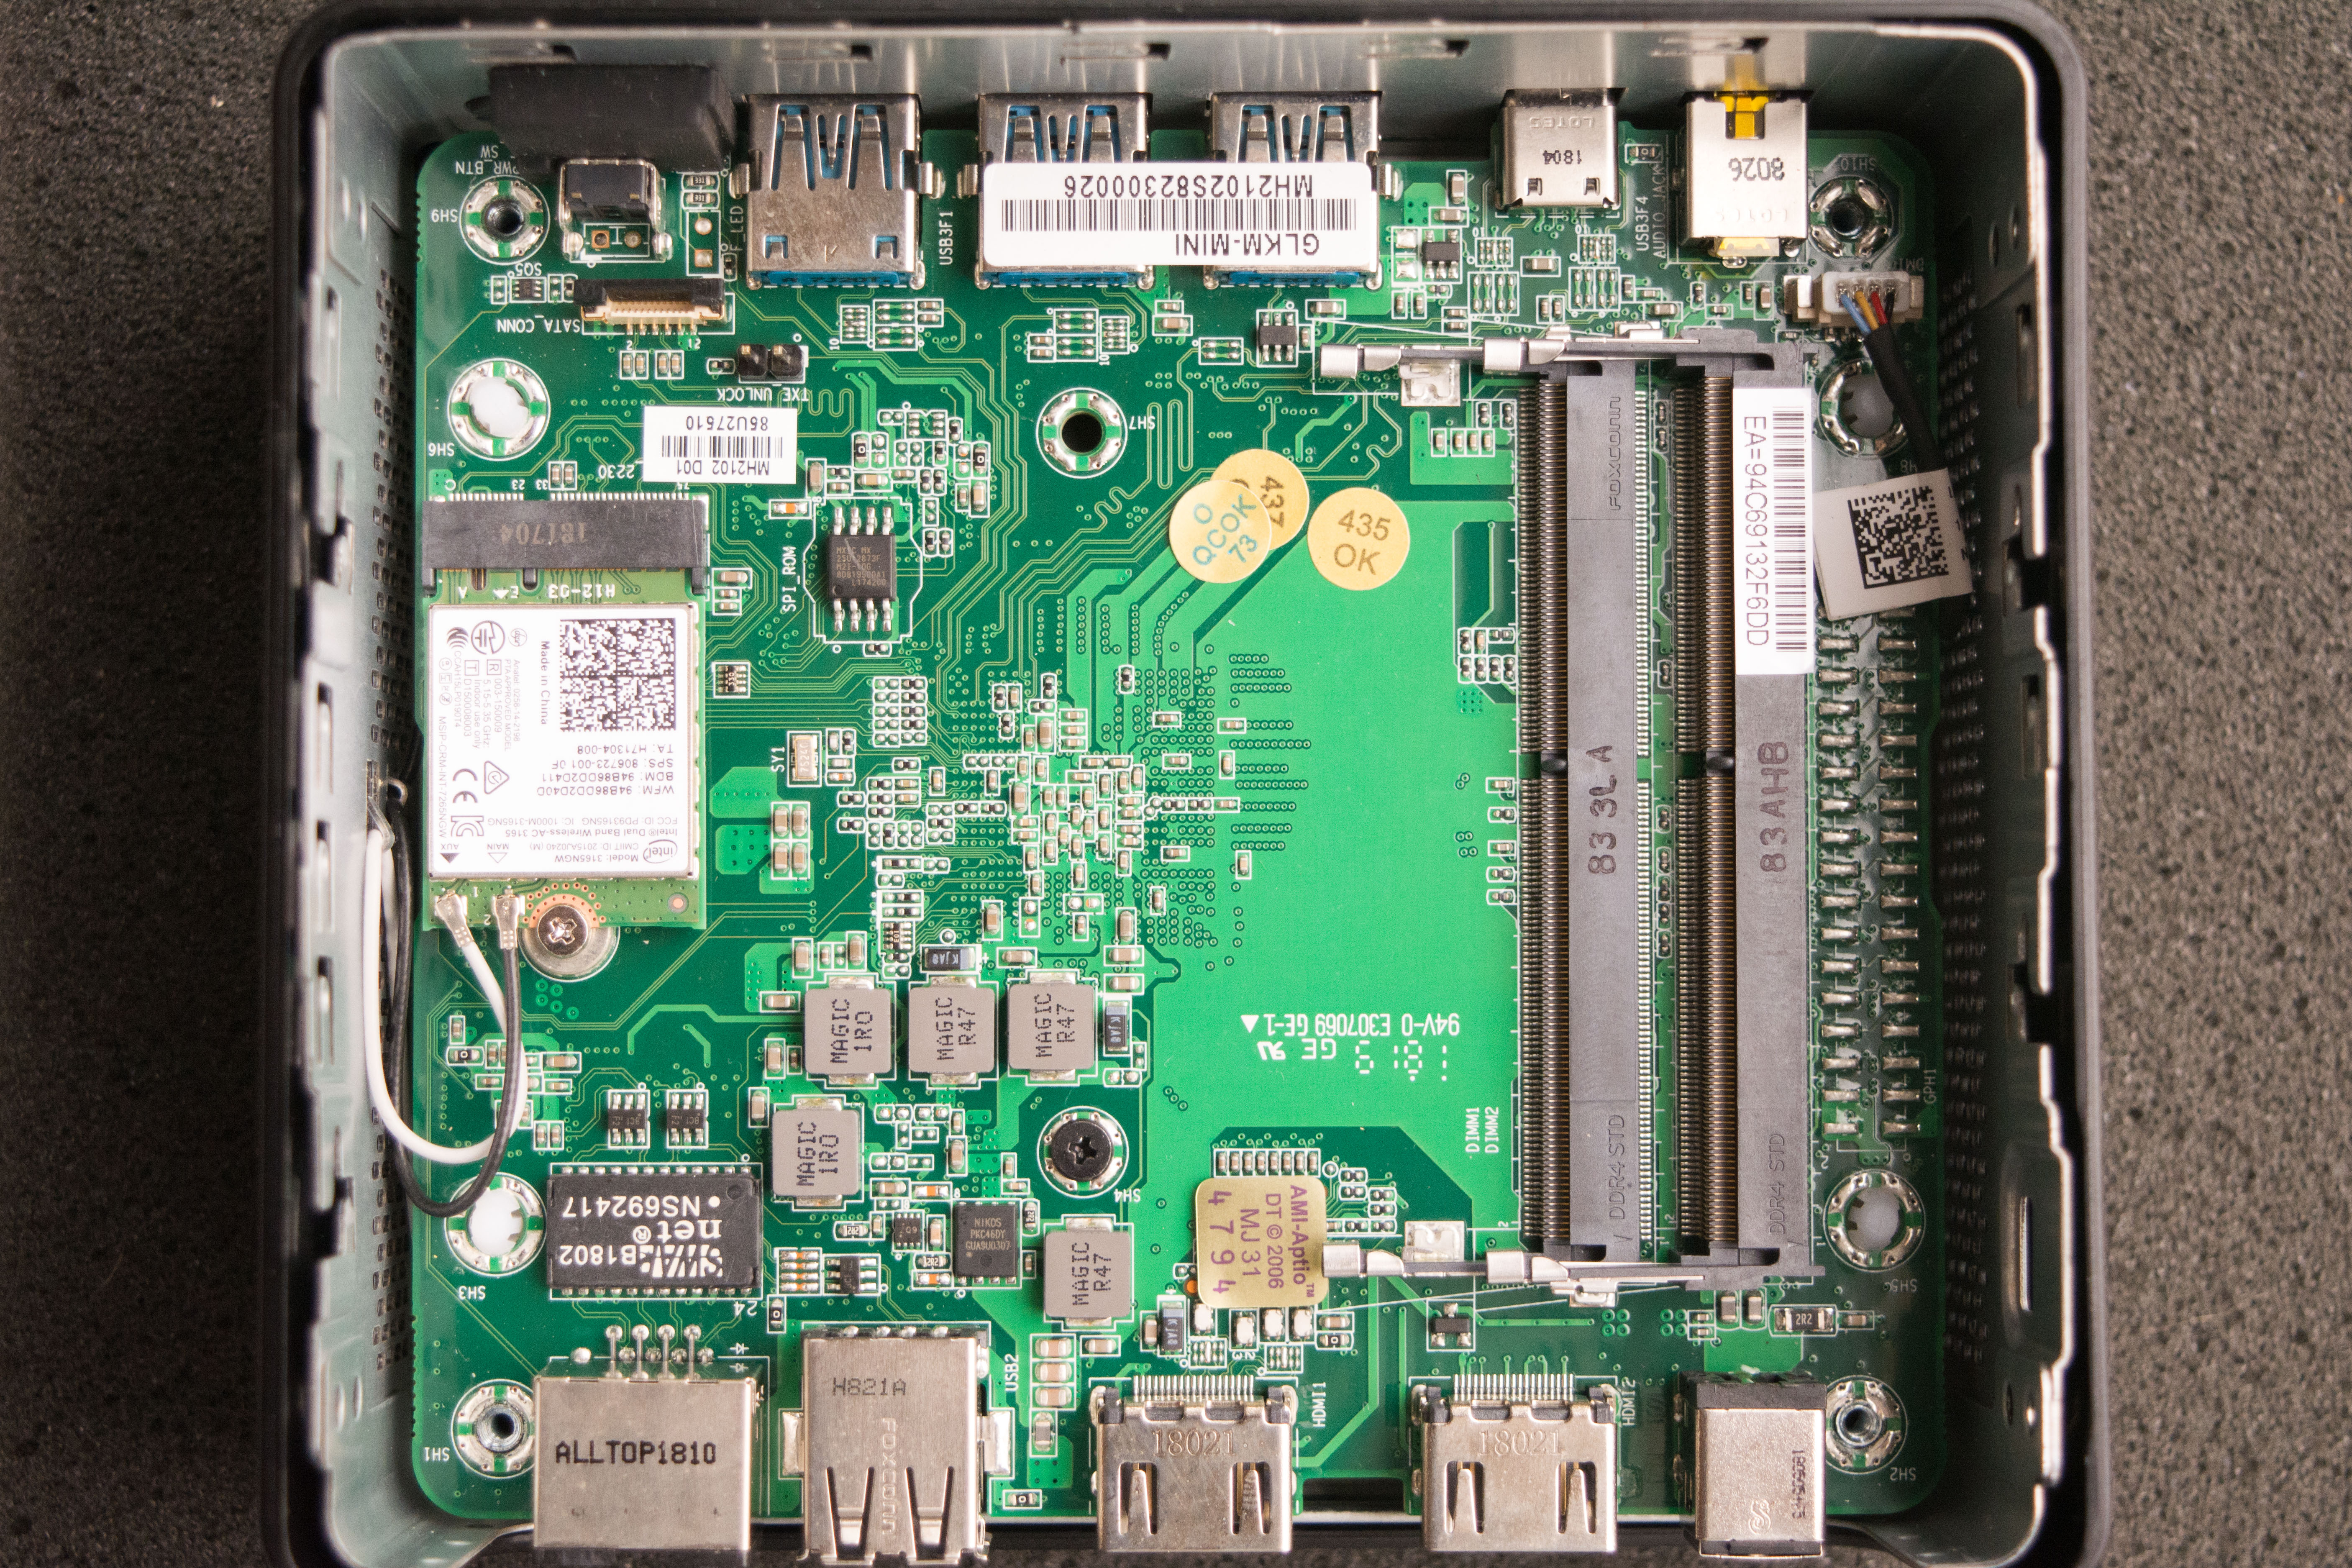
The wireless card found in this unit is an Intel 3165NGW (Intel® Dual Band Wireless-AC 3165)
Product page : https://www.intel.com/content/www/us/en/wireless-products/dual-band-wireless-ac-3165-brief.html

Further disassembling the computer shows it is mounted on three standoffs and that both wireless antennas are on the top portion of the casing. There’s also the small digital microphone cable that needs to be removed from the system board to proceed. Now, from what I’ve seen, other reviews mentioned this as well and my unit was no different, there’s a spot specifically for GPIO, a feature ECS boasts on their product page. The header is absent from each one, mine included. There should be somewhere on the ECS product page a specification about when this header is included and what configuration a user should get to have this header.
Heatsink
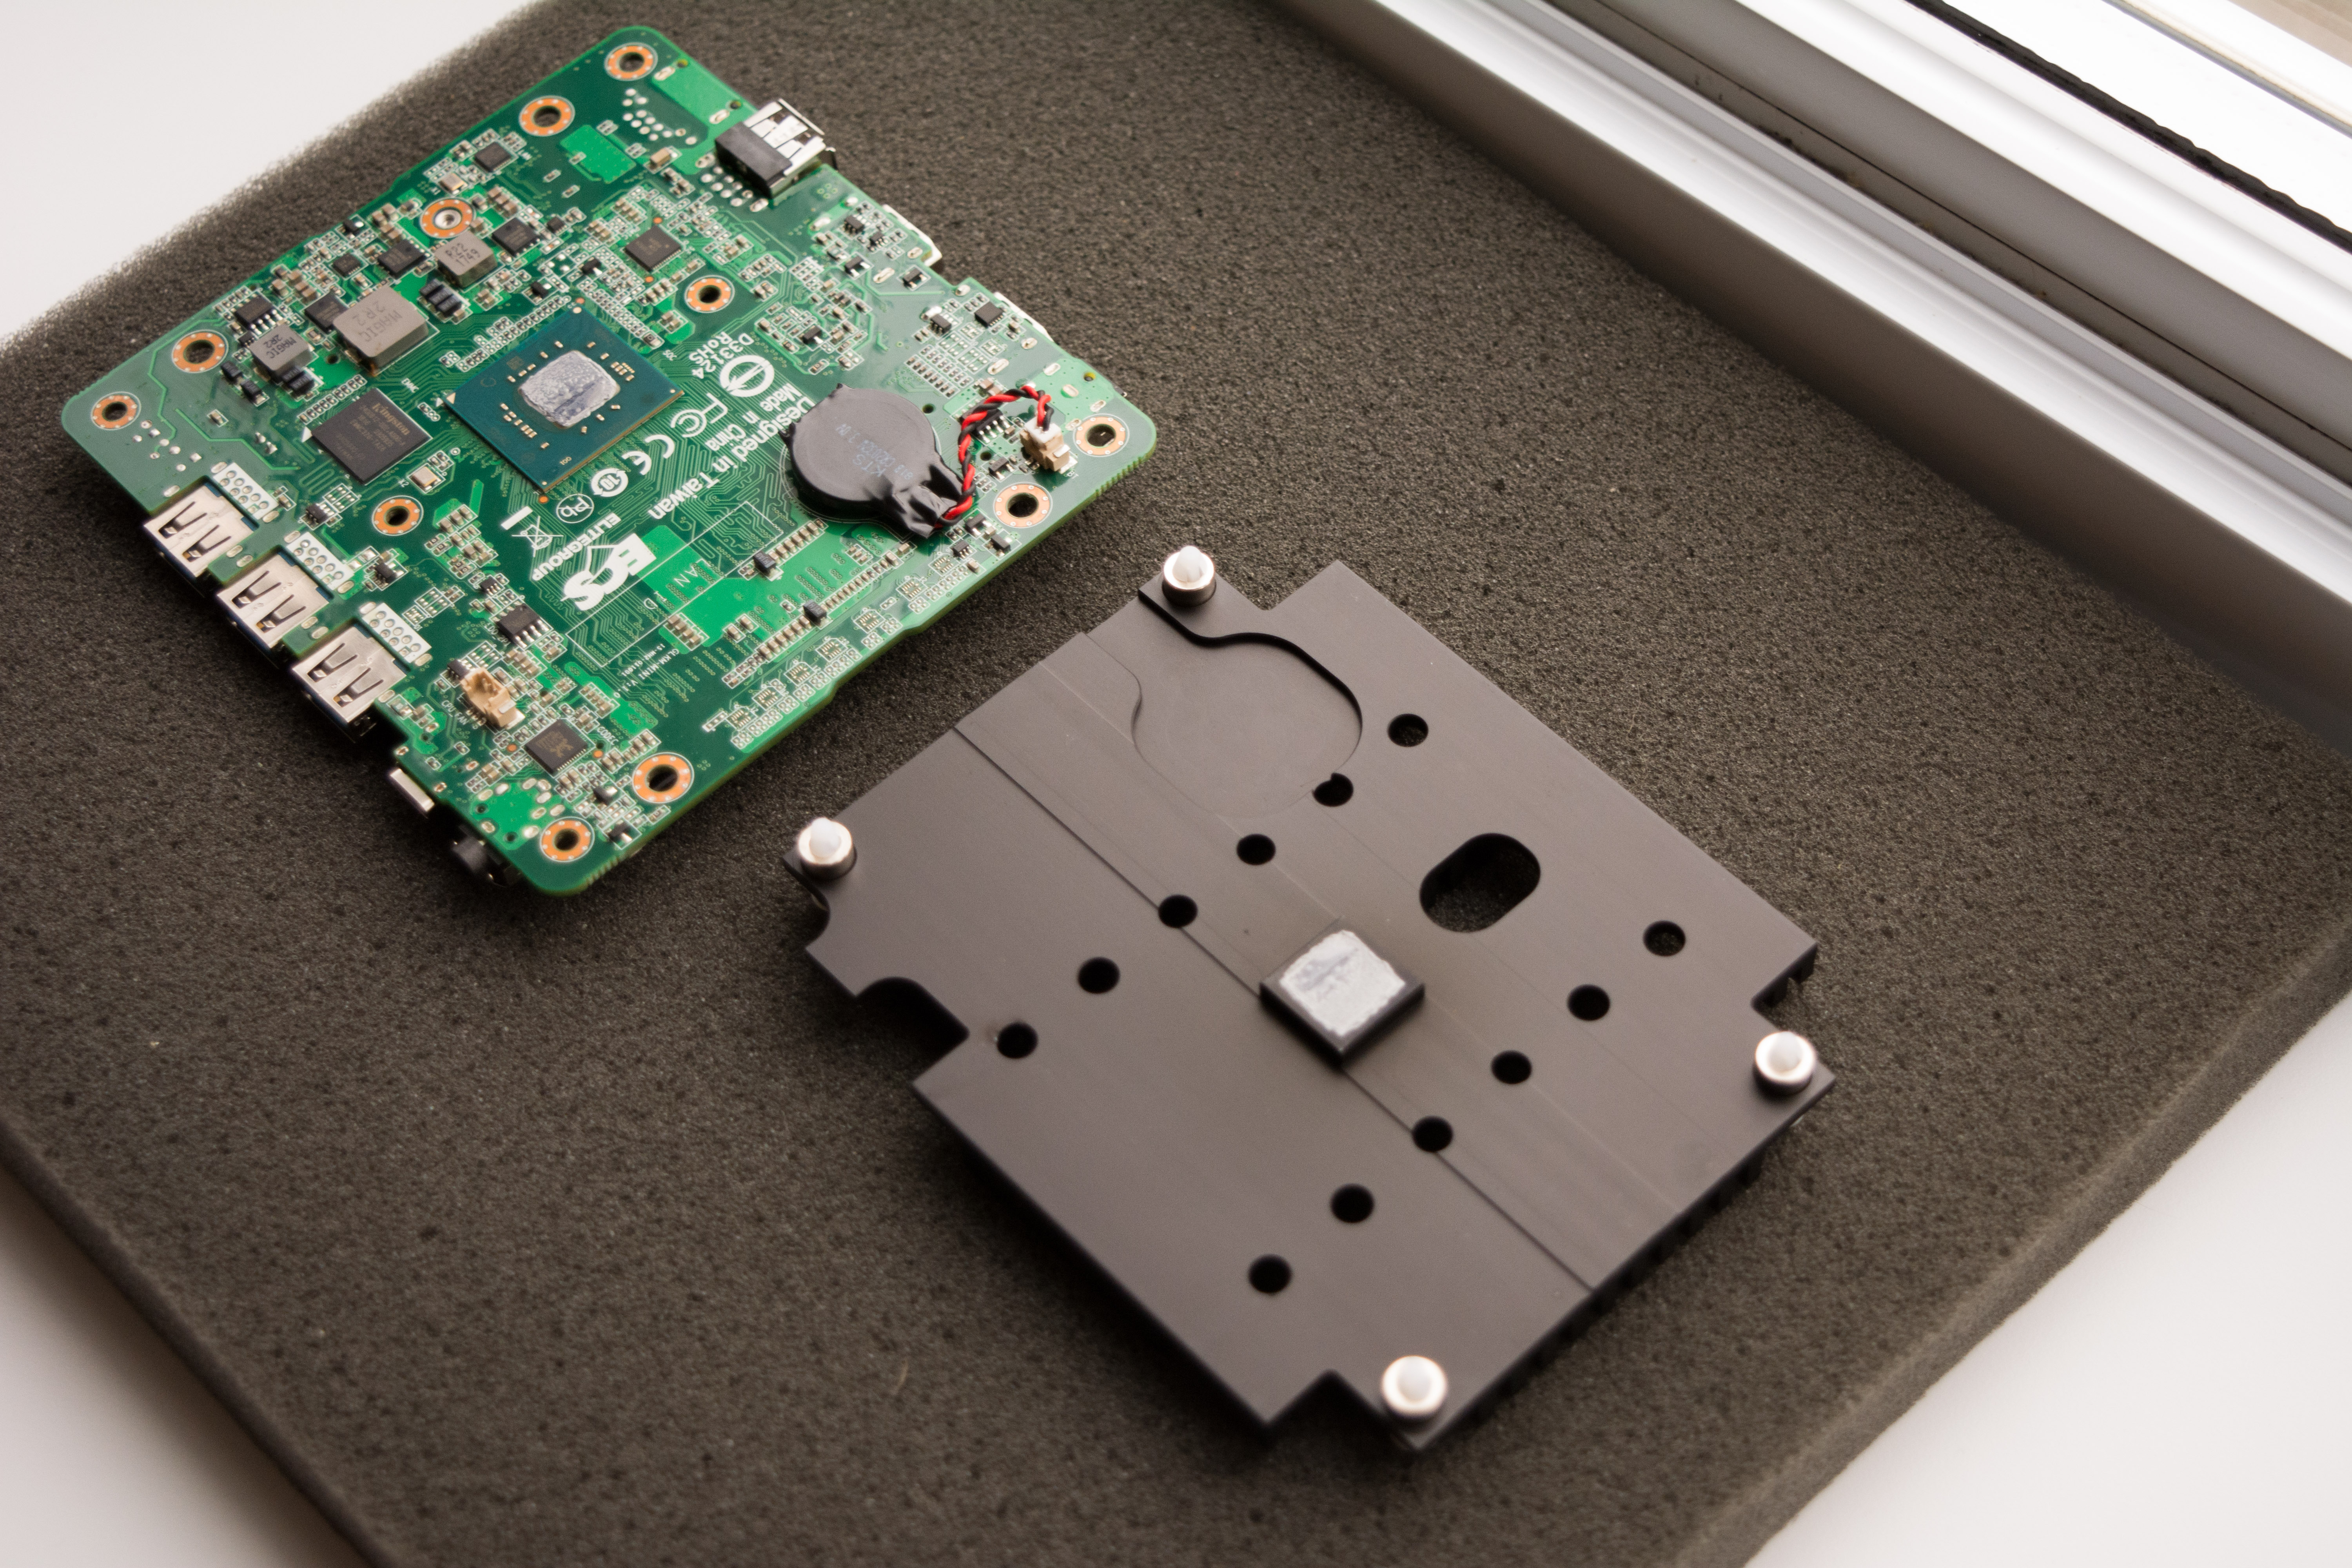
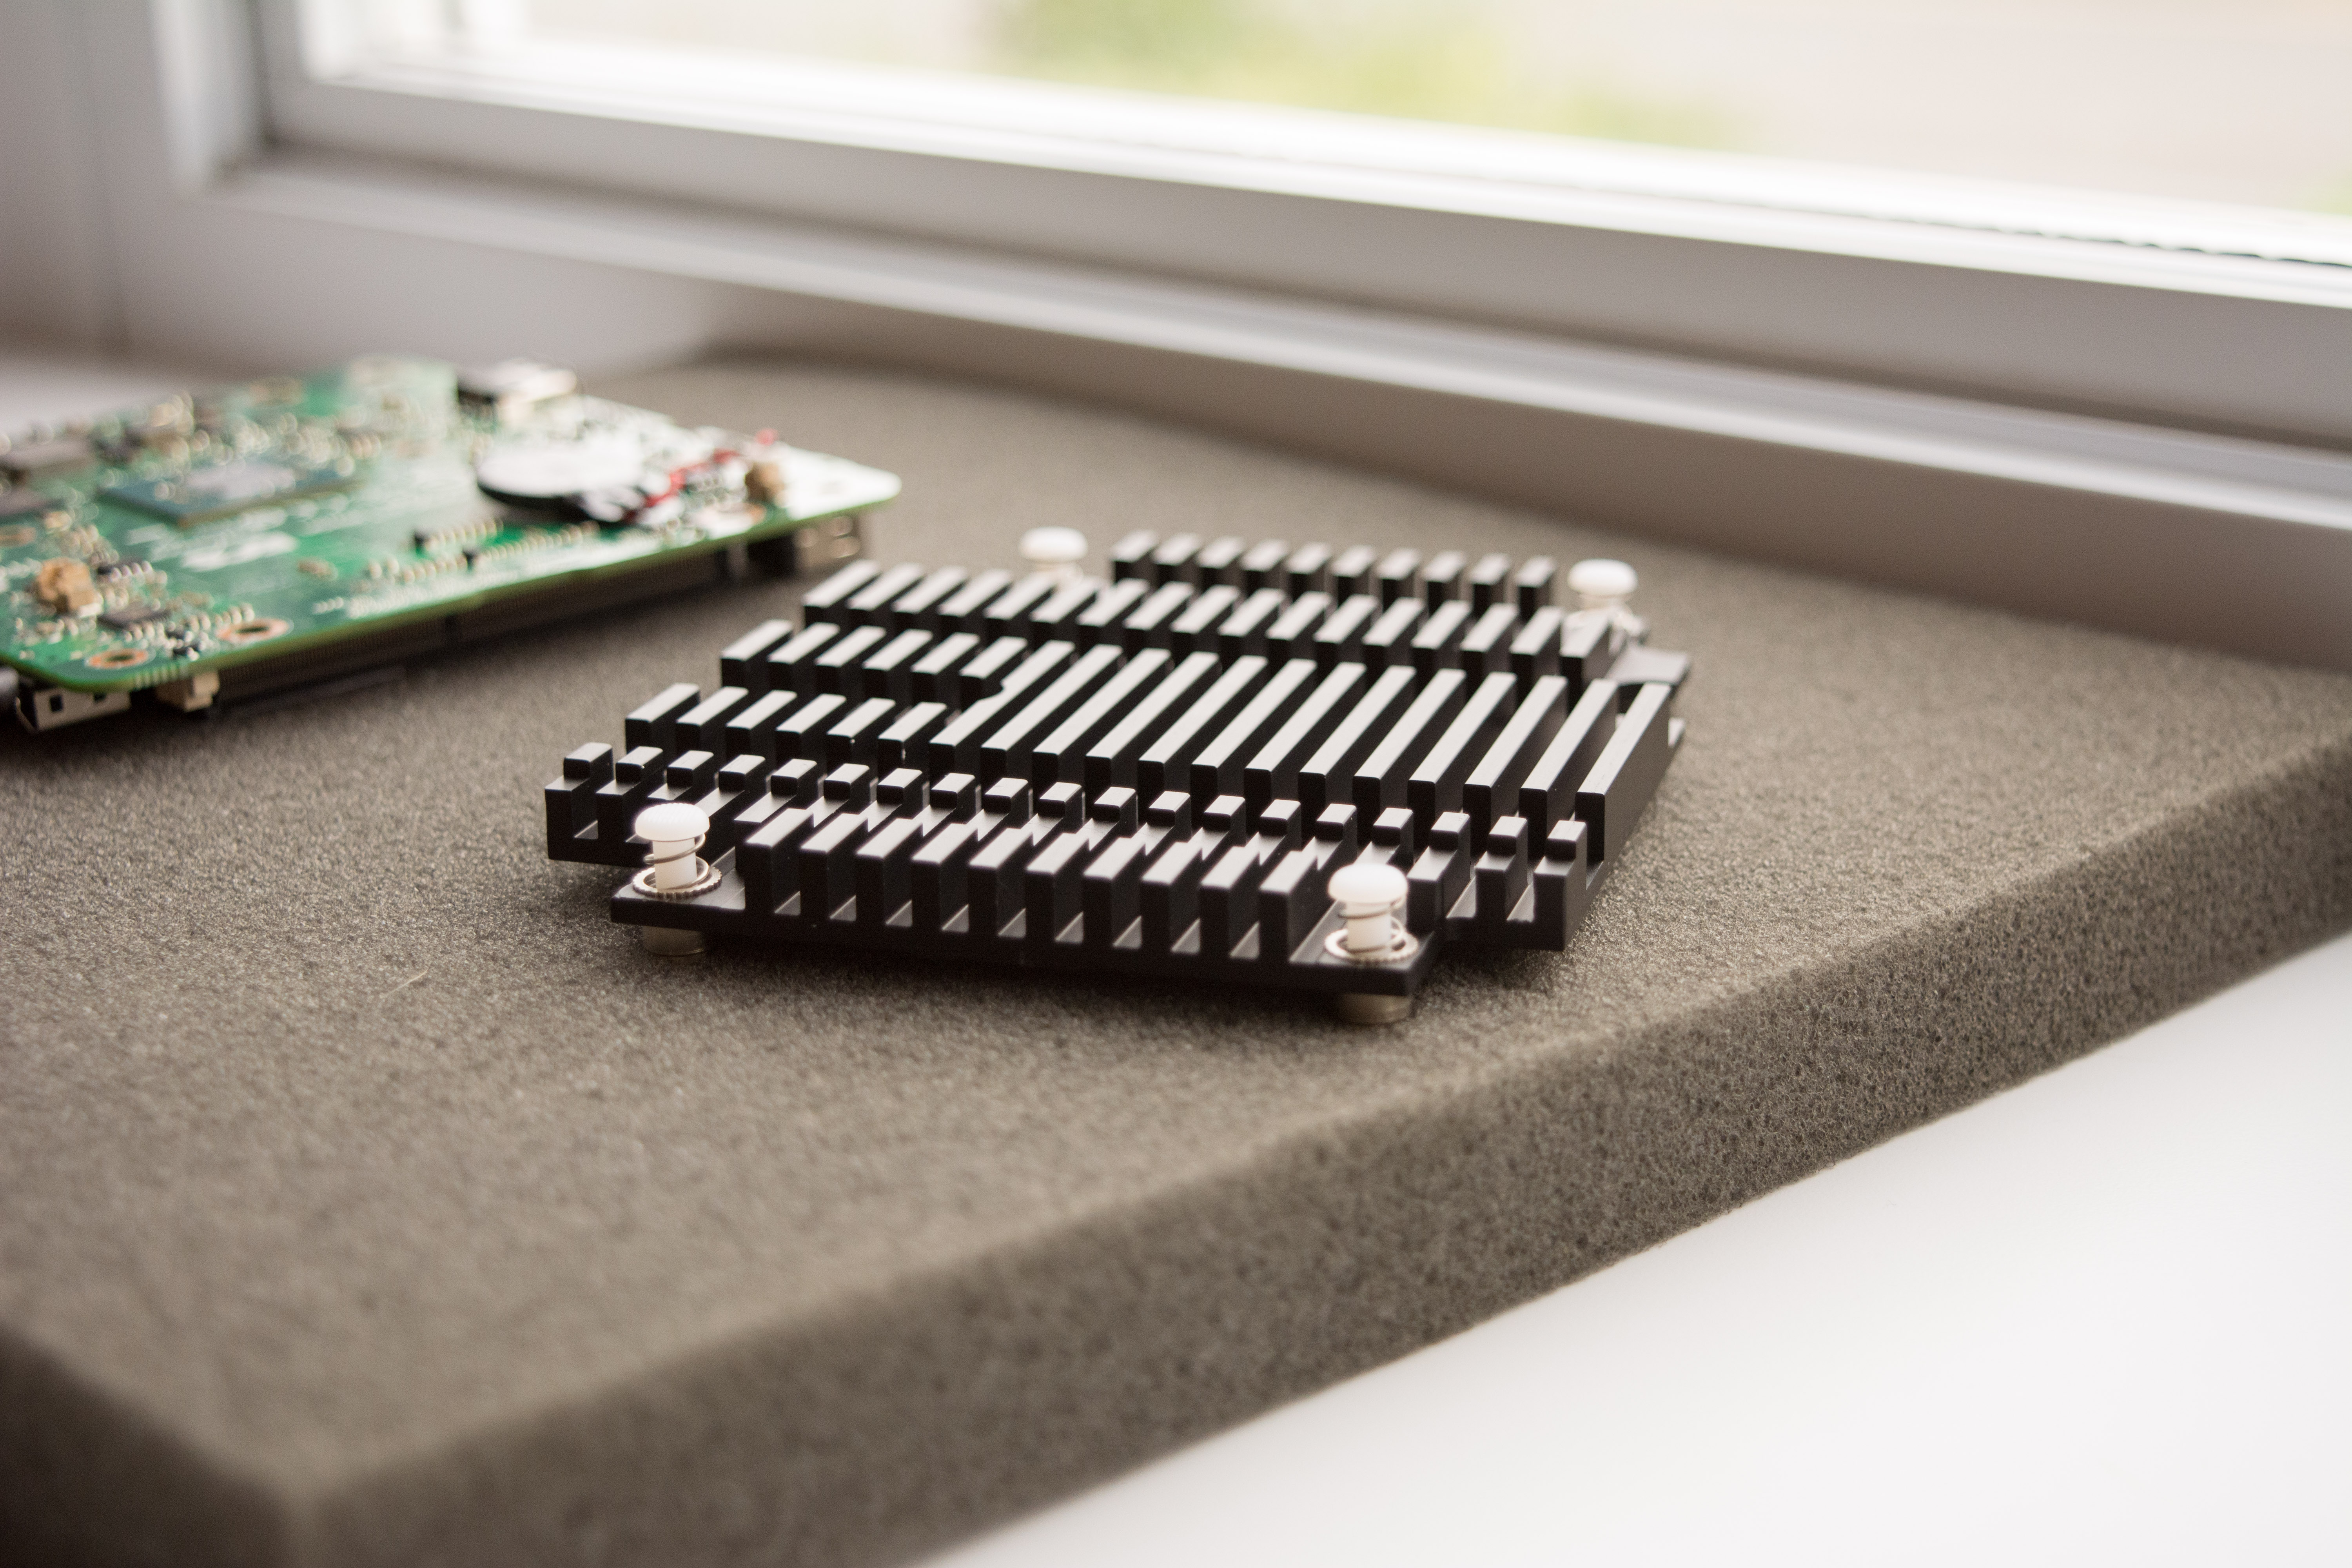

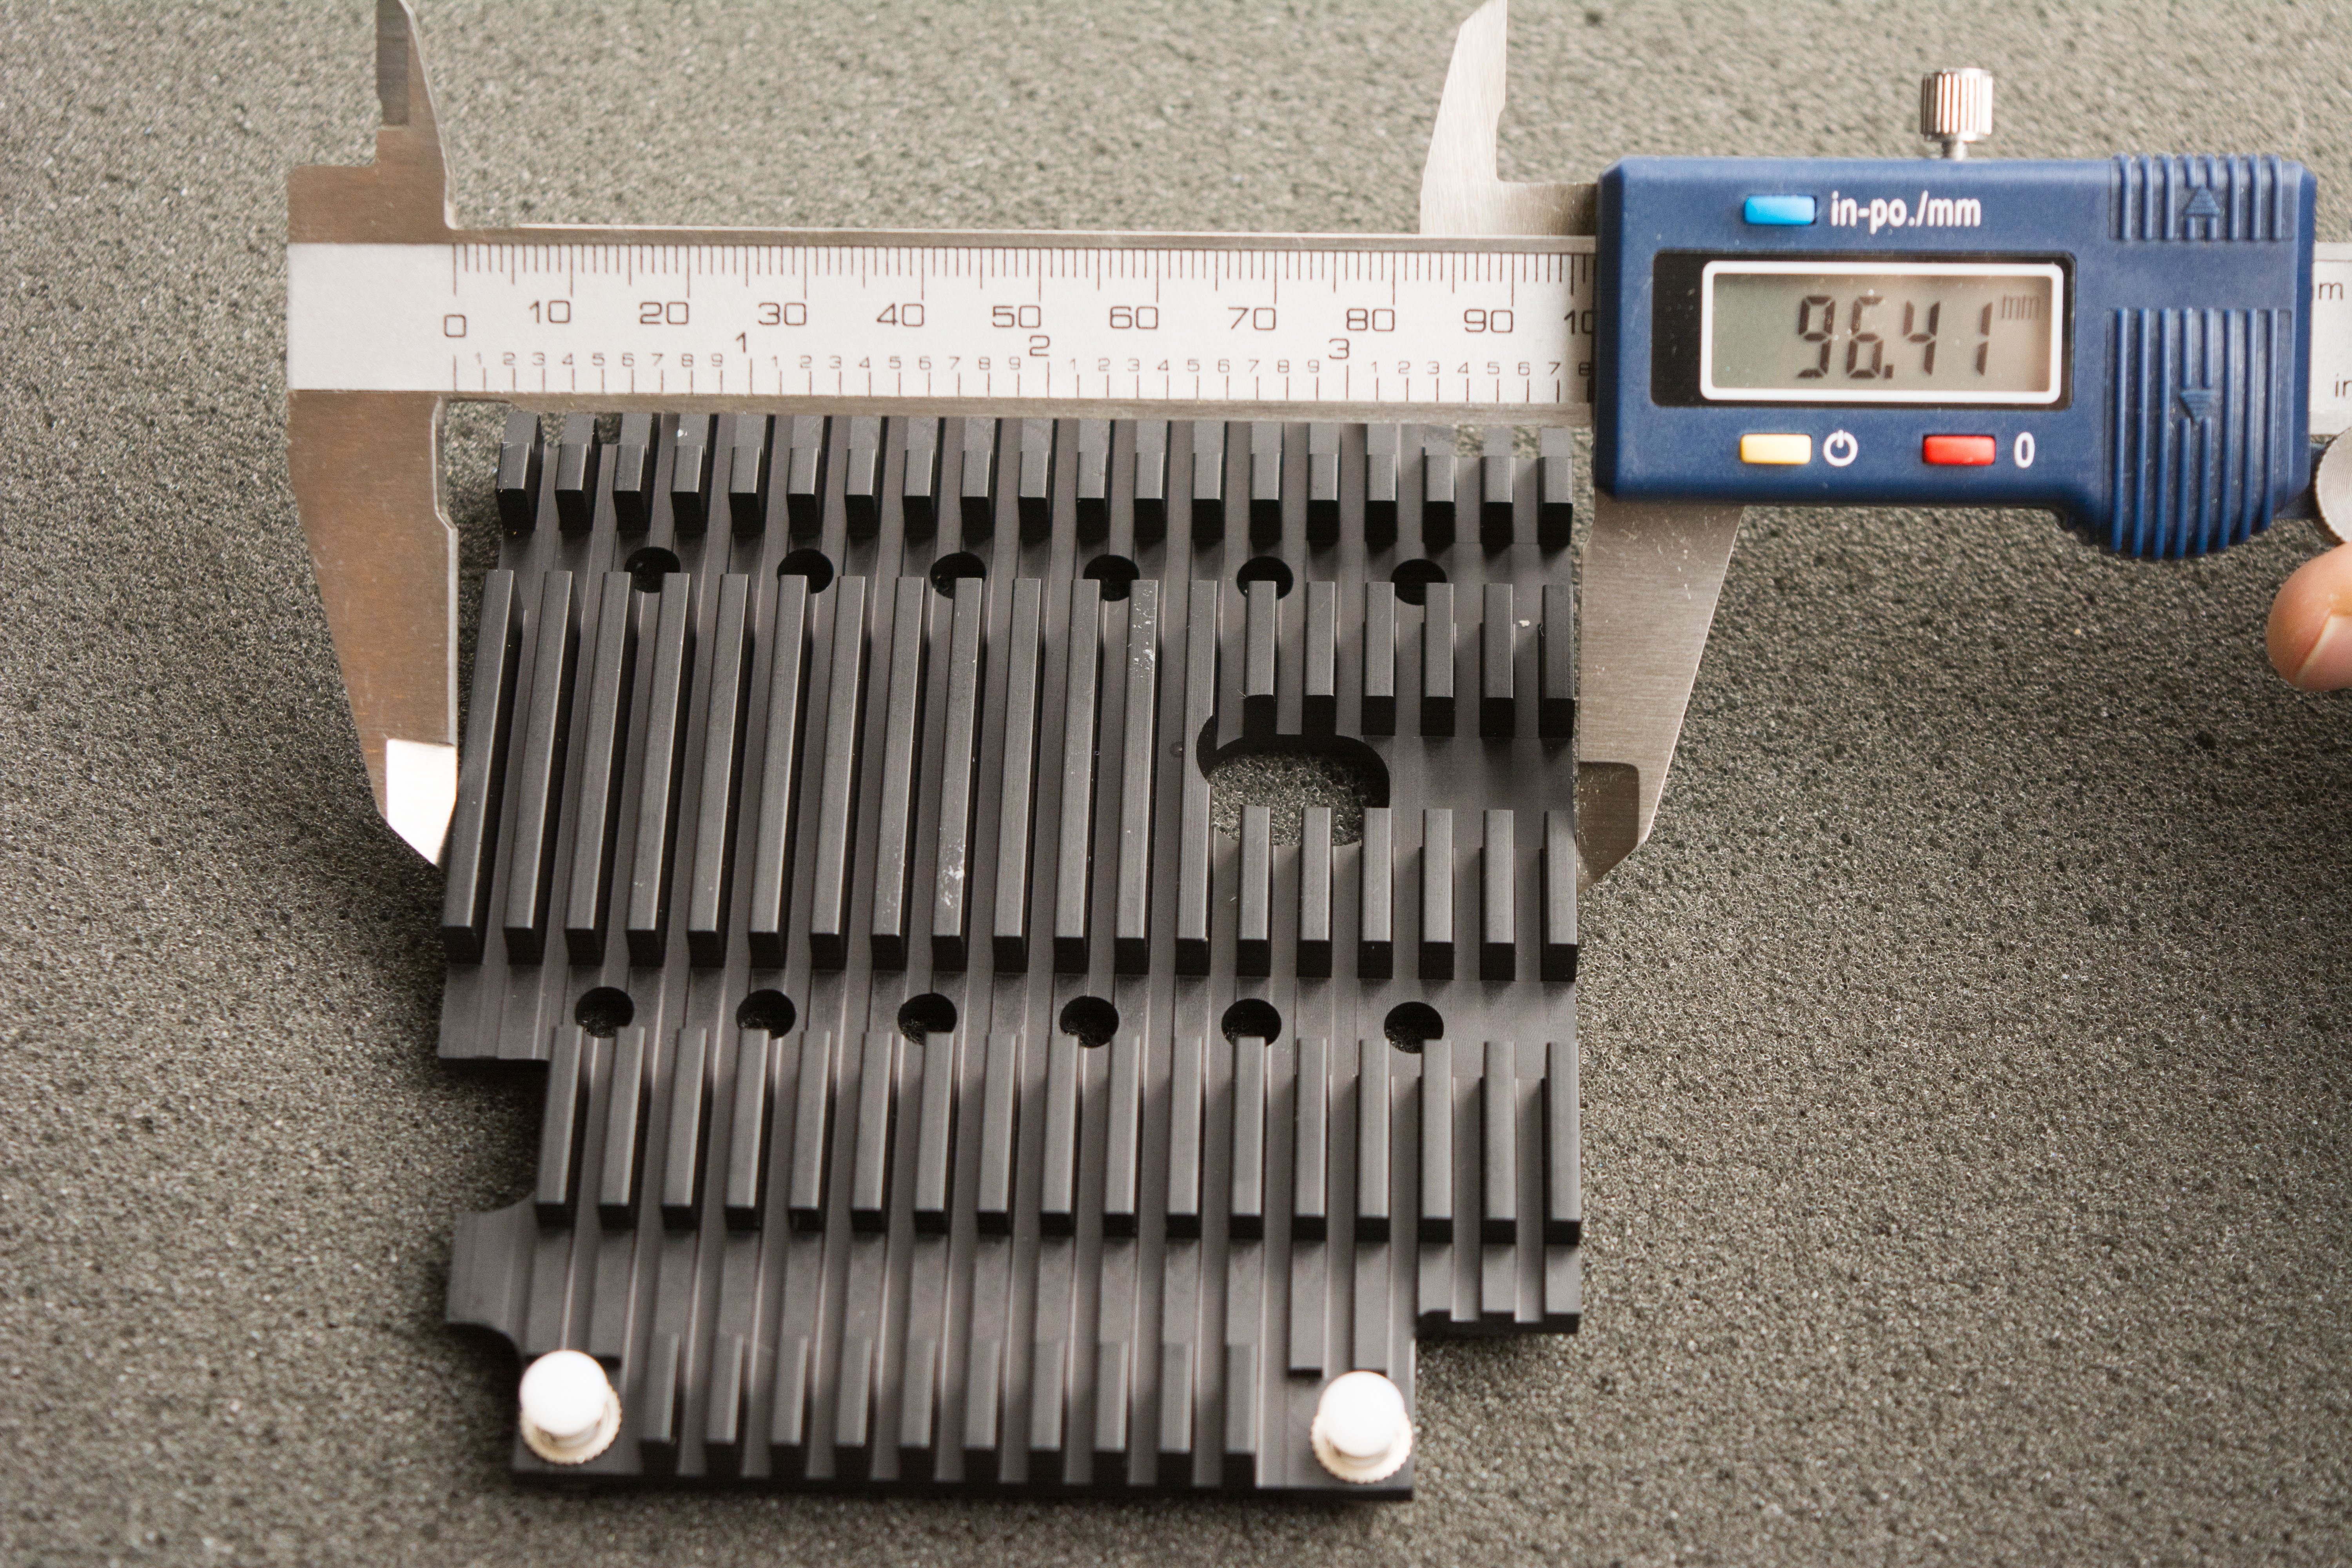
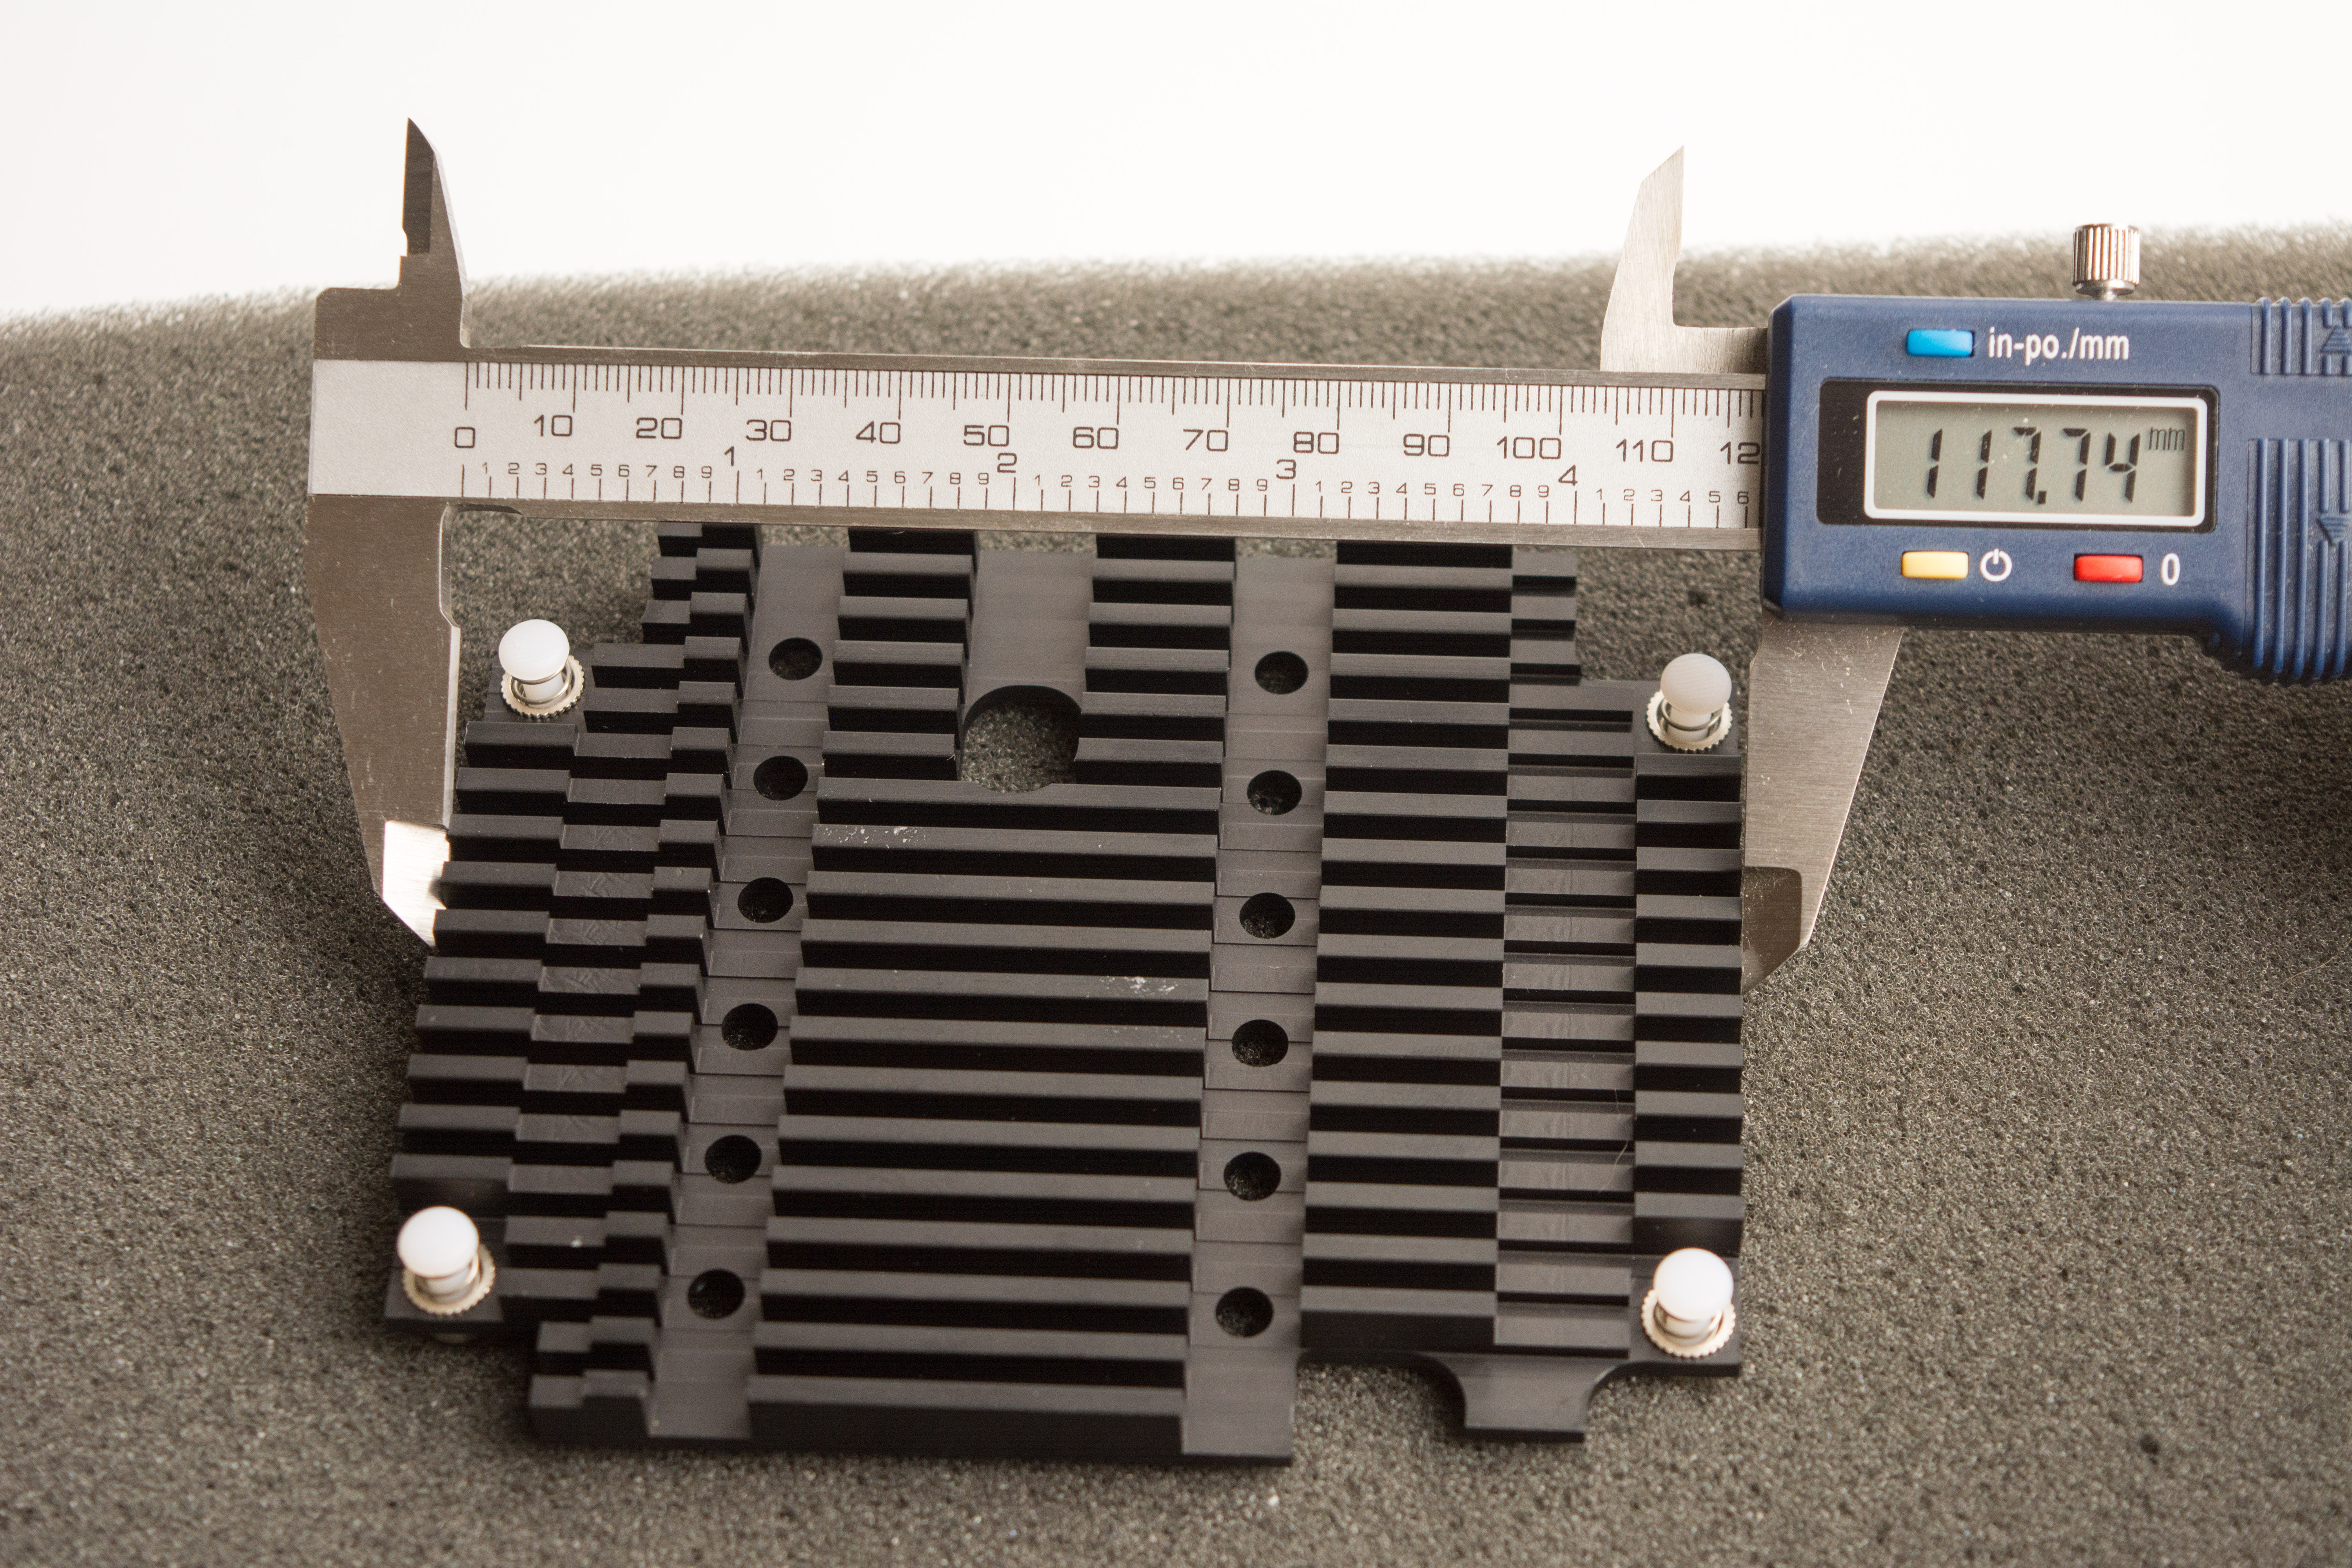
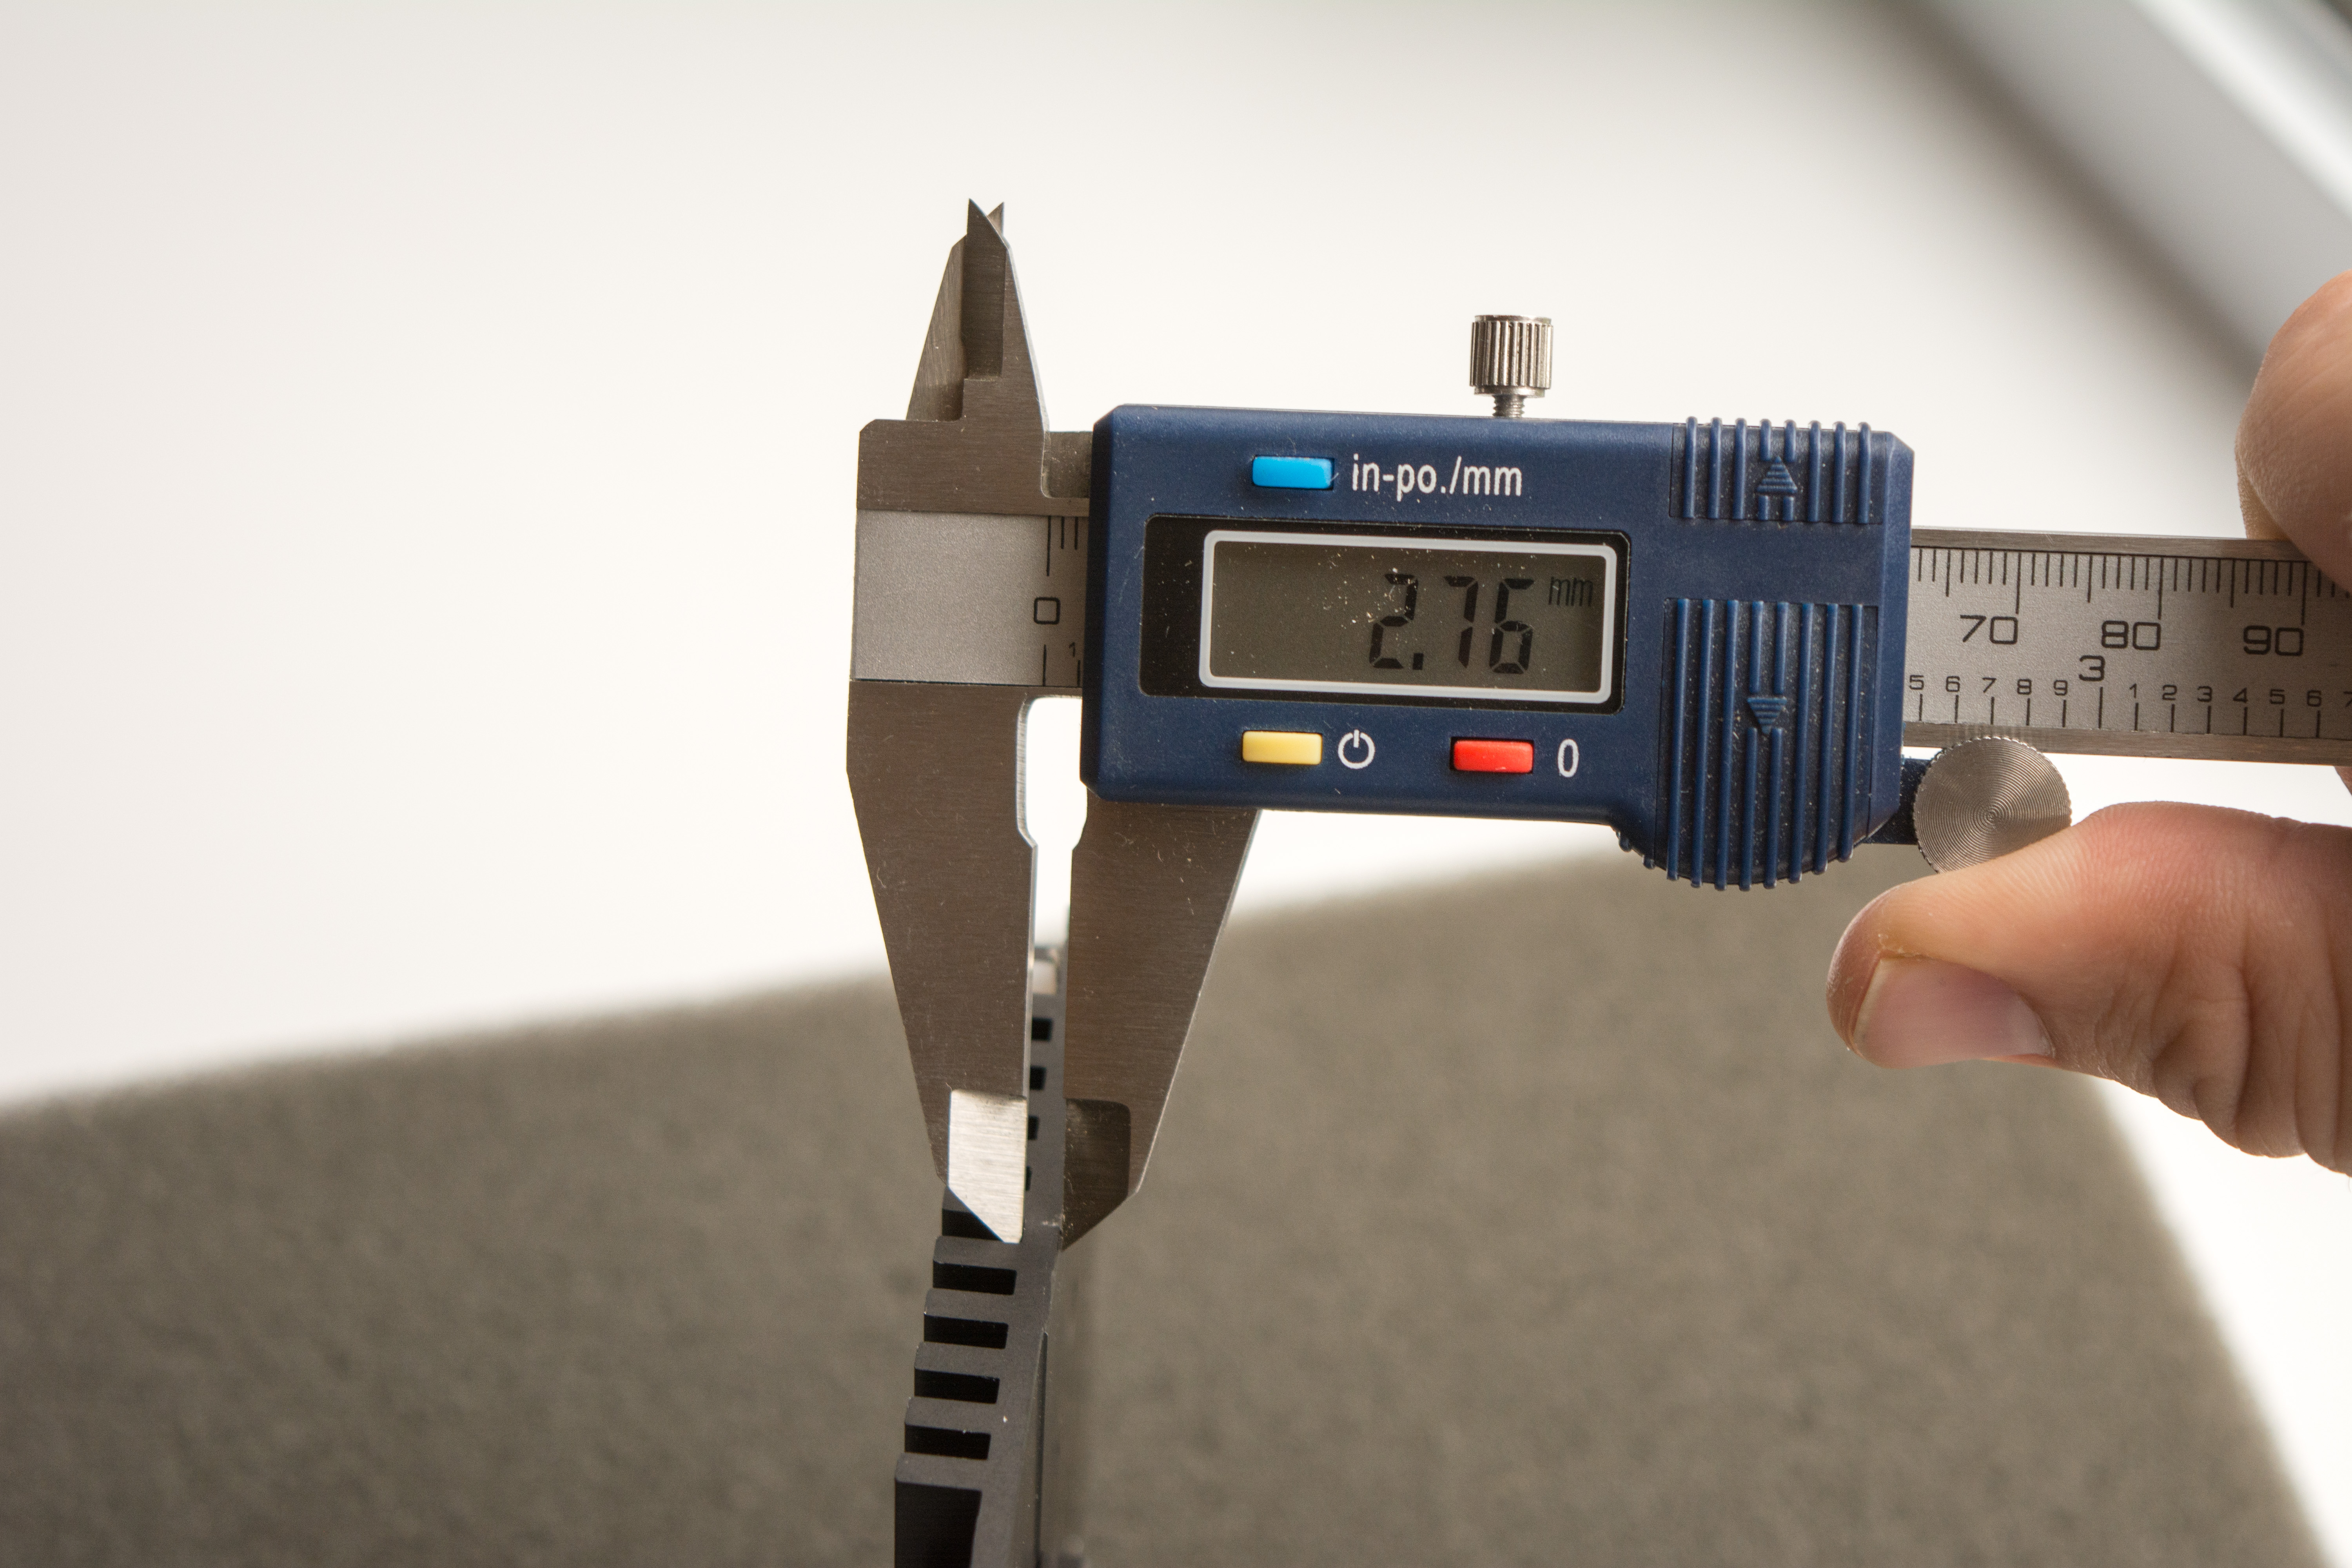
The passive heatsink needs to be big, but it basically takes up a whole section of the interior frame by itself. It is 117.74mm wide by 96.41mm long with around 20*2.64mm wide fins and a base thickness of 2.76mm. Various machined cuts are in it for various component clearances. The heatsink is held on with four plastic push pins with springs that help keep tension on the CPU die.
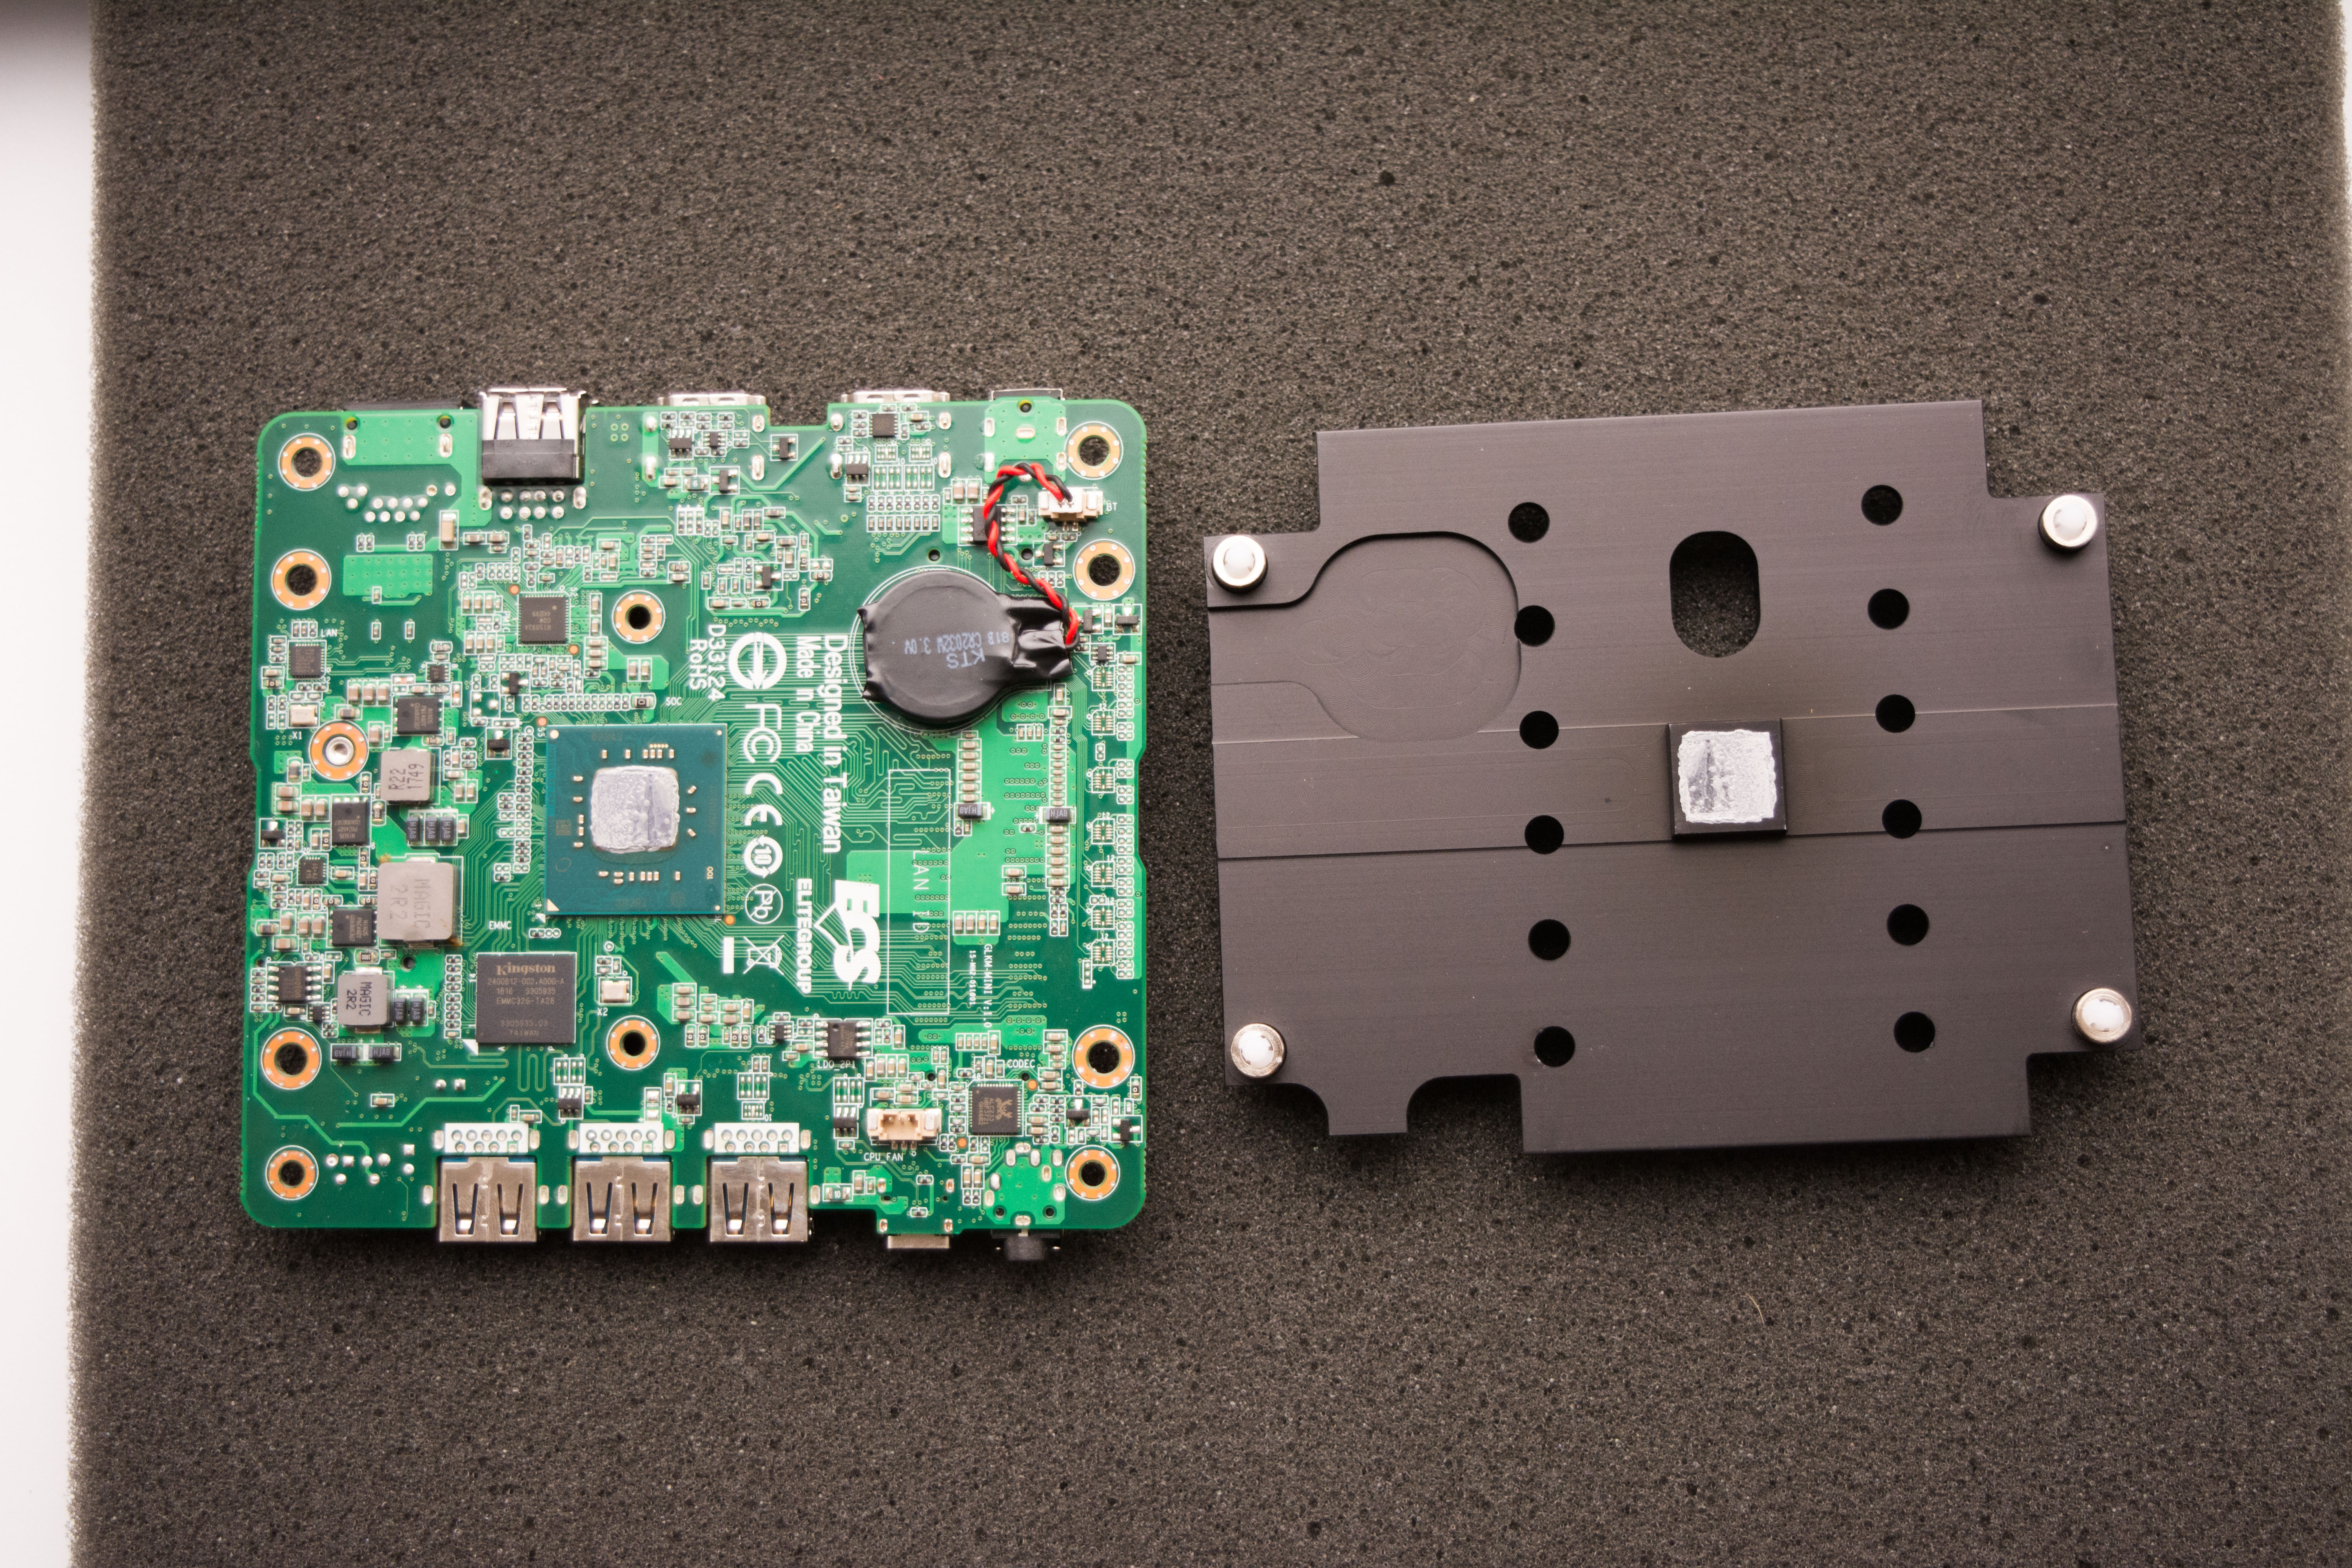
CPU

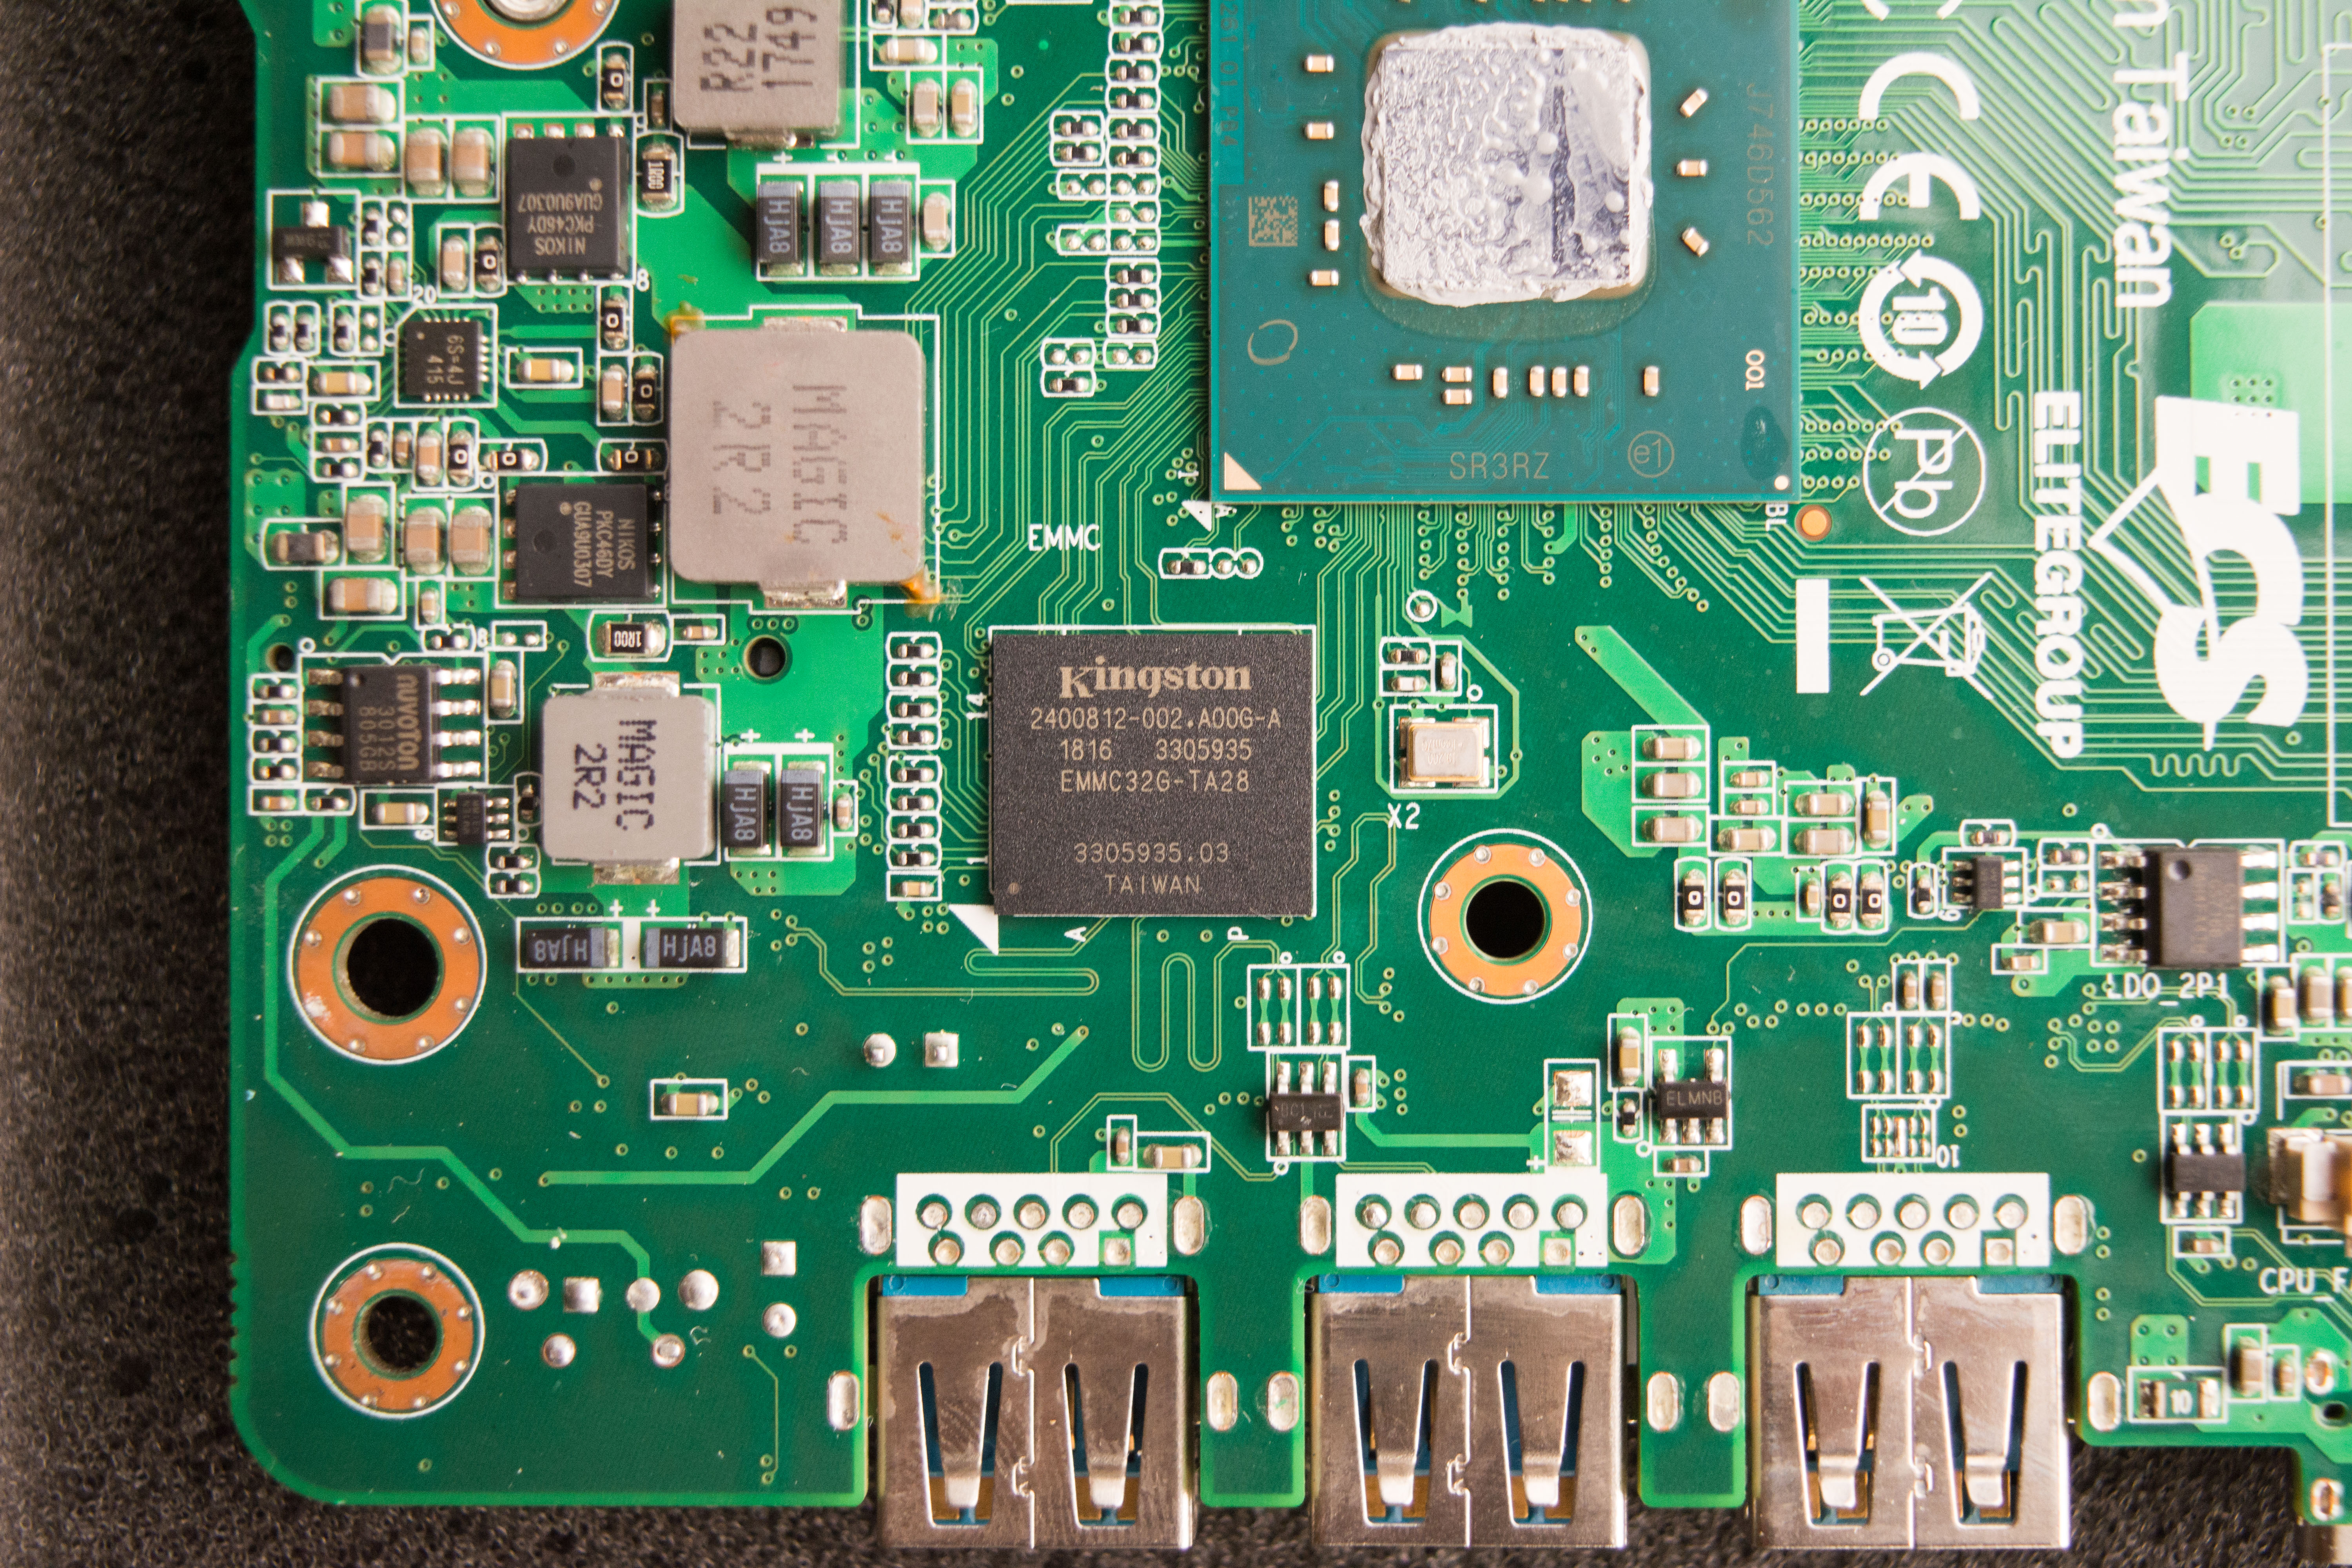

We can see the SoC Pentium Silver N5000 processor. Adequate thermal paste was put under the heatsink. I thought I was going to find a thermal pad like the ECS Liva Q had, but they choose paste instead which I personally find much better. If we look further, we can see the CMOS battery, if we compare it to the CPU die, we can see how small the actual die of the N5000 is.
Perforations
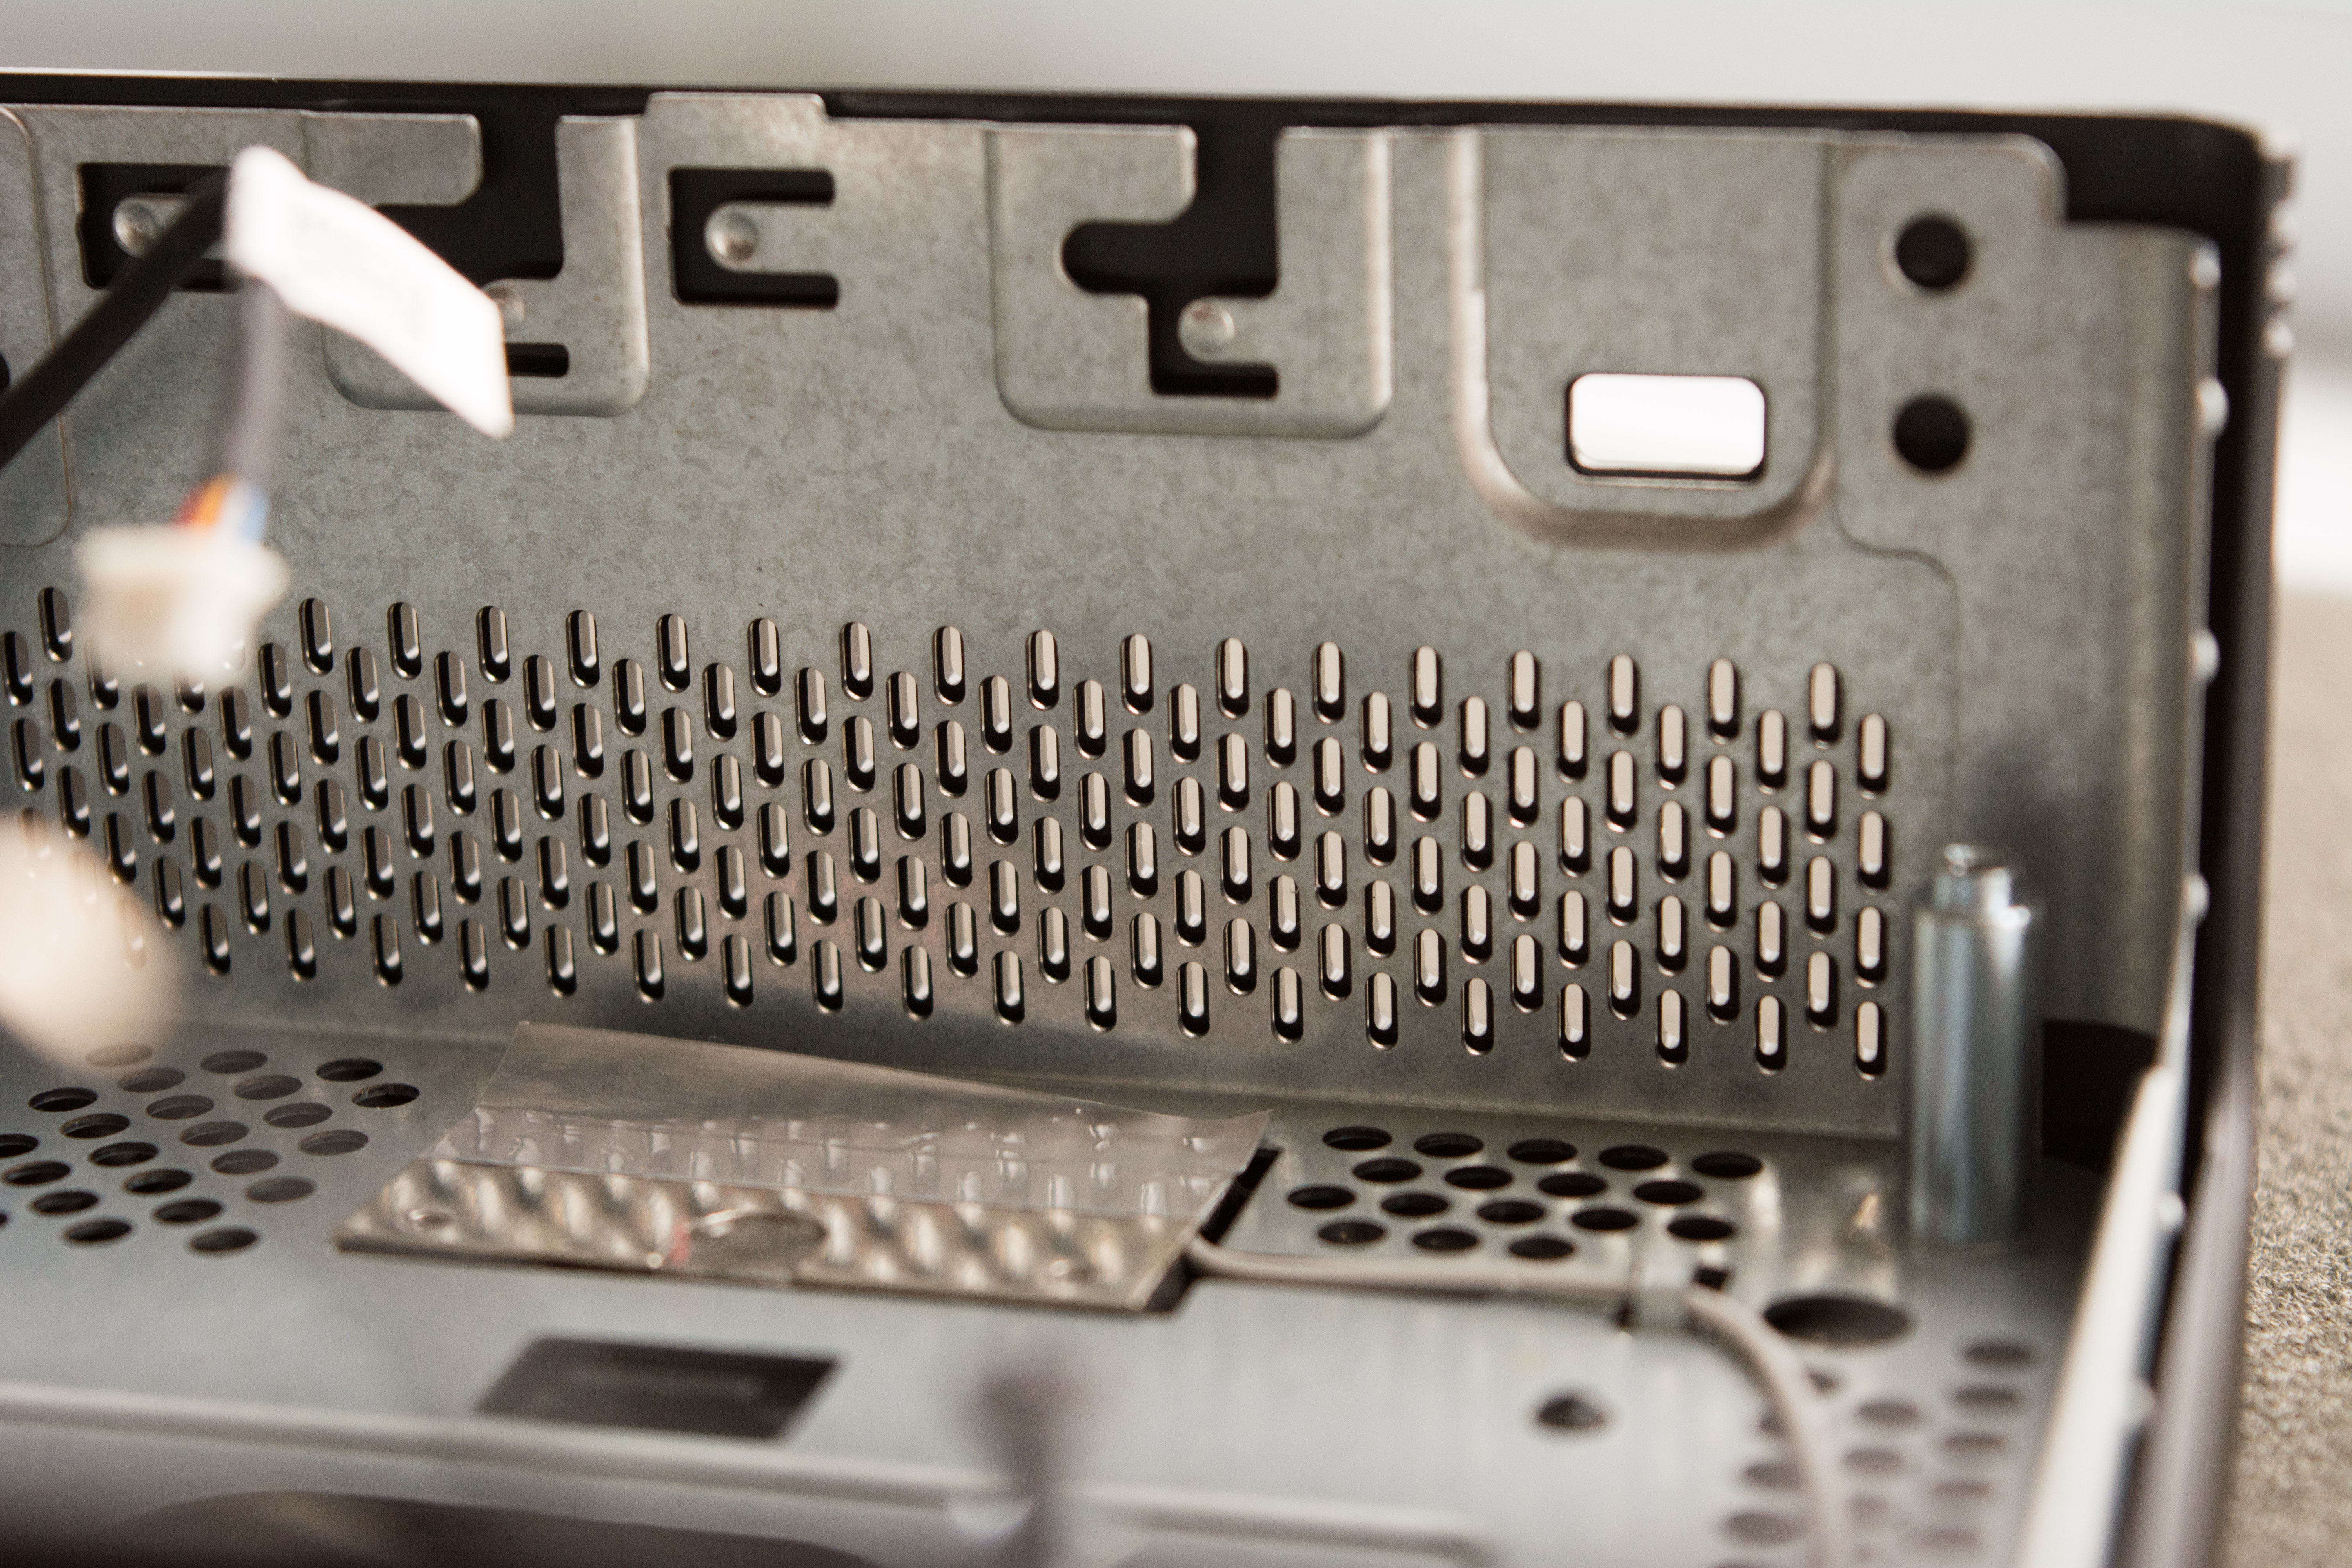
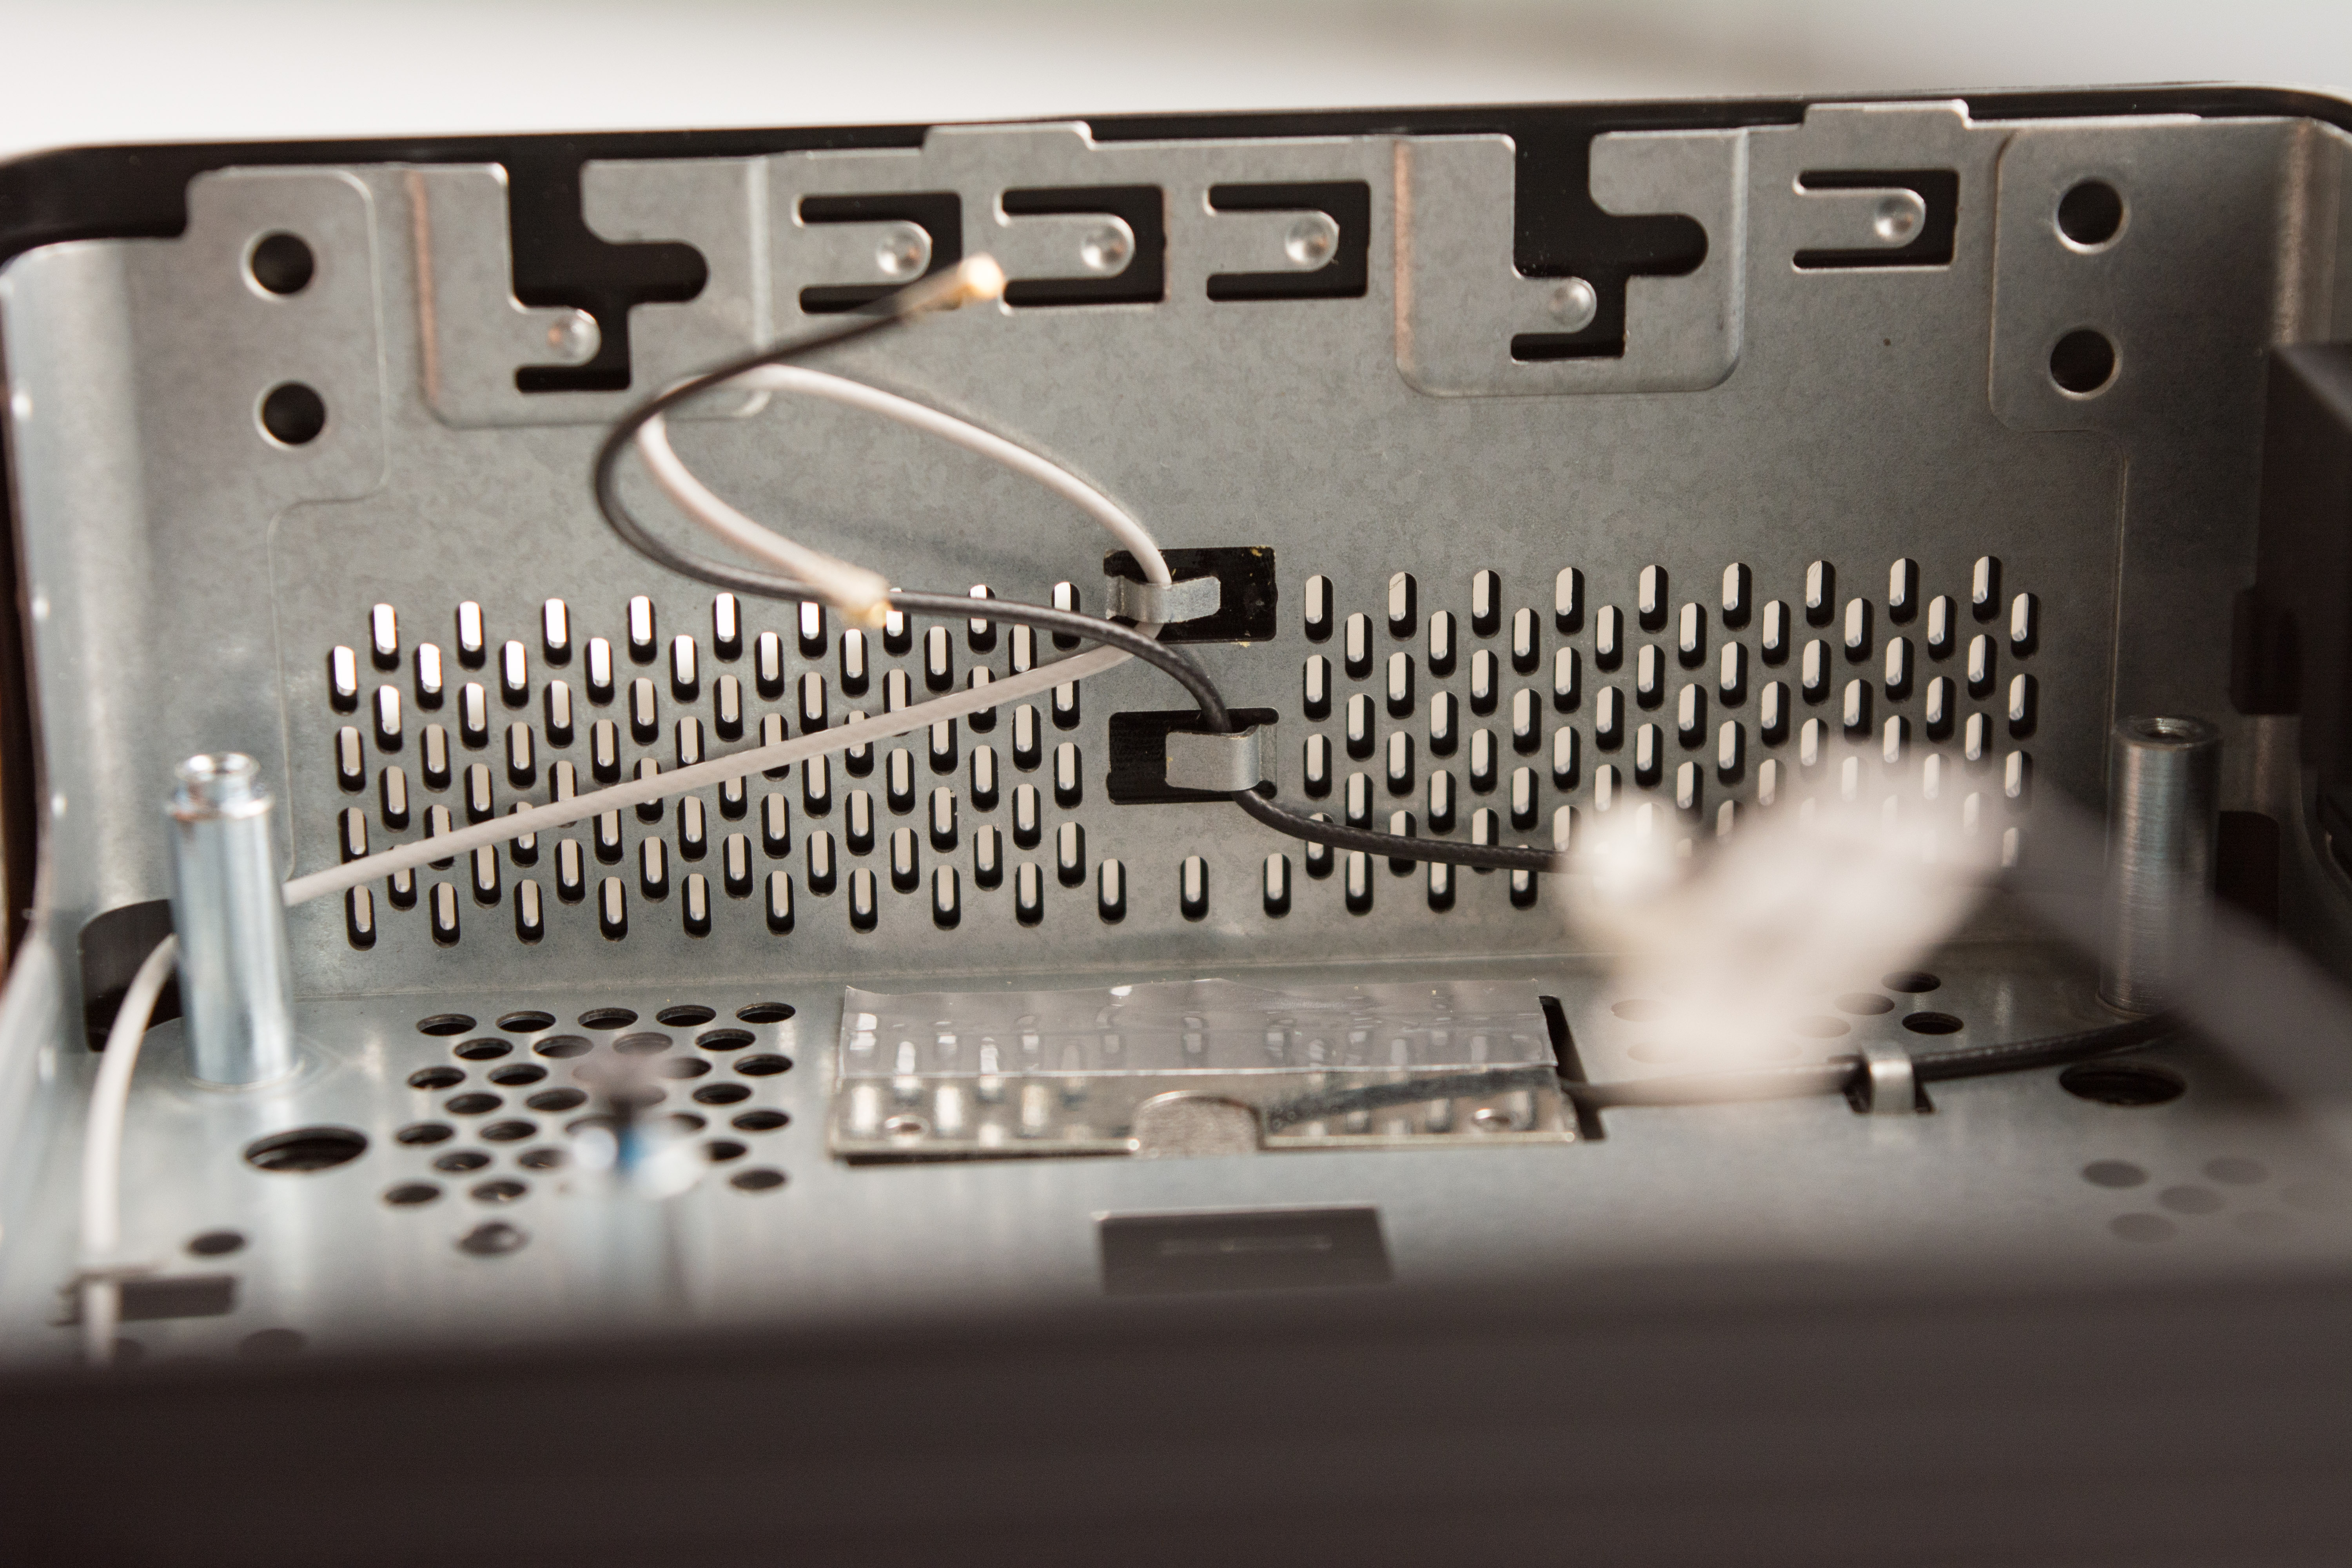

We can see that both side ventilation line up with the interior frame, something I really wanted to check, because it isn’t always the case!
Actual dimensions

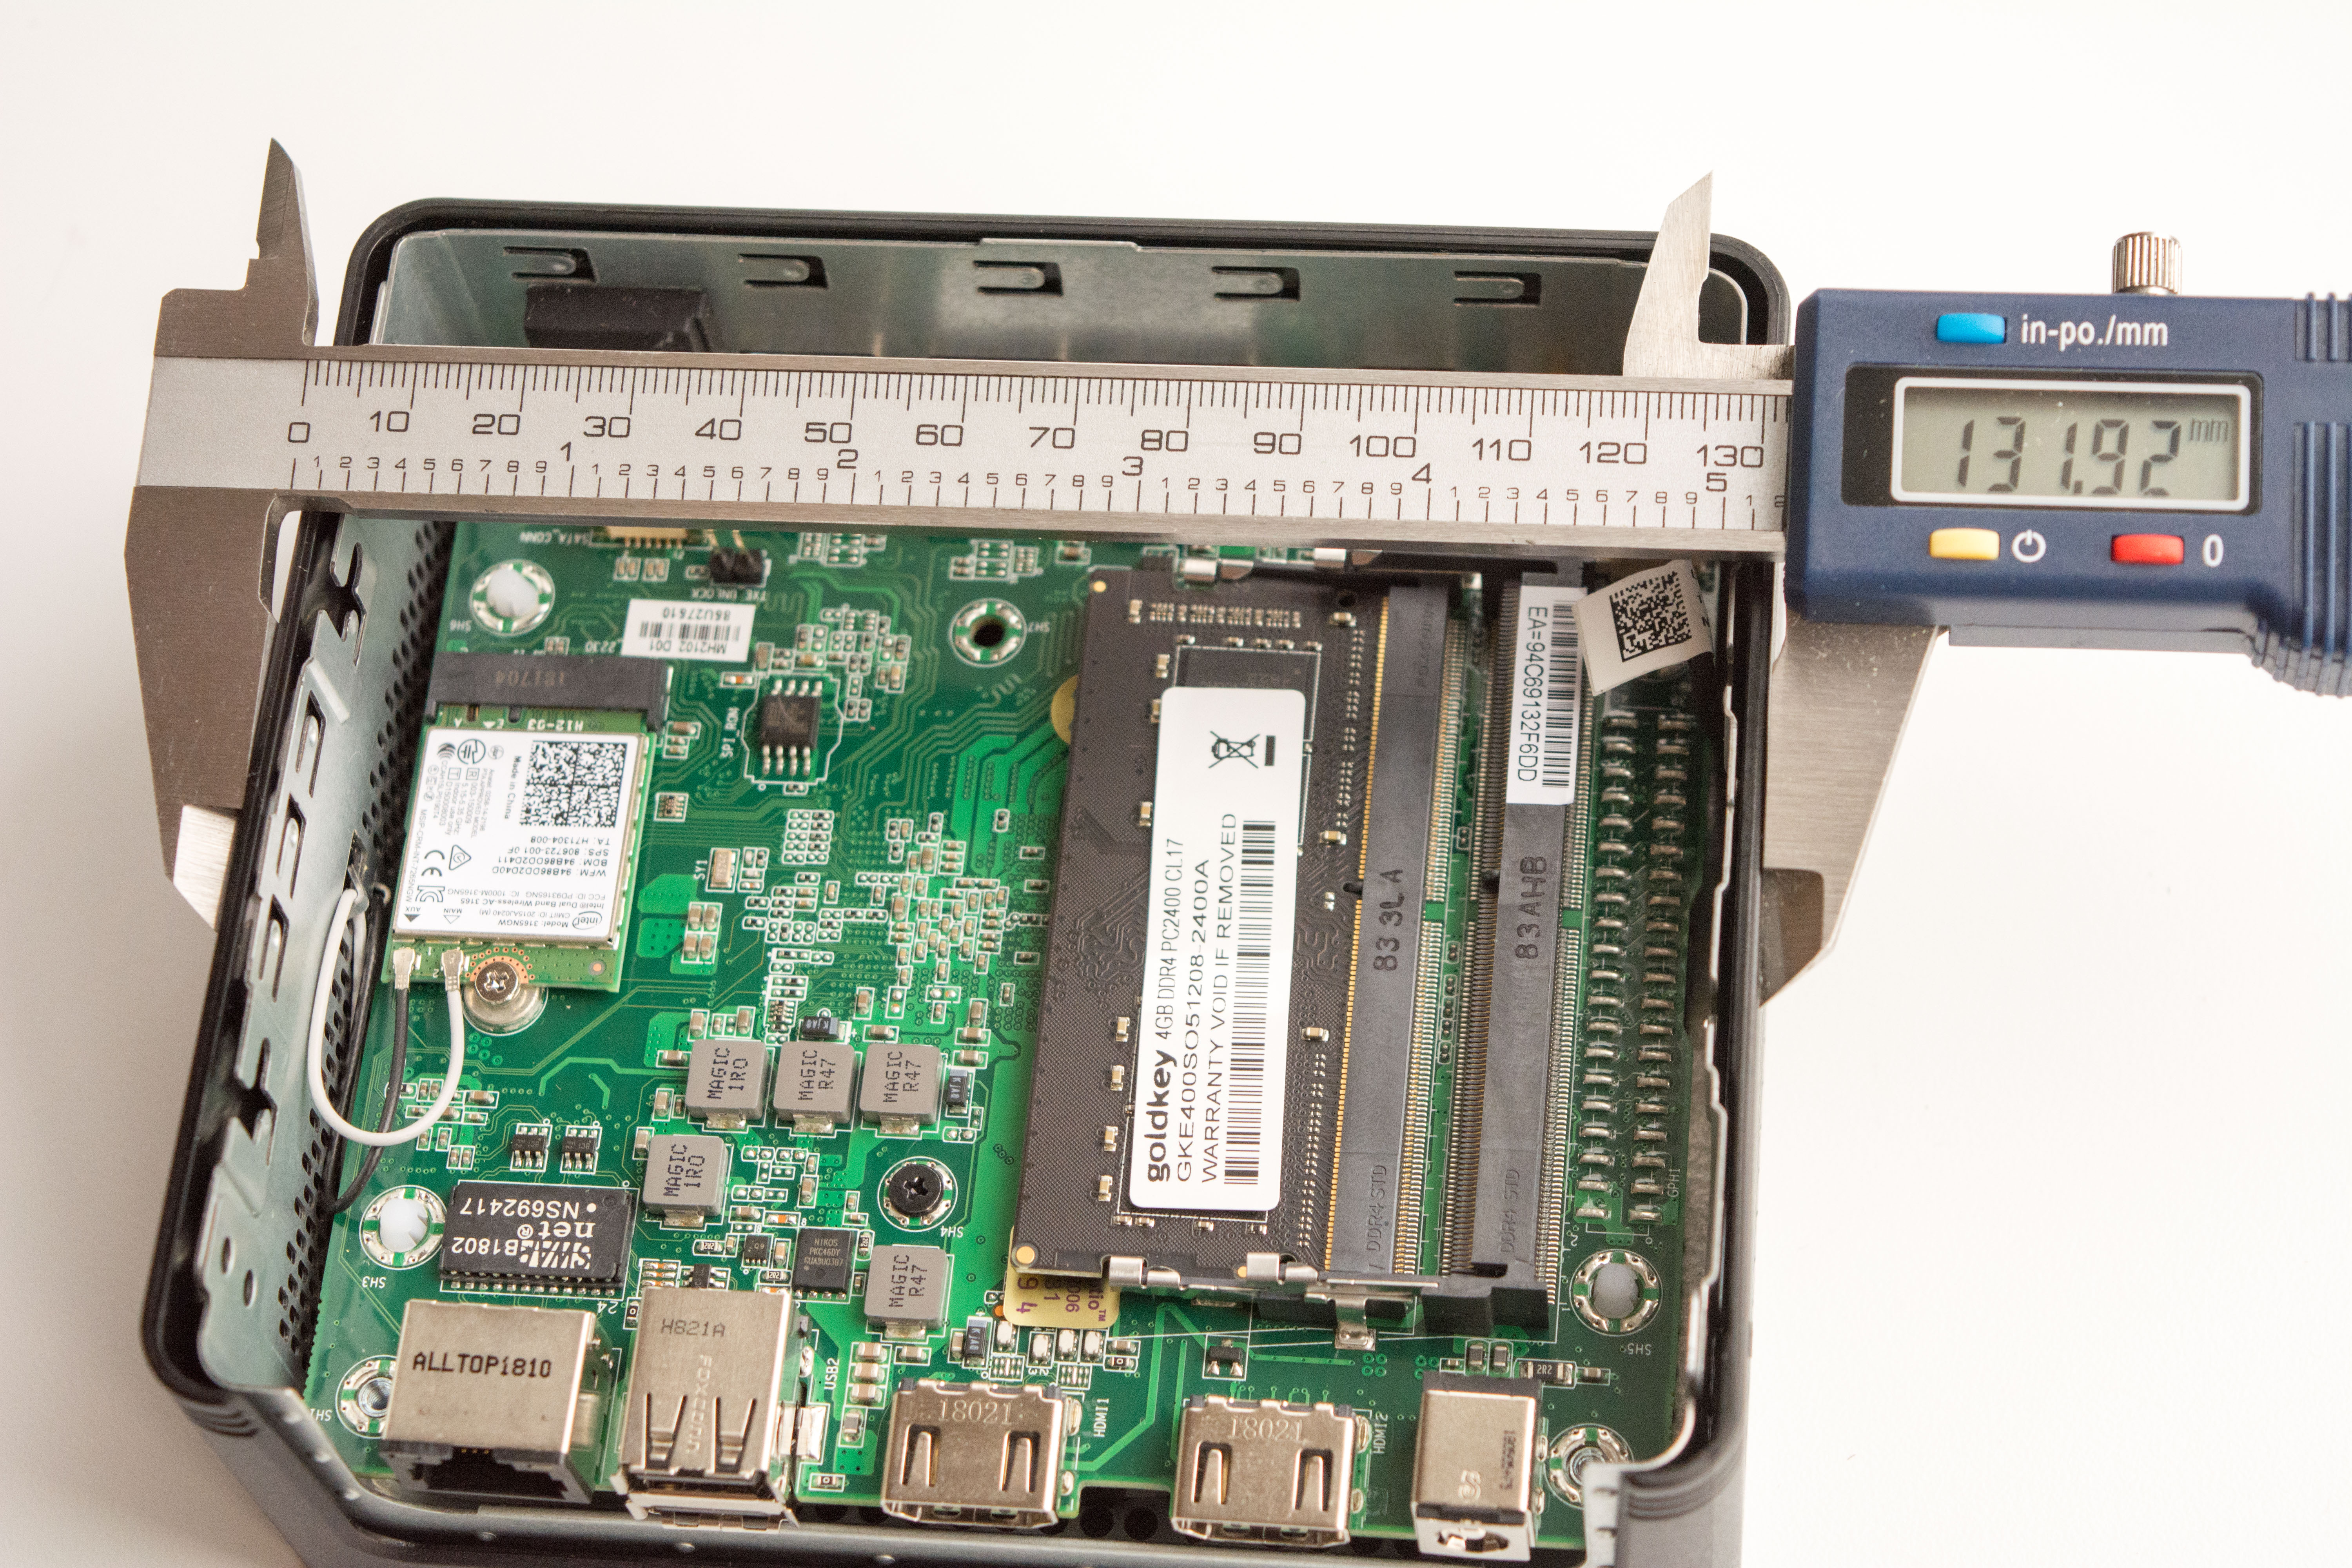
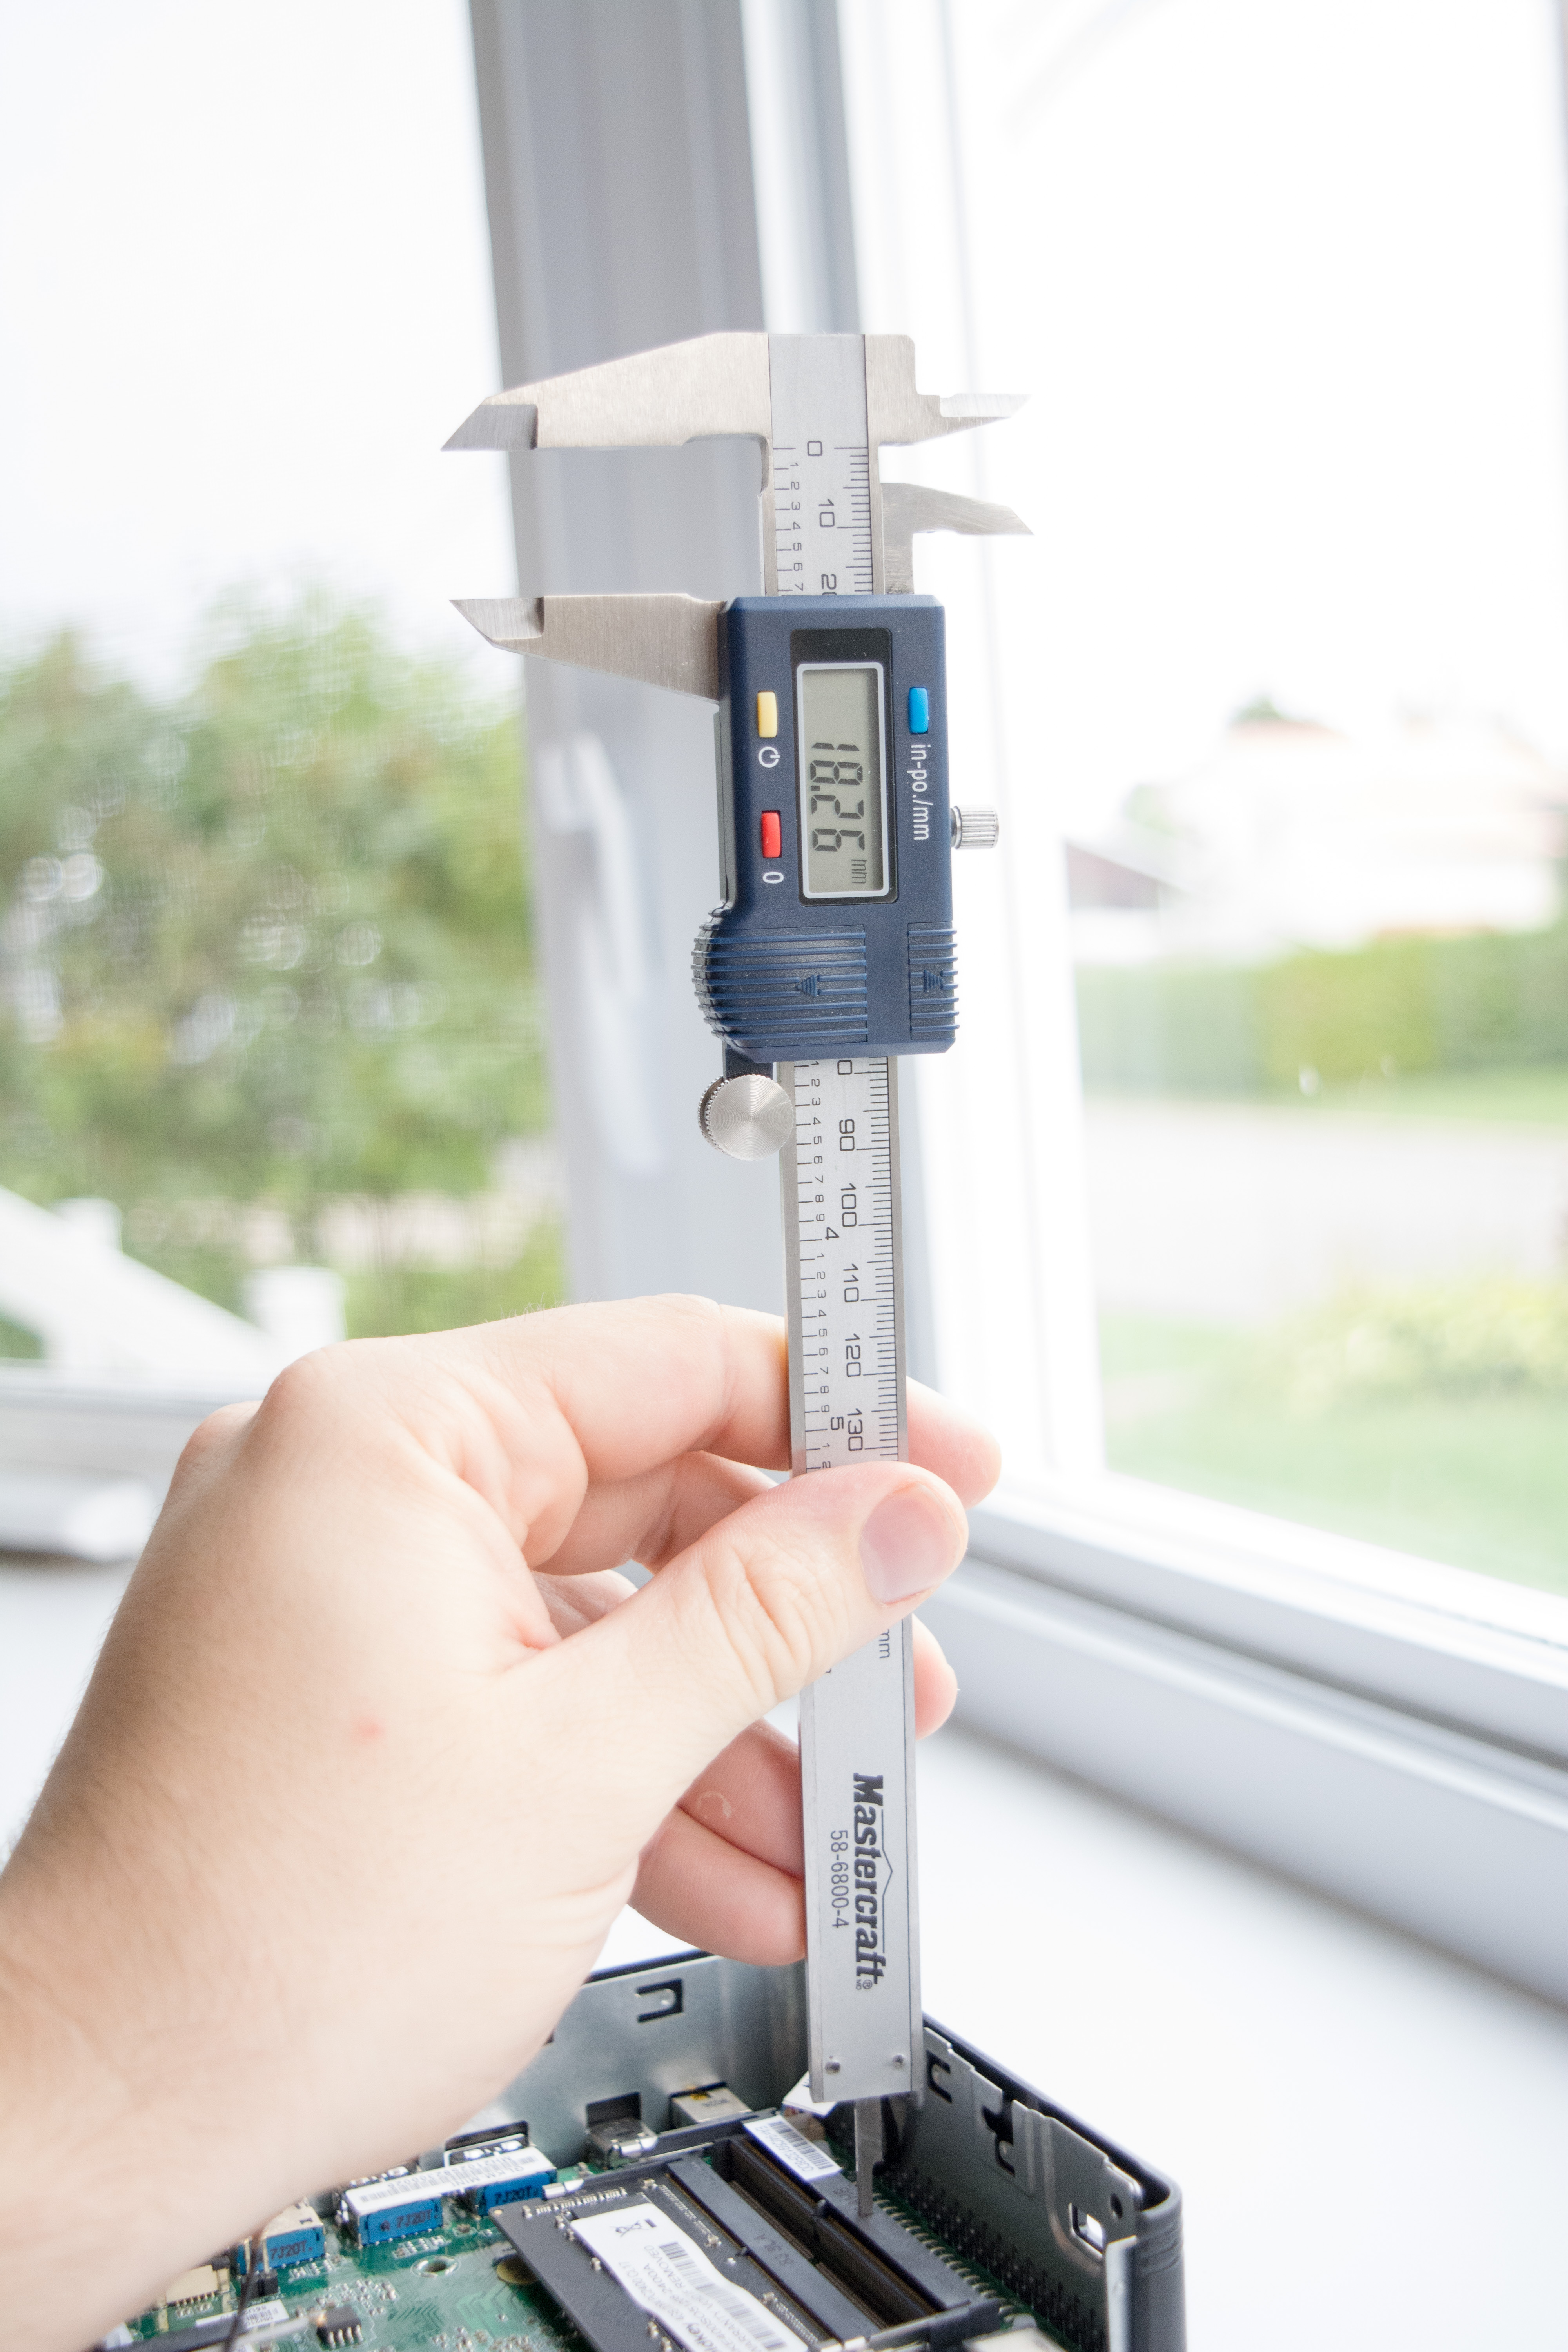
Actual dimensions of the unit are just a hair under what is provided in the spec sheet (both are probably rounded up). I measured 117.68mm * 131.92 and specs state 118 * 132. Clearance for the optional 2.5” drive is 18.26mm, which leaves the possibility of having a 15mm drive inserted into this case with a custom caddy. Let’s see if I can make it happen.
Power button
I hope I don’t offend anyone at ECS, but the power button aesthetic is horrible. It looks like an afterthought of “Hey, let’s make a big illuminated button”, but then someone decided it didn’t diffuse enough on the sides so they covered it in black permanent marker except for a dot in the middle.
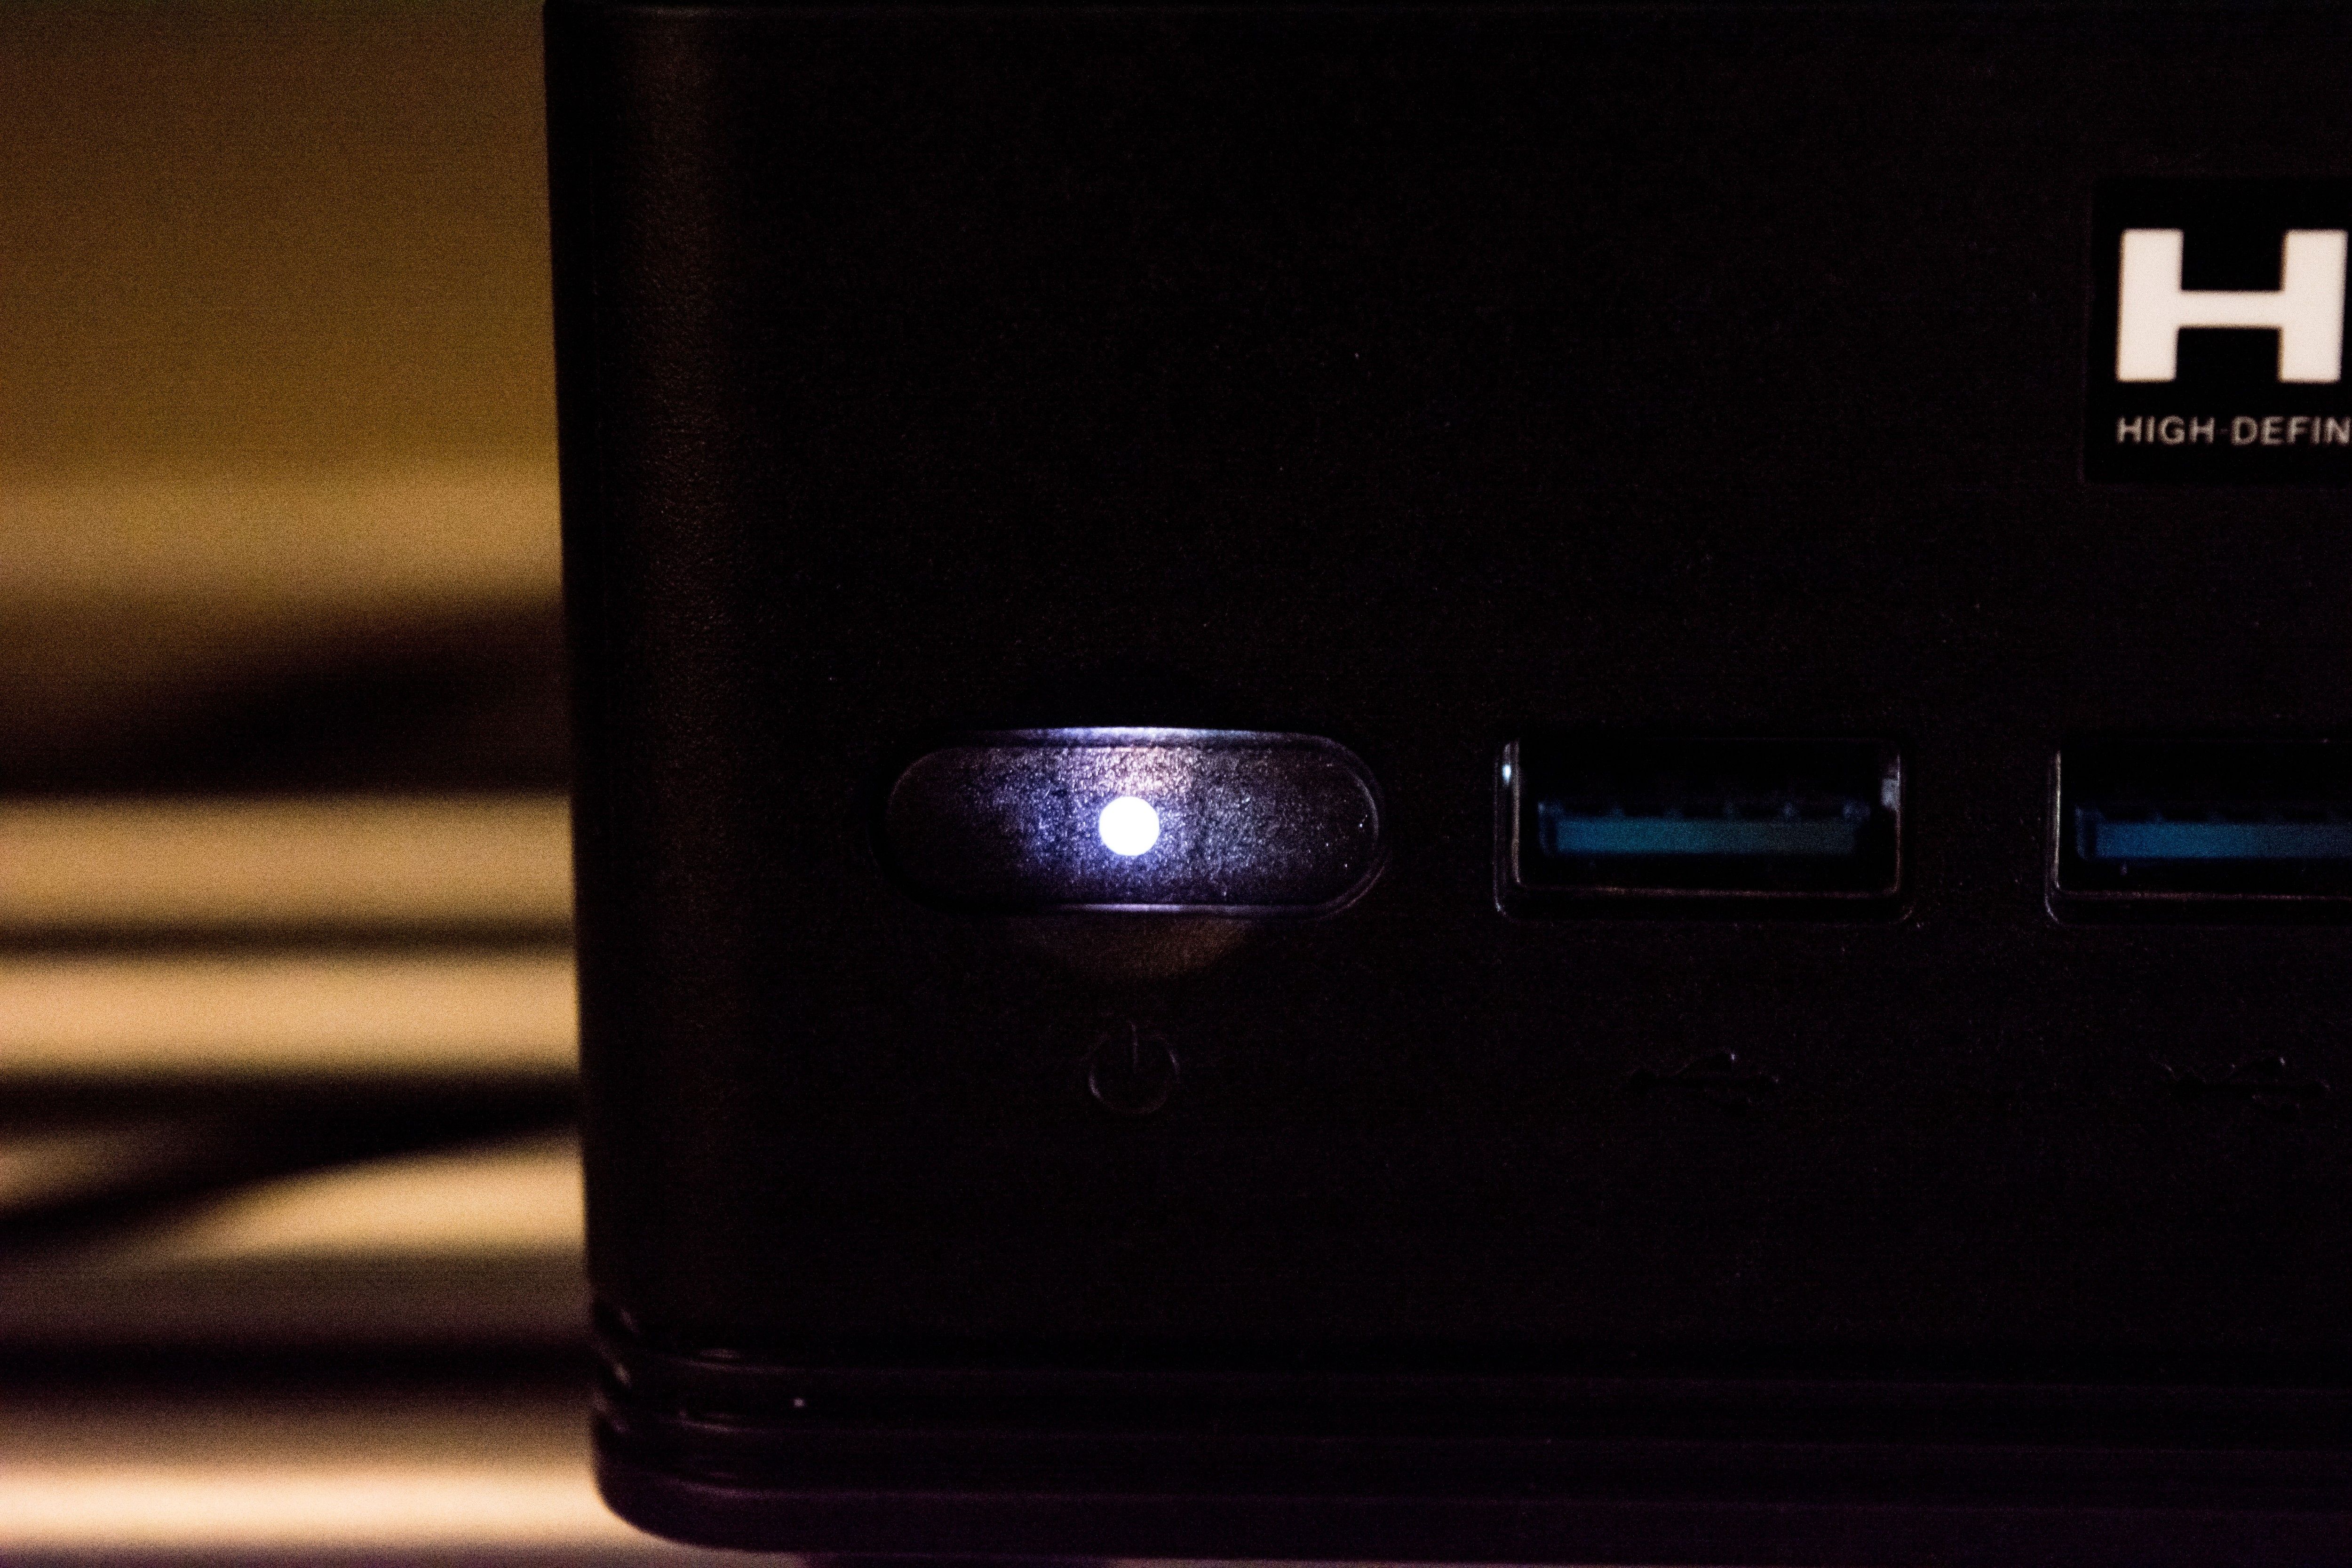
It looks bad and I really hope they do something about this on later models. If you compare the the ECS Liva Z Plus beside it, we can see aesthetically ECS know how to make a great looking power button, the execution of this one just isn’t one of those. It is the same shape as the Liva Q too, they could’ve just reproduced that.
Upgrade time!
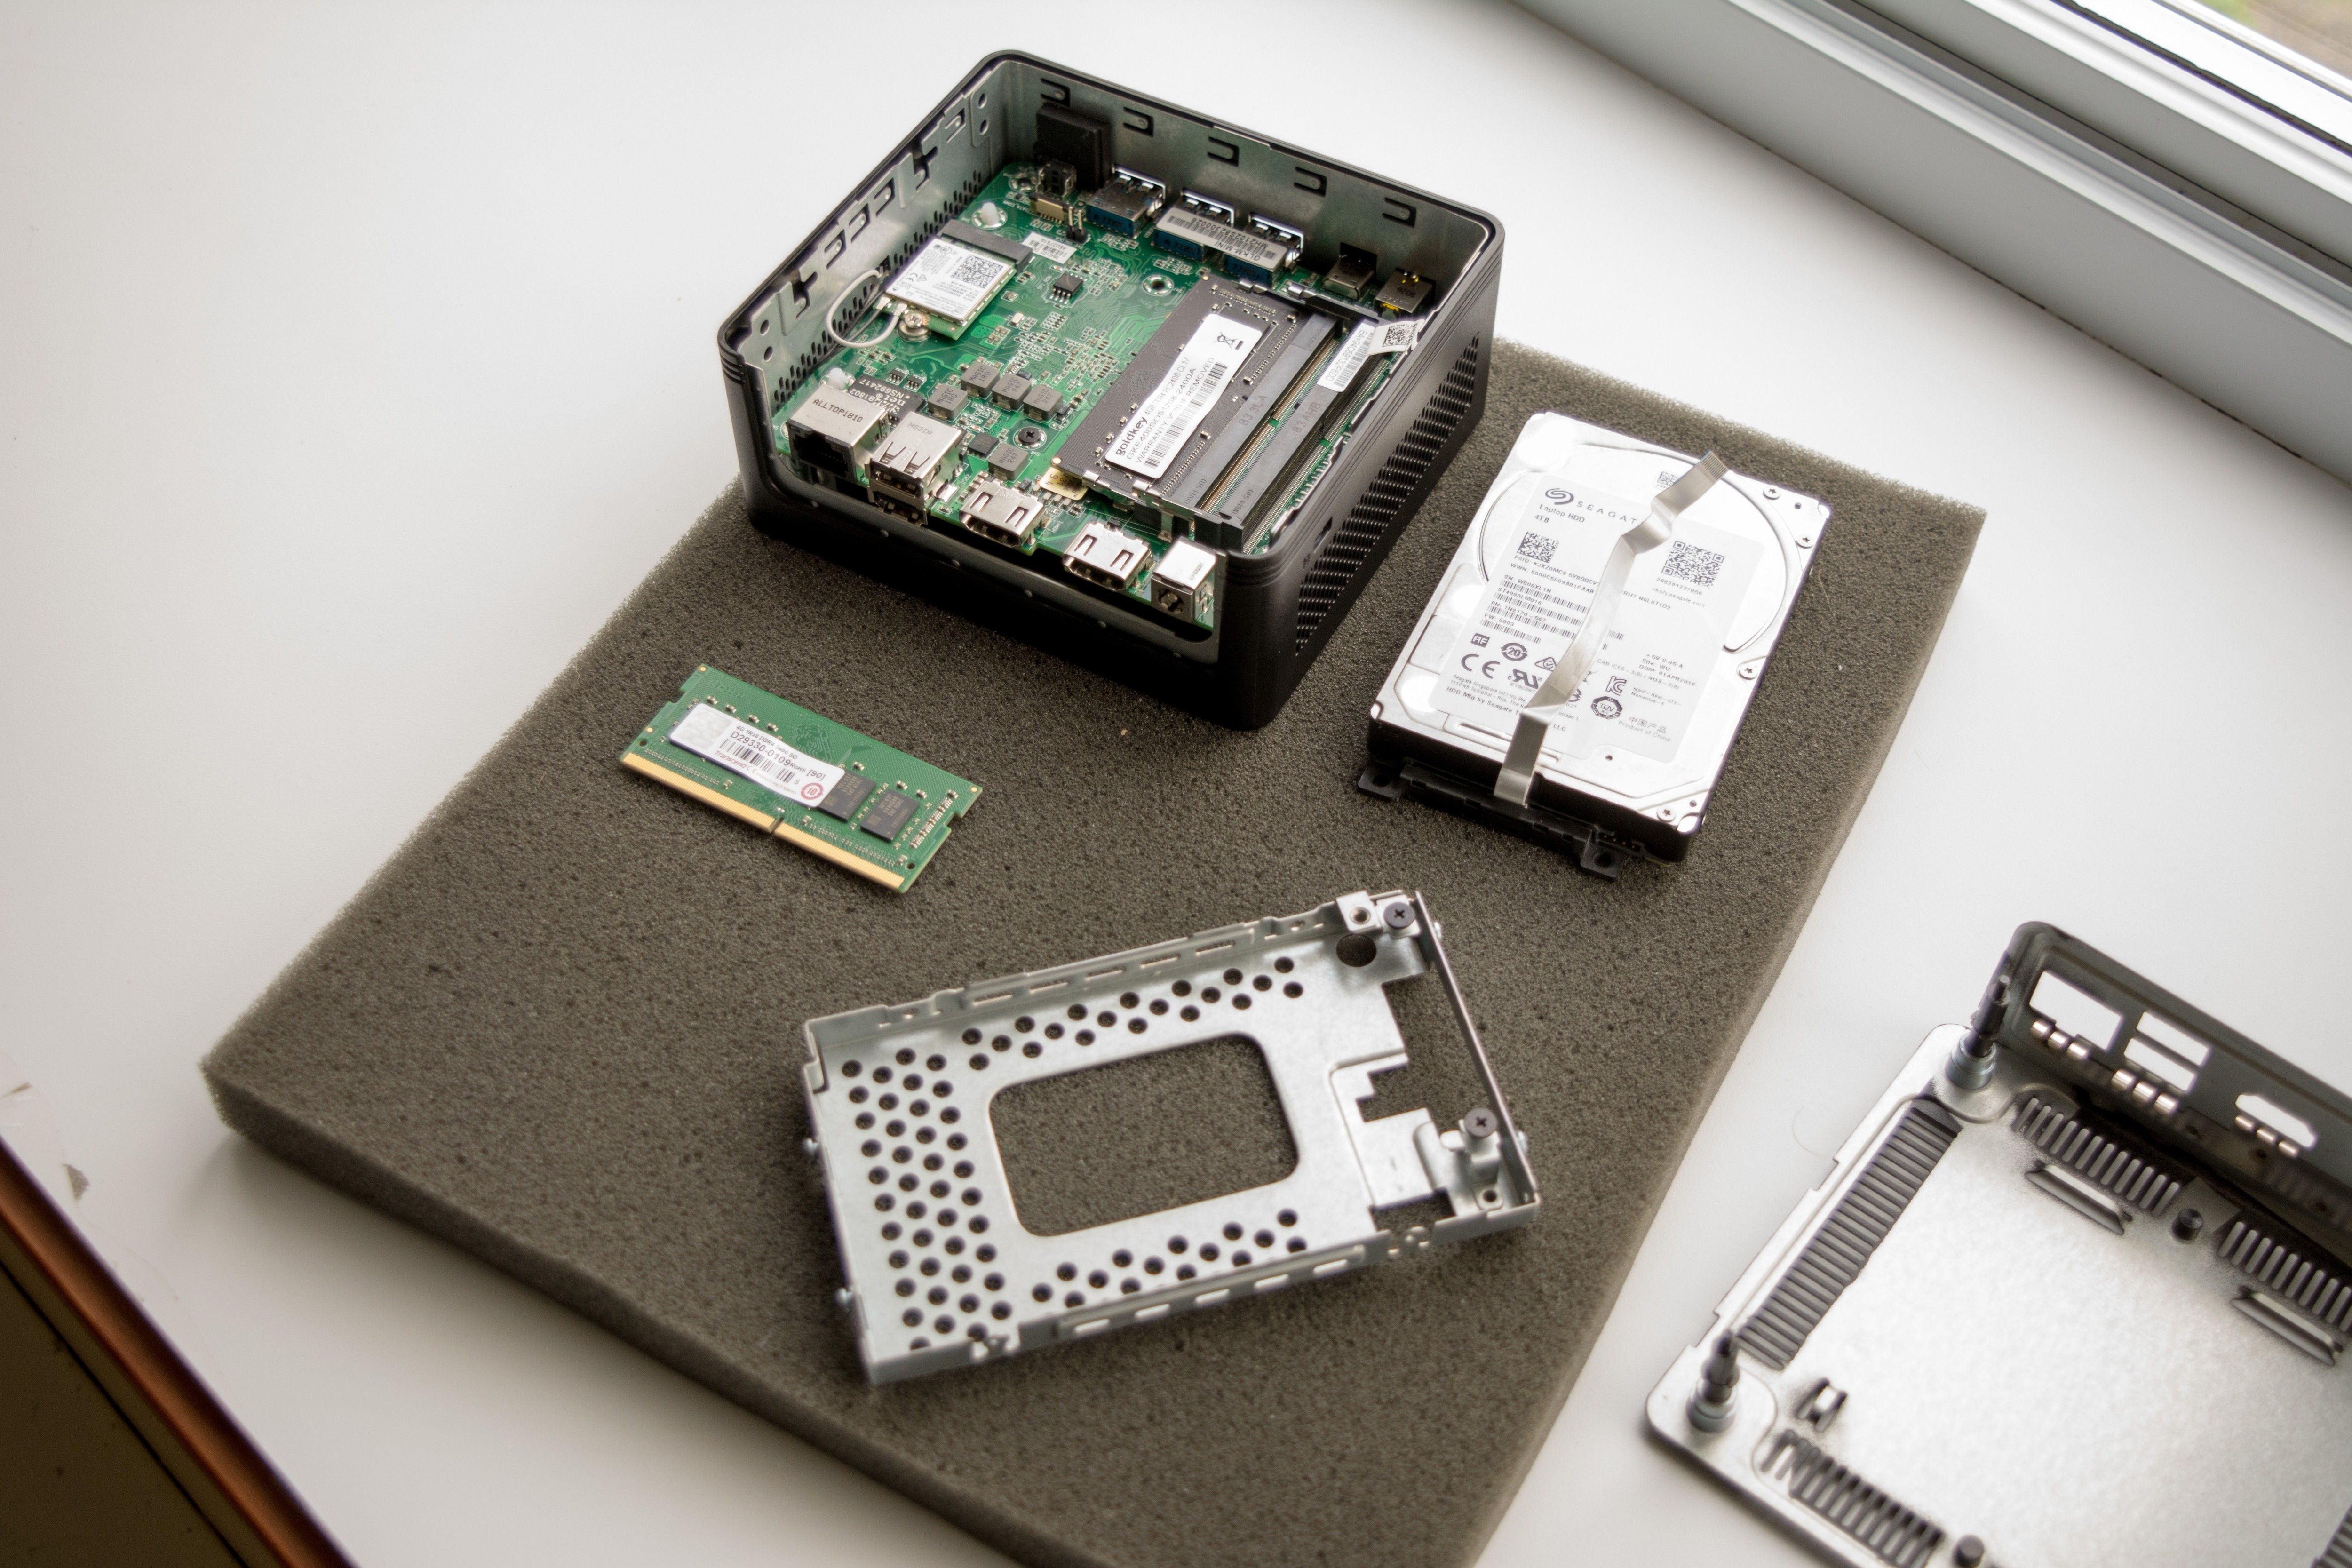

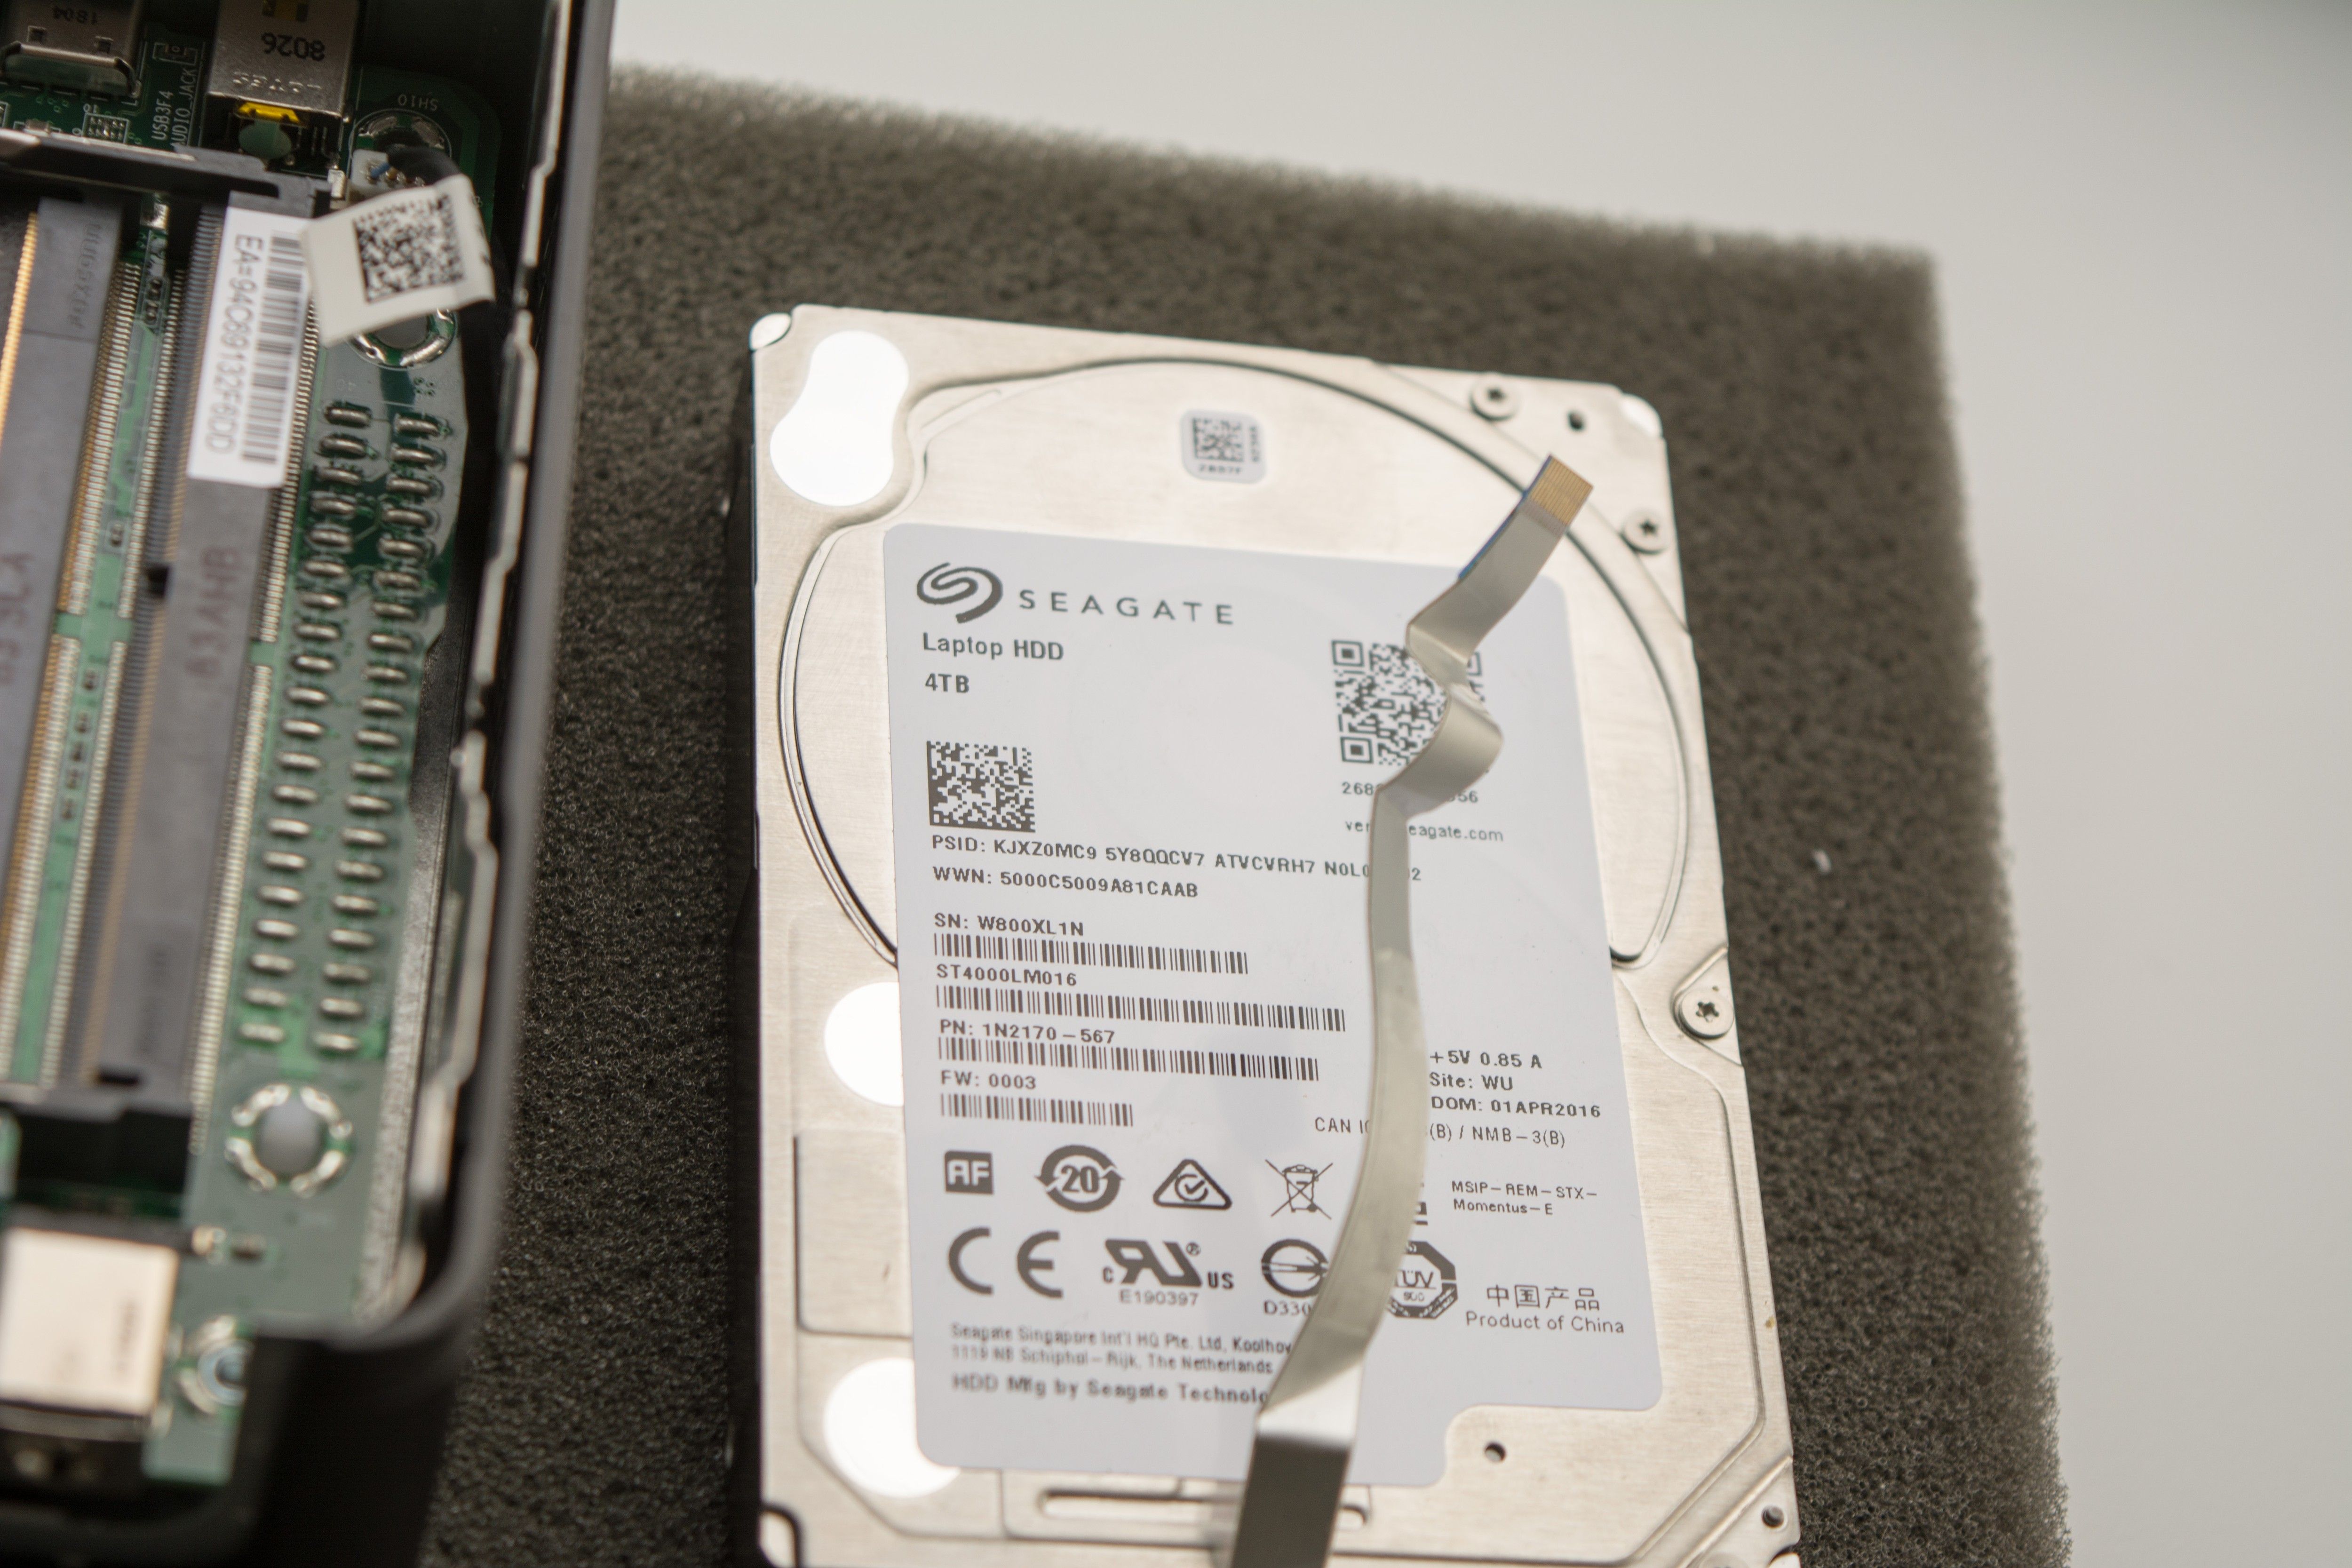
Now, before I put this machine to work as a server, I needed to upgrade it. Let’s add another 4GB of DDR4-2400 C17 (the stock stick from the ECS Liva Z Plus) and add a 4TB Seagate 2.5” drive in it.
(Click for more information)
A 4TB server that runs a Minecraft server and my 3D printer along with carrying backups of my main server, all that in under a liter of volume!!!
I used anti static foam and cardboard to hold the 4TB hard drive. It looks a bit ghetto, but works wonderfully. I didn’t take any pictures of this as I wanted to let you explore this option on your own knowing it could be done. You just need to make sure the hard drive does not come in contact with either the metal casing of the PCB components.
Performance
(Click links for more info!)
Default
https://browser.geekbench.com/v4/cpu/9973287
https://www.3dmark.com/pcm10/28700703
Upgraded
https://browser.geekbench.com/v4/cpu/9975178
https://www.3dmark.com/pcm10/28703851
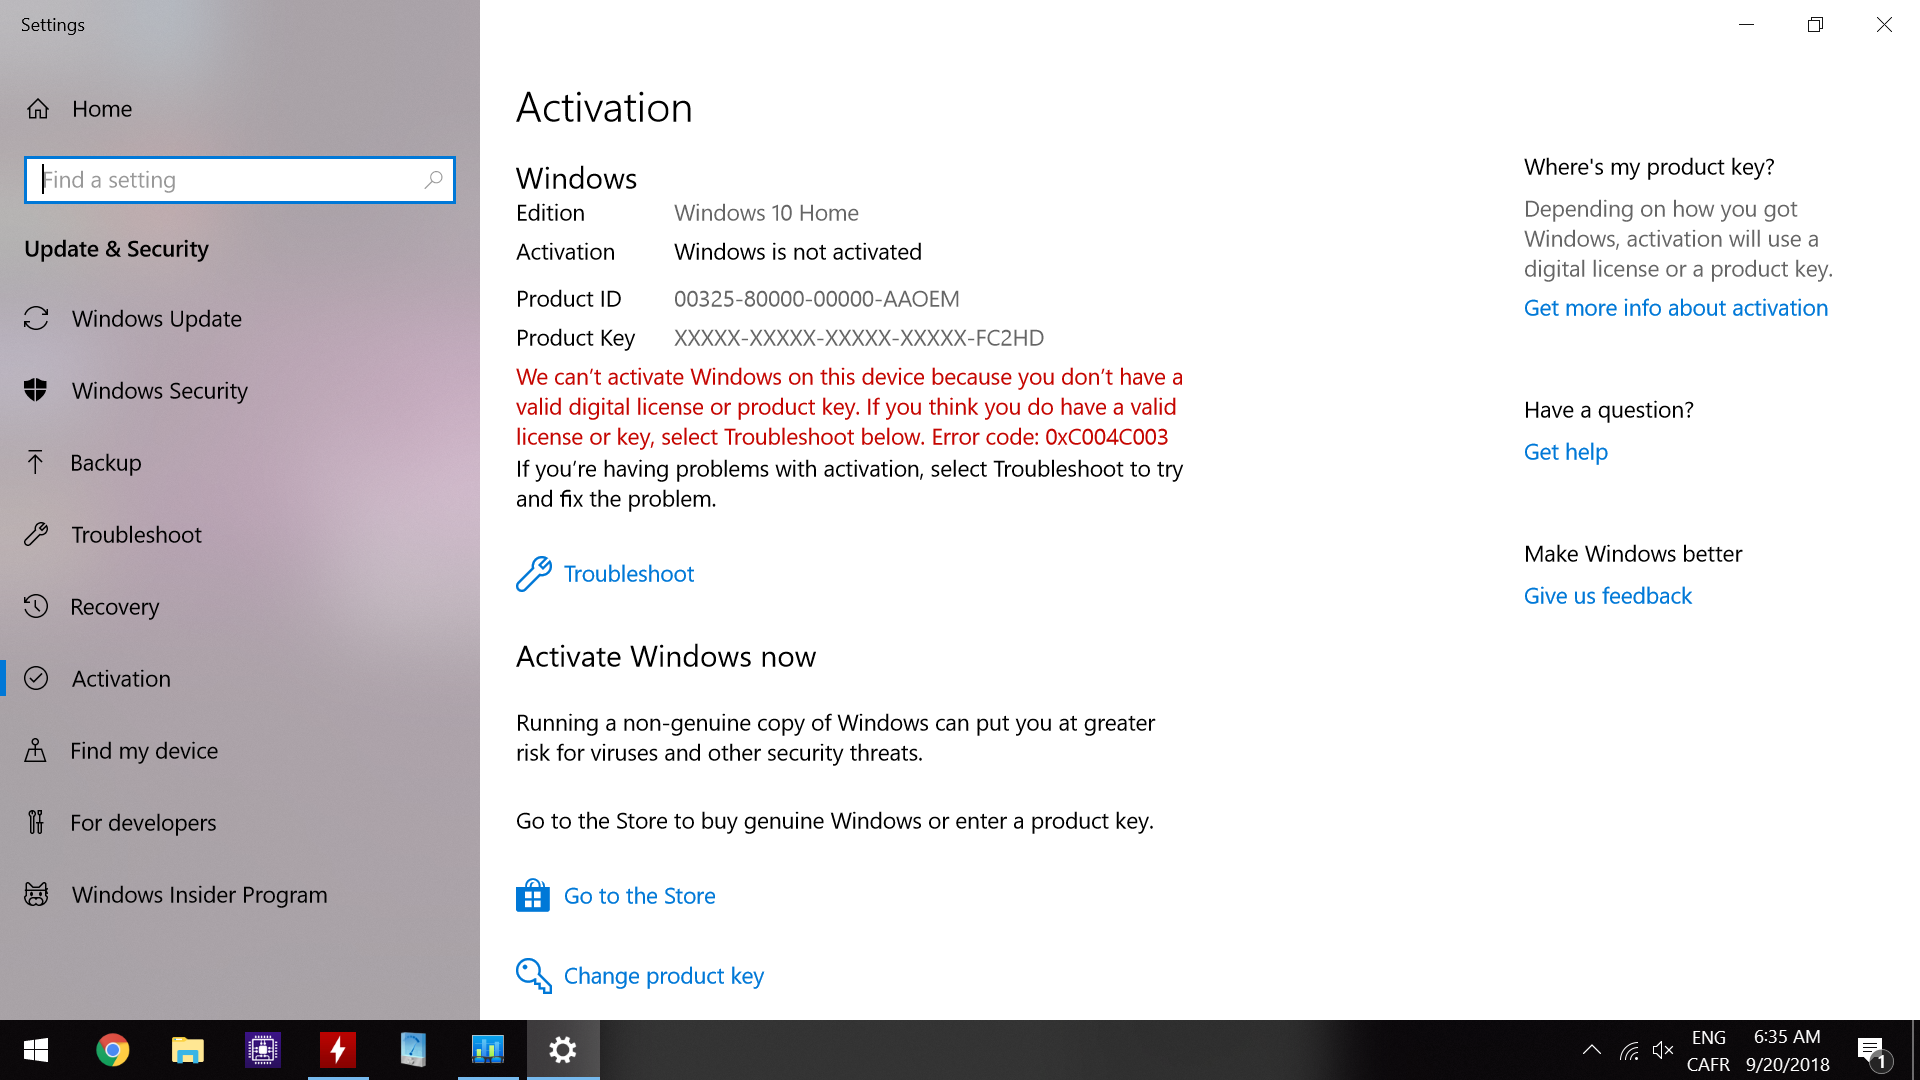
We can see the unactivated windows included with this unit.
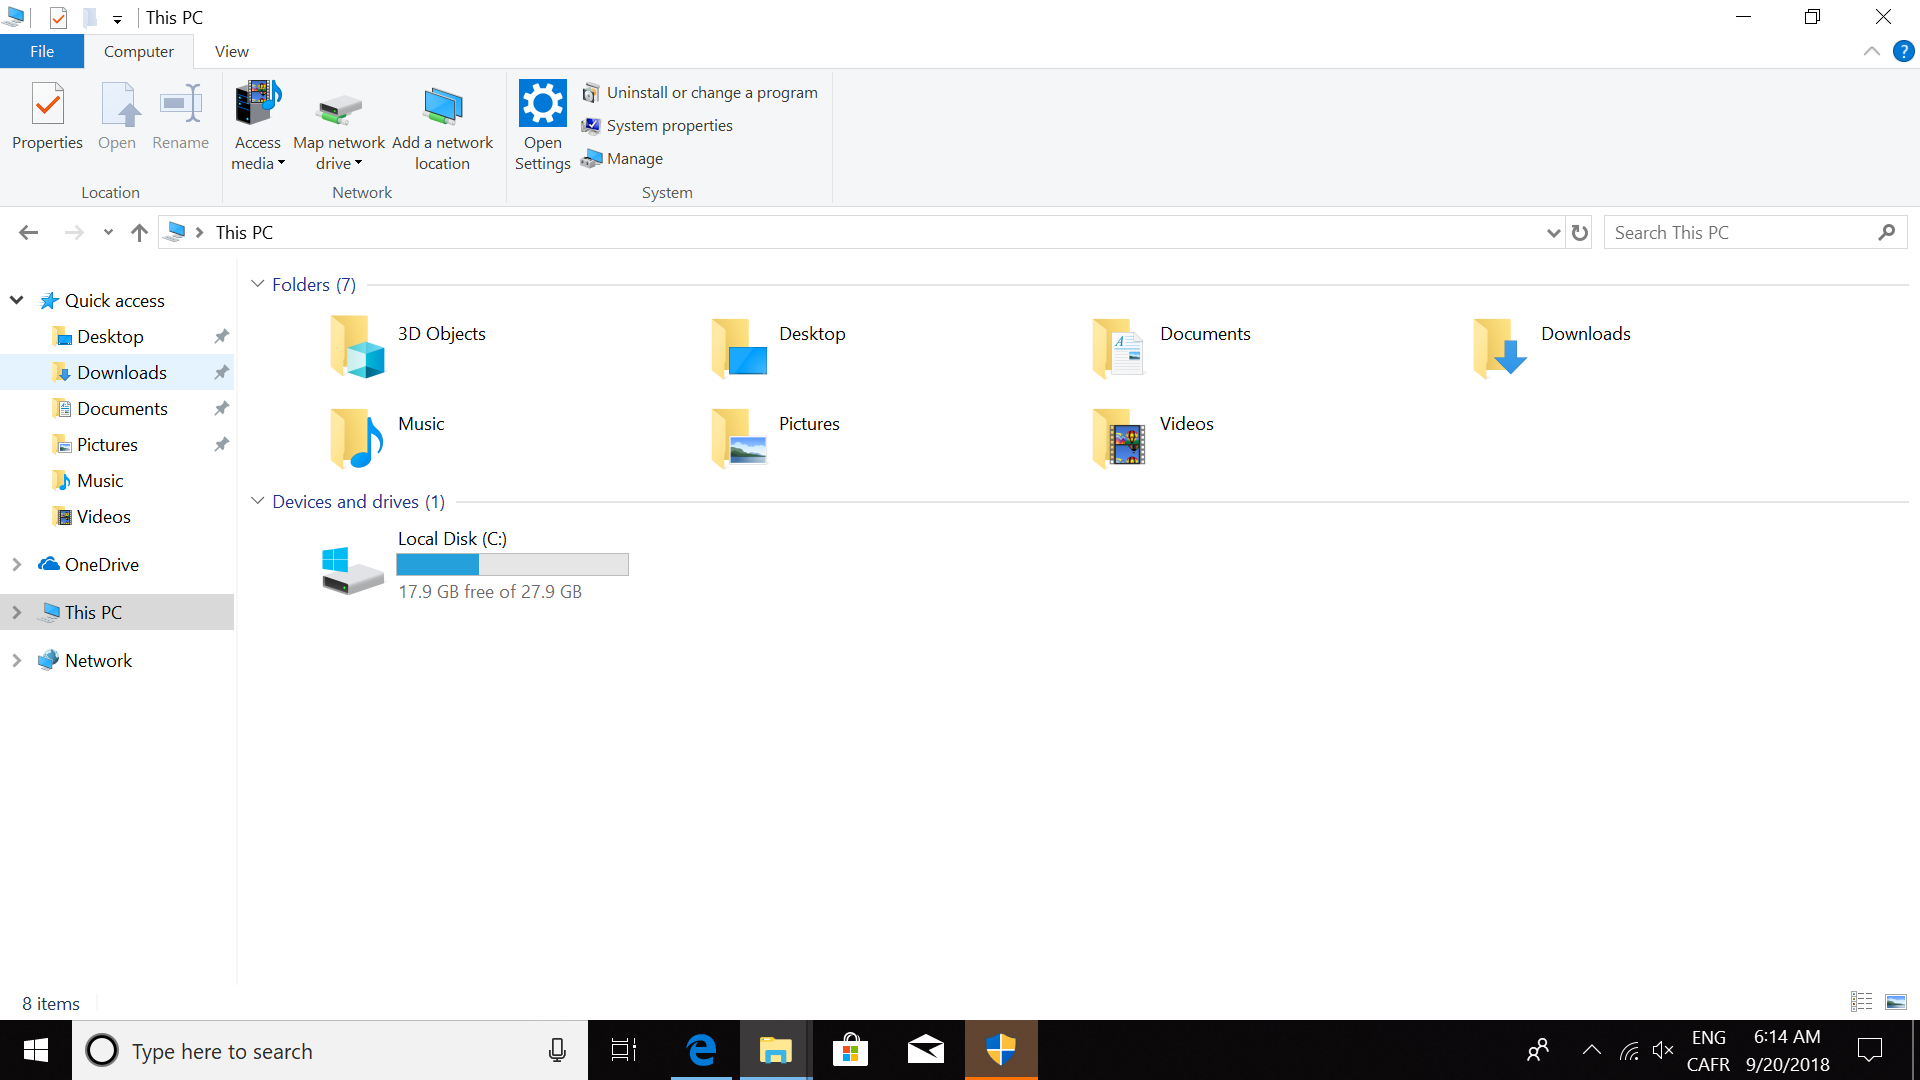
By default, you have about 18GB of free space on the 32GB default unit. 18GB in 2019 is very little. After installing the Office suite and other office software, you’ll be left with very little actual free space, which makes me think, they should not include a 32GB option. 64GB and 128GB would be more widely accepted in 2019. After installing my HDD and a few benchmarking programs, I was down to 8GB free already. This makes it hard for feature updates for Windows, as these downloads are always multi GB downloads and installs.
Geekbench 3
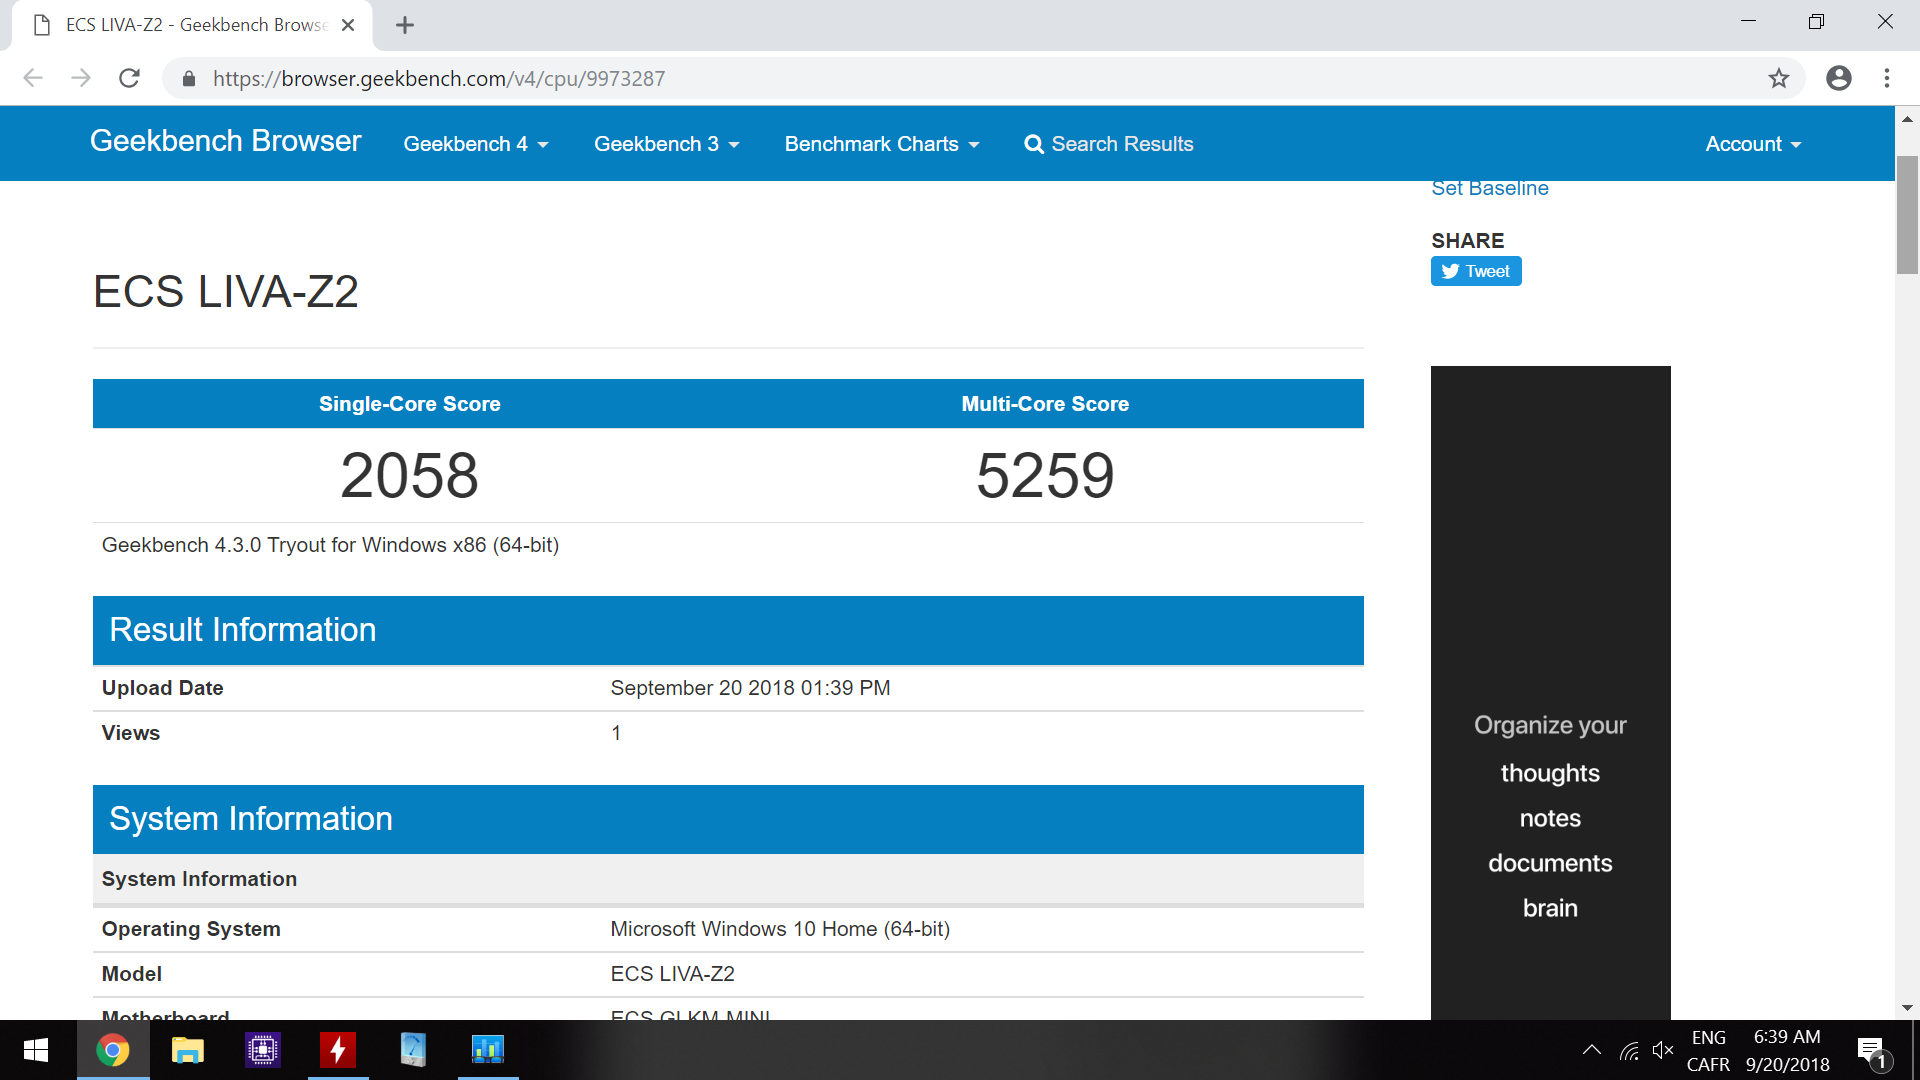
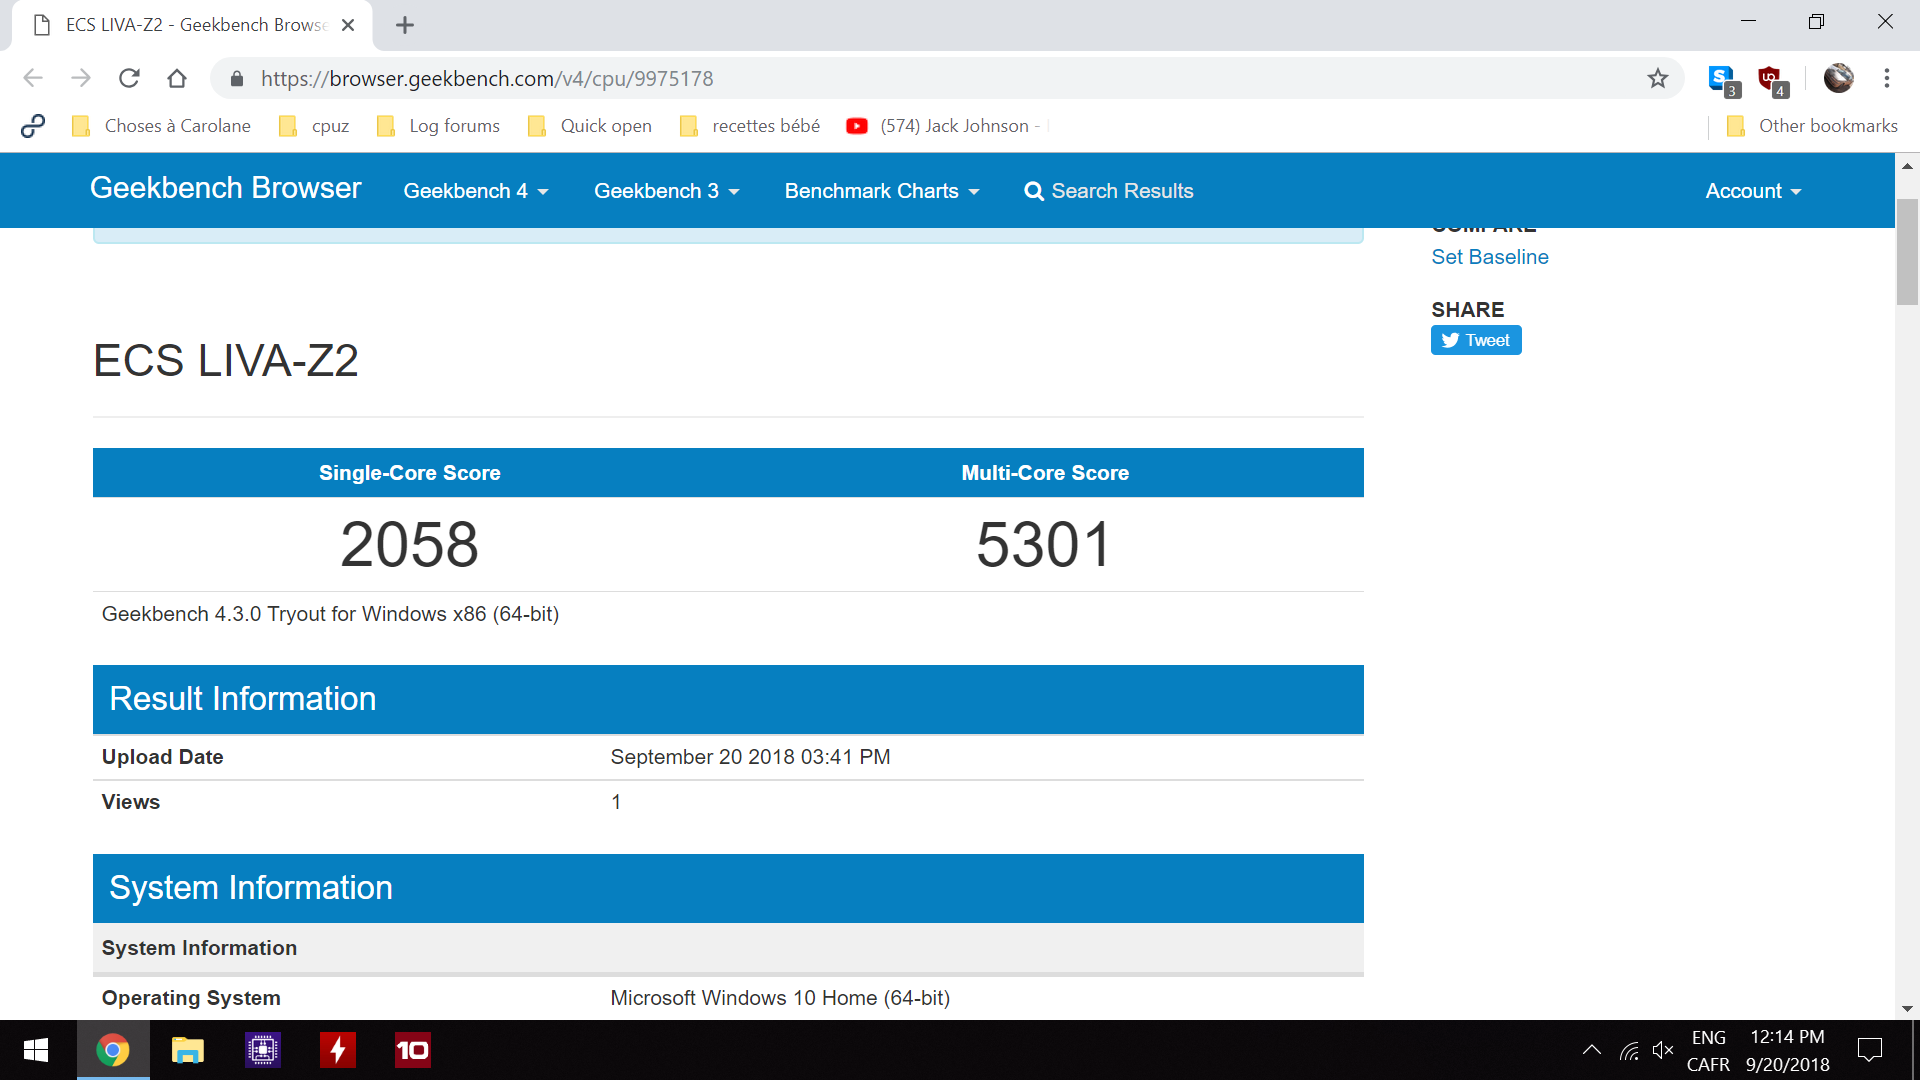
The overall scores did not improve with the upgrade. A slightly better score for memory, but overall, results stayed within margin of error.
Cinebench R15

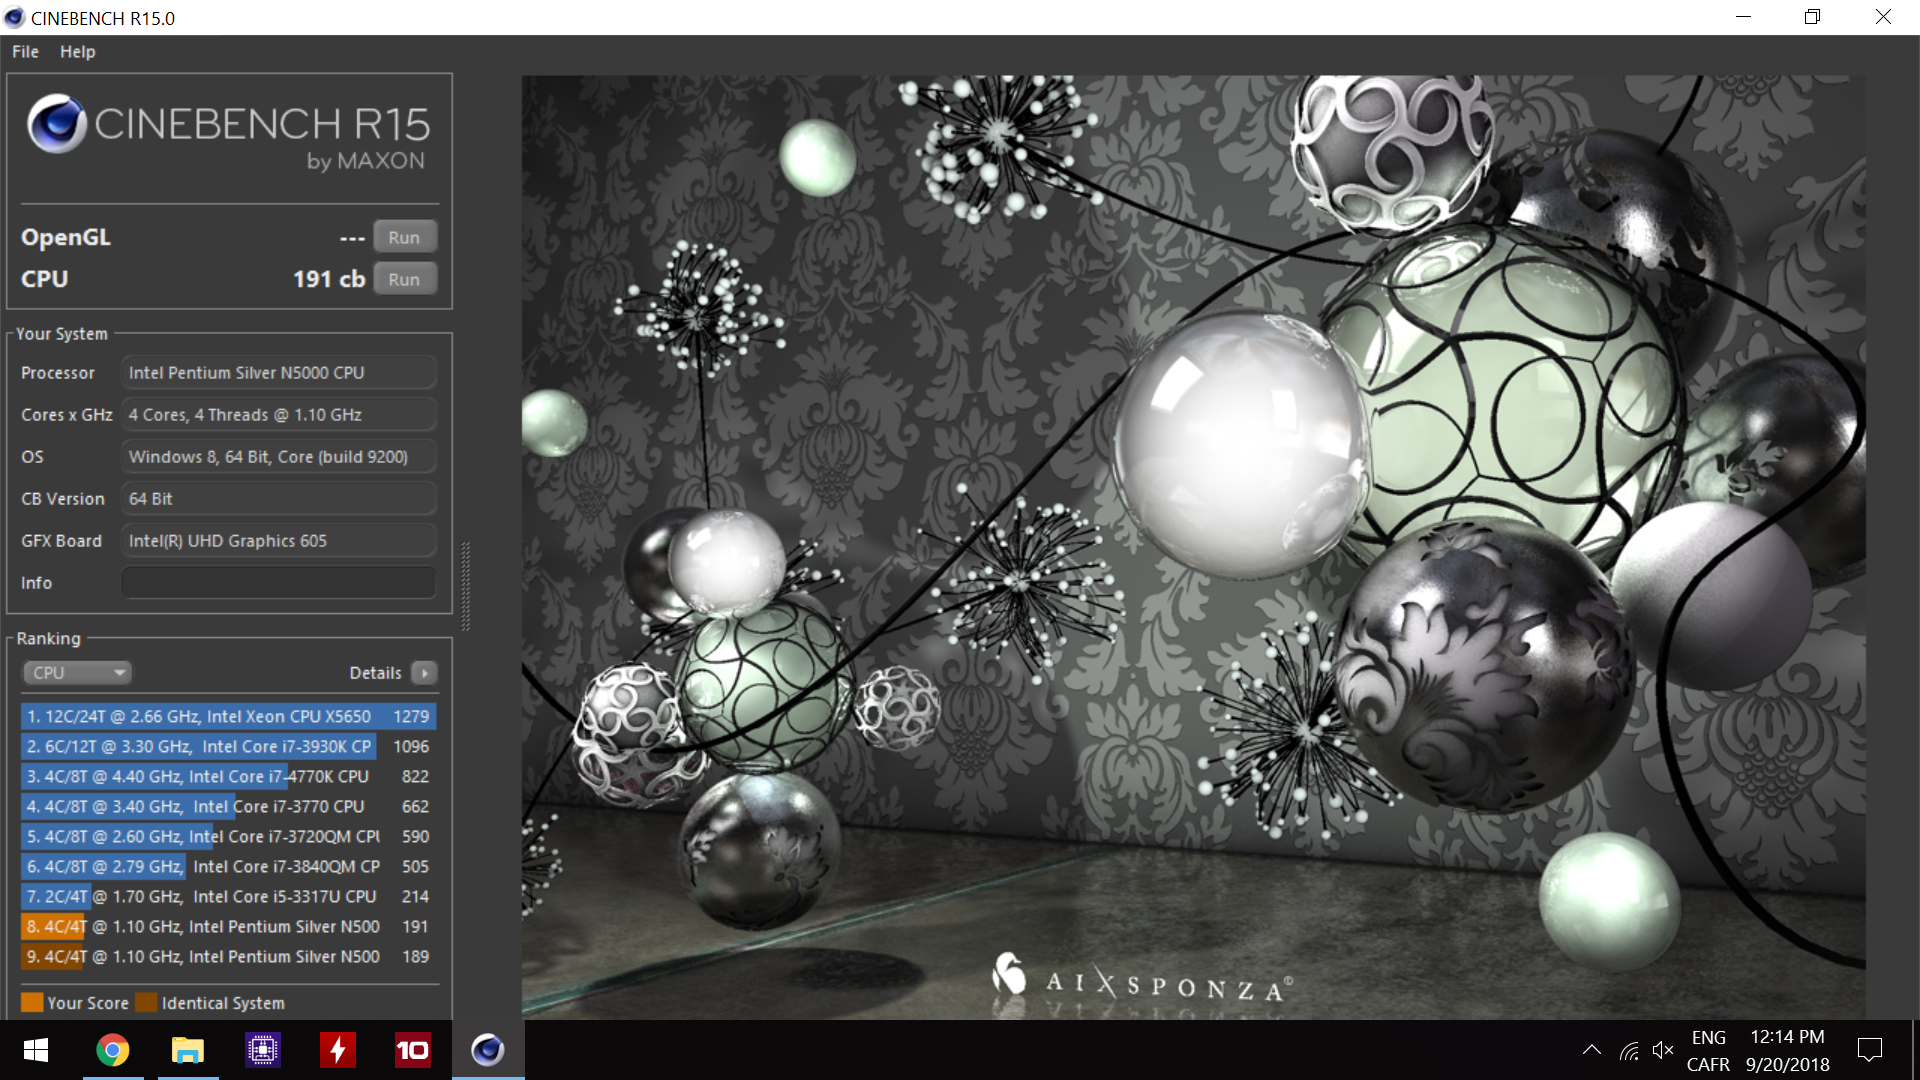
Same scenario as Geekbench, results are within margin of error of each other.
eMMC speed
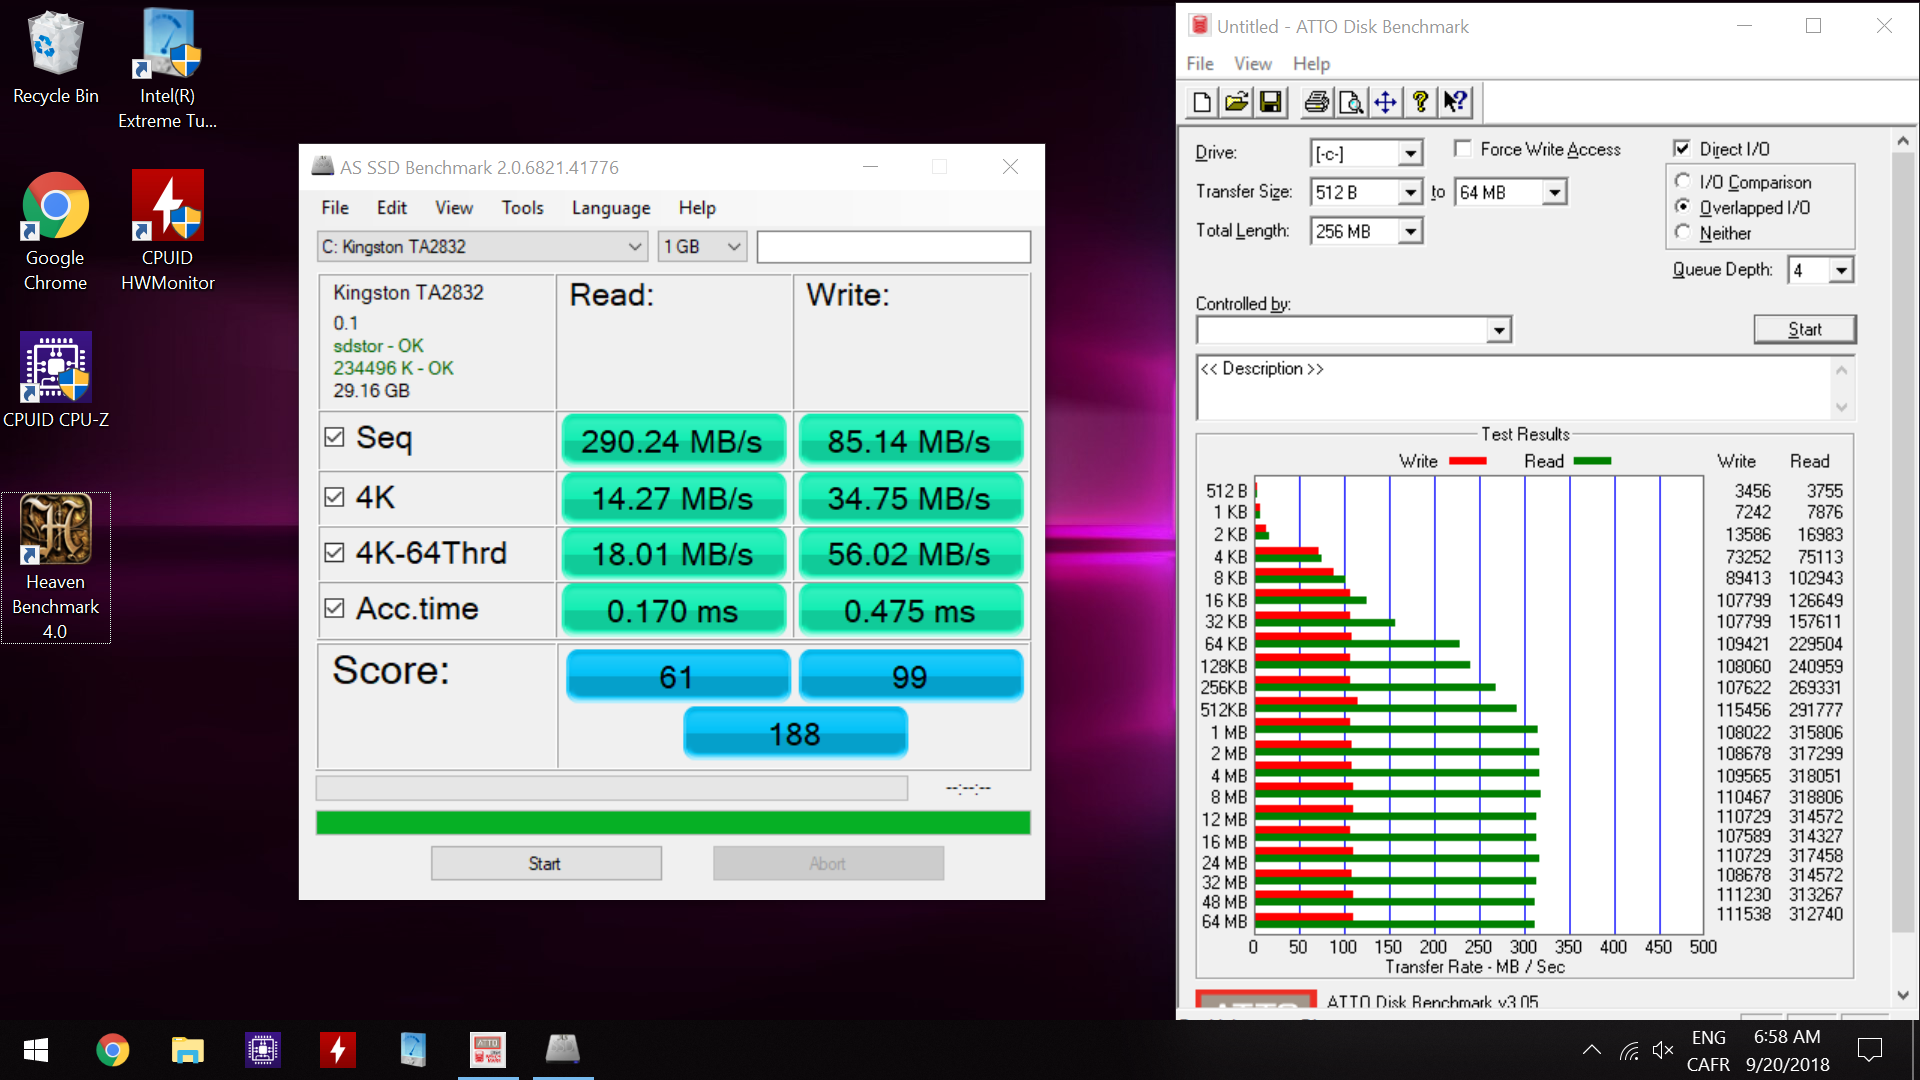
The continuous read speed was around 320 MB/s in ATTO, while it was 290 MB/s in AS SSD. The continuous write speed was around 115 MB/s in ATTO and 85 MB/s in AS SDD. The write speeds match regular SATA hard drives, while read is quite a bit higher (2x-3x). We can also see here it is manufactured by Kingston with model number TA2832.
PCMark 10
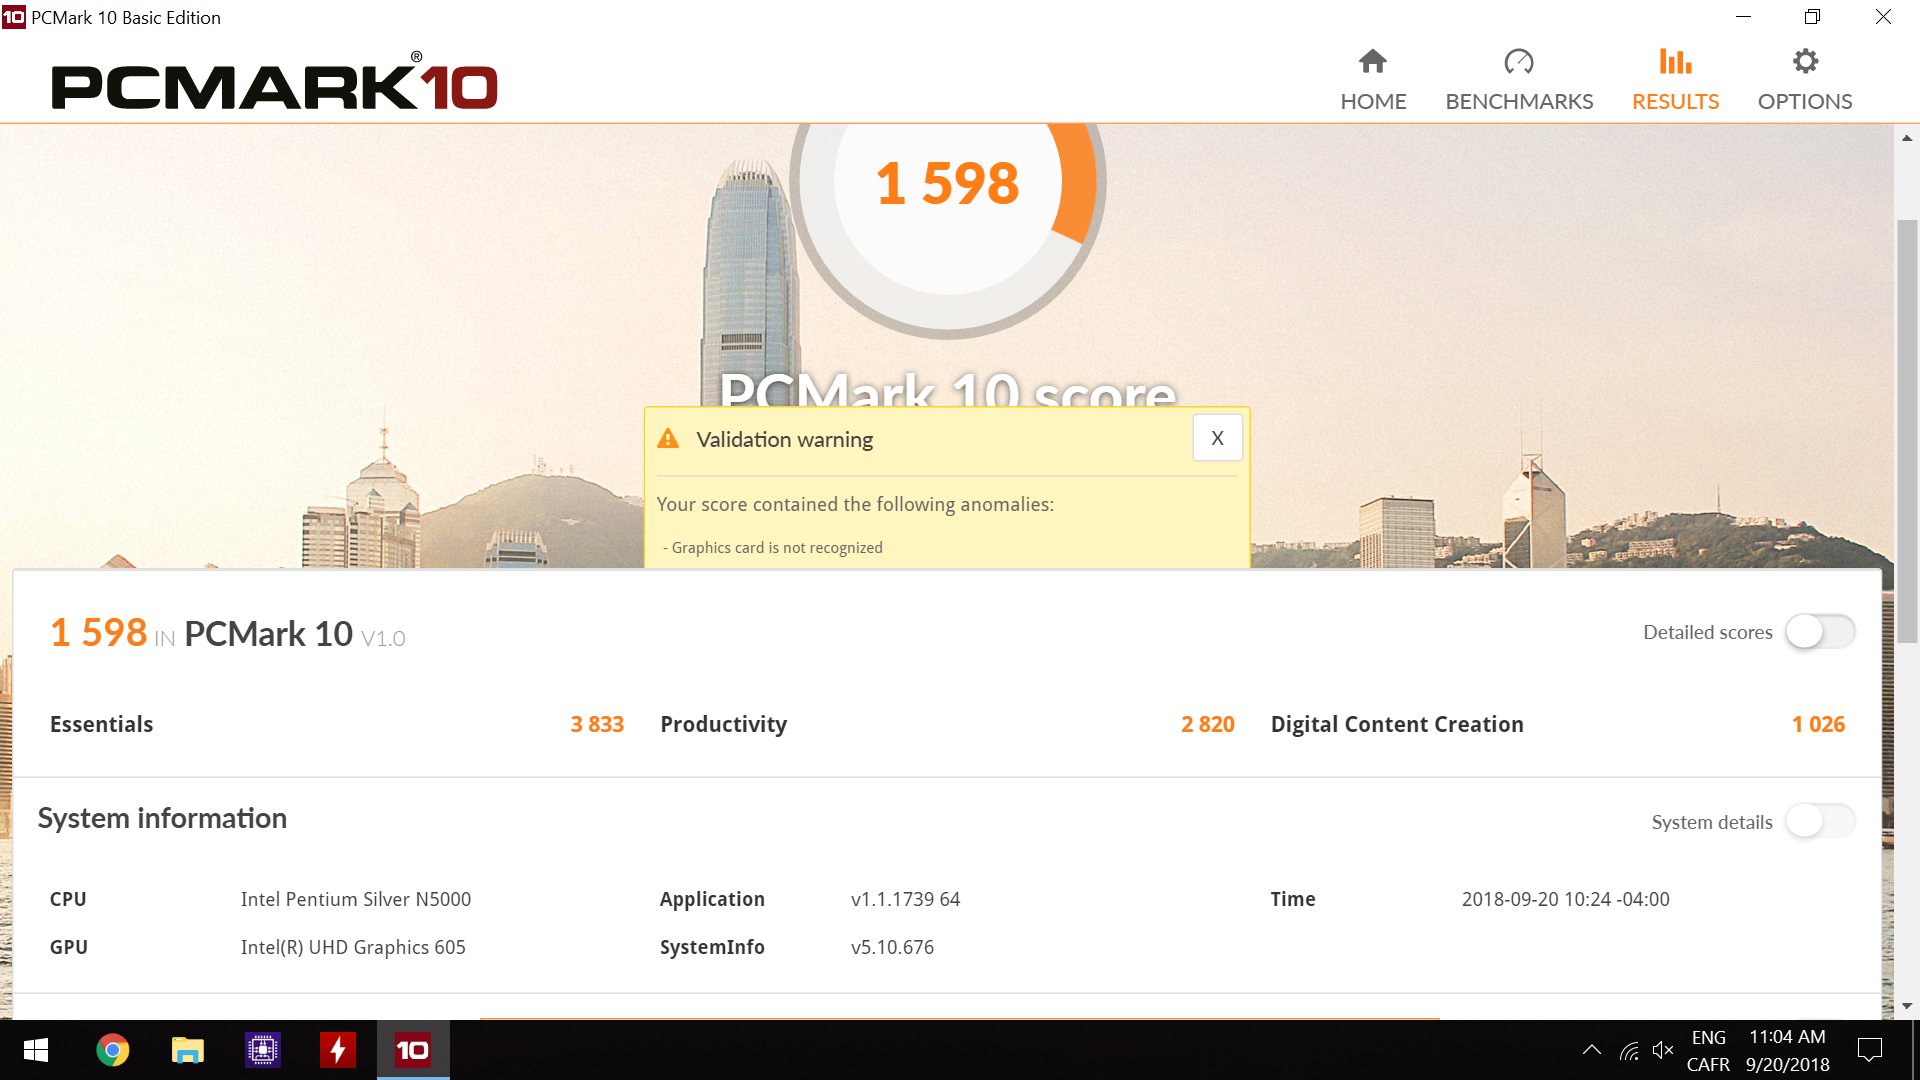
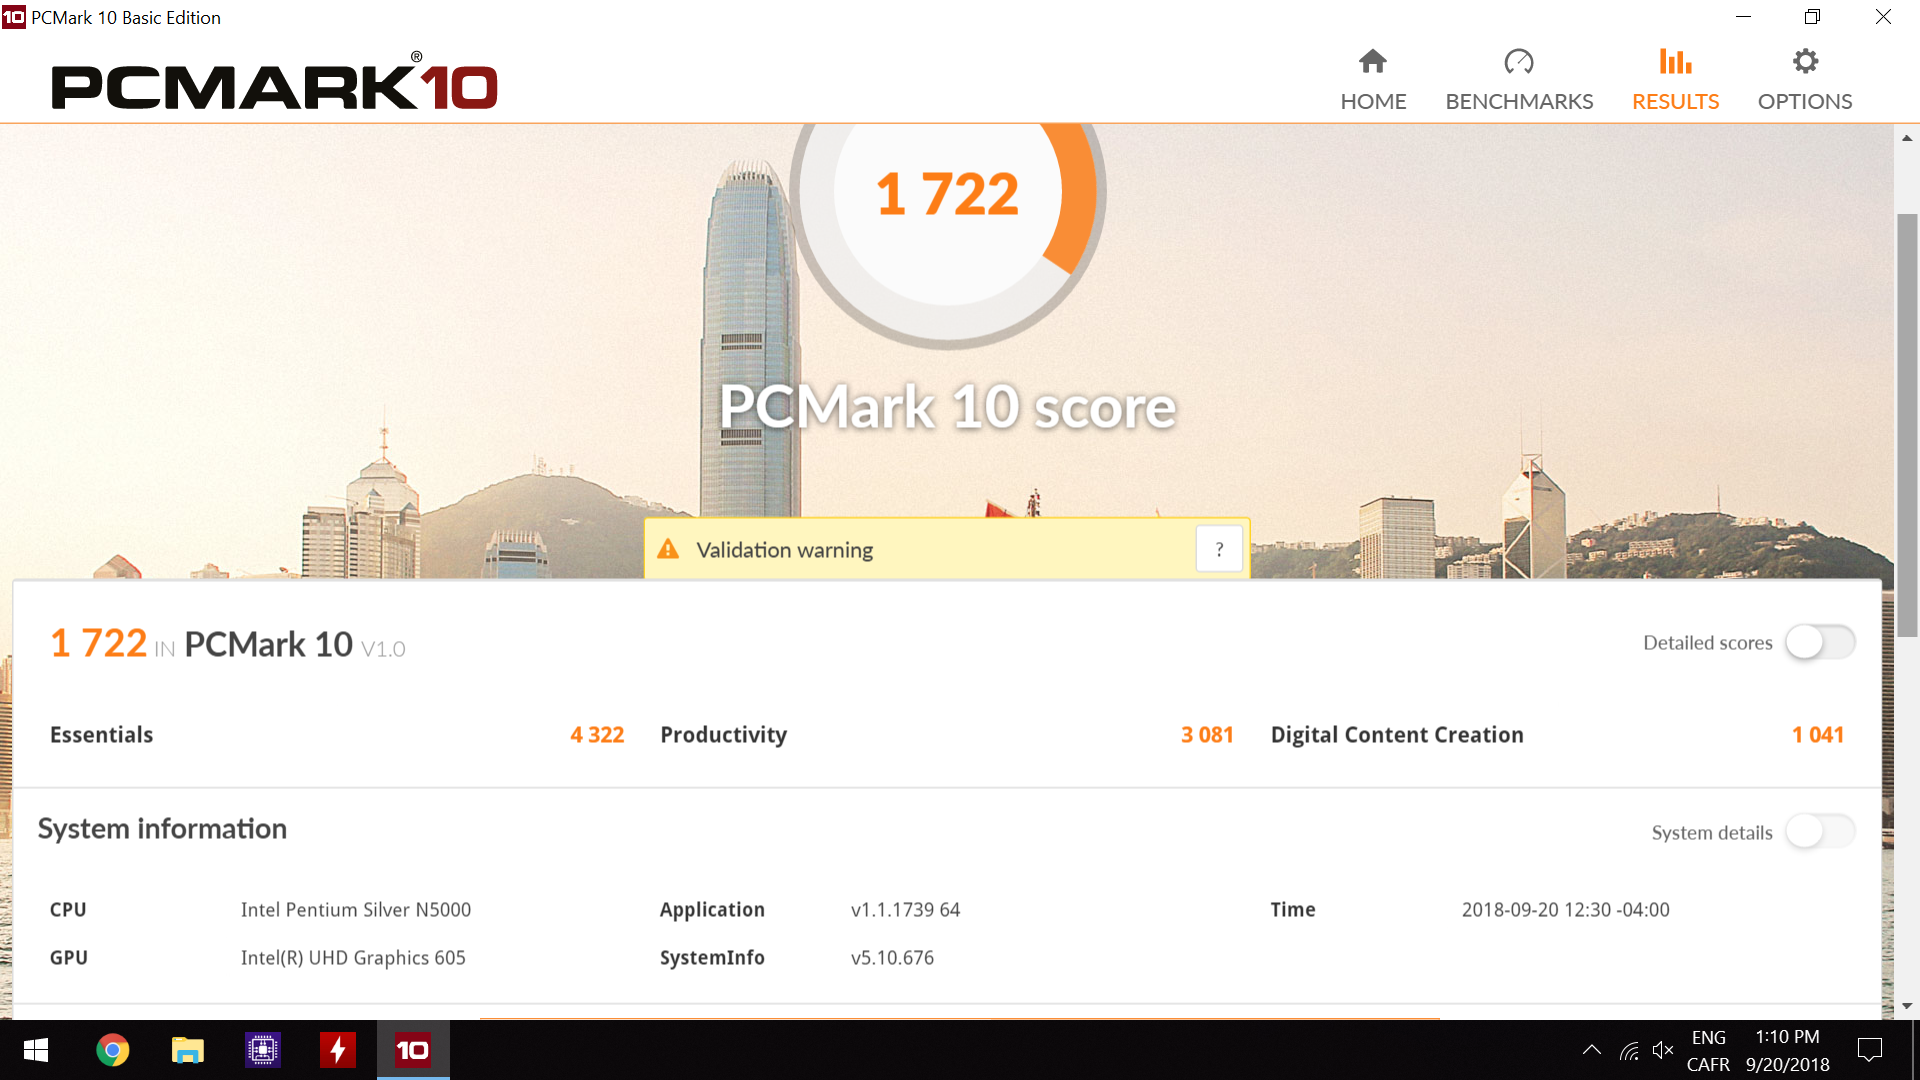
This is where the memory upgrade shines, a gain of about 8% can be seen. In a real life situation, the difference between 4GB and 8GB is very considerable as memory hungry programs will use up 4GB quite easy as Windows uses 2-3GB on its own.
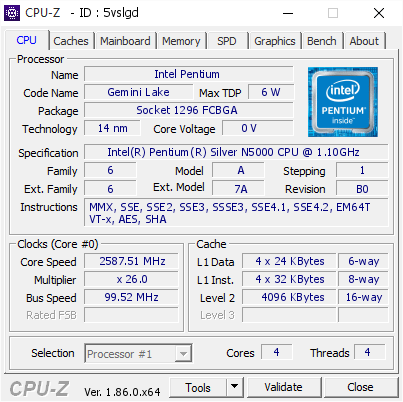
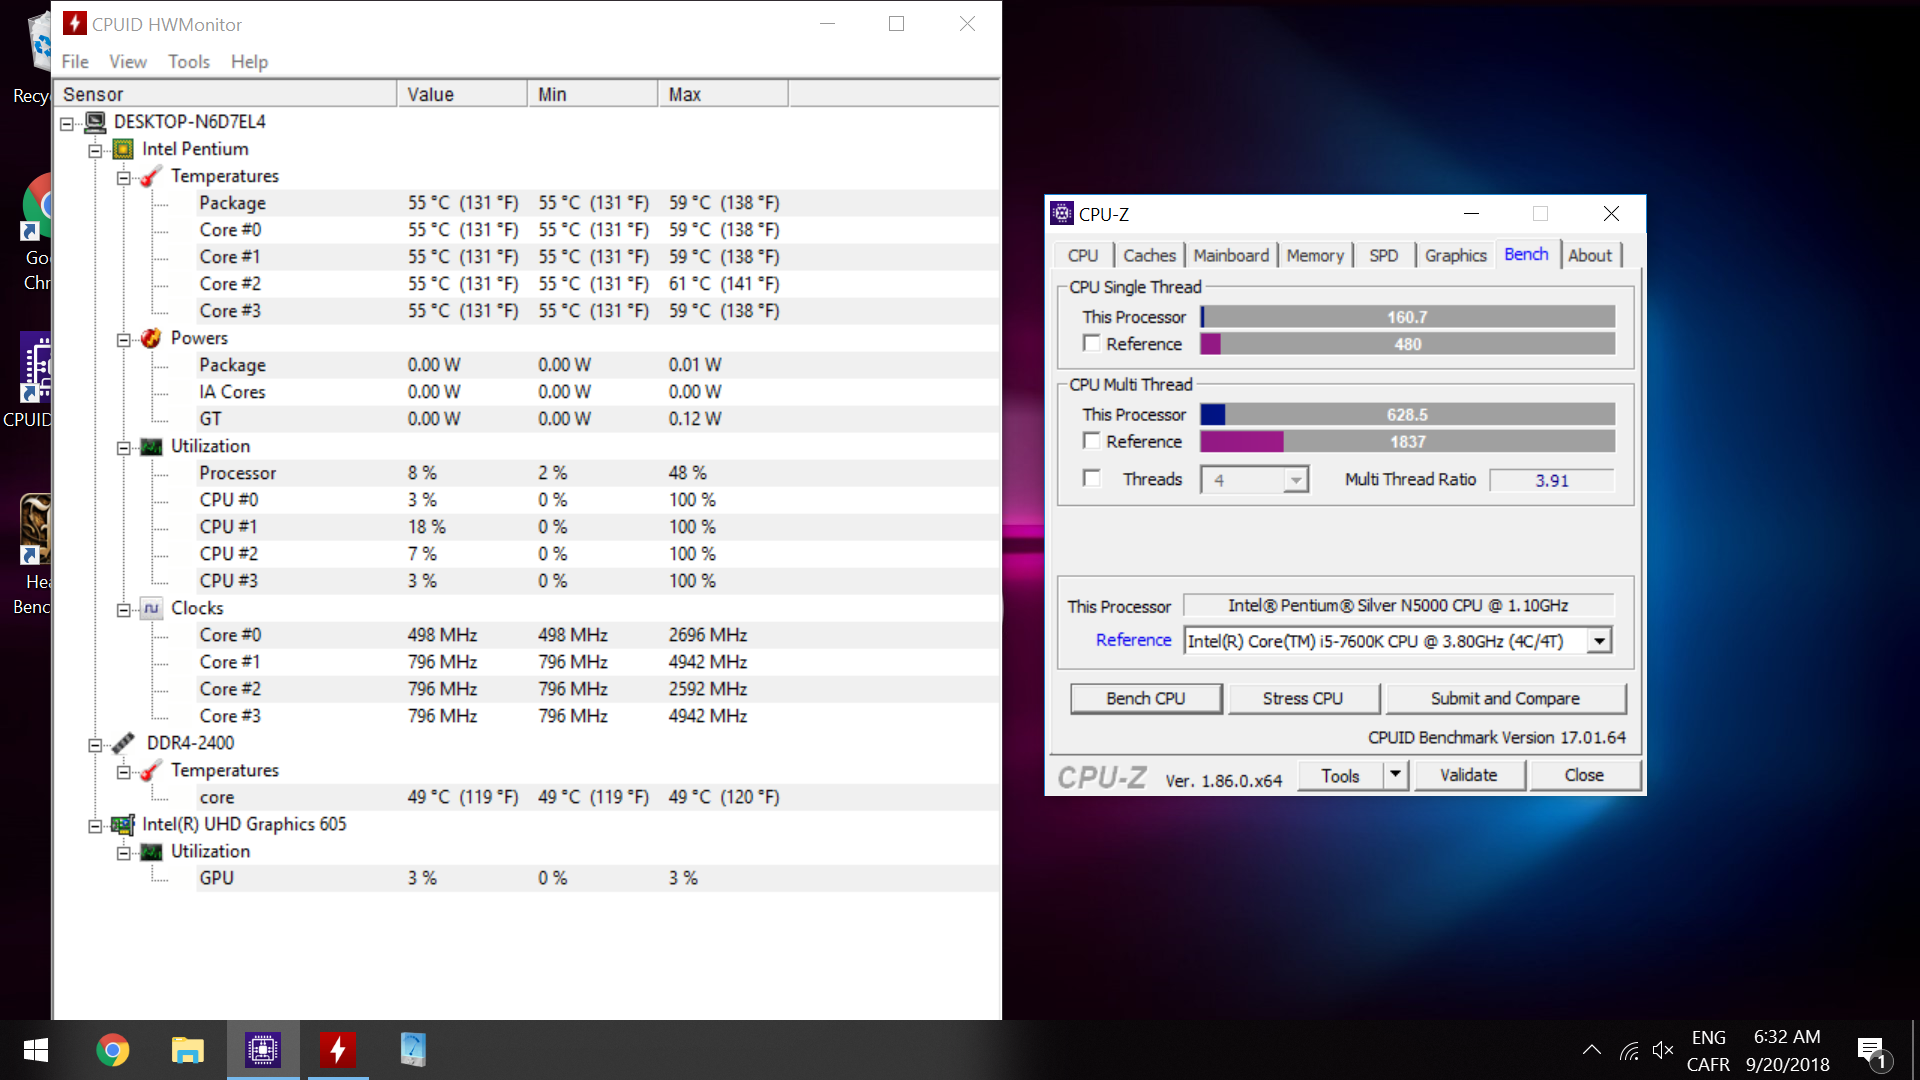
CPU-Z Benchmark

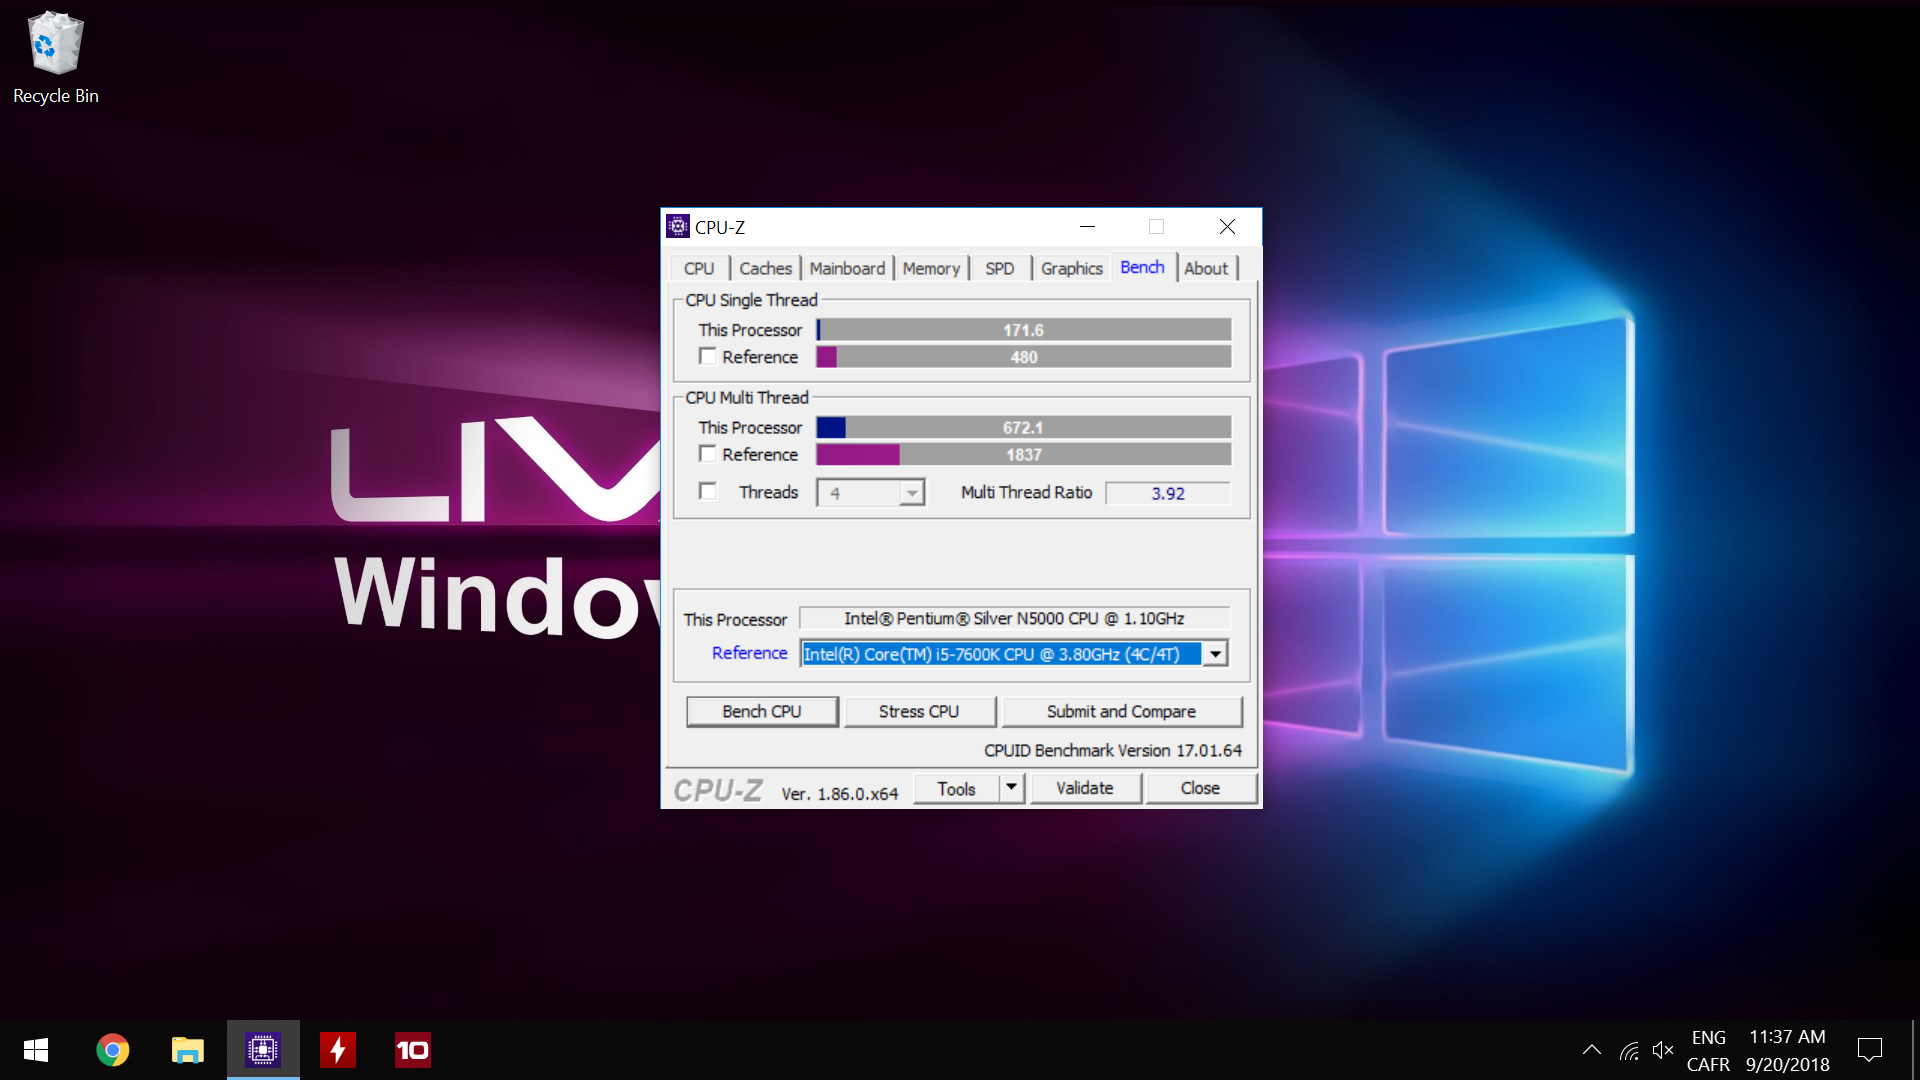
Here we also see slight improvements in both Single and Multi thread workloads. This test was also used to show that this unit’s passive heatsink works wonderfully, as temperatures did not exceed 61°C on any core and stayed mostly at 59°C during the test.
Overall performance from stock configuration and after an upgrade are both really acceptable as they will satisfy the target audience for this mini PC. Someone who needs a simple desktop tower replacement and only browses the internet with light office work will be satisfied from this system. Other possibilities of it include signage with the HDMI 2.0 port and PoS systems, where it would easily excel at.
Conclusion
So the ECS Liva Z2 is pretty good looking, but is it worth buying? With models starting at $200 USD, going up to $250 USD, I would definitely recommend it. Great aesthetics on a desk, many connectivity ports (six USB total) along with a good office performance CPU. I would however, get the model with 64GB of eMMC and either get the 8GB of RAM model or the 4GB and add a second 4GB SODIMM, as I did.
Adding a 2.5” hard drive in this means that you’ll have more than enough storage for your needs too.
Pros
- Pleasing aesthetic, nothing too flashy (apart from the power button)
- Good overall performance for the purpose of it
- Lots of connectivity
- Easily upgradeable
Nitpicks
- HDMI sticker on the front
Cons
- Hideous front power button
Thoughts? Discuss them in the forum.